murphaph
-
Posts
2,436 -
Joined
-
Last visited
-
Days Won
33
Content Type
Profiles
Forums
Events
Gallery
Blogs
Everything posted by murphaph
-
Ah tell me about it. Robert S sent me a small parcel worth a tenner and declared as a gift. Well below the €45 customs threshold for gifts. German customs officer in Frankfurt didn't care about that and incorrectly levied €2.22 VAT on the parcel and then the €6 handling charge for DHL was applied on top. Took bloody ages to make its way here too. The little parcel accumulated more stickers than a Panini album. Brexit is such a complete hassle.
-
Did those PWI trains ever run in the 90's with mk3 + NIR mk2 stock?
-
I can recommend this shop as a satisfied customer. I believe they ship outside Germany: https://www.architekturbedarf.de/metal/corrugated-sheets/1
-
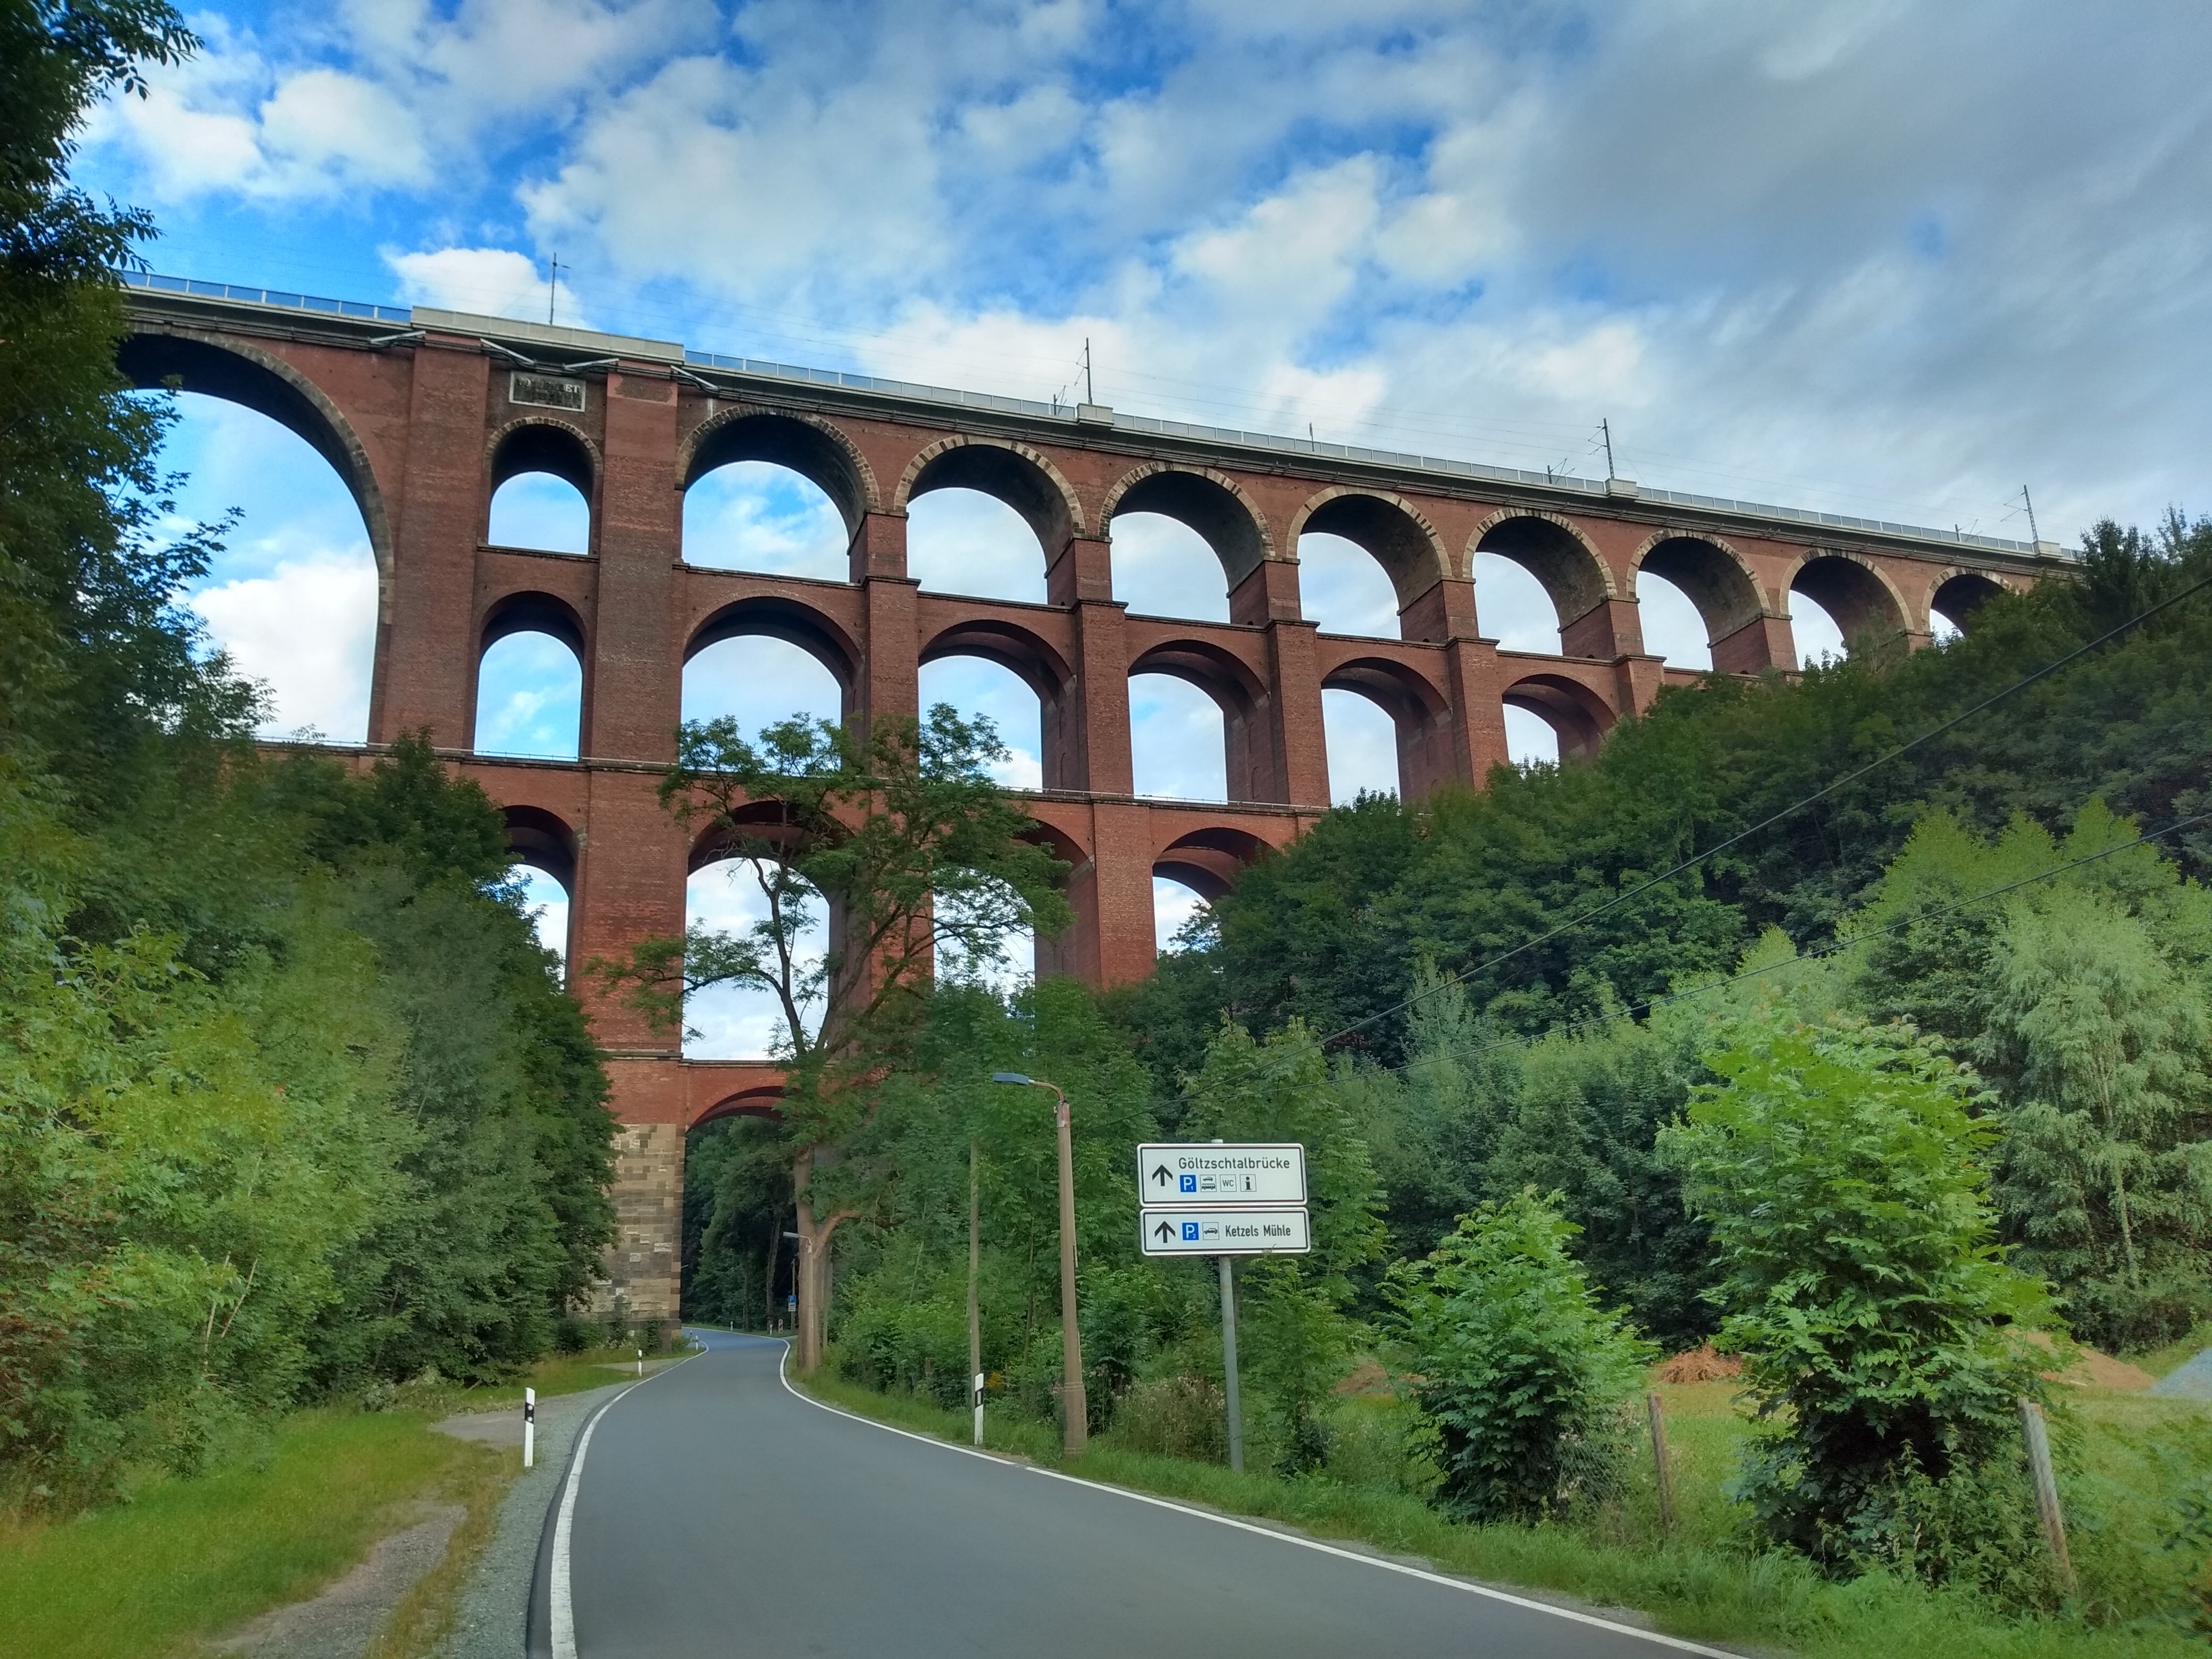
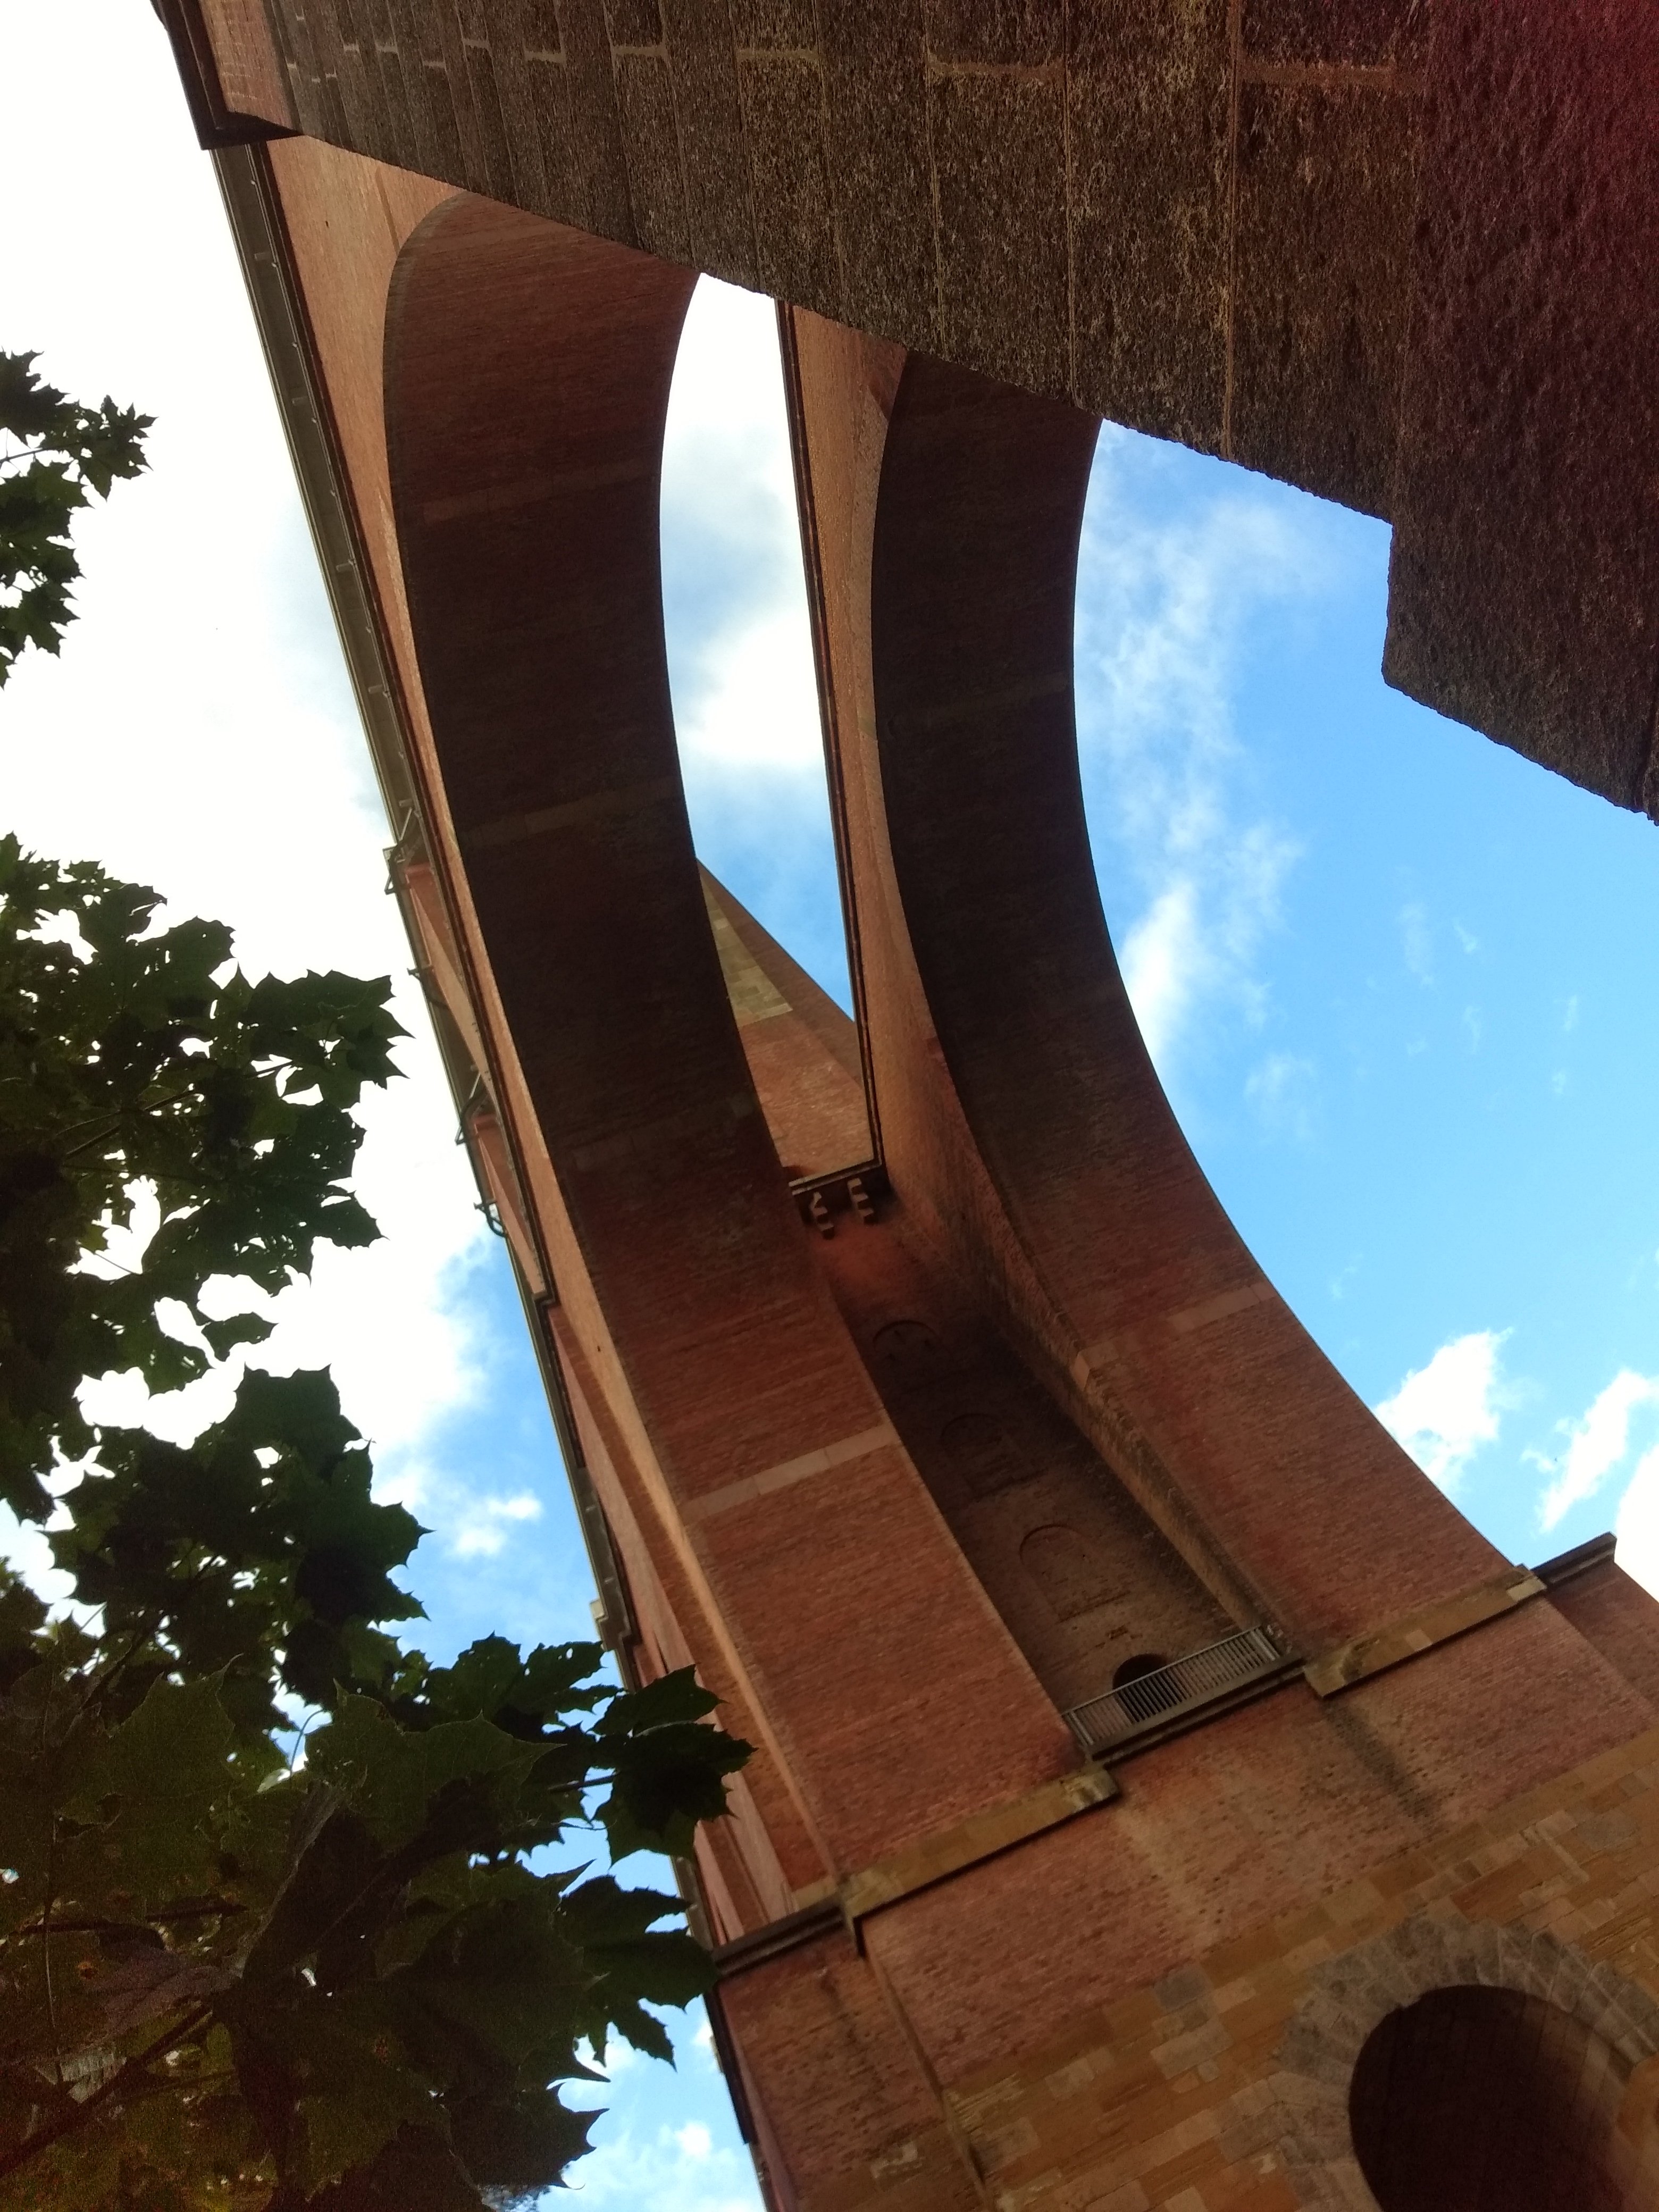
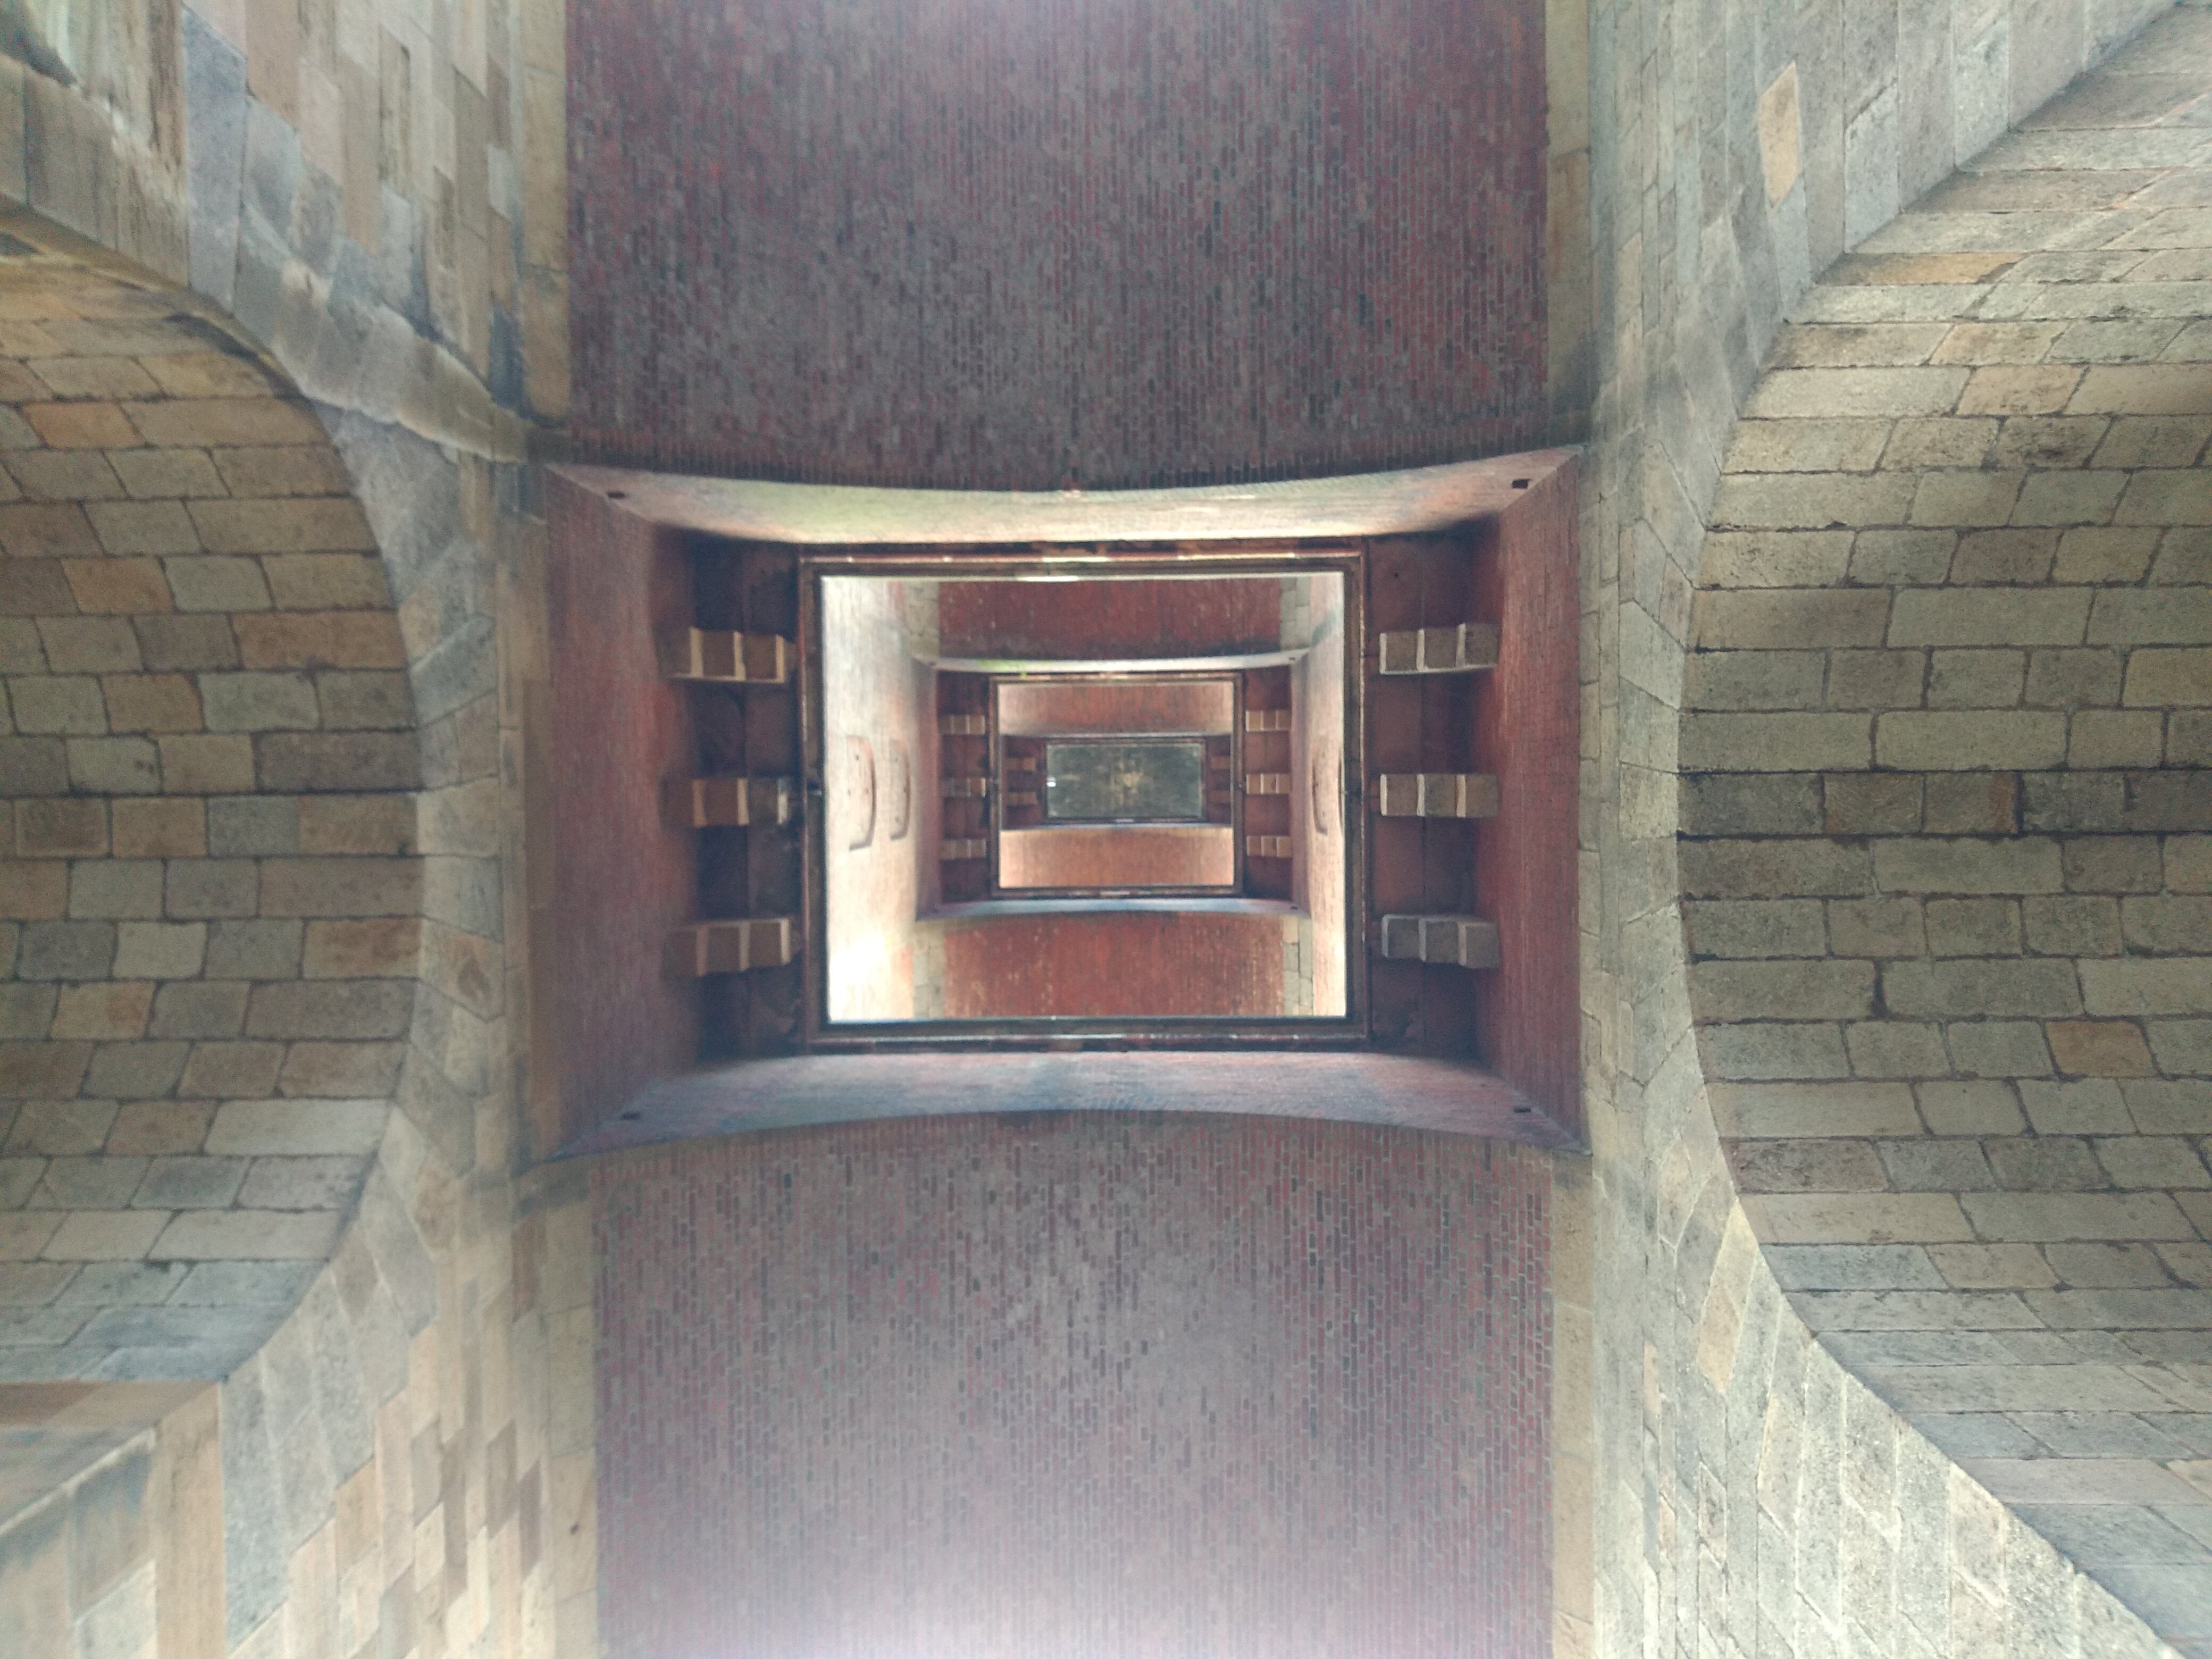
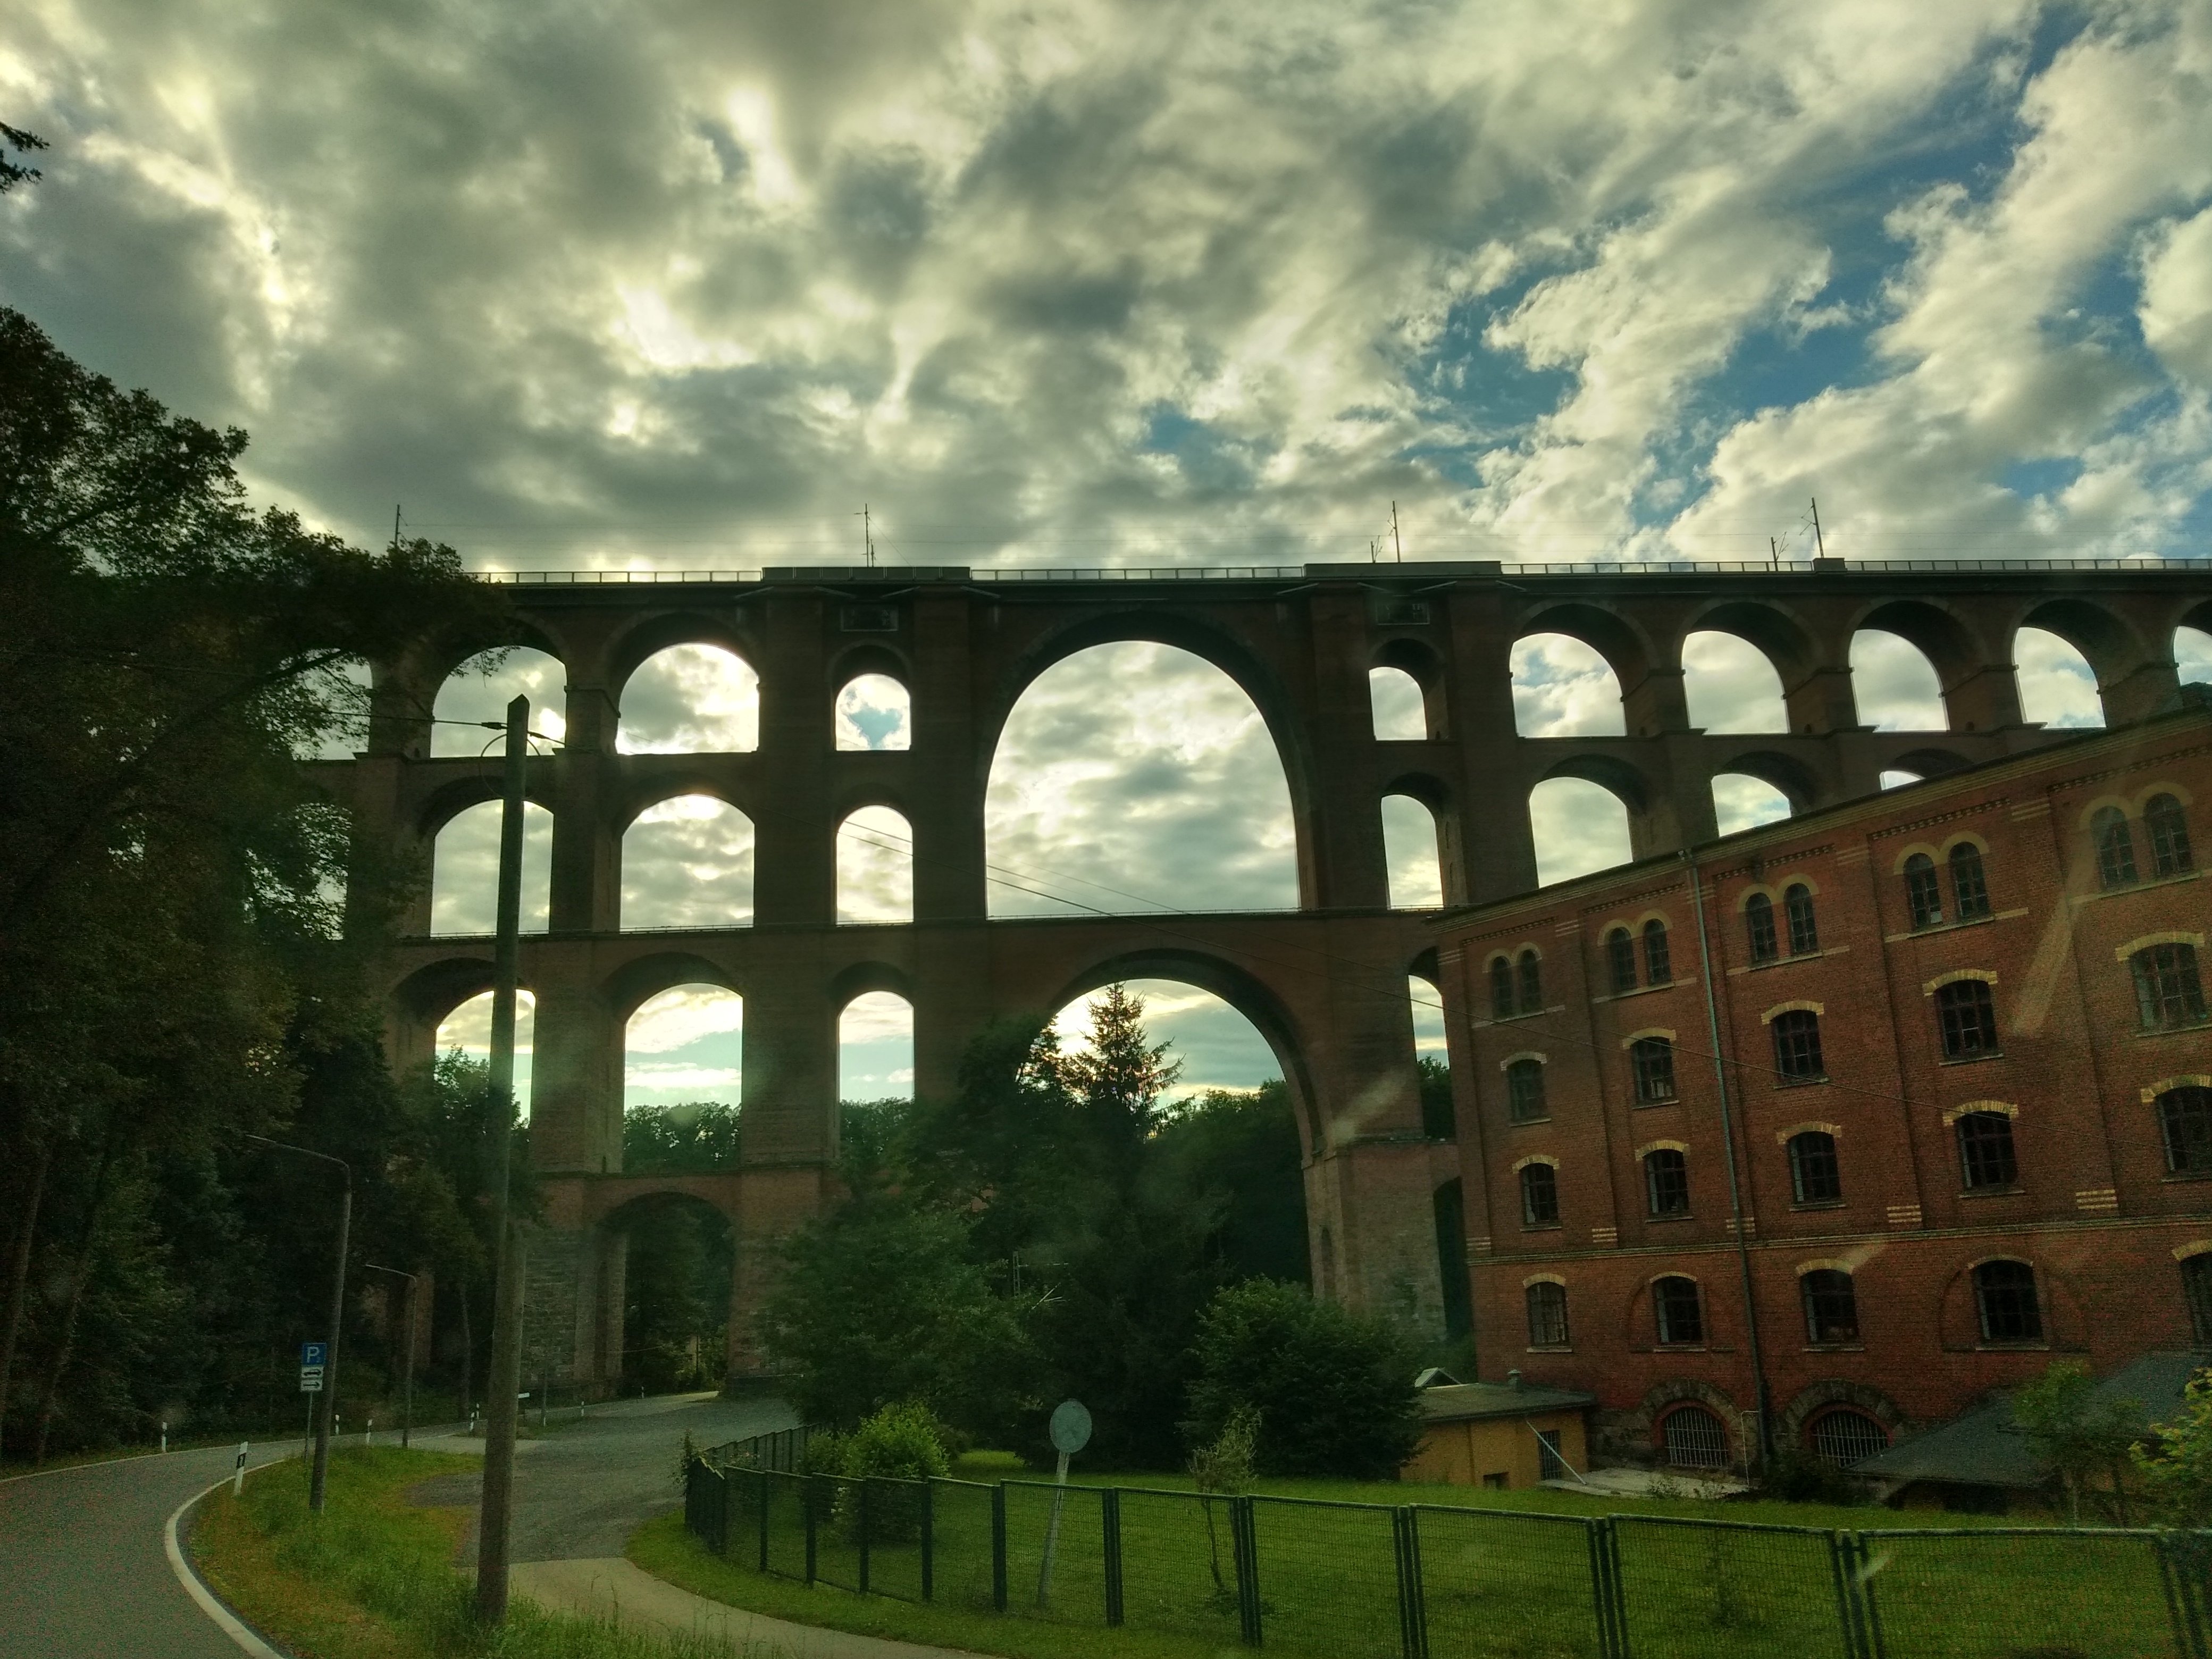
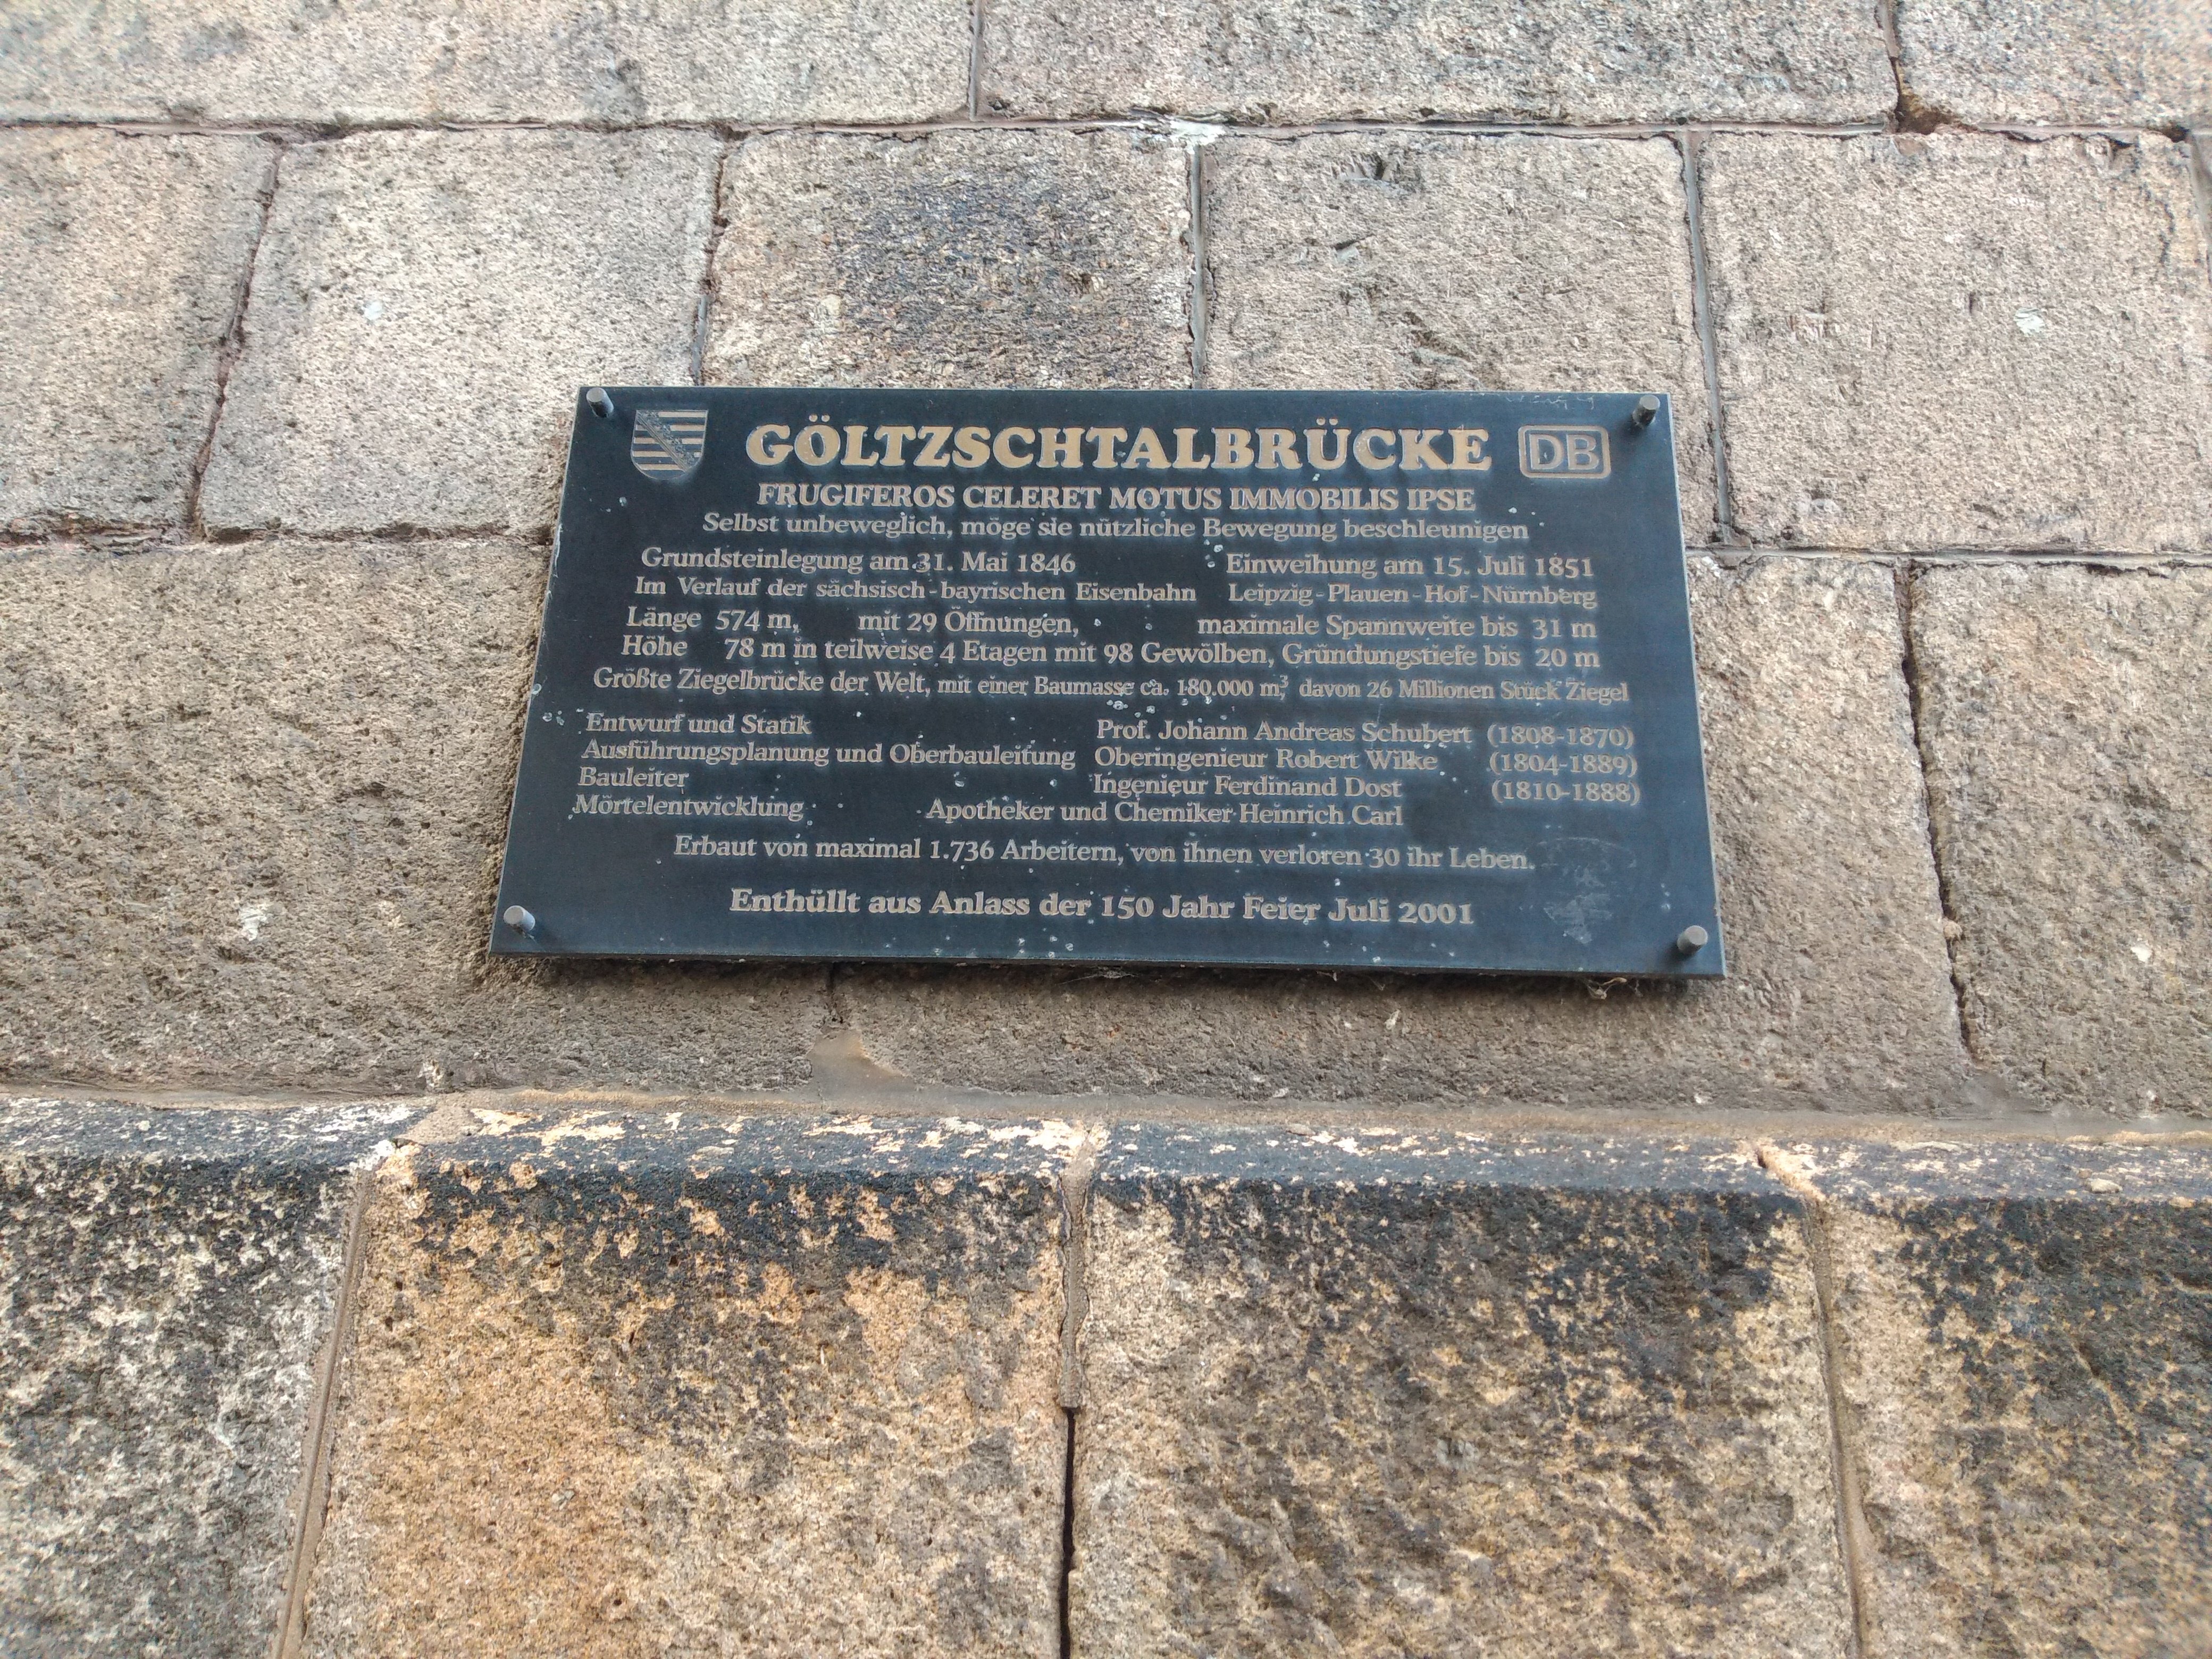
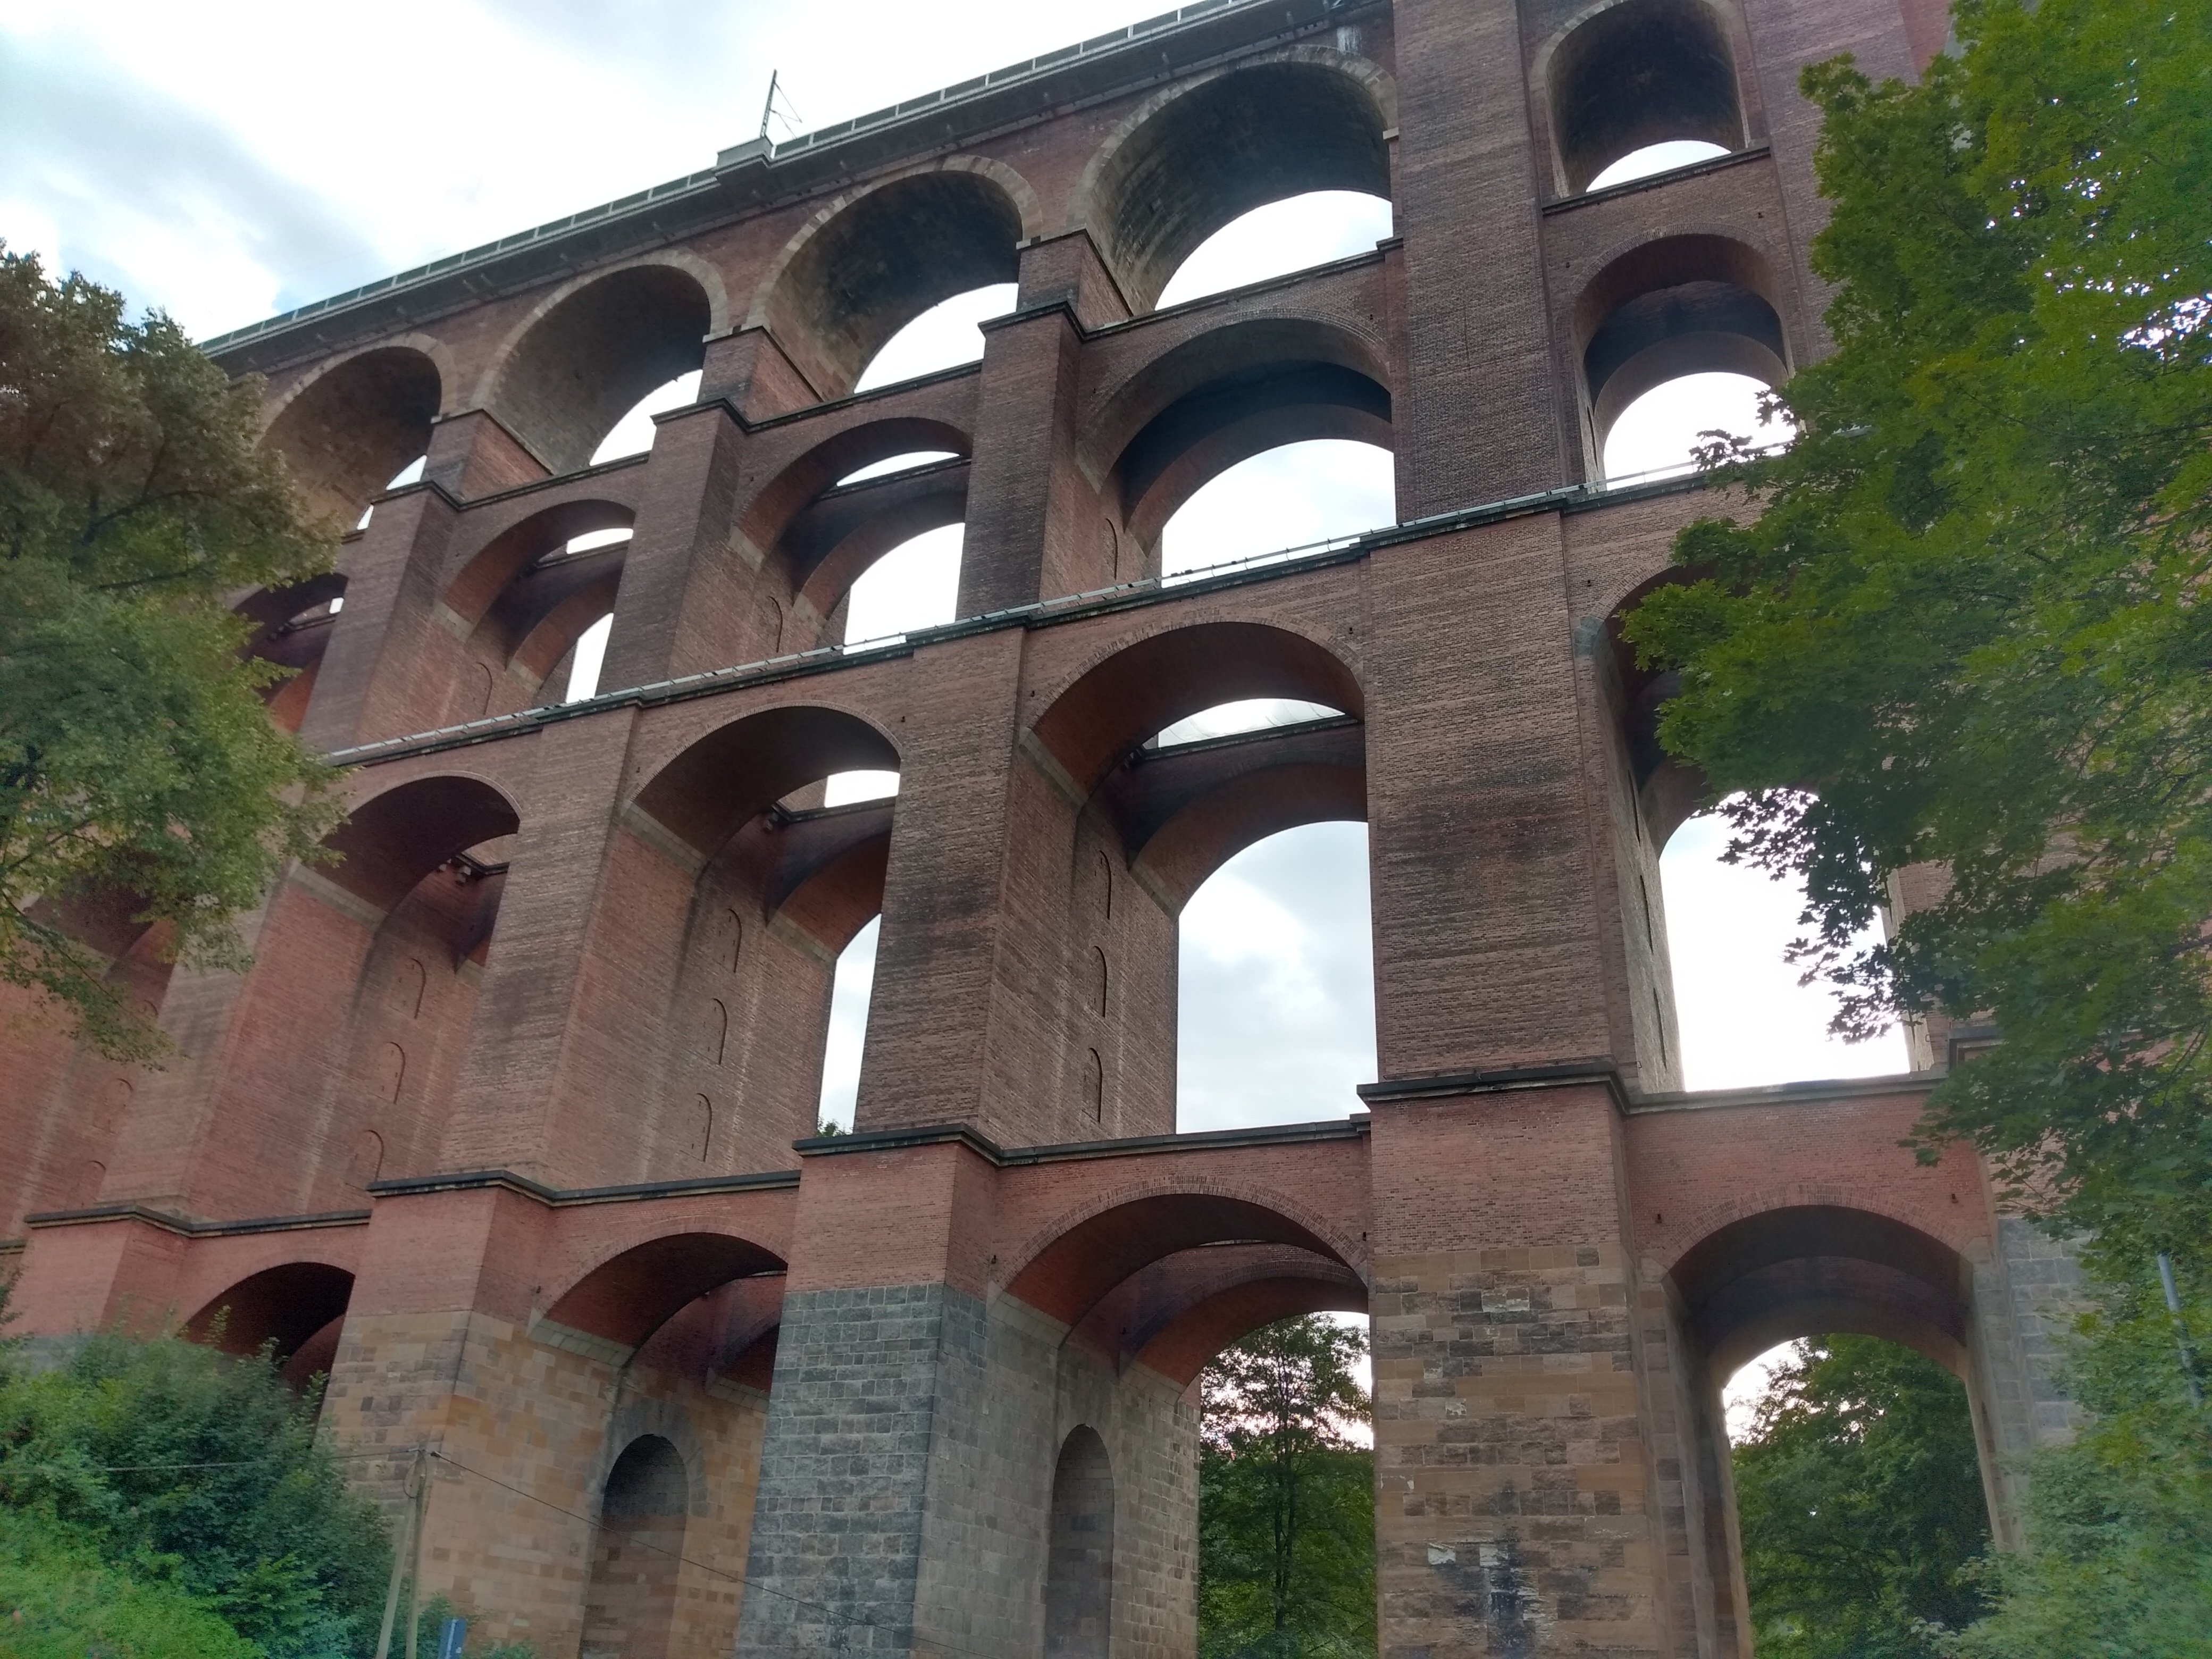
Right, last update to this thread as the holiday has come to an end. On the way back up to Berlin we made a stop at the Göltzschtalbrücke. This is one of the most incredible things I've ever seen. It's absolutely massive. 26 million bricks were used to build it with 31 lives lost during its construction. It remains the largest brick built bridge in the world today. If you are ever anywhere close to this place you should make a detour to take a look.

-

Rails of Sheffield - a warning of absence of care.
murphaph replied to flowcoach's topic in Irish Models
That's very good news. -
Are they pinpoint axles running in brass bearings Ken or directly in the resin? Fantastic work.
-
Get out the German dictionary lol. A lot of shops in Germany will ship at competitive rates to Ireland. The biggest problem I find is finding a shop that maintains good stock of everything so you can get everything you want from that shop in a single order. The Berlin Zinnfigur (toy soldier) shop I previously linked to has good stock levels in my experience.
-
To be honest after reading John's post it sounds like Hattons think it's cheaper to take a chance that a parcel will not get through and then basically pay the vat a second time if it gets stopped, rather than employ the services of a customs agent in the EU countries in which they operate and have sales over the vat threshold.
-
Yeah they will refund your costs quickly too if my experience is anything to go by. I'd love to know what goes wrong to cause random parcels to not be delivered duty paid.
-
A €3.50 handling fee is actually very cheap. I thought Germany was reasonable with €6.
-
George she's still in regular service. She was out the day I took those pics. She's called the Ludwig Fessler. According to the wiki she was steam powered until 1973 when the Maffei engine was replaced with twin MAN diesel electric units. Interestingly the original engine now powers a different paddle steamer in Switzerland.
-
Yeah not just the UK but any third country. The old €22 minimum value threshold is gone. Every tiny parcel coming into the EU is now liable to be stopped and taxed.
-
Hattons regularly make this mistake when shipping to Germany (they are vat registered here also). Happened to me too. If you contact Hattons they will reimburse you your unexpected costs including the handling charges. I'd imagine this is the path of least resistance.
-
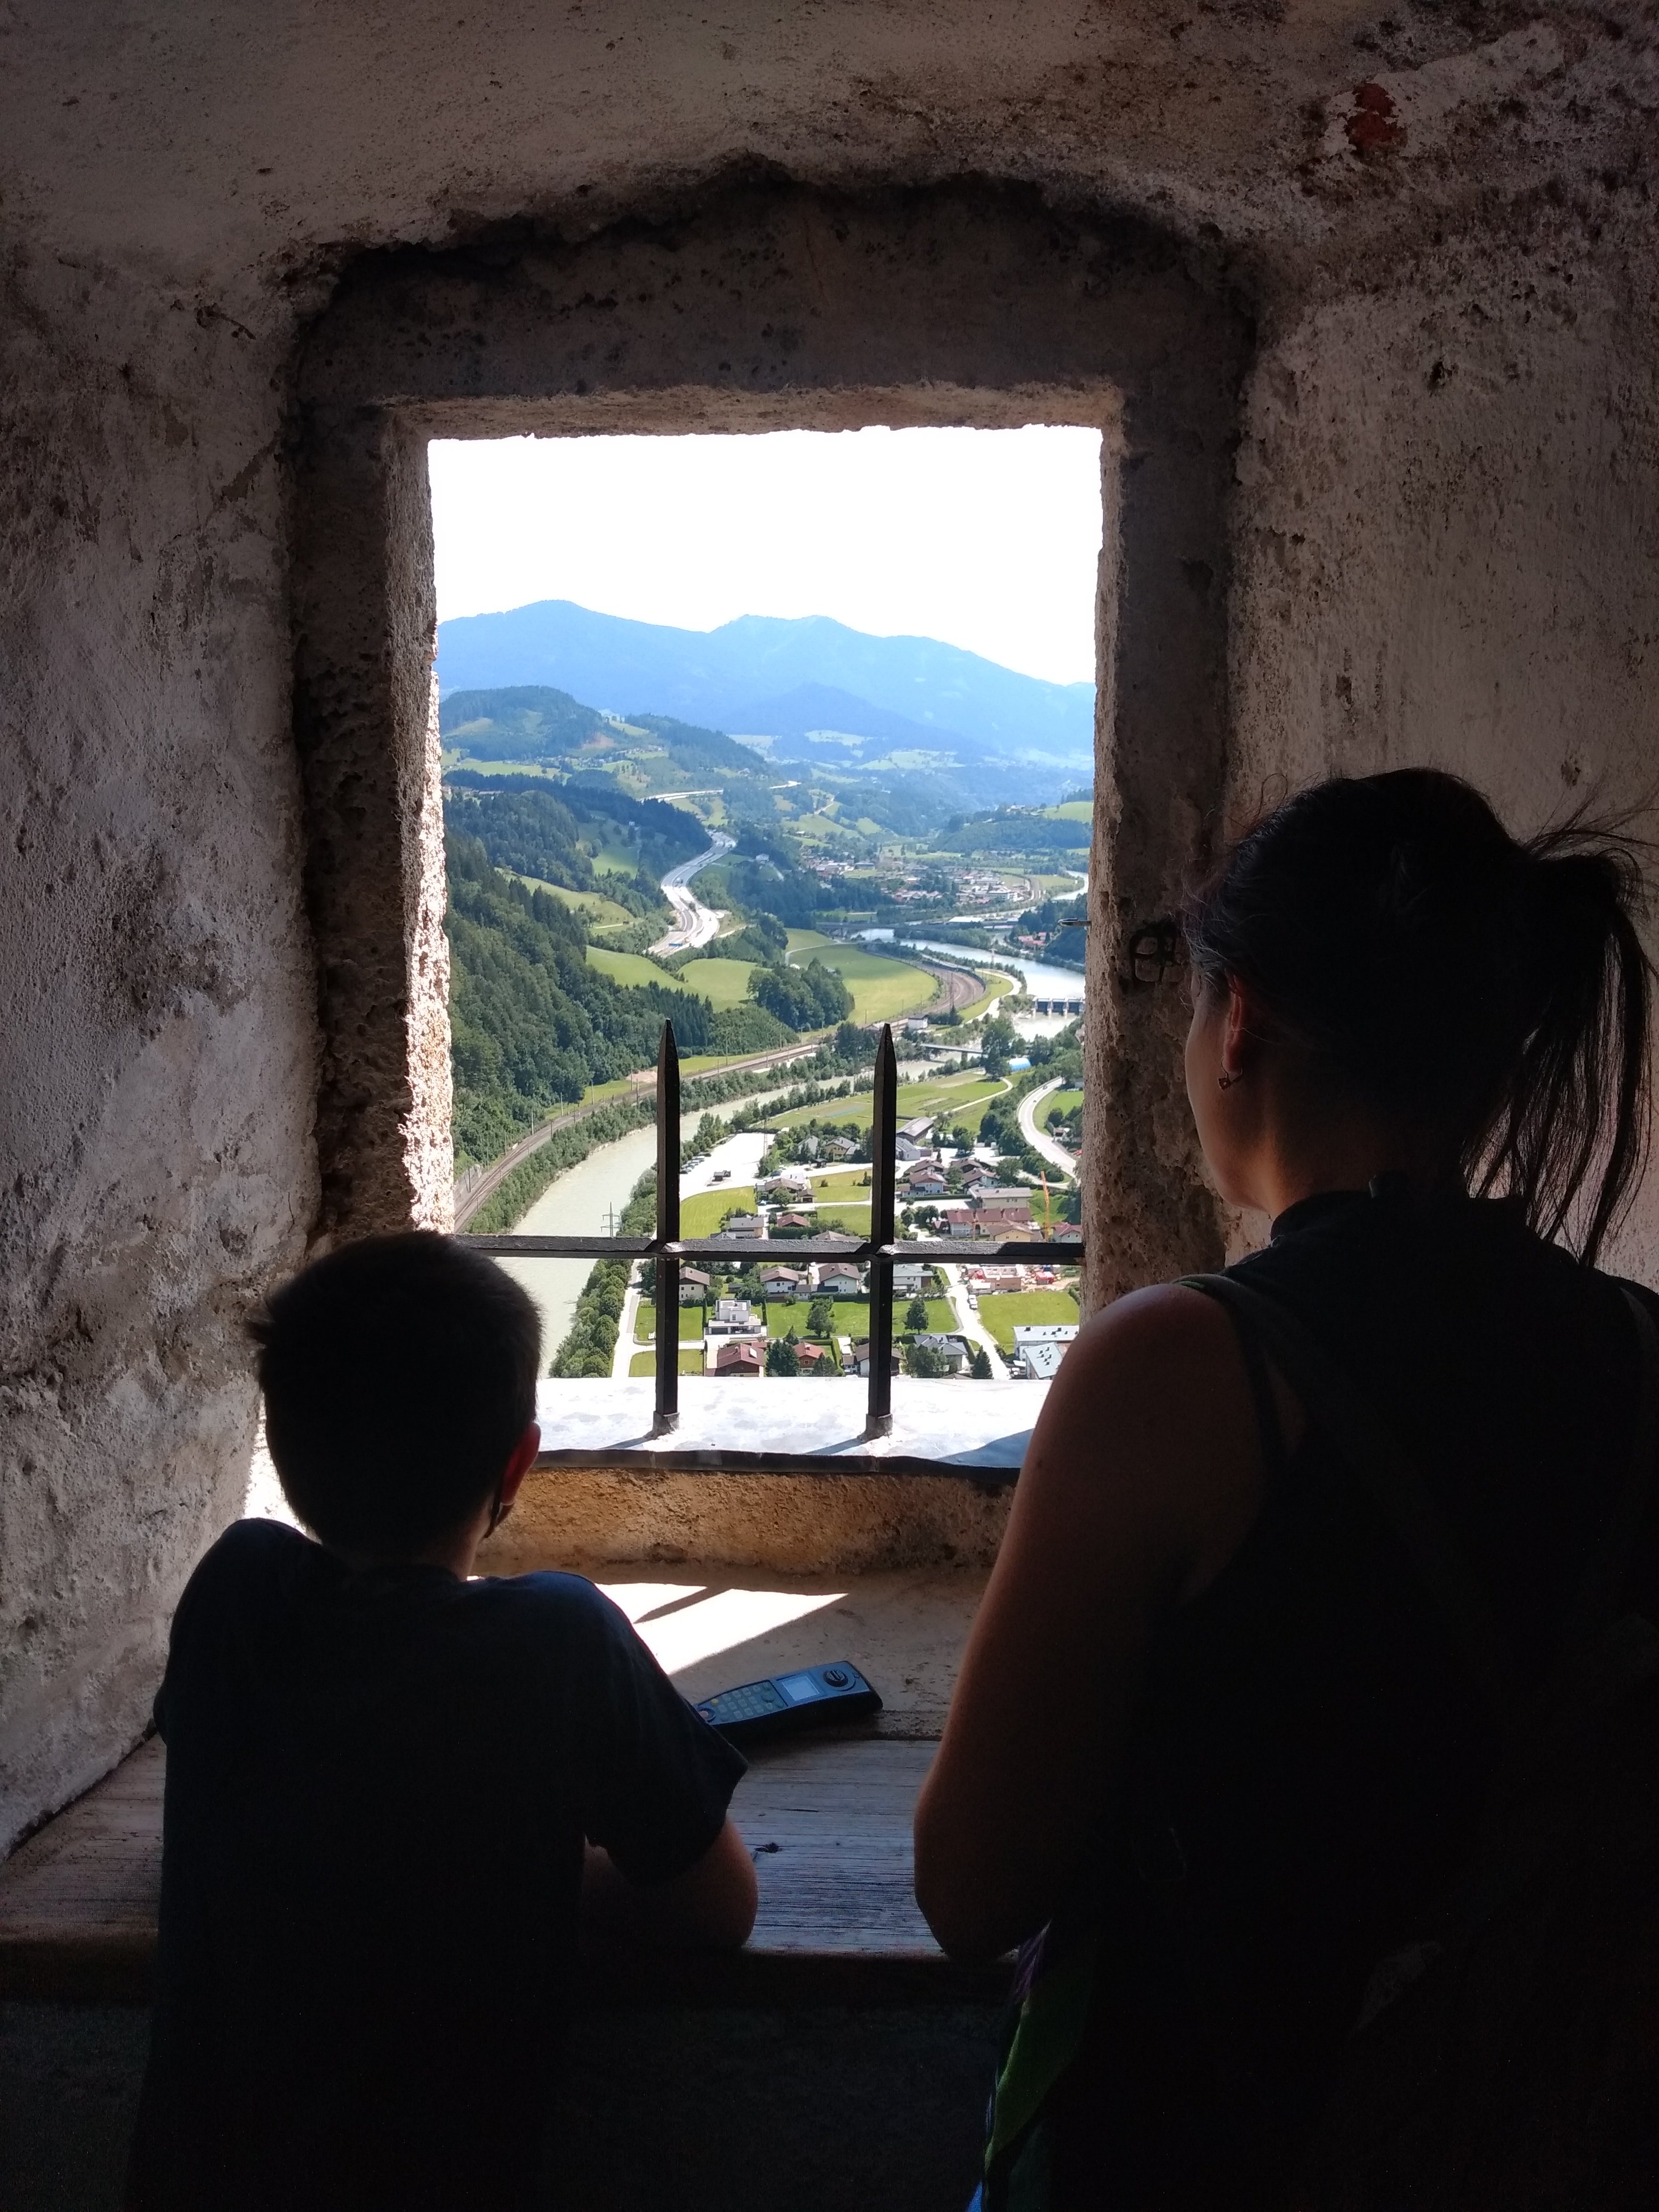
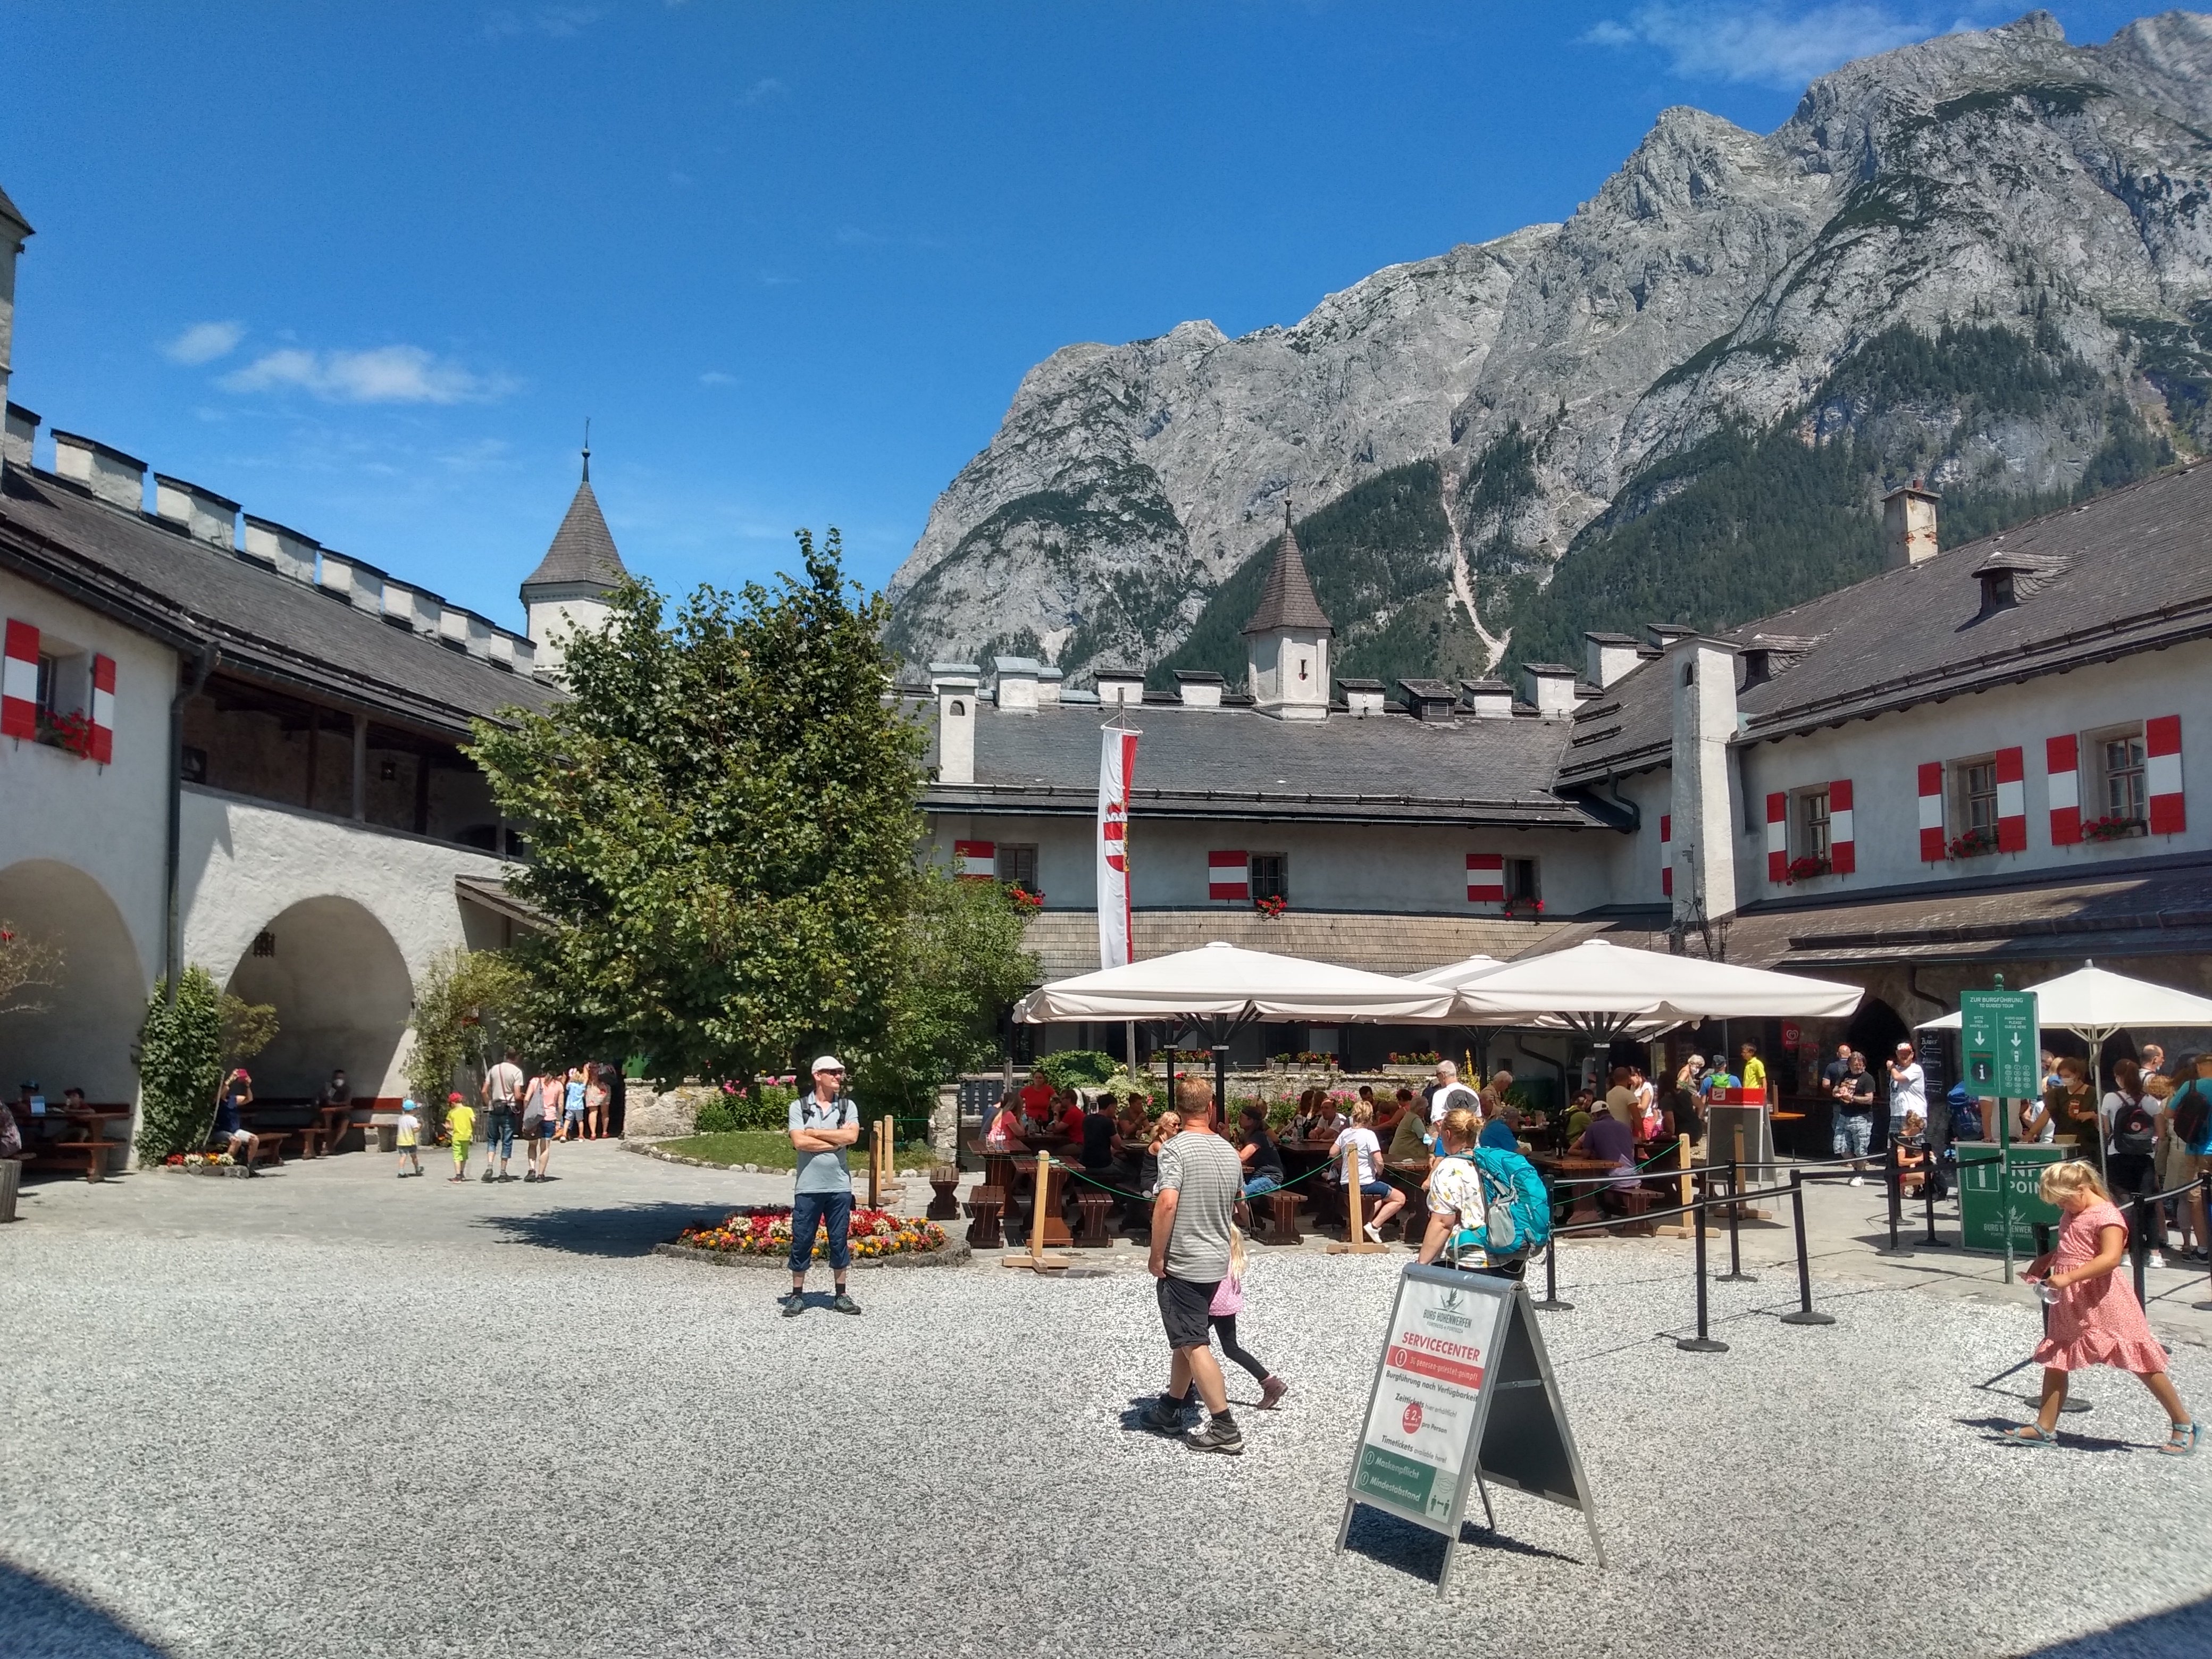
Lol correct! Real name Burg Hohenwerfen (a Schloß in German is a palace rather than a castle, which is a Burg). The name of the town below the castle is in fact Werfen, as it was in the film, but it's not in Bavaria, it's over the border in Austria and it had a fairly quiet WWII. The helicopter actually landed in the courtyard of the castle though much of the exterior is a studio model and none of the interior scenes were shot on location either. You can do some nice trainspotting from up there too:
-
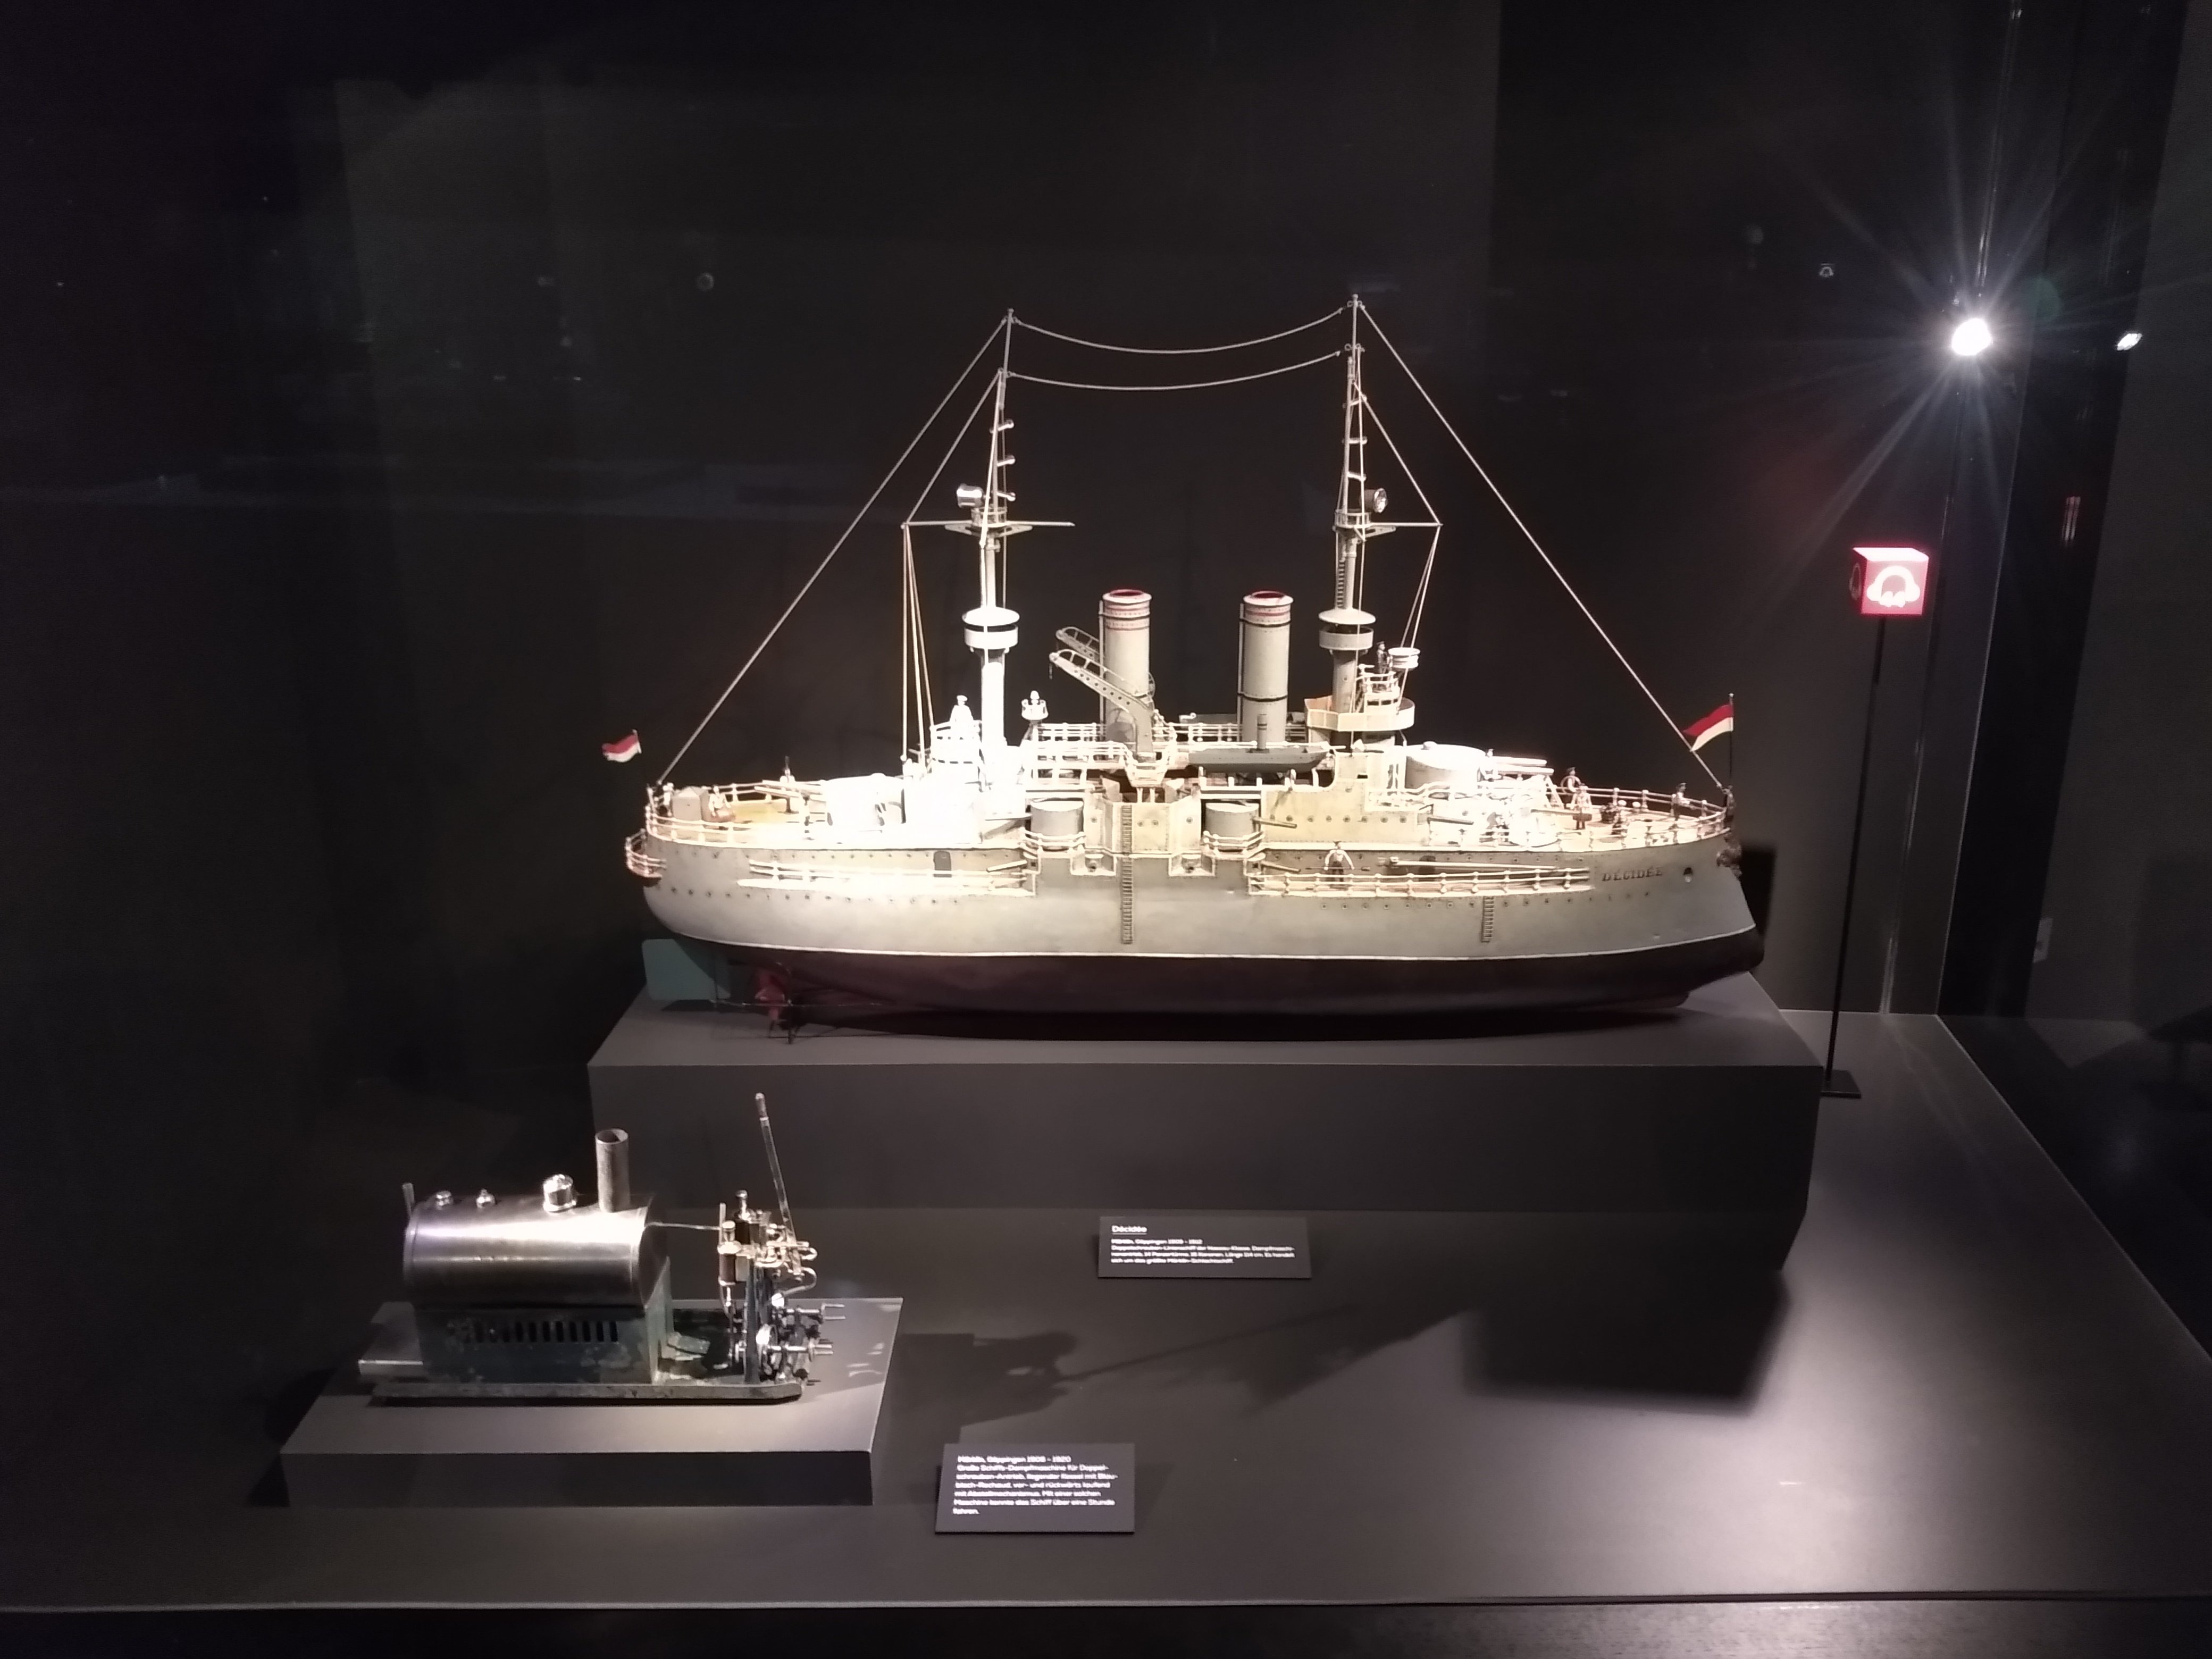
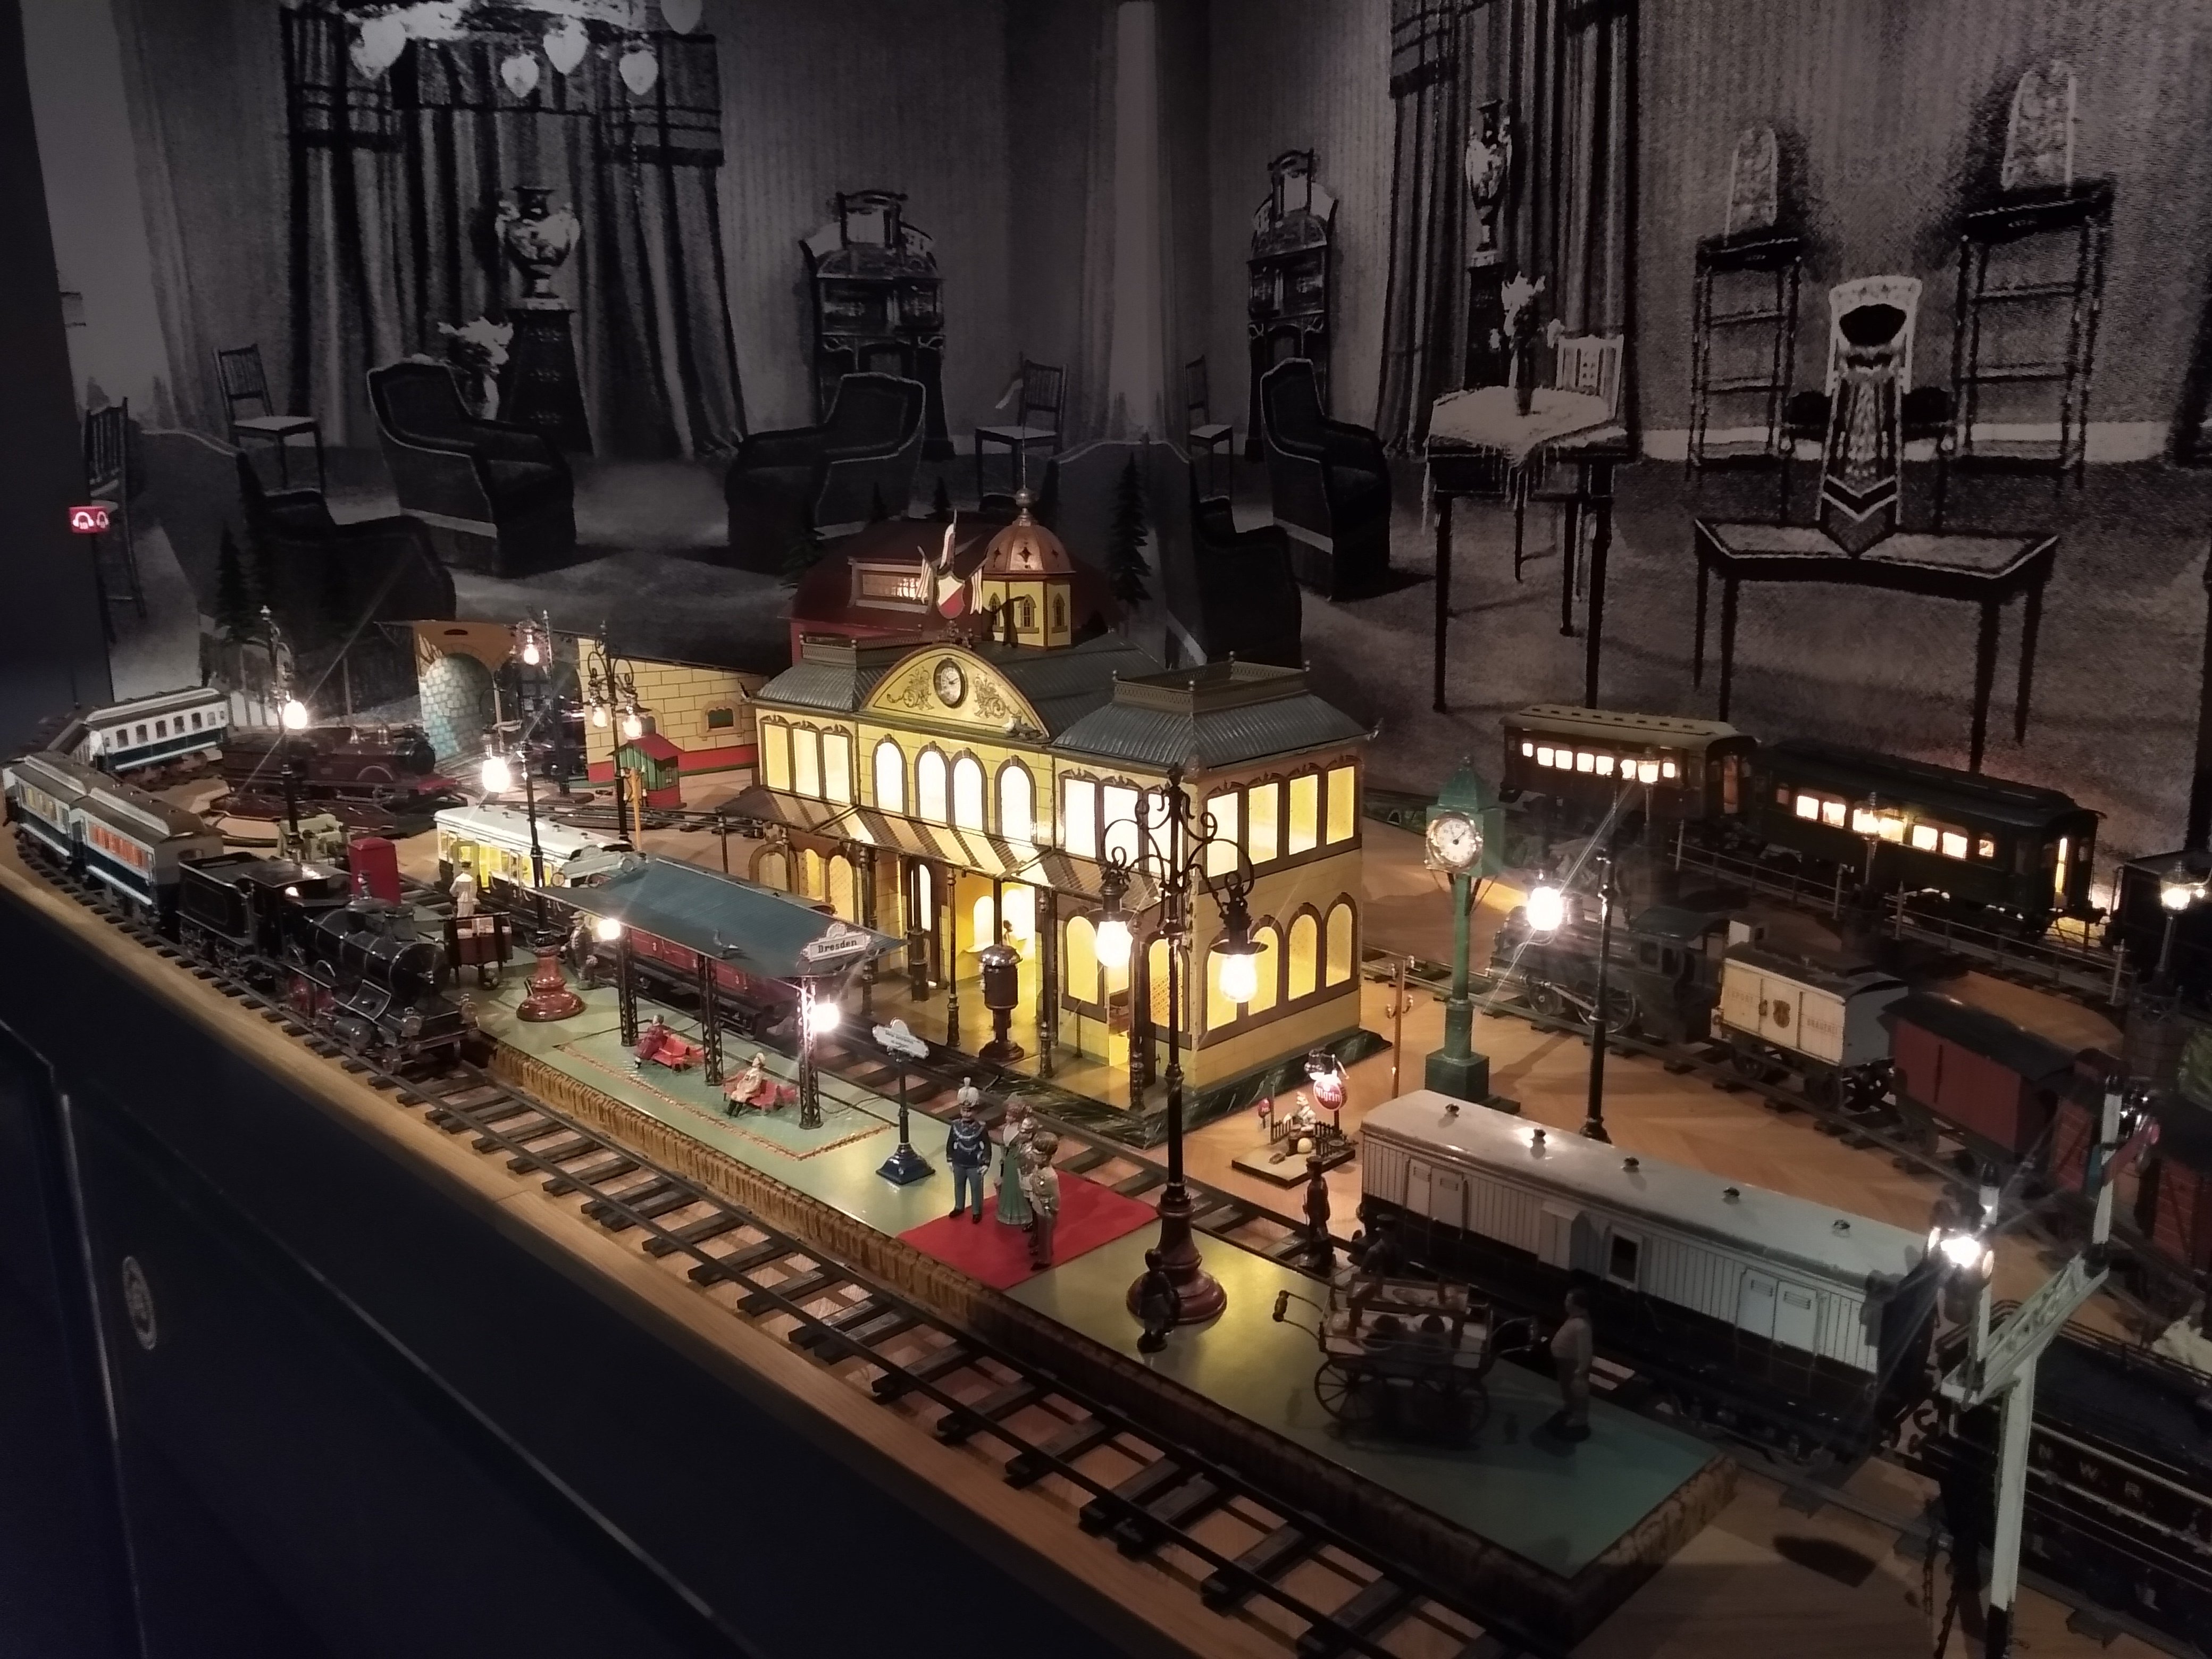
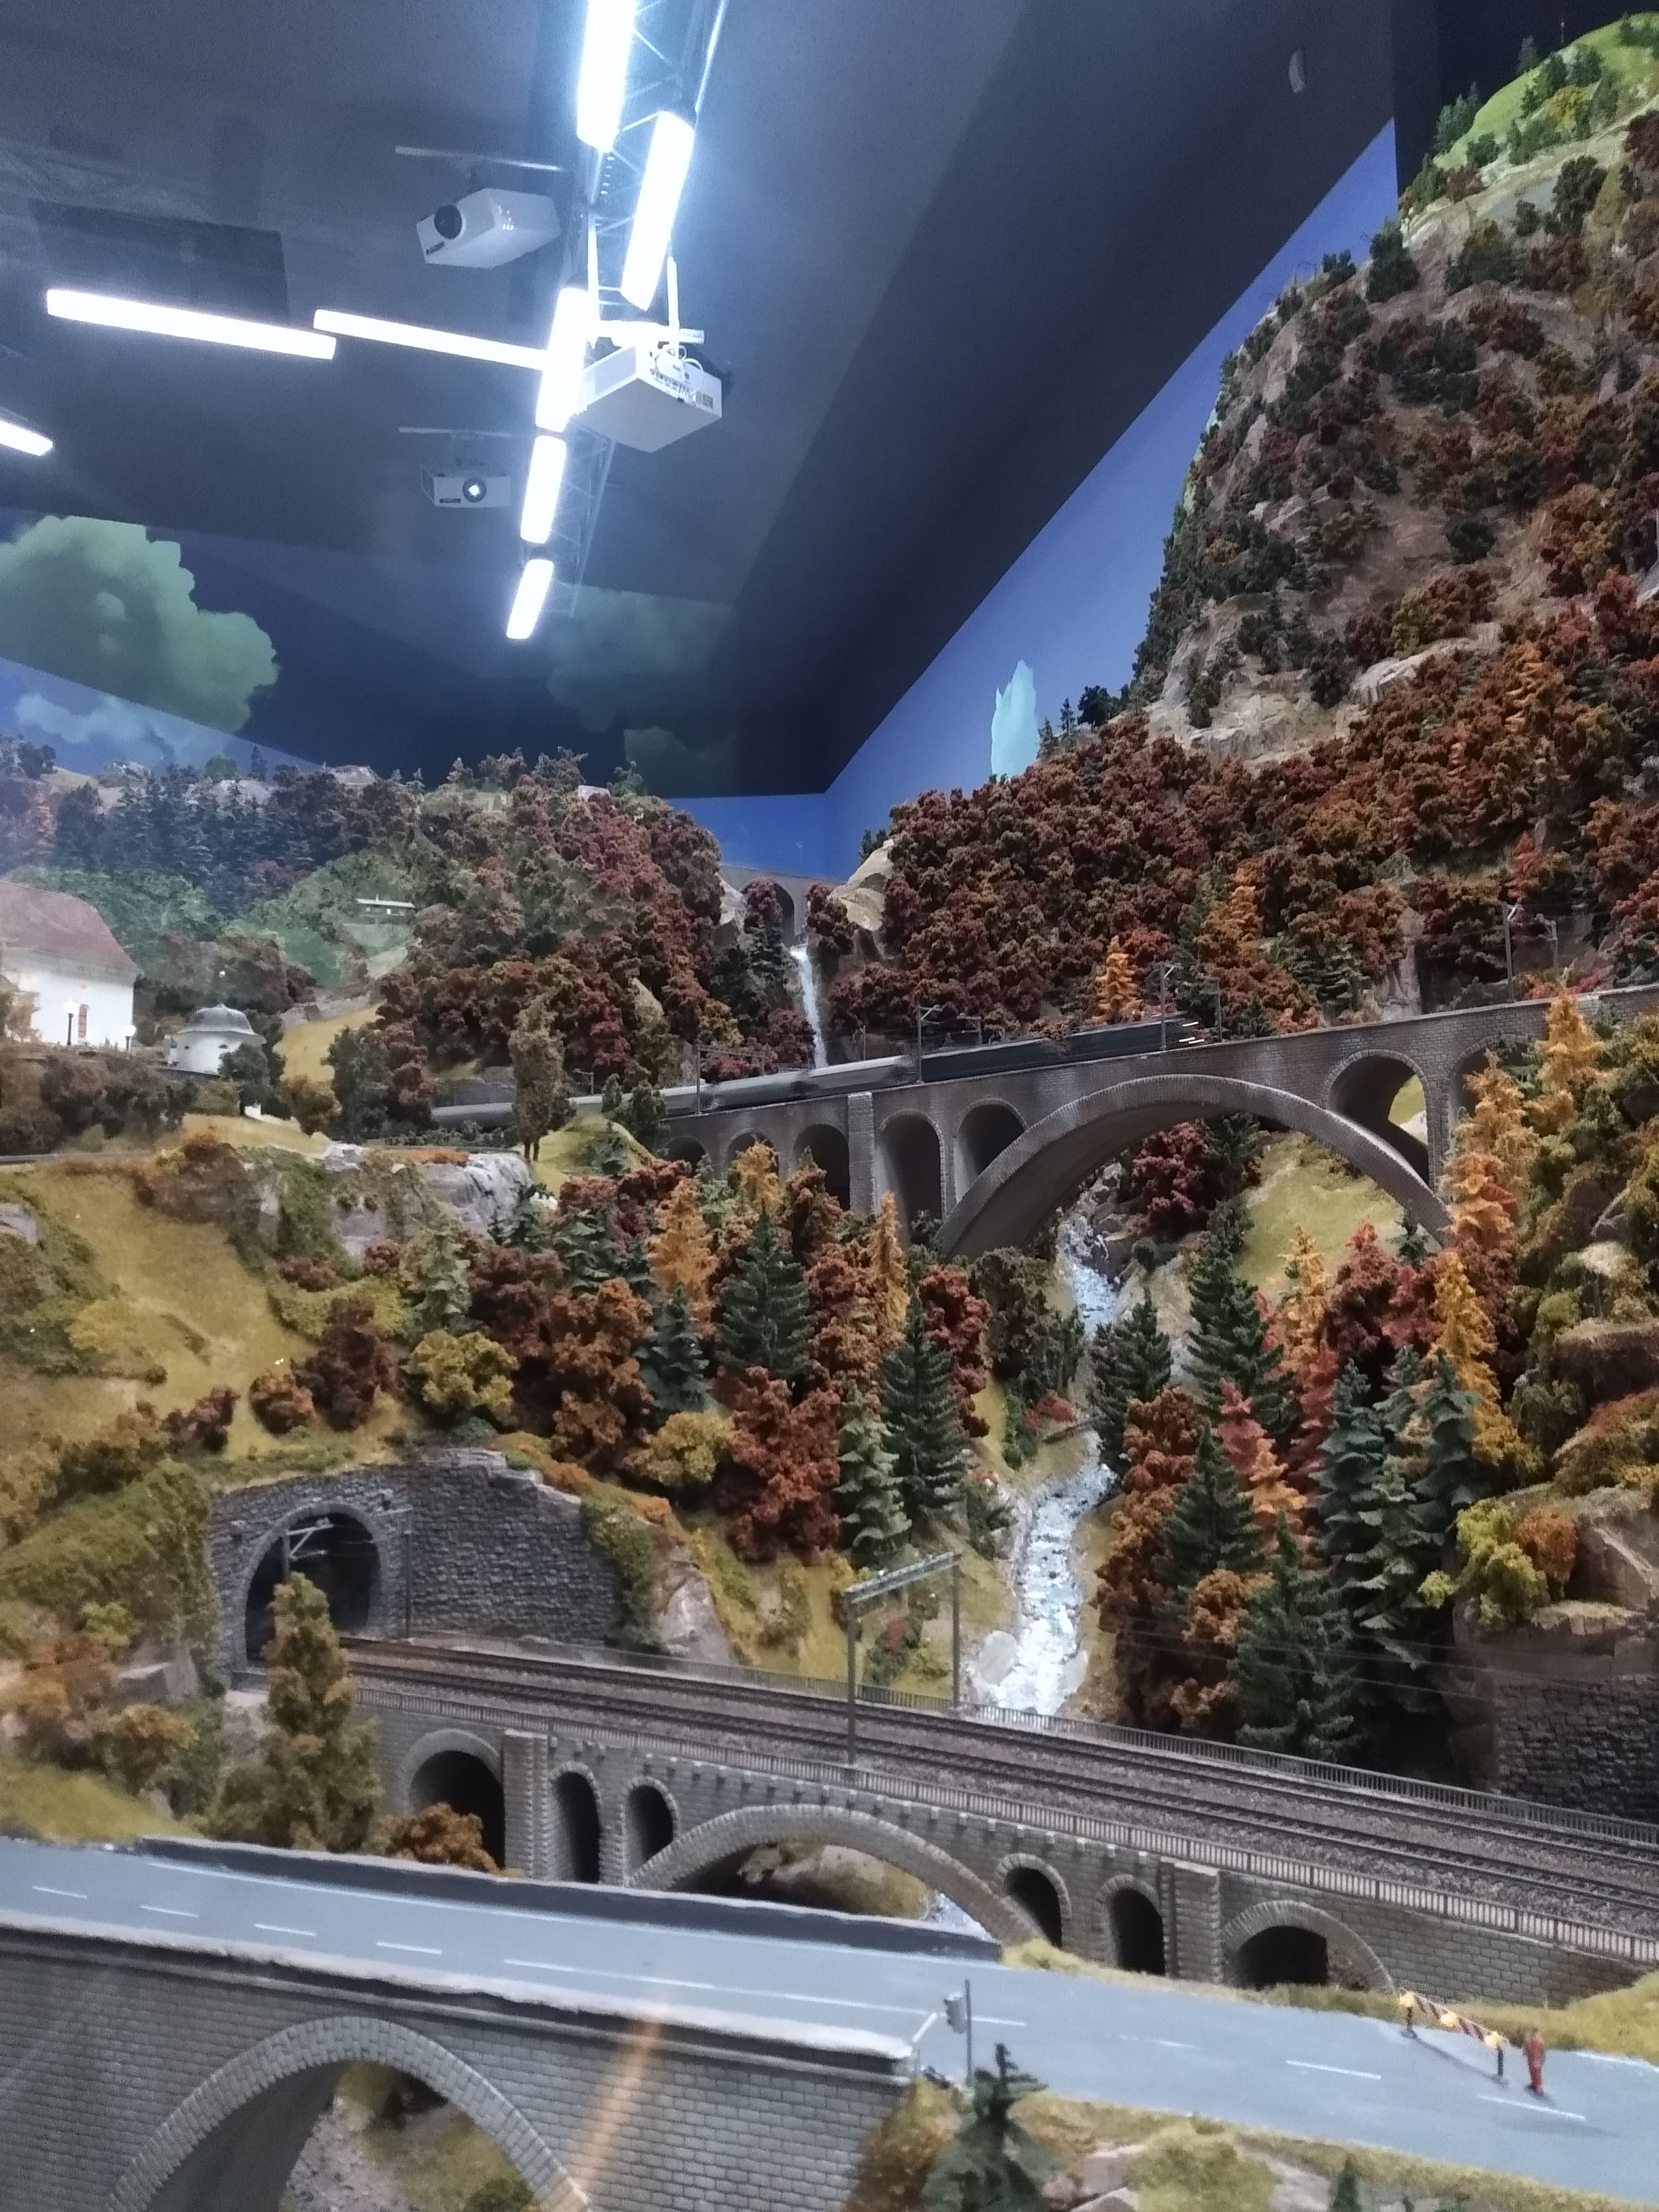
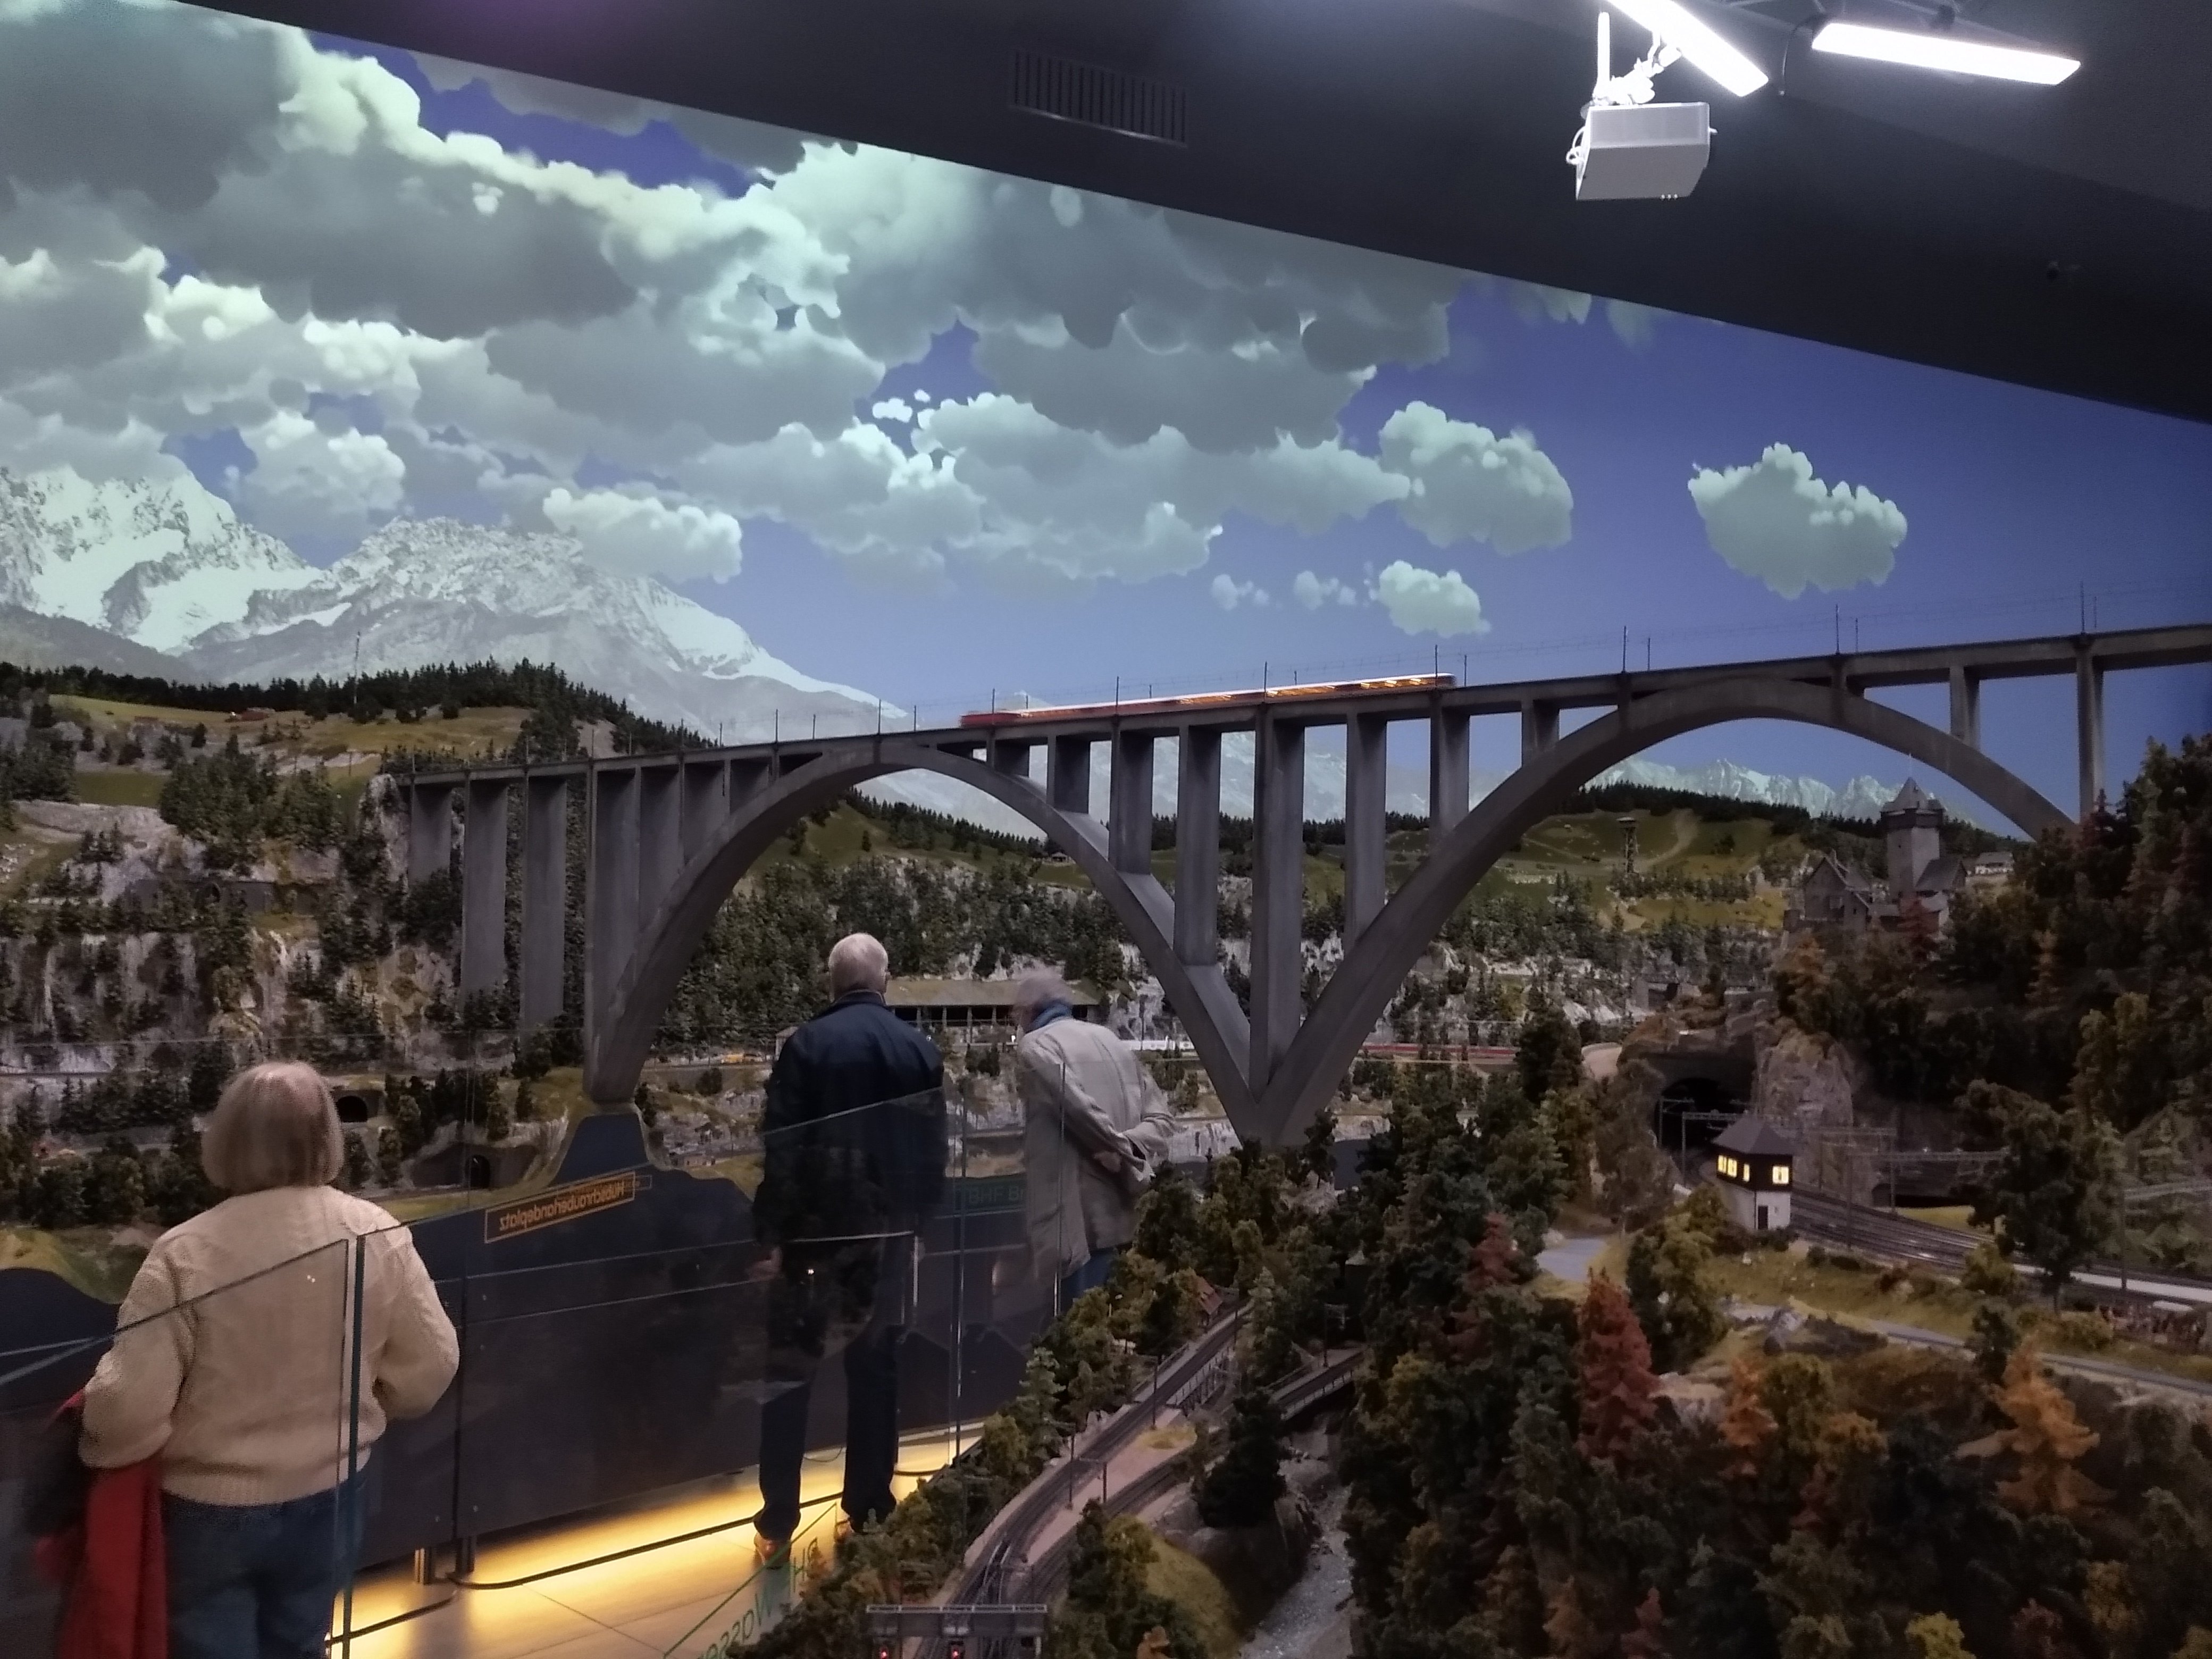
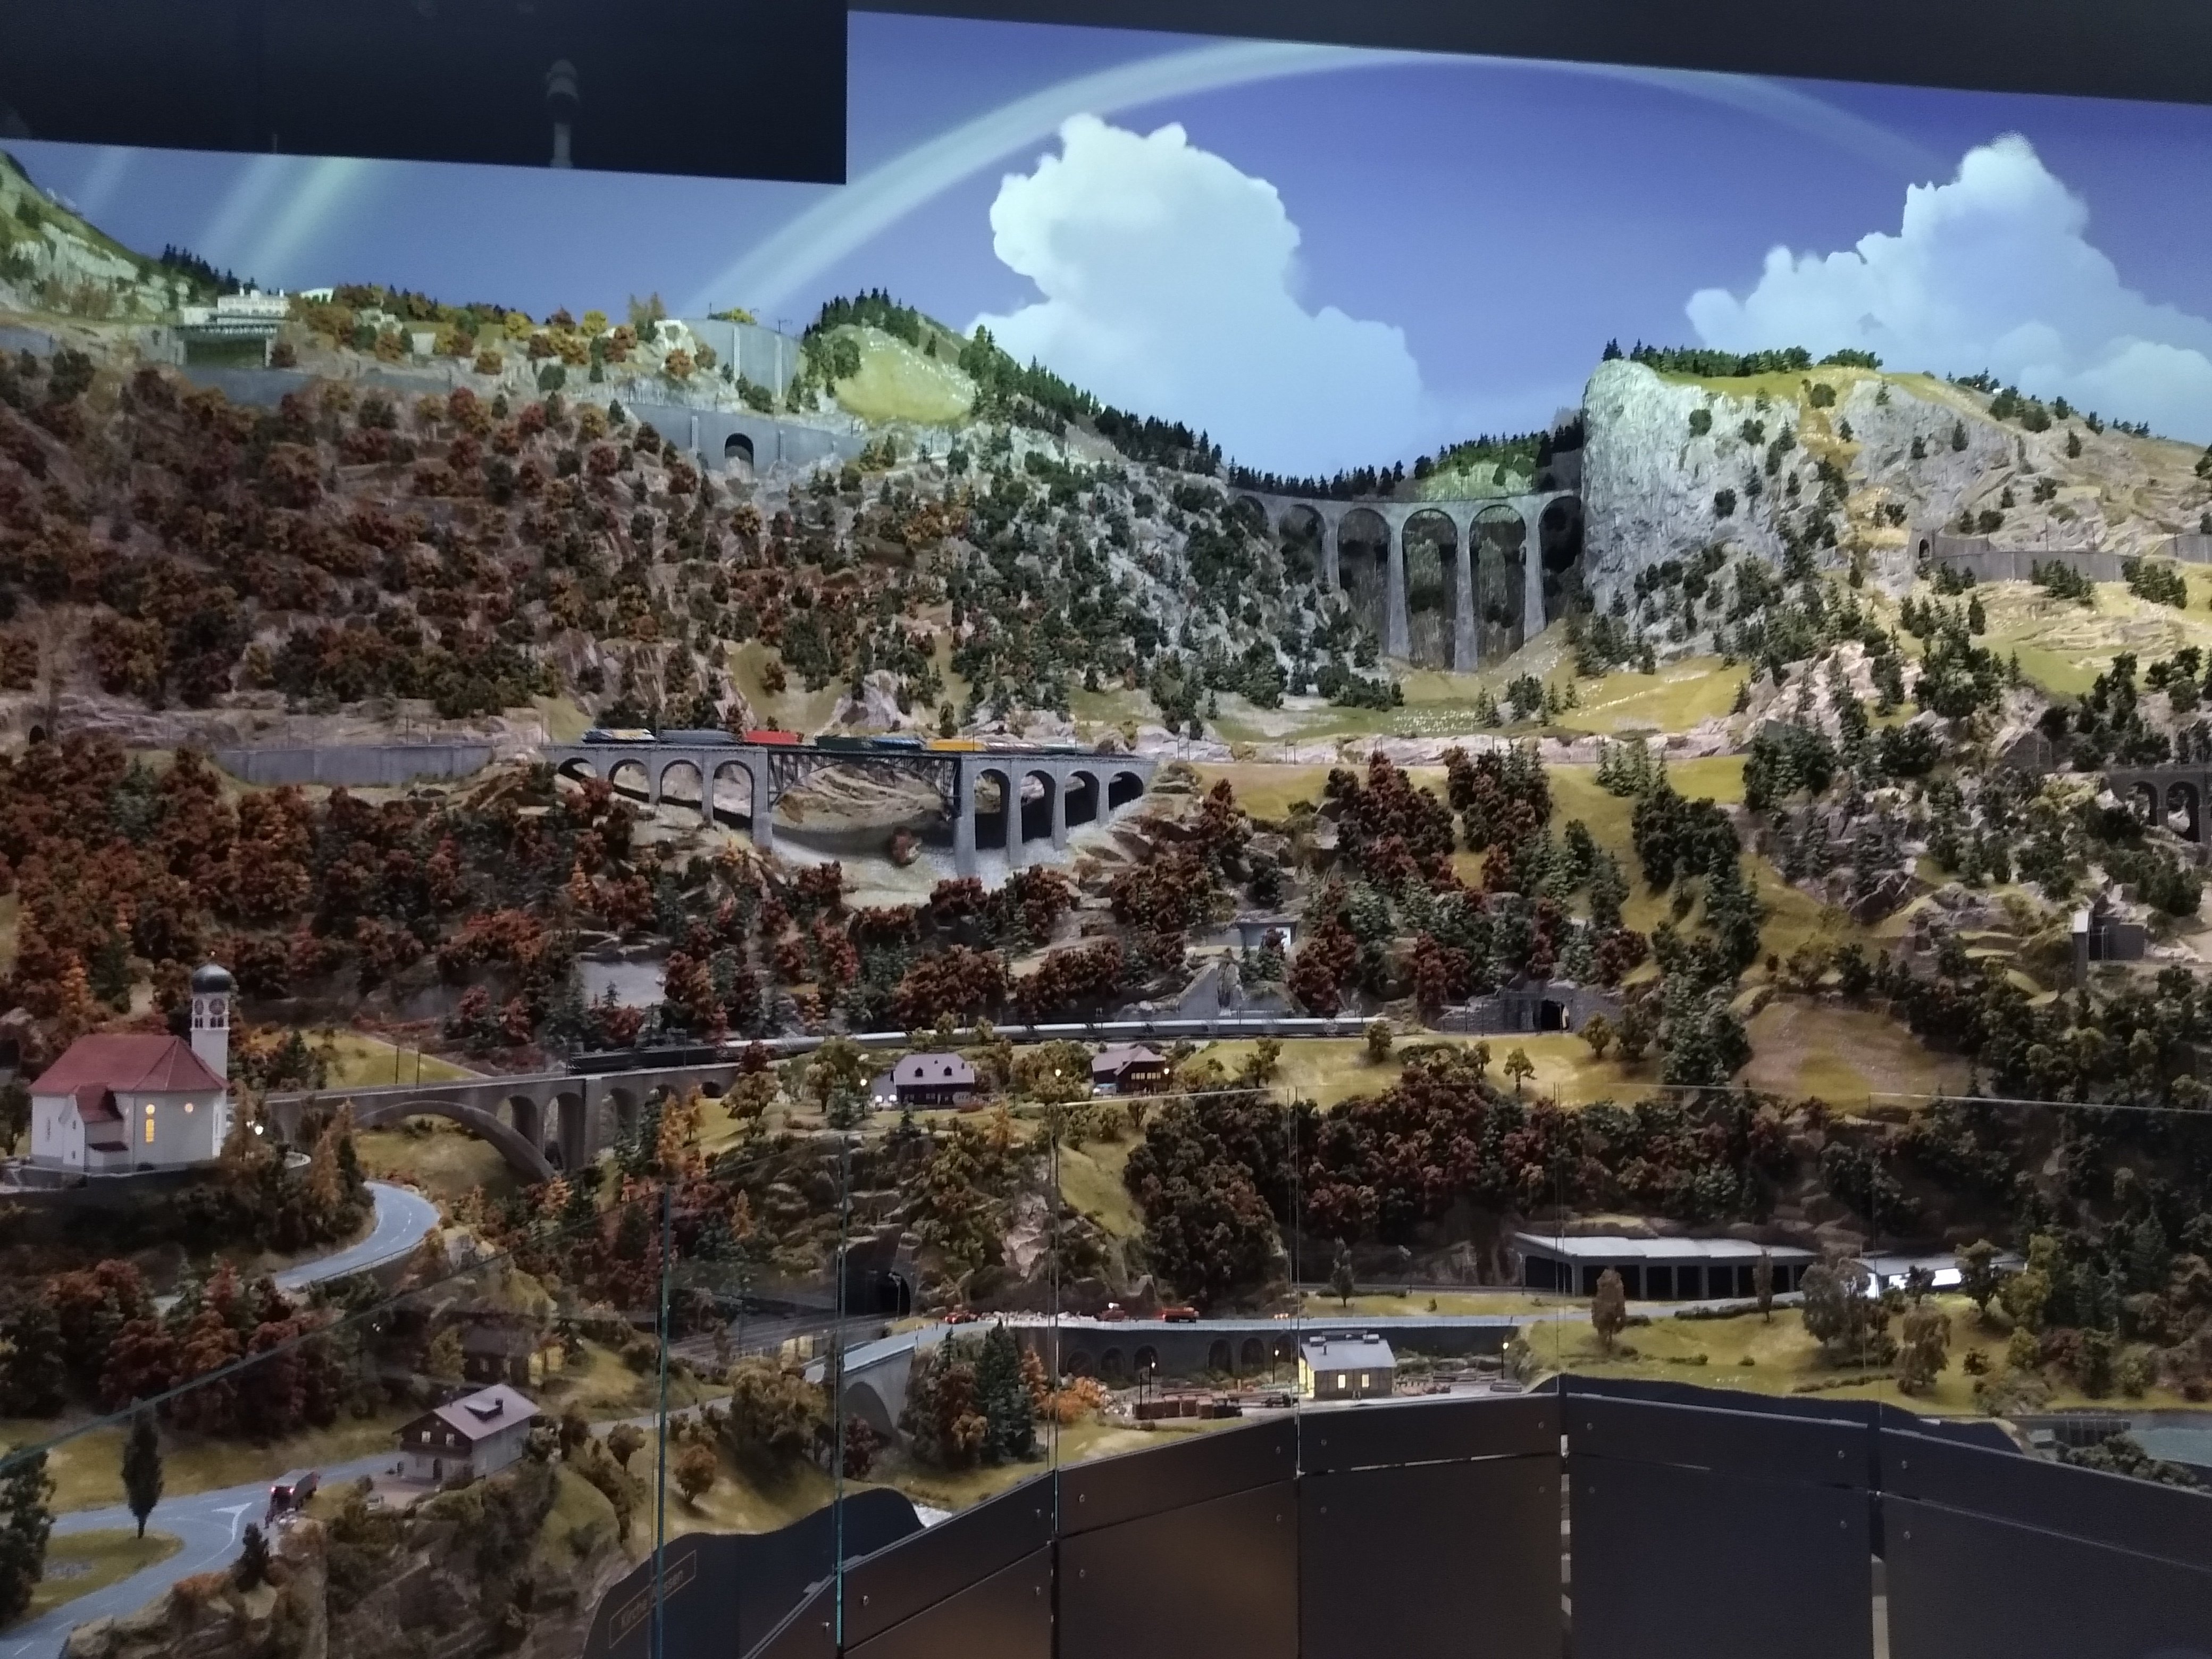
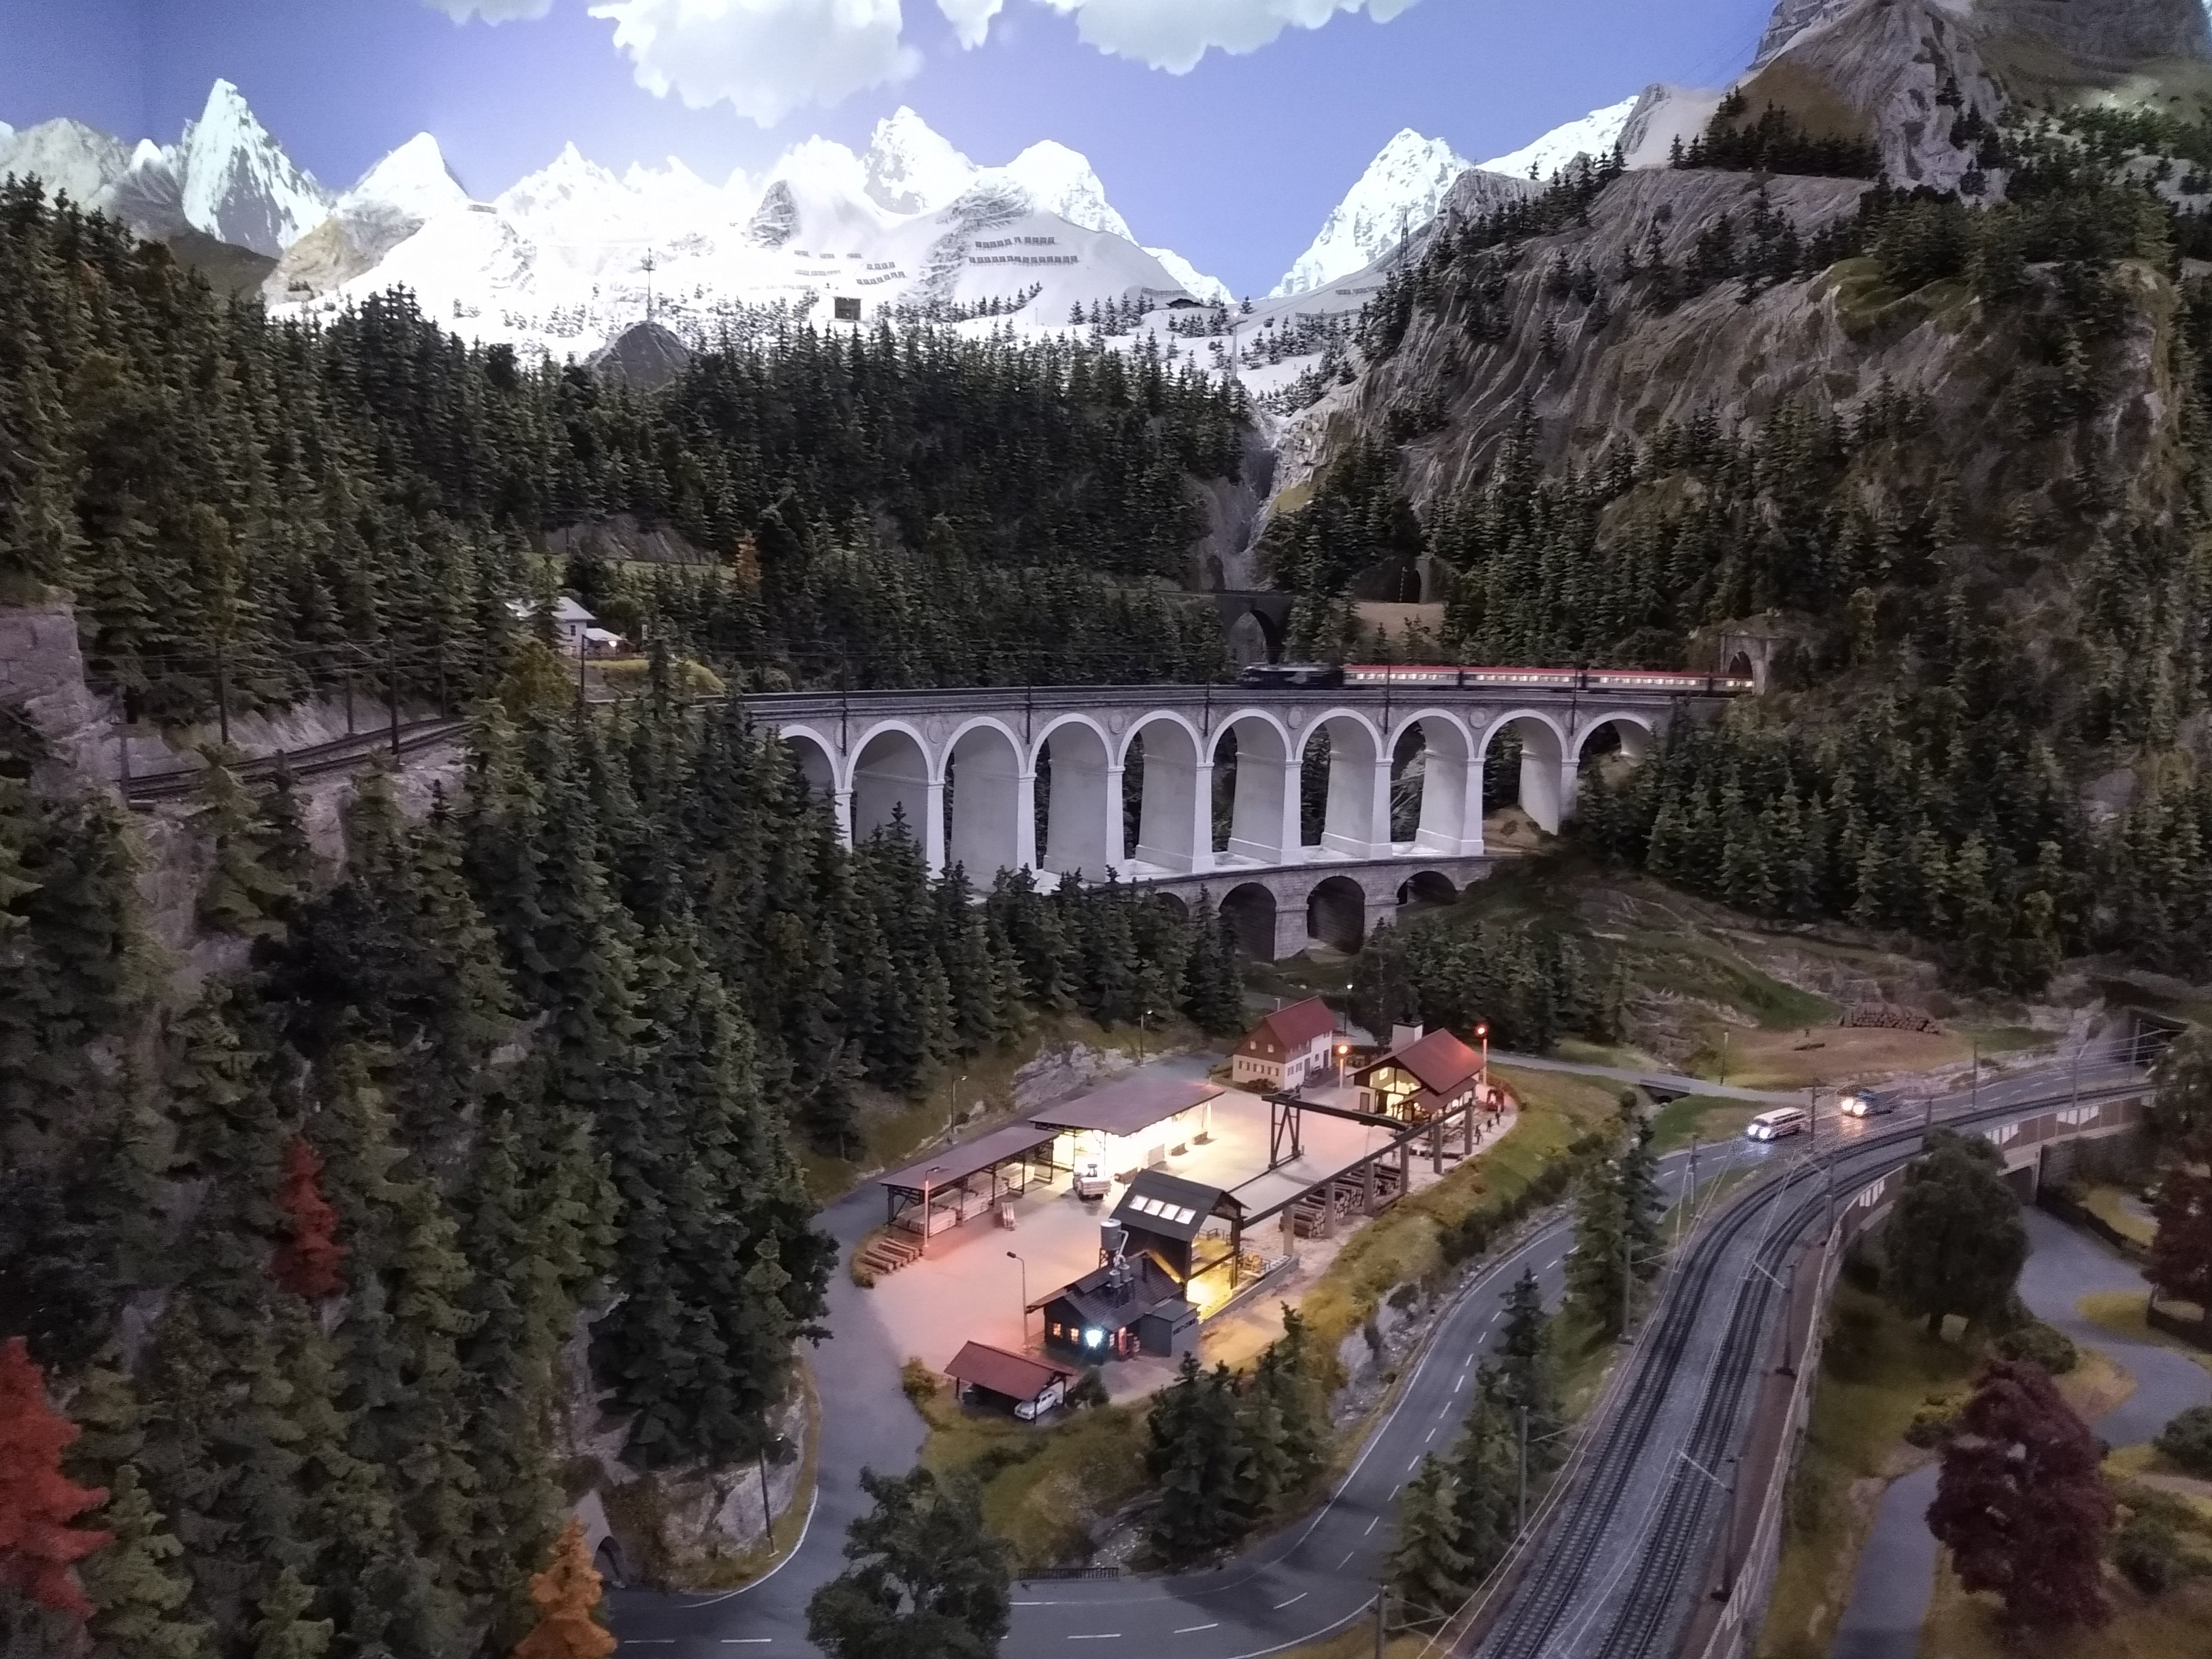
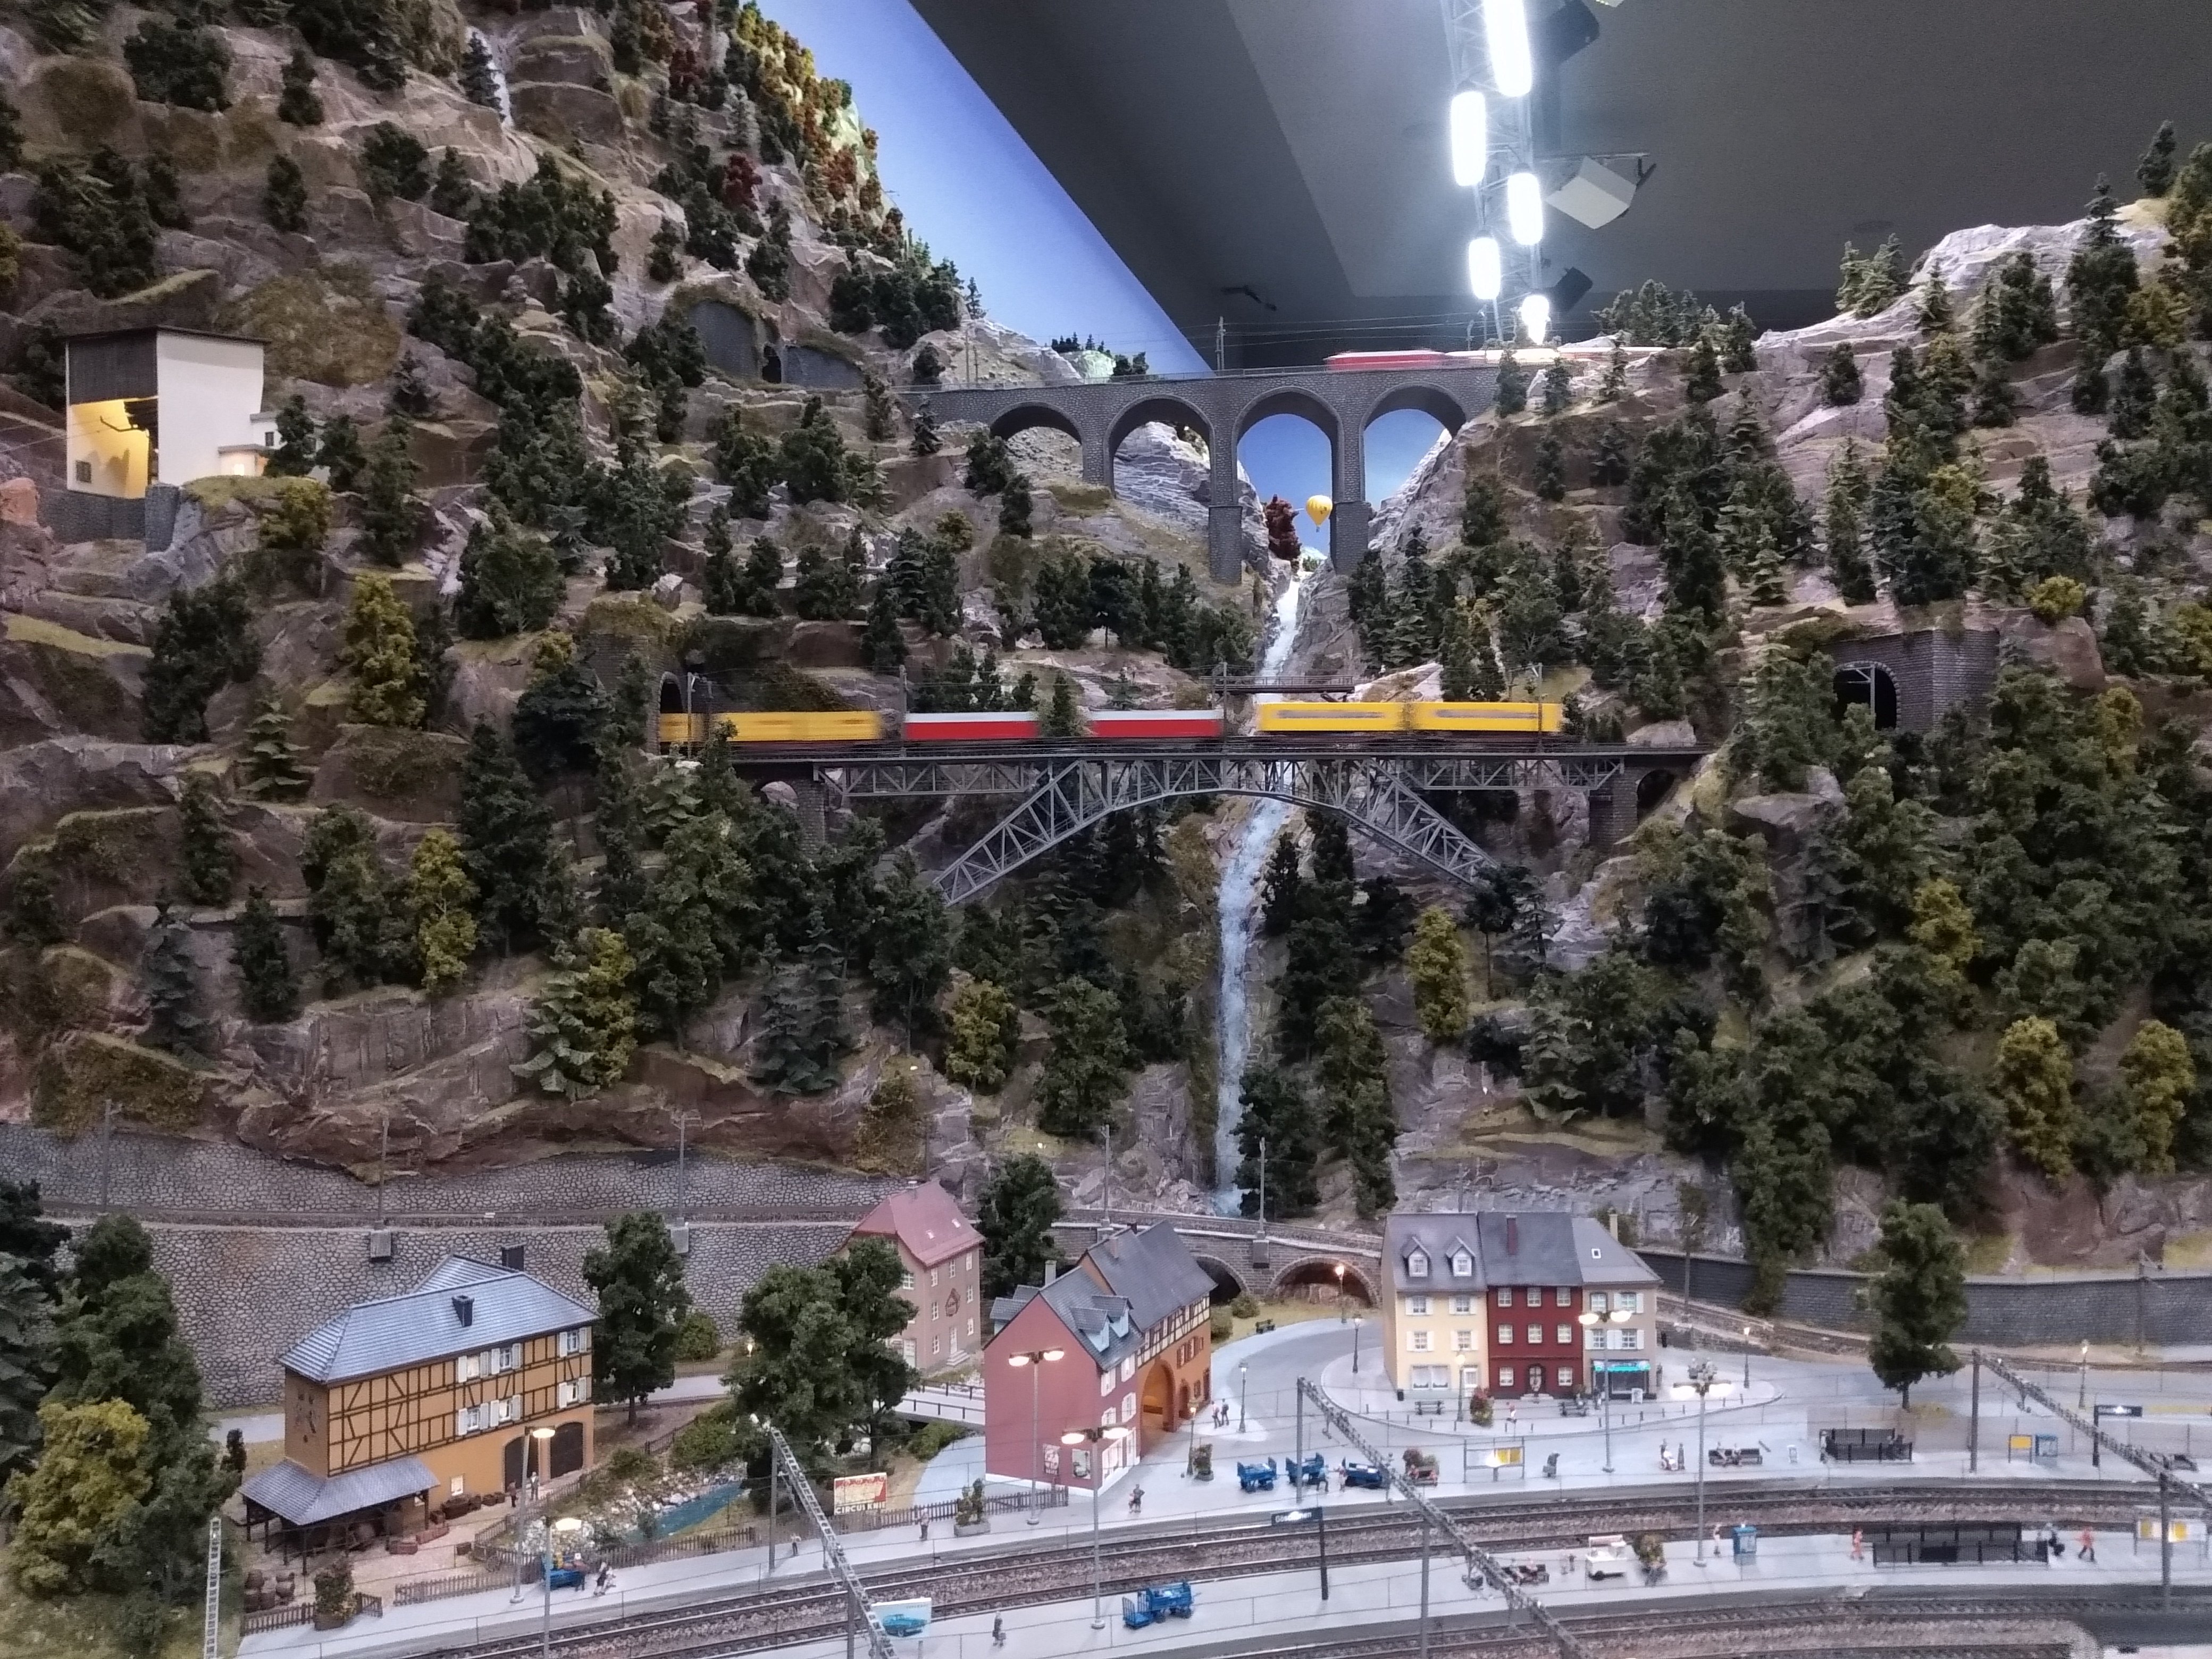
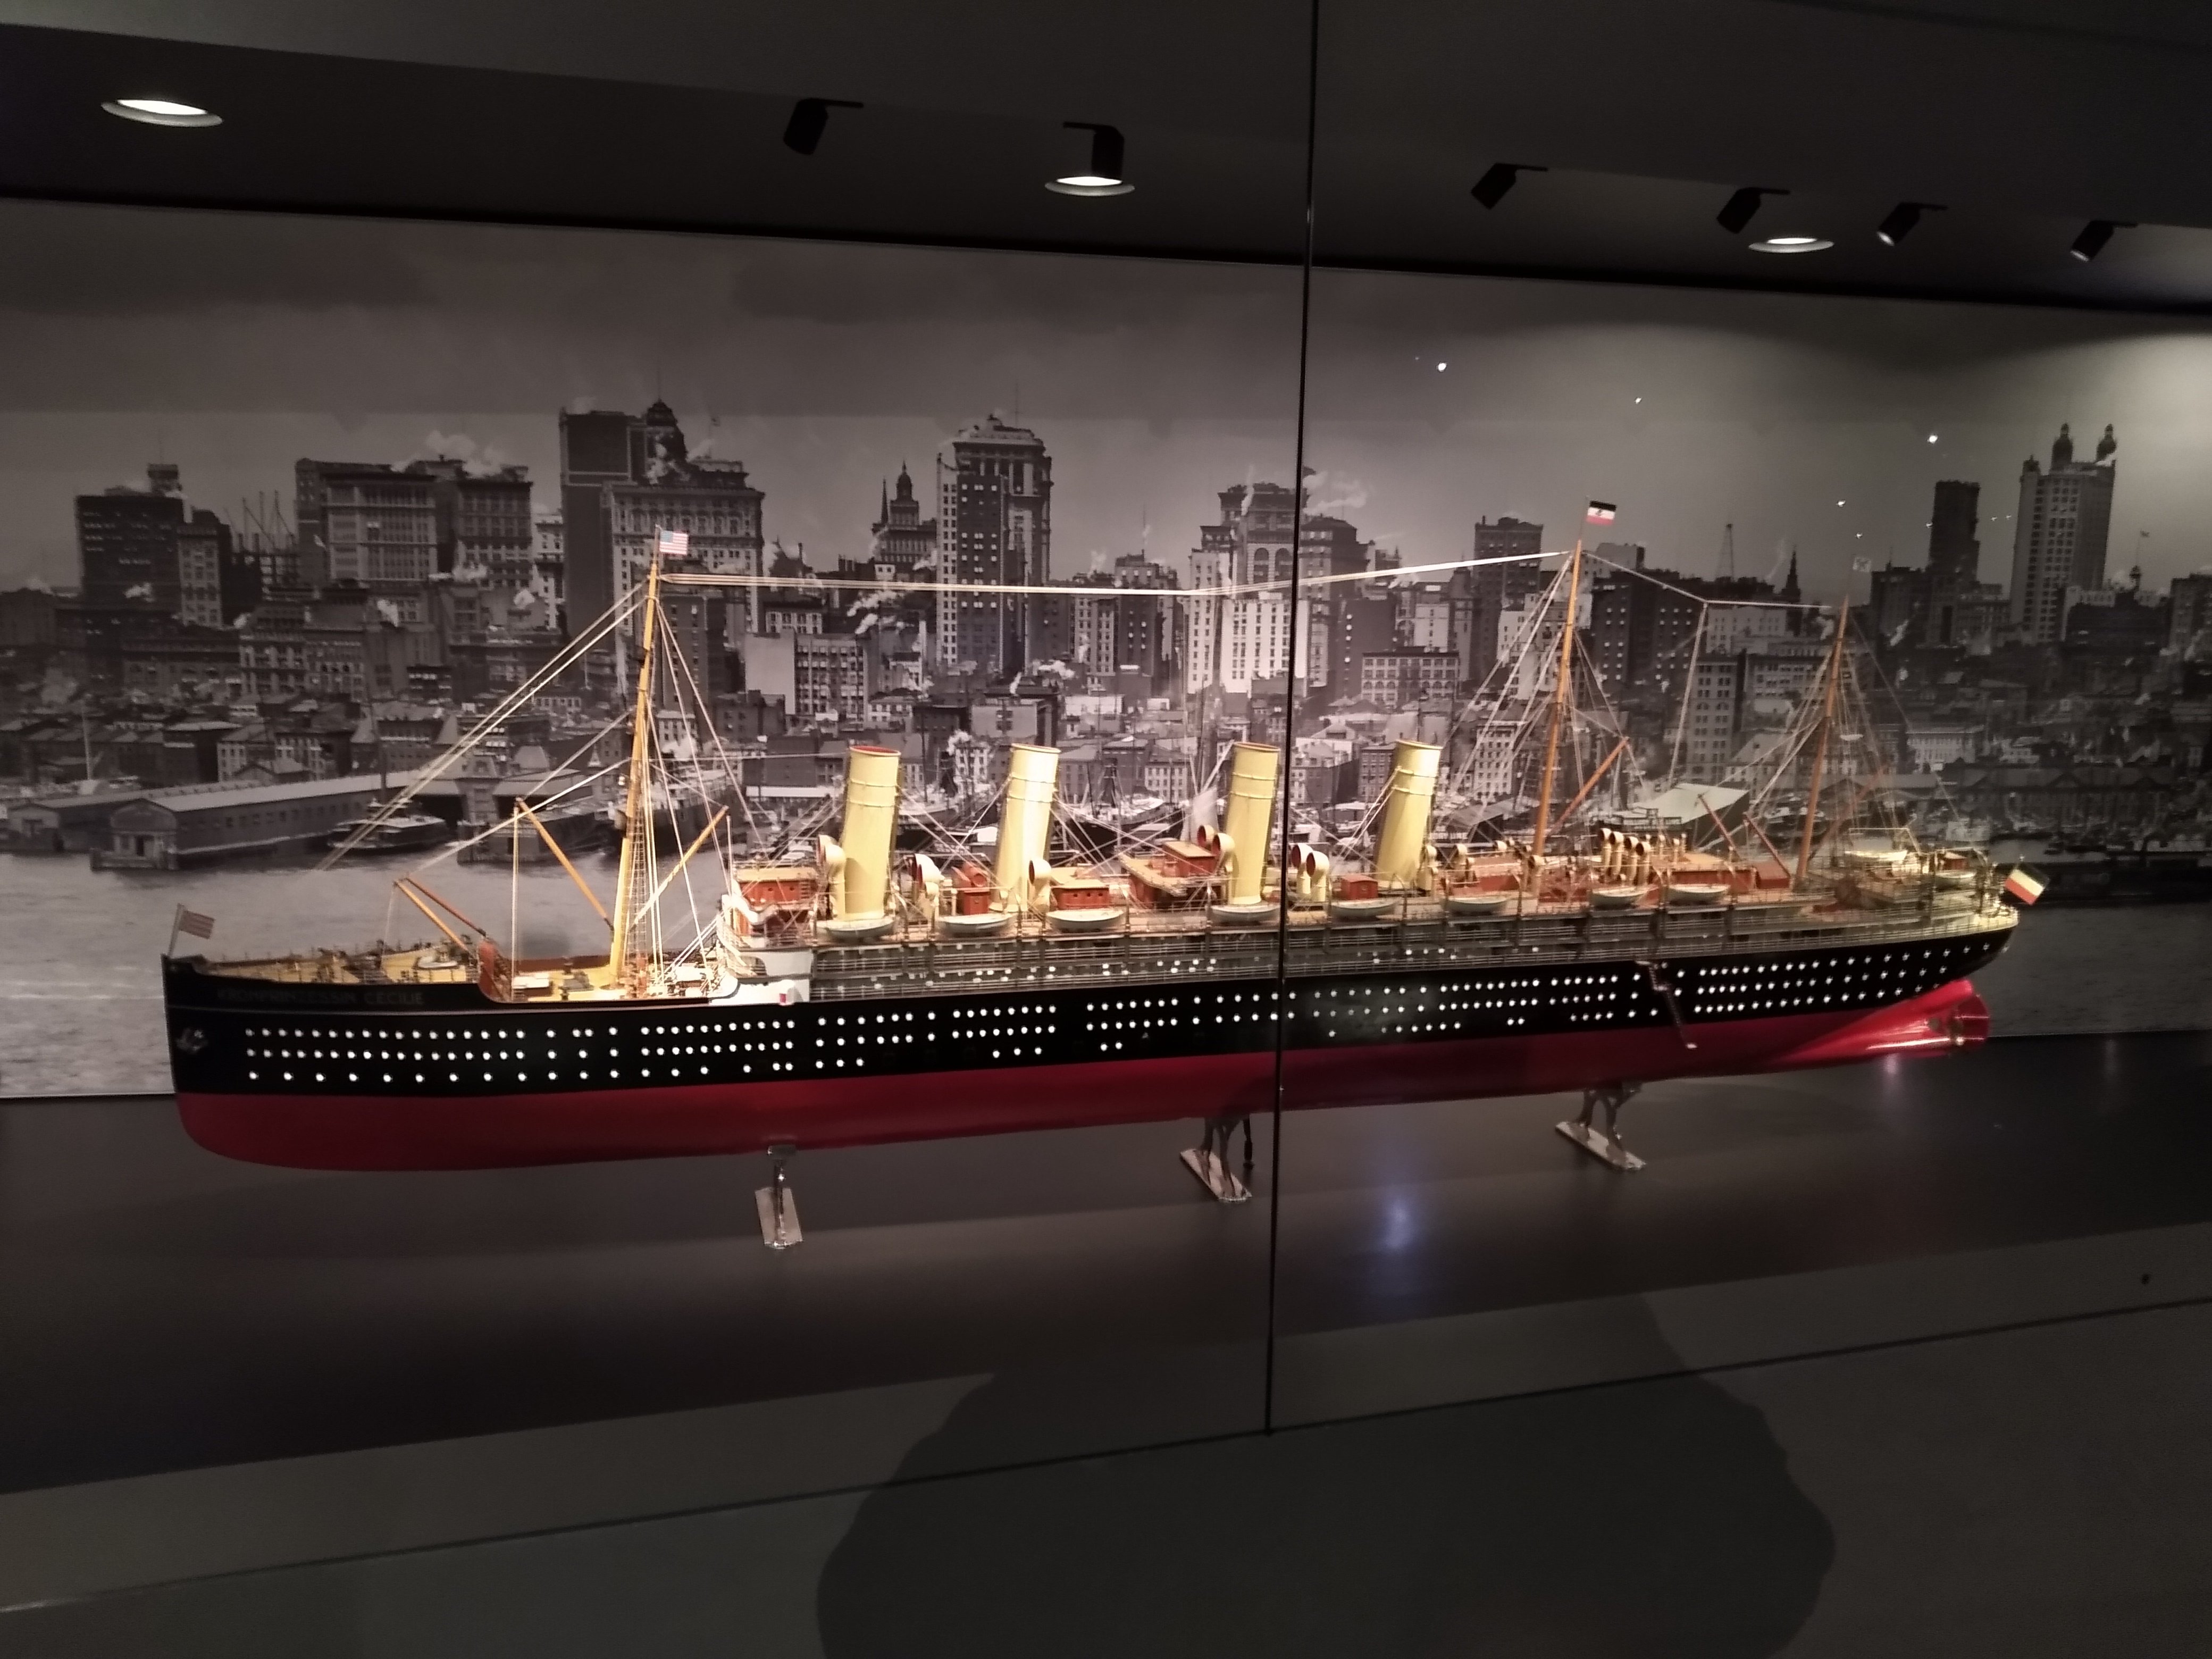
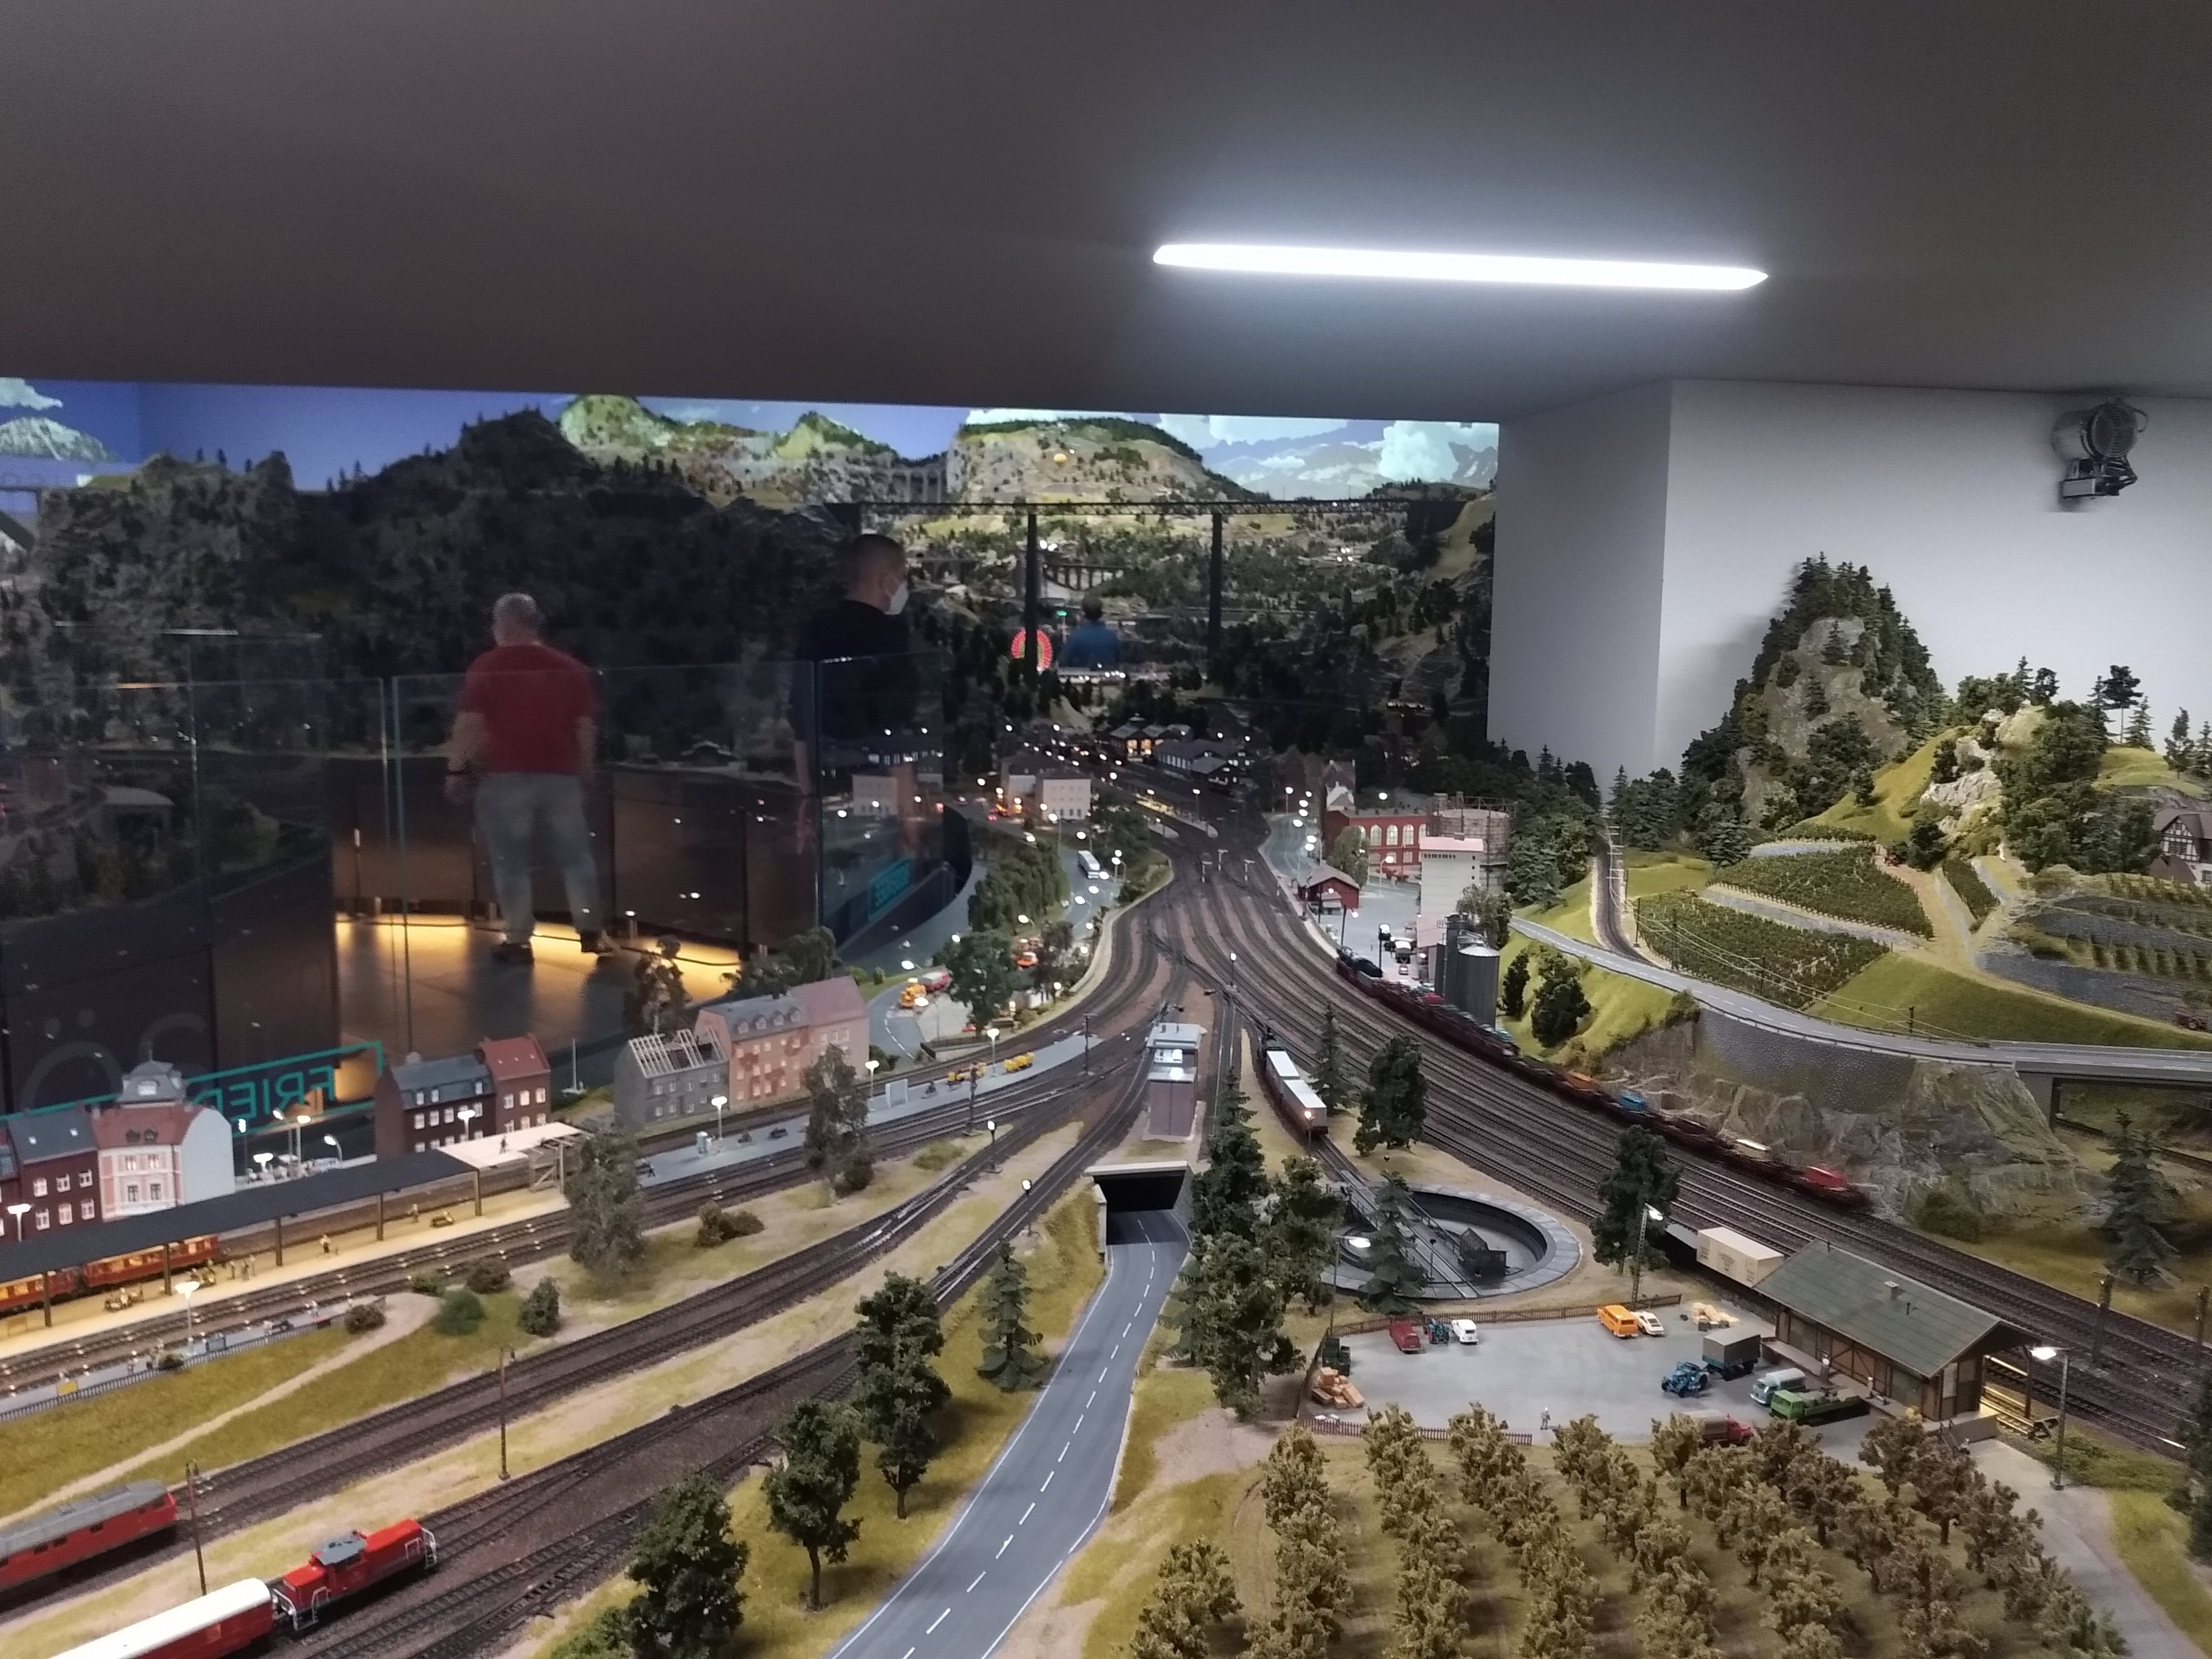
A few pics from the Hans Peter Porsche Traumwerk (Dream factory) which we made a stop at today. Hans Peter was a son of the famous Ferdinand Porsche. He amassed a large private collection of toys and models, some of which is now on public display. The exhibit is housed in a purpose built facility and includes a large h0 layout based on Southern Germany, Switzerland and Austria. Fleischman ship: Märklin ship (real steam engine pictured also): Some tin plate stuff: h0 display:
-
The Spitzensignal is missing if it's Prater. It looks like there's a single lamp on the lower left as viewed from the footplate. I'm looking at this on my phone though.
-
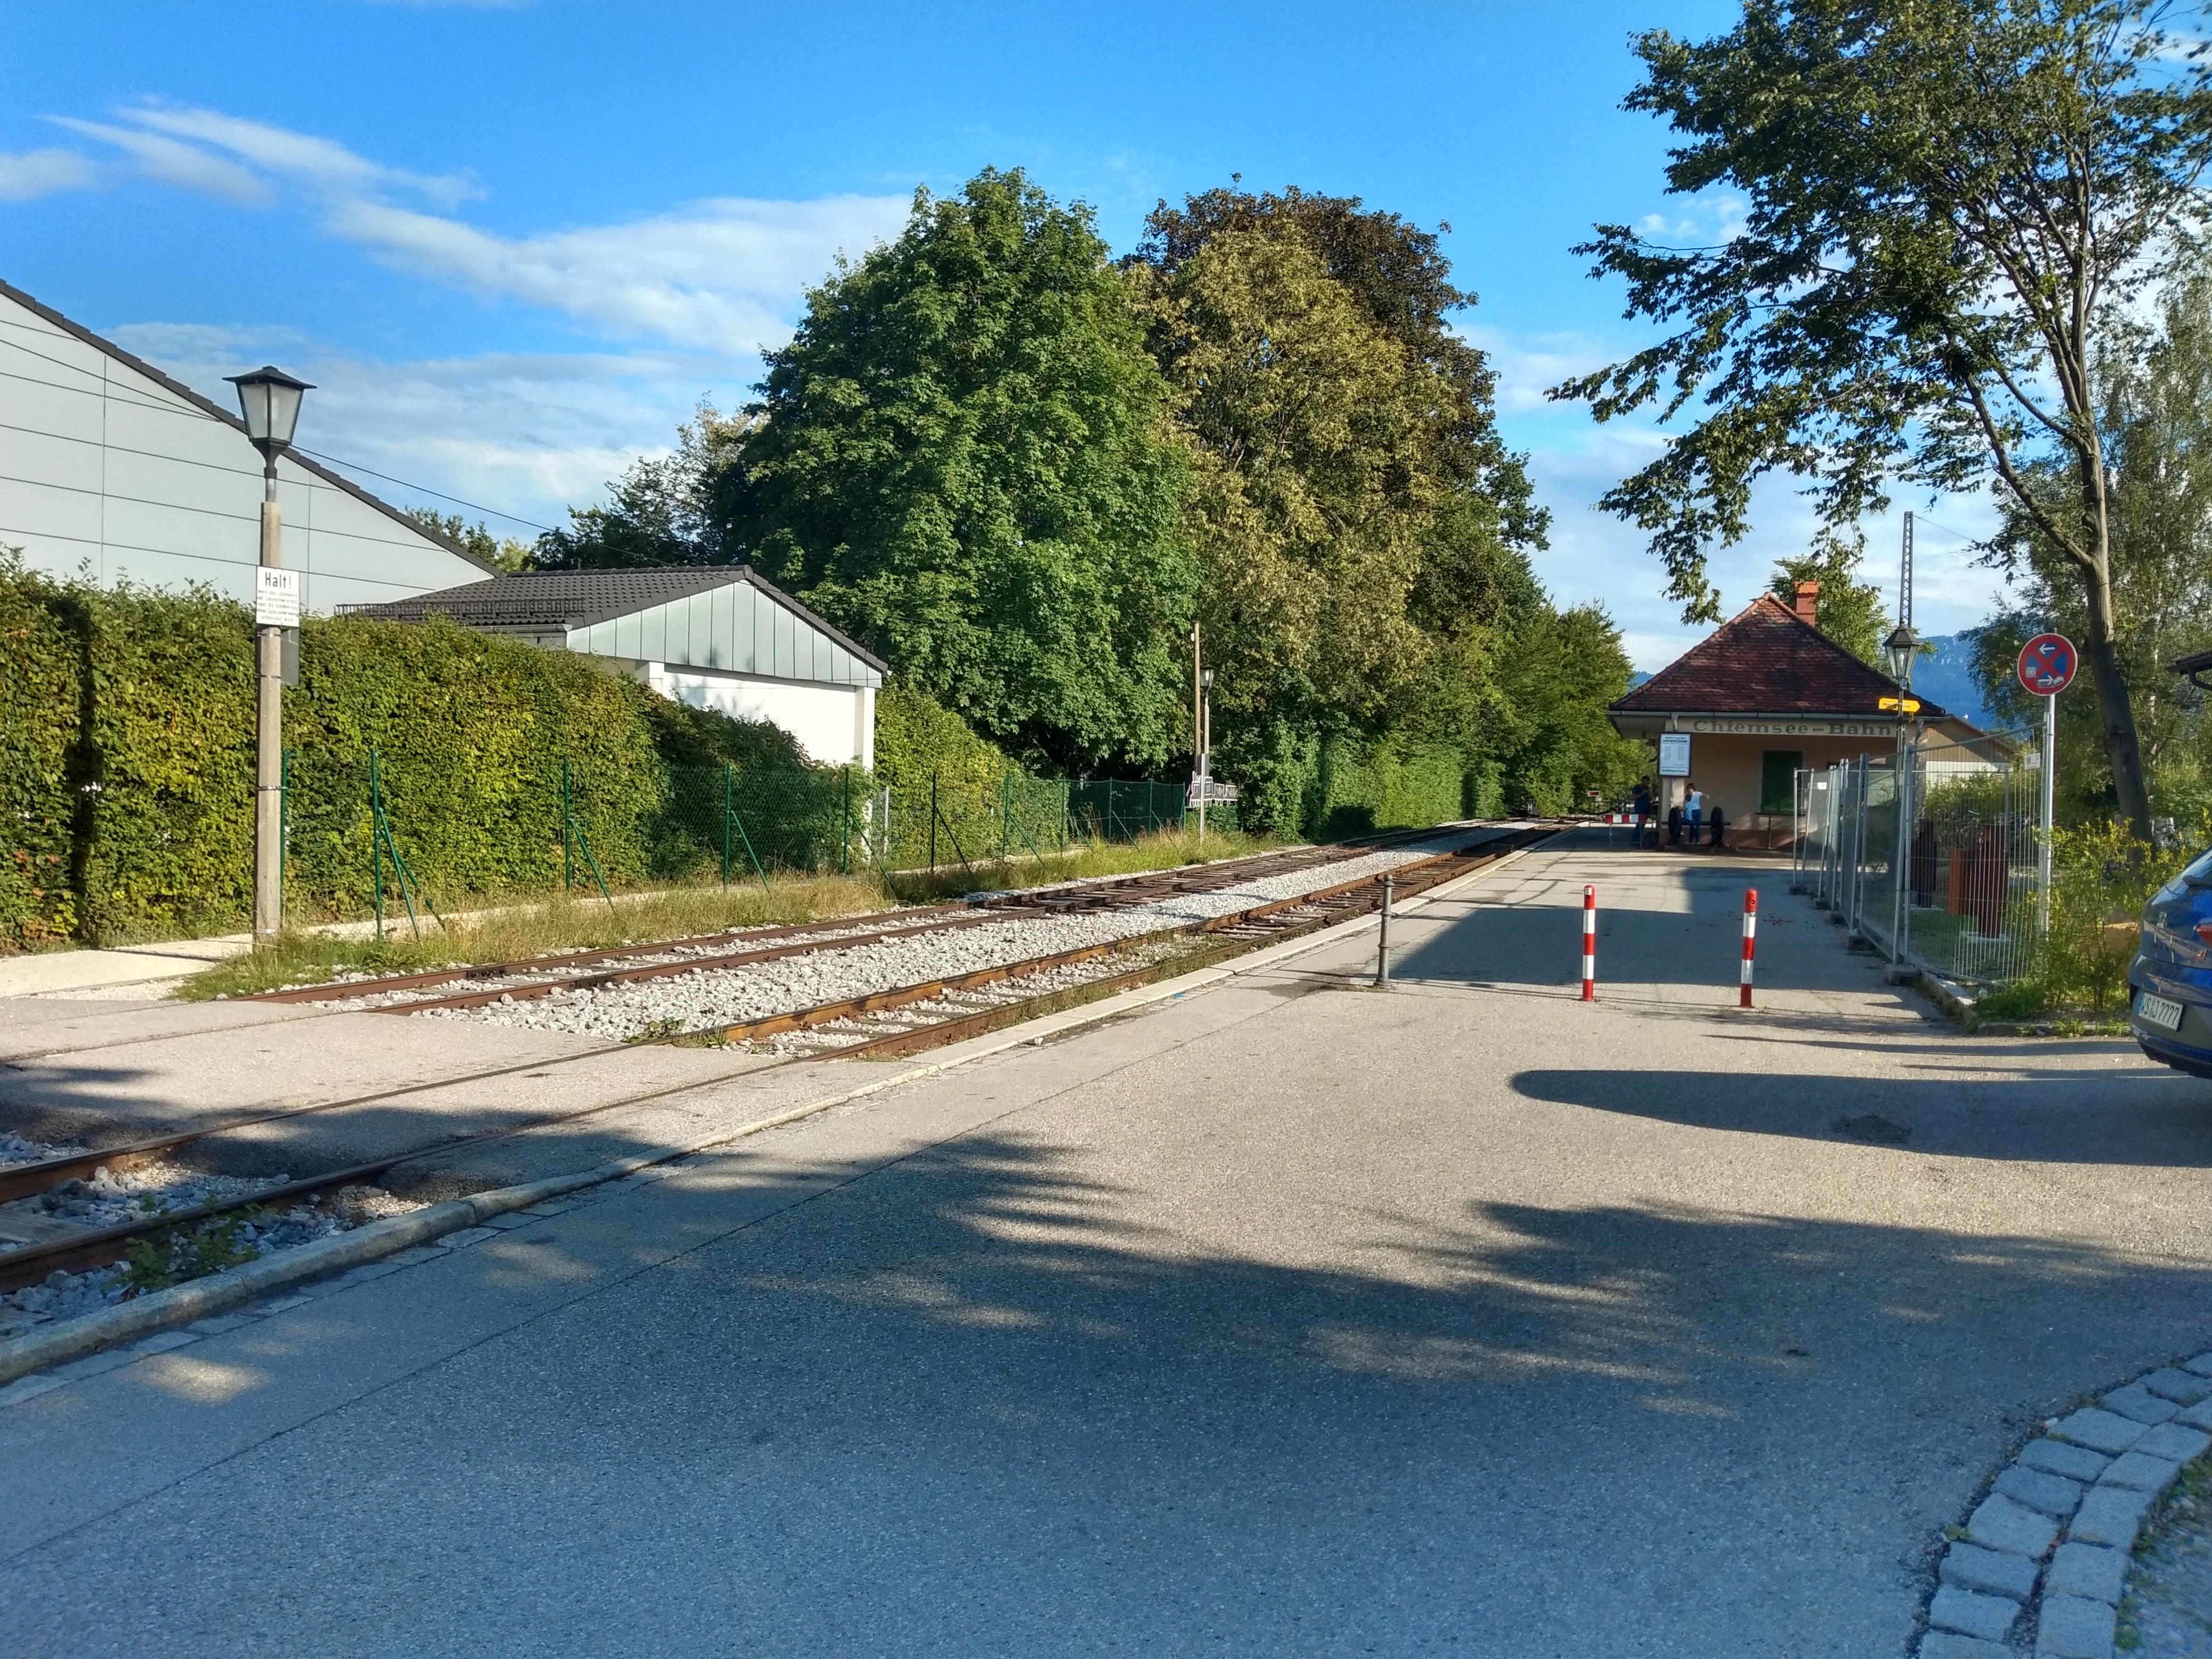
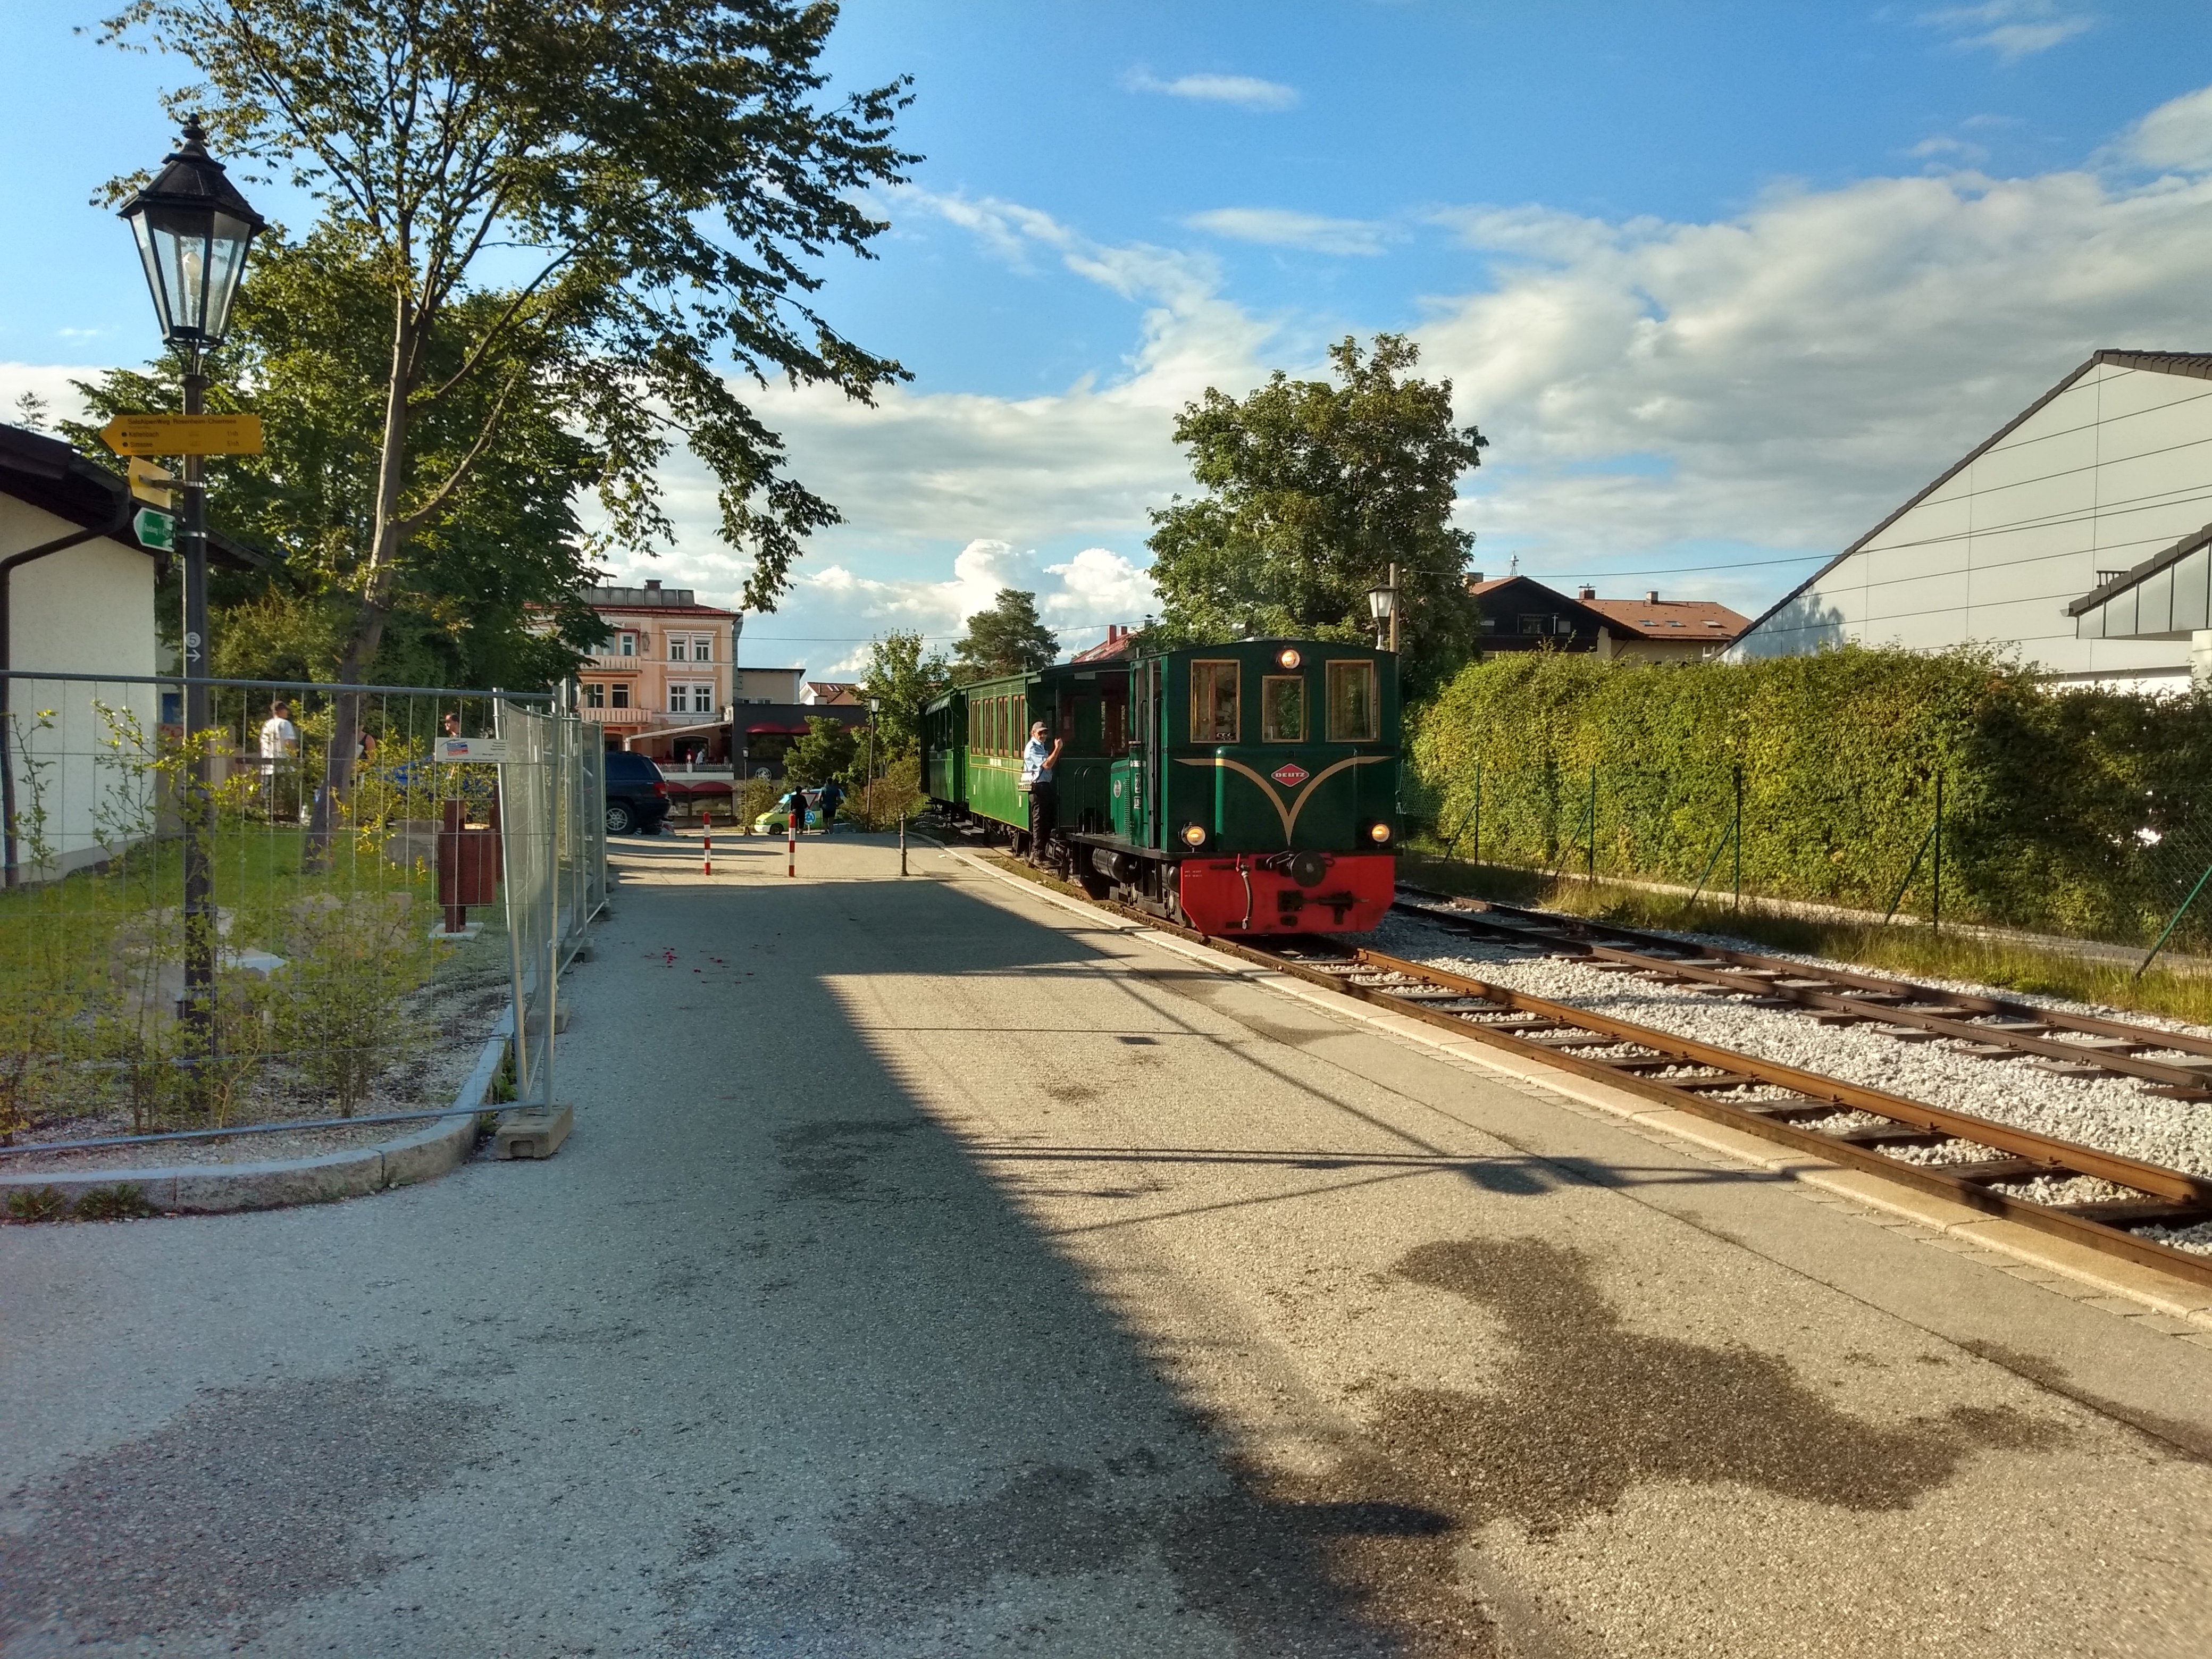
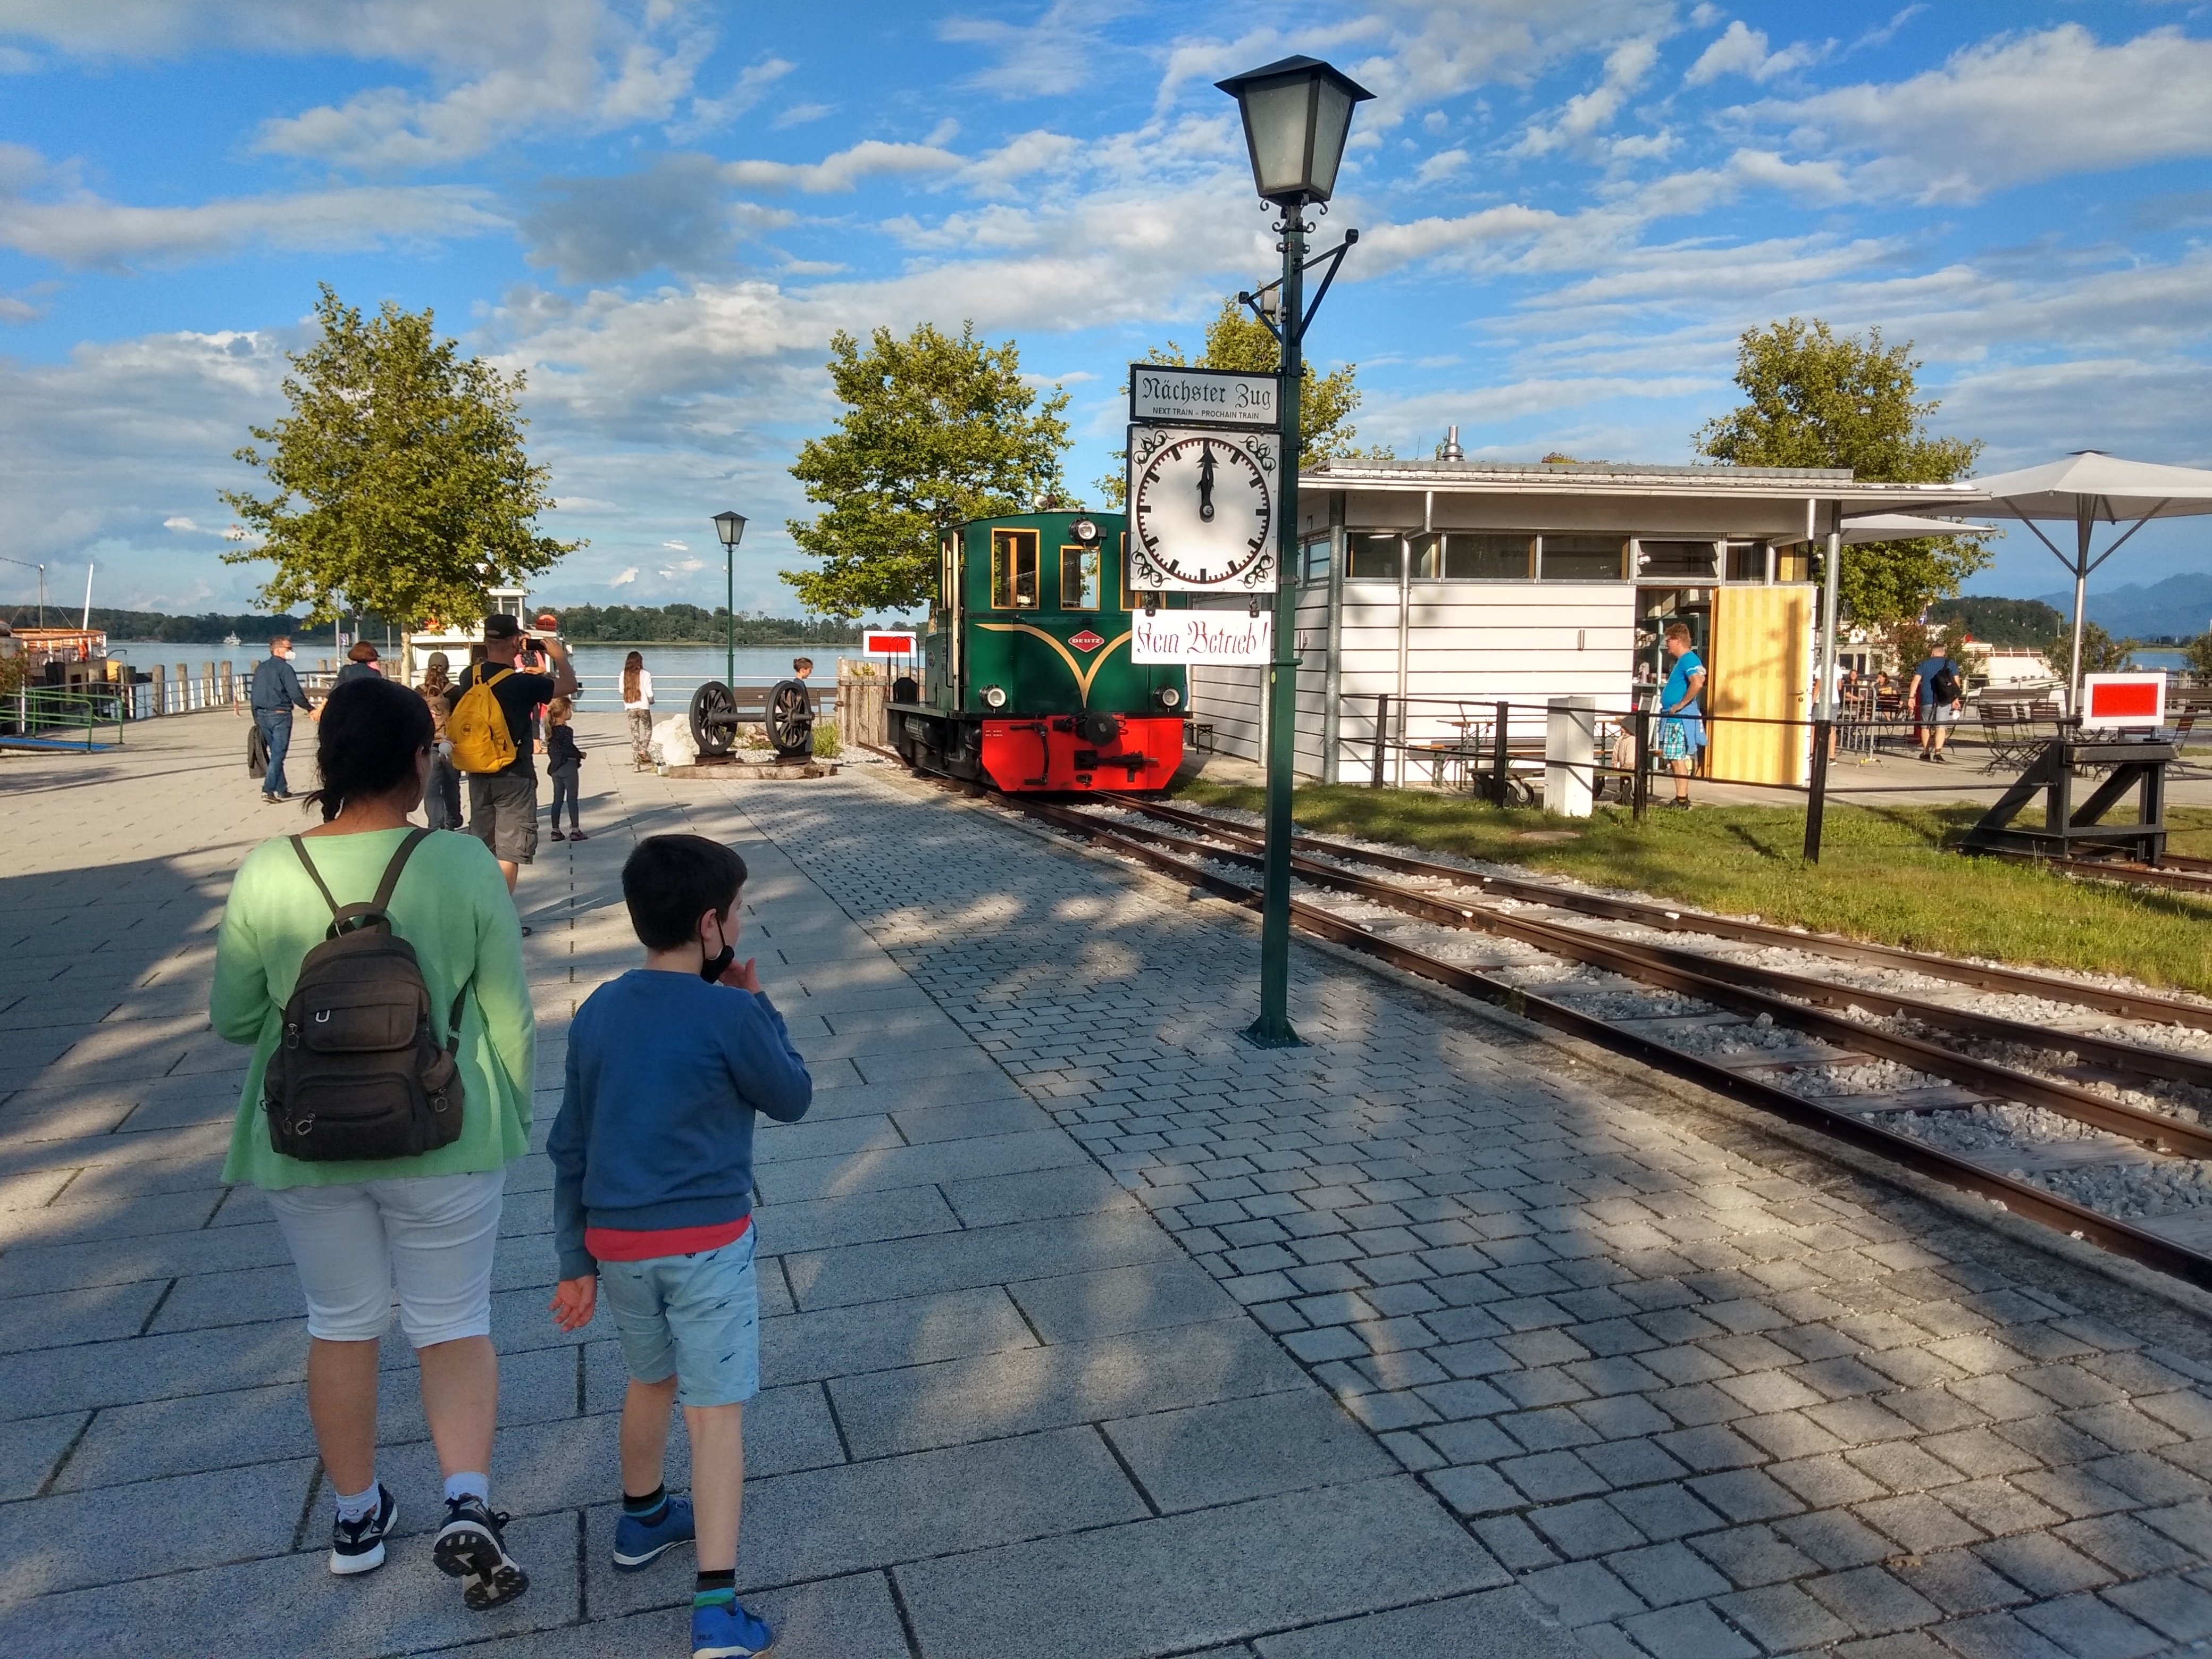
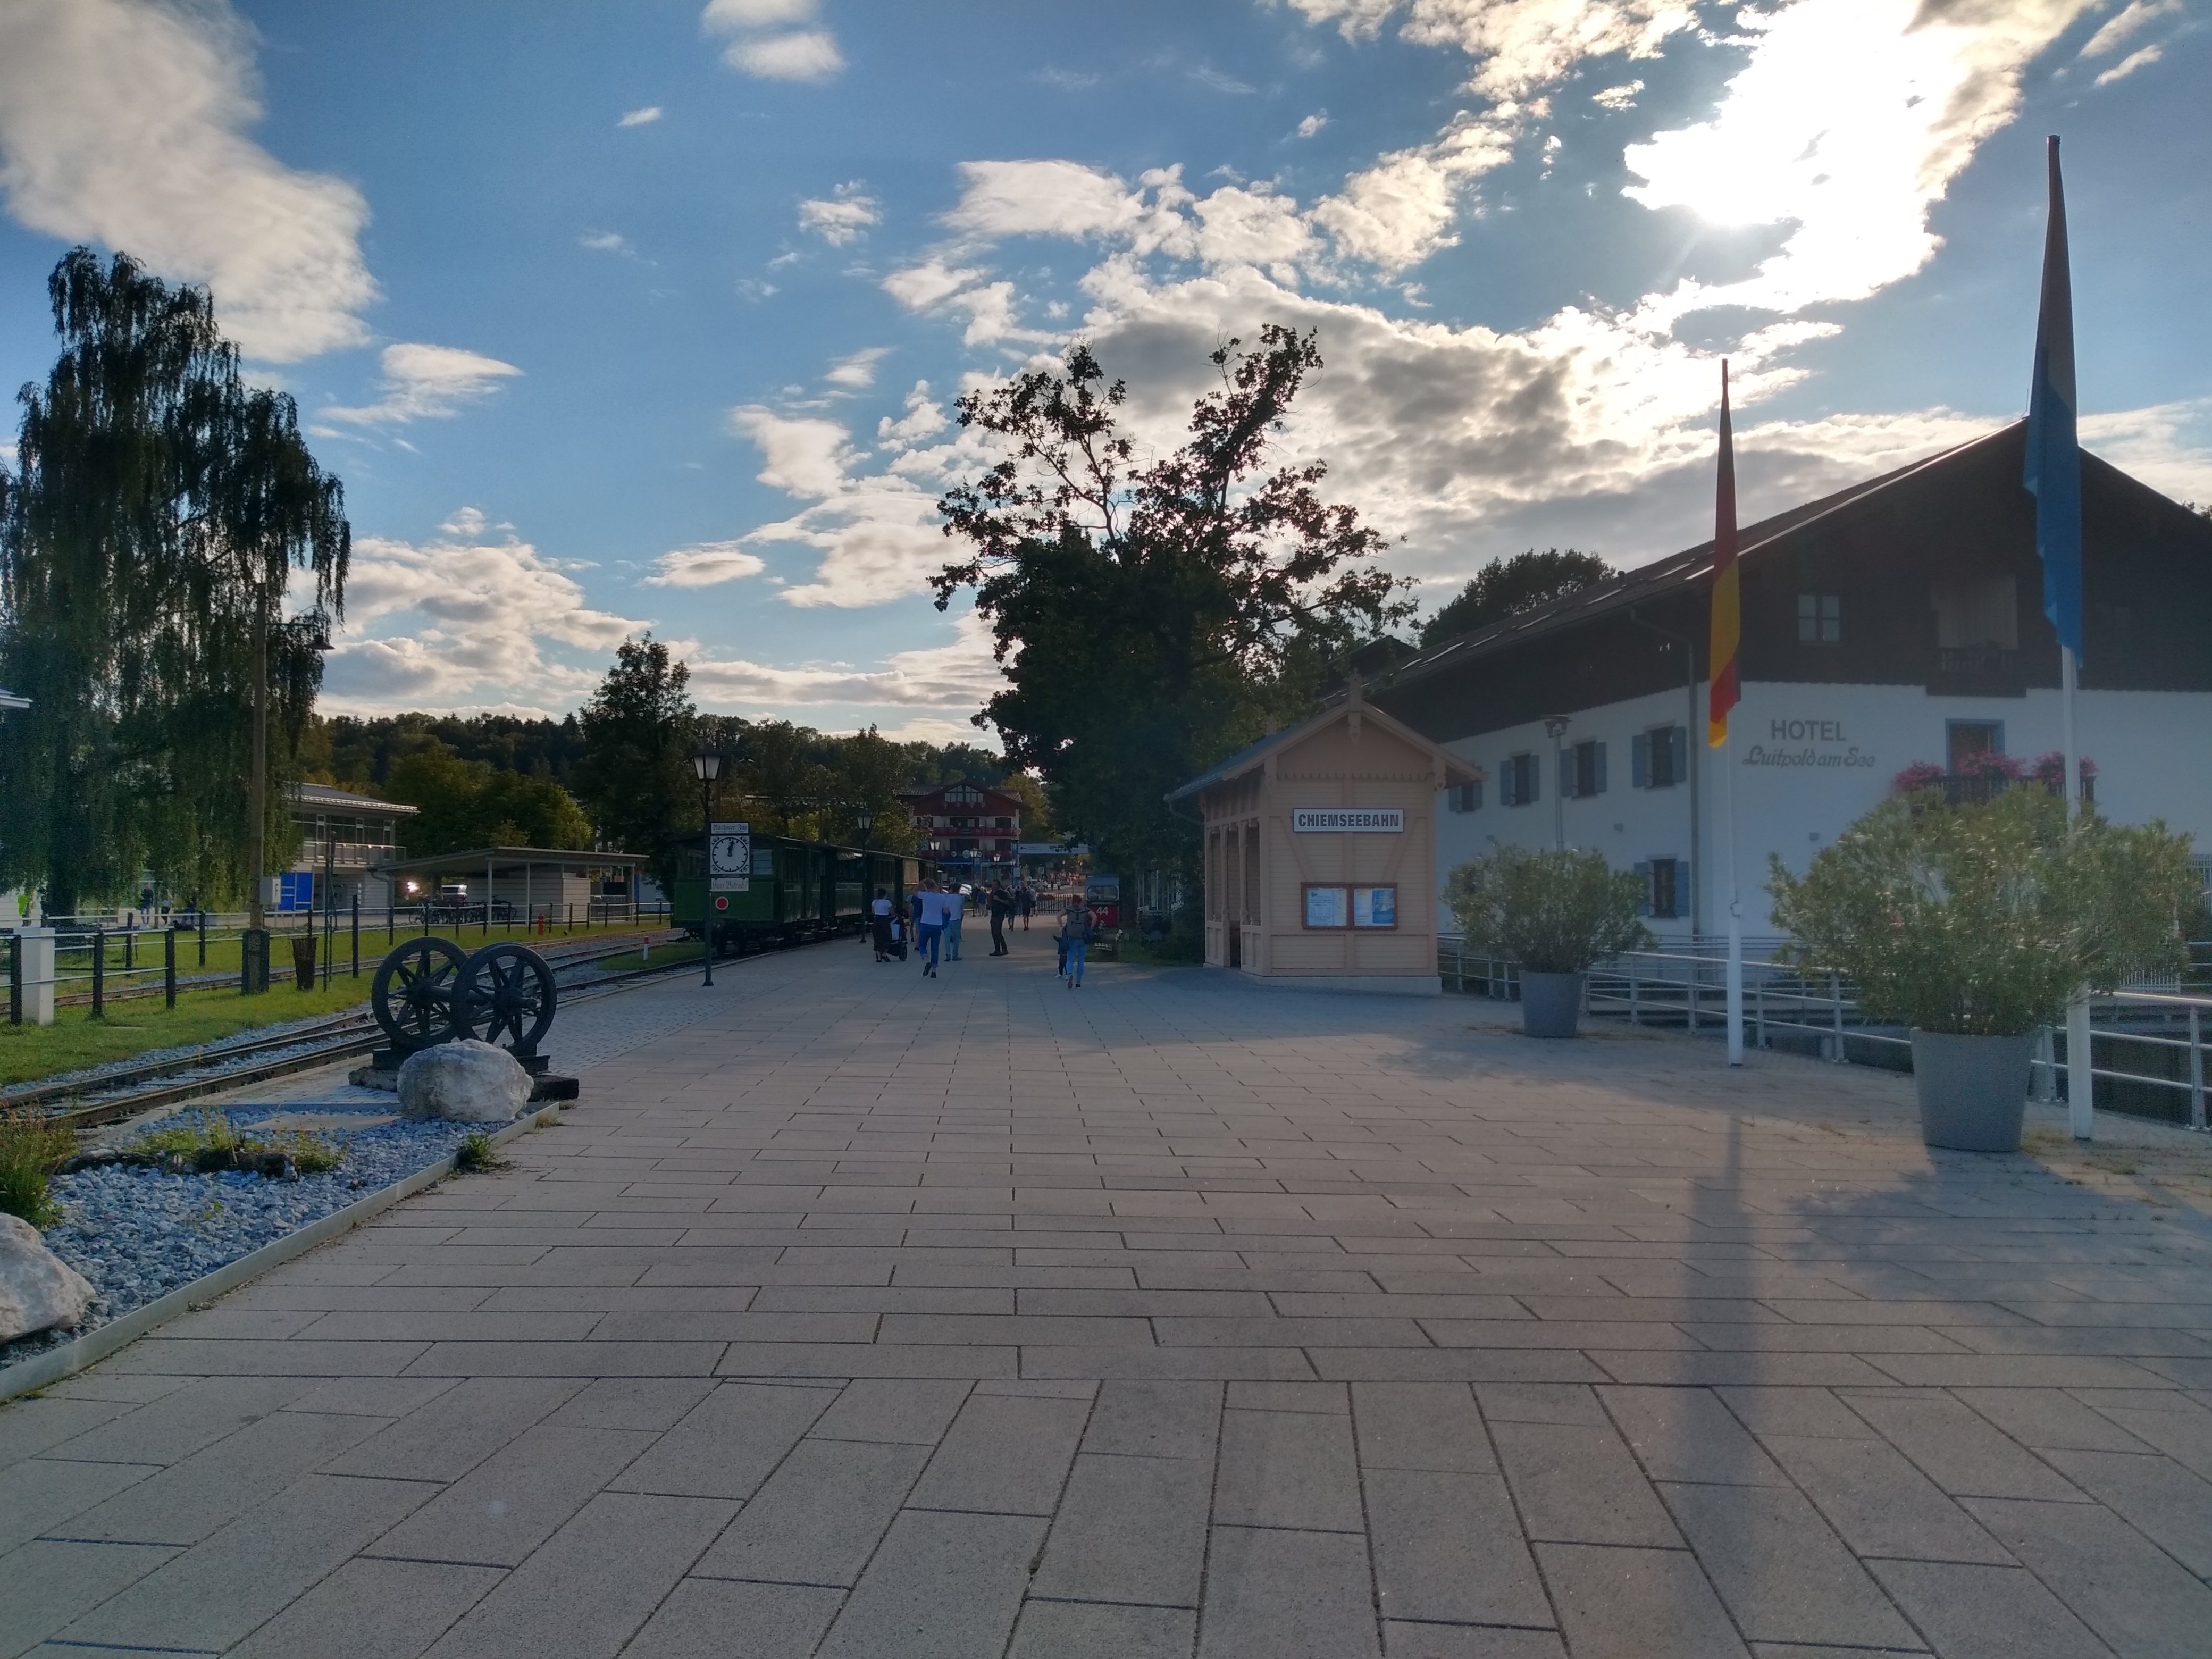
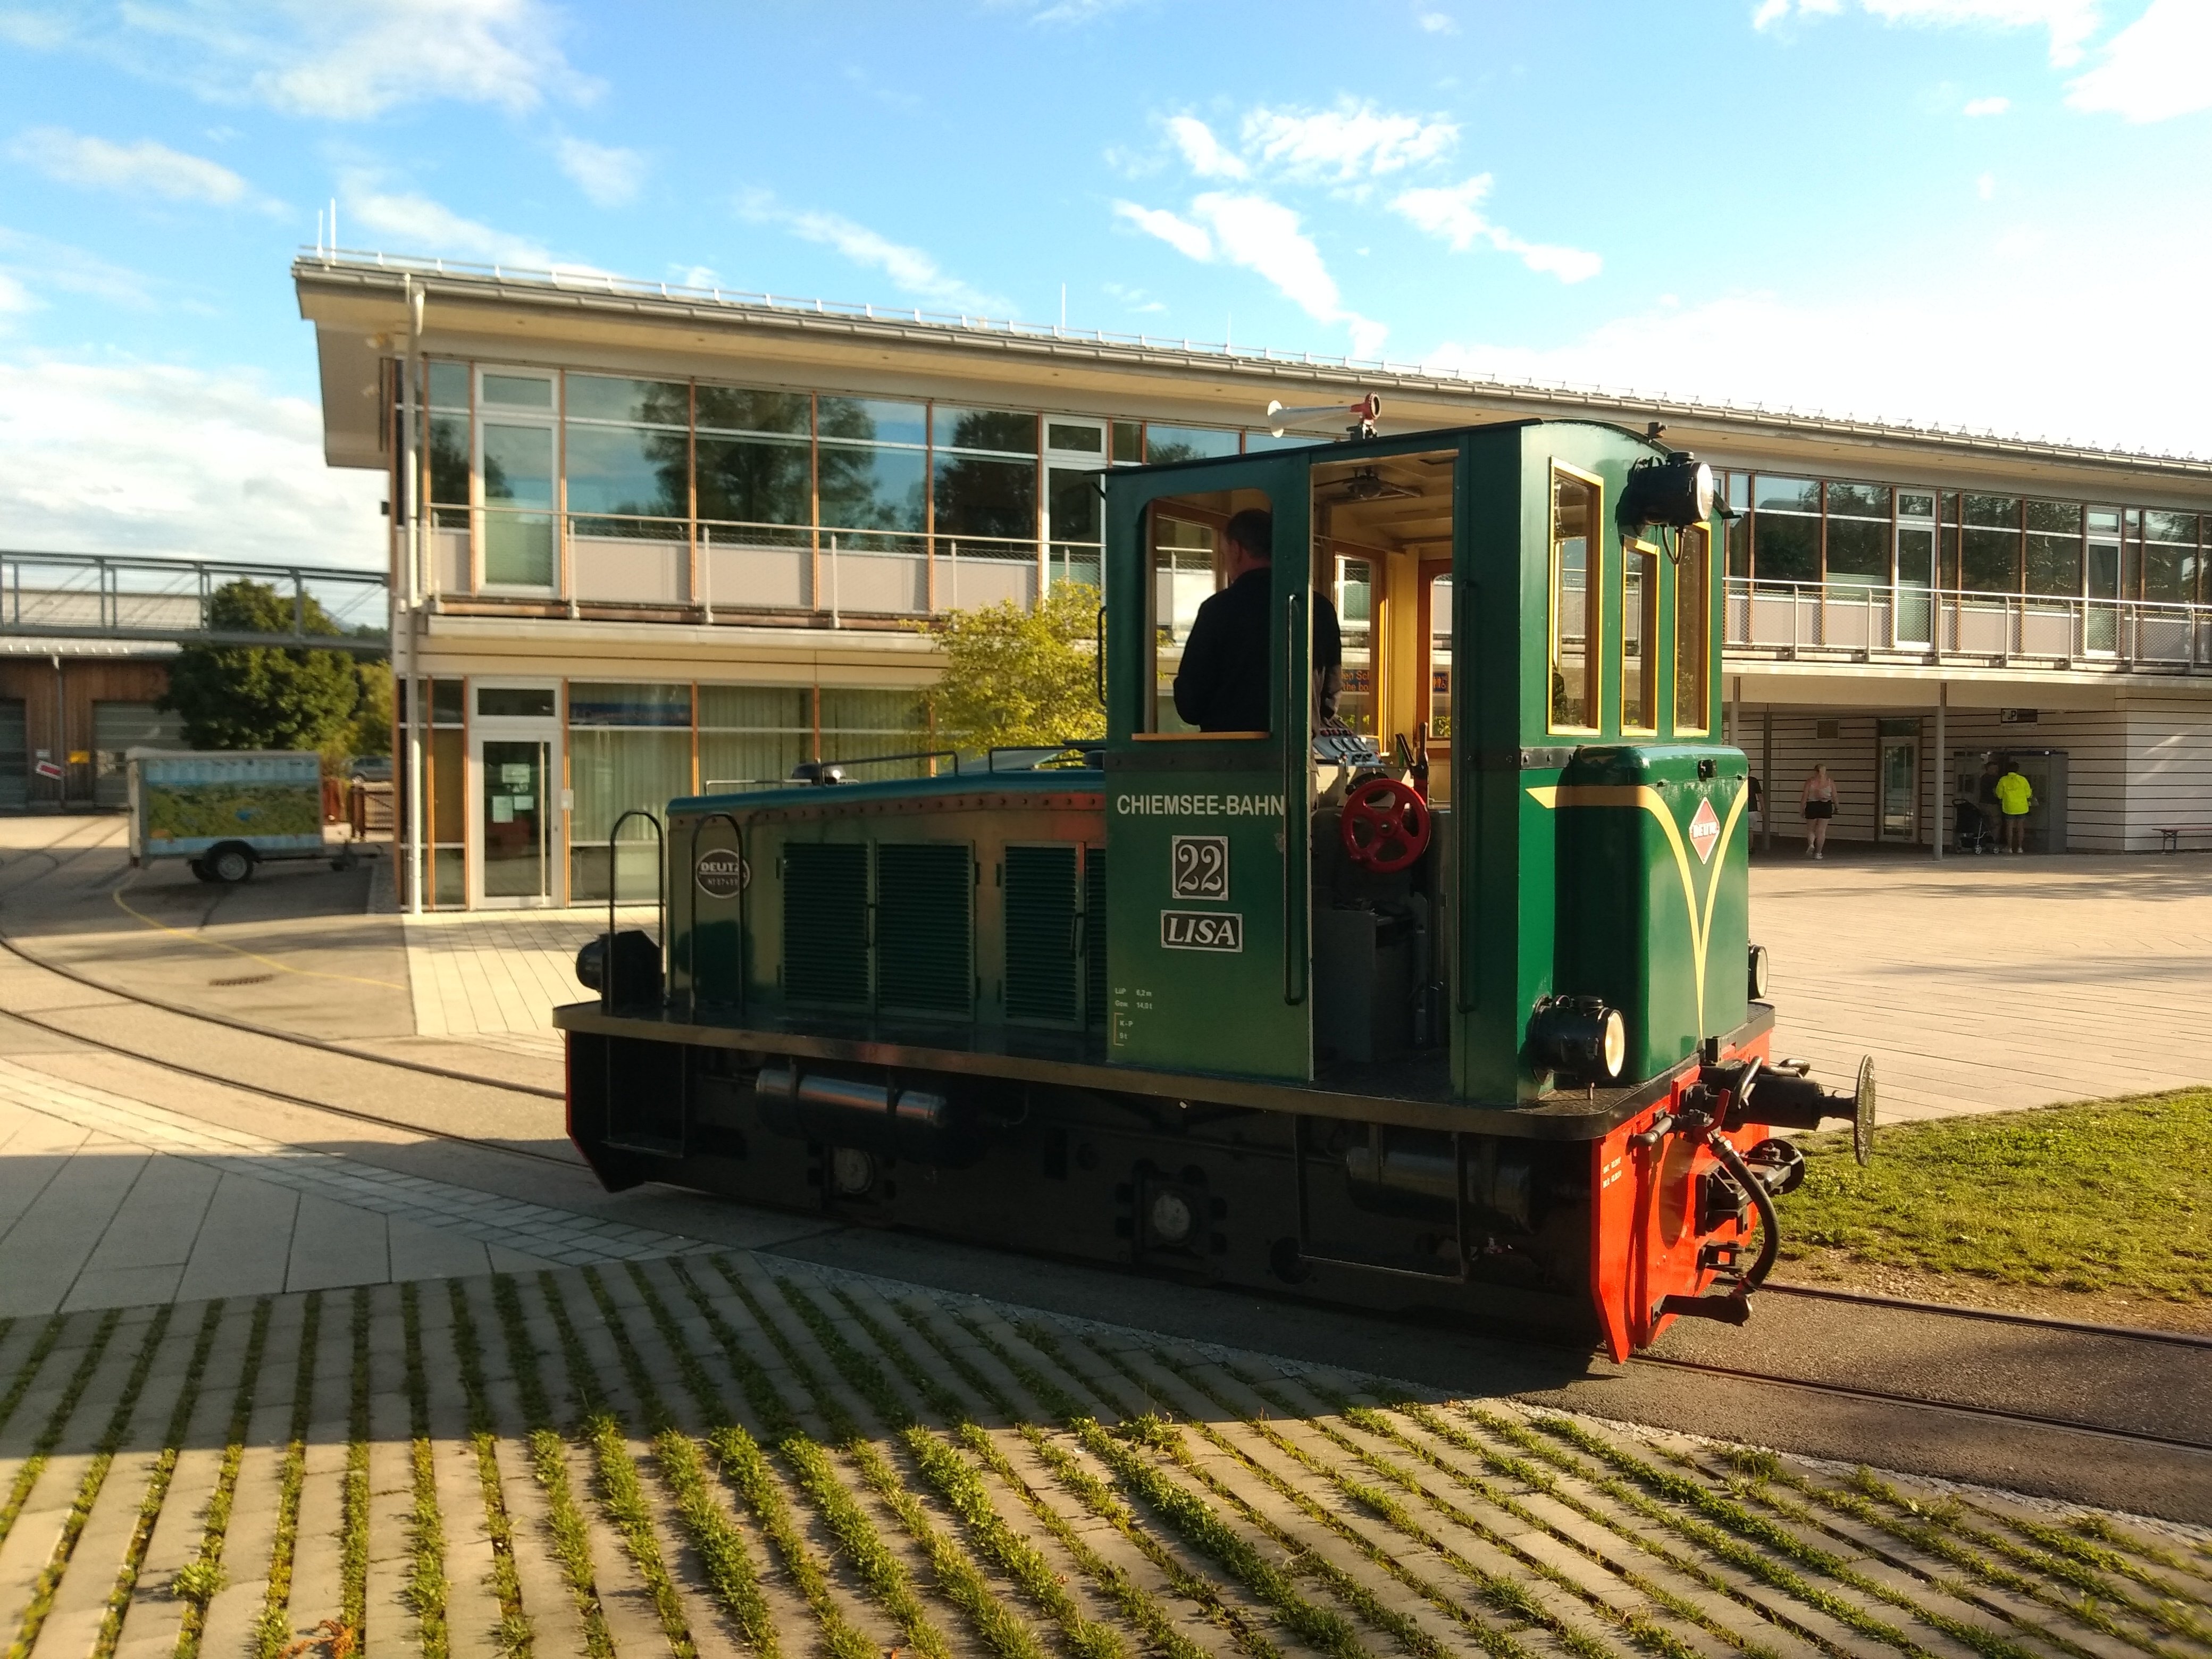
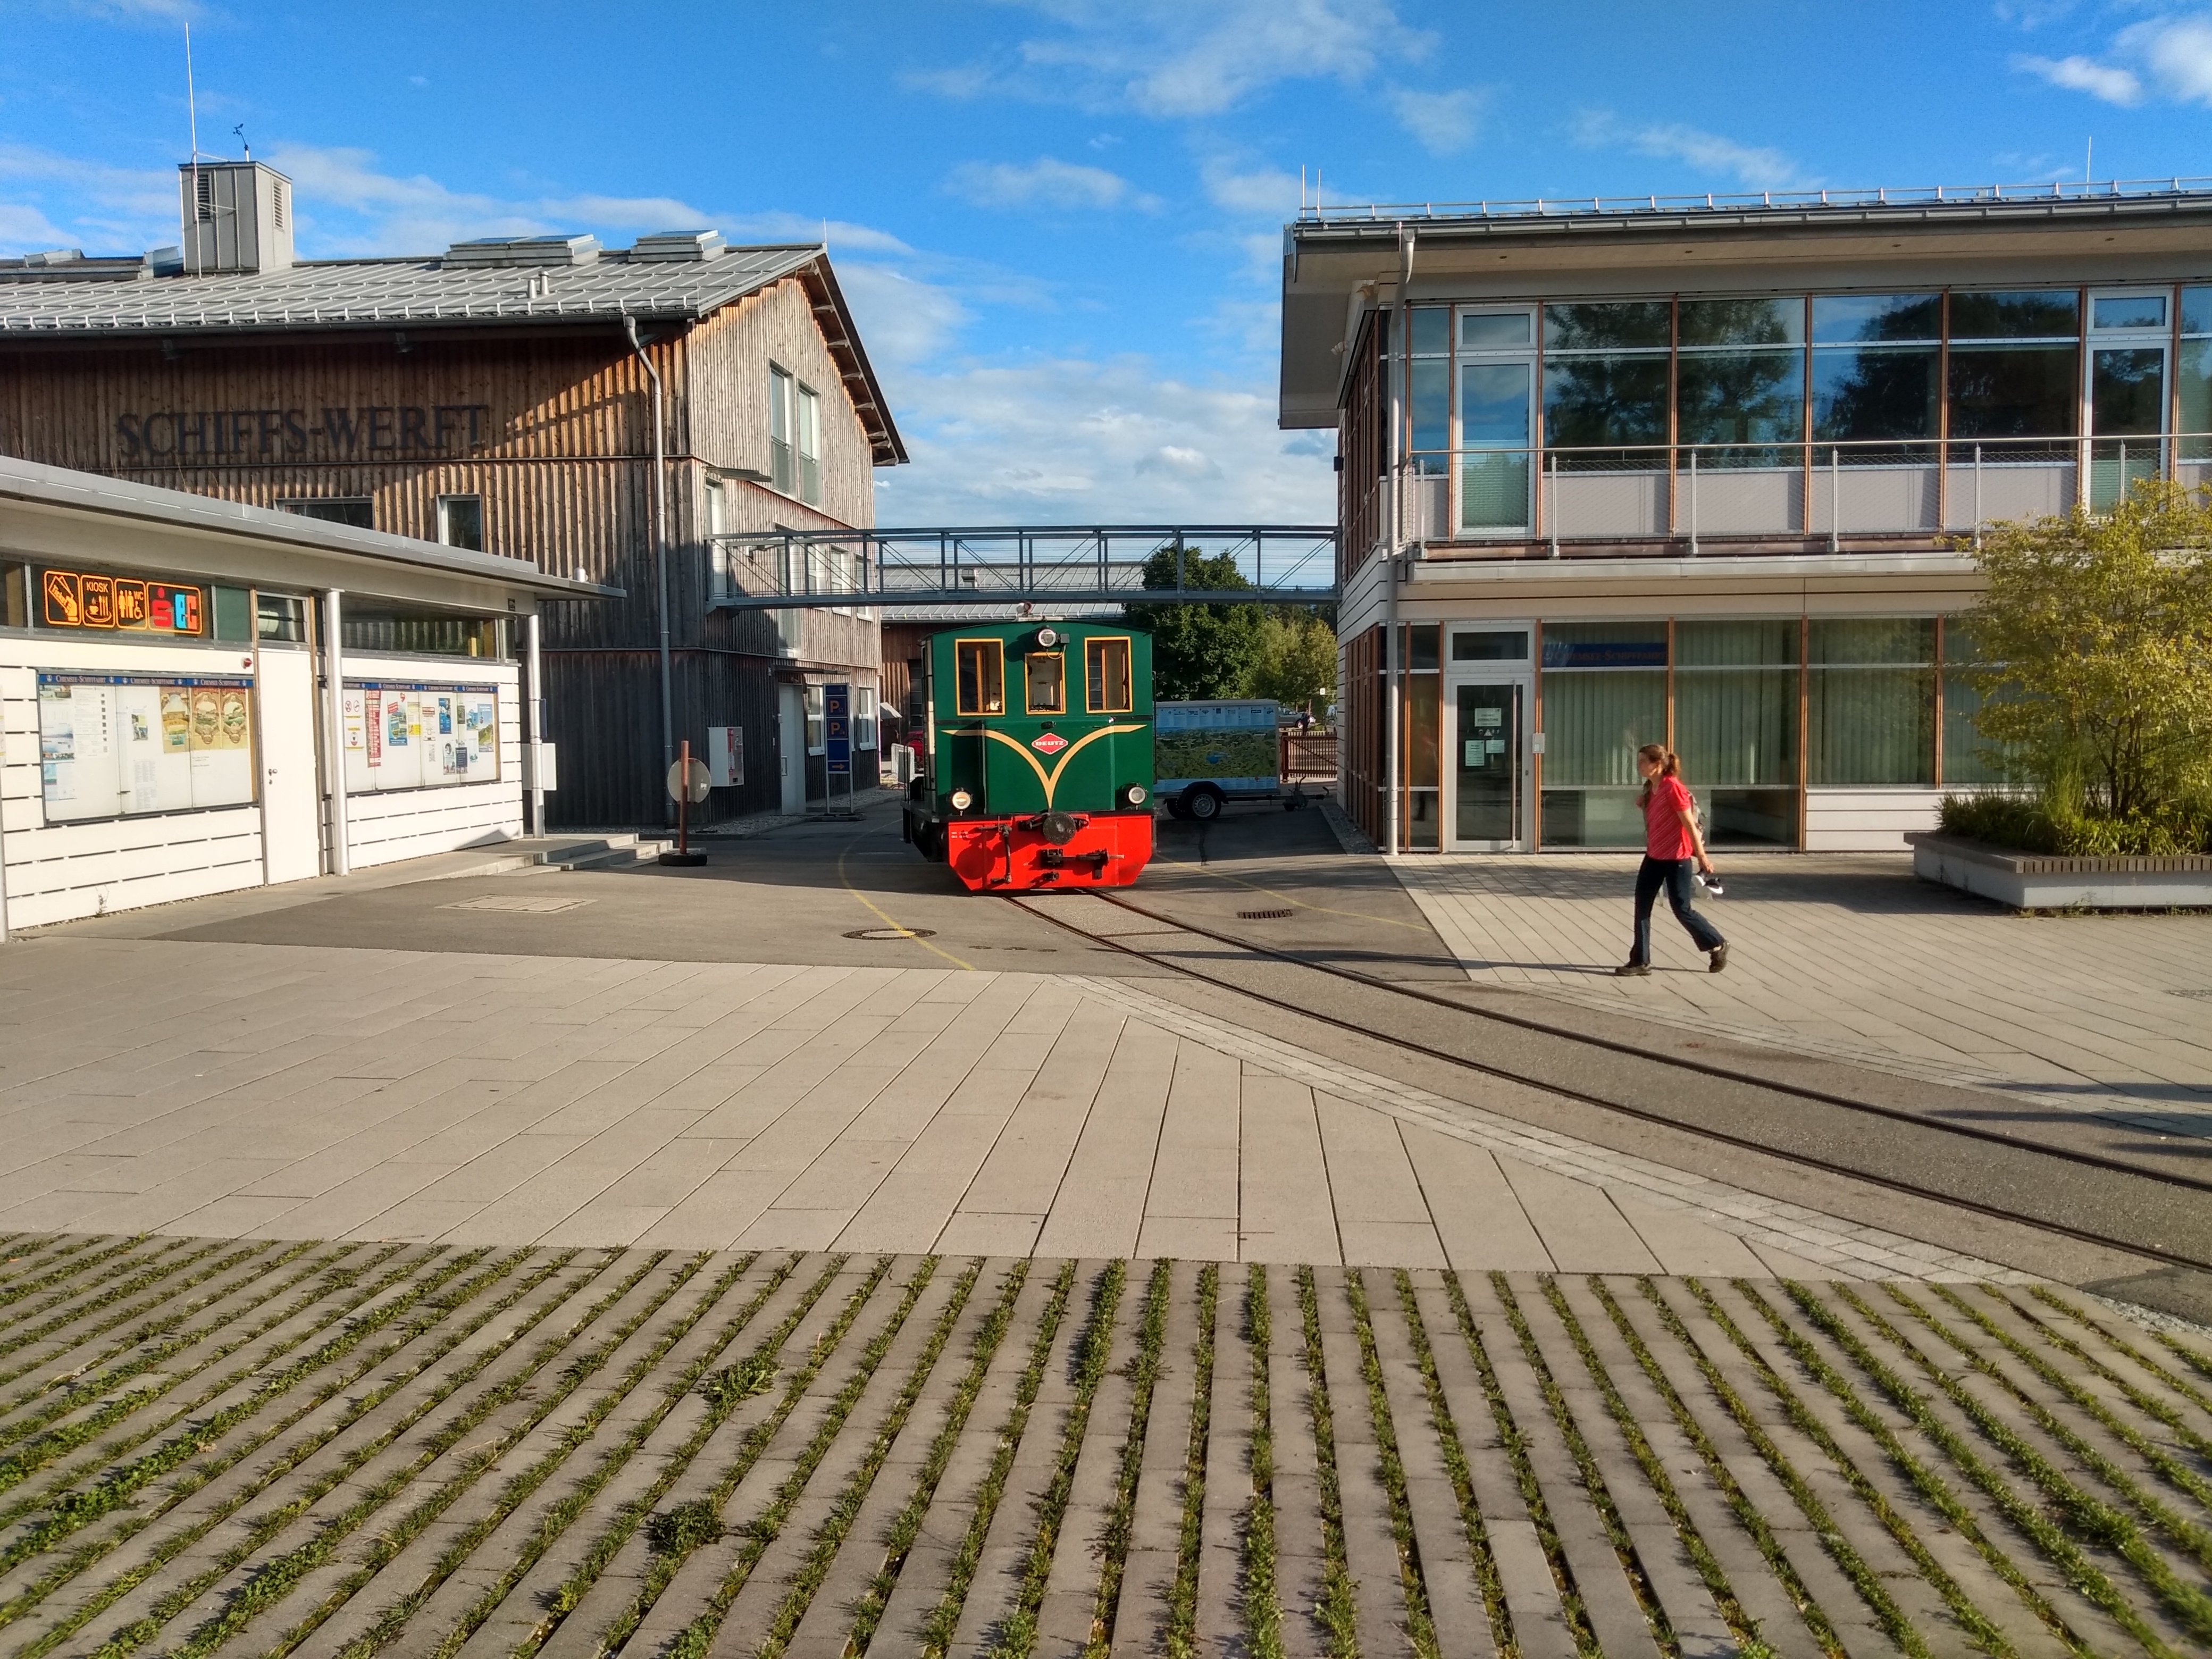
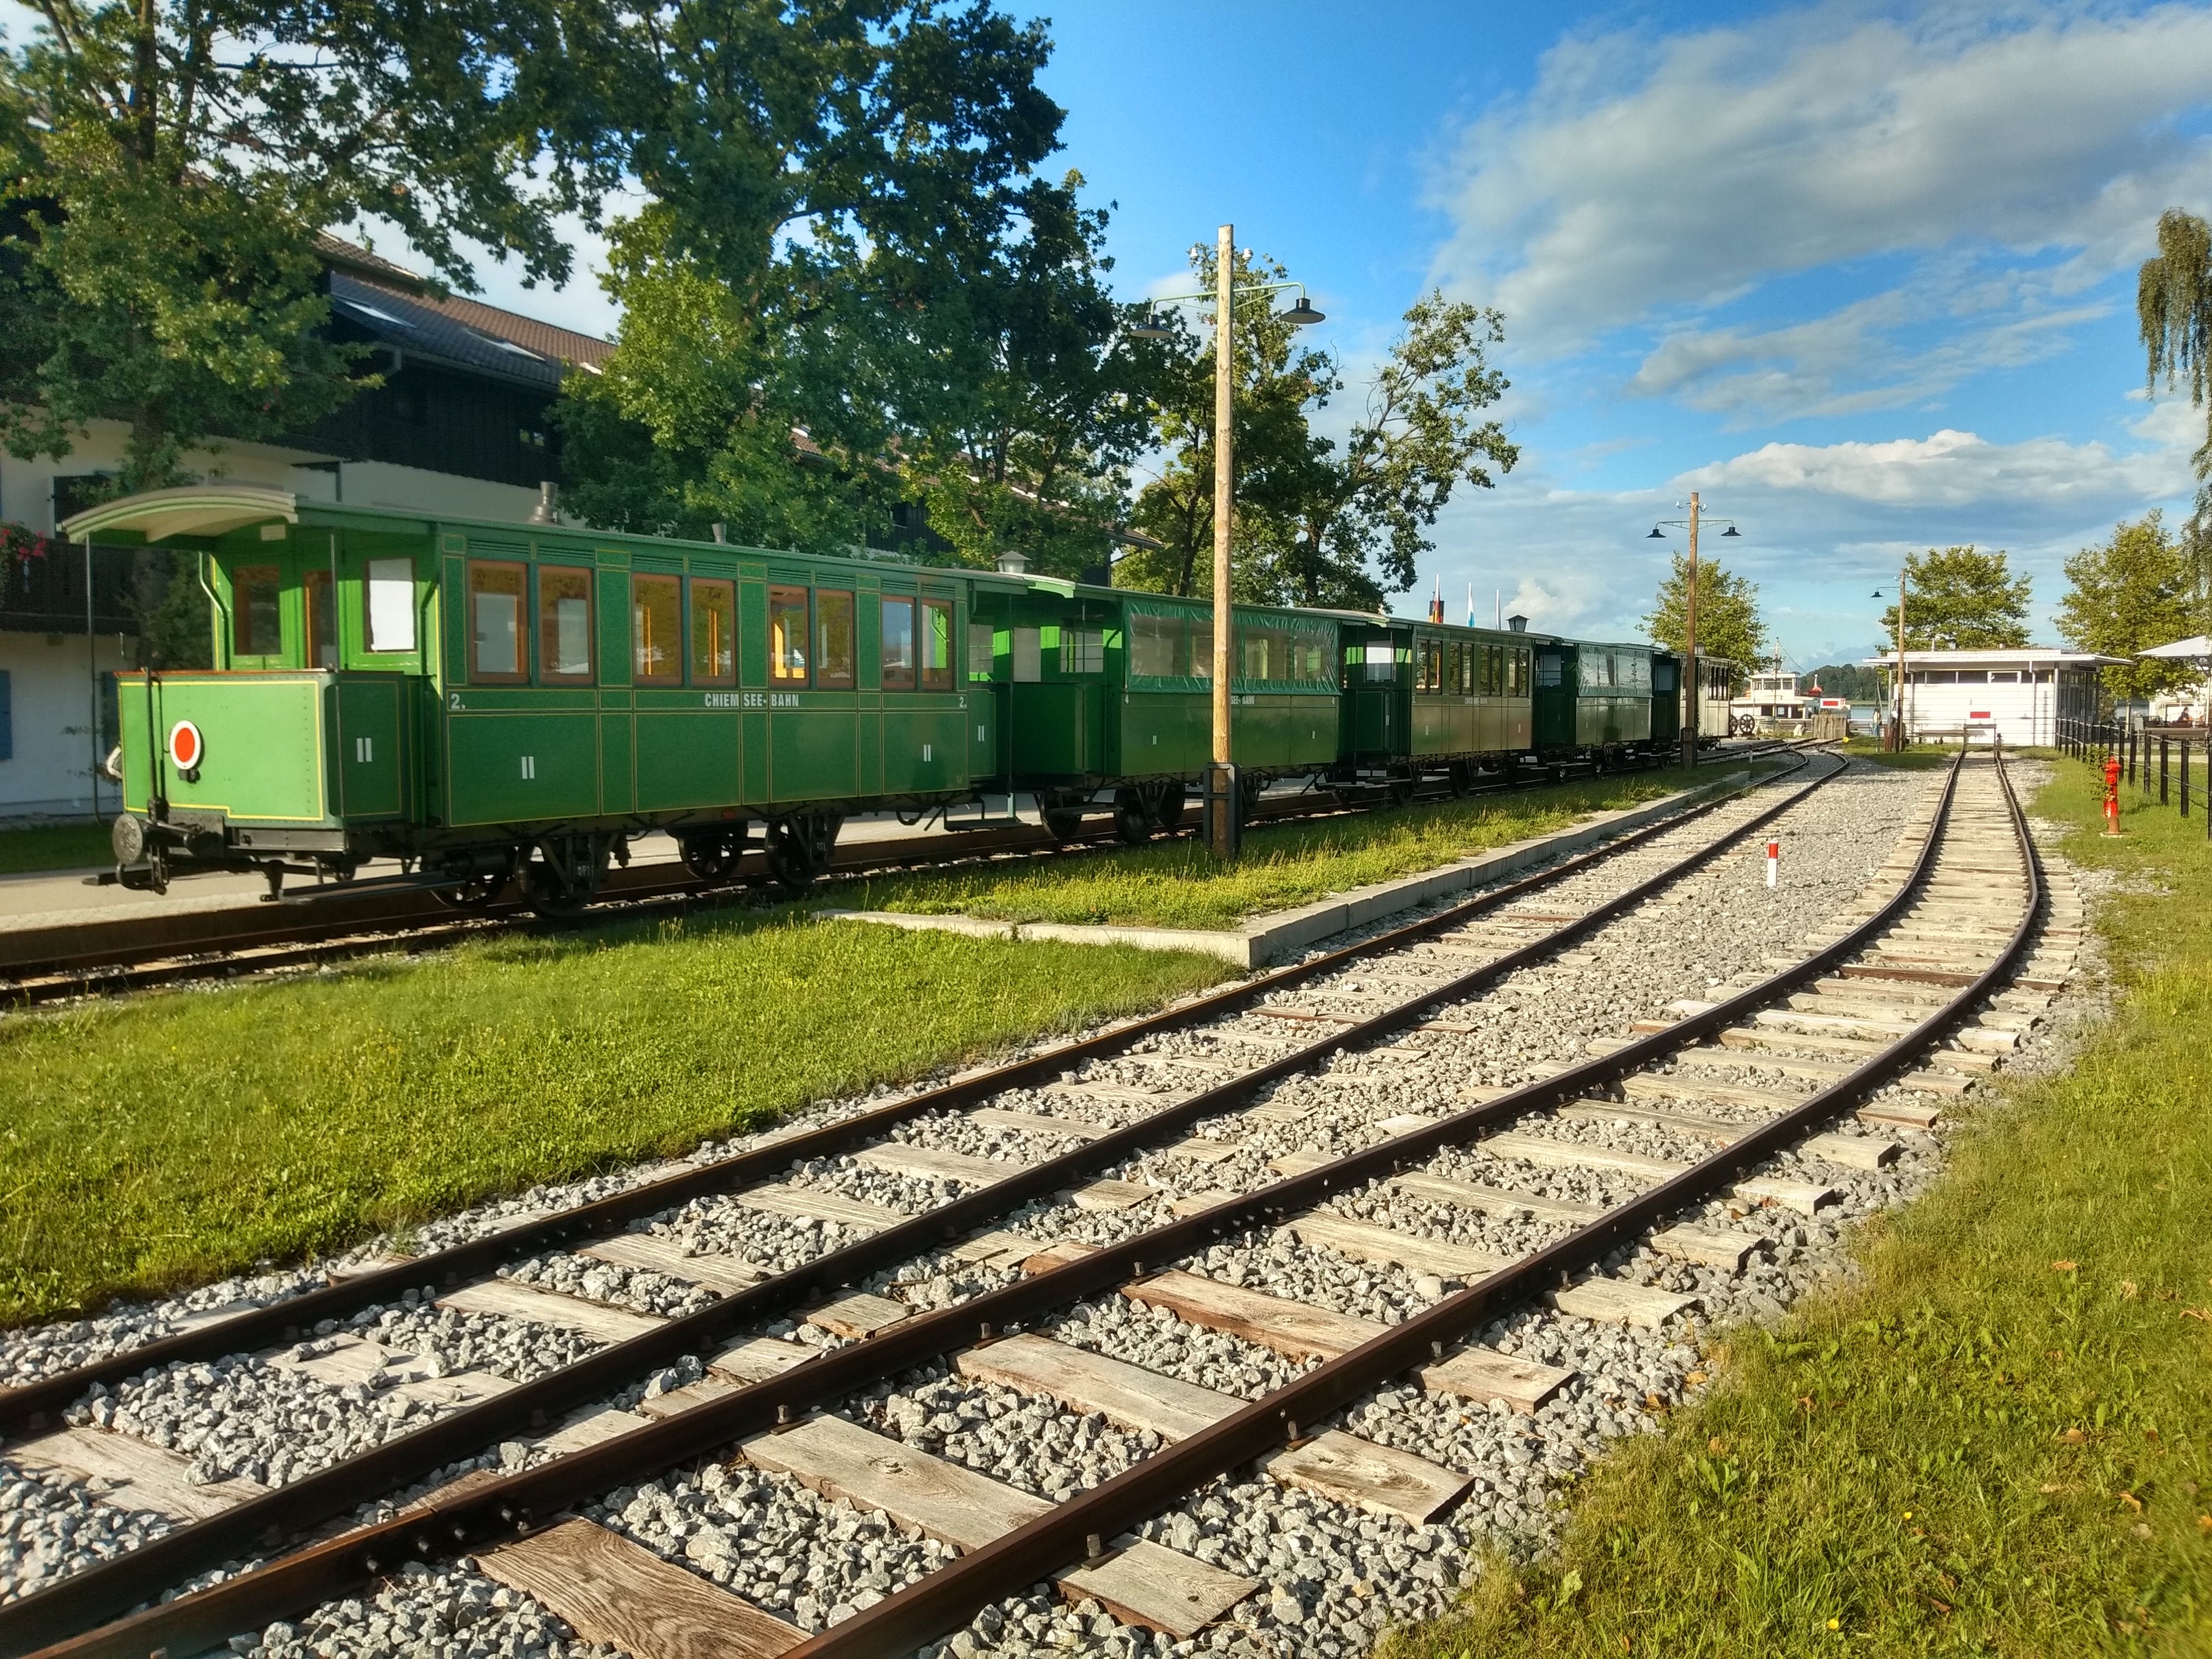
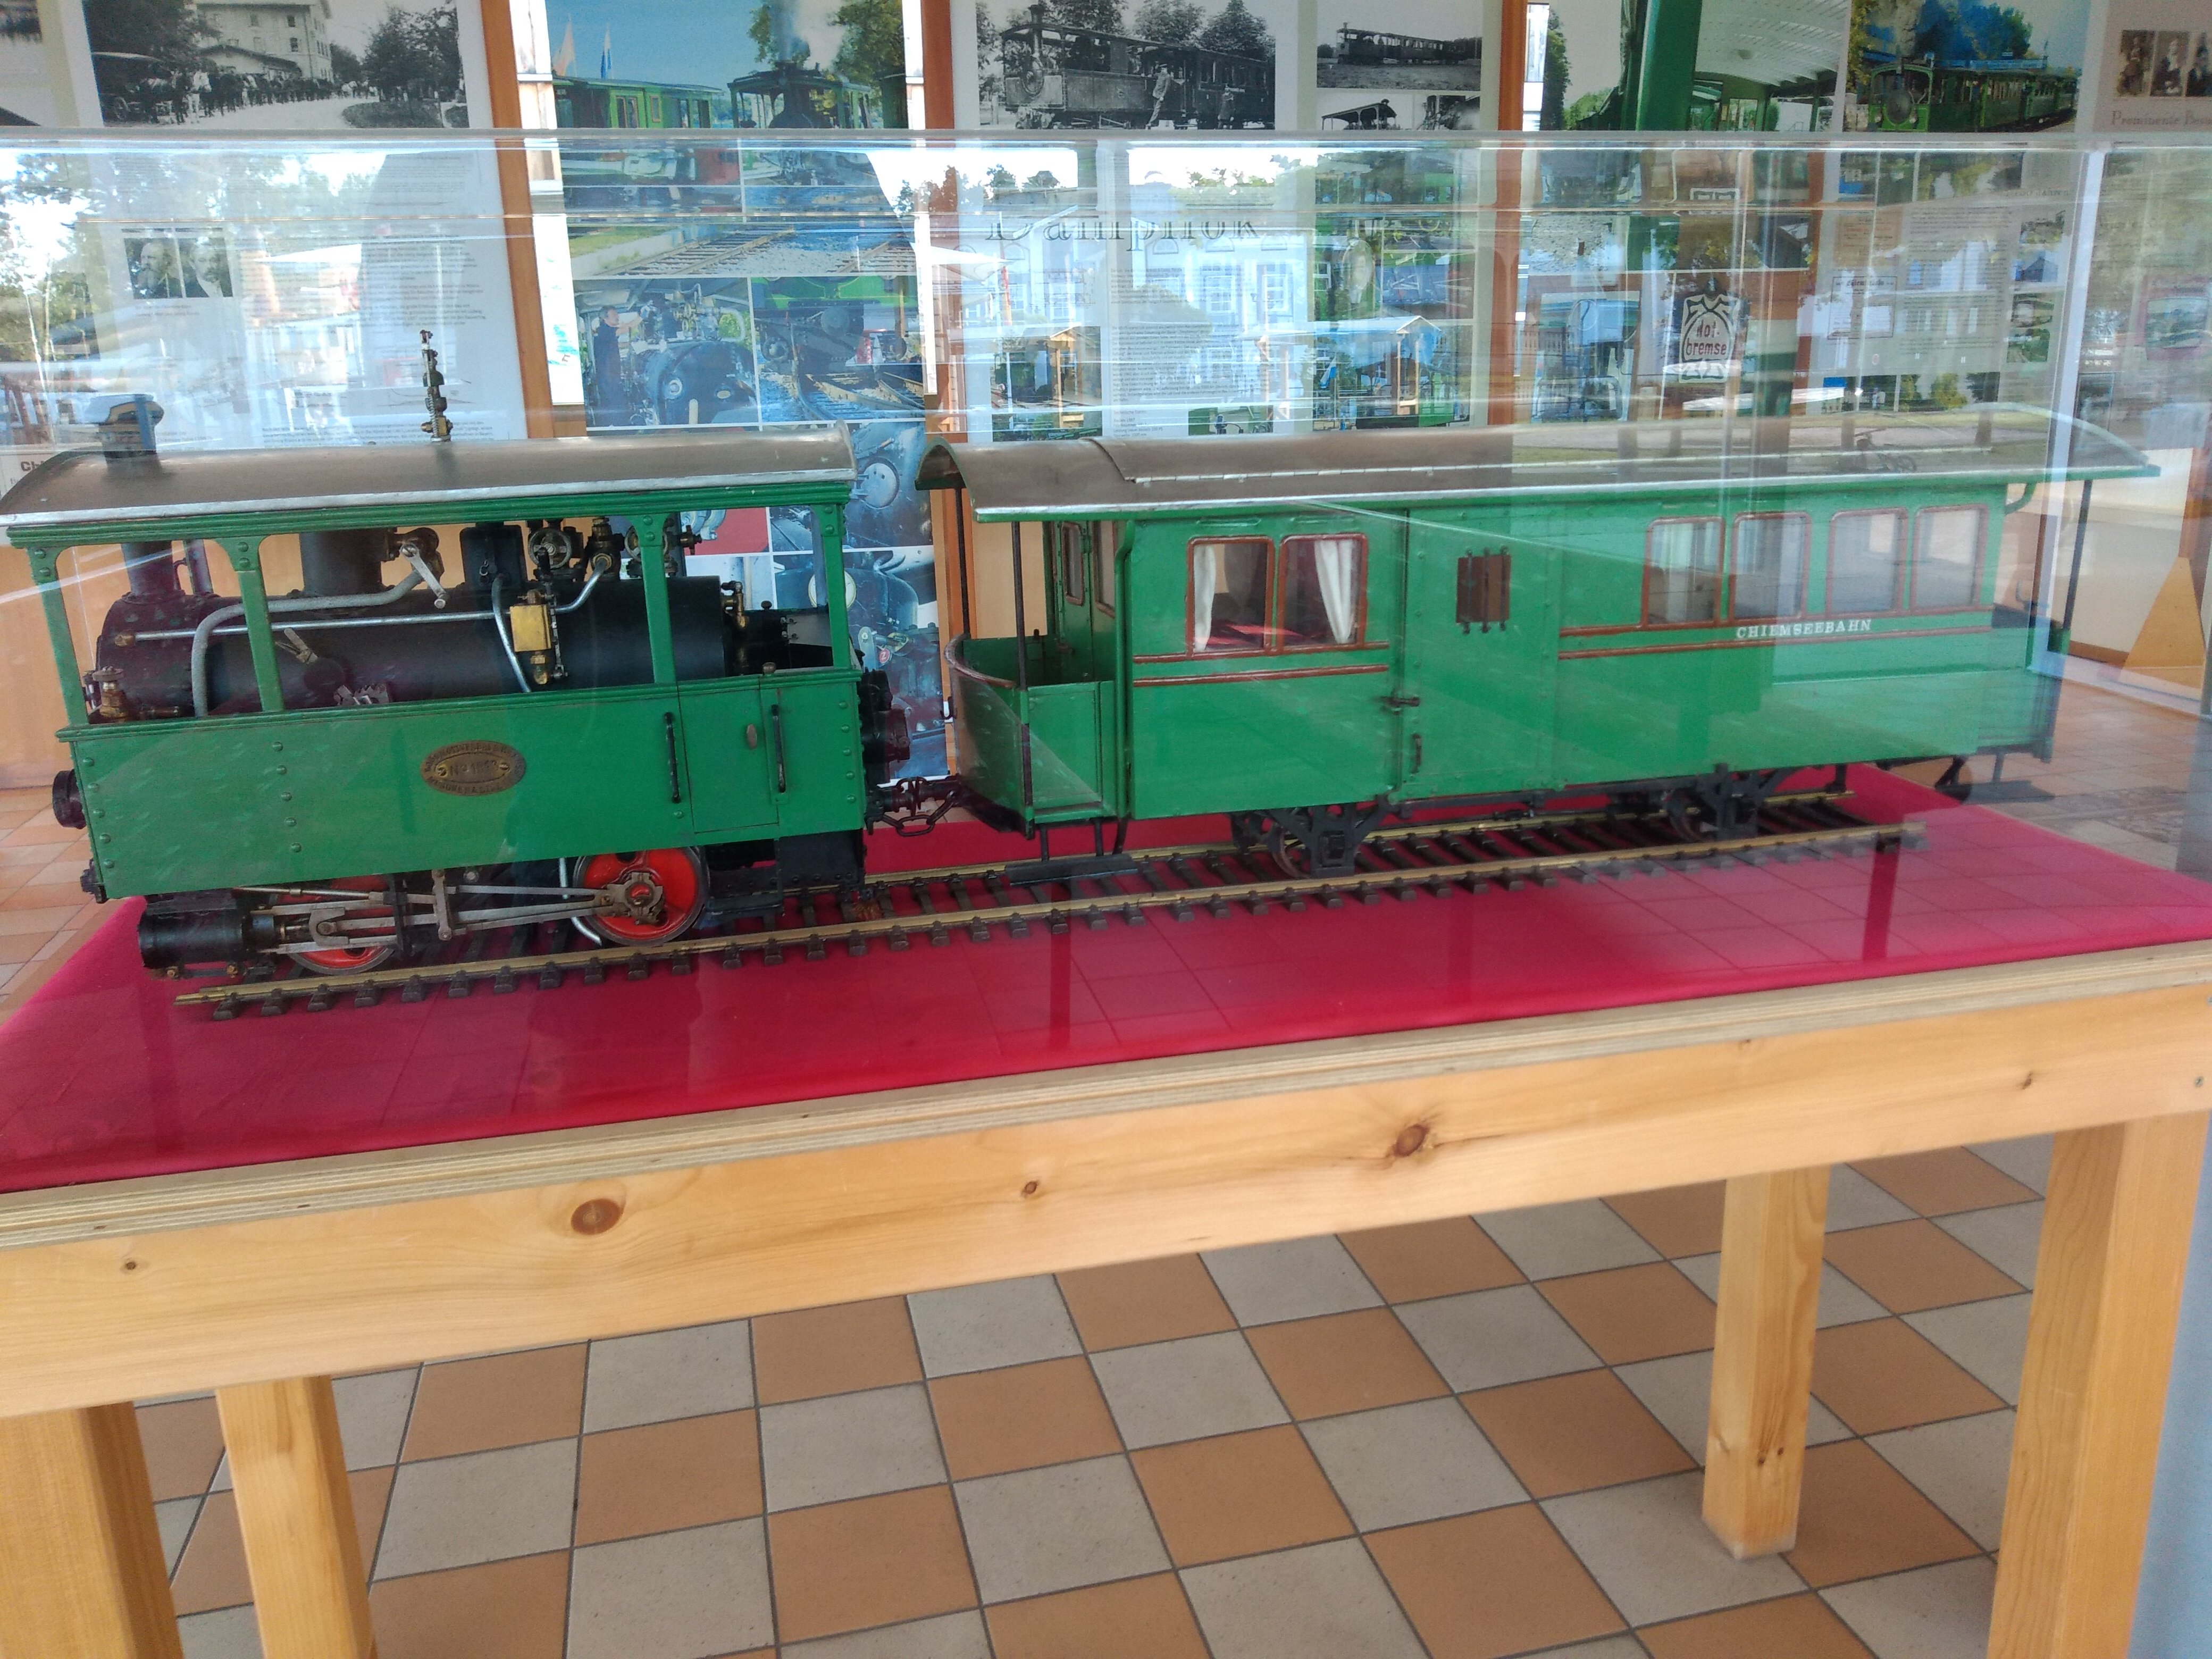
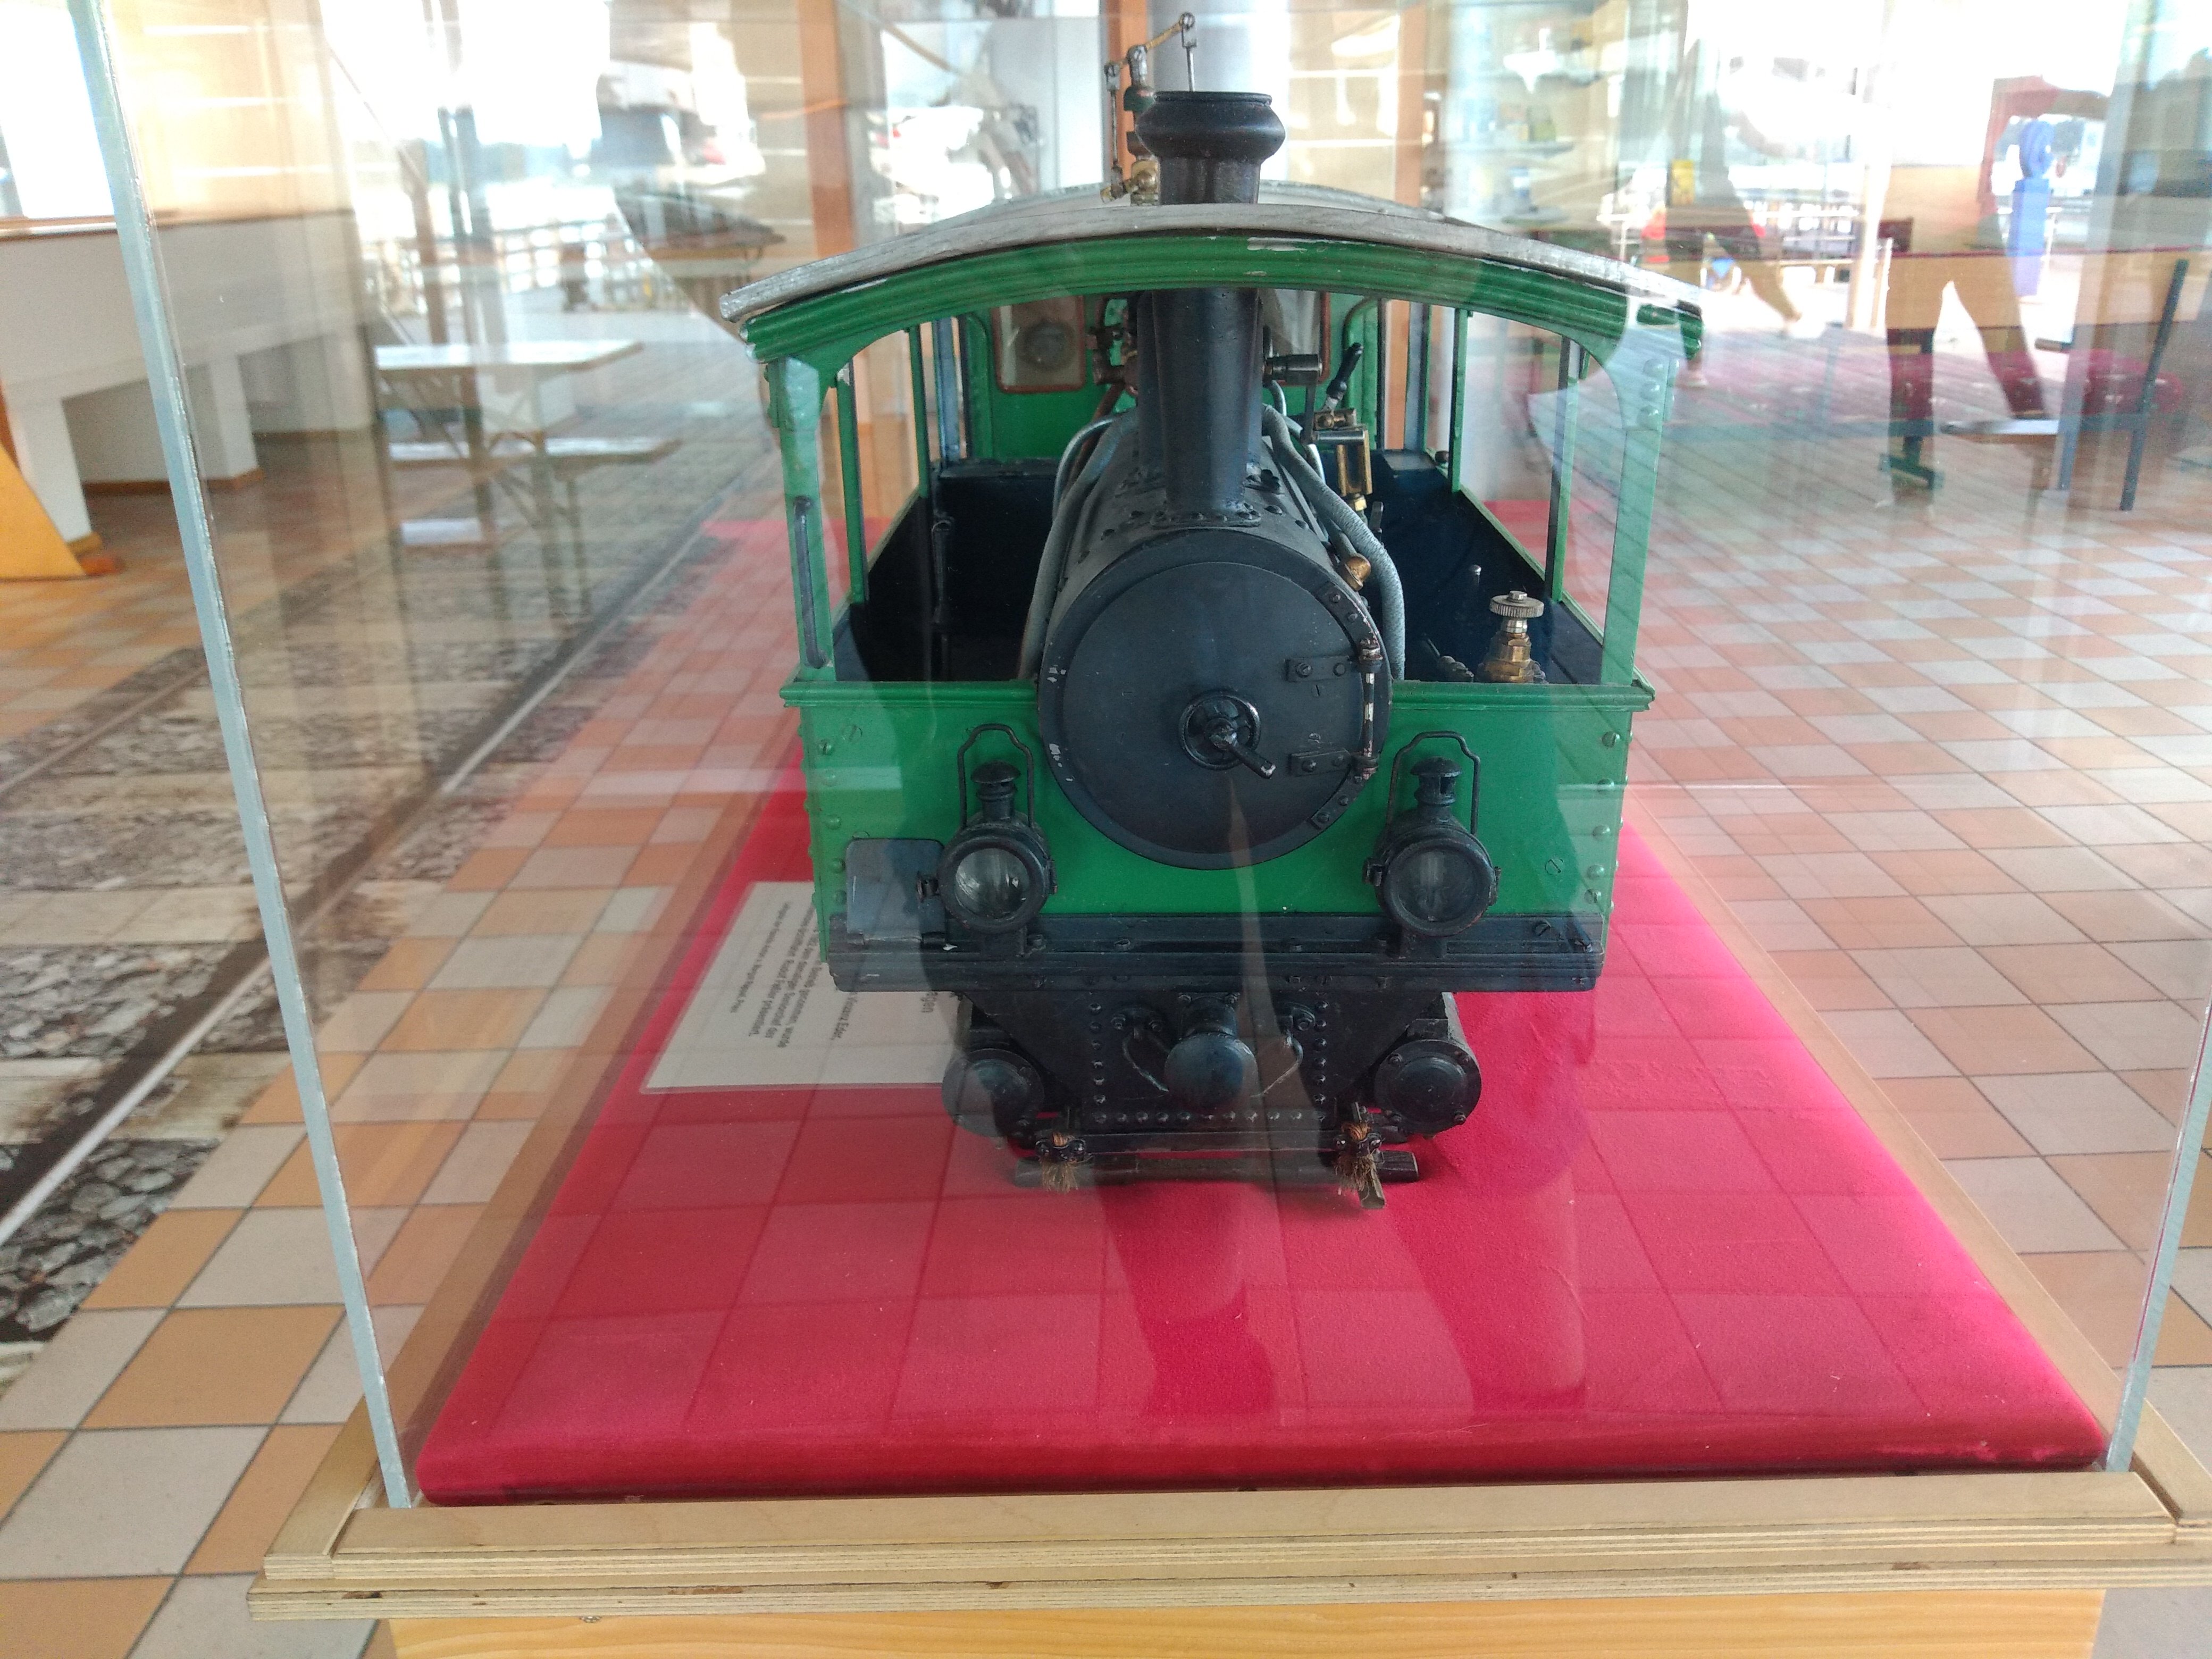
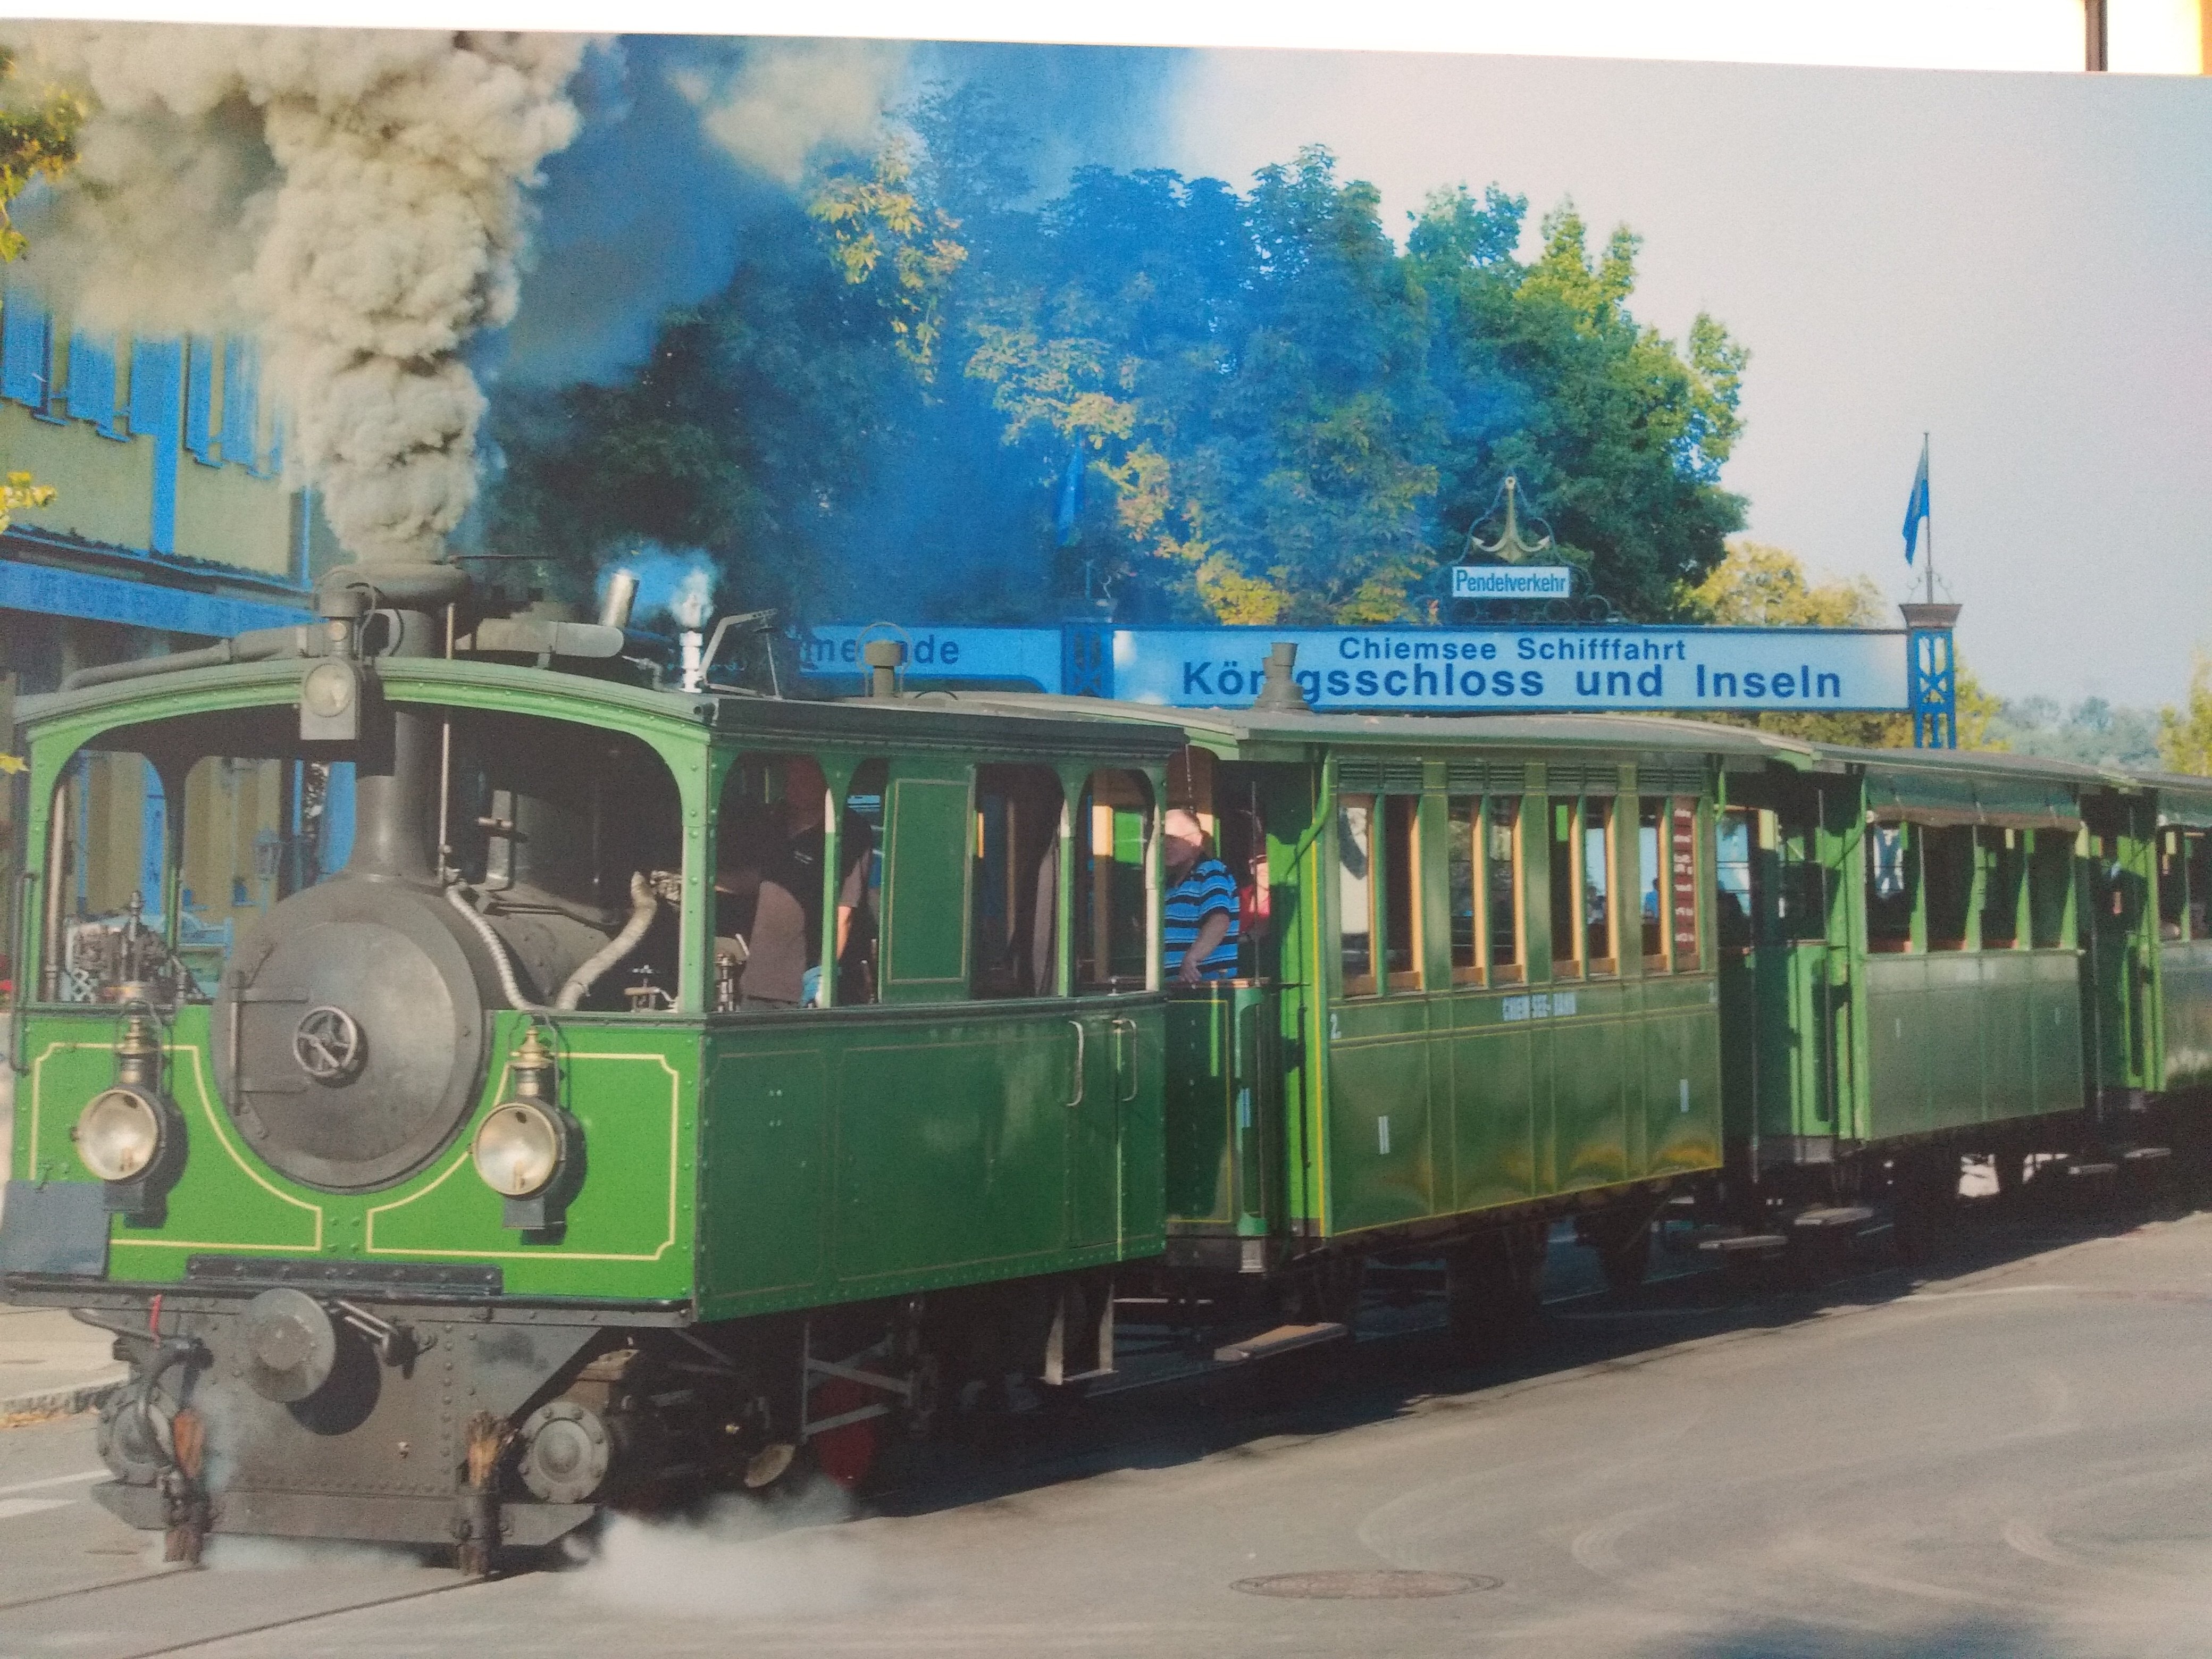
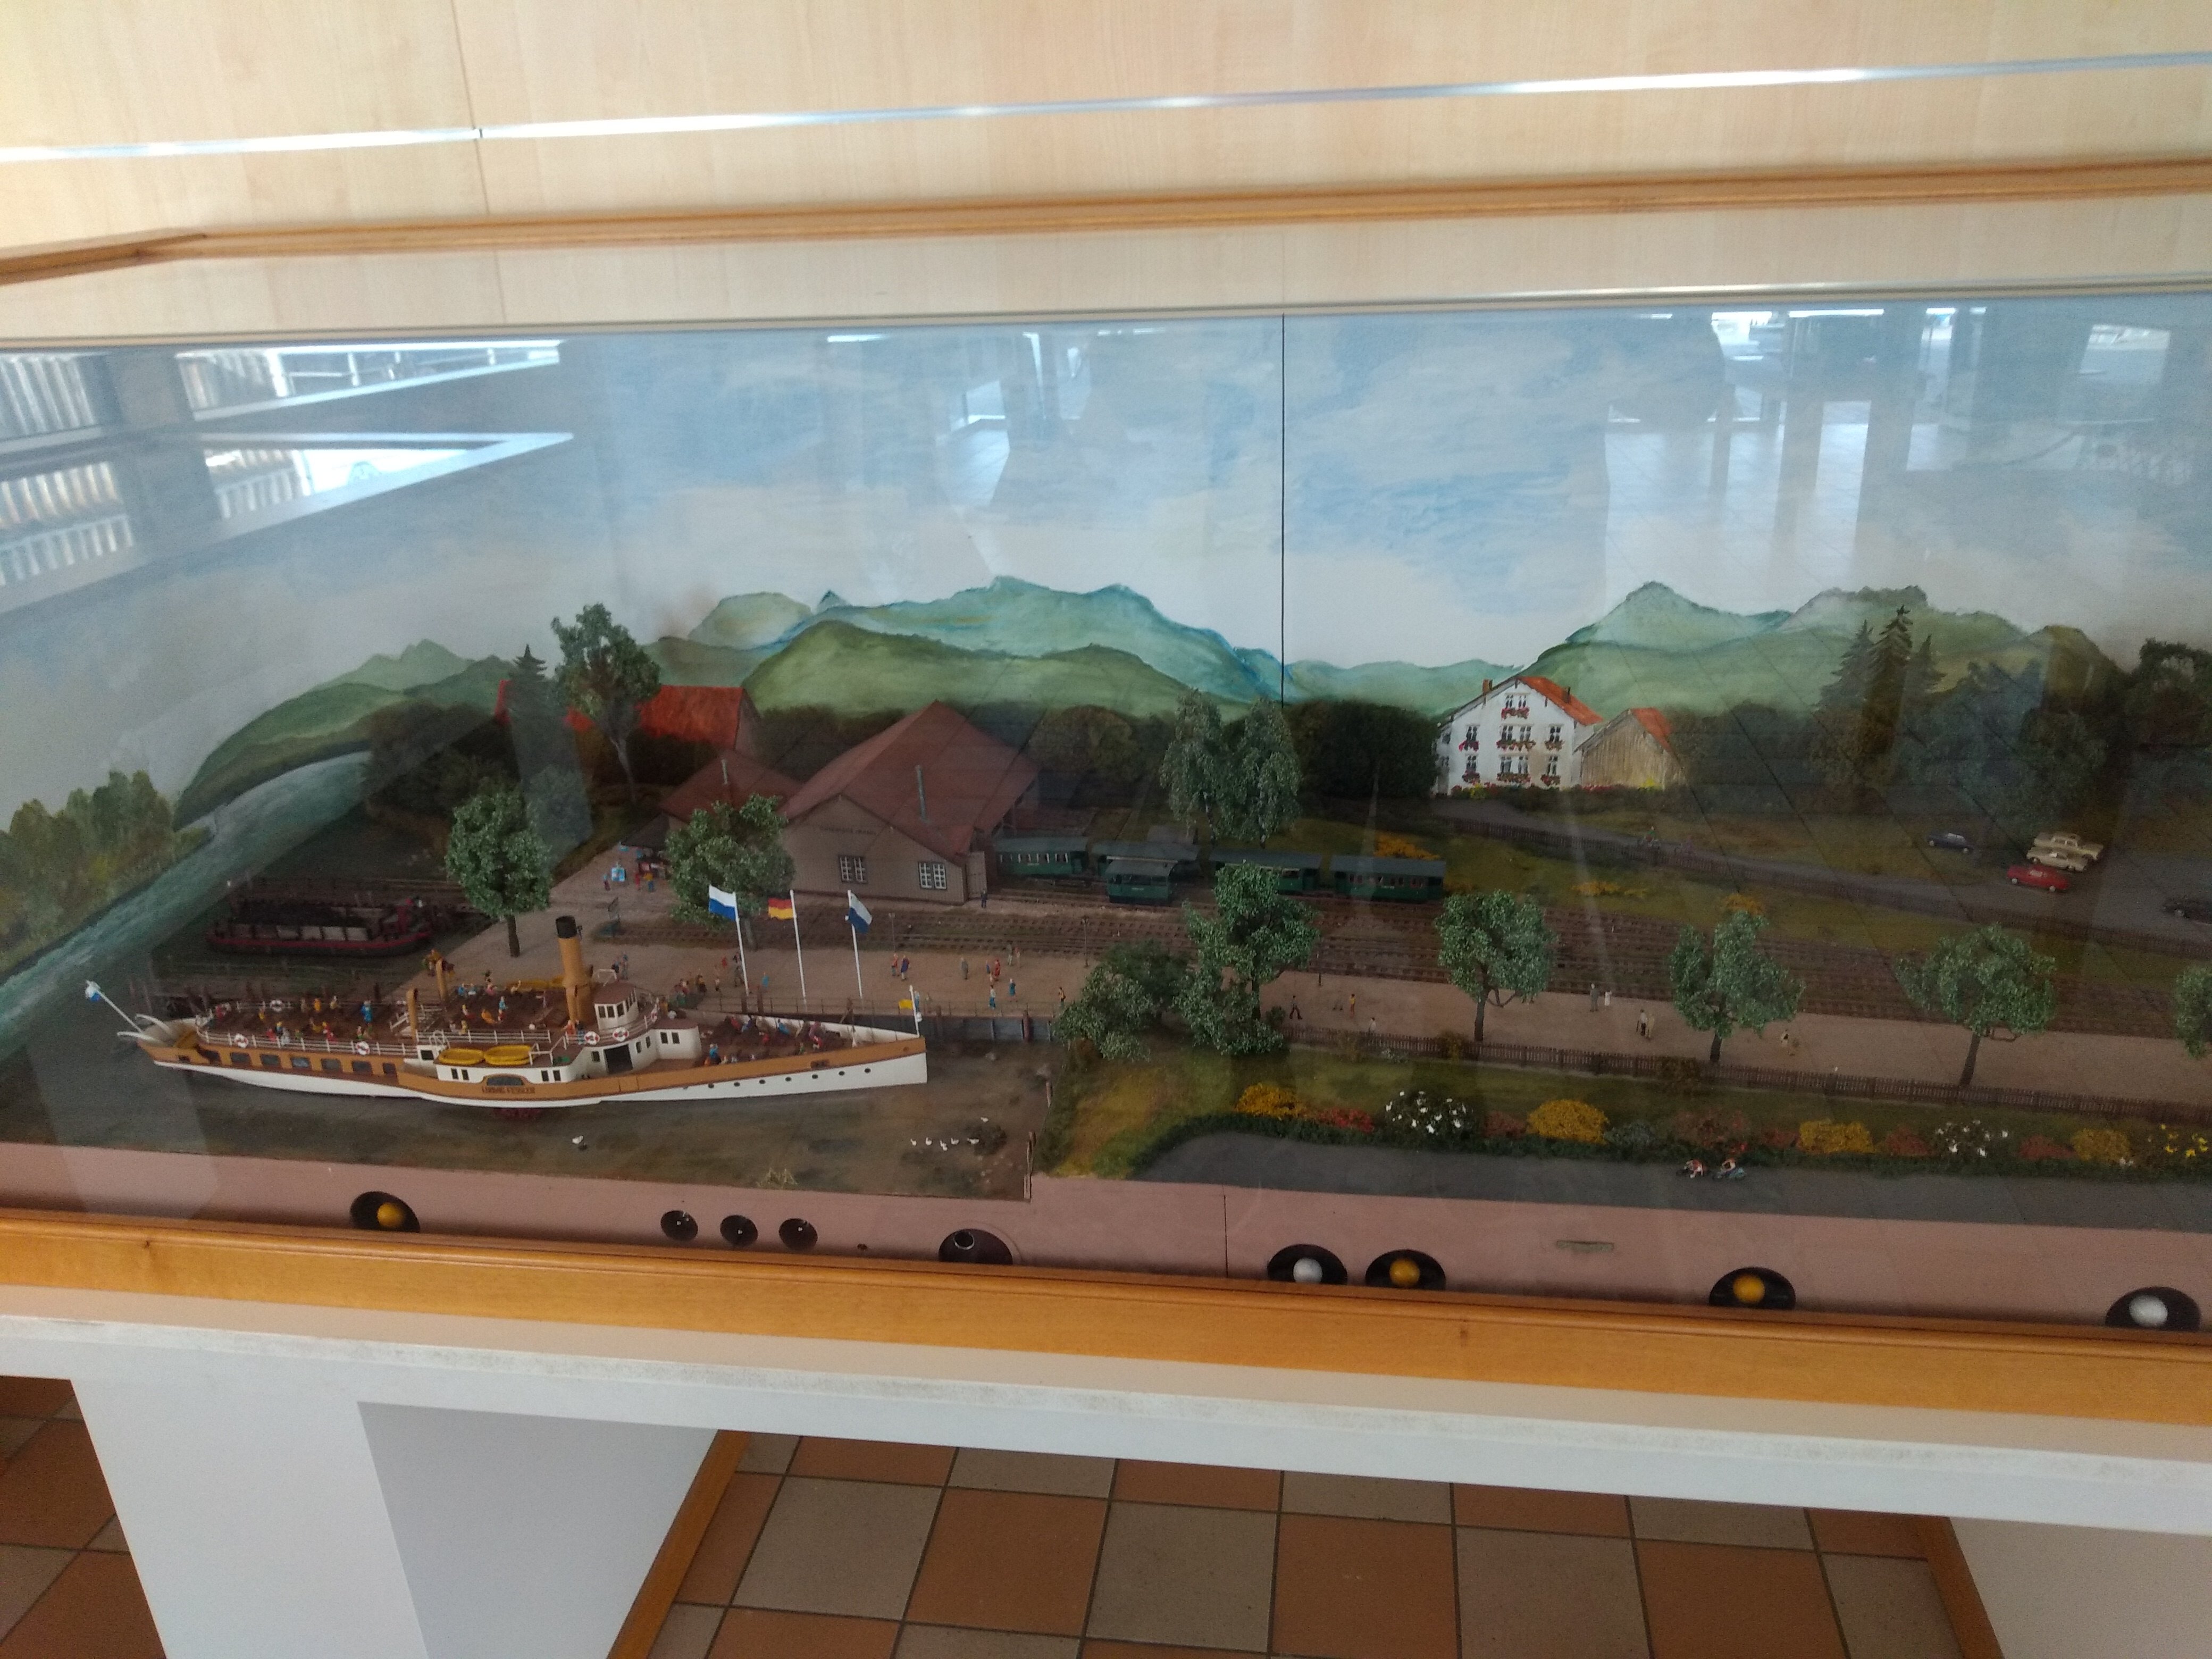
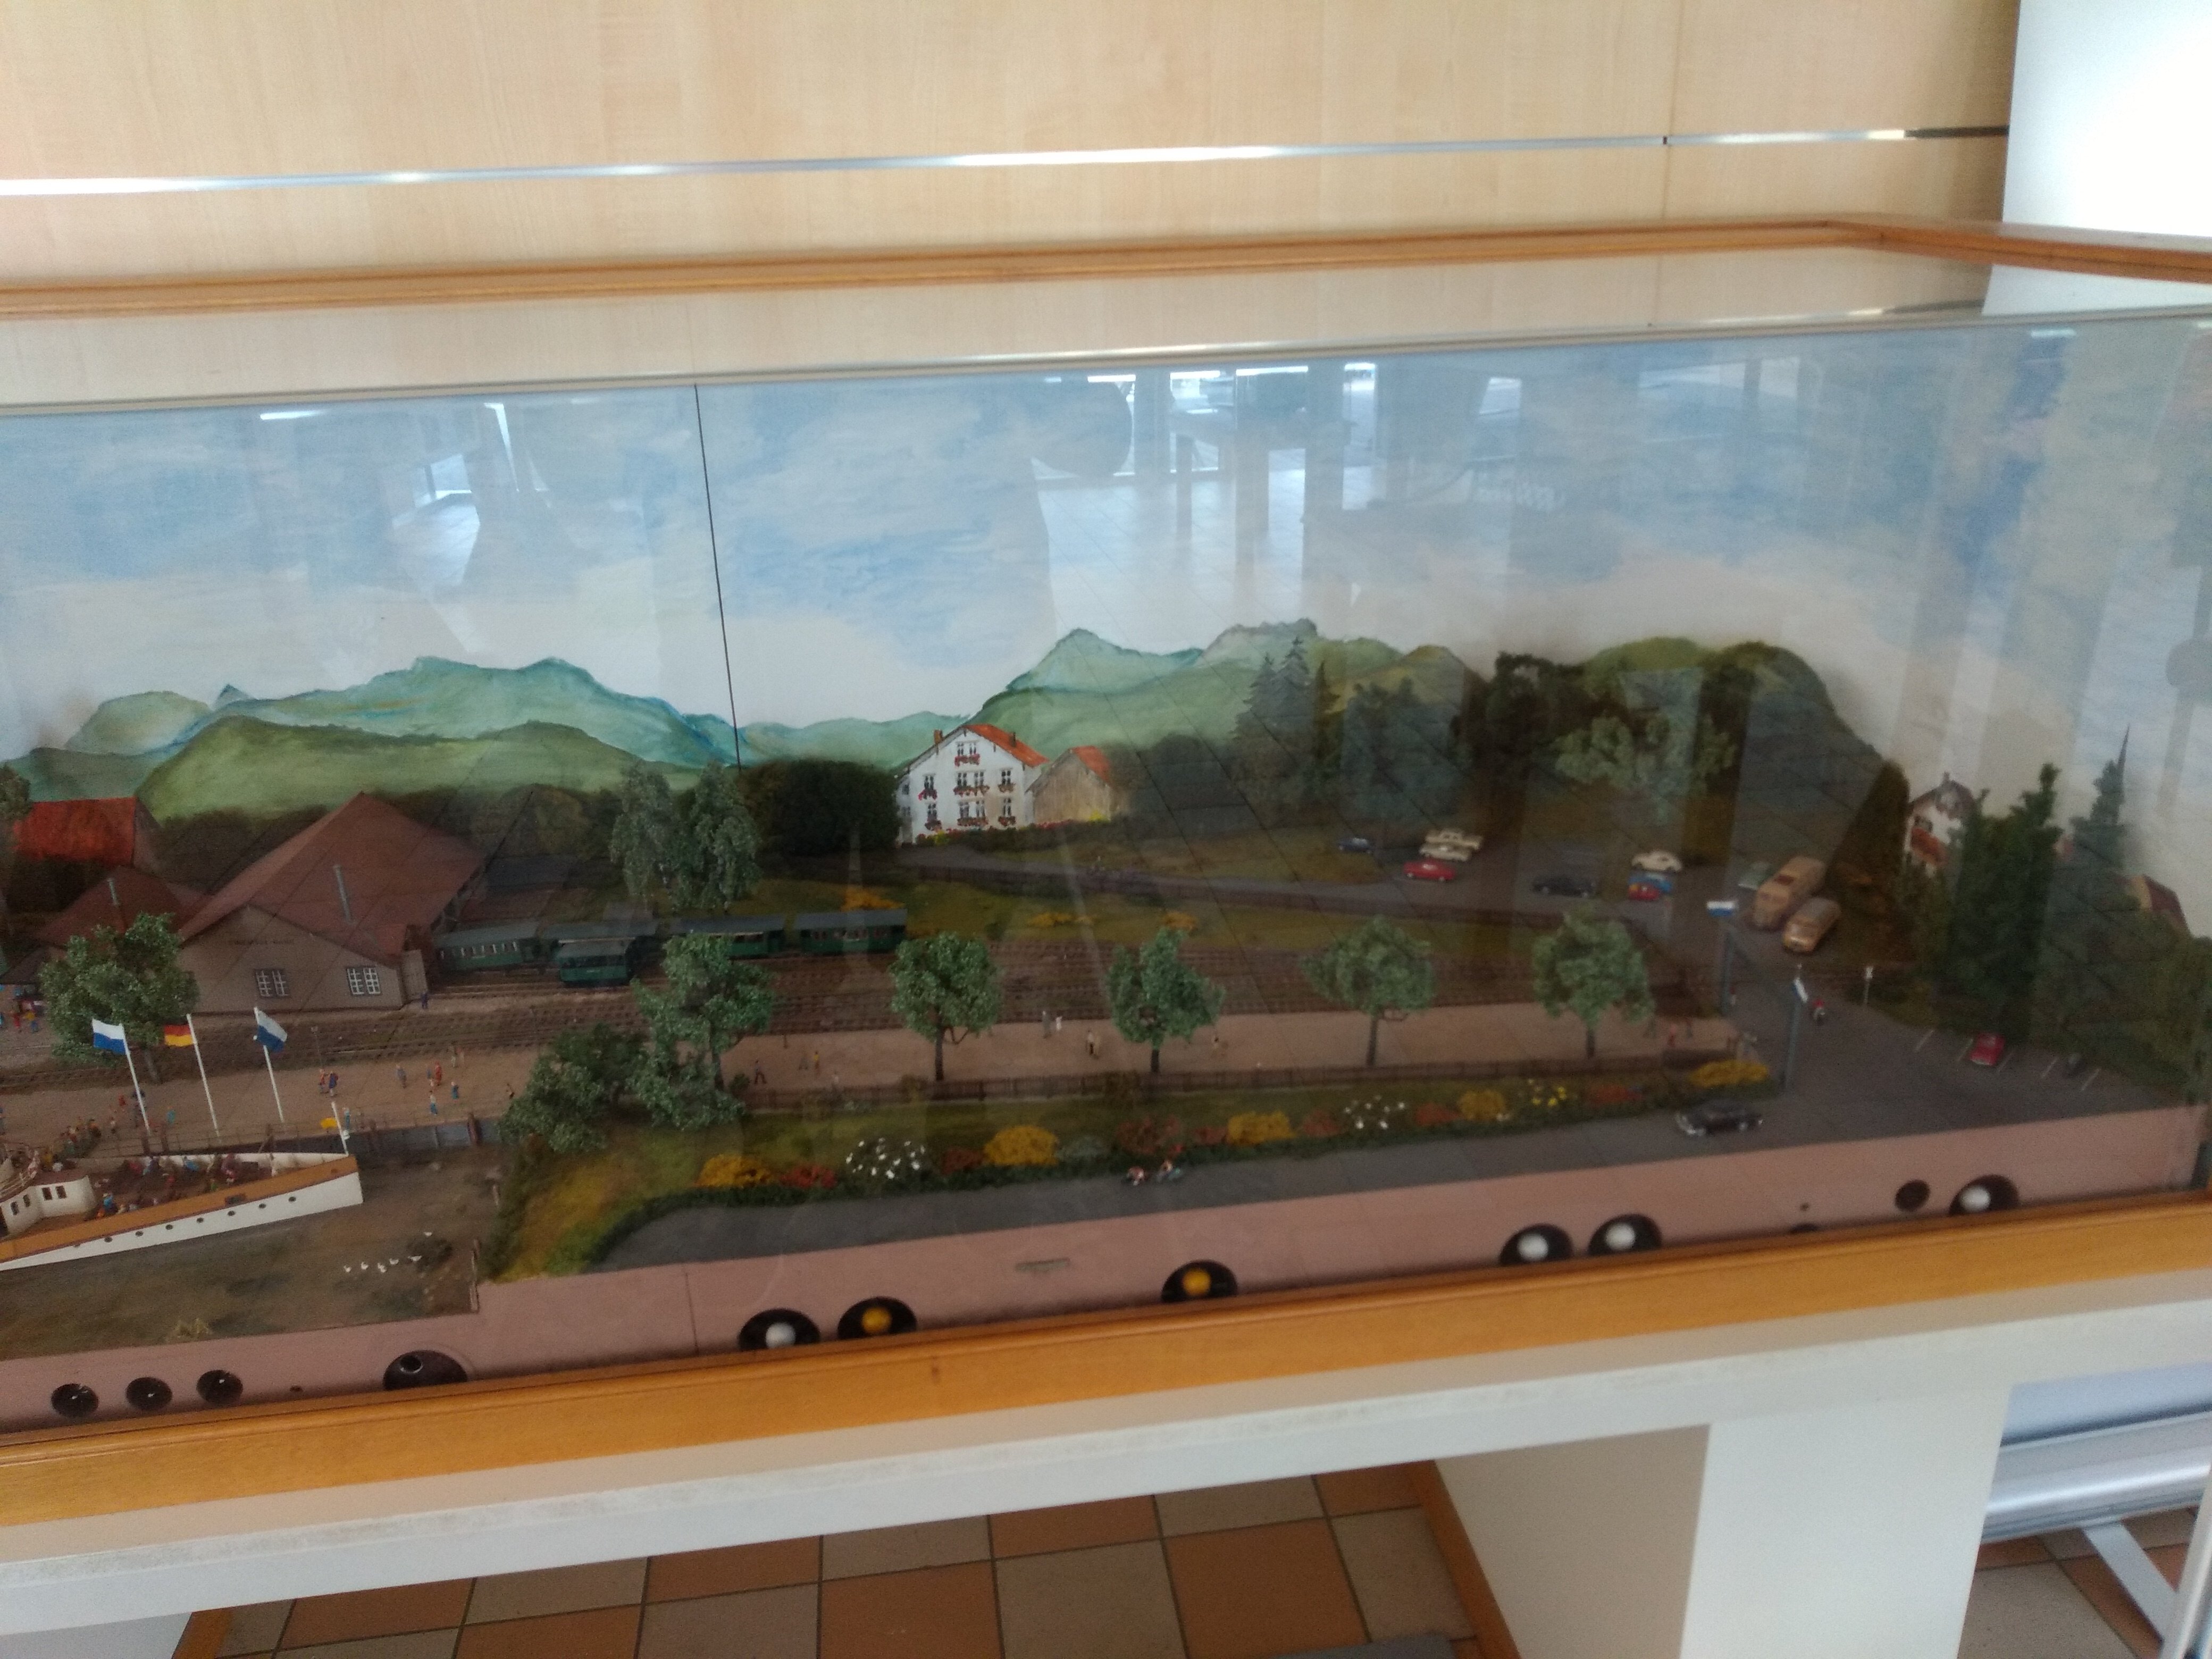
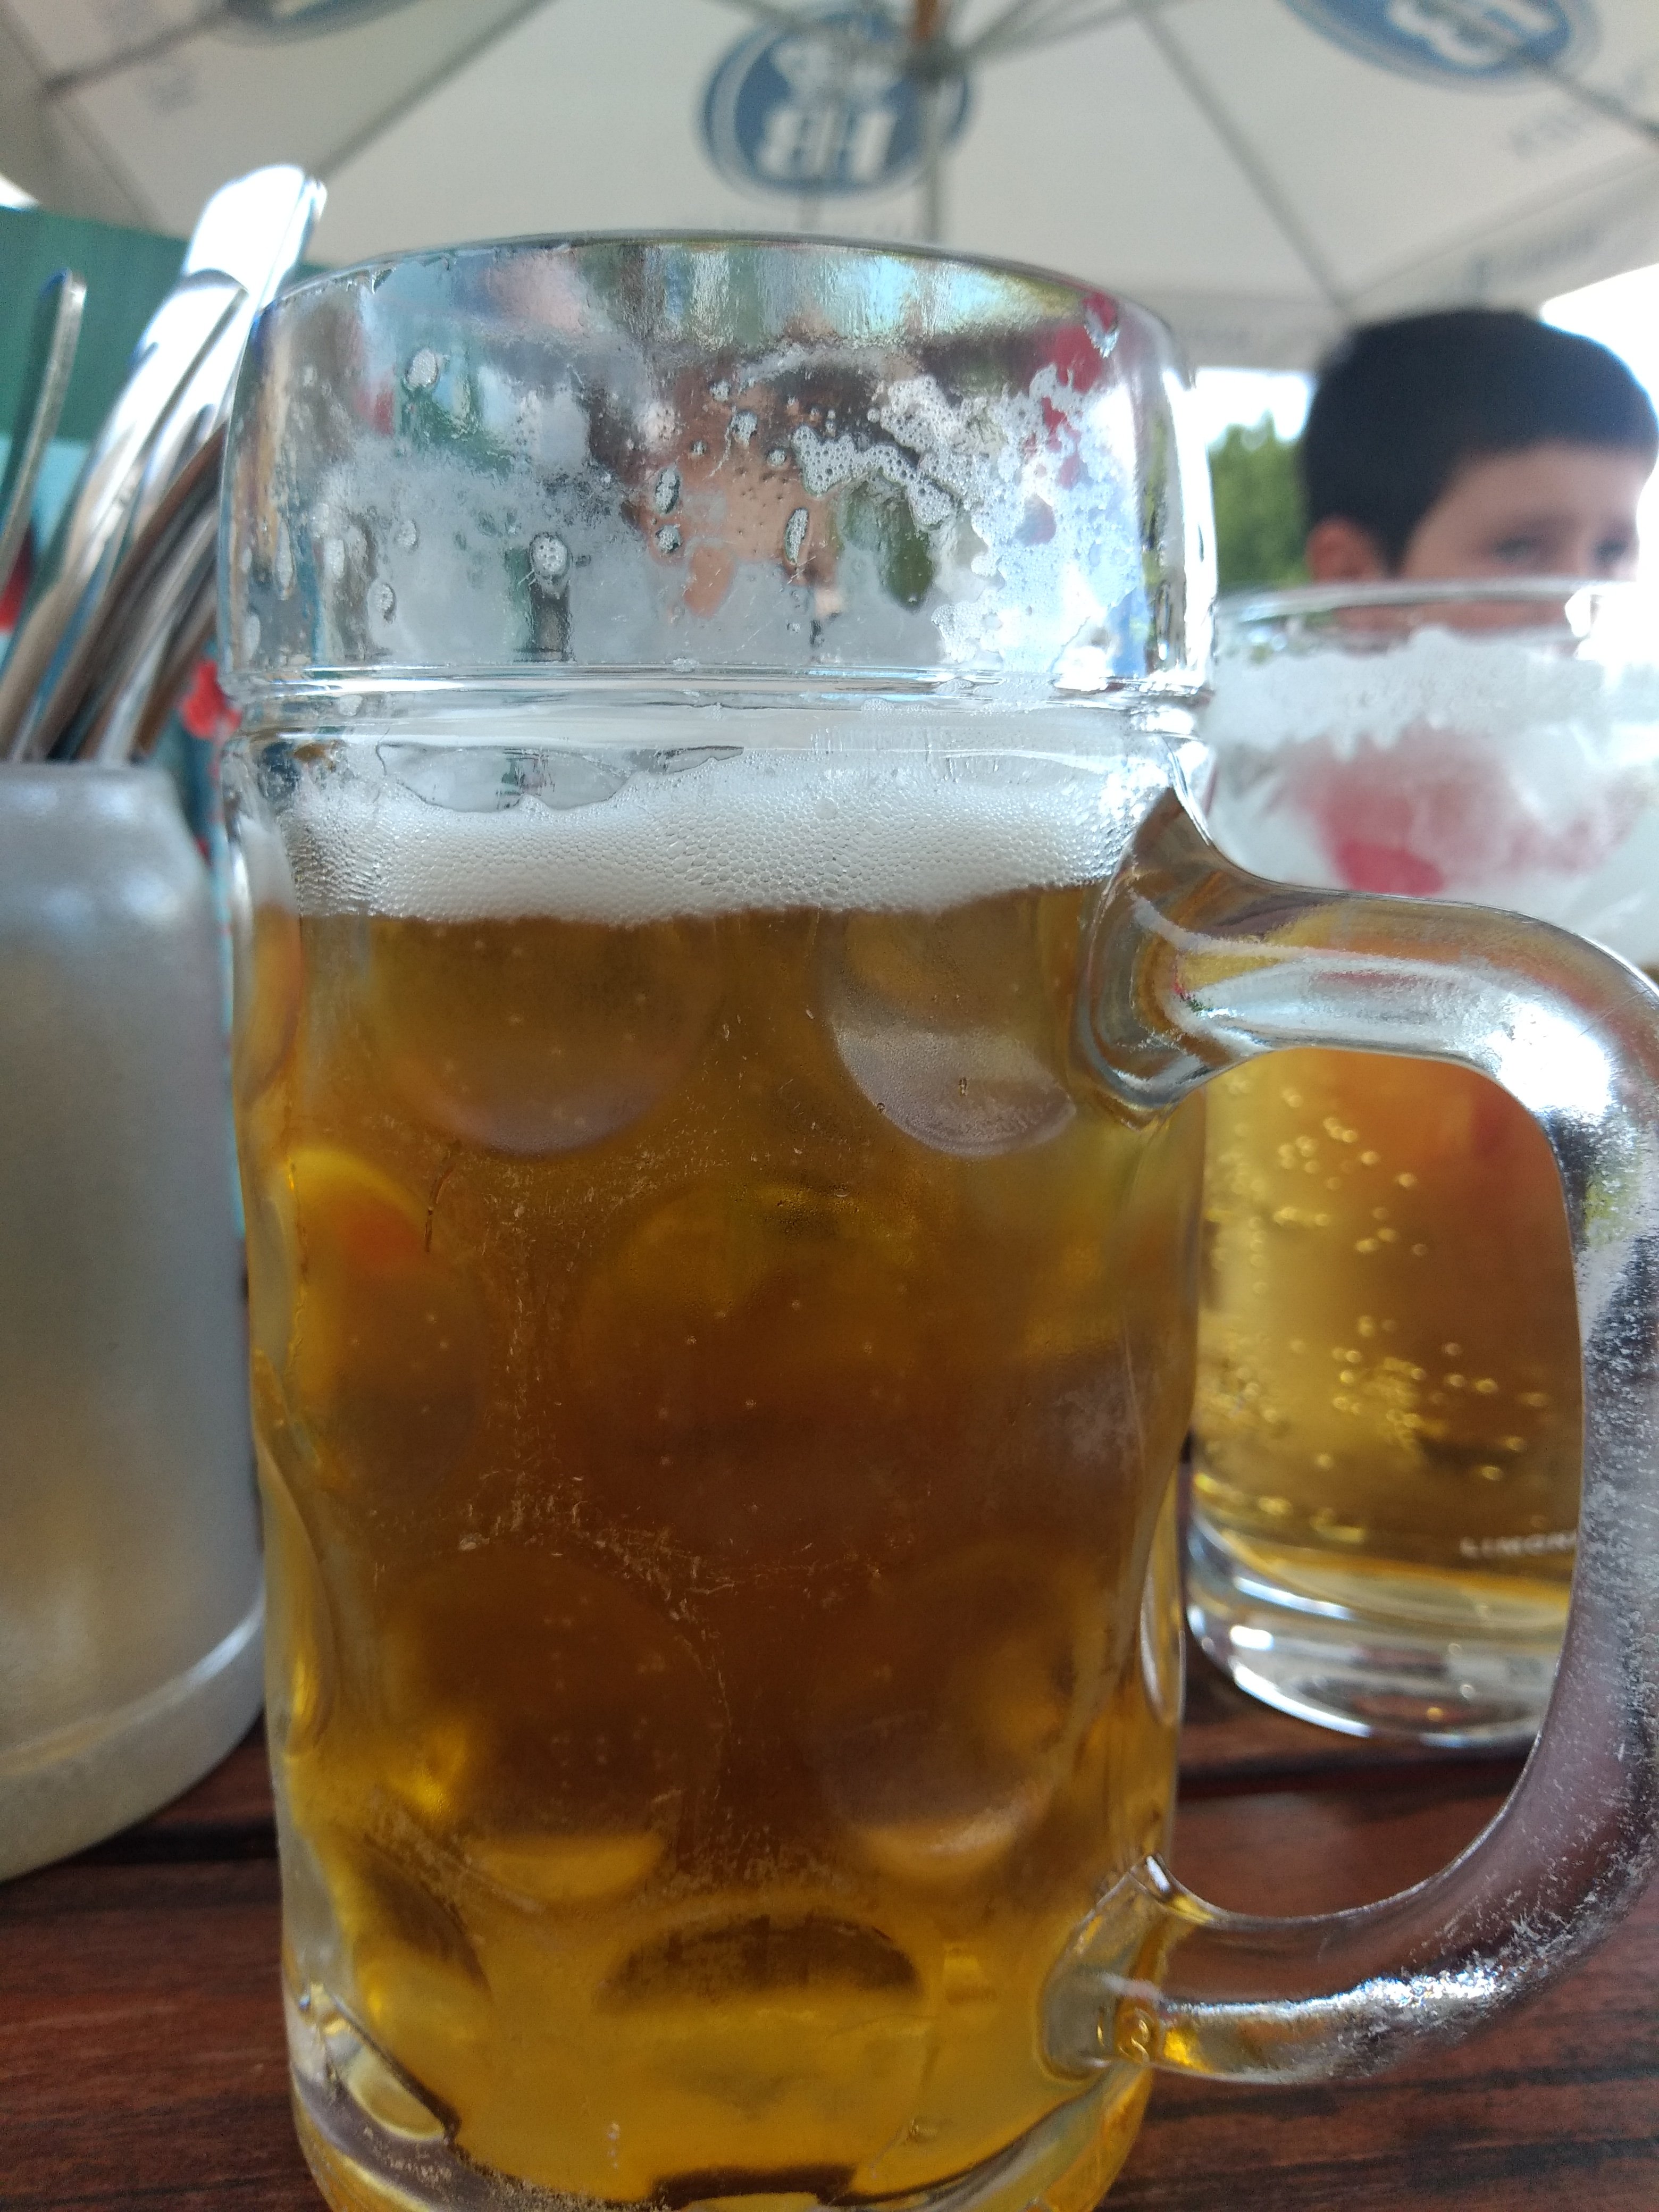
A few impressions from the very short (2km) Chiemsee-Bahn in Prien, Bavaria. The railway was built from the beginning to shuttle visitors from Prien station down to the moorings at Stock, the same job it still does today. From Stock, boats can be taken over to the islands in the lake (2nd largest lake entirely within Germany, 3rd largest if you include Lake Constance). Terminus in Prien. Mainline rail running parallel out of shot to the right: View in other direction towards Stock with train arriving: After arrival in Stock on the return service which was the last train of the day, the loco is quickly uncoupled and heads towards its shed for the night: The coaches will spend the night in the station: The coaling station for the steam loco that only works weekends: And some models from the waiting room: And just for George, the beer I enjoyed over on the Herreninsel:
-
Lol yeah that's them!
-
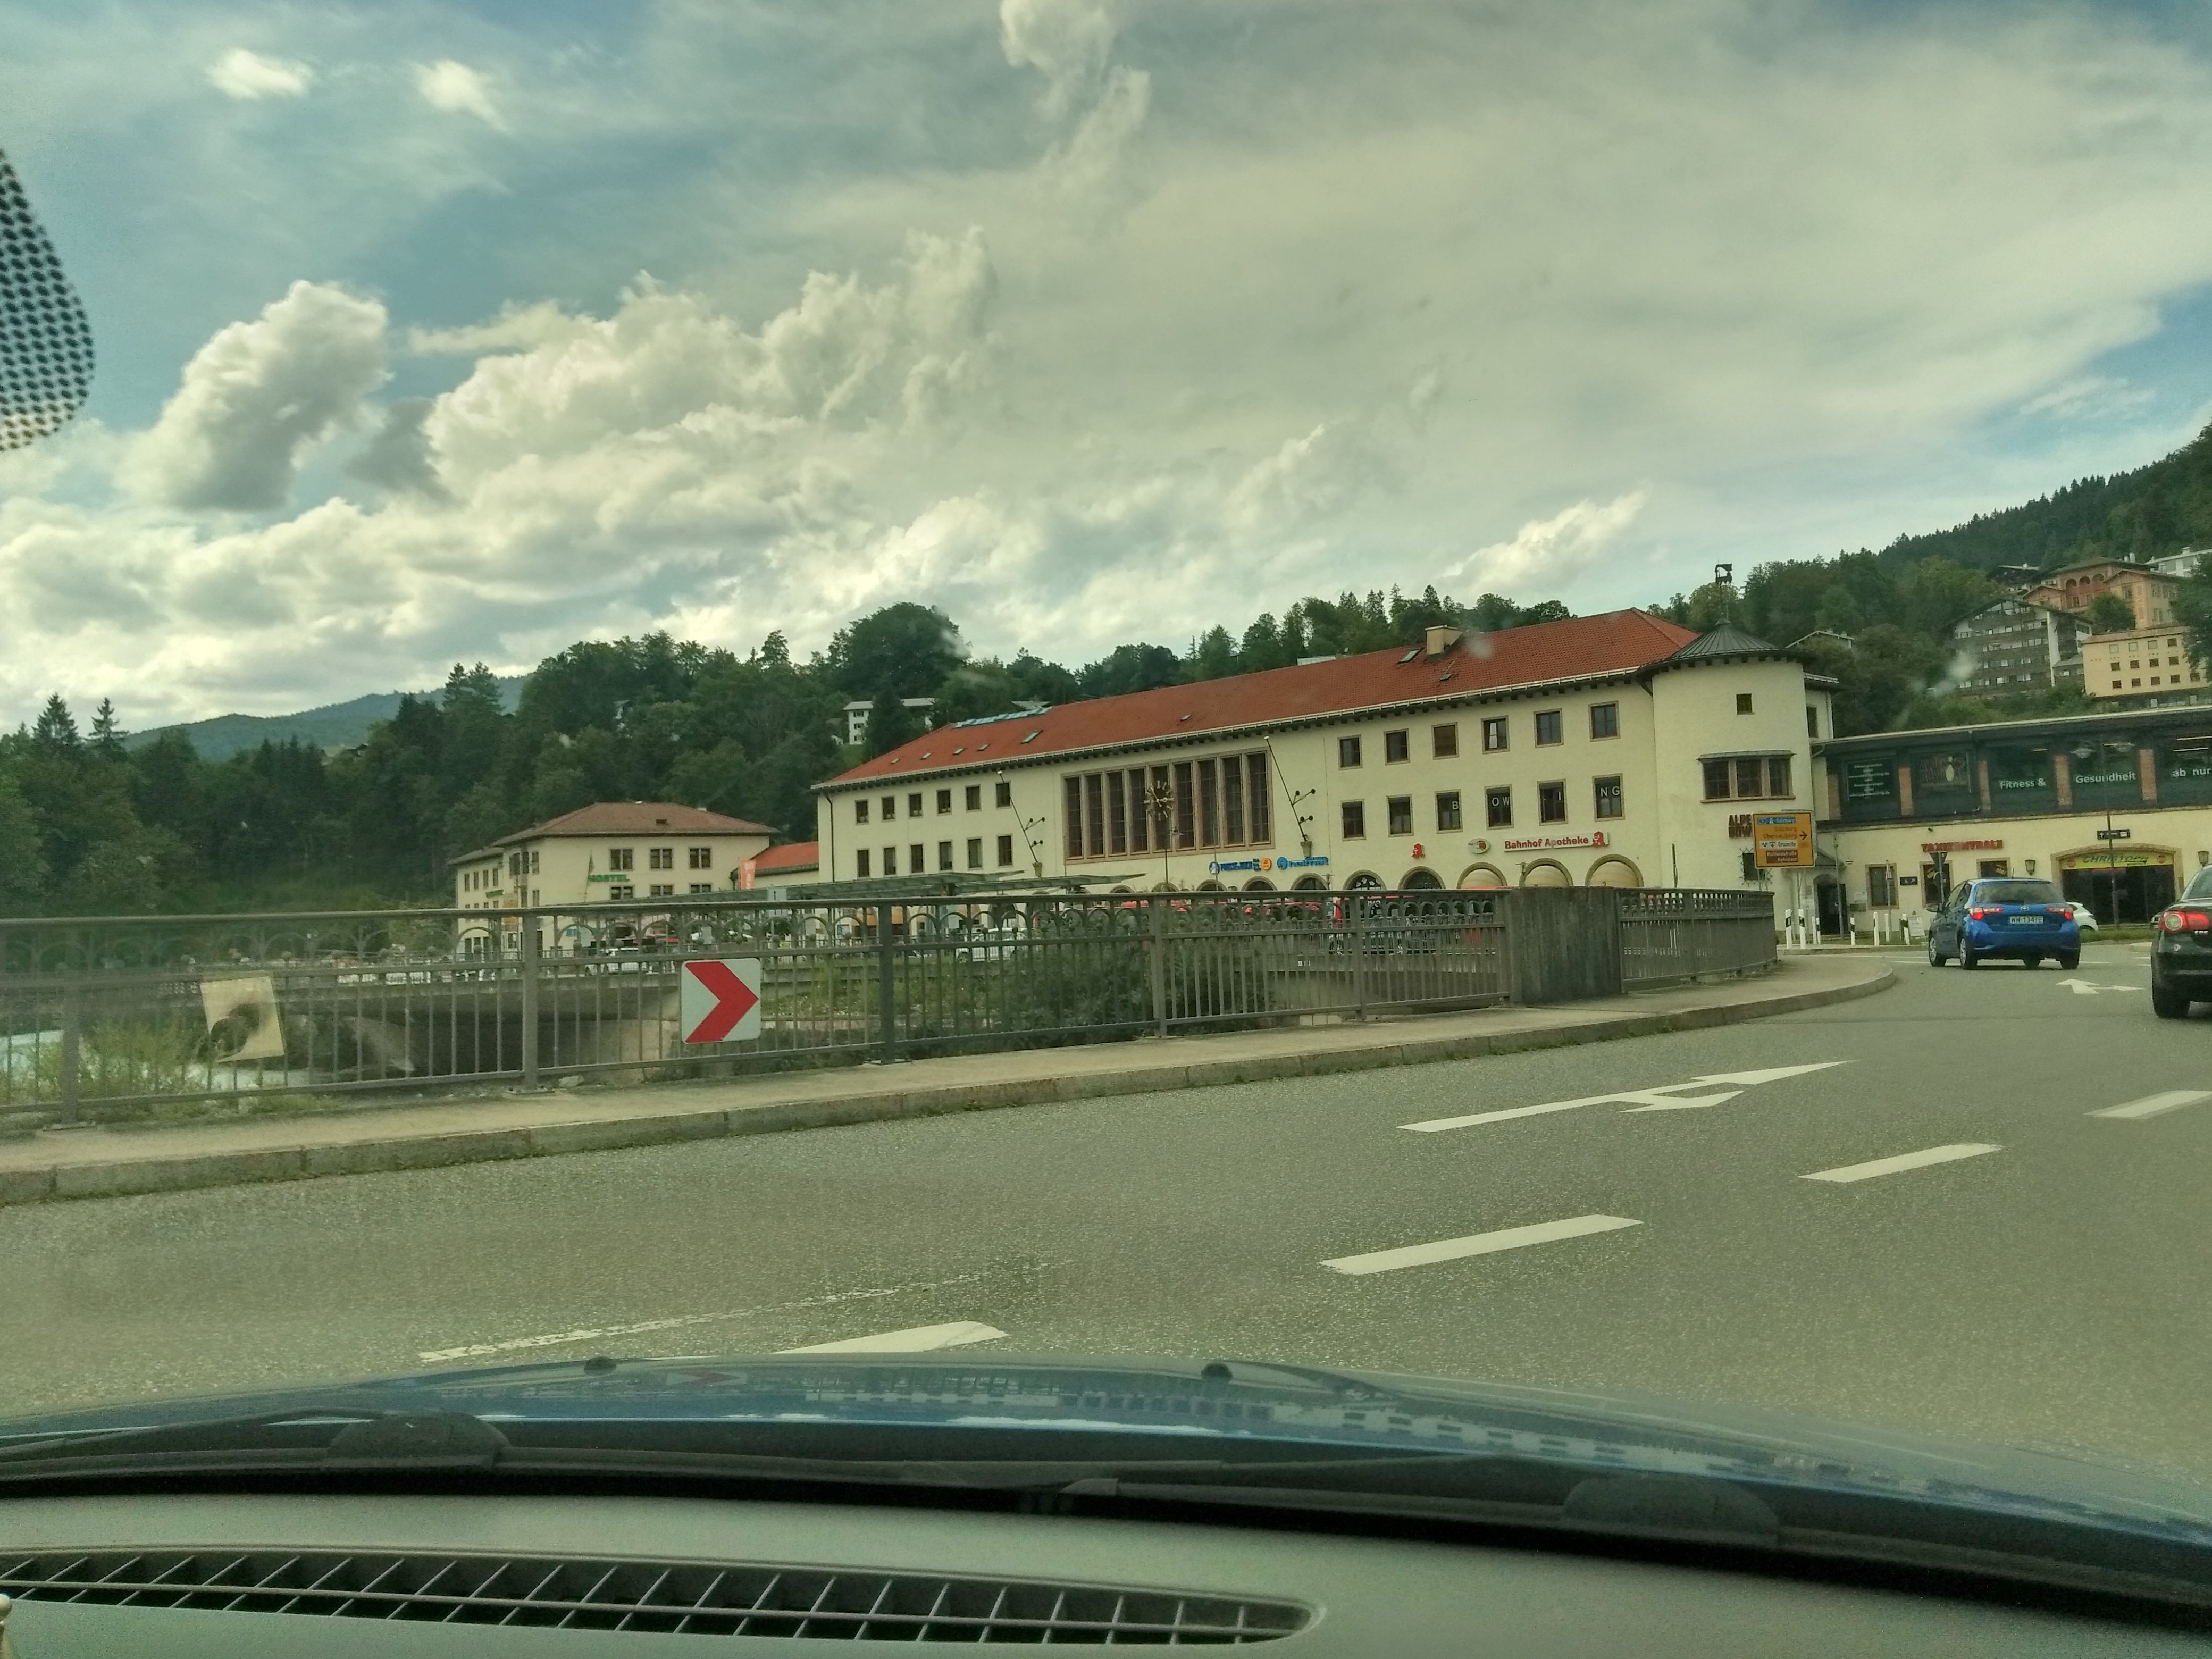
We passed through Berchtesgaden yesterday actually George: That's the completely out of proportion Hauptbahnhof. Berchtesgaden is the smallest urban District in Germany with its own Hauptbahnhof. Built like that to receive you know who and his mates. The missus wouldn't sanction a trip up to his "place in the mountains" lol. Lunch with liquid accompaniment was had here on Wednesday George. Not Bavaria but Austria. Movie buffs may recognise this courtyard....
-
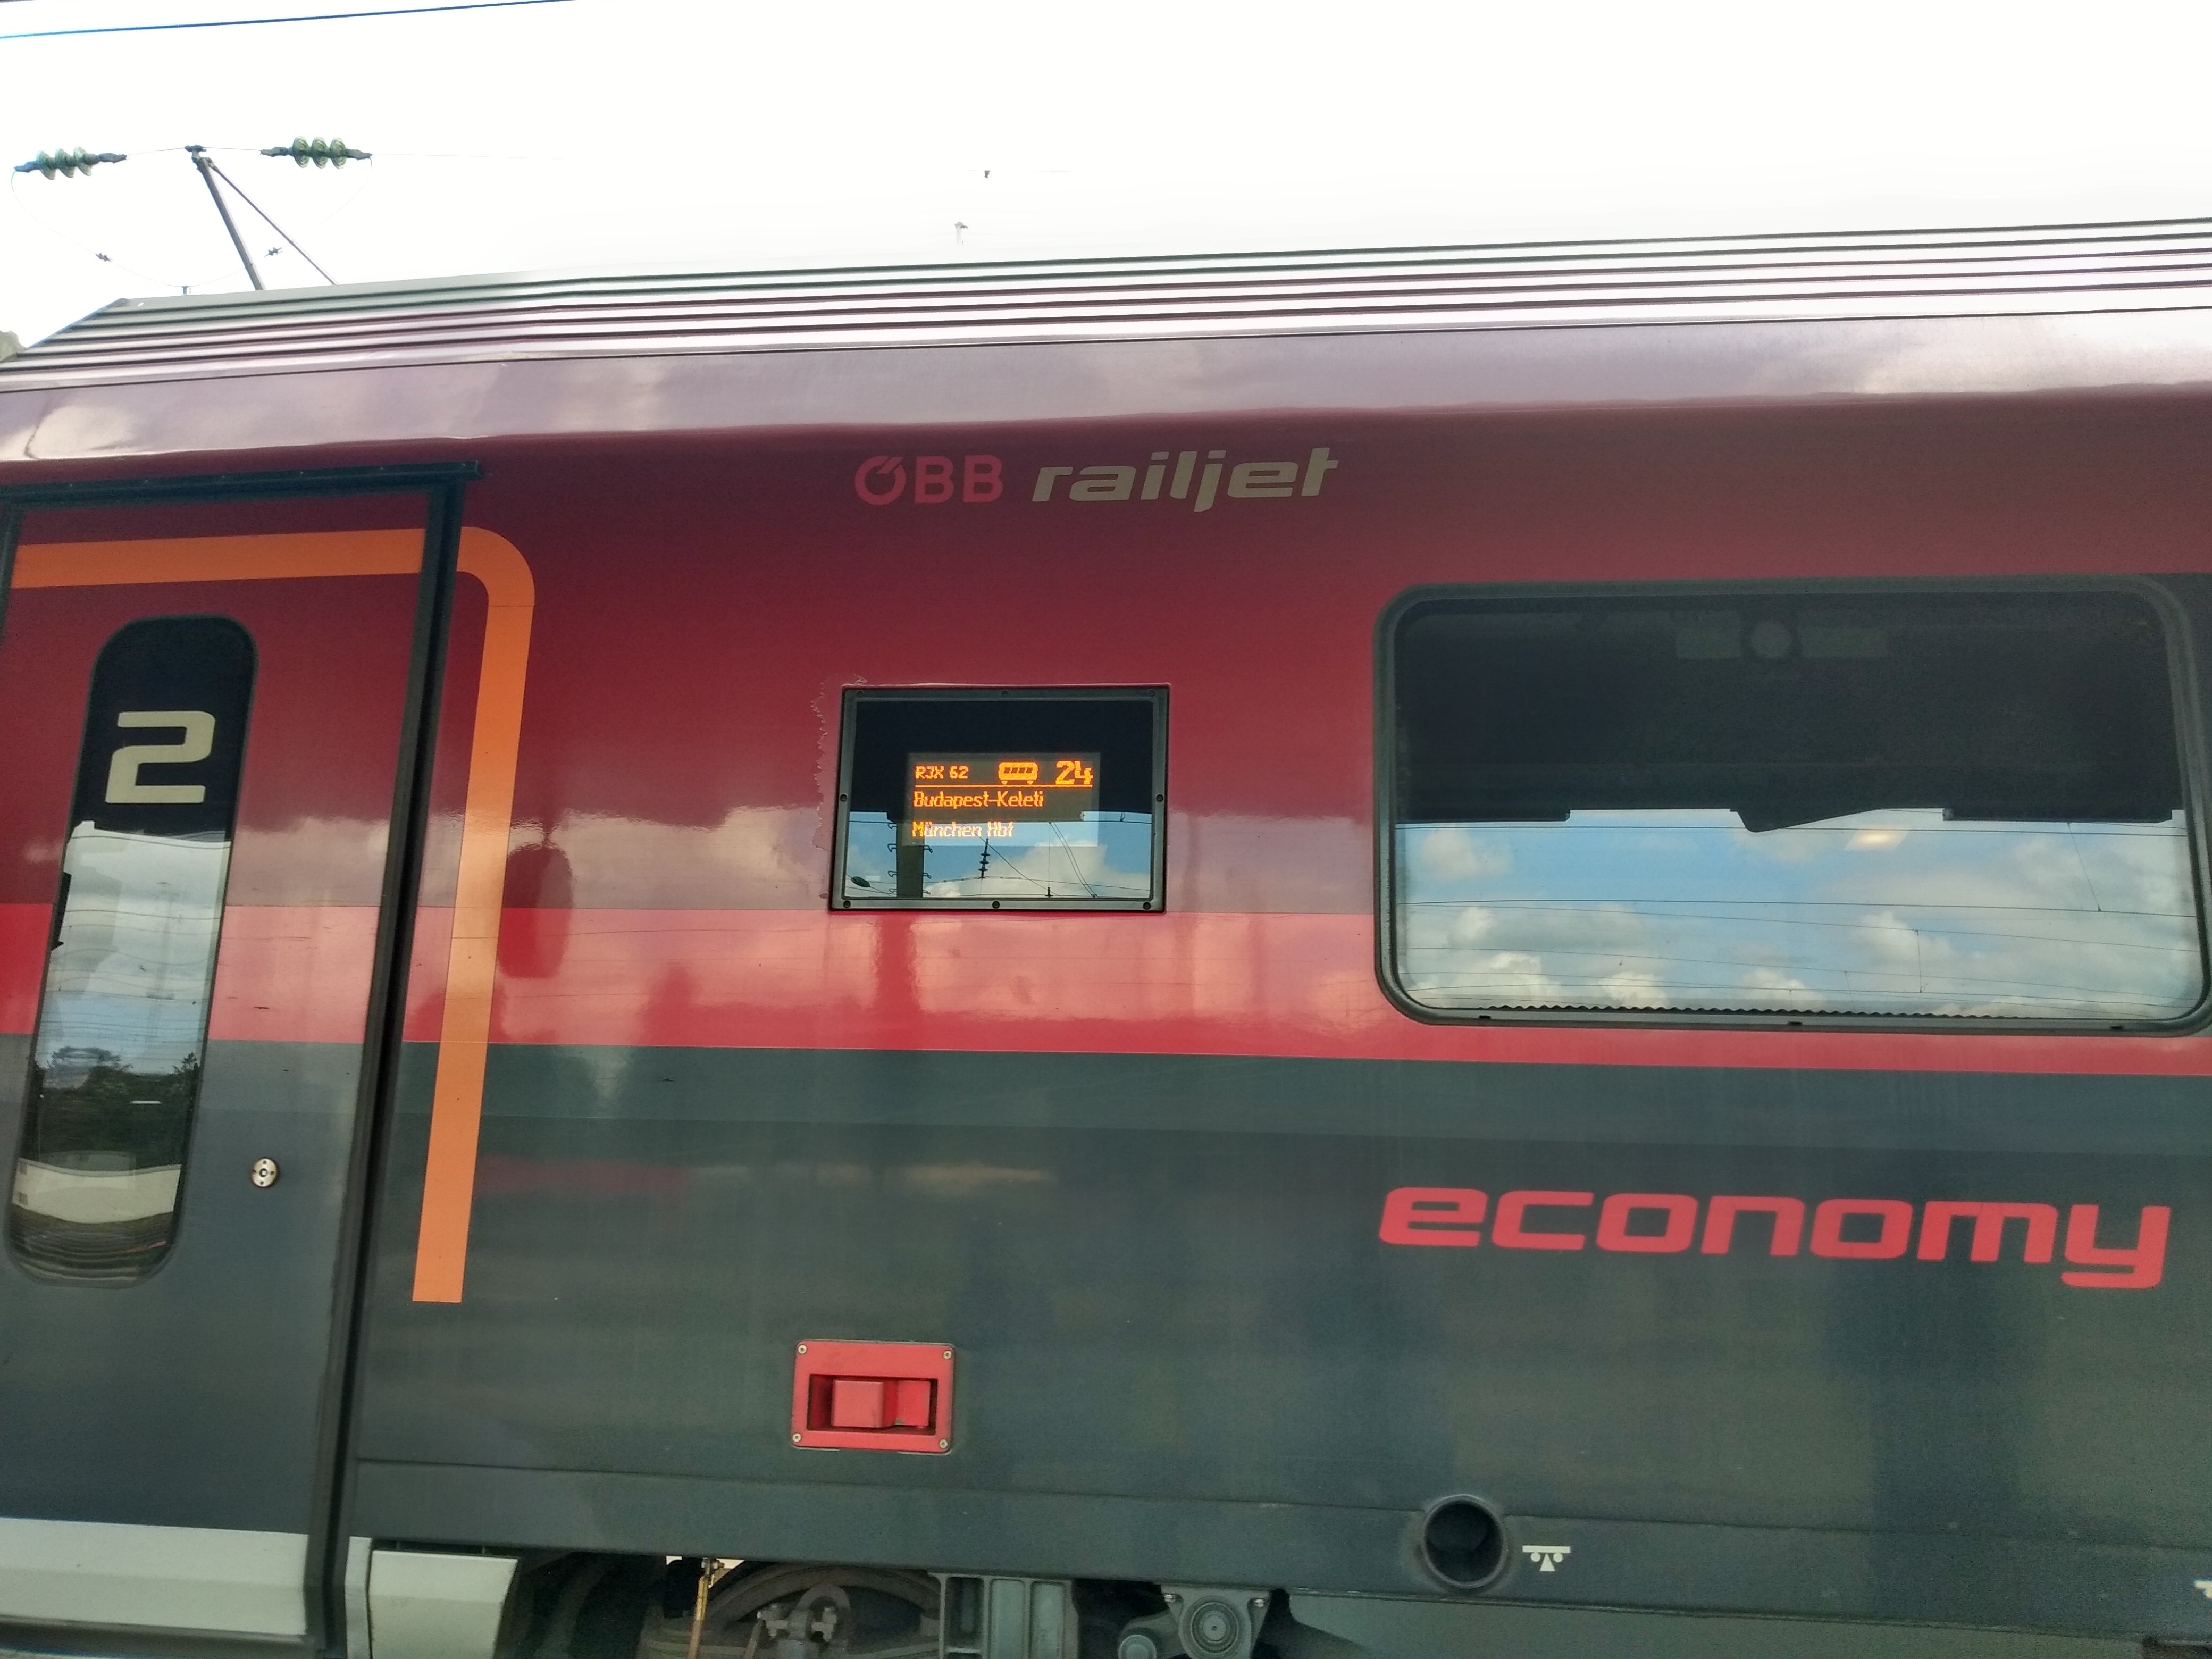
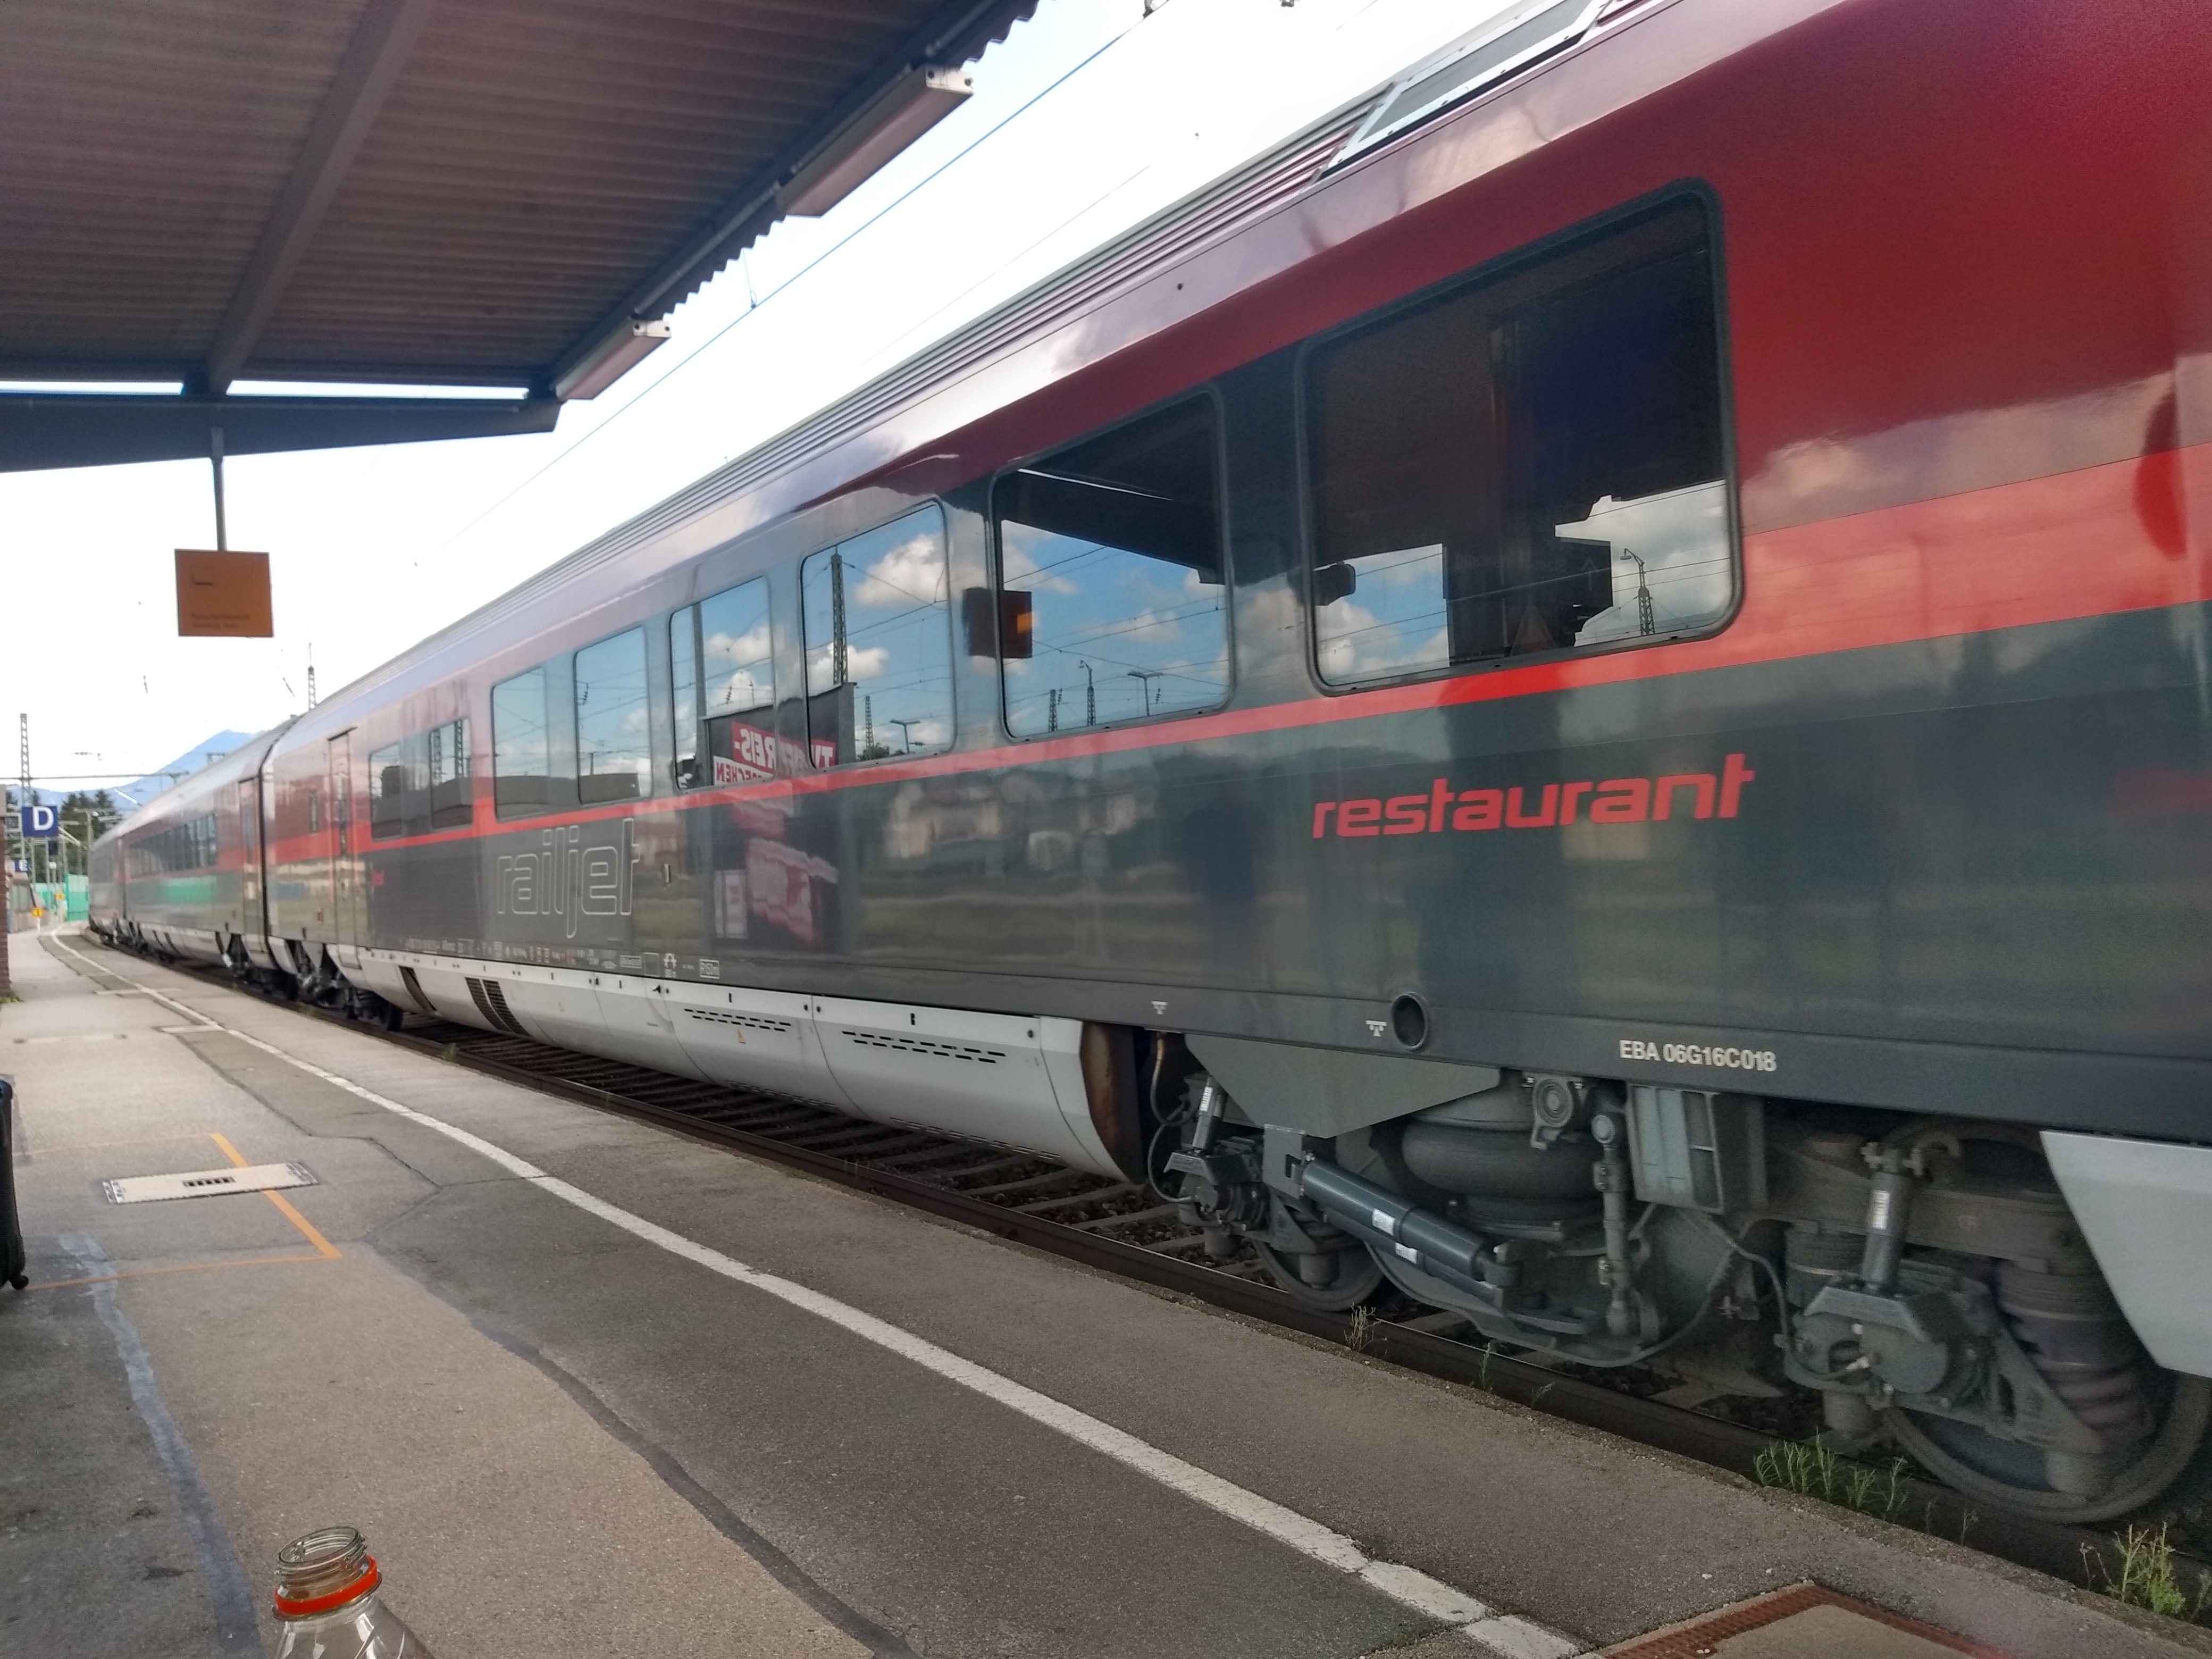
And they get used too! It's common to see two complete Railjet sets coupled together where traffic demands it. Plenty to be seen around here at the moment with the Bavarian school holidays just starting on Thursday last. This line is interesting because you have very many of these Railjets taking a shortcut through Germany. Most of them are actually doing Vienna - Salzburg - Innsbruck - (Zurich). Only a few are stopping anywhere in Germany. They are running "privileged" through Germany so even before Schengen and the single market they ran non stop through Germany back into Austria without any customs formalities. These days unfortunately with Corona that's once again a benefit.
-
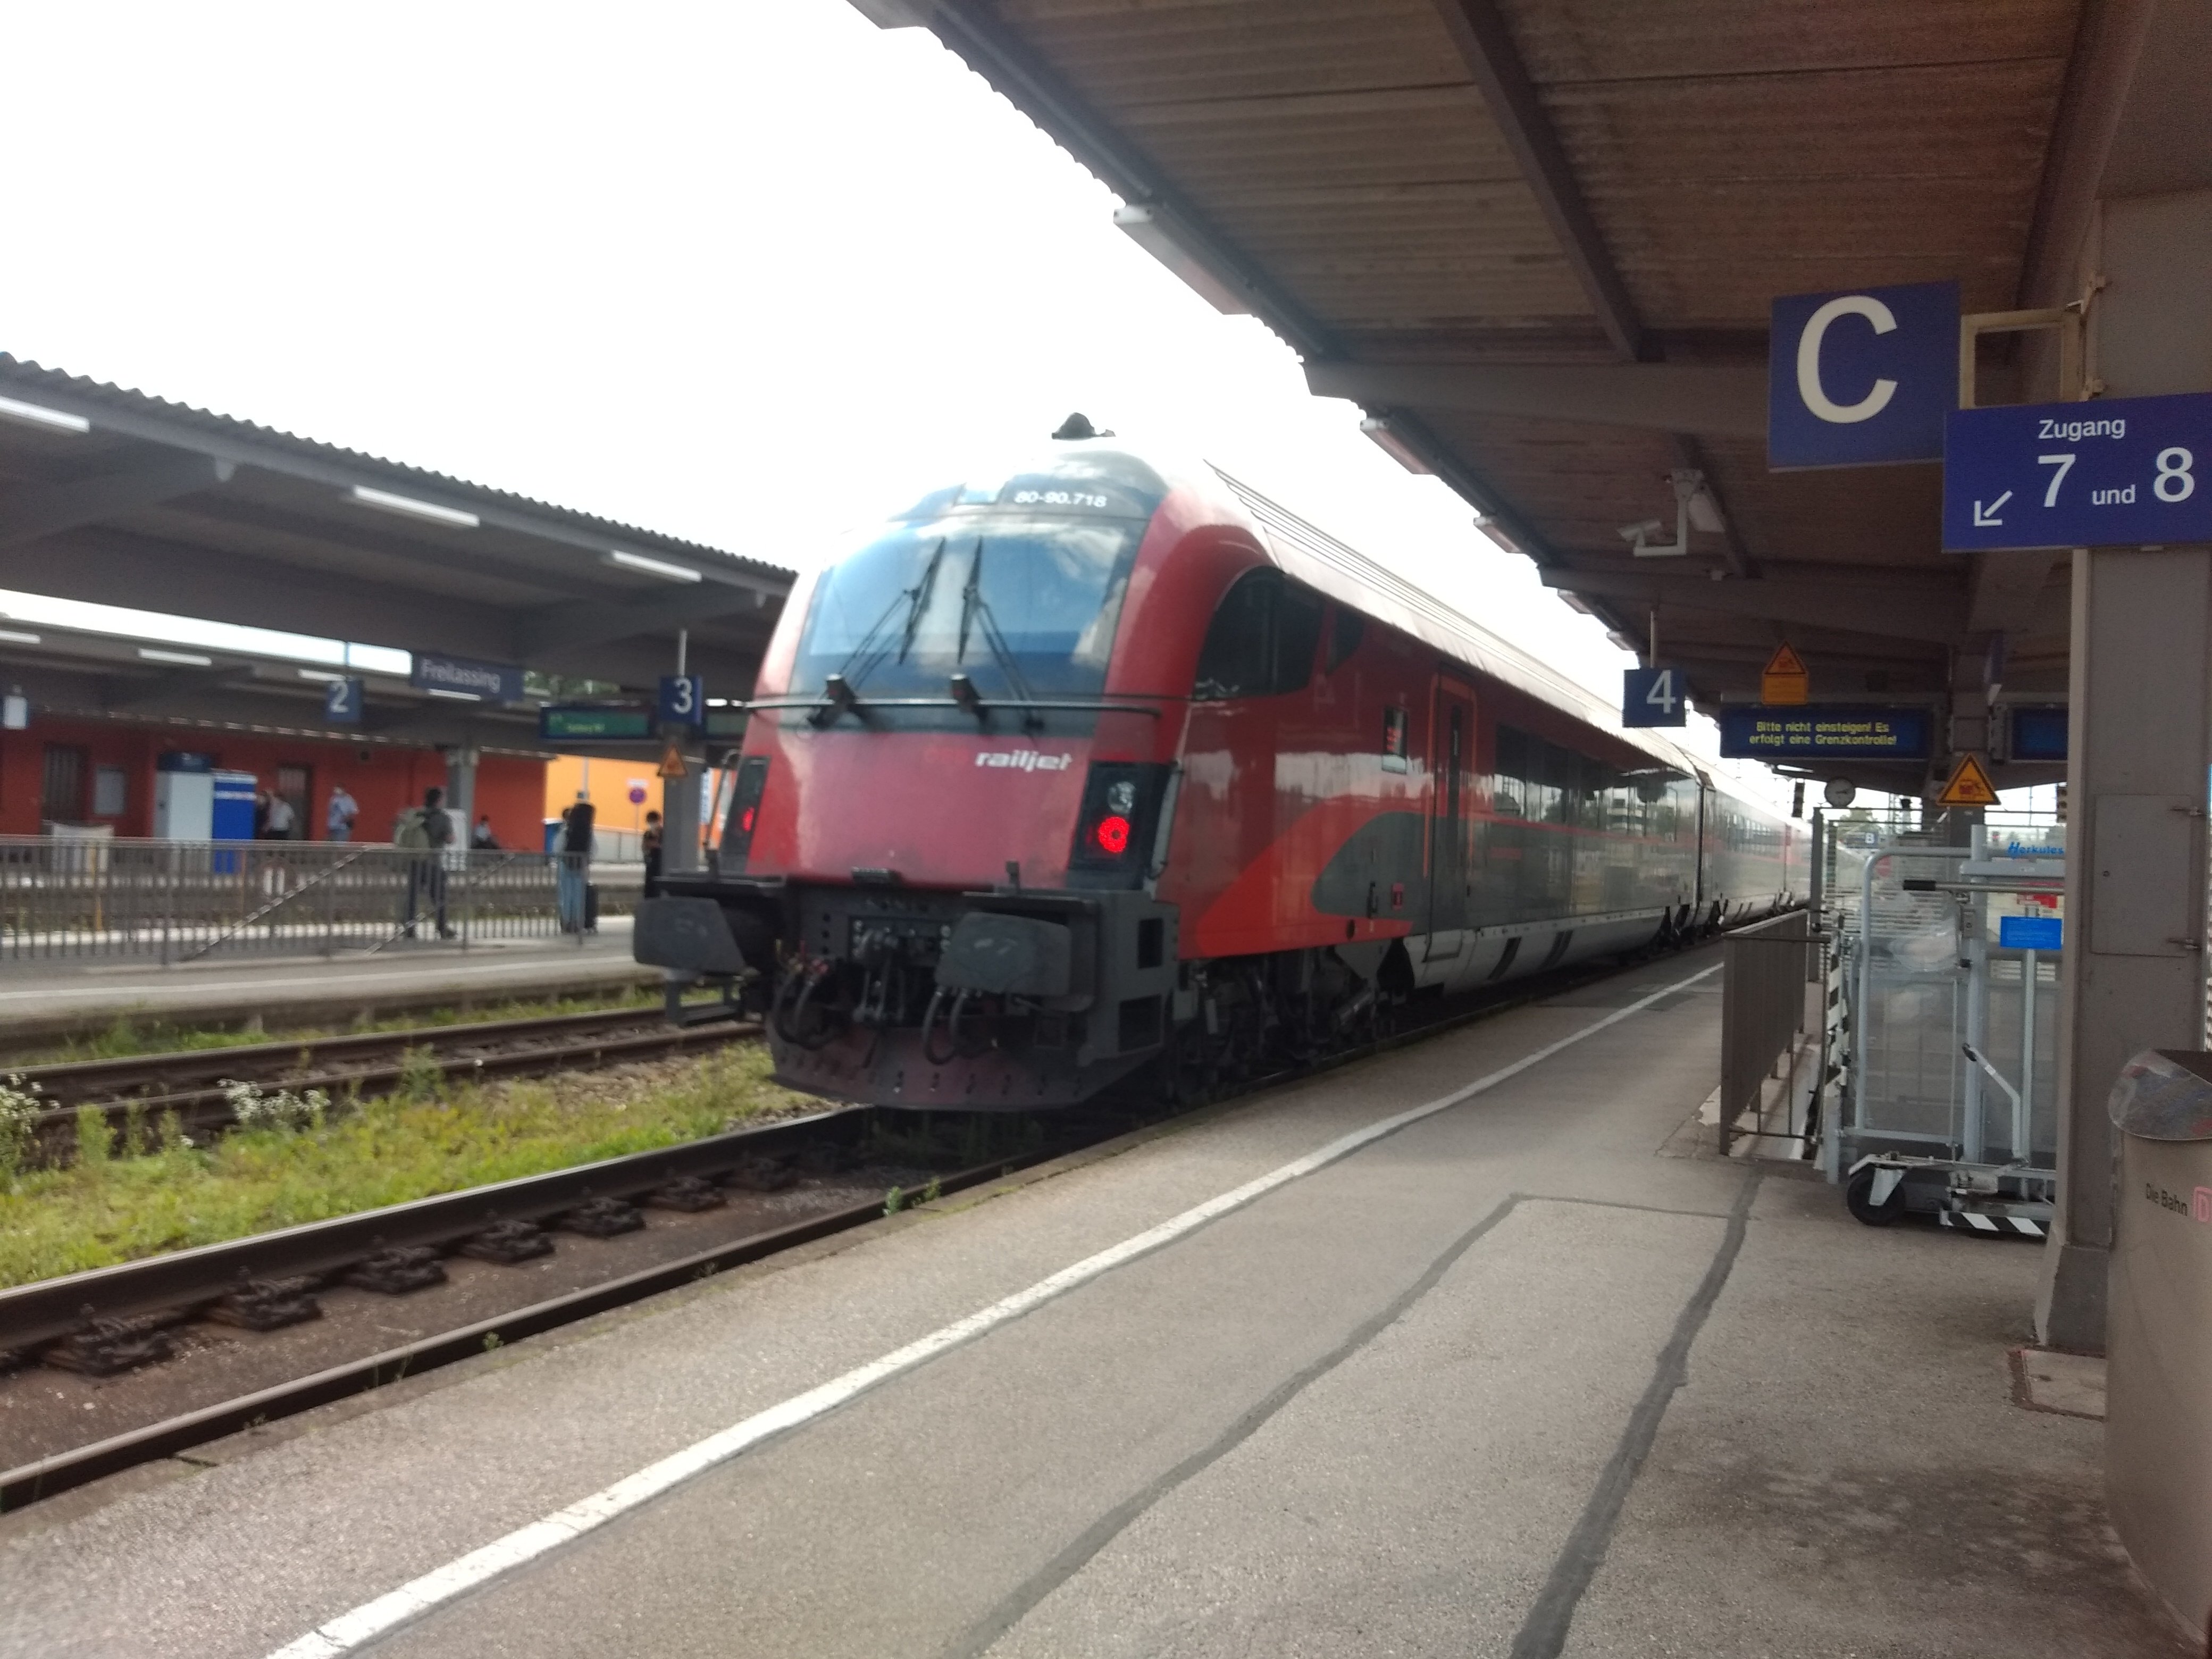
A final couple of pics of Freilassing from today... The above Budapest-Munich train operated by the ÖBB would not normally stop here. The destination board advises would be passengers not to board as the train is only stopping for a "border check". A couple of federal police officers boarded the train and it departed again. We took one of these instead of a regional train because we'd just missed the hourly regional connection. Only cost €6.50 more for the three of us on the Railjet and there's a children's "cinema" on board to get 20 minutes peace lol.
-
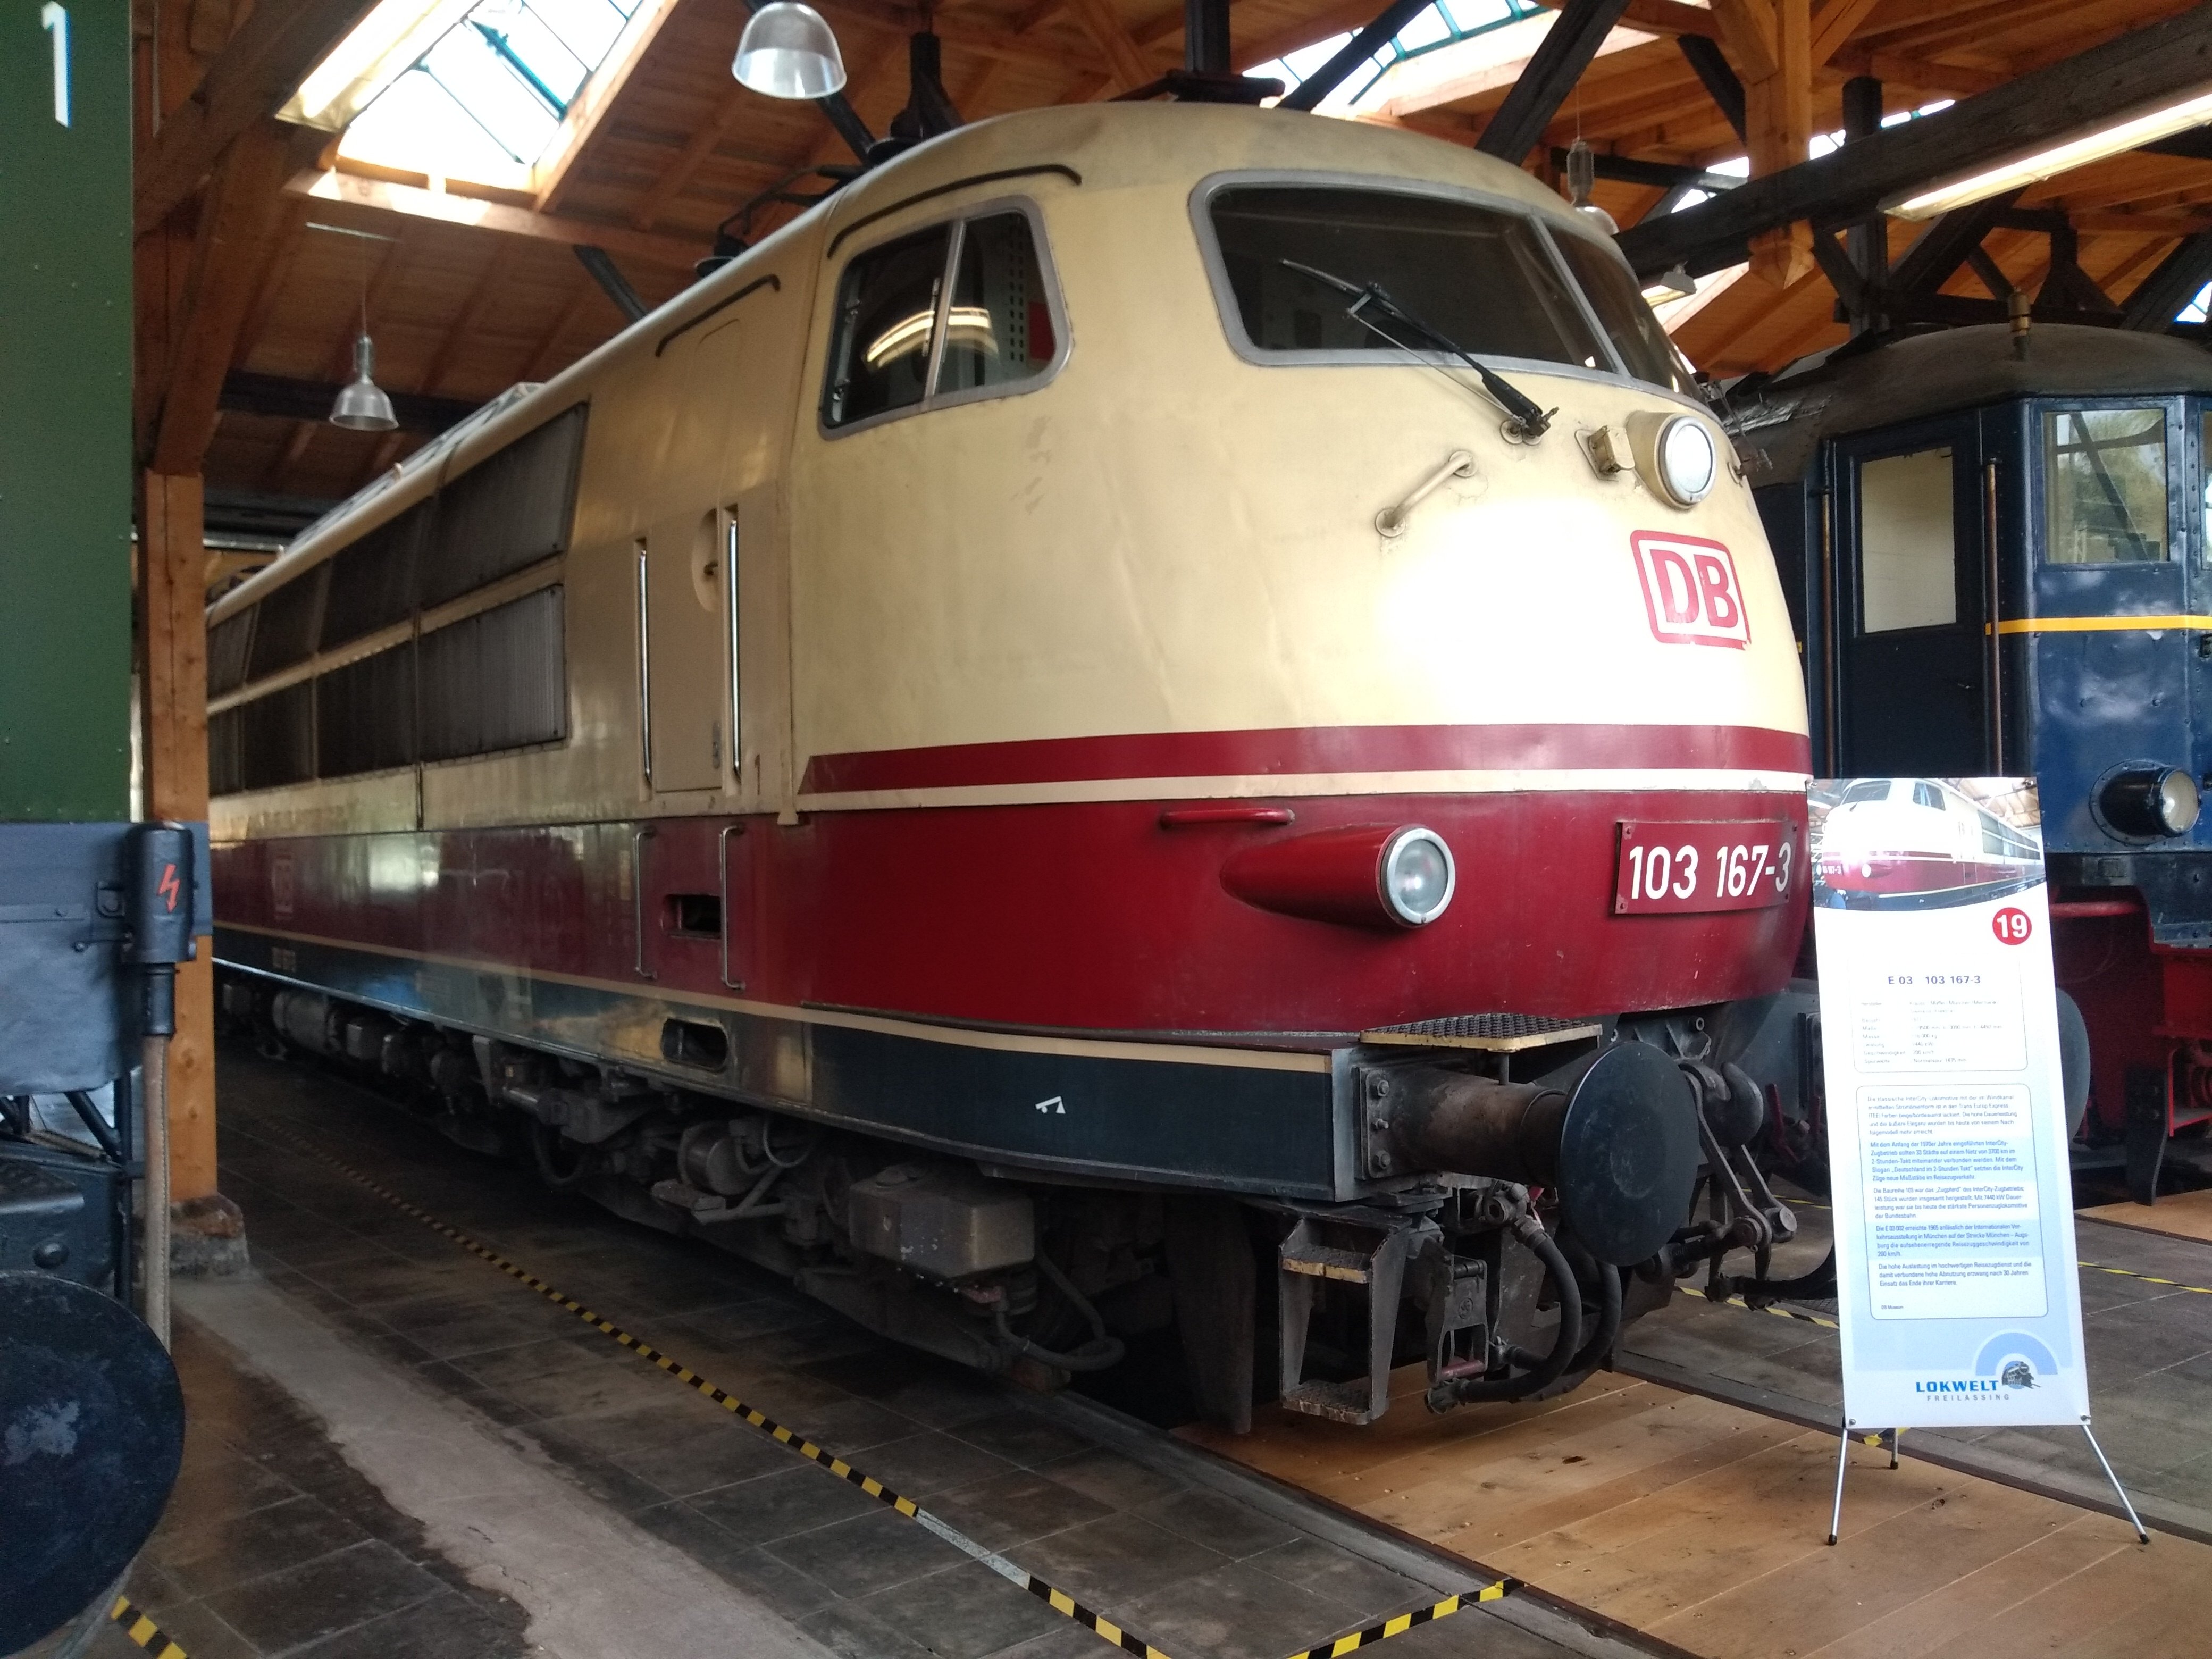
Yeah a 103 hauling a Rheingold along the banks of the Rhine is especially hard to beat.
-
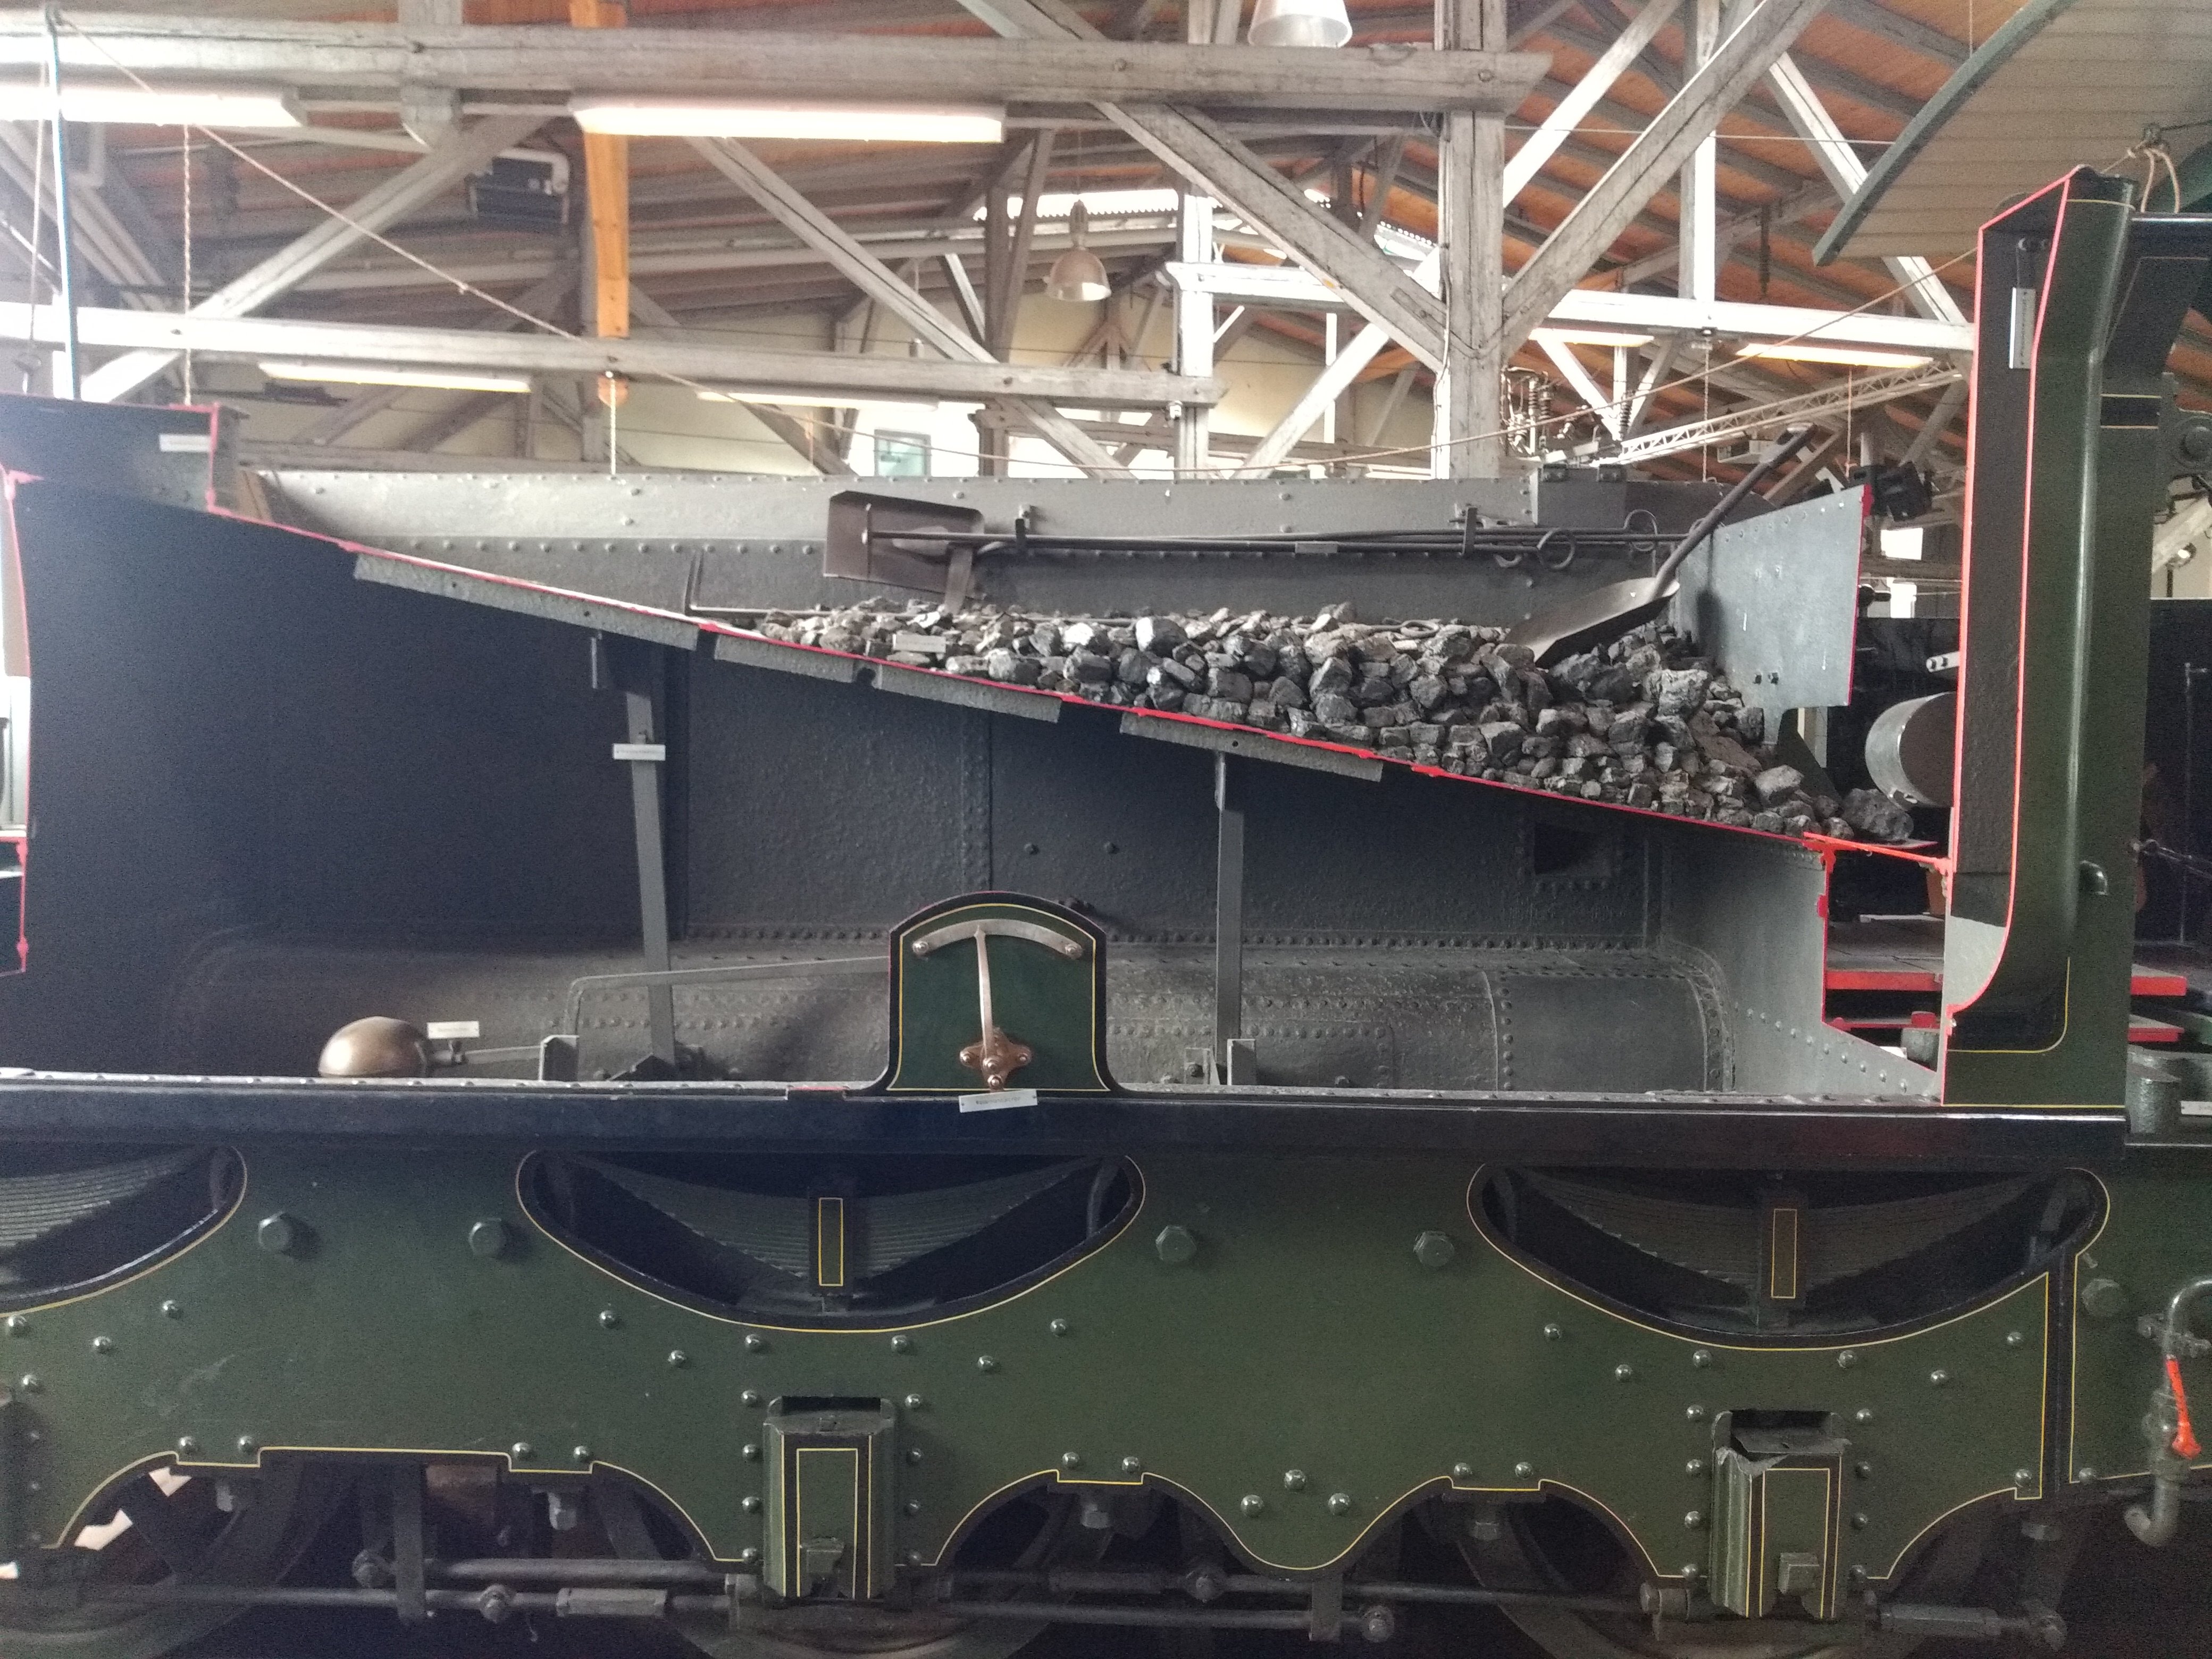
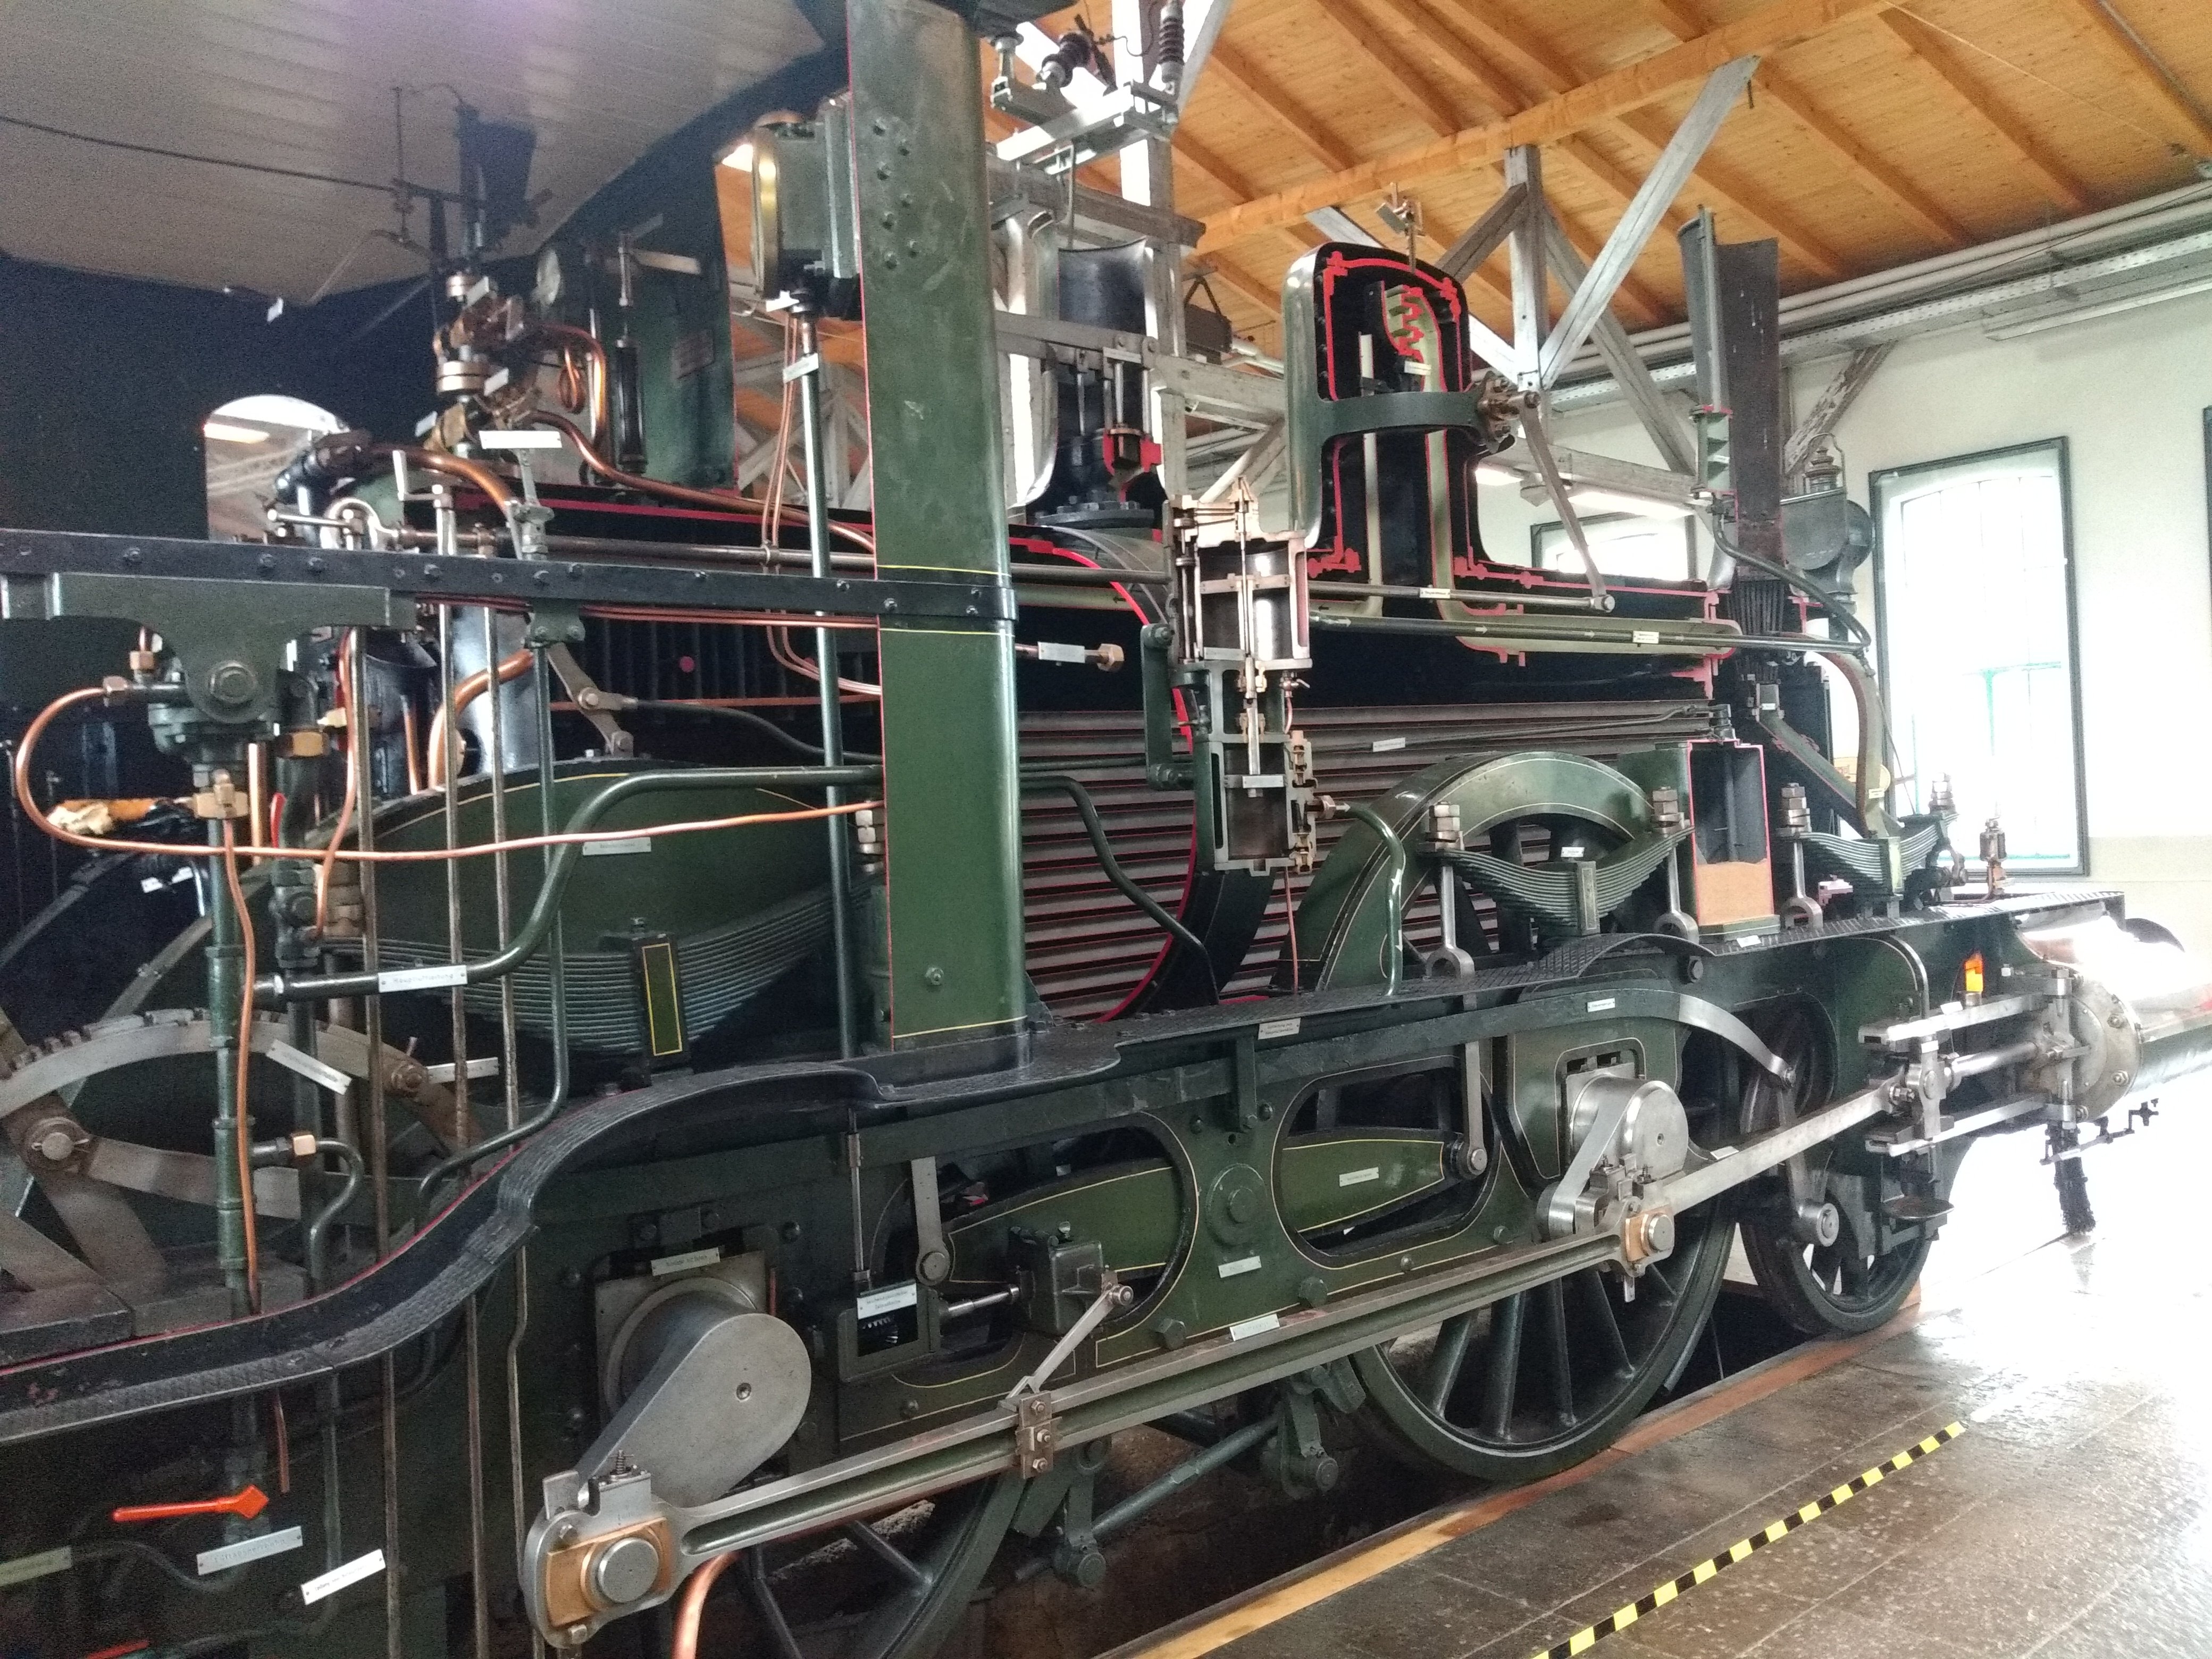
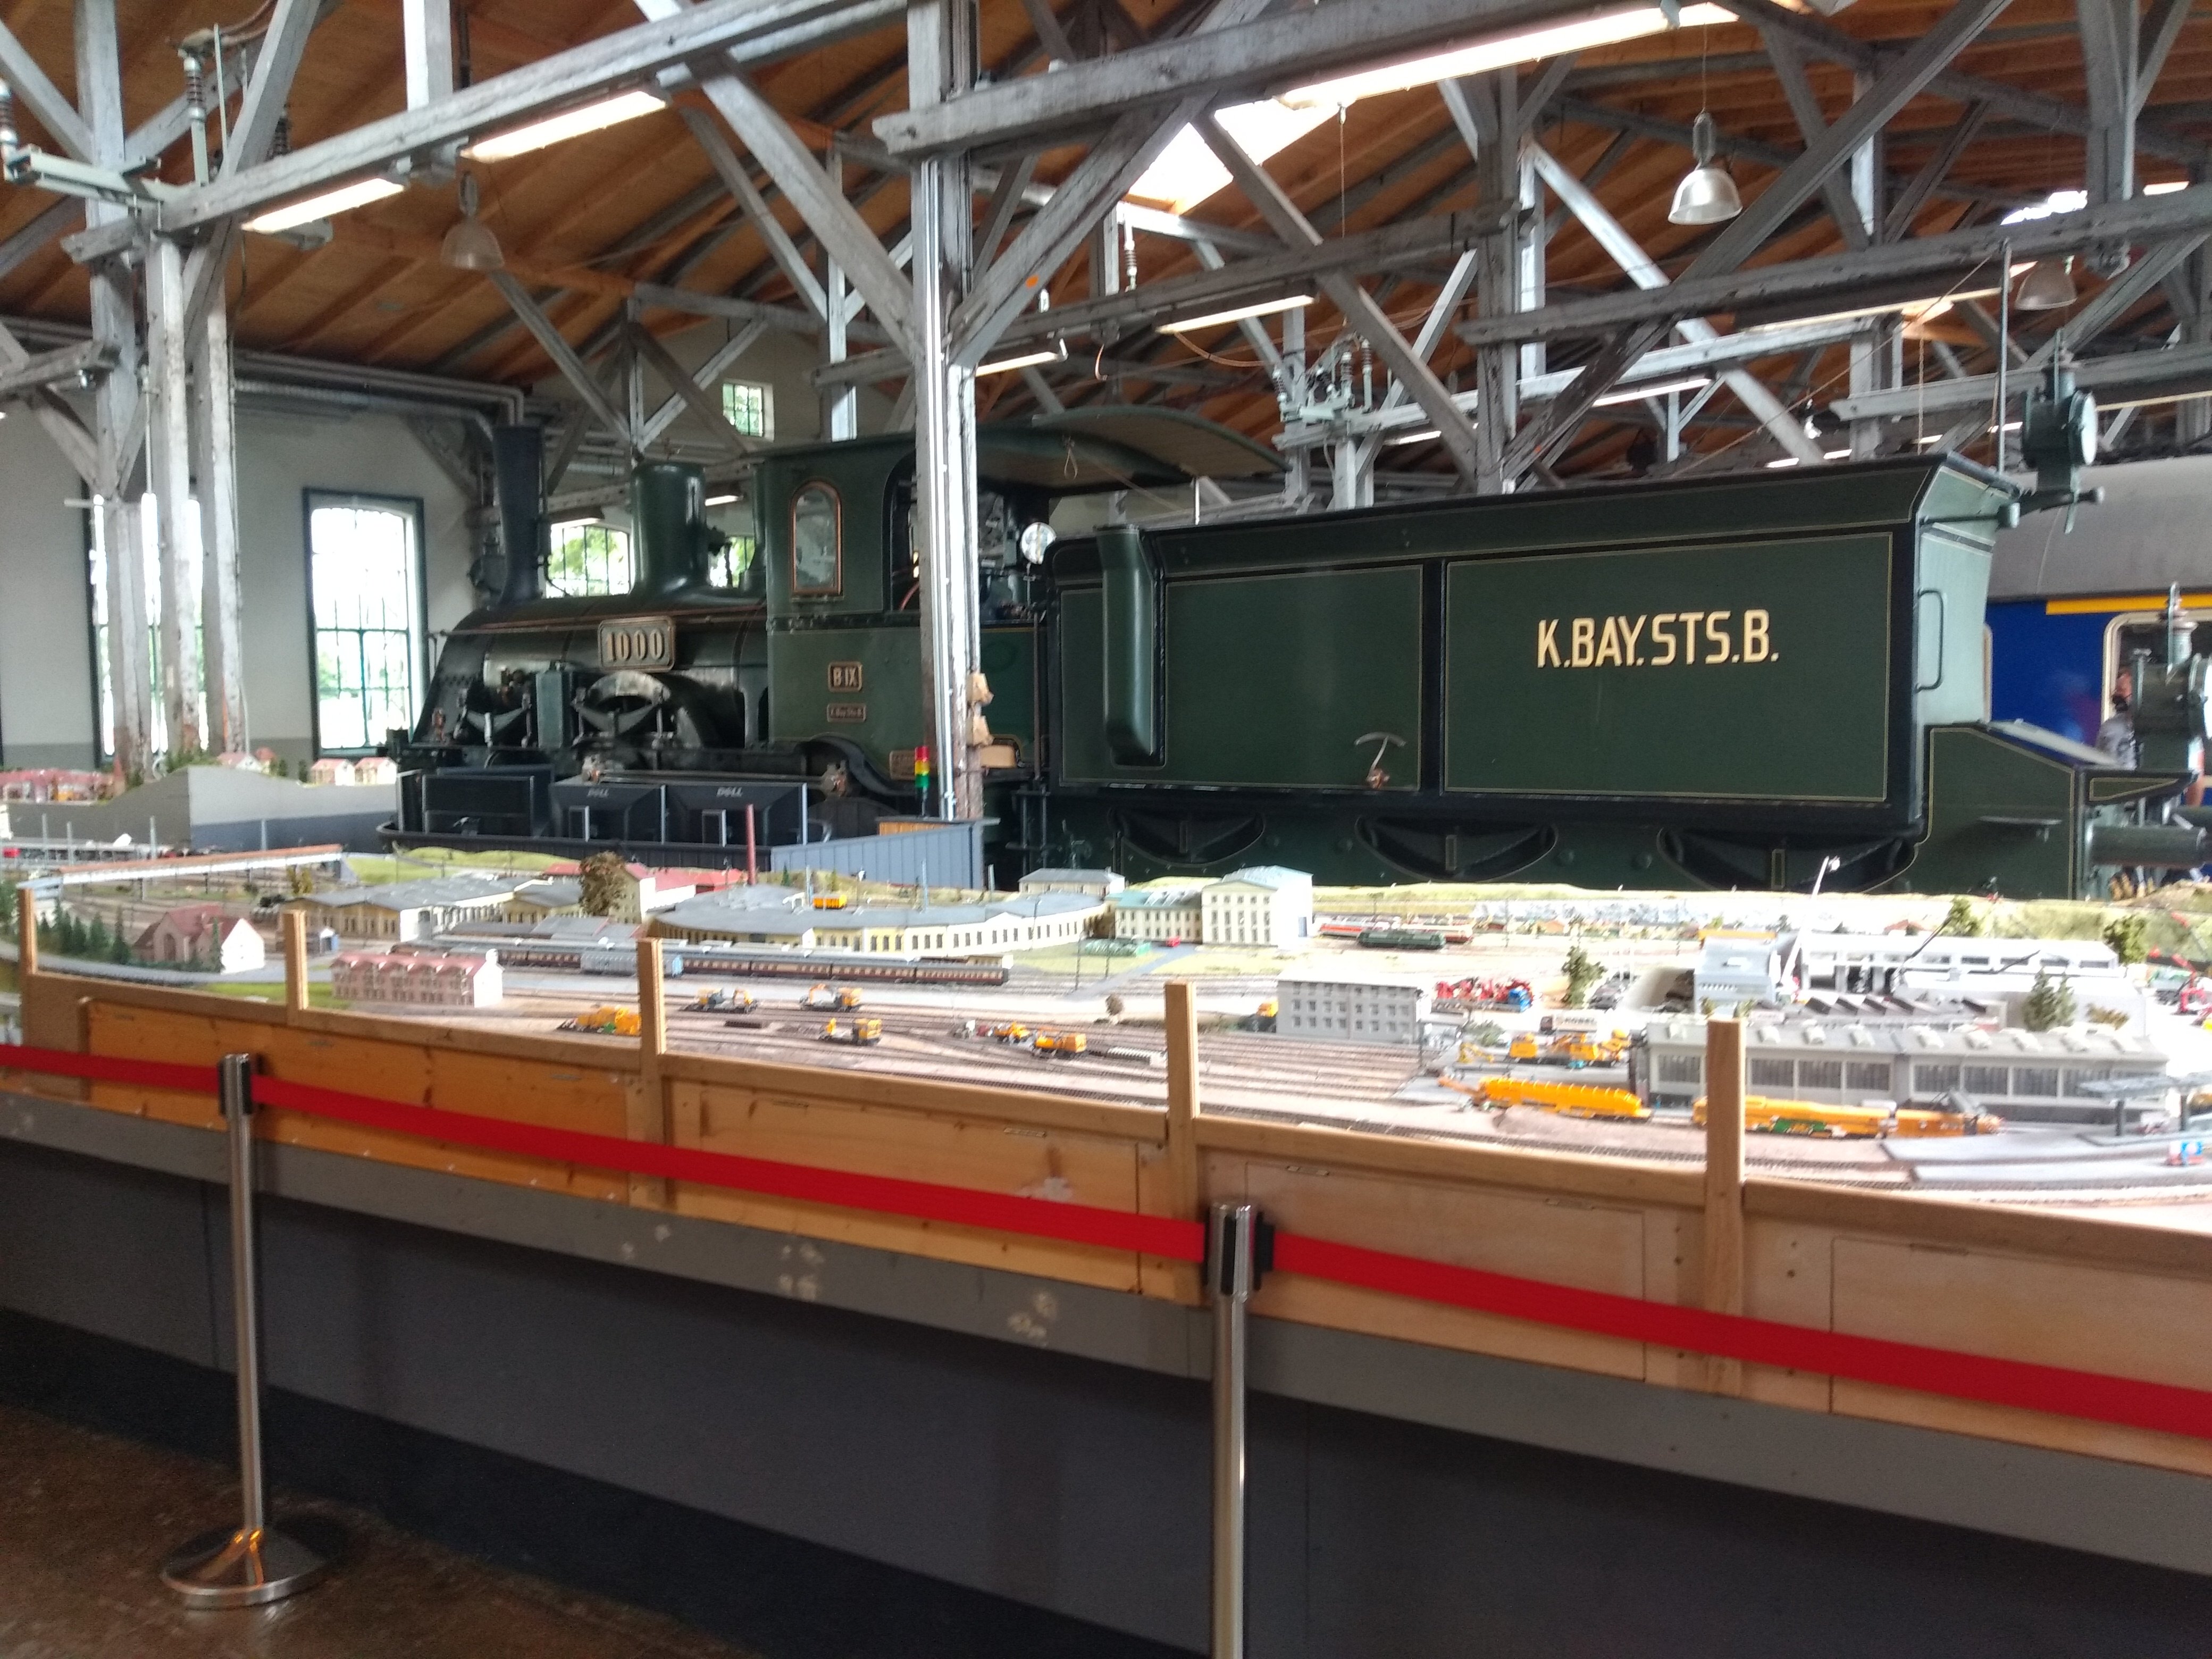
It's one of these: https://en.m.wikipedia.org/wiki/Bavarian_B_IX
-
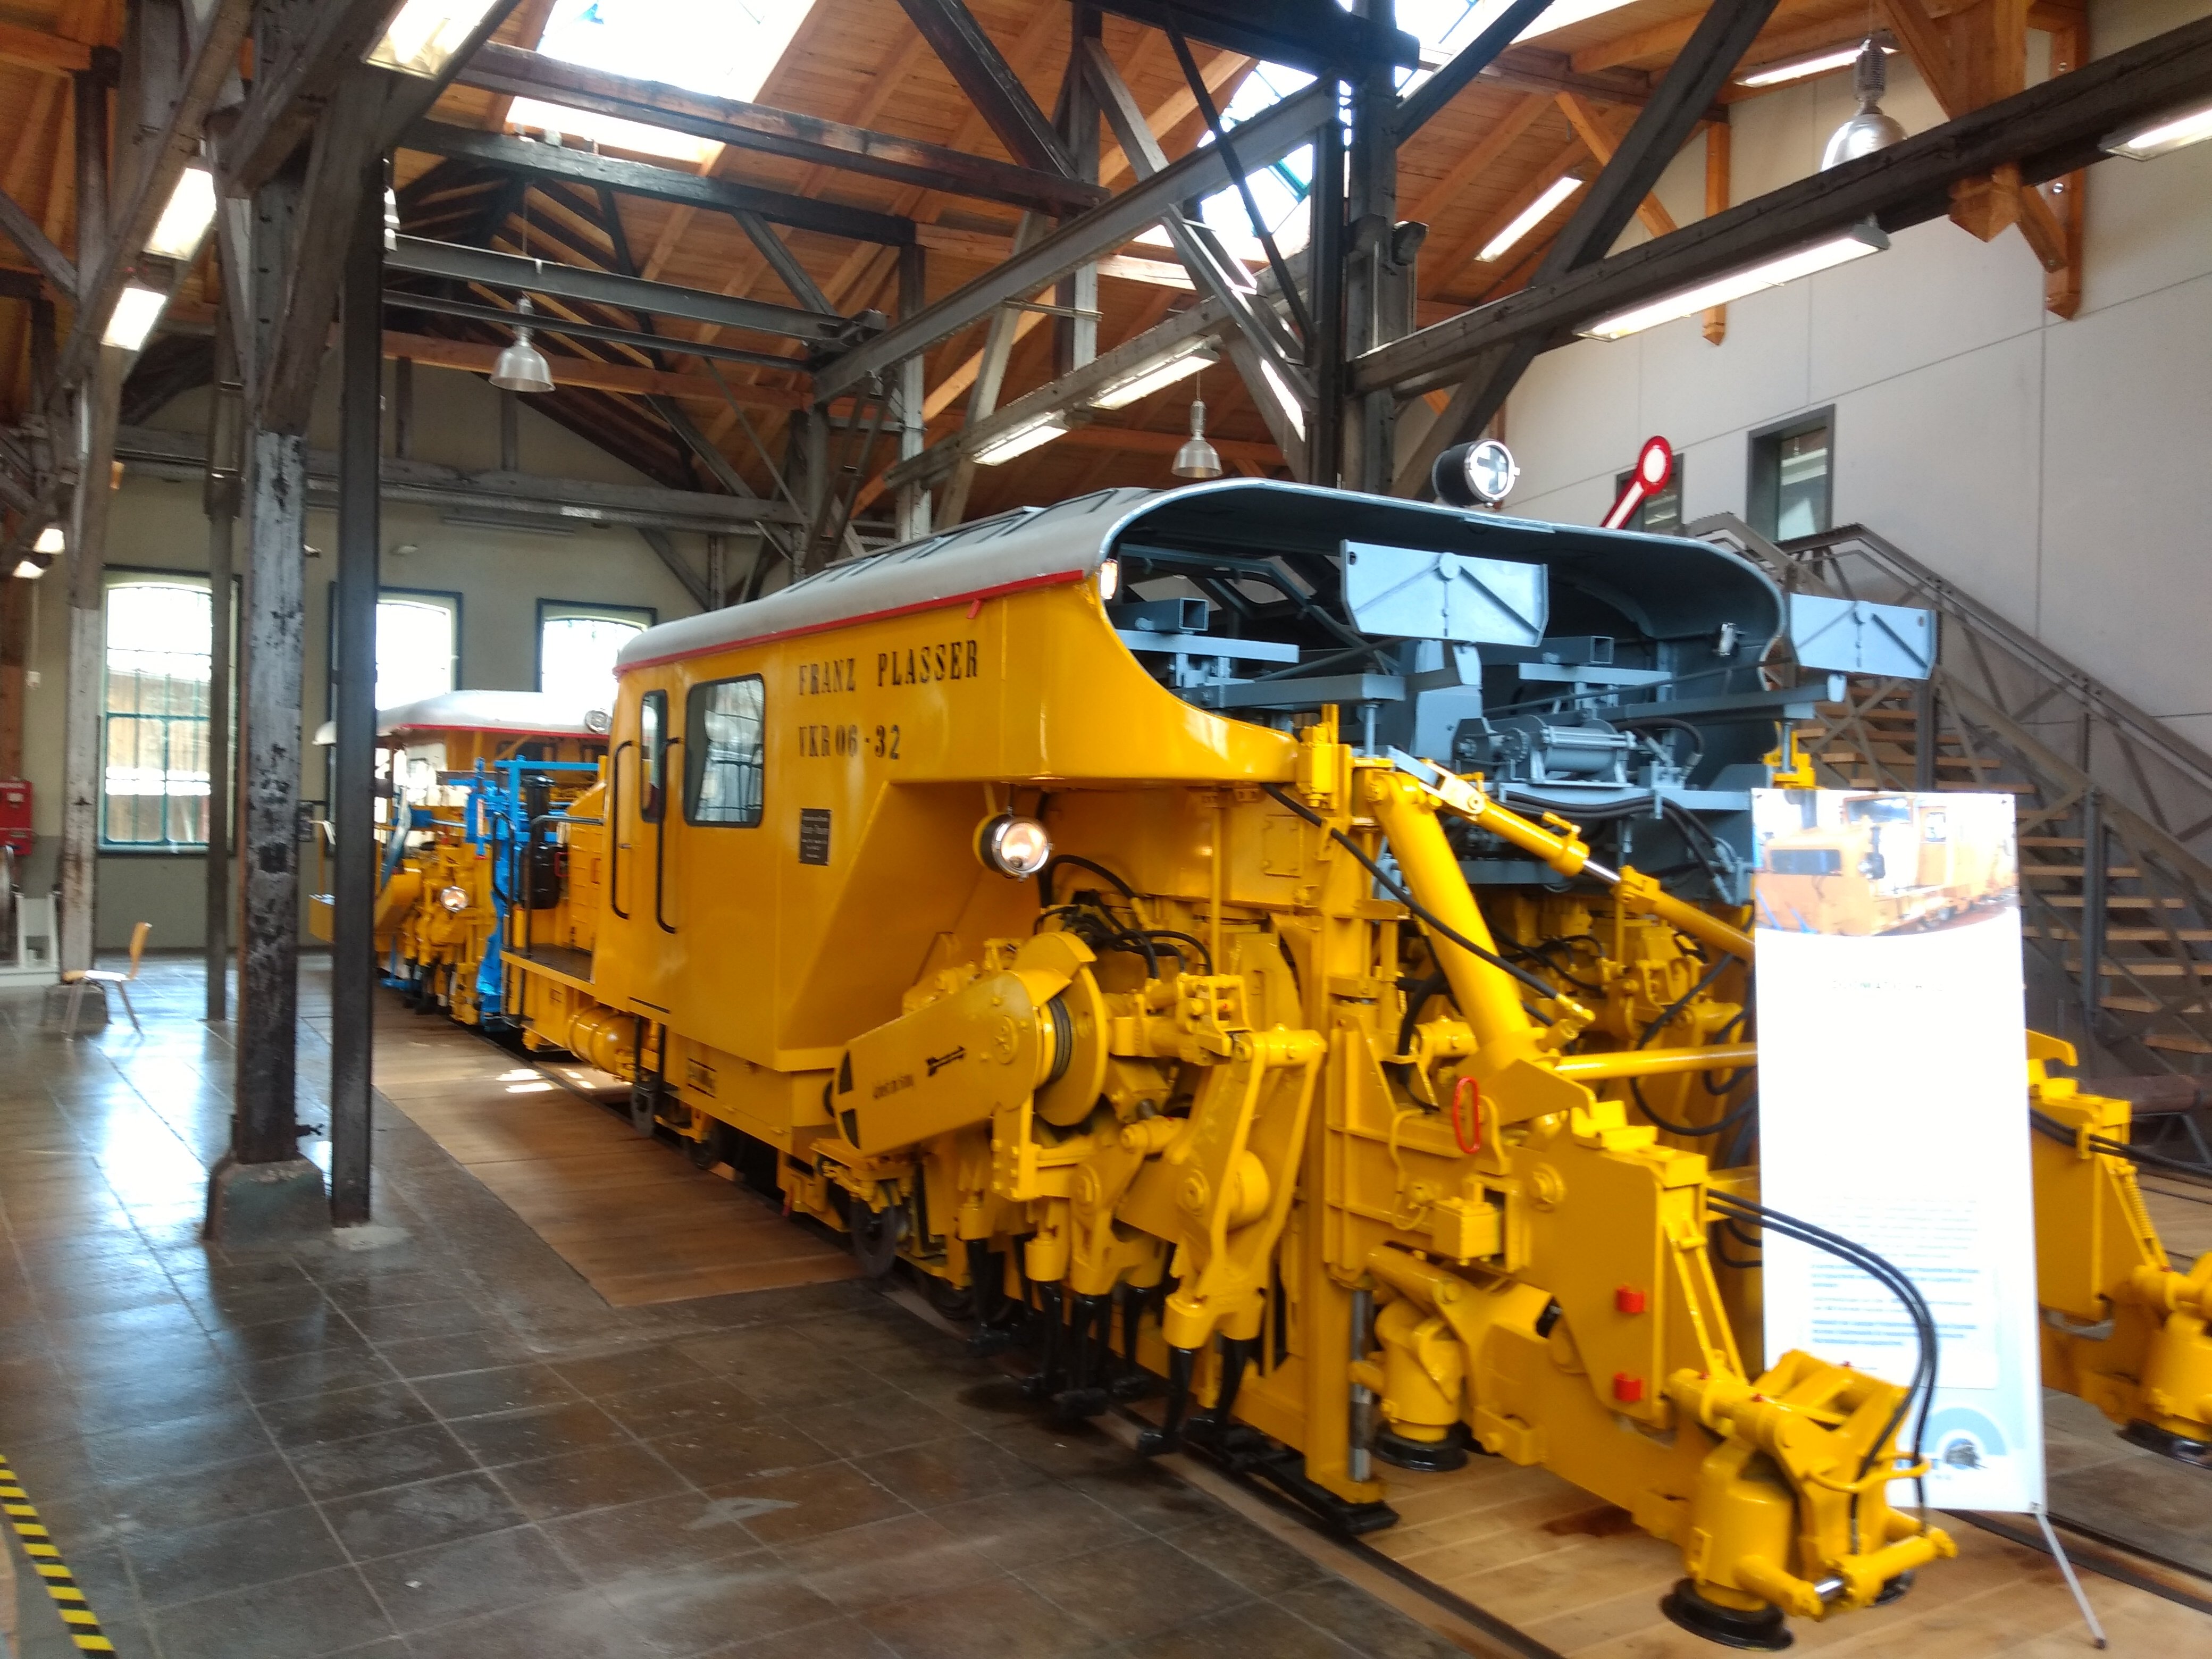
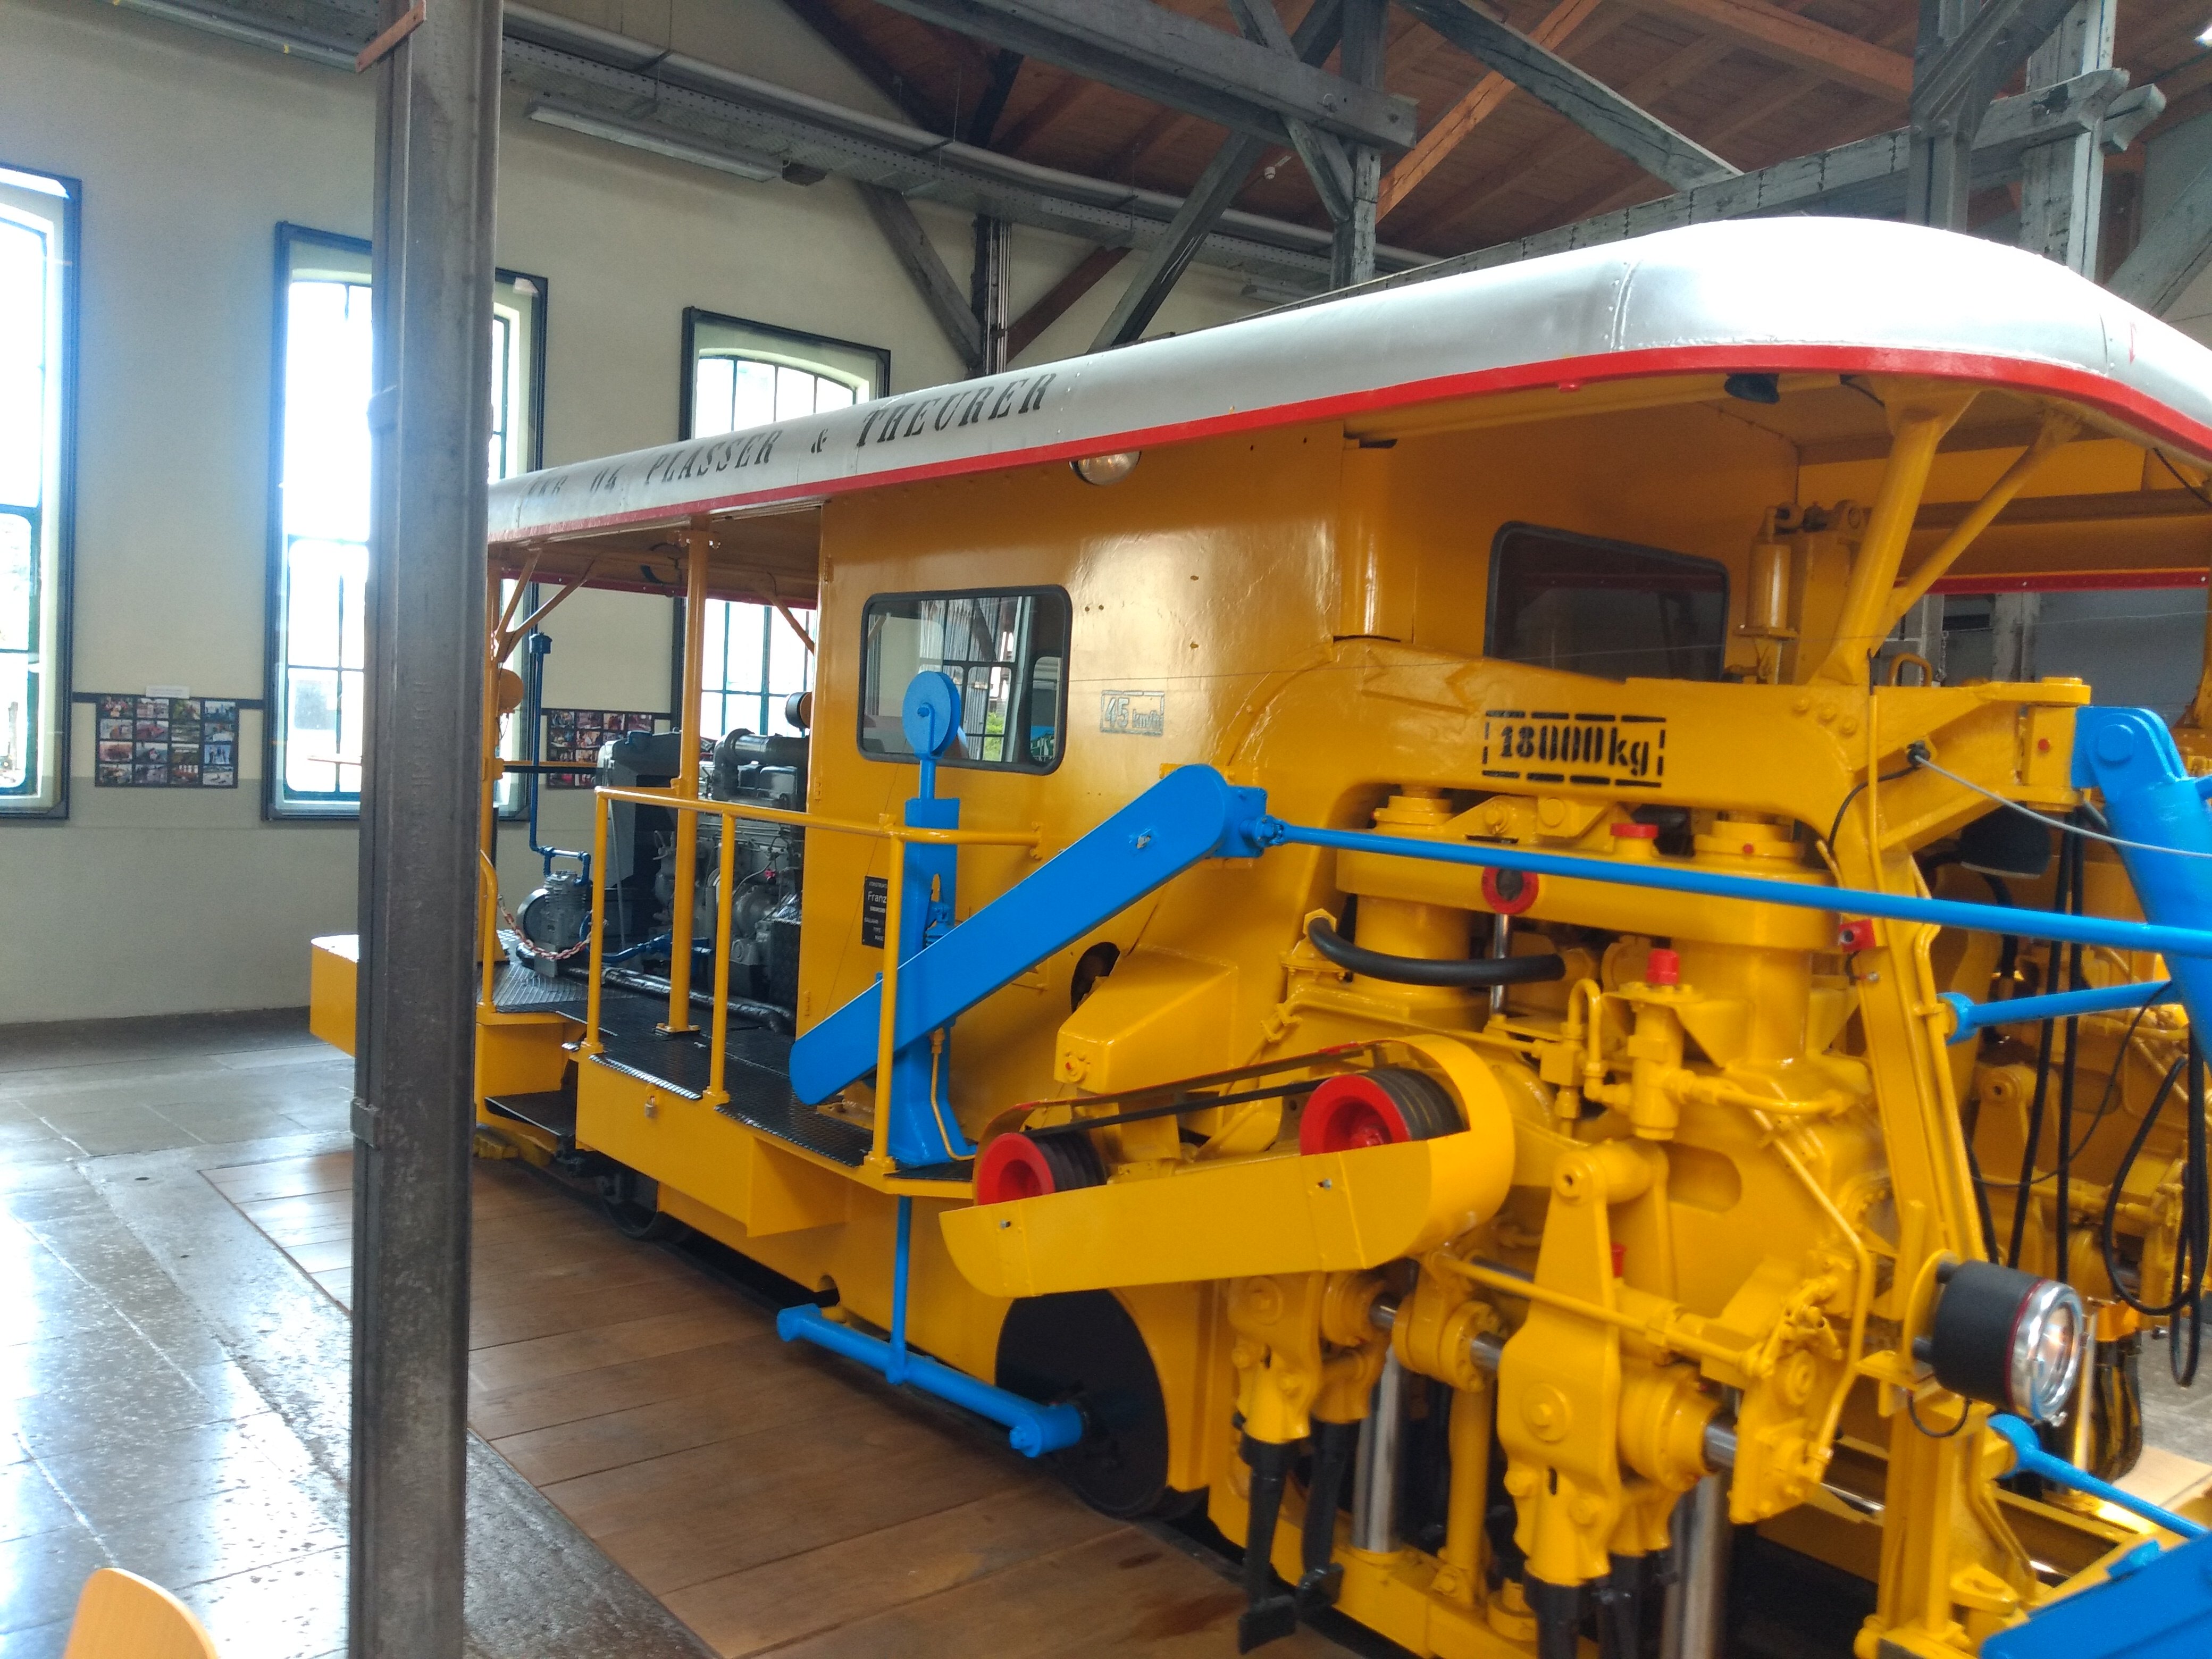
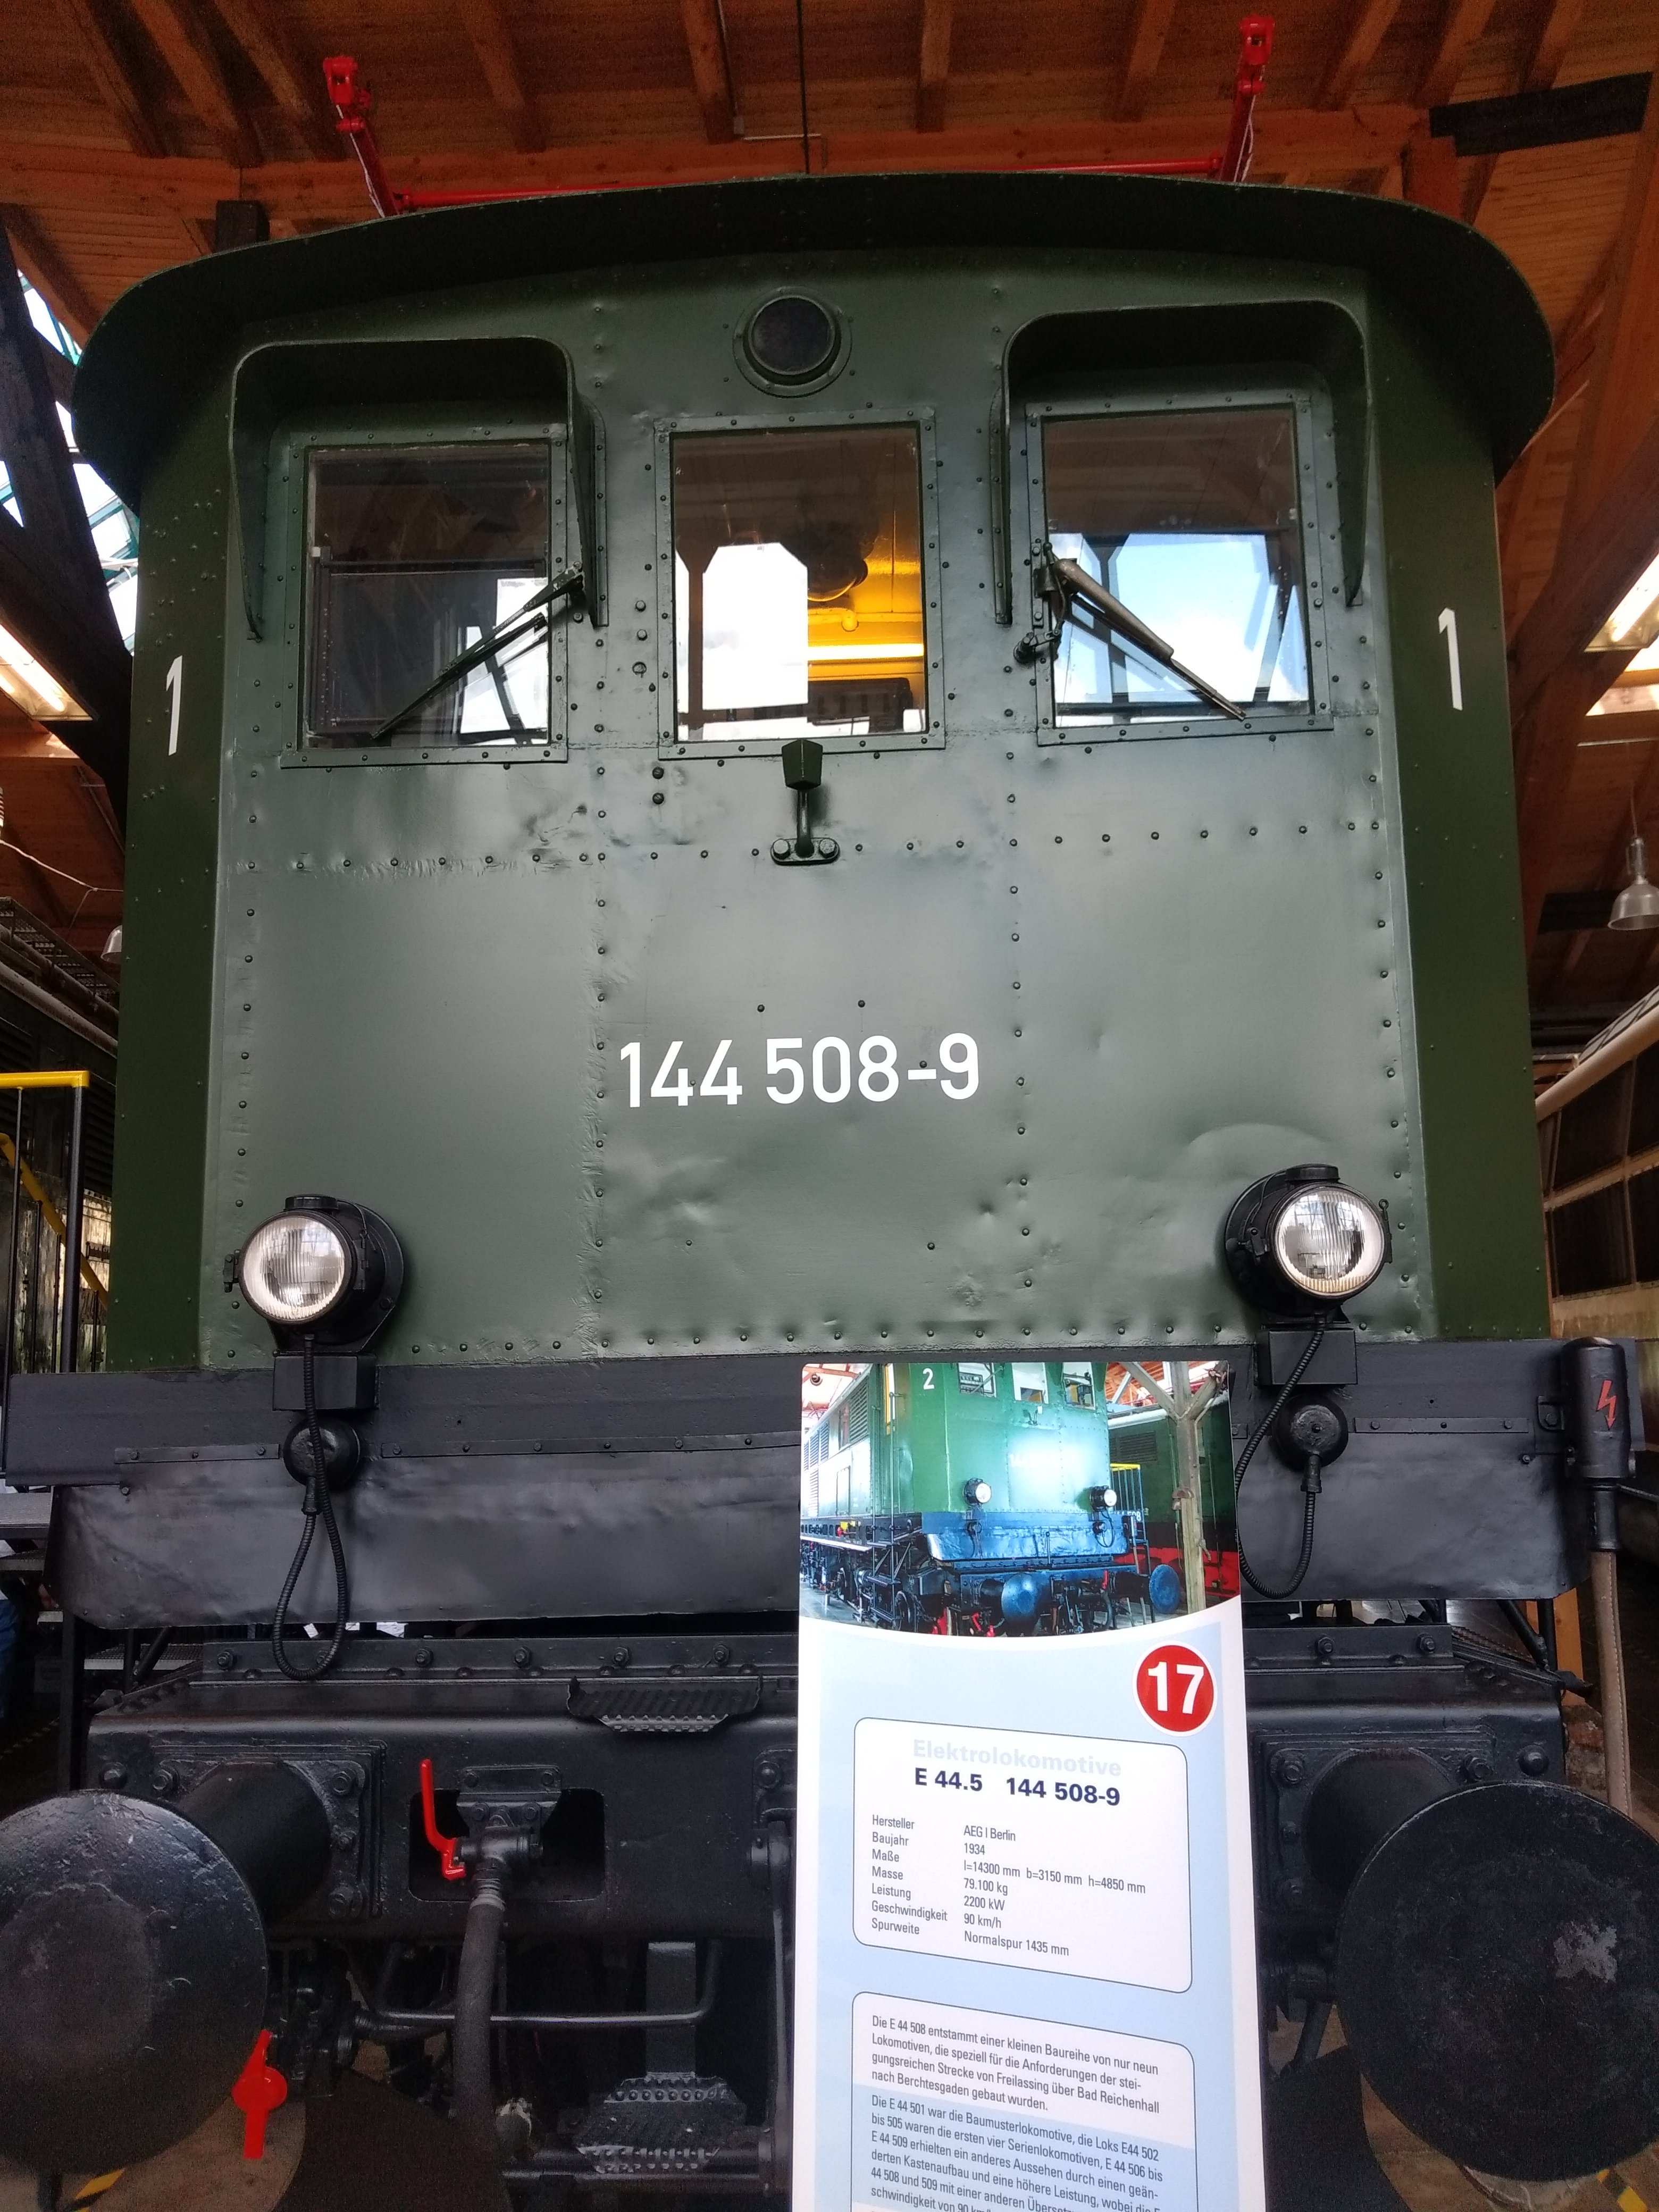
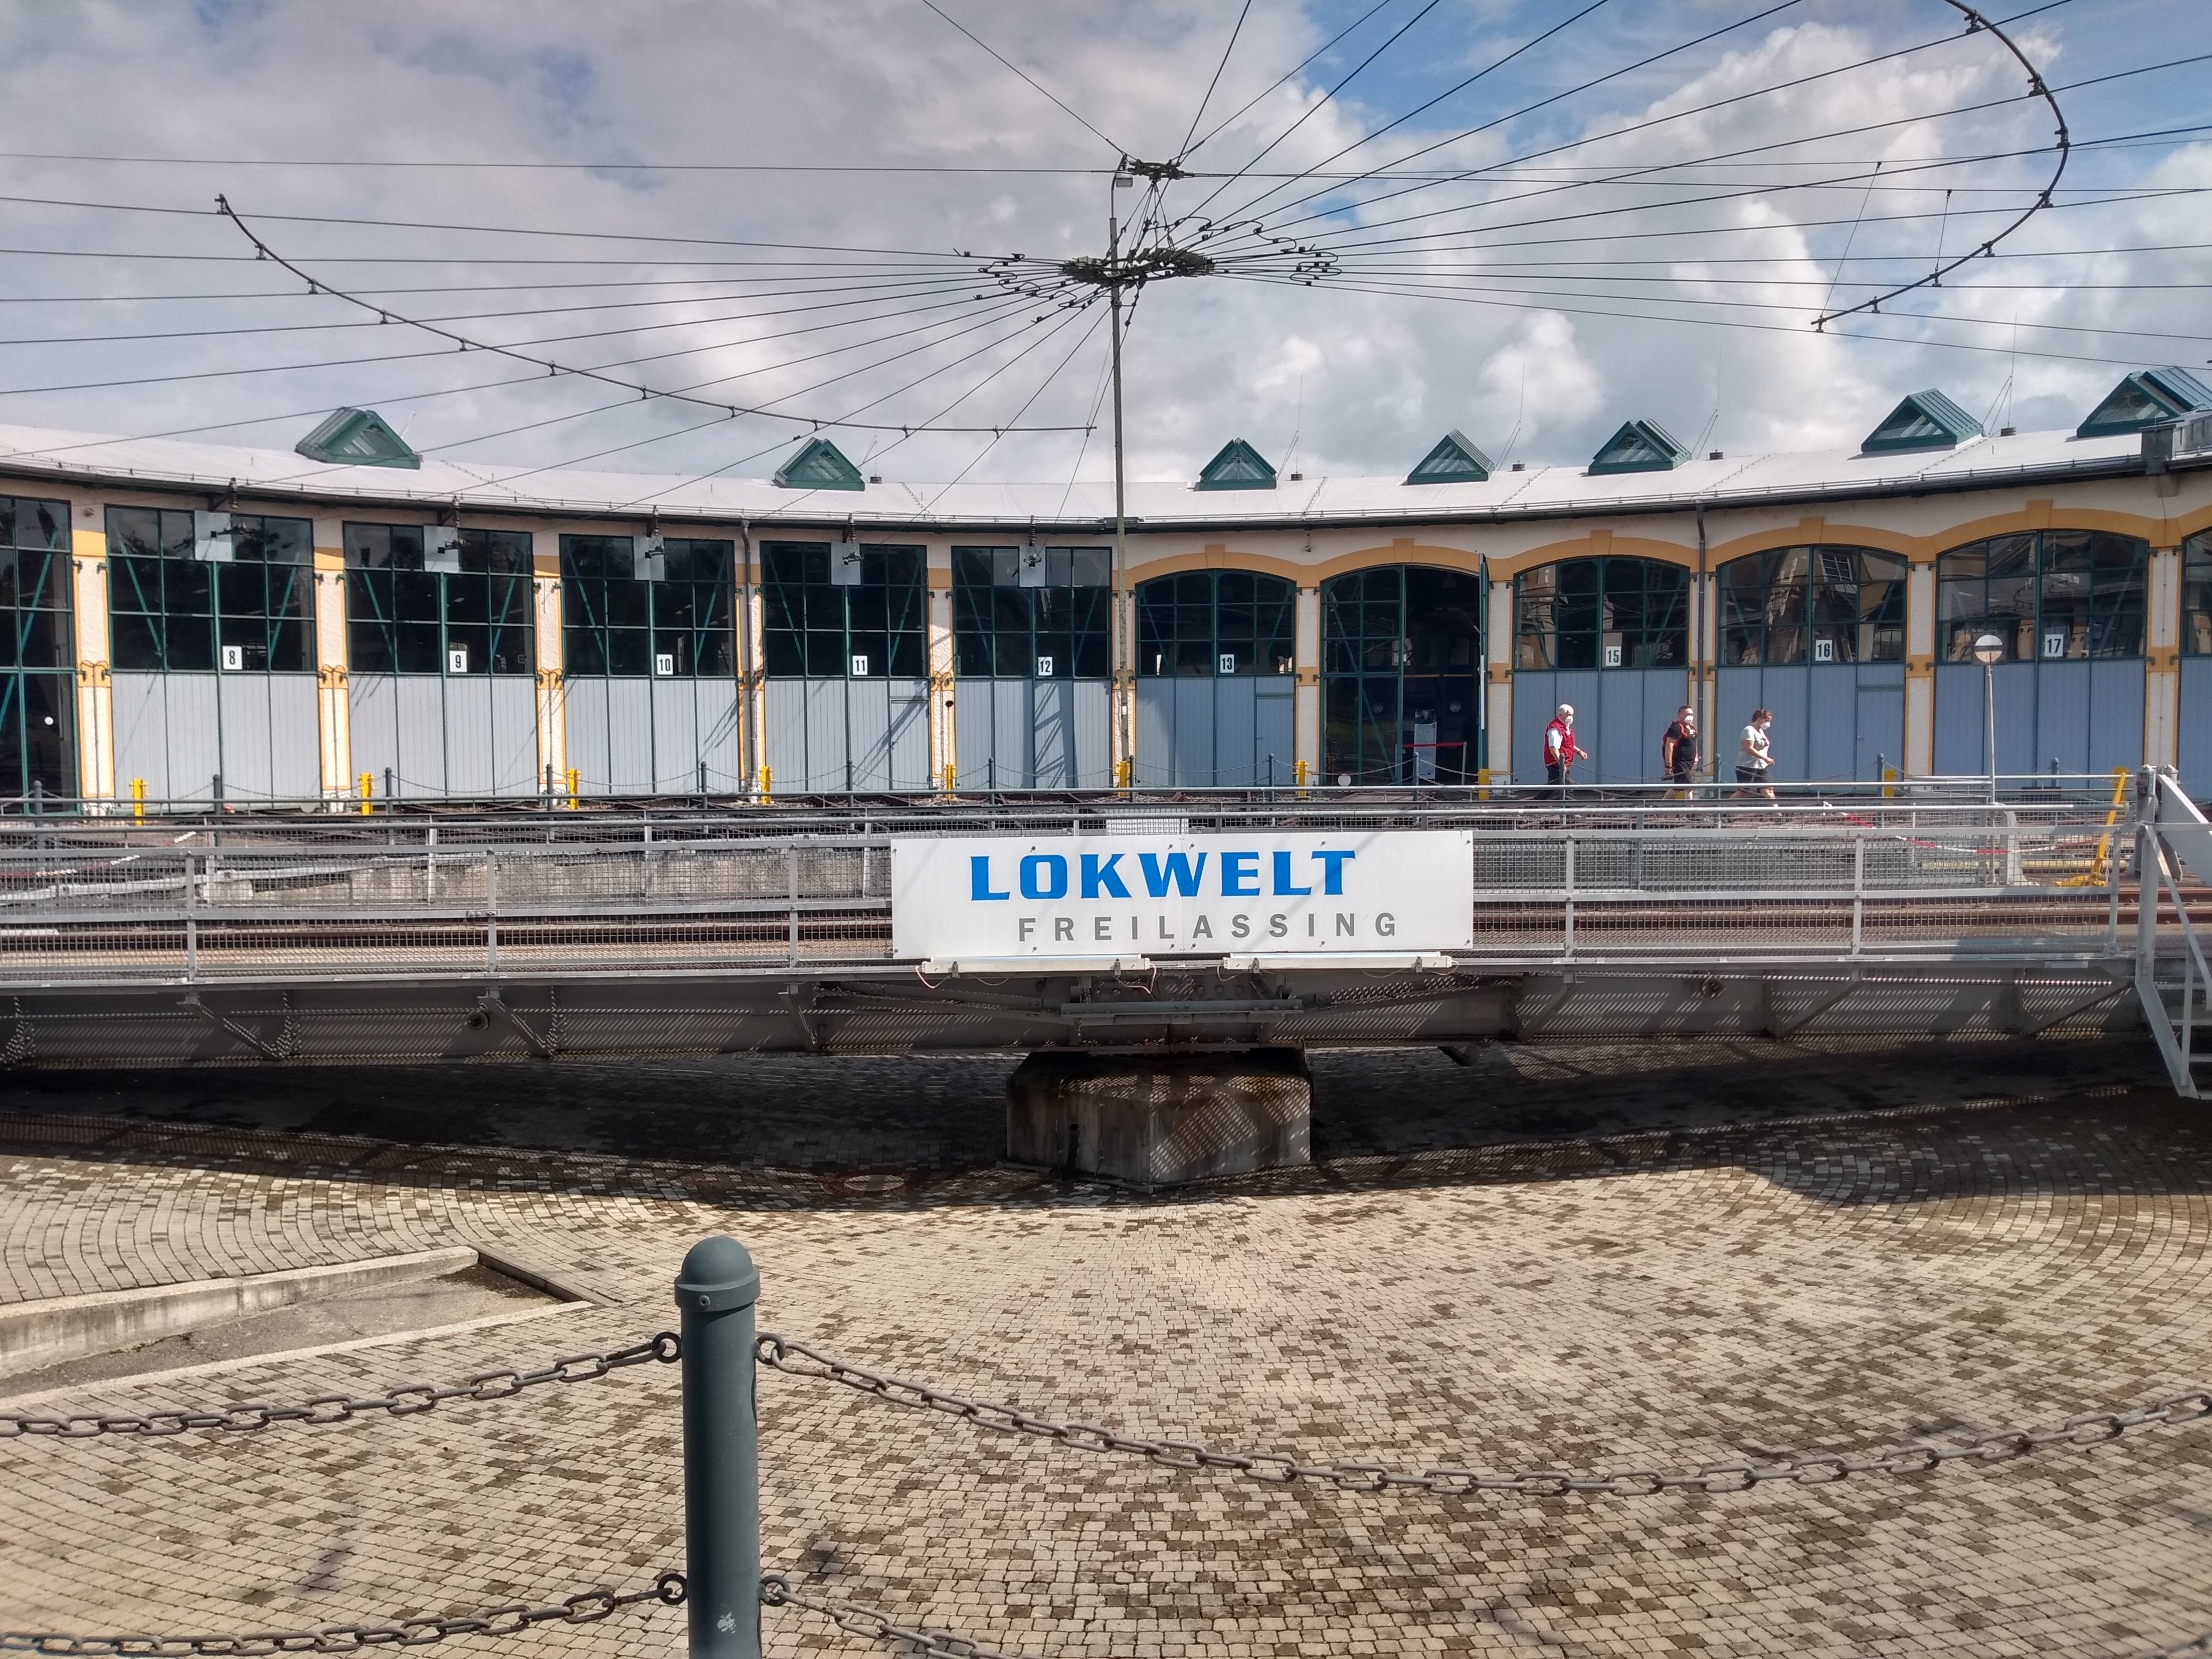
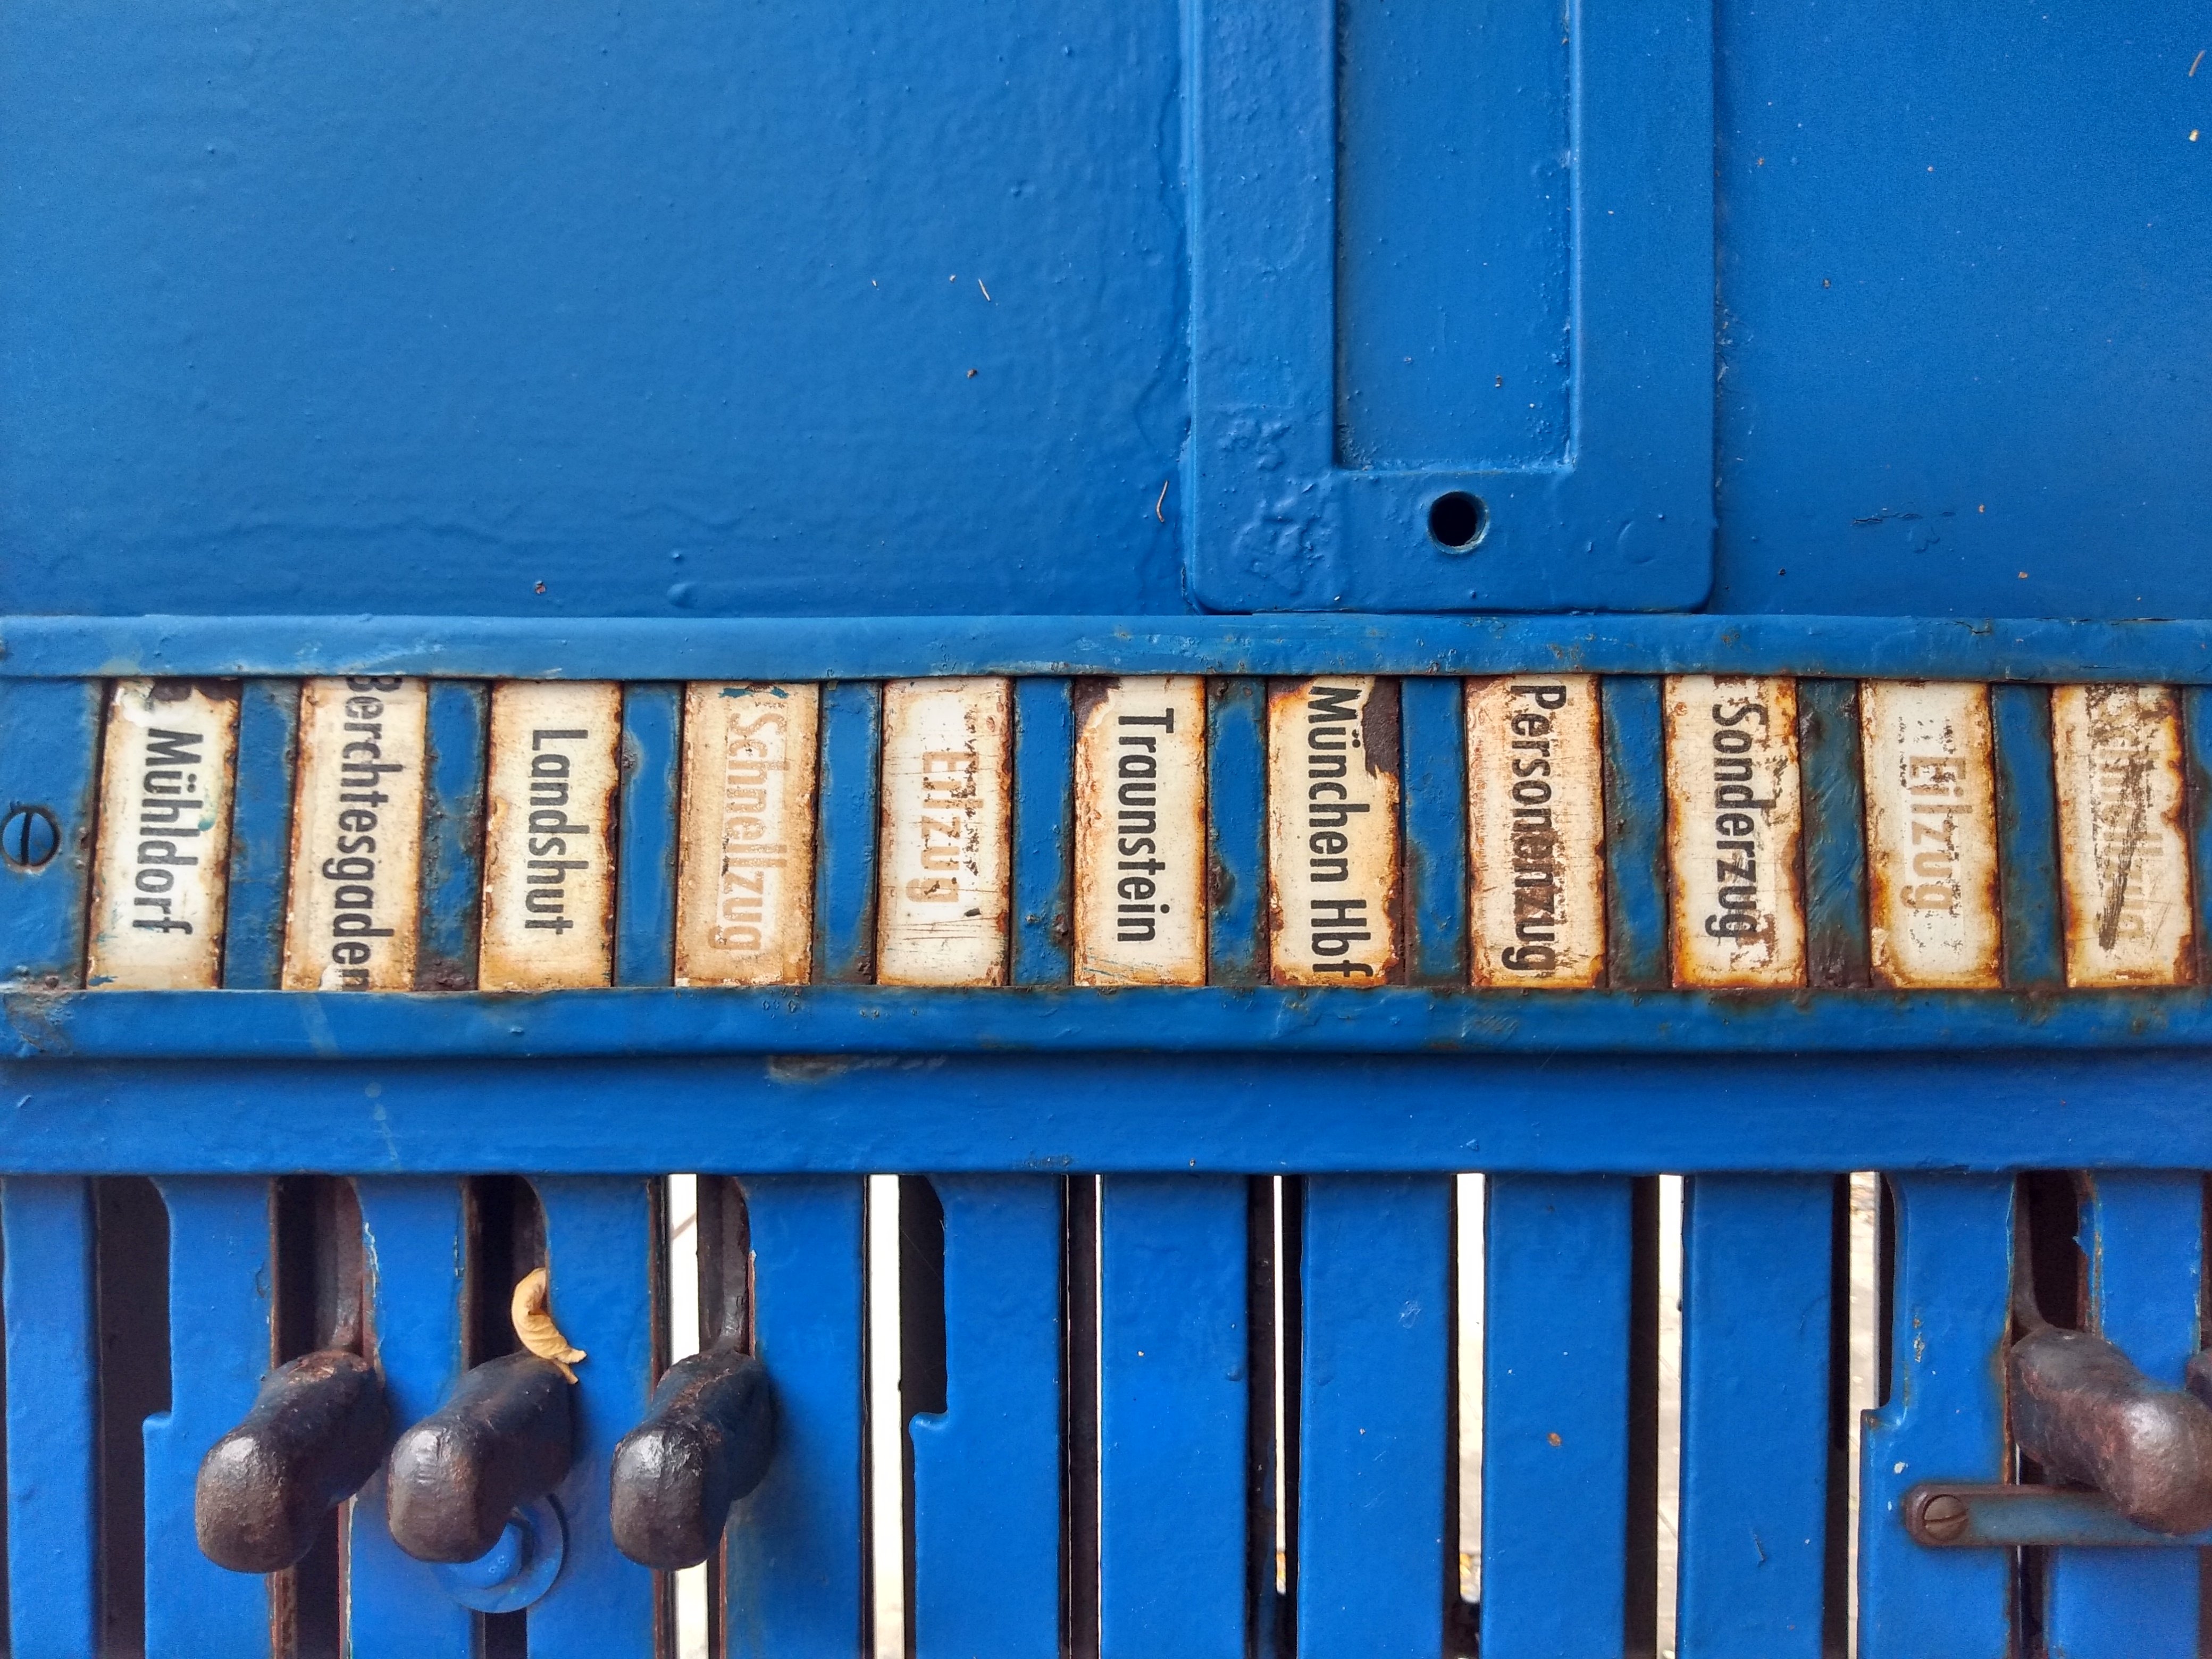
A couple of pics from Lokwelt (Loco world) in Freilassing, Bavaria where we are today. This is essentially a suburb of Salzburg, which is fully integrated into the Salzburg S-Bahn network. It's on the main Munich to Vienna route so very busy with international trains passing through. There's a small freight classification yard still in operation but virtually all the other "railway stuff" has gone. The museum took over the old roundhouse and has done a lovely job restoring it. The turntable dates from the 1920s. The h0 scale model is a good representation of the current facilities.
- 22 replies
-
- 10
-

-
They look the biz. Extremely realistic.