-
Posts
2,731 -
Joined
-
Last visited
-
Days Won
70
Content Type
Profiles
Forums
Events
Gallery
Everything posted by murrayec
-
Lovely Kirley Great collection of stock and made by you own hands, proud man. I can see you were trying to get on the platform in the video.... Eoin
-
Hi DB Joe Yes both chassis will have two motors, its easier and more economical that way, and it has more power! Eoin
-
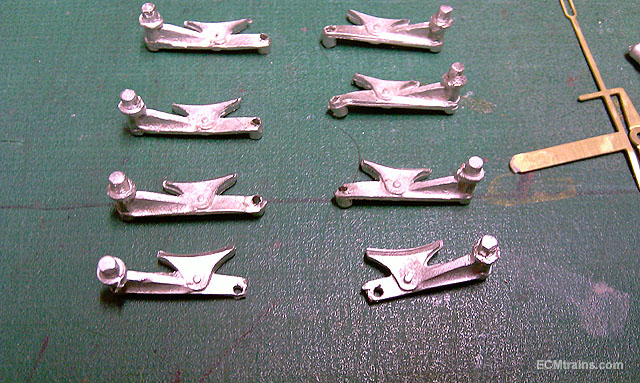
Hi A post to bring this up to date! The problem with the bogie side moulds is our atmosphere gets in the way! Thats why moulding guys use a centrifuge, but I have not acquired one yet. With recent problems casting the DART pantographs I tested the solution of making a very hefty pouring gate into the moulds- this works, the weight of the metal forces the air out! The moulds are scheduled to be remade Eoin
-
Yes DB JOE, they will be available pretty soon - €25.00 for a loco set kit, and €25.00 for a detailing pack kit which includes 4 ladders and piping. The Class C bogie sides are complete but I'm remaking the moulds with the A's above- I had a lot of trouble with the first moulds! There is info here for the Class C stuff;- http://irishrailwaymodeller.com/showthread.php/4121-Class-C-ECMCHAS-For-Silver-Fox-Kit?p=62234&viewfull=1#post62234 Eoin
-
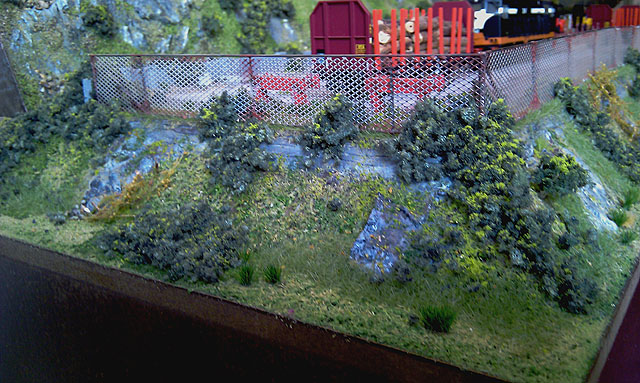
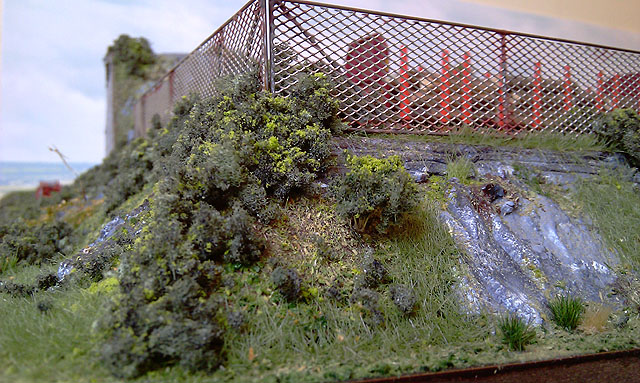
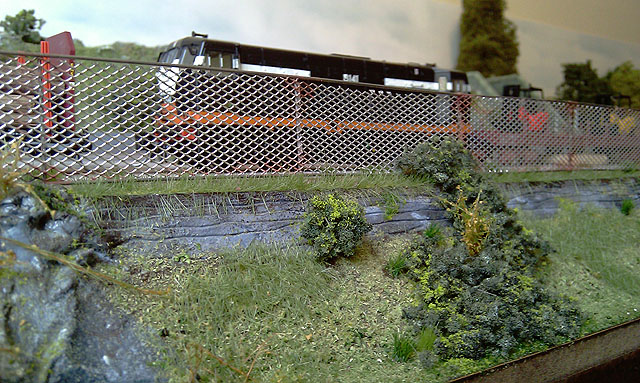
Hi Broithe No not yet, the gorse is growing through the fence though, also we got CIE security signs and barbed wire for the top to hold the plastic bags.... Eoin
-
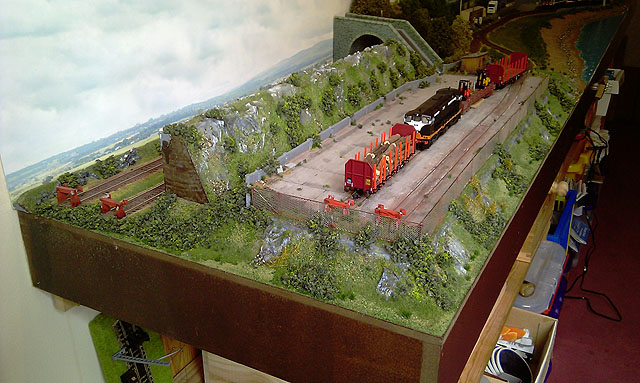
Hi We only did track maintenance today, those Hornby points were giving trouble again, some more packing to the check rail and in the frog well, all is running fine again. Discussed the ballast wagons, did coffee and chocolate cake also! I took a few shots of the gorse layer at the timber yard end;- Eoin & CM
-
Yes Noel The Beetle requires more head room by either raising the chassis or having a cut out in the chassis the size of the Beetle! This is a problem in a Class C with holes in the floor and not much floor left for other stuff, especially with two motors. The Class A is not so bad as its longer but this all happens under the cabs in both models. As far as I can remember the Beetle does not have the axle spacing for an A, the Spud does! The Spud fits nicely under the chassis and its more economical Eoin
-
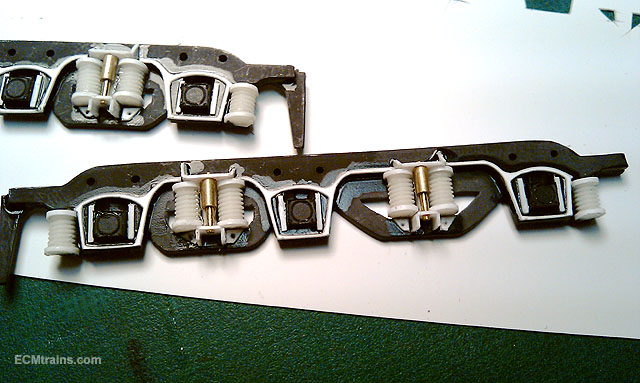
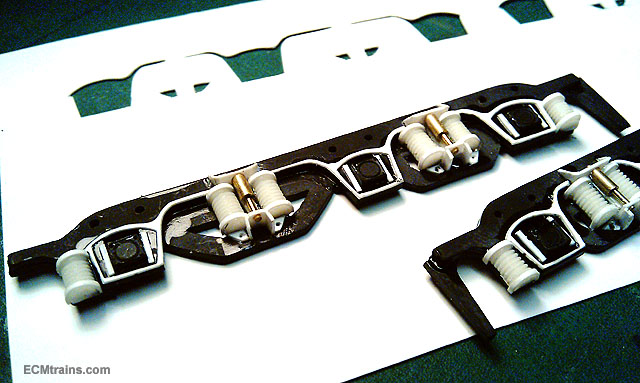
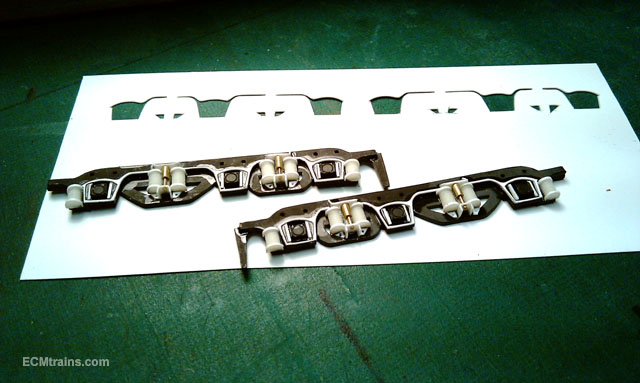
Hi Kirley These photos are for you to see progress, I'm about to clean the bogie side patterns up and give them a paint to see if any filling is required. Then its on to making moulds and doing some test casting.... Sorry about the photo quality, the phone has gone funny n all dark Eoin
-
It was probably cast iron polished up, my historian chap tells me they made plates in brass n iron... Eoin
-
Hi Anyone reading the first few posts may be a bit confused by me referring to the Mainline model as a 'Jinty' - I hope you have worked things out by the time your reading this! Apalogies:) Eoin
-
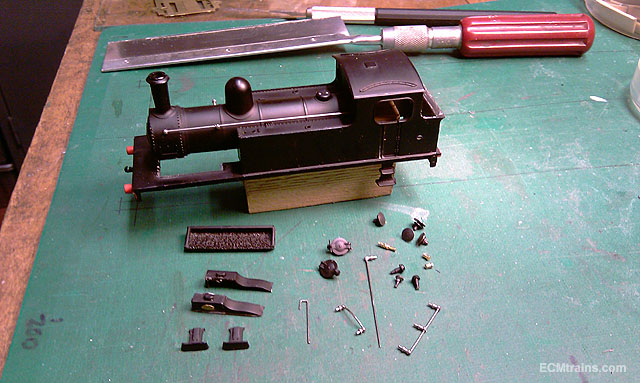
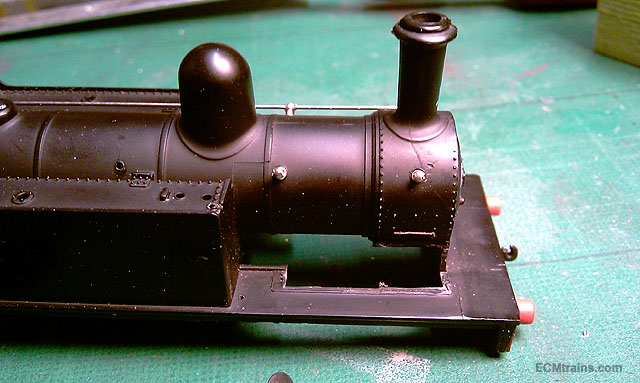
Amputation! Out with the scalpel and razor saws after dinner, nothing to difficult except for the coal bunker- a hefty bit of plastic to create the overhang, so that took time as I wanted to keep a nice line on the back. All the plastic bits besides the front sandbox and bunker were heat glued on and popped off very easy, the metal bits were glued with cyano so acetone was popped on and a good yank removed them.... Eoin
-
Hi Yes Kirley its from axle to axle The Mainline model is 6'7'' at front and 7'0'' at rear, buffer to buffer is 28'6'' Eoin
-
Hi Peter Sorry to hear that did not work out, it removes paint very well for me! Things which may be different- my can of MMO is about 20 years old! I've not stripped a GF coach yet I've only done Hornby n Triang n Bachmann OO stuff! Did you try it on a 'fresh' coach and not your test one? Eoin
-
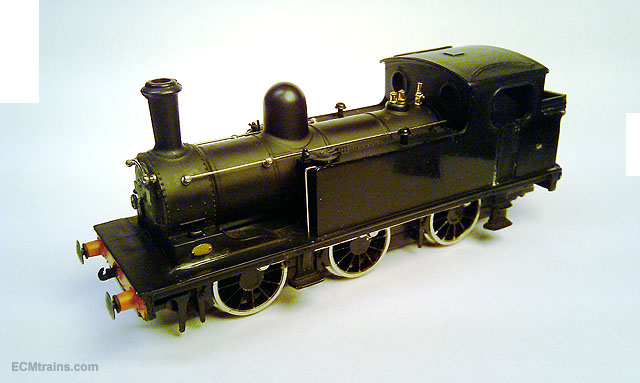
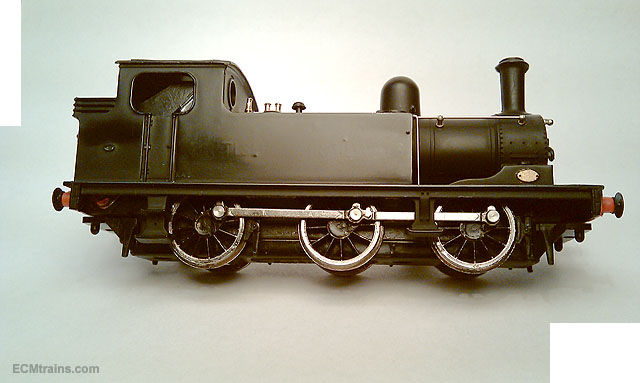
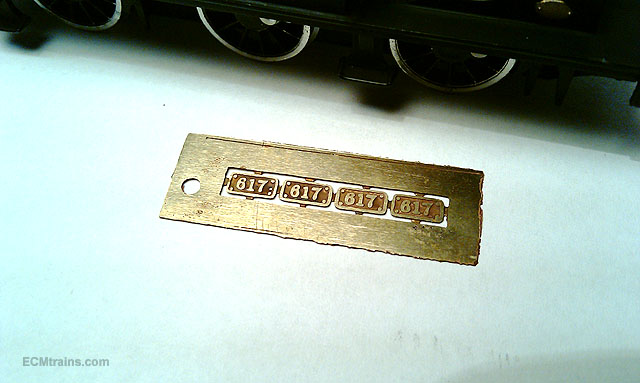
Hi Guys I was a bit confused by John's post, but now it's all straightened out- The Mainline model above was offered to CM as a 'Jinty' when I was asked about making it Irish, a Jinty being a model I looked at before for converting, so I said yes go for it. When scanning it I did think it looked a bit odd but not being up on British stuff I just ploughed ahead and looked more at what its going to be. That said, it will cease to be a 'Jinty' or a 'J72' it's going to be our version of a J10 Yes Kirley I have that drawing, interesting to see the front sandboxes are not on the drawing, the 3Fs & 4Fs I do know a bit about, my favourite British locos, I bought plans for a 3.5inch 4F live steam model which is on the list to do before I die.... actually that will be after all the other stuff I'm doing! I collected about 6 Bachmann Jintys and 3 4F to do Irish things with but could not bring myself to the point of chopping them up... Now I'm wandering off... jhb- good to know Senior saw polished plates as I do like a bit of 'Brass' on a loco- 617 will have brass numerals n rim Eoin
-
Thanks guys for the comments Yes Kirley I do make mistakes, the trick is not to advertise them Eoin
-
Hi jhb Thanks Yes grey it will be, including rims n rods... The photo shows bright colour to the number plate! was this polished brass with black background? Eoin Edit; I see you said light yellow, oops
-
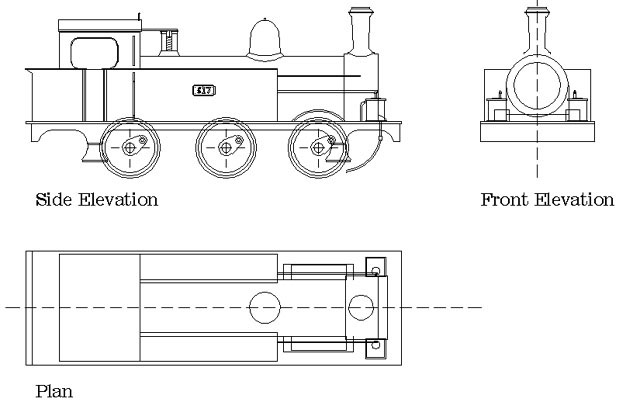
Hi With the need for a small steam loco to run on Closetmodeller's Greystones Layout to pull a RPSI or IRRS type excursion train, we looked for an easy and inexpensive conversion. I had previously earmarked the Jinty 0-6-0 as a relative easy conversion to an Irish type tank loco- the Inchicore Class J10 or a J11. At the Wexford Show a Mainline Jinty was offered for €10.00, so CM splashed out and our 0-6-0 Tank Loco was secured and travelled off to the workshops. This will be its story..... The J10 is easier to do as its cab needs very little work, the main work is in-around the front splashers and snadboxes, most of the other bits are pretty close. So with that and some other minor fettling- handrails, coal bunker, valance & front steps, valves, and roof top whistles, its going to be a J10 The tanks are little a bit short, but not sure yet if I'll go at that! The plan is worked out, this I did by scanning the loco side and setting up a drawing to have a pattern to work to for sizing the bits and working out what gets in the way! According to Mr Clements 5 of these were built for shunting around North Wall Goods Yard, a photo exists of 617 (Pioneer) taken in 1938 at Broadstone, so 617 it will be...... Eoin
-
Hi David Stunning shot, lovely locos, and love the buildings in the background, as Weshty might say 'there's depth, depth!' It will be lovely when complete Eoin
-
Hi Peter Mr Muscle Oven works brilliantly, pop the coach body in a plastic bag, spray it with a good coat of MMO and leave it sit for about an hour, take it out and wash it down with a toothbrush. It may need a second go to remove paint in lines and arises. Give it a good clean afterwards- best to use dilute washing soda and rinse in loads of water... Stay away from acetone! it will do awful damage to soft plastics- you say you got a goo on it? I'd say that's melted plastic IPA needs a good soaking for about 6 to 12 hours and there is a slight risk of damage to soft plastics again Only use Brasso for polishing your candlesticks! Eoin
-
Hi jhb I will post up a few photos in a 'Jinty Conversion to J10' thread very soon, the plan has been struck but not implemented yet... Eoin
-
Hi In model world, a Jinty is perfect for conversion to a Inchicore Class J10 or J11, the J10 is slightly easier as it does not have a curve to the front of roof. I'm currently doing a Gauge OO conversion for the Greystones layout, this will also be done for my Gauge N layout..... Eoin
-
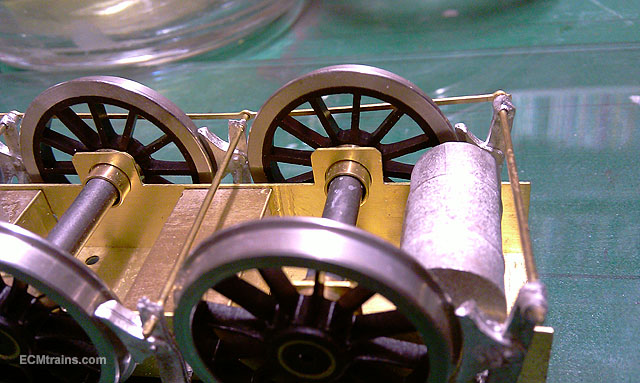
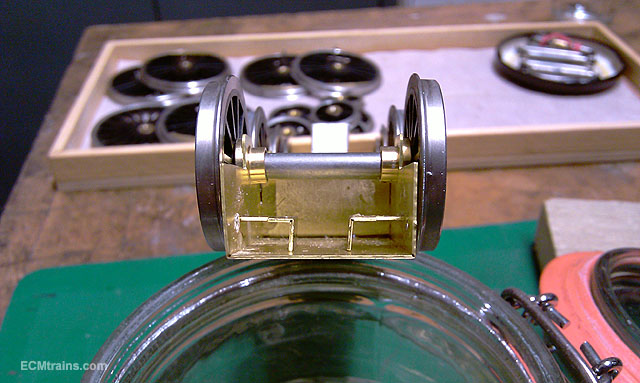
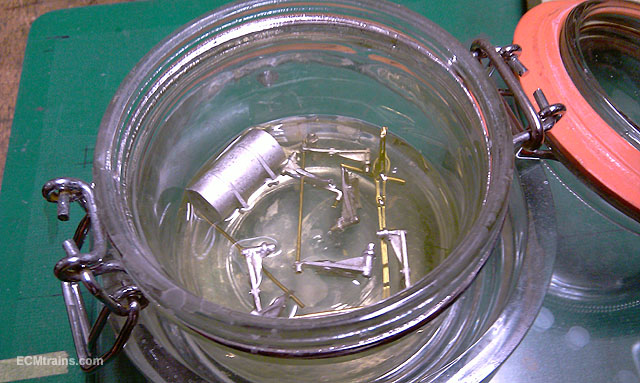
Hi Getting ready to paint the wheels, so I got out the tender chassis that was part built. Out with the acetone and started to dismantle the break gear that was super glued on- how he was going to paint it I don't know! On closer inspection I found some real guntering- two of the break levers were sheared off and an attempt to make do was implemented leading to wavy break rods. Even worse- the incorrect axle bearings were used with about 1mm of slop and most of the bearings were not glued in. No right angles could be found in the assembly, the frame spacers were not glued in also. I reckon if it was run like this the rattle would have been annoying, and most likely it would have fallen apart. 'Railway Modellers Acetone Cocktail' A few hours later I got the wheels and a number of other bits, the correct bearings will have to be sourced and a plan for those two sheared break levers.... To late to be masking the wheels now Eoin
-
Broithe It was the plants that got me in that movie- classics Steve Martin though, though we're straying away from dentistry tools... Eoin
-
I first came across moulding equipment at the hands of a dentist when I was about 9 Remember the green goo they used to take an impression of your teeth- I got some and made a mould for casting fishing spinners in lead- worked really well and caught loads of fish Eoin
-
Hi I believe its the same in the shipping world, a lot of boats are owned by Irish companies and leased out!! Eoin
.png.c363cdf5c3fb7955cd92a55eb6dbbae0.png)


