-
Posts
2,730 -
Joined
-
Last visited
-
Days Won
70
Content Type
Profiles
Forums
Events
Gallery
Blogs
Store
Community Map
Everything posted by murrayec
-
Hi David If you haven't seen this its worth it, video of Drumshambo to Arigna! Its a closed group so don't know if the link will work! The group is 'Rail Thing - Rails of Ireland' Eoin
-
Hi David Thanks for that, I'm off to the shops for my own bottle.... Eoin
-
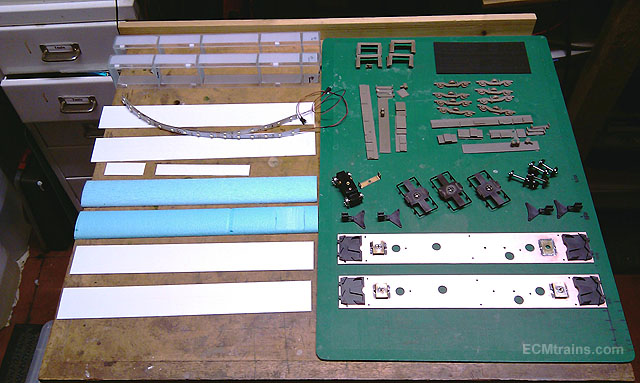
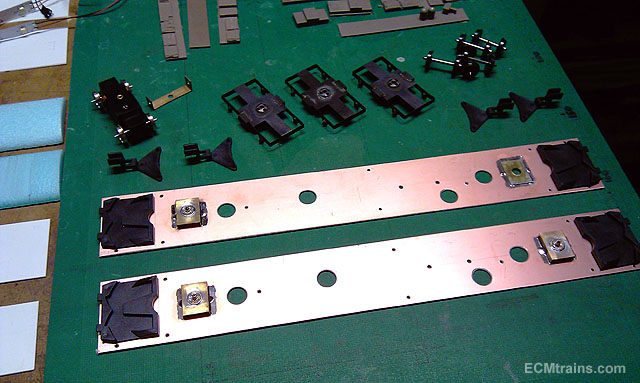
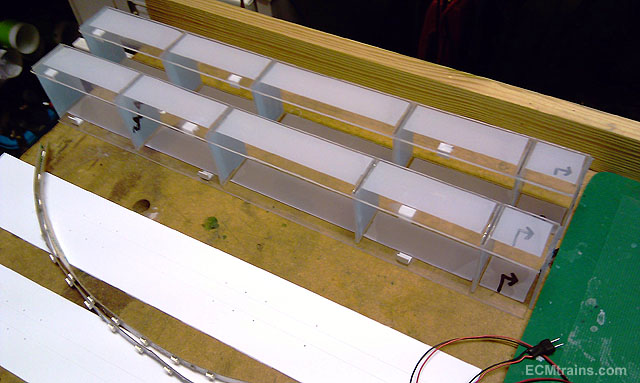
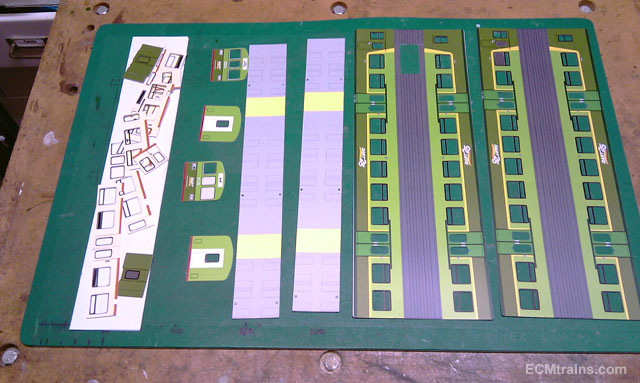
Hi All Here are a few photos of the current progress on 18 DART sets, this includes Orders 20 to 34. The shots are of one of the sets chassis and body components, all sets are at this stage with a few in the high numbers still awaiting their bogie etches to be completed. Next stage is to start assembling the sets which will be done 4 sets at a time. Eoin
-
untilhttp://irishrailwaymodeller.com/showthread.php/94-Toys-of-Yesterday-Bray-Show?p=77015&viewfull=1#post77015
-
-
Hi David 'Birchwood Casey Gun Blue' Does it work on solder? I've been using Carrs- two types;- one for solder and other for brass. It's not great, it comes out very flaky and when dry it's a powder on the surface, buffing it up leaves a mottled finish! I can live with it but it would be nice to find a better product. Eoin
-
Yes, I spent some time going through the whole thing- box of bits and mags, before committing to doing it. The only things that seem to be missing is the whitemetal wash-out plugs on the sides of the cab and electrical pick-up plunger yokes! There is a few other minor issues I have noticed- the tender axle bearings are way over size, and some of the parts the client played around with will have to be re-made- that's the fun bit of doing a project like this. As Nelson says- 'this subscription was some time back' so there are a few guys who posted up their builds on the web which is great info for having the go! Last thing- it's such a pity some of the bits are plastic..... Eoin
-
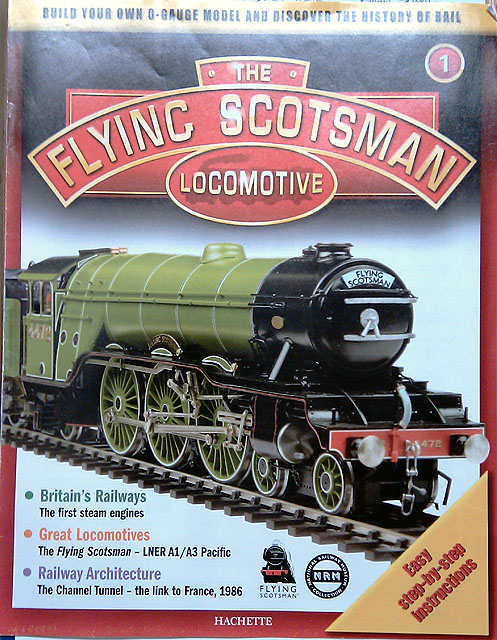
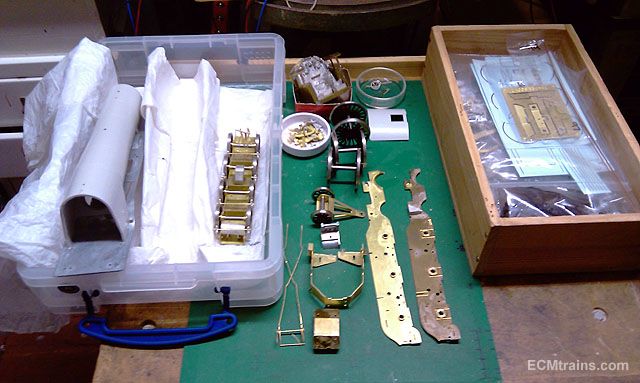
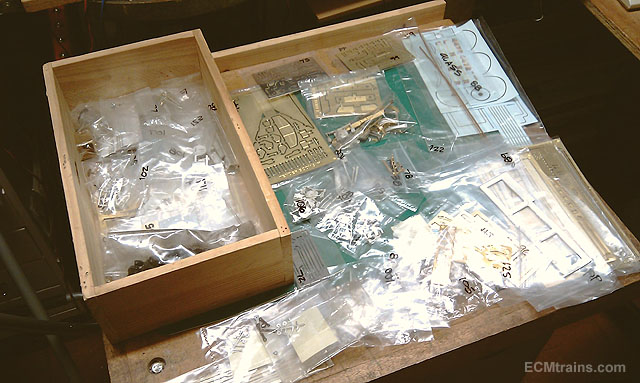
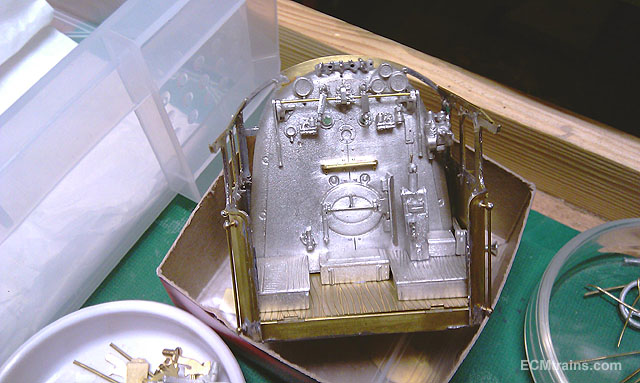
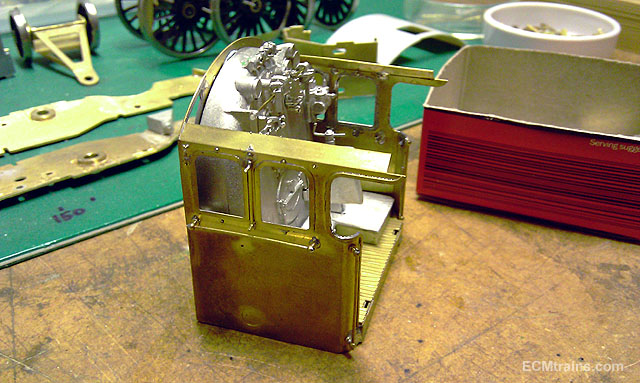
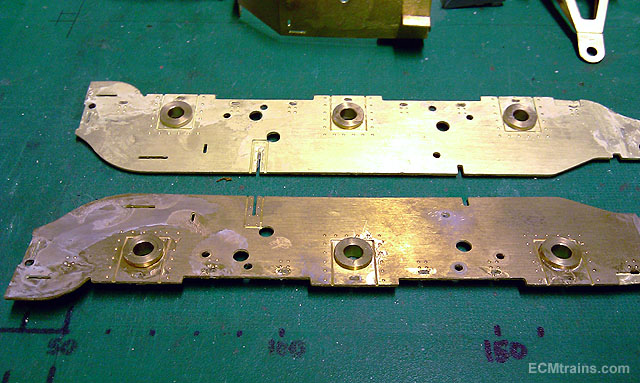
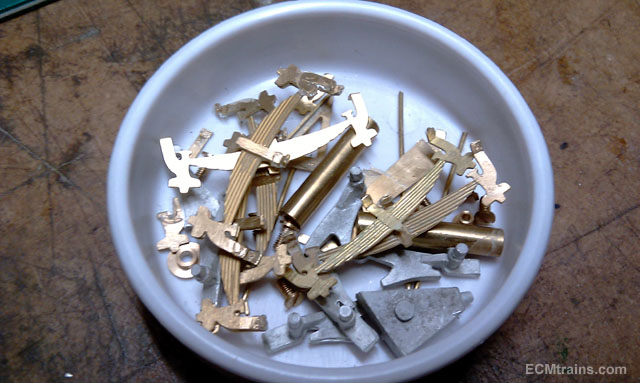
Hi All Here is a project for a client that hits the bench every so often;- It's a 'Build Your Own O-Gauge Model And Discover The History of Rail' magazine type thing- it's actually a DJH kit re-worked for issue through the post so some items were made in plastic- like boiler, fire box, tender body, and the footplate in some lightweight alloy metal. The client subscribed to the system and got stuck in as the issues arrived (fatal mistake), shortly in the issue mistakes were encountered and modifications made requiring the builder to go backwards and redo stuff with parts that came in later issues. He also had a frustrating time trying to get issues that did not arrive and in the early stages people did not understand that this was to be a display model only, there was discontent, so the publisher for an extra charge agreed to issue a motor, gearbox, and instructions on how to make it run. Frustrated and annoyed with the publisher and the tiny parts he gave up and asked me to assist. I recommend avoiding these publications systems for purchasing a model kit, you will pay nearly twice the cost of a kit on its own from a model shop! The magazine recommends epoxy and super-glue to put the kit together and when I received it it was in a pretty bad state. The client had never done this type of build before and neglected to remove cusps from all the parts and must have used a whole box of super-glue on the parts he did stick together. The chassis were rolling and the cab was constructed in a fashion! but there was not a square angle anywhere and the wheels were glued in by the break shoes.... anyway it was a bit of a mess. I avoid super-glue and epoxy on brass kits unless its absolute necessary, so I set about to dismantle it with acetone for SG and hot soldering iron for the epoxy. I first attacked the cab and spent considerable time getting all the parts salvaged, cusp removed, cleaned up, and then soldered it back together again. The cab is now looking very smart and it is at a point in the work to hold off on it until I get the main chassis sorted, I'm currently still cleaning the parts of SG as you can see in the shot of the main frames. I'm installing Slaters sprung horn-blocks in the chassis as a loco of this size without suspension has no chance staying on a track...... that will be the next instalment Eoin
-
and I'm playing about with acids to blacken my etched brass Dart boige frames- while researching on the web I found a guy that claims vinegar in a water and something? mix will blacken brass! I did try malt vinegar on its own which dulled the brass in about 4 days, I must get the stuff he mentioned and try again... so stay away from vinegar unless it for your chips Eoin
-
.....I used to use diluted sulphuric acid which is deadly at doing the job- but its deadly so I gave that up. I'm now using 'Pickling Compound' by PRO-CRAFT (can get it at a jewellery supplies outlet), its Sodium Bisulfate granules that you mix with water. A 1.14kg tin has lasted me 20 years and its not half empty yet, I make up about 2 pints of water with 12oz of the stuff for a week solution, most supplier have options Here is a link to a small jar but you should get bigger;- https://www.etsy.com/uk/listing/248366953/pre-po-pickle-compound-3oz-45100 Eoin
-
Hi David Its a bit stronger than that- back in a sec. as I whip out the can.... Eoin
-
Hi einstine and welcome Have you checked out the OS Website for maps (they have old ones) of your target? If you are travelling at the speed of light on a train and your looking back at the town clock, and the clock hands don't move.... what puzzles me is where are you going, and where did all the track come from?? .....could not resist! Welcome Eoin
-
Hi Thanks all for comments Yes BosKonay, foam is the business, such an easy, light & economical material to play around with. Allied with computer drawings to print out accurate templates on mass almost anything is possible Though Woodies don't do the pink stuff any more.... Eoin
-
Hi David Excellent progress and workmanship- I'd like to get one of those resistance soldering units sometime... I use a pickle solution in a tall glass jar for plonking the model in overnight after a soldering session, that will stop the green thing happening, it removes the flux, and if you make a strong solution the model comes out shiny n all in the morning. The jar lasts for years- though needs to be kept in a safe place Eoin
-
Hi Guys The site is looking great Eoin
-
Hi Guys Well done, great news for the Irish Railway Modeller and I wish you the best success.... I'll definitely put in an order for the Hopper Wagons Eoin
-
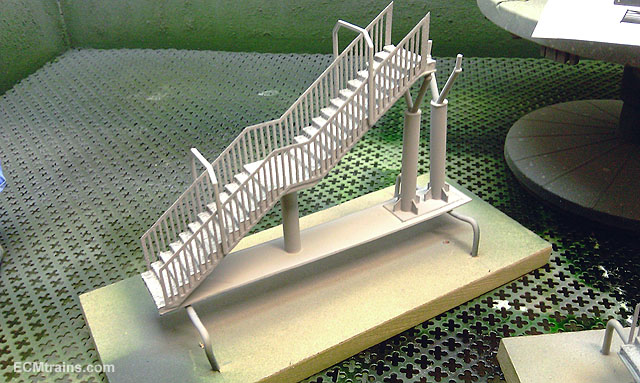
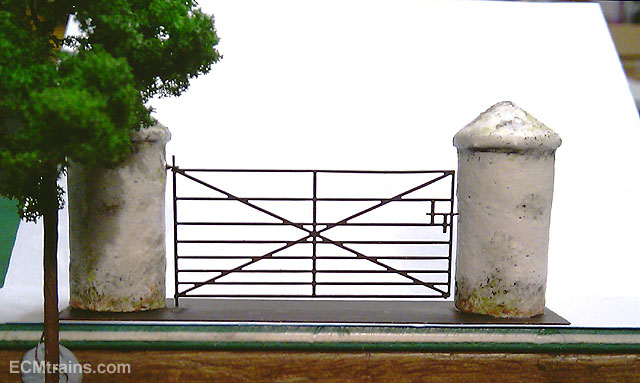
Hi All Here are two shots of items for the layout hot off the work bench.... Handrails for the pedestrian bridge steps are now complete and all is ready to install on the layout This is the gate into the field to access the beach, it's from an SSM etch with foam-cut stone pier posts- old style, not many about any more! Eoin
-

Collectables Toy Fair - Sunday 4th October 2015
murrayec replied to Brian Collins Enterprises's topic in What's On?
-
Hi I saw the bridge in the flesh at the Carlton Hotel Show today, as we now say 'It's a beautiful thing'. By the shots above and all that's going into it this layout is stunning... Eoin
-
Hi BK Just thinking- you may be referring to the footbridge and lifts in one of the earlier photos- this can also been seen in the Tips n Tricks;- http://irishrailwaymodeller.com/showthread.php/4586-Hot-Wire-Foam-Cutting-By-murrayec?p=72001&viewfull=1#post72001 I'll have a few shots of it shortly as the stairs handrails are now etched and is currently in the paint shop.... Eoin
-
Hi Driver301 Beautifully done Driver, it's an excellent layout, a visual feast for the spectator of model rail- the massing of the buildings behind the platform pulls the eye in deeper to the platform and then one finds the view into the subway... excellent, we're in it! I hope your going to be at Blackrock, to see it in the flesh and operating, hopefully we can run the N DART on it? Eoin
-
Hi BosKonay The bridge is cut from insulation foam with the hot-wire cutter and then cut strips of foam are stuck on to create the walls and footpath. A paper template is cut from the CAD drawing to use as a guide for cutting- refer to Tips n Tricks section for home made hot-wire cutter... Eventually the bridges will be covered in printed stone work..... Eoin
-
Hi Dave Firstly closetmodeller's intended running is for the main lines through Greystones Station handling four trains to a time table- Timber Train, Commuter, Other Passenger, and the DART. Secondly closetmodeller desired a layout in liner fashion, for main line work, and not to take over his office room. Therefore the boards are 400mm deep and the sidings had to go otherwise the layout would be to cluttered. The outside siding still exists at Greystones and would have been nice to incorporate, but due to the depth of the baseboard it was omitted, as the station building is more important and we wanted to incorporate some of Main Street of Greystones Town in the layout. Eoin
-
Borithe Was that on the brick cottages on the way to the East-Link, I have the memory of a fish over one of the entrance doors- a Bass I think - it was some time back and I could have the wrong location... We need a fishy section now! Eoin
-
Broithe Perfectly clear..... - 'Earwiggie-Traine-Thingmejig-Hornby-Tension-Lock-Coupler-Things' ......please Sir? Eoin
.png.c363cdf5c3fb7955cd92a55eb6dbbae0.png)

