murrayec
-
Posts
2,765 -
Joined
-
Last visited
-
Days Won
70
Content Type
Profiles
Forums
Events
Gallery
Blogs
Everything posted by murrayec
-
Looking good CM Though we must do something with the timber wagon uprights- less of and a bit of white paint, I think Love the logs, did you model them yourself?..... Eoin
-
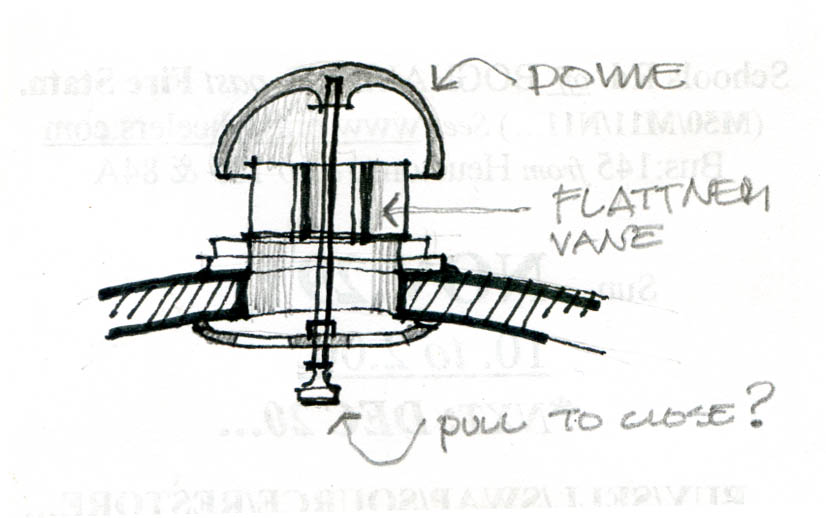
Hi Here is an idea based off the flicker photo from above;- Not sure about the closing idea, but it would seem logical to close the vent on the outside so water cant get in? Eoin

-
Hi David I know what you mean- while cutting some plastic recently, doing the stupid thing of pulling the knife towards me- I said 'what are you doing!' then promptly stabbed myself in the leg!! Parkside Spares, Instructions & Consumables;- JM this is for you;- http://www.kompernass.com/index.php?route=common/home Eoin
-
-
Hi I'm sure you have done this- have you set it to run and leave run for a while, if the CV's for the motor have been set for slow take-off she needs time to get up to speed! Eoin
-
Hi Lovely layouts, them all, great to see the photos Eoin
-
untilFollow link for more info;- http://irishrailwaymodeller.com/showthread.php/94-Toys-of-Yesterday-Bray-Show?p=79893&viewfull=1#post79893
-
Next Show;-
-
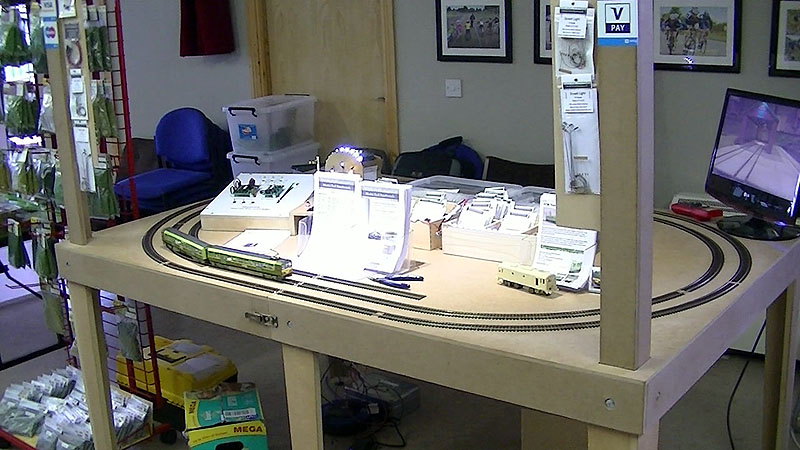
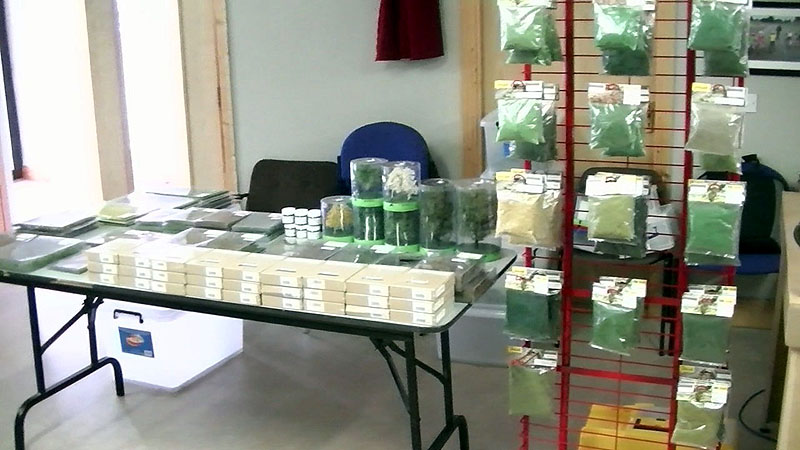
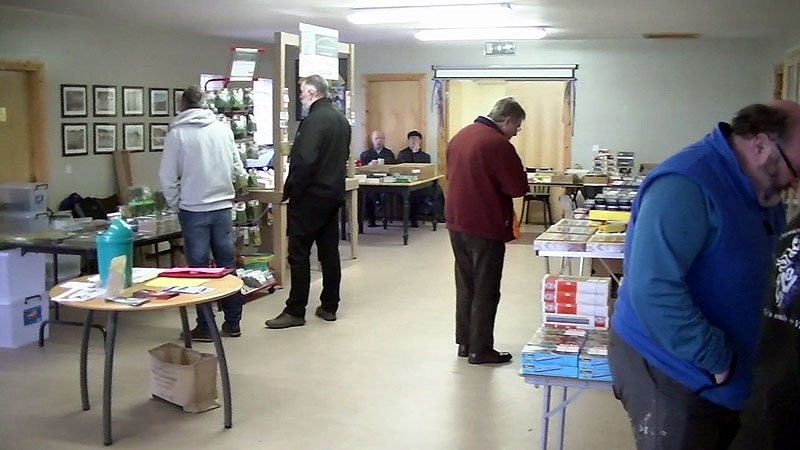
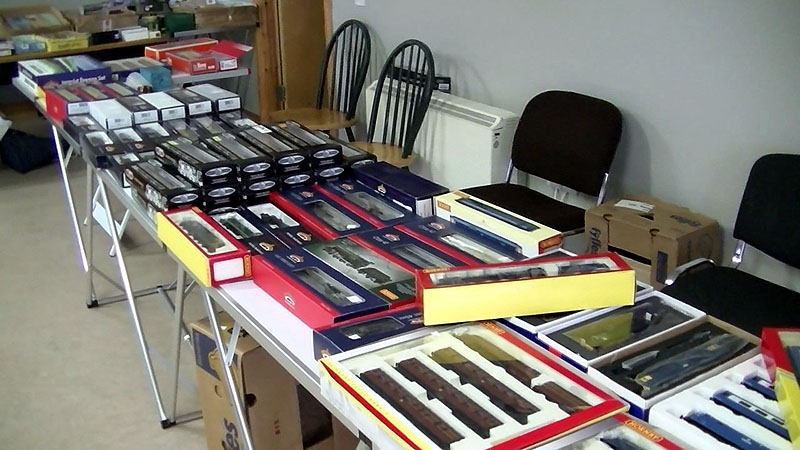
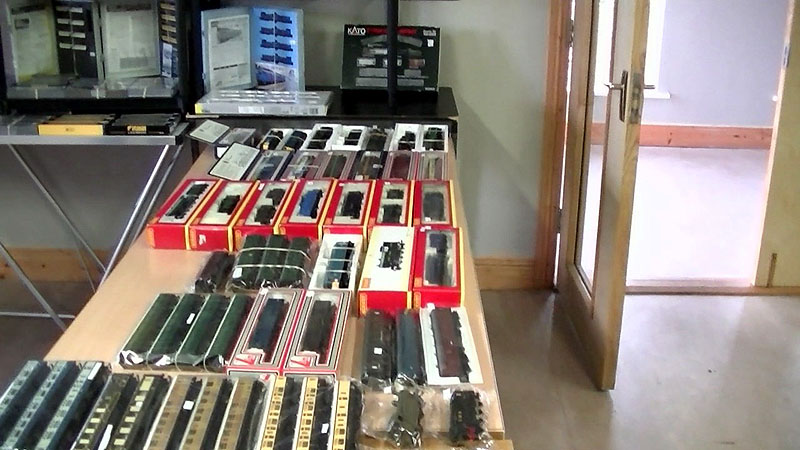
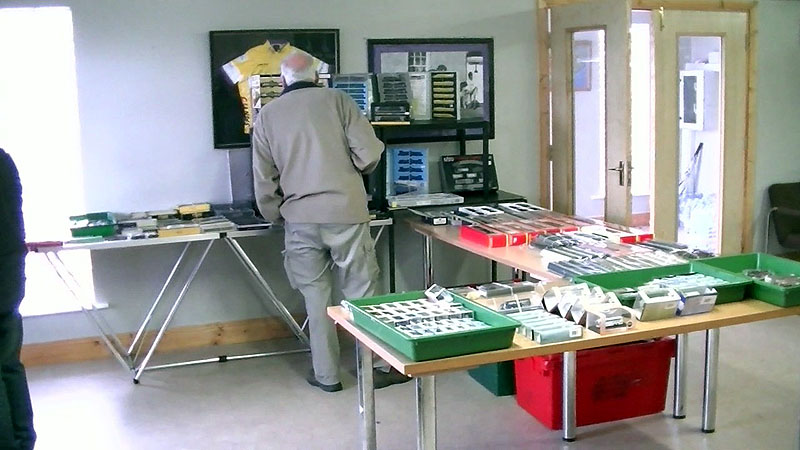
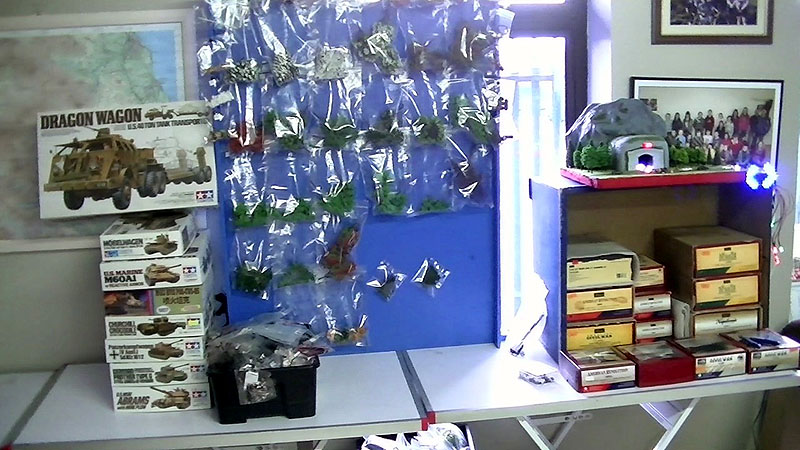
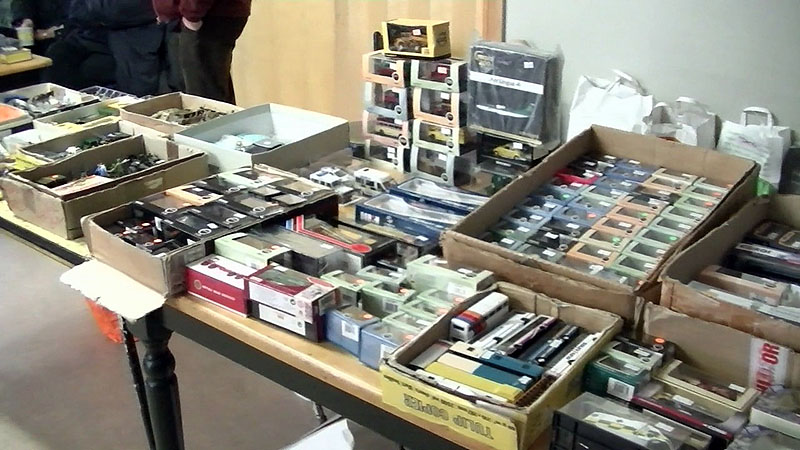
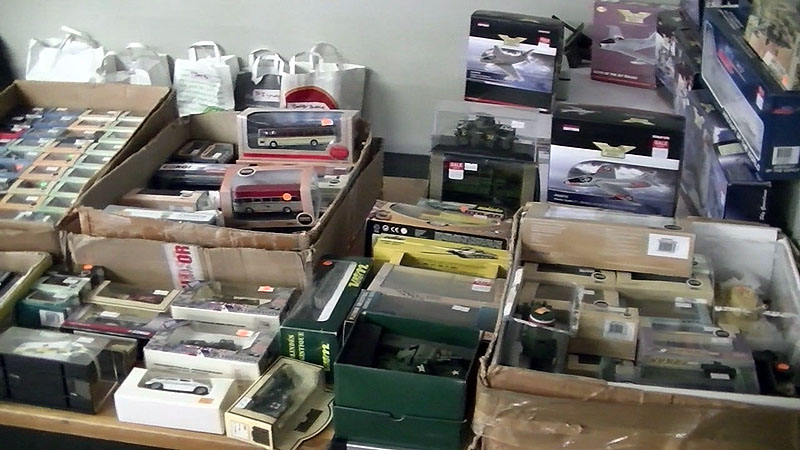
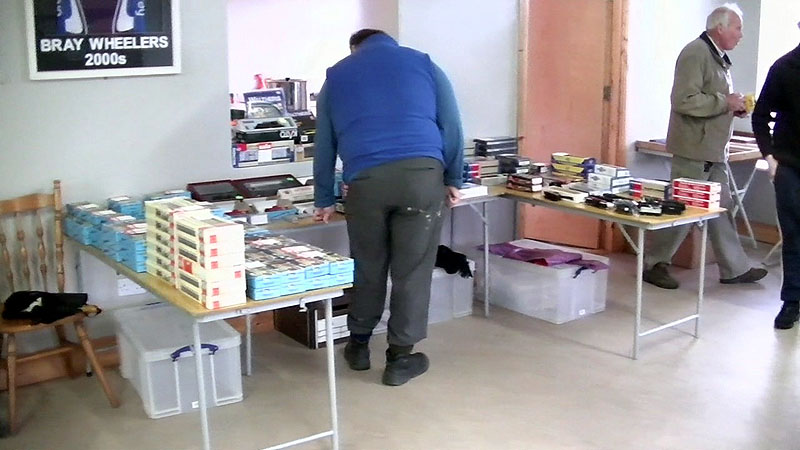
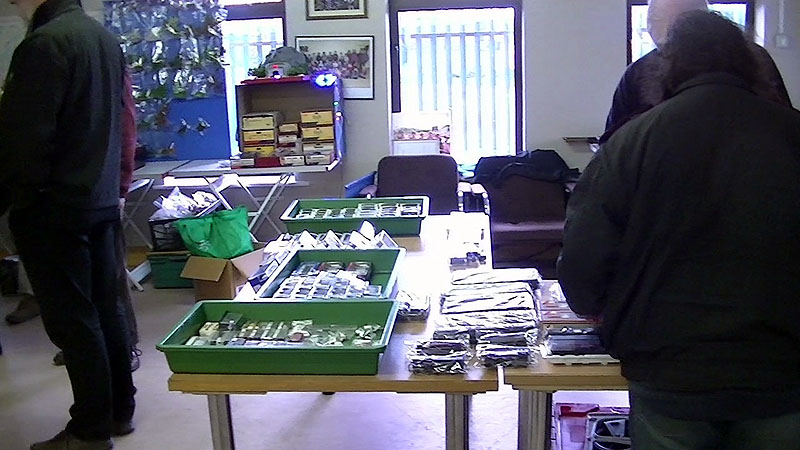
Hi All Here are a few still captures from video I took yesterday just as the doors opened. This will give you that have not dropped in once a month to look, talk, buy, sell, take tea n coffee, and even a biscuit, - a look see at what happens..... Come along to the next one if you can Eoin
-
Hi Just a note on a previous post about the Lidl grinding wheel for the hand held unit;- Though the Lidl ones may be soft, but one wants the wheel to disintegrate (hopefully at a slow rate), this is how the wheel works- as chips break off it leaves a continual sharp surface on the wheel to do its job Eoin
-
Dave Sorry to hear that, it would have been wonderful item to have in the workshop Eoin
-
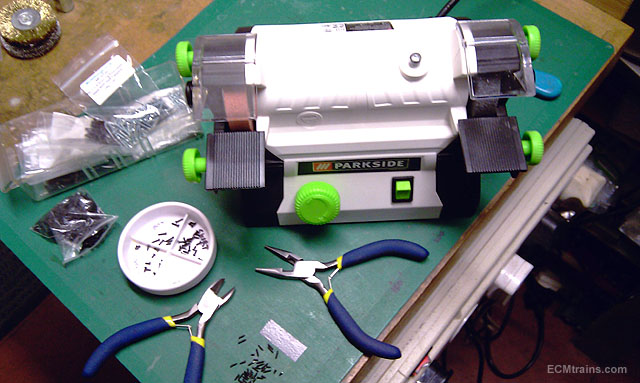
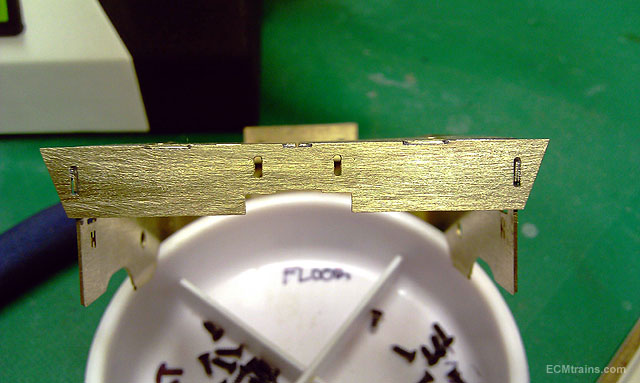
Hi I gave the bench grinder its first wherrrrrr this morning, processing a batch of screws for a DART set chassis;- At 1/4 regulator open it works an absolute treat, nice and quiet and far better than the Dremil screaming in my ear and blowing cold air in the face! The grinding table support needs a little up-stand for to rotate the pliers on and the job will be perfect. I then turned to the brass wire brush to clean up a bit of the flyingscot soldered brass back chassis, again at low speed, it cleaned up beautifully with little effort. Though a softer wire brush would be better. Very happy with this addition to the workshop and my ears really appreciate it..... Eoin Safety Tip Using Brush Wheels;- There is no guard on this wheel so be extra careful, and a good idea is to put something soft about 300mm behind the machine- just in case the wheel takes the work piece out of the hand the soft object will retain it and hopefully minimise damage. Never put your fingers inside an object being worked on always hold it on flat surfaces and not on protruding edges. Bring the work piece up to the wheel under the centre line of the wheel. Read the safety instructions that came with the machine.
-
Broithe That's a nice size, plenty of room in n around that Sometime in the future I would like to acquire one in this size range..... Eoin
-
Hi Kirley Lovely, I like the section at the shed Eoin
-
JM You mentioned a C3, I have a Clarke version, I upgraded it over the years to the same spec as an ArcEuro C3- its a deadly machine and love using it BUT;- if you can afford it go for something bigger, everything is very tight (close together) on these little machines, all the stuff gets in the way of your hands and using small drill bits is a nightmare as the saddle gets in the way of the tailstock! Go bigger, if I was doing it again I would.... Eoin
-
G oooohh! like sherbert, do you remember the stuff that came in the tube with a liquorish straw.... Eoin
-
Hi JM The mini bench grinder is for light work only- grinding screw lengths, cleaning up light sheet materials from metal kits and bar stock that one could not put near a proper bench grinder, plus my proper bench grinder takes up the whole bench.... Eoin
-
Hi David The Proxxon drills come in different flavours, it depends on which one you have and they are only light-work machines same with the Dremel. If you require something with umph one needs a high speed spindle drill but they come at a premium in the range of €400.00 up to €2,000.00.... I've just purchased a StepperCraft A3 CNC Machine Kit with HSS drill and other attachments- not telling how much it cost, but cant wait for the courier to come calling... Eoin
-
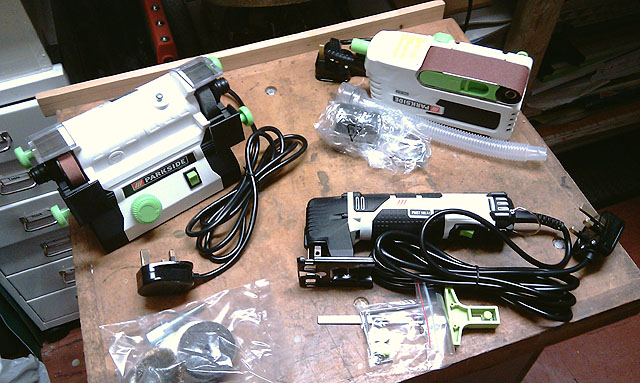
In Lidl today Nice set of small power tools for the workshop;- €24.99 for the belt sander €24.99 for the bench grinder and polisher €19.99 for the jigsaw The thing about big tools is when you bolt them down to the bench there is no bench left, these tools are ideal and could be left in position for handy use! Eoin
-
-
Hi DC Cellulose is a fantastic paint for all materials its why most car body shops used to use it- its probably the best and its cheep On the other hand its deadly to humans if it gets into the lungs- it sticks the little woolie bits together and suffocation comes on. This is why you don't see back lane car body shops any more- insurance companies and employers wont take the risk and to up-grade to the water system is to expensive for the back lane guys- what's the cost of a car oven!! Eoin
-
Lads! I feel another cartoon coming on.... Better refrain! Eoin
-
Weshty for you... Tony As far as I know cellulose paint is not used in the motor industry any more due to safety, they use a water based system now that requires an oven to set the paint hard- that's why they say the paint does not dry well if used without an oven! Go for the Humbrol option Eoin
-
David Excellent stuff there, has been a great help Eoin
-
Tony That paint you have there looks fine Many moons ago myself and a chap who drove JCB's used to service the bushings on the back-actor- I still have the drill bits and the reamers for doing the job! oh and I still have the pillar drill we used to use, at that time JCB sold the kits and one could buy paint from them for touch up?? Eoin