-
Posts
1,278 -
Joined
-
Last visited
-
Days Won
97
Content Type
Profiles
Forums
Events
Gallery
Everything posted by Darius43
-
Initial painting of the figures. They were given an overall spray of khaki and then details were painted using the end of a cocktail stick - even the finest brush is too coarse. Once the paint has dried overnight, shadows and highlights will be picked out using a dark wash - sparingly applied. Cheers Darius
-
Tarpaulins fitted to wagons. Cheers Darius
-
Thanks Mogul. We already have a Boche Buster on the layout. Cheers Darius
-
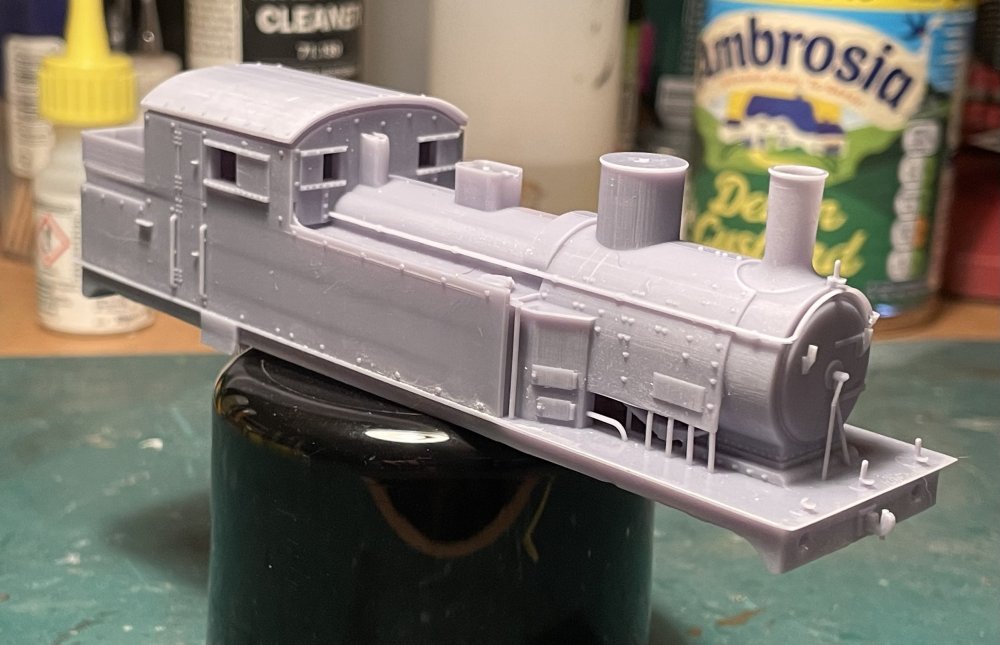
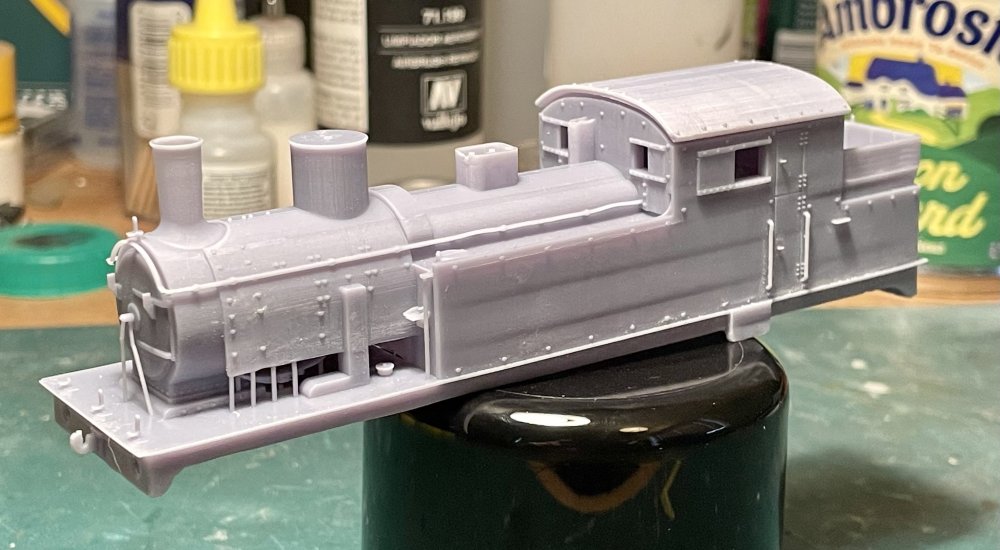
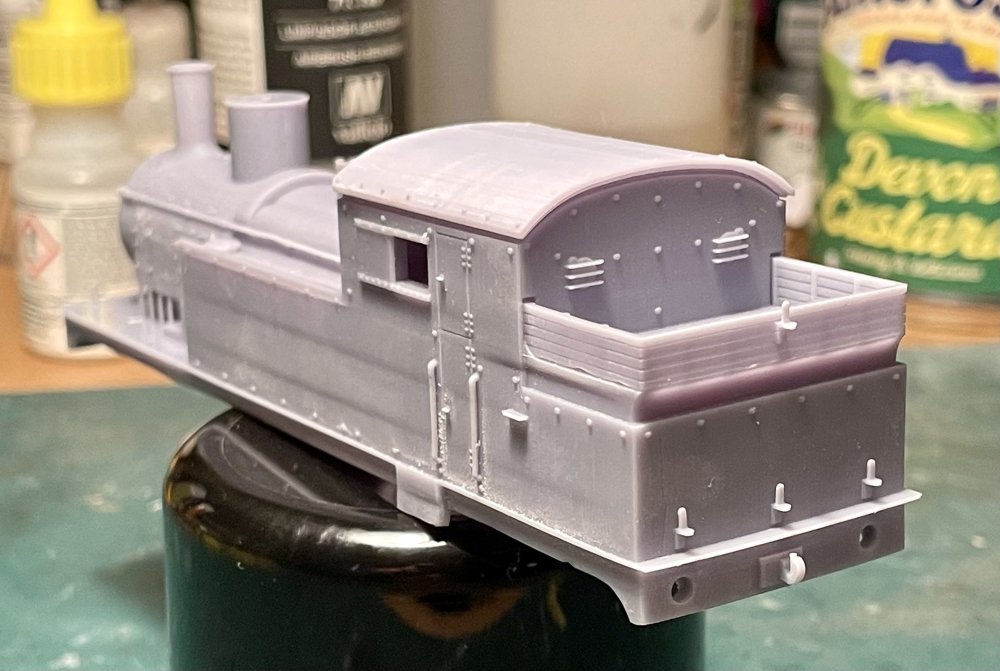
Loco body painted. Now awaiting delivery of a motorised chassis. Cheers Darius
-
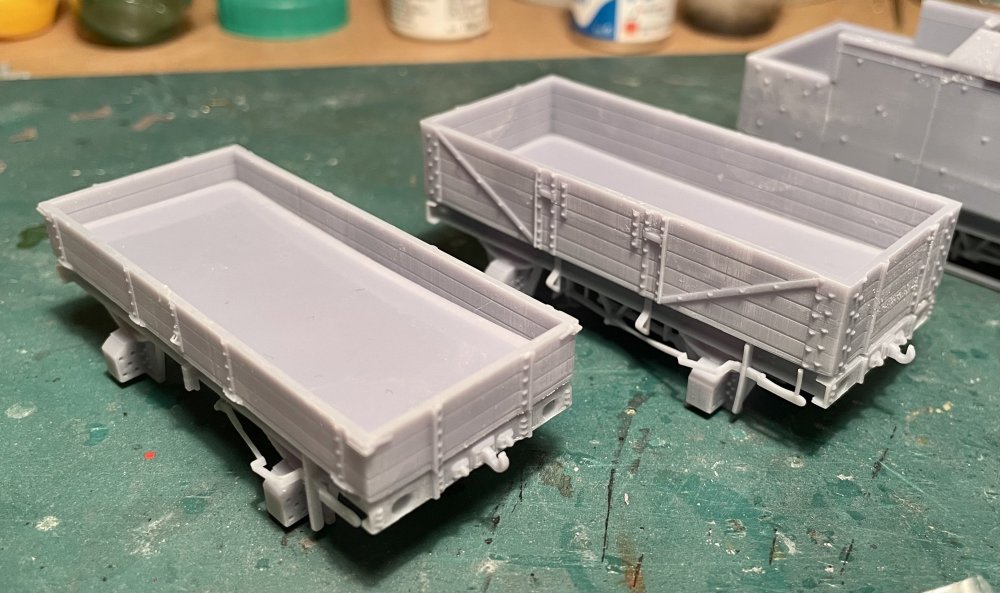
Painting of 5 and 3 plank wagons completed - will be adding tarpaulins to these wagons as shown in photos of the actual train. I added etched ladders and screw link couplings to the gun trucks. Cheers Darius
-
Gun truck painting completed. Cheers Darius
-
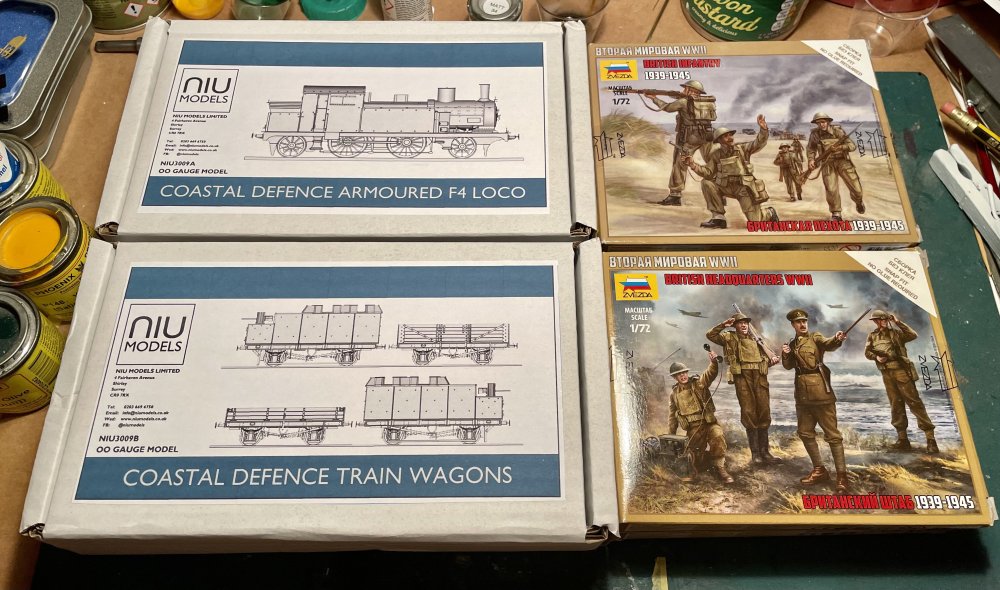
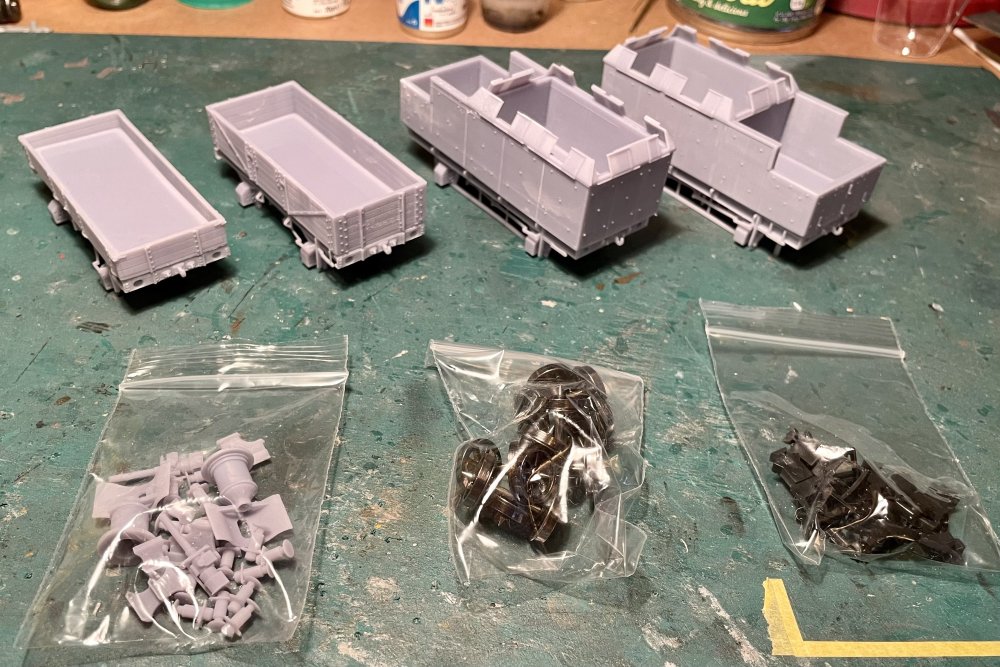
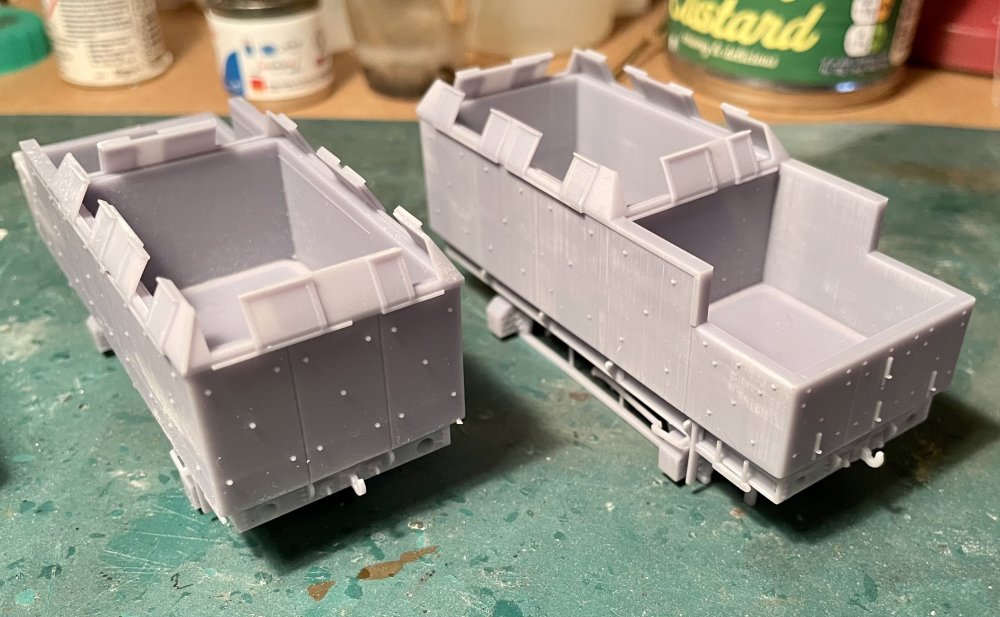
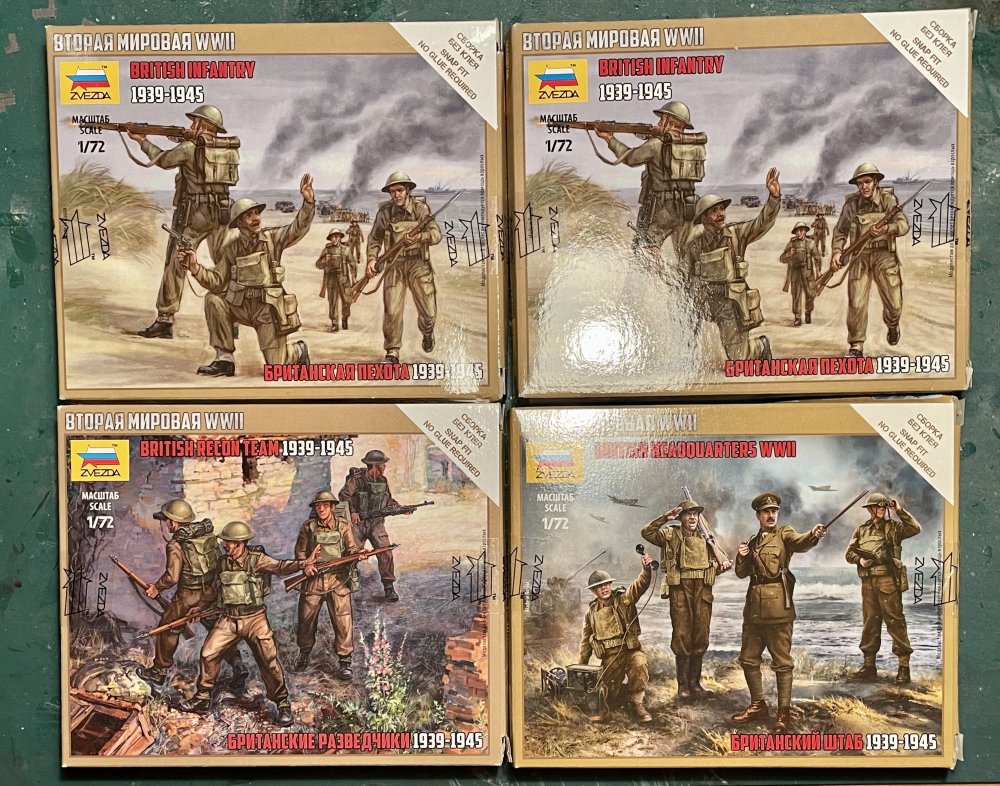
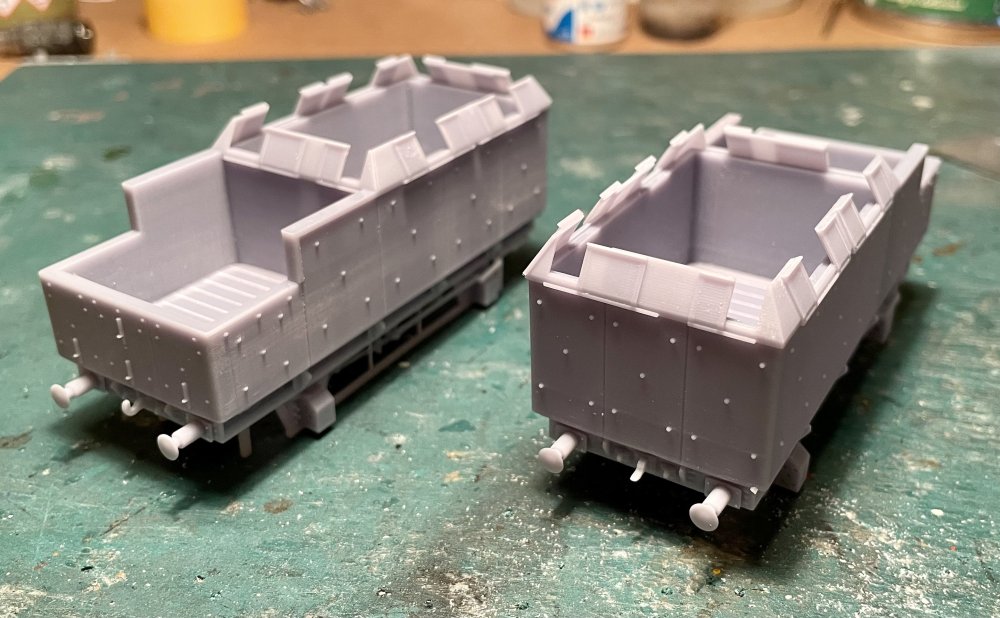
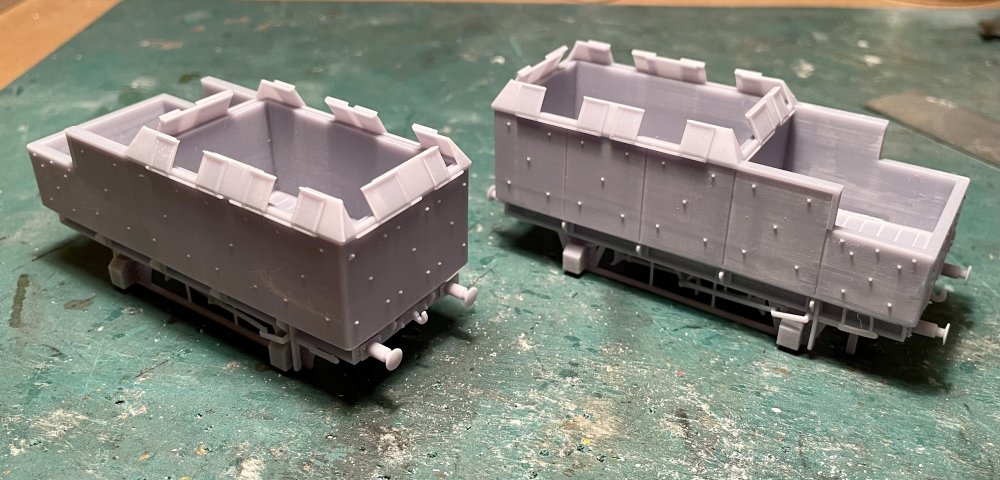
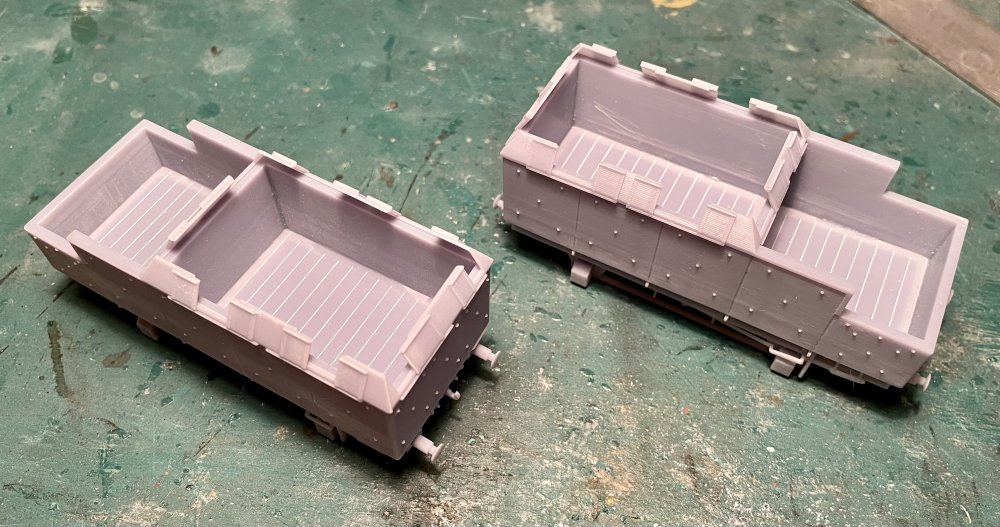
Niu Models 3D printed Coastal Defence Train. The loco body is designed to fit onto the Bachmann L&YR 2-4-2 Tank chassis. Also acquired some occupants… Gun trucks assembled (minus guns). Cheers Darius
-
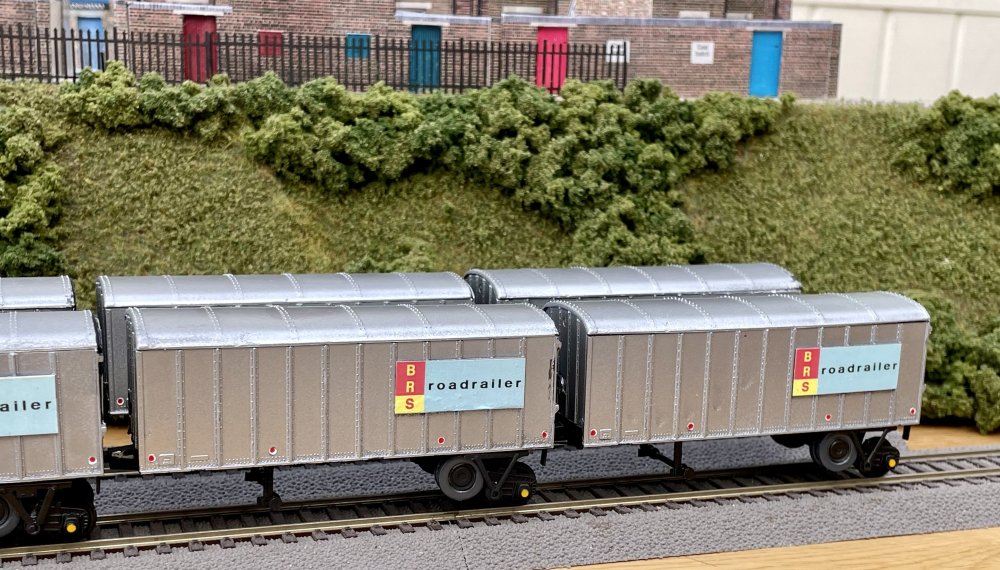
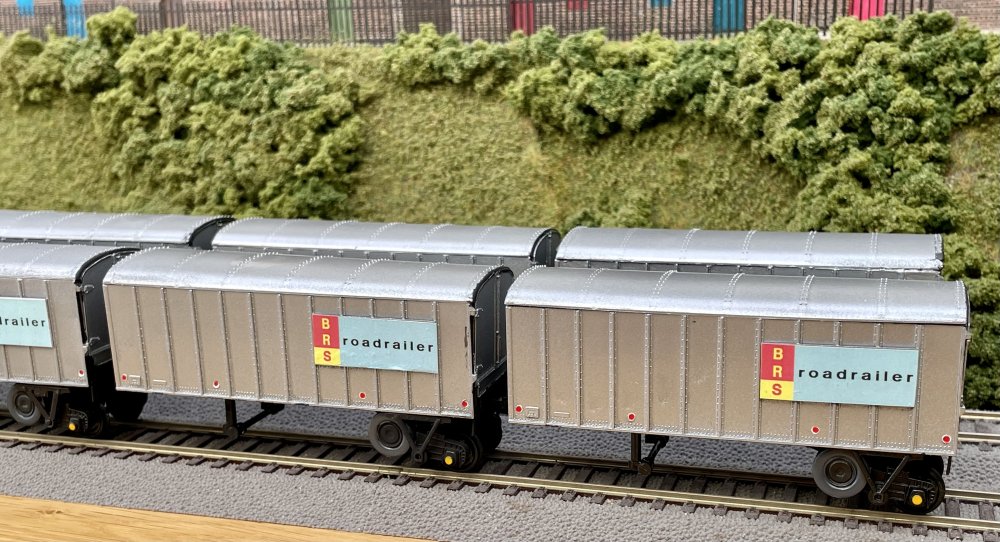
Roadrailers and cement wagons in action on the layout today Cheers Darius
-
Hi DJ it was an ill-fated attempt to combine road and rail freight in the UK in the early 1960s. Containerisation was the way forward. https://cutt.ly/S6woJzq Cheers Darius
-
Completed Cheers Darius
-
Two more 3D printed JGA cement wagons on the bench The yellow and green “Tarmac” colours are brush painted Phoenix Precision enamels. I had considered airbrushing but the overspray masking was too complicated. Masking for brush painting was much simpler. Cheers Darius
-
Two more with the scratch built wheel assemblies completed - brings the rake to 15. One more bagged kit to assemble. Cheers Darius
-
Scratch built undergibbons. Less detailed than the kit part but should not be too apparent once painted black. Cheers Darius
-
The tractor units that are supplied with the original kits are AEC Mandators. Cheers Darius
-
Two more trailers completed. Three more on the workbench - two of which will require scratch built undergibbons. Cheers Darius
-
Fantastic stuff!!! Duly ordered Cheers Darius
-
-
Smor. Already built examples from eBay. Repaired, tidied up and fitted with metal wheels. Three more original bagged kits to build. Plus this pre-built example, which is going to need some TLC to bring up to scratch. And two of these… Cheers Darius
-
A year or so no ago I built a couple of vintage Scalecraft “Roadrailer” kits that I found on eBay. When first tried out on the layout the trailers were a bit jittery so I added tyre weights - sprayed black so as to be less obtrusive. Running on the layout last weekend. Some more trailers added to the rake. Built examples obtained from eBay refurbished and repainted. Cheers Darius
-
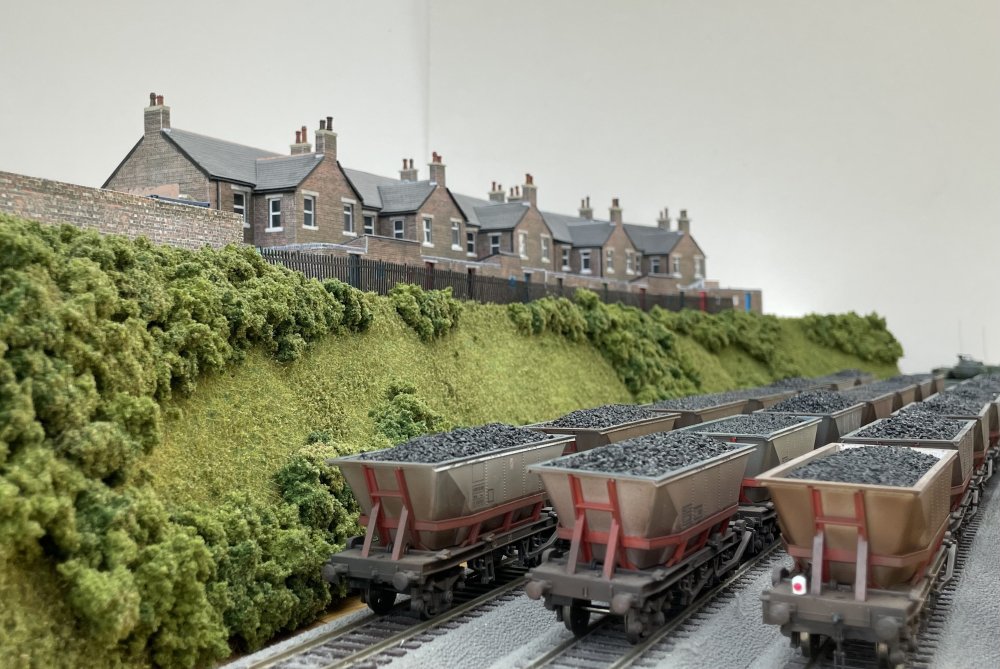
Some more stock running in the shed today. Hornby MGR wagons behind a Bachmann Class 37. 3DWagonWorks JGA cement wagons behind a Bachmann Class 66. Hornby Class 101 DMU (with Express Models head/tail lights fitted) and Bachmann Class 108 DMU. Ian Kirk kit built articulated suburban coaches behind an Oxford Rail N7. KR Models GT3 hauling modified Triang Mk1 coaches. Cheers Darius
-
Roof glued on and weighted down to be left overnight to cure. Cheers Darius
-
Sides and cabs cemented together. Roof dry fitted to check the fit. Cheers Darius
-
DC kit obtained several years ago. My original intention was to graft the kit body onto a Bachmann Class 105 chassis, but the chassis is about 2mm too long due to it being for a single cab coach. The revised plan is to use the DC kits chassis and graft on the Bachman motor casing, bogies and undergibbons. Cheers Darius
-
-
Rake completed Cheers Darius
.png.c363cdf5c3fb7955cd92a55eb6dbbae0.png)
