-
Posts
3,490 -
Joined
-
Last visited
-
Days Won
11
Content Type
Profiles
Forums
Events
Gallery
Blogs
Store
Community Map
Everything posted by Glenderg
-
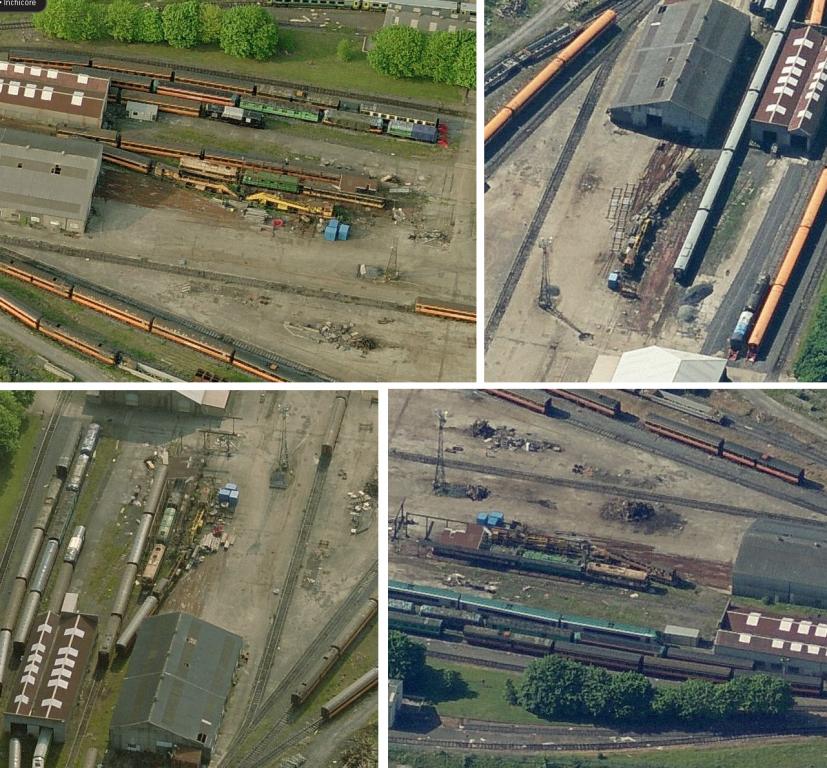
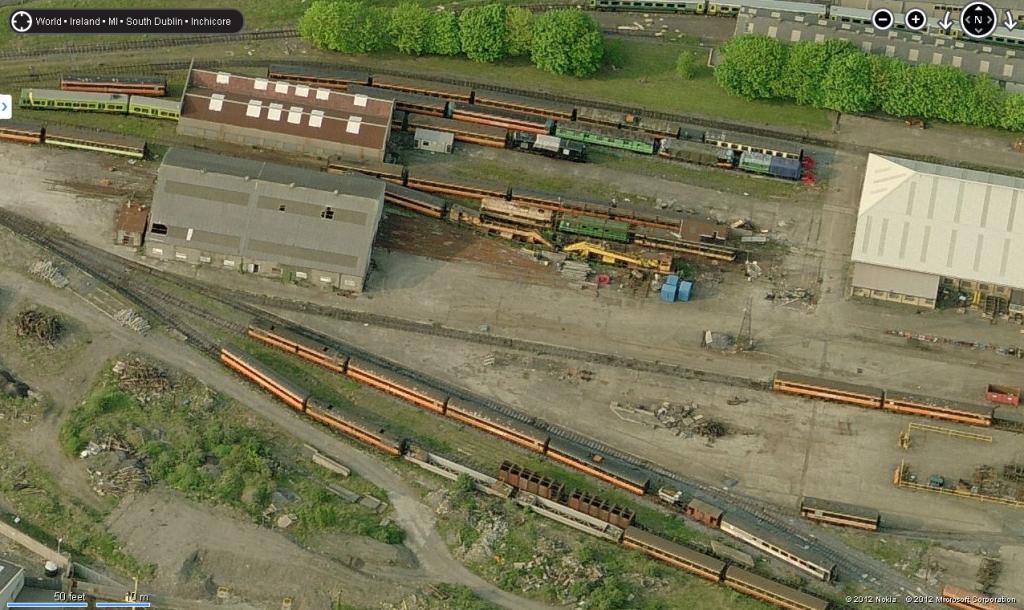
Nice work Seamus. I'm sure I have photos of that crane somewhere in pristine condition..I'll look for it later. Bing maps is great for rotating the view to see oblique angles, here are the four available for the crane. http://www.brassjacket.com/GLENDERG/Inchicore_Cranes_crop.jpg
-
Better take a copy of the photos then before they get updated!
-
Nice work, it'll be interesting to see how you deal with the double slip ballasting.
-
-
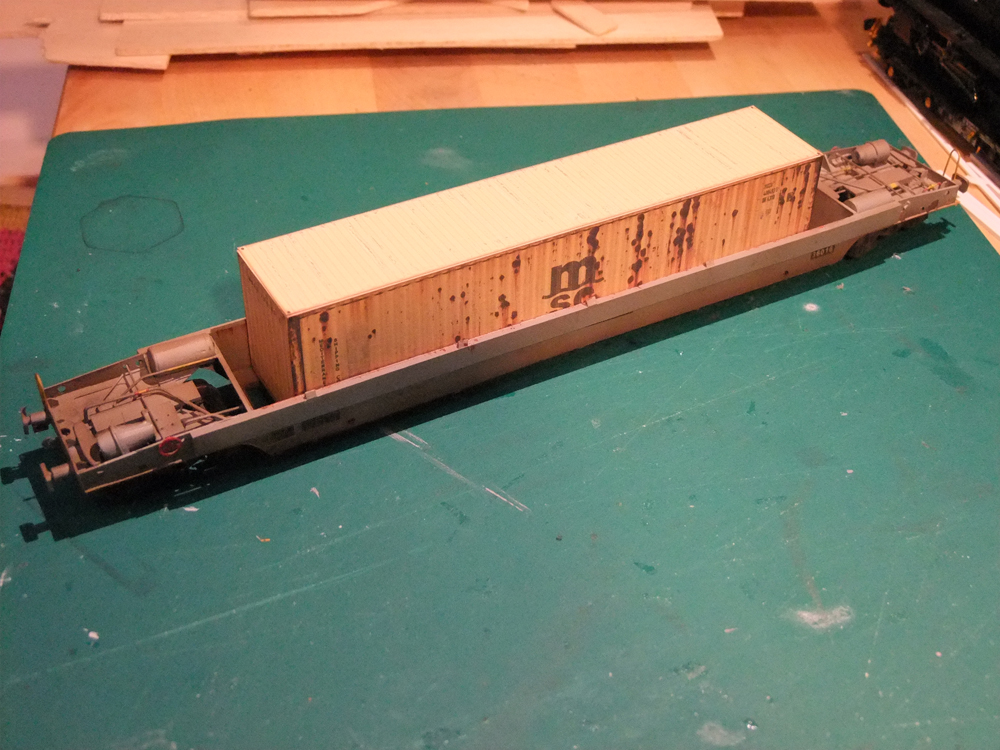
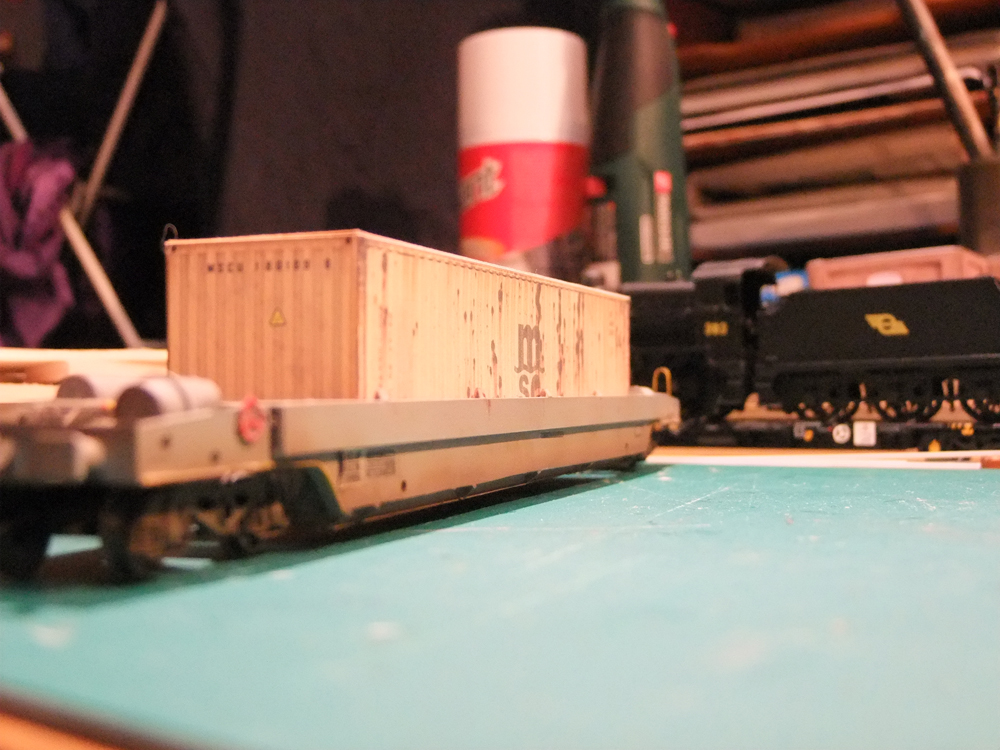
It's scratchbuilt as the 45' container irish version from styrene sheet, evergreen sections, and bits of brass wire/ink cartidges/pencil tops Having the WB in the kitchen is a blessing, I need to sort out some decent lighting though. Thanks all for the kind words, even from Uncle Kranky
-
So it's not called "PuddleView" then? Mala mala is on the WB too, but its just a pile of windows, cills, chimneys. Not assembled. Inbox sorted Kirley.
-
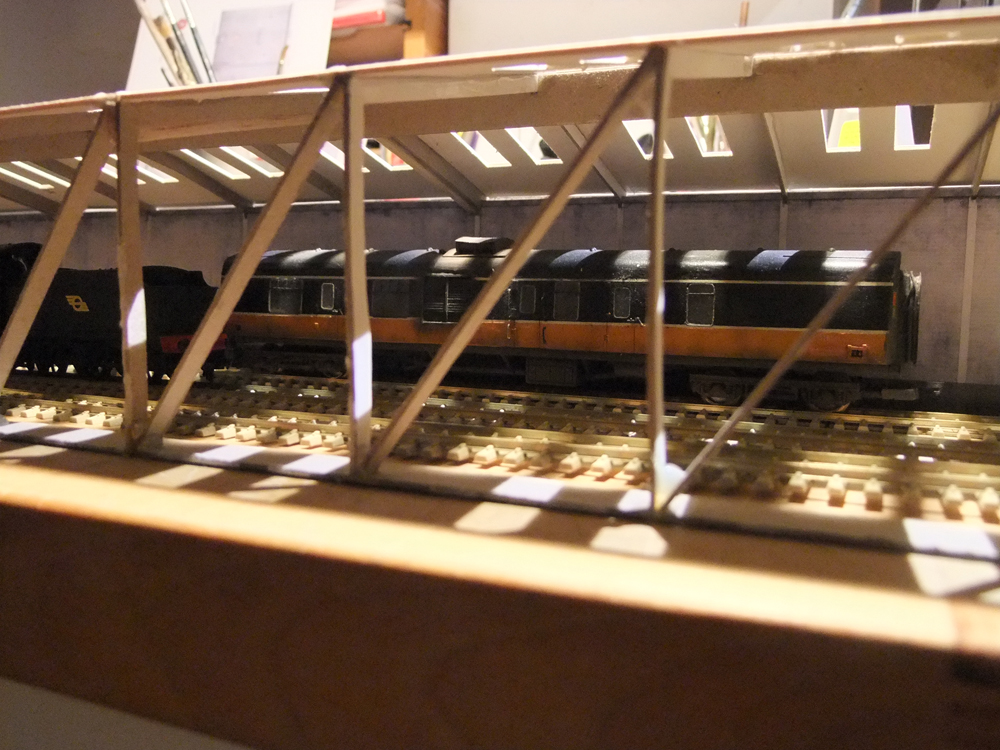
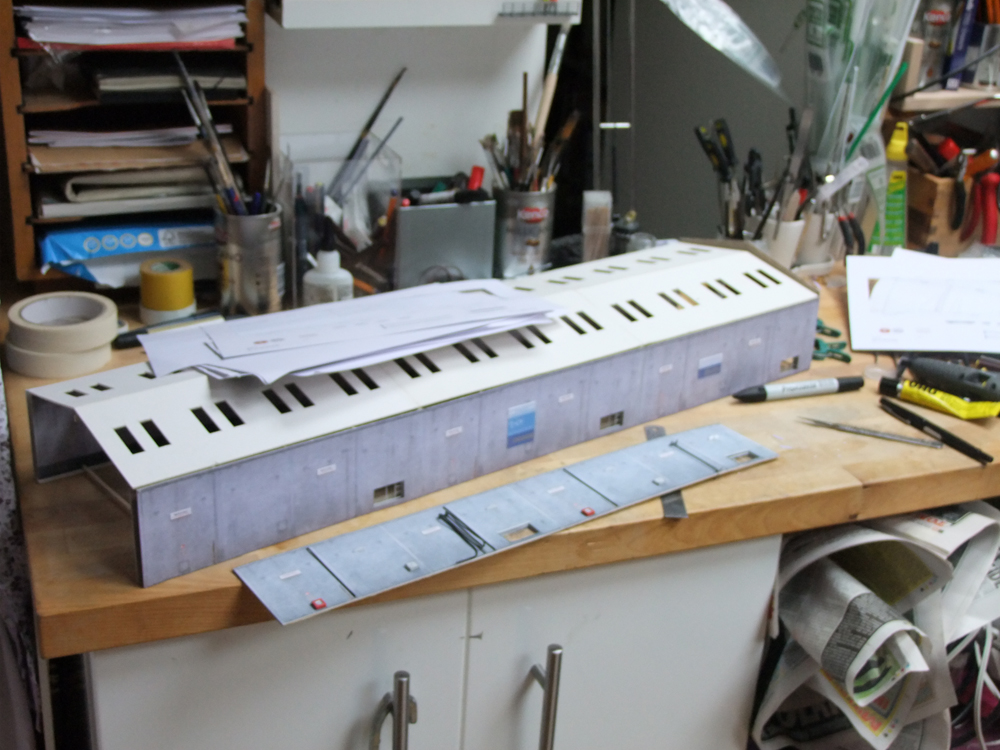
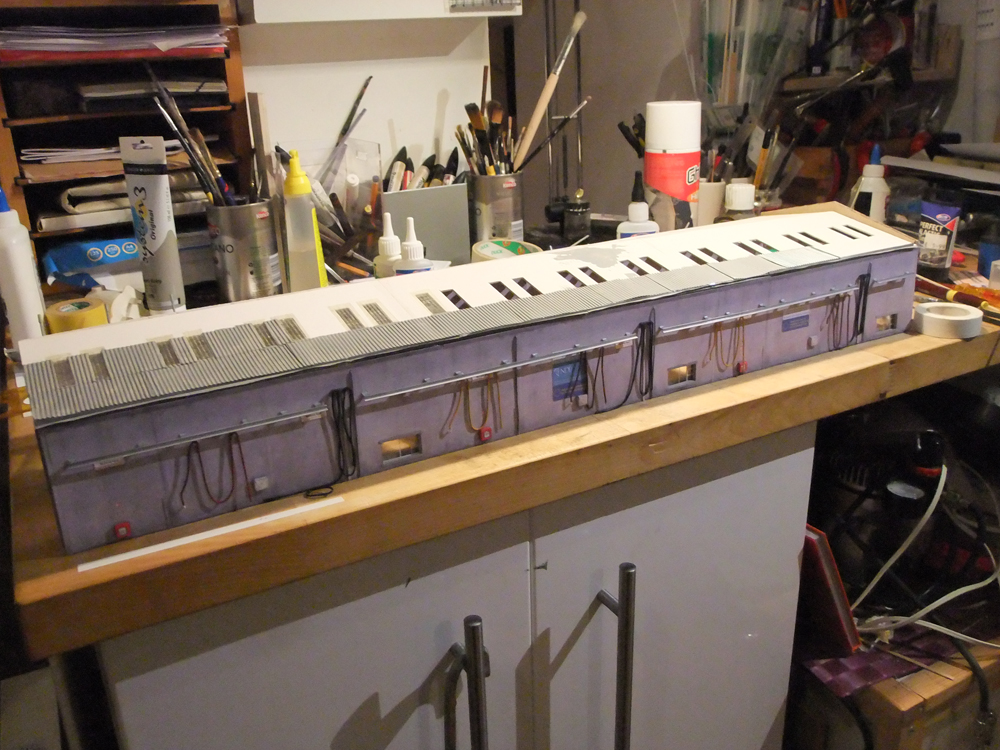
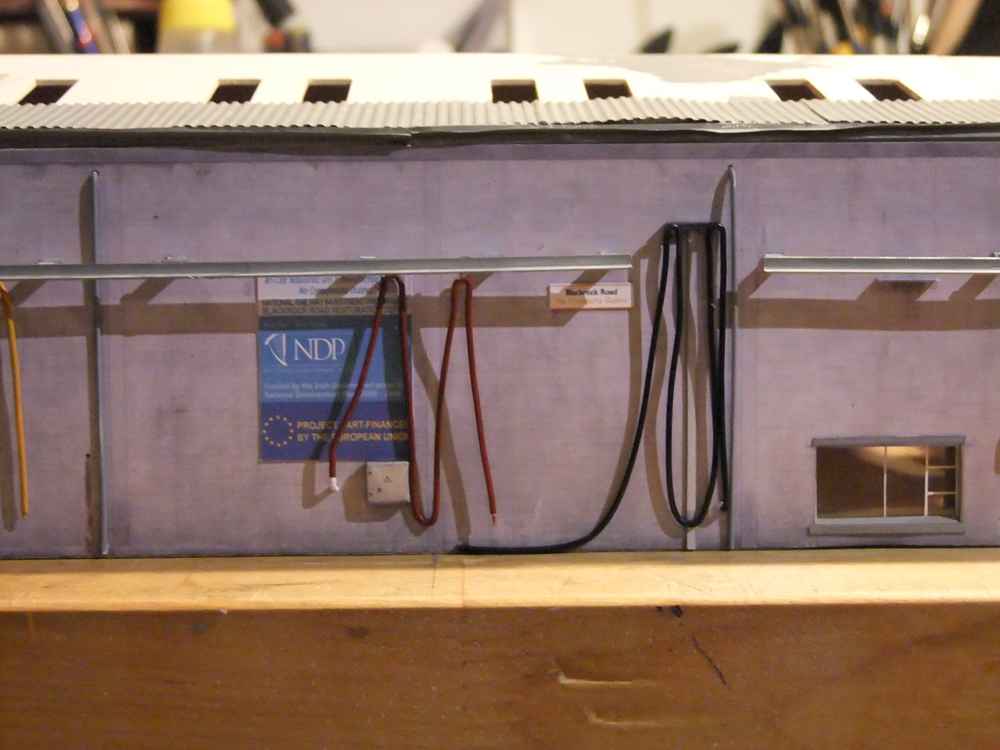
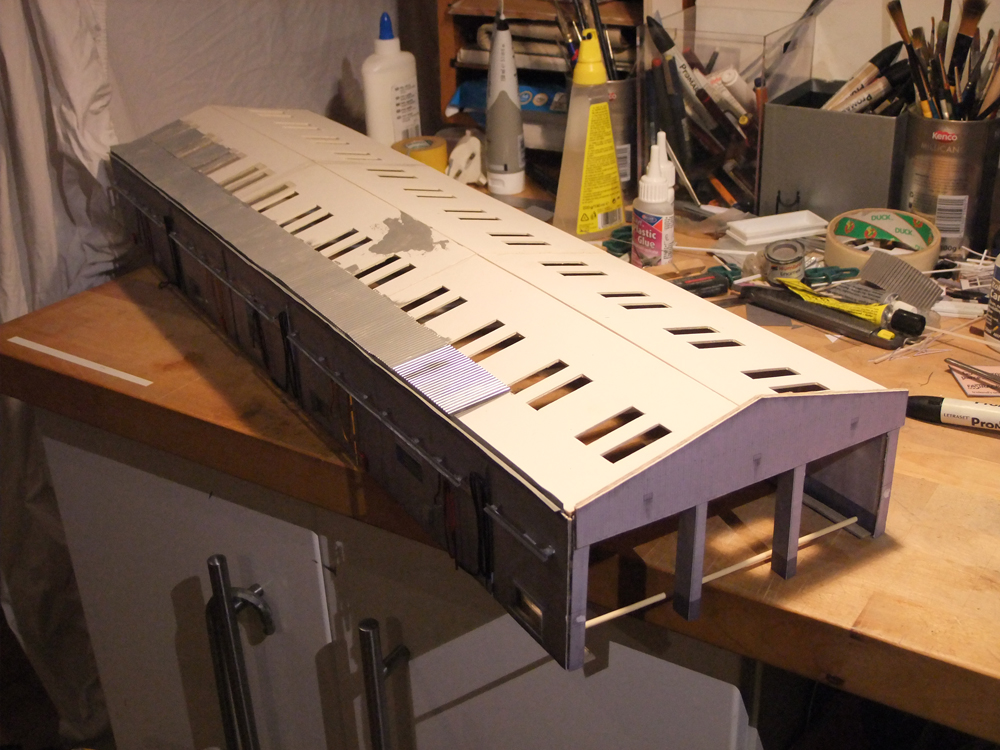
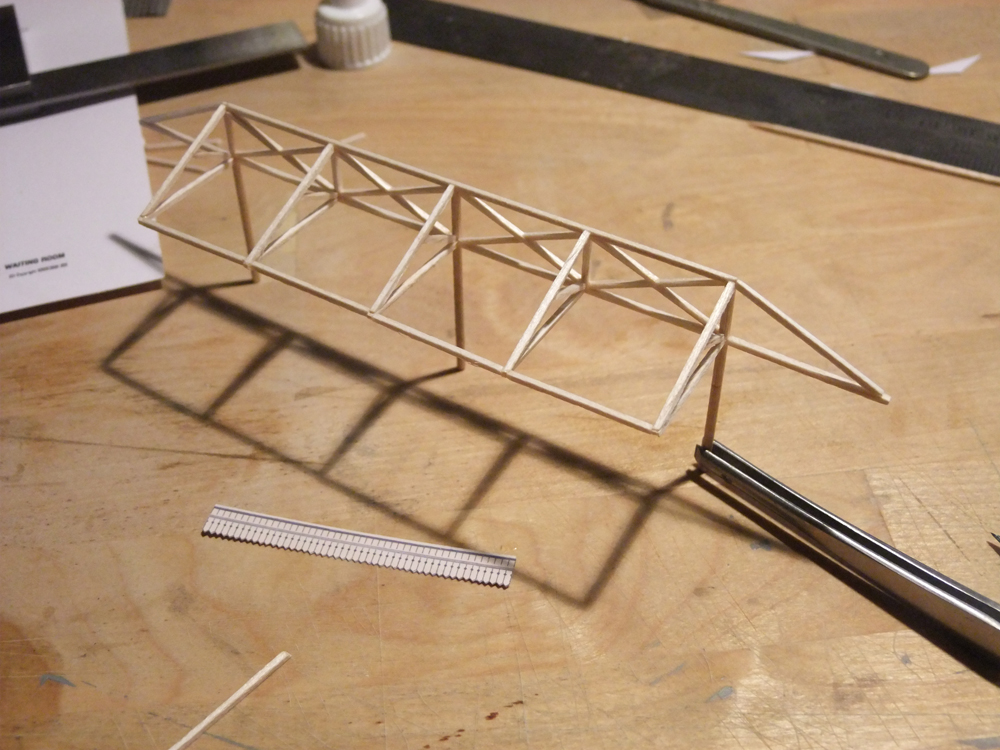
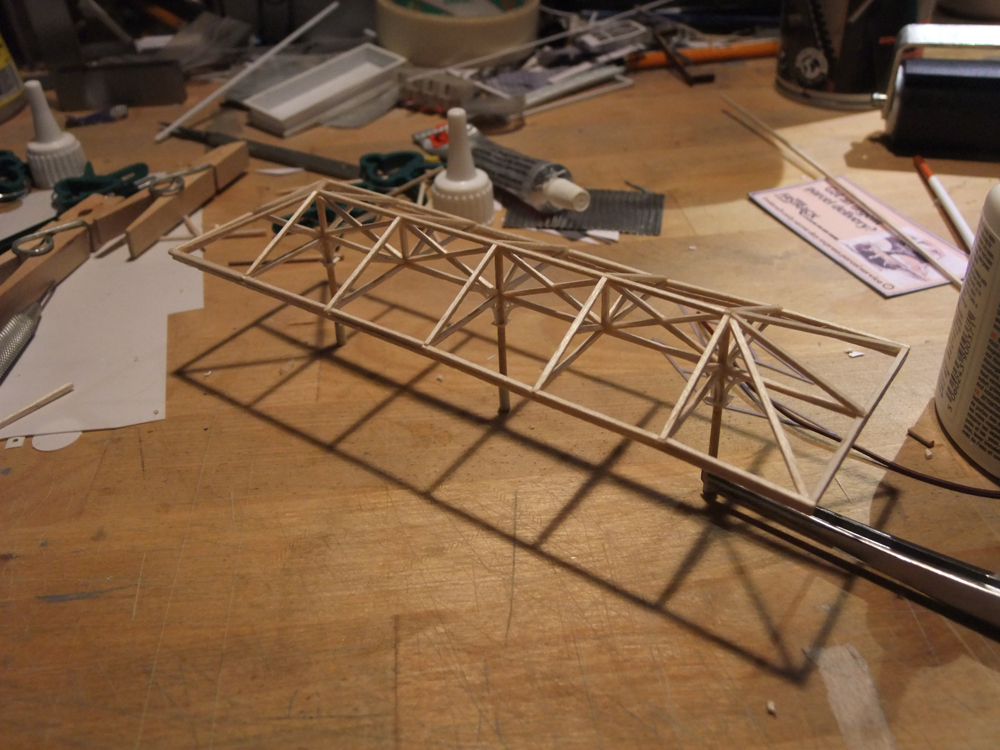
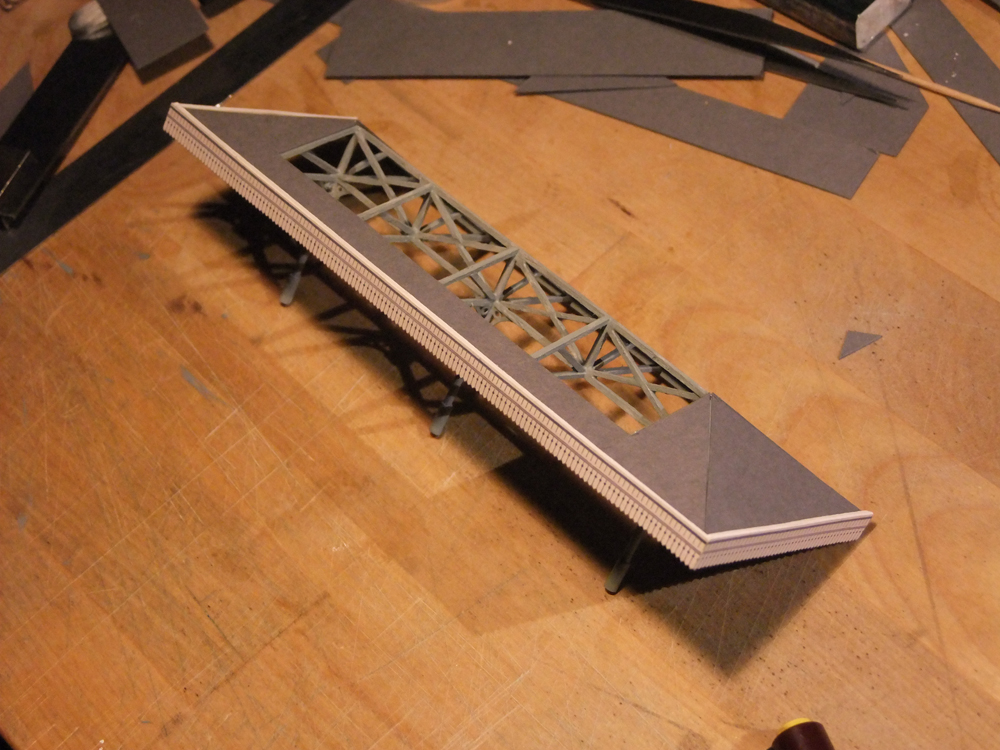
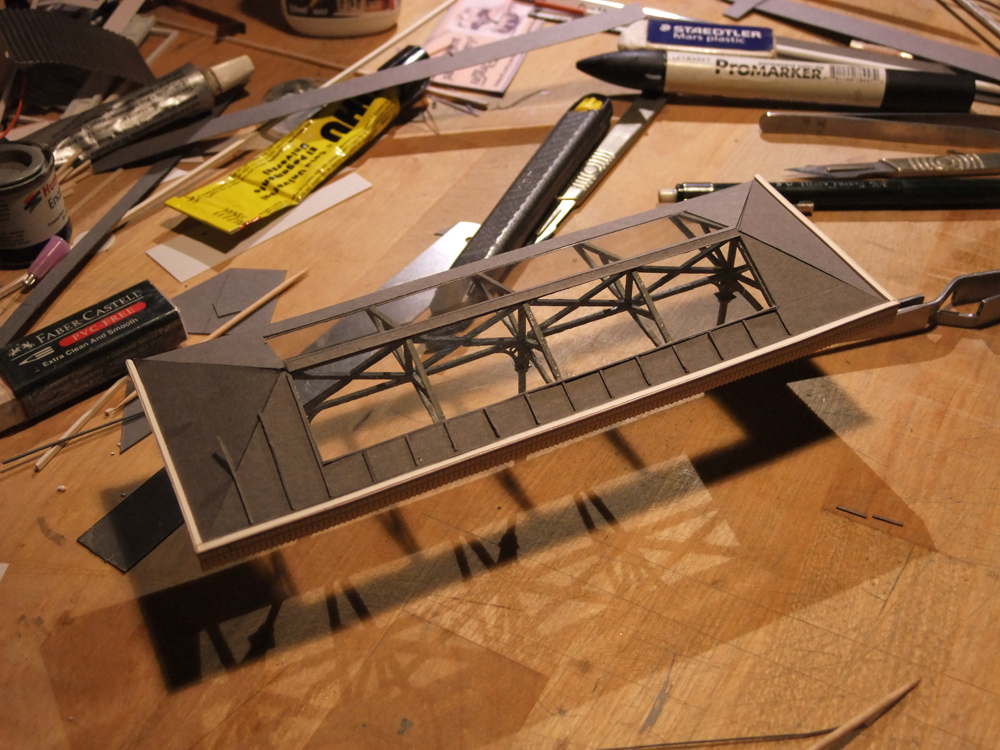
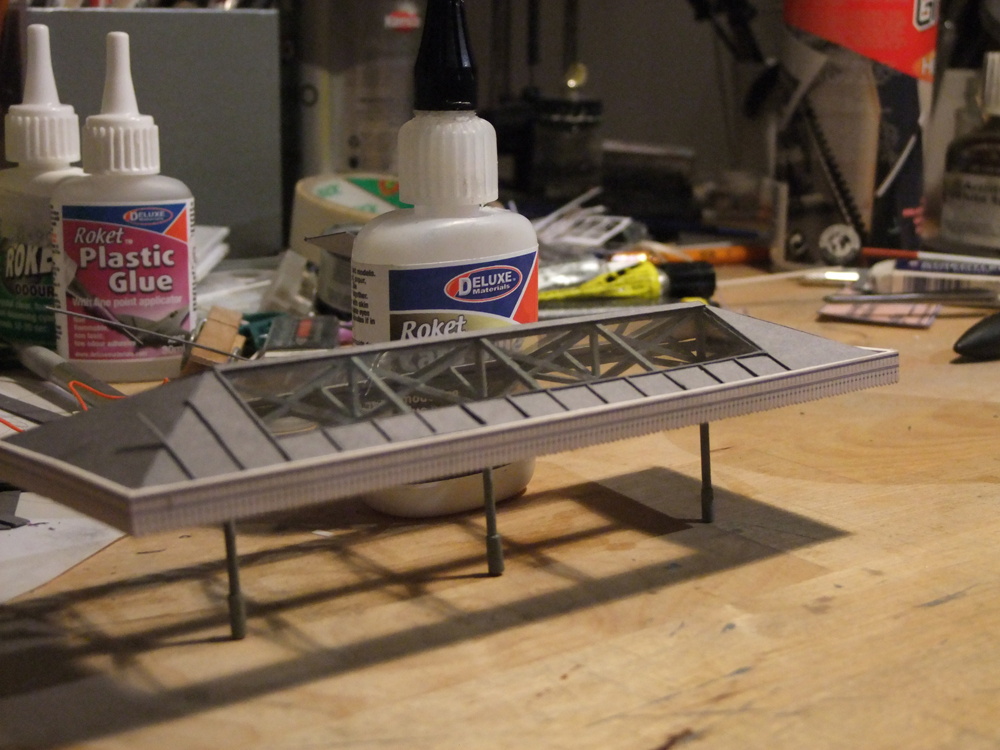
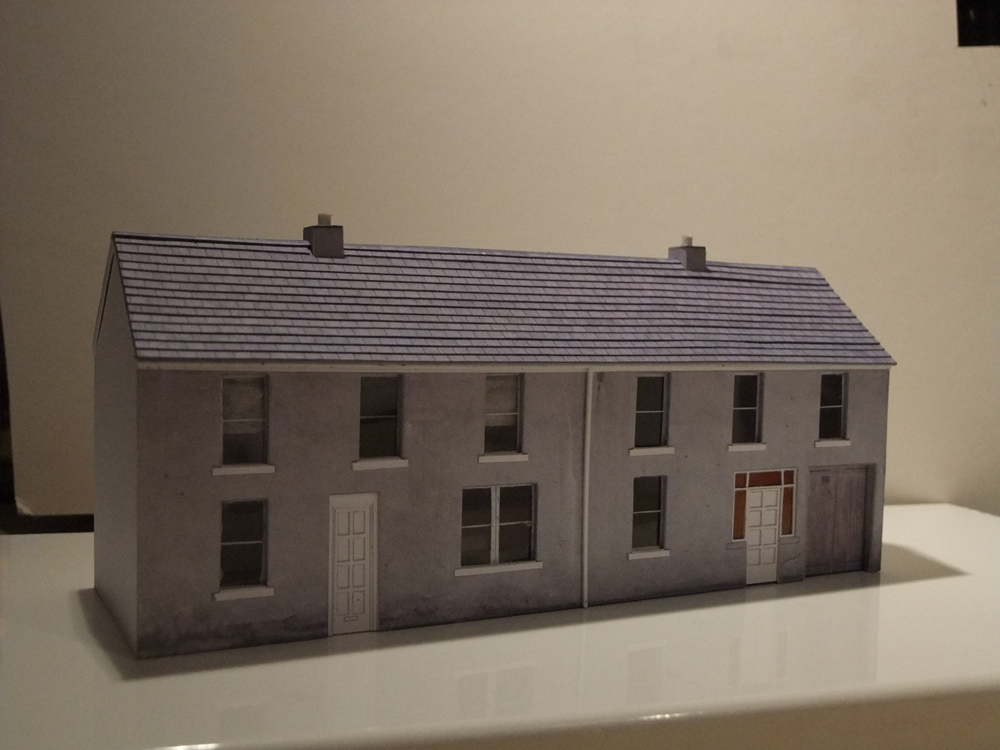
Change of scene - This building had been commissioned by a Client, and when Bosko saw it, declared that he needed one of his own. I think it began life as a carraige maintenance shed alongside his autoballaster sidings and has now become part of the restoration depot portion of his layout, so it had to change quickly from Connolly Station to Blackrock Road Depot, a nod to Whitehead by reversing the title. One of the original components of the building is its repetitive nature, and refuelling lines attached. I know little about the actual operation of these lines, but I did read the risk assessment report of the real ones implementation. How sad, and still none the wiser! Lastly, and I'm sure ye're glad, is a the platform canopy to complete Kirleys "Kirley Junction" building. I had originally intended to etch the parts in brass, but the cost is beyond belief, and to my mind, can't be justified unless your name begins with Pete and ends with Waterman. I got up Sunday while all was quite, and finished the drawings. I went downstairs, stuck on the coffee, and put an episode of Foyles War on in the background to get me in the mood for 40's thinking. After some serious head scratching, I came to the conclusion that balsa wood, overscale or not, instead of card or styrene, was the best material to progress with. It will last 20 years, the others unlikely. I know now how I "should" have done this, but nonetheless am pretty happy with it, and all that's left is to finish the standing seams for the lead roof and weather it to appear like lead. Kind regards lads, Richie.
-
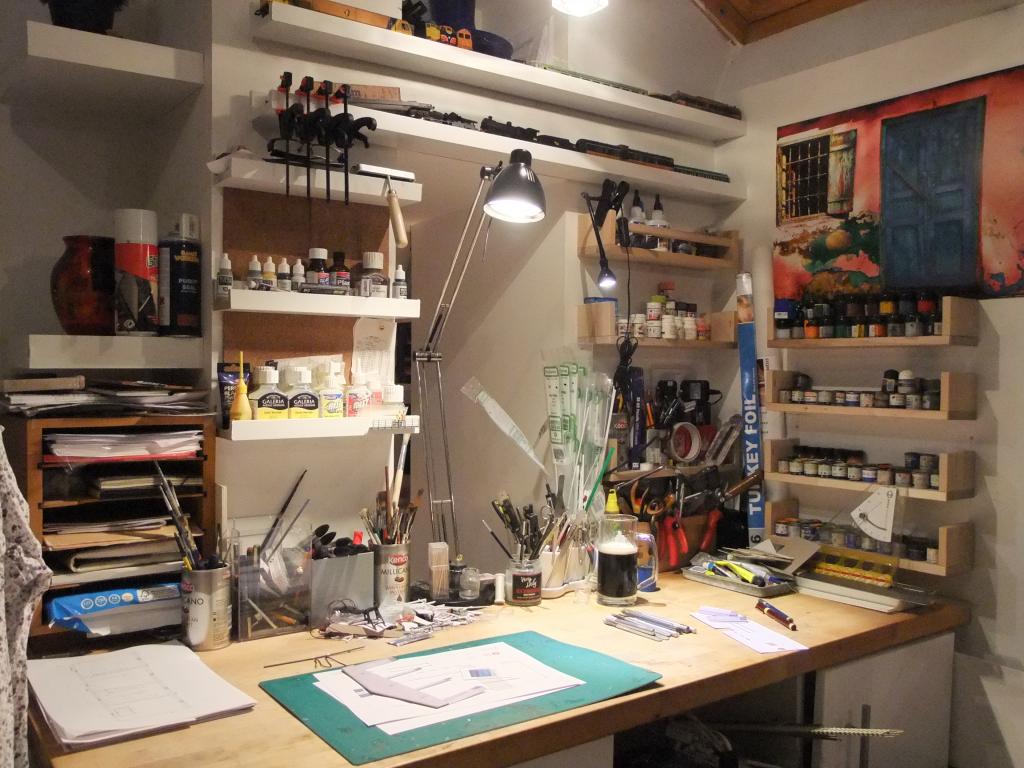
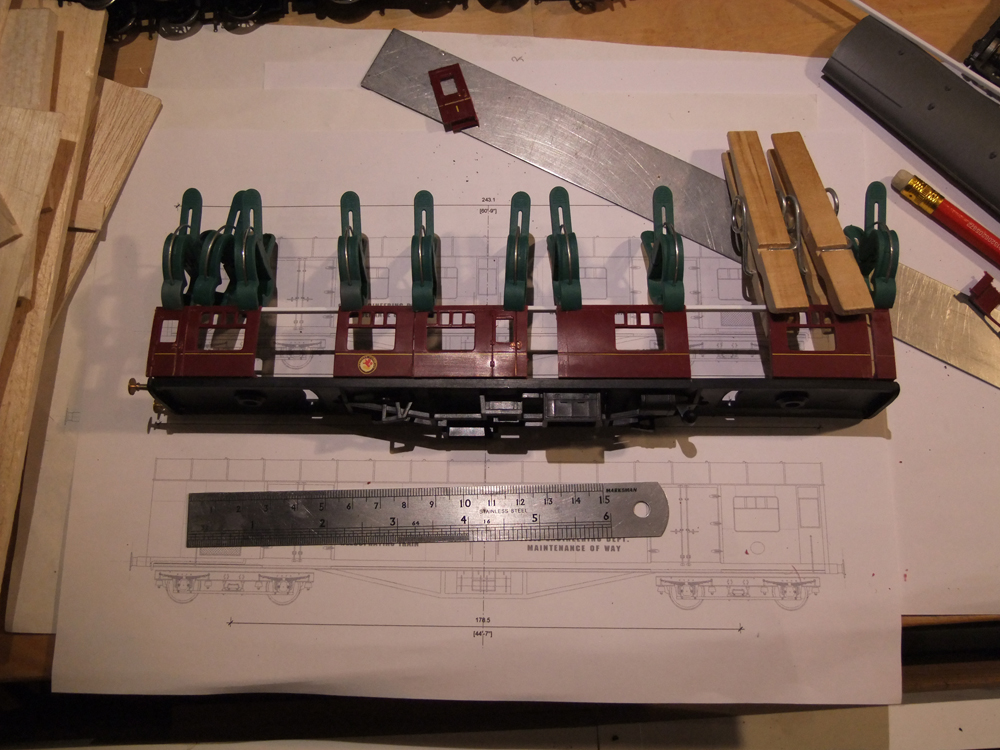
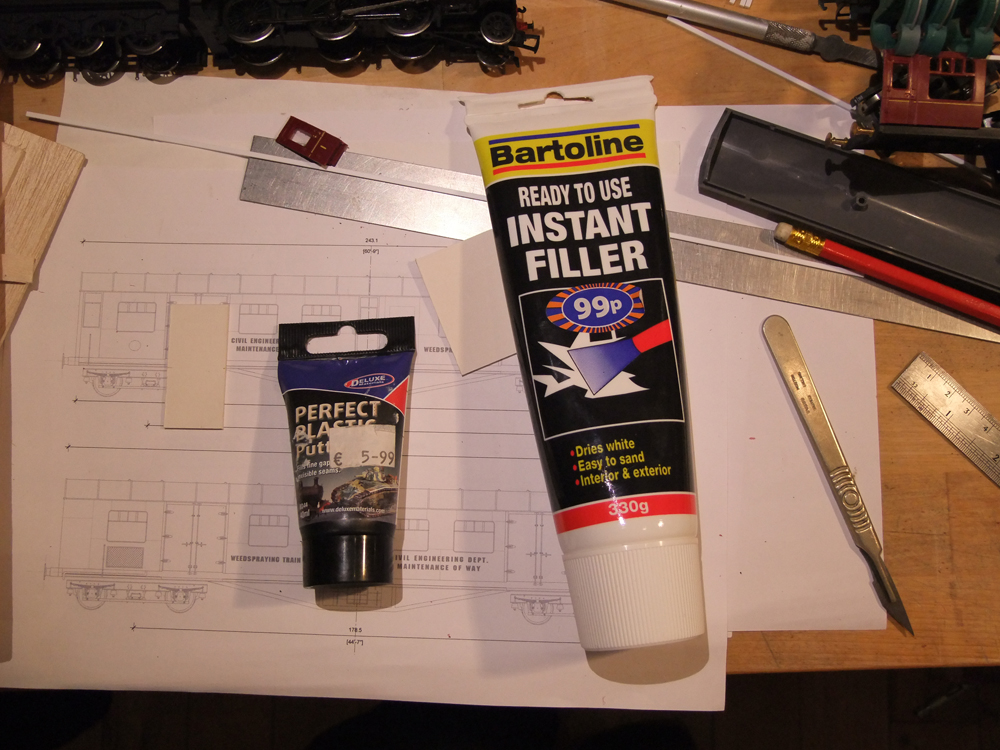
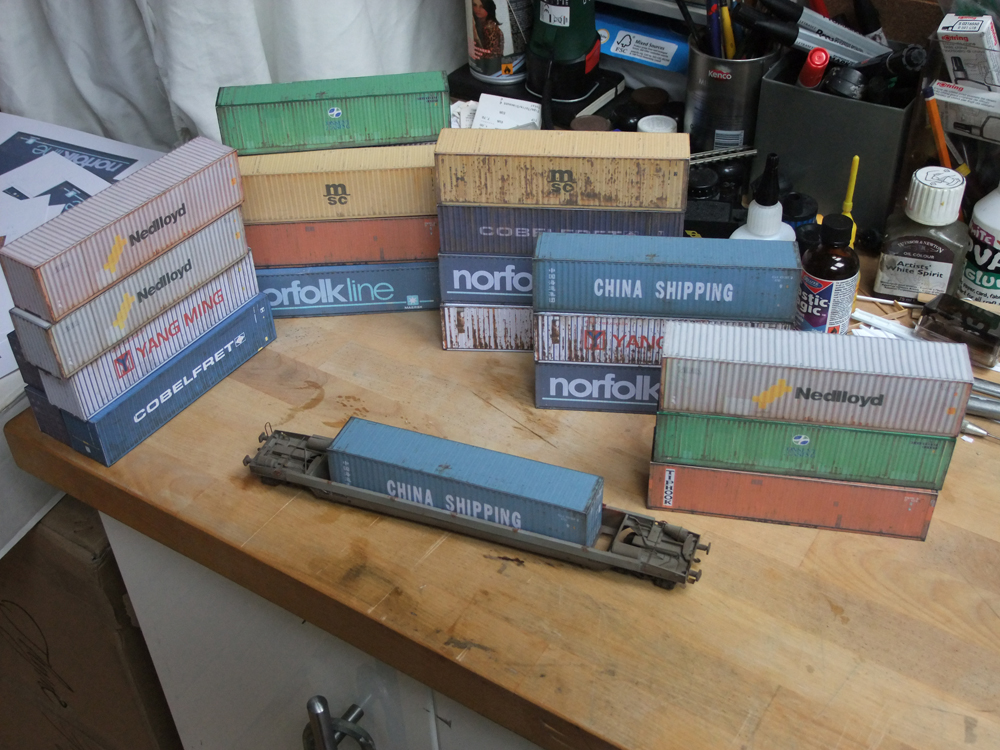
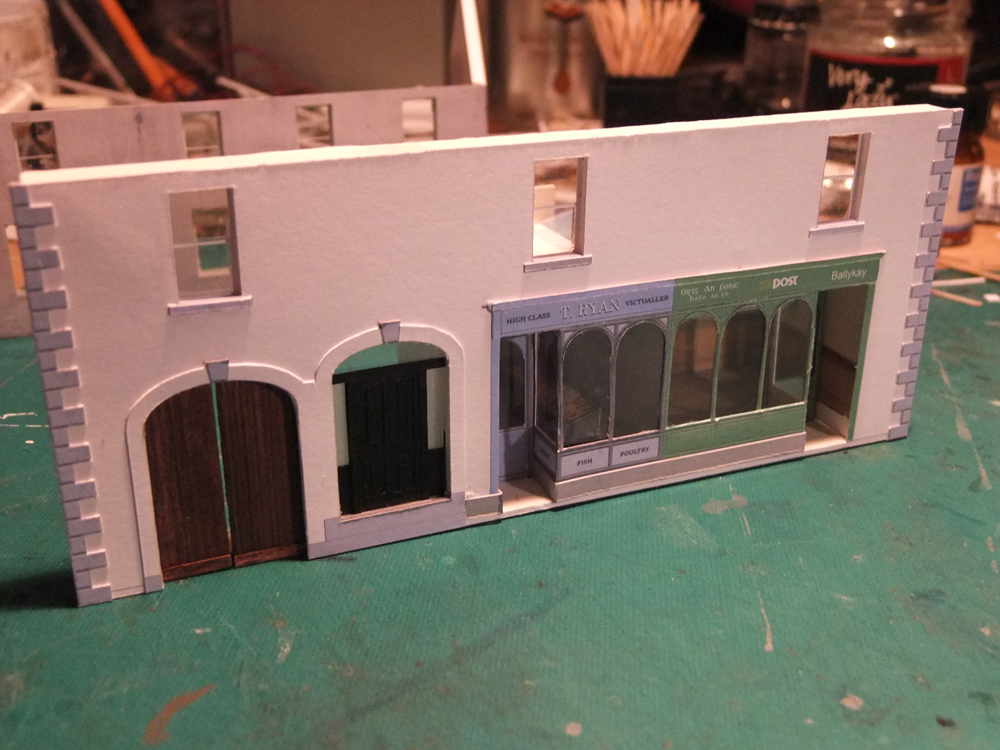
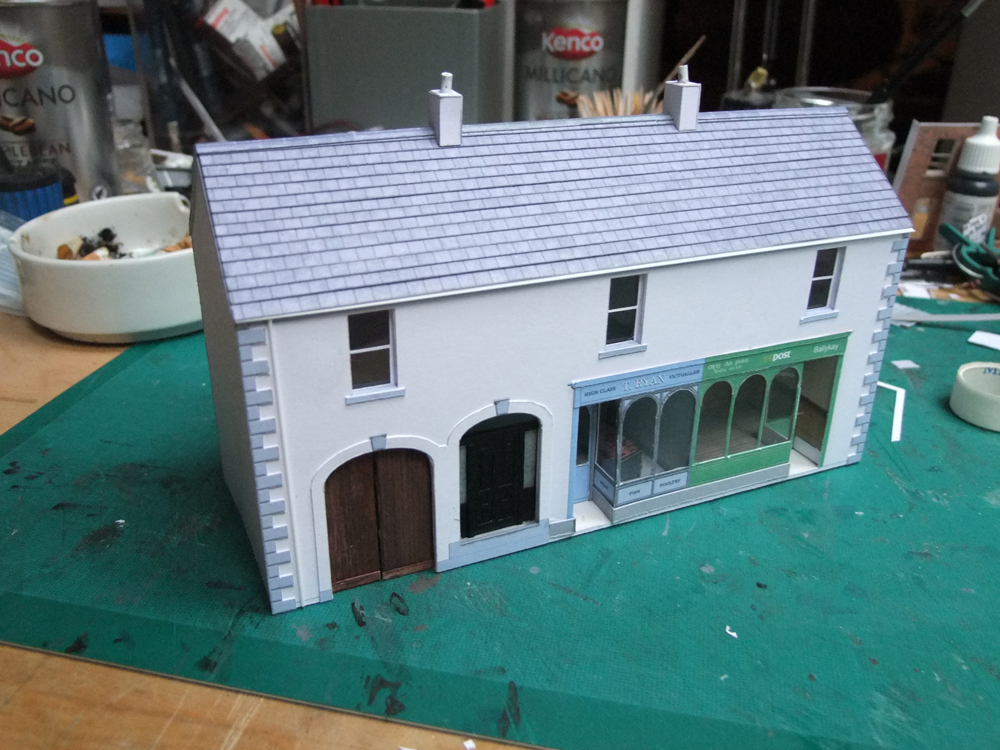
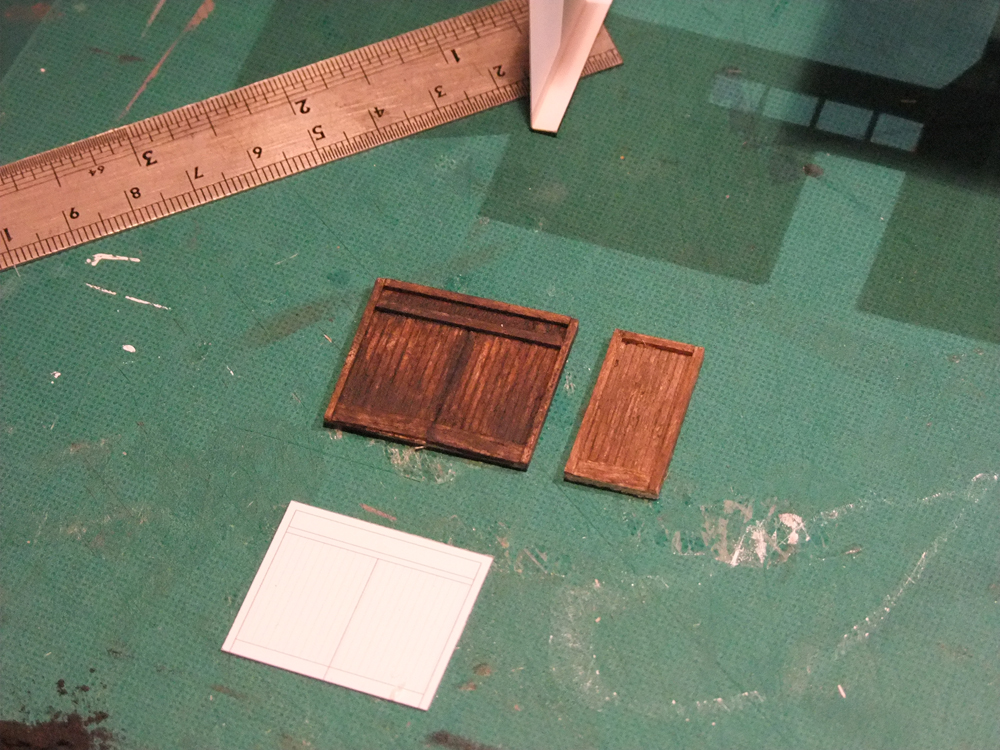
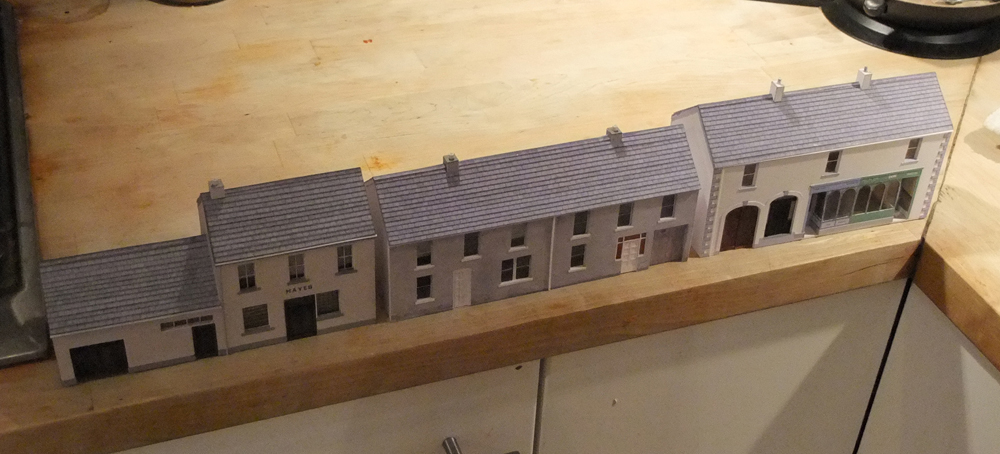
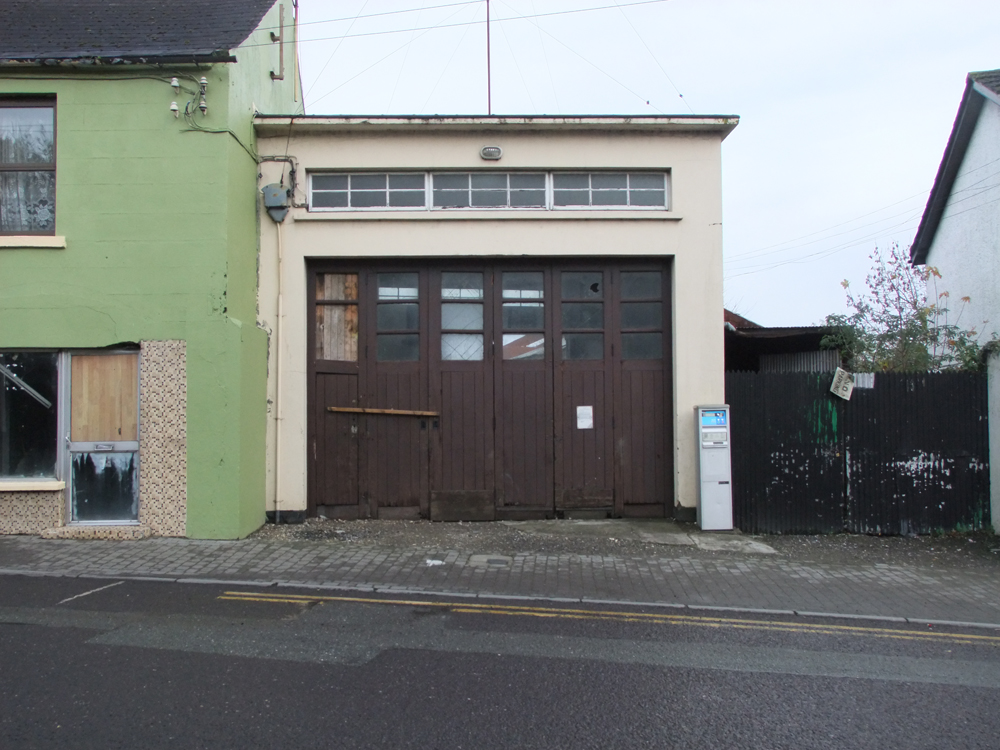
Bosko has set up two fora - one for buildings, and one for Glenderg Models. I hope to populate the first with photos of railway buildings going back about 10 years, and the other with free stuff. New job has meant that free time to commercialise this is almost nil, so I'll stick to whoever needs work done in "IRM" house. If anyone remembers the yellow luggage platform trolleys at Limerick Junction, I'll have drawings and photos next week if any of you guys want to have a go. Proper instructions and a bit of "bodging" too - a nice little project to populate your platforms methinks. So on to the update.. First up on the workbench is the workbench itself. The mrs dragged me kicking and screaming to Ikea recently, and I found a few bits that were cheap and handy. The skinny little shelves are about 3 ft long and wide enough for two pieces of stock - 6 eu . The herb shelves are 3 eu each and are handy for bits of stock to be worked on or paint pot storage areas. After borrowing 40 notes of the mrs, this is what I ended up with. I may not have a layout, but I have a wife who allows me this. In the kitchen! All the balsa, card and other crap is beneath the counter. First off, I have two "cut'n'shut" jobs to do, to convert a maroon coach somehow into a bredin and then into a weedspray coach. This is going better than expected, and I hope to have more photos and drawings early next week if anyone else fancies a crack at this madness. One of the mistakes I made was to presume that any filler that smells the same, behaves the same. On the left, the pro stuff, that is brilliant but costs a fortune. On the right, the cheap stuff that would barely stick two hairs together. "Bigi Curamach" - being a cheapskate only goes so far it transpires More on this project next week...but in the meantime a few photos of 40 ft containers for 201 Bhoy to make an almost instant container yard. I'm not a big fan of card for rolling stock or its components, but personally I think they pass muster especially if stacked in the background, whilst the plastic version sits in the foreground. A working card/mdf container gantry crane is already in the works to go with this, and I hope to have it up to vincent by christmas. Next up is Anthony's Ballykay - essentially a quintessential irish village, {without Darby O'Gill making an appearance!} Like ttc169, I like to invent stories that match the invented lives of the little plastic people - heres the family in village "with a few bob" - the youngest became a doctor and inherited the home place. After investing in the wrong stocks in 1928, he sold the farm/homestead and built/renovated this house in the village. He rents out the two spaces downstairs, and has done for many a year, though his clientèle mainly avoid him. No one in the village can figure out where he gets his money from, but his door is always open. Tom Ryan the butcher is his wayward nephew, but he holds more stock with the villagers than the good doctor does.... In any irish village there are always a couple of houses that are non-descript, but loads of politics occur in the background. I imagine that two sister-in-laws own a house each, and don't particularly talk to each other - one being house proud and upstanding, the other stuck in the 1970's with the lovely orange glass in the front door side lights. Both think they are better than each other, but are pretty much the same when all is said and done. Then there is the ex-pub/tin whistle classes of a saturday mornin room/poitin maker/ lawnmower repair man/motor factor house. Every hamlet in Ireland has one of these that are immaculately cared for, yet show no sign of a woman's touch. There is no sign above the door to indicate a business, but things happen within that only the older "min" in the village speak of. Not a house to be visited when "trick or treating" This is how this crackpot village is supposed to stack together I used photos of doors originally and found they lacked depth. Instead I used a bit of balsa, scored vertically with a sharp pencil - The one on the right has a wash of dilute brown acrylic paint on it, and looks pretty deadpan. I made a pile of pencil dust and rubbed it on the door to the left while the wash was drying. I think it gives is a bit more depth, and there's 2 minutes work involved to scribe the doors and weather them. (if short on brown paint, ALDI coffee will do) Next to come is this fella - a staple of most "who do dey tink dey are" villages in Ireland - the Fire Brigade Station - Captured in Kells last week. A low relief kit if I ever seen one!
-
"Smart arse & Well Spotted" post of the month goes to Broithe...again....!
-
Bloody 'ell. The "we try harder model shop"?
-
Looks right J. Good idea about the IRRS too...
-
Lovely work indeed. Not sure what the beer flux thing is about though
-

1st Cork Model Fair 18th of November 2012: 1300hrs-1800hrs.
Glenderg replied to Georgeconna's topic in What's On?
Lovely work all round, but the Bristol Beaufighter (TF X?) Which i rate as one of the finest aircraft of ww2, is glorious, and it will distract me to finish the 1:72's two on my WB! Best of luck for next year richie -
cheers lads, it would make a cracking diorama scene beside a big shed... mind goes a wandering...... any more photos or info about?
-
http:// http://transportsofdelight.smugmug.com/RAILWAYS/IRISH-RAILWAYS/CORAS-IOMPAIR-EIREANN-STEAM/18279129_TbnP49#!i=1856710086&k=FWNJ8dc&lb=1&s=A Upper right hand corner. A concrete coaling stage? In ireland?
-
fine work, esp the staple hinge a delightful bit of bodging! Looking forward to seeing the resin body shape up too. I'll do the uprights of the canopy in light grey too to match. I'll post a photo up later. Richie.
-
jealousy factor through the roof. Can't wait to see more.
-
It's too small for 00. Perhaps n gauge?
-
Dan Simmons on BBC's click show did a really useful 15 minute slot about the pros and cons of 3D printing. The show will be repeated aplenty over the weekend, worth watching if You have an interest.
-
No its blue. Photo was taken mid afternoon about this time year. The shadow drops severely between photos. Blue skies are more predominant in spring and autumn, but it's definitely blue.
-
Thanks Stephen!
-
Forgettin the basics Richie! Inkjet all the way, and if you have a rear feed inkjet printer, the photo paper types, it will take heavier card.
-
Forgettin the basics Richie! Inkjet all the way, and if you have a rear feed inkjet printer, the photo paper types, it will take heavier card.
-
As promised earlier.....P & T Telephone Box - Cast Concrete and Timber version. Here are the drawings. They are at 600 DPI so a bit big size wise - 3.6 MB P & T Telephone Box Drawings Please note the copyright, I'm not messin. Sort of Instructions. When printing this off from Adobe Reader or Acrobat, make sure it's not printed to fit the A4 page, but at 100% so you get true scale. If you can get hold of 160gsm paper/card that most desktop printers will take all the better. 230gsm is ideal but not suitable for all printers. There are no instructions included. Simply cut out the outlines, and score where the red marks are shown. For the main piece, score the side walls, and fold into a box shape. Remove and stick the "telephone panel" to the inside and using paint or a marker darken the floor according to your recollection/experiences therein. Thank you Seamus for that tip. For windows, the easiest way is to put a piece of white insulating tape on a sheet of glass, and using a steel rule, cut fine lines of tape, approx .5mm or less. Using a sheet of acetate or spare transparent plastic, stick it down over the section that says "Window Mullion Template". Using your wife's tweezers, carefully lay the insulation tape strips vertically then horizontally to match the drawing leaving plenty excess. Once complete, snip off the excess "window frames" with a scalpel using downward force. Carefully remove the "glass panels" with a scissors. A scalpel will move the mullions. Adjust the mullions with tweezers. I haven't figured of a way to lock insulation tape window frames in place, because I don't use this method, but I'd imagine Plastic Magic would work? Cut out the roof panels as single pieces and fold over on each other to create a stack. 3 squares should be stacked 3 high etc. When stacked glue together and when dry, trim the outer edges with a scalpel. It should look like plasticard when done. Repeat this for the other 3 pieces, and assemble on top of each other. When done, glue to top of phone box. Lastly, the green wrap at the top needs the inner white rectangles removed, then scored as indicated, then glued to the top of the telephone box so the "Telefon" text shows through. Having a green marker or pencil to camouflage the joints would help here. Once ready to stick, make sure the joint is at the back of the phone box, or wherever it will not be seen on your layout. Repeat the same process for the charcoal grey wrap at the bottom to complete the main part. The panel with the door is separate and goes on last to allow you to have it slightly ajar etc. There is a door frame that may be added but only a sadomasochist like me would add it. It's not essential from 2 feet away. It's delicate work, but it pays off. Now give your wife her tweezers back. This is a prototype, don't give me stick or caliper measurements to adjust it. I'm just trying to give back a little. If you want one with different colours, shout. Let me know if ye need photos of the stages, and I'll post em up. Richie.
.png.c363cdf5c3fb7955cd92a55eb6dbbae0.png)
