irishthump
-
Posts
1,850 -
Joined
-
Last visited
-
Days Won
7
Content Type
Profiles
Forums
Events
Gallery
Everything posted by irishthump
-
Dichotomy - a dual scale layout
irishthump replied to David Holman's topic in US / Canadian Railway Modelling
Lovely project David, the scenic work is particularly fine. I'm partial to American HO myself, although I'm not a steam afficianado! Could you give some details on how you tweaked the decoder in the Shay? I have a couple of Bachmann locos with factory fitted sound which needed a bit of playing around with to get good slow running. -
Lovely job, Rebelred. Looking at your work there is no way you could be called a "novice"!
-
Times of freight trains on Alexandra Road
irishthump replied to 201bhoy's question in Questions & Answers
So are those times set for the time being? Or are they likely to be changed at any time? -
Another great vid... I particularly liked the SuperTrain liveried ladybird at the start!
-
Times of freight trains on Alexandra Road
irishthump replied to 201bhoy's question in Questions & Answers
Many thanks GM! The times listed for the Ballina-North Wall trains; are these the times for their departure from Ballina or arrival at North Wall? -
Times of freight trains on Alexandra Road
irishthump replied to 201bhoy's question in Questions & Answers
I'd love to get some info on this myself! Any spotting gurus care to share their knowledge? -
Cracking videos, GM!
-
Wonderful work, Patrick! The backdrop is the icing on the cake! It adds a terrific sense of depth, finishes the scene off beautifully.
-
Whoops! Better come clean before a plagiarism suit gets filed against me! Yes, most of the techniques are from Tim Shackelton's book "Weathering Locomotives" which I would recommend to anyone. Also, credit to Georgeconna for his "wash on, wash off" technique for the loco's sides!
-
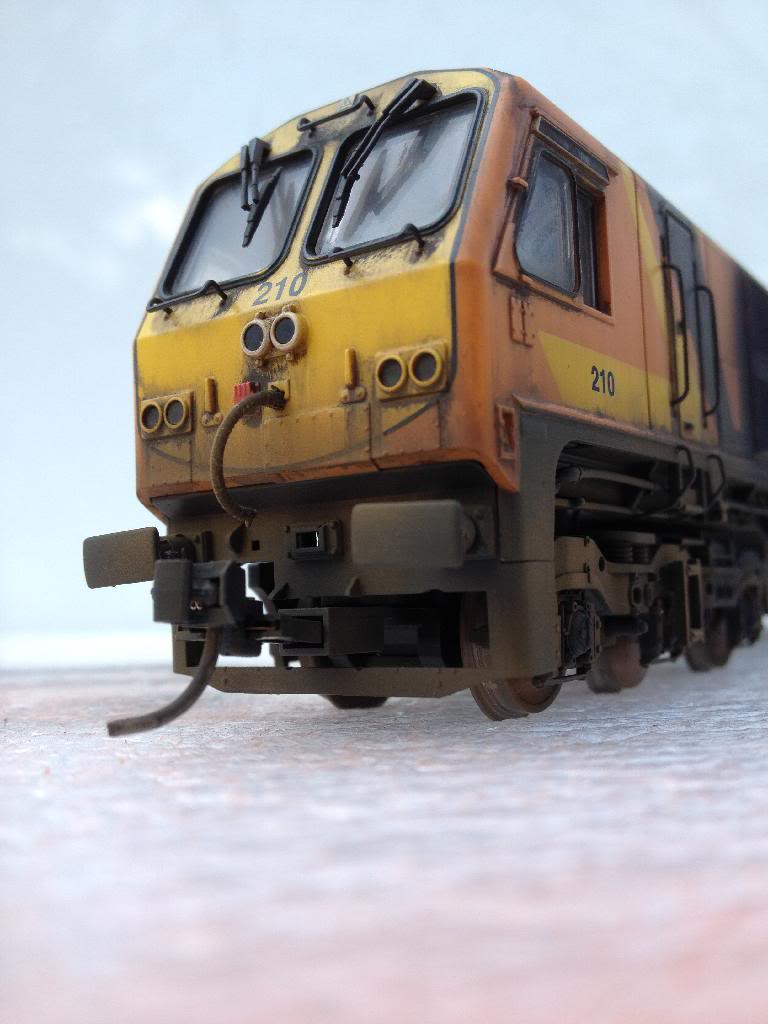
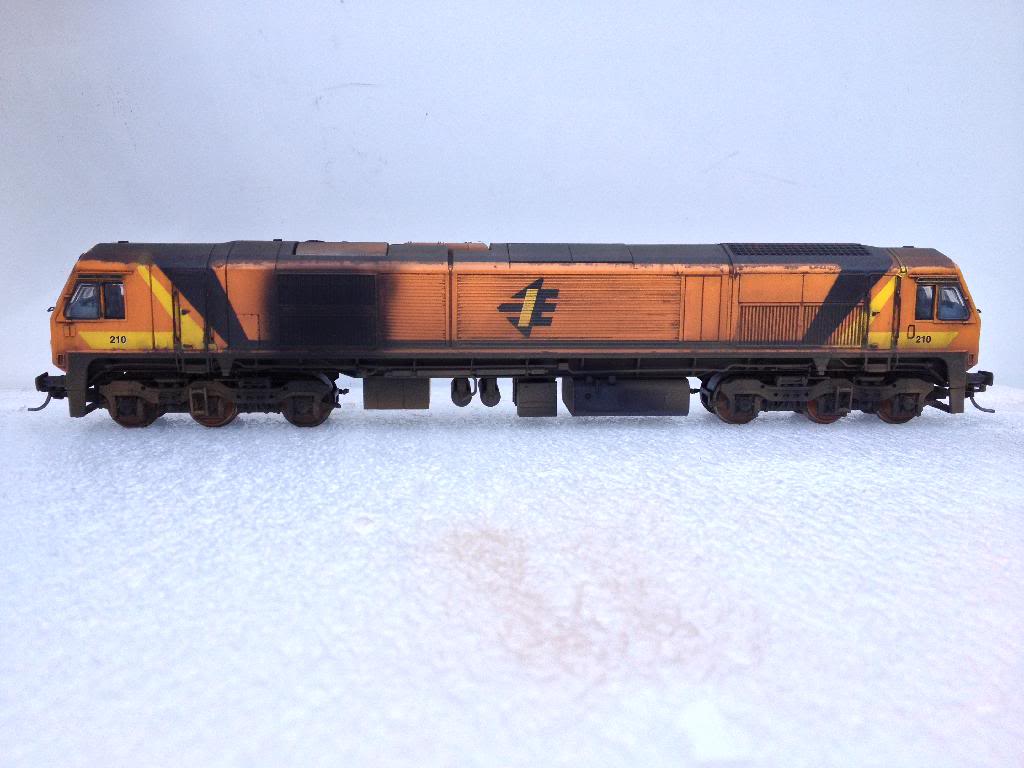
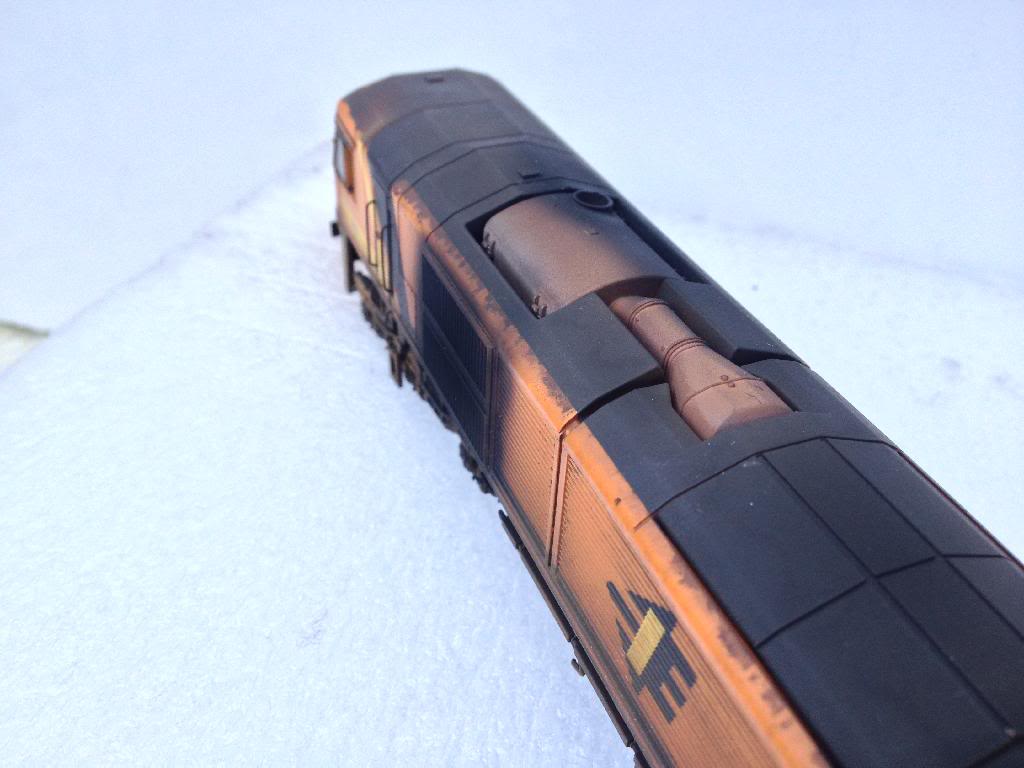
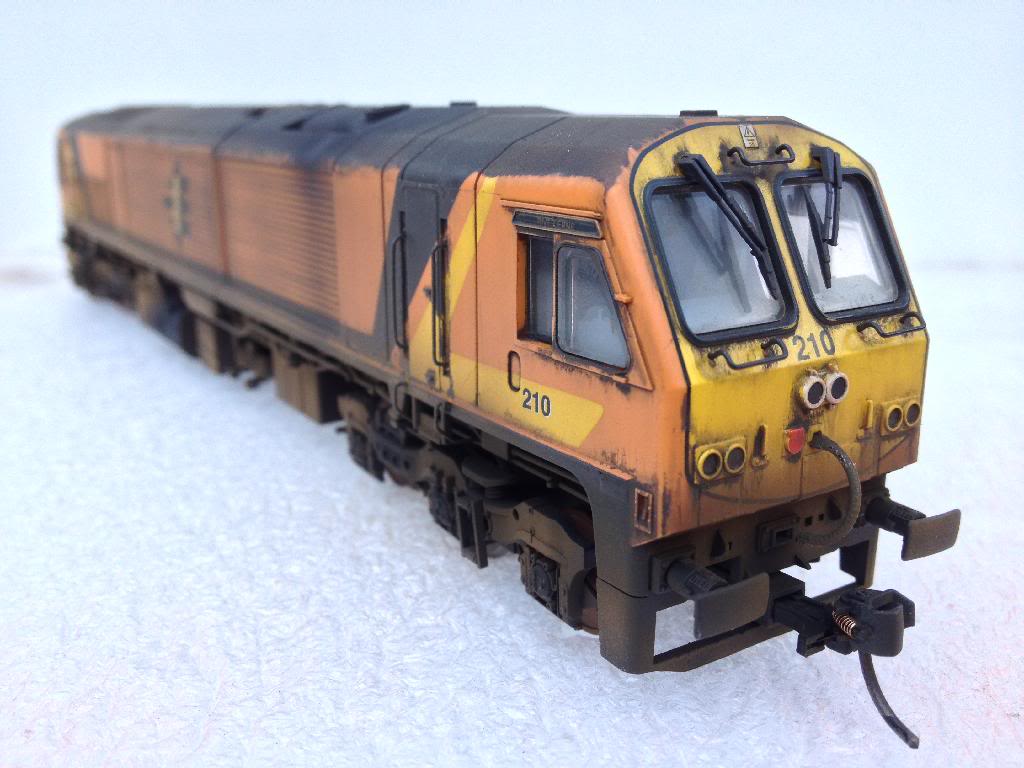
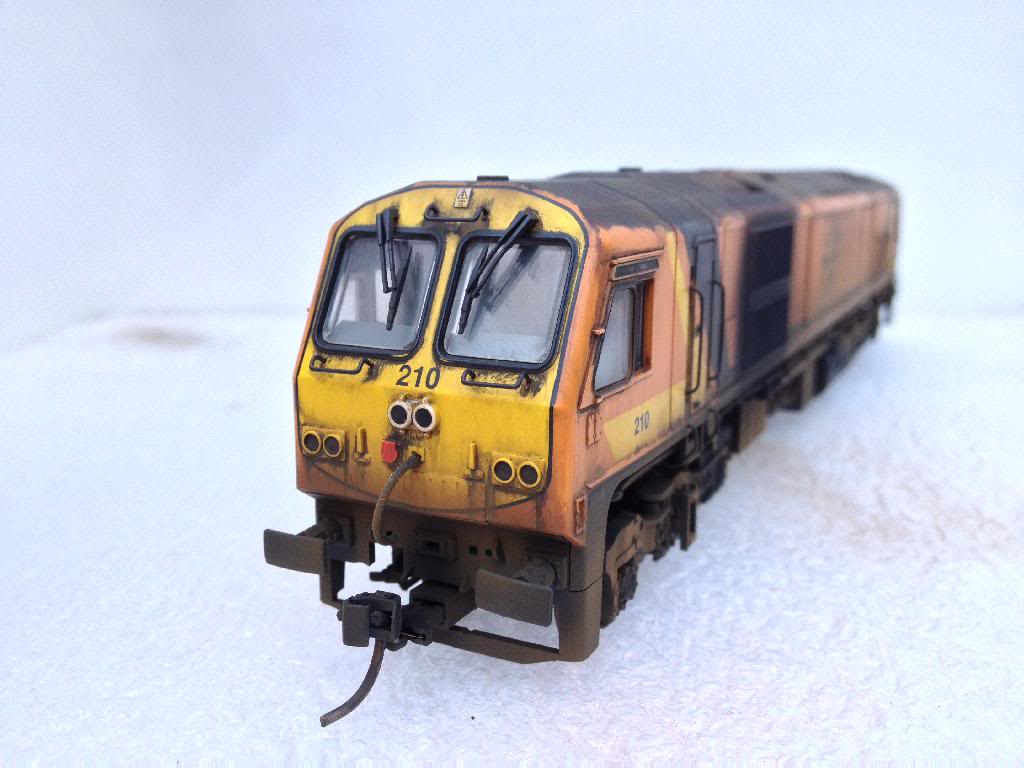
Very simple techniques really.... The only paints I used for weathering are Humbrol Enamels. The various shades are all a mixture of just two colours, Matt Black 33 and Matt leather 62. First I airbrush a layer of 50:50 black and leather over the whole loco, I let this dry a little then take most of it off again with cotton buds soaked in thinners (I use white spirit) working in downward strokes to mimic streaking on the loco sides and making sure to leave paint in the recesses. The roof gets a coat of the same mix, as well as the bogies. Neat black is used for exhaust stains as well as around the fuel tank and wheel bearings. Light patches of neat matt leather are airbrushed onto parts of the bogies to mimic brake dust and I also dust a very light coat over the whole loco which helps tie all the colours together. I find very light application of paint at high pressure gives a lovely, dusty finish. The exhaust on 210 was done with Humbrol matt rust 113, silver 11 and matt black 33 and touched up with some rust coloured weathering powders. Lastly the buffers faces are touched with some Metalcote Gunmetal. I use a an old tin that has almost dried out, it gives a great representation of the thick grease used on the buffers!
-
No it's just a standard MK1, but I do have a MK1 brake converted to a steam genny van, I'll take a pic of it when I get the chance.
-
Thanks for all the comments, lads! 210 got some of the same treatment.....

-
Looking great Sean, nice neat job on the ballasting! You're really making some progress with your layout.
-
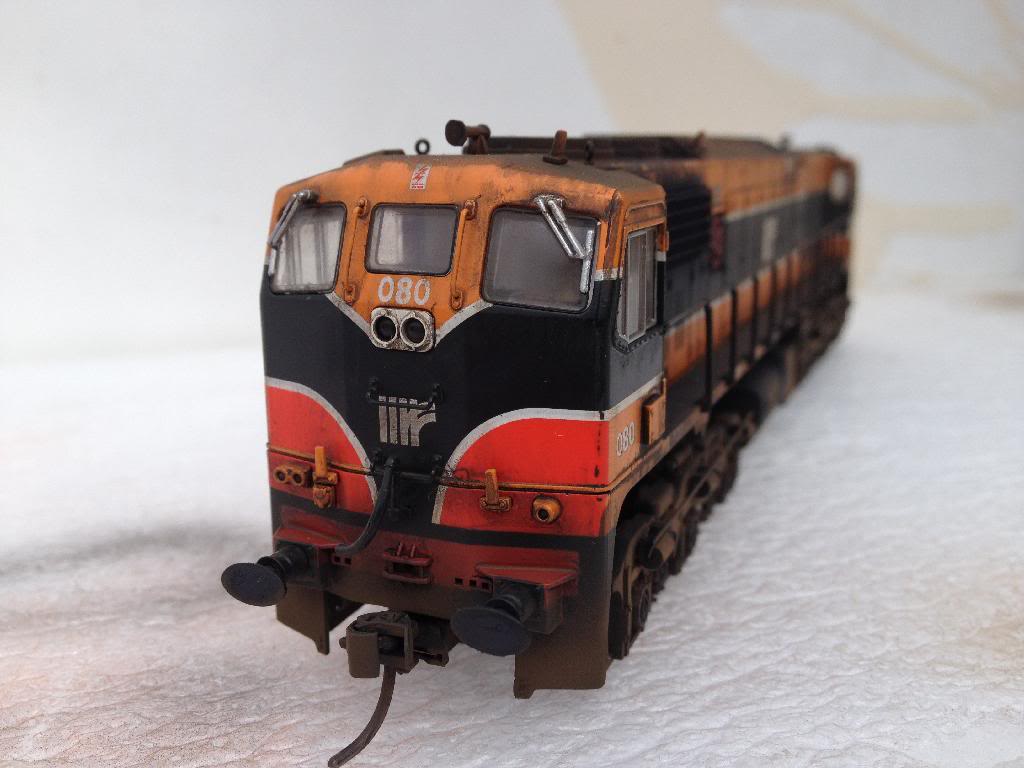
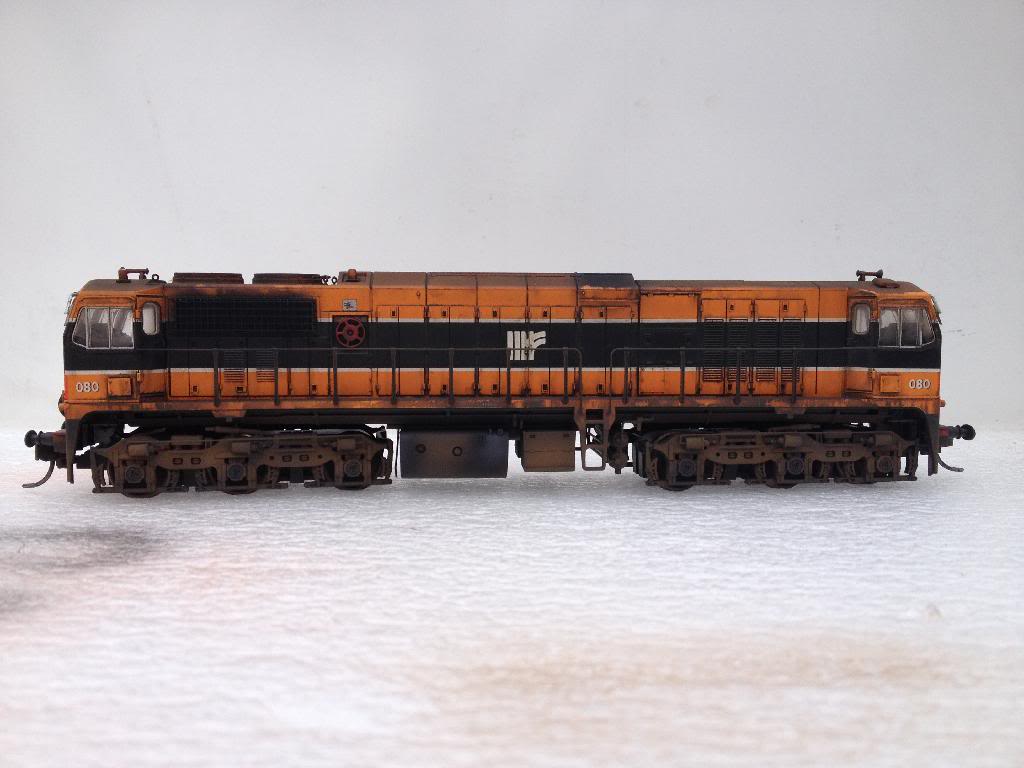
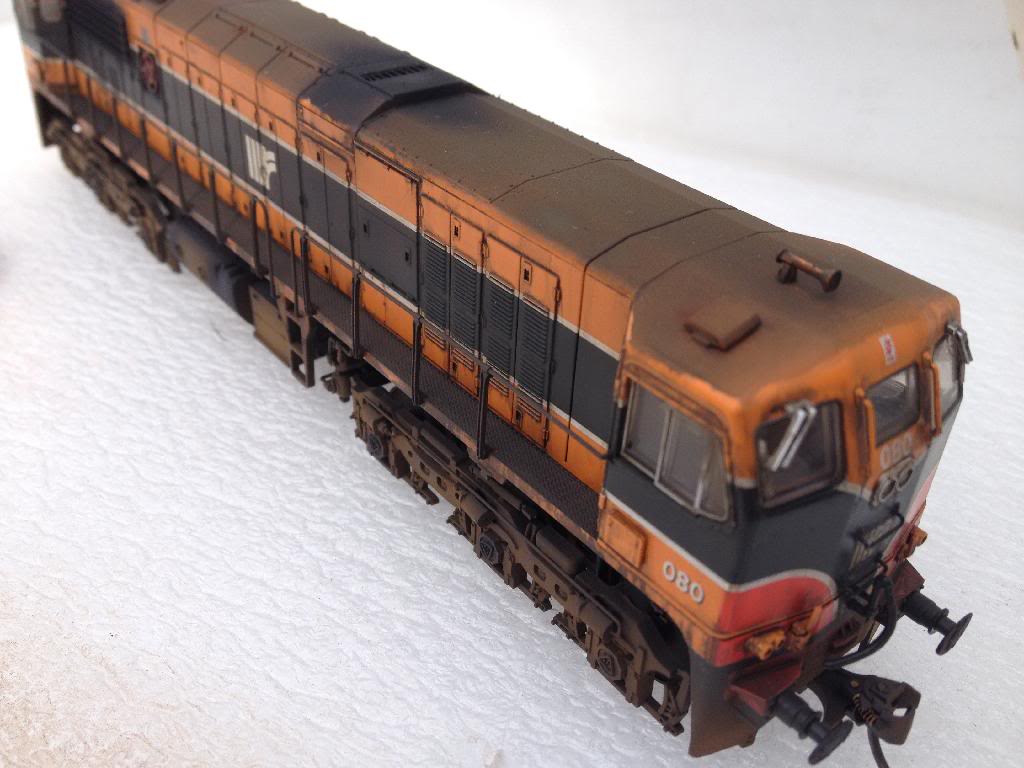
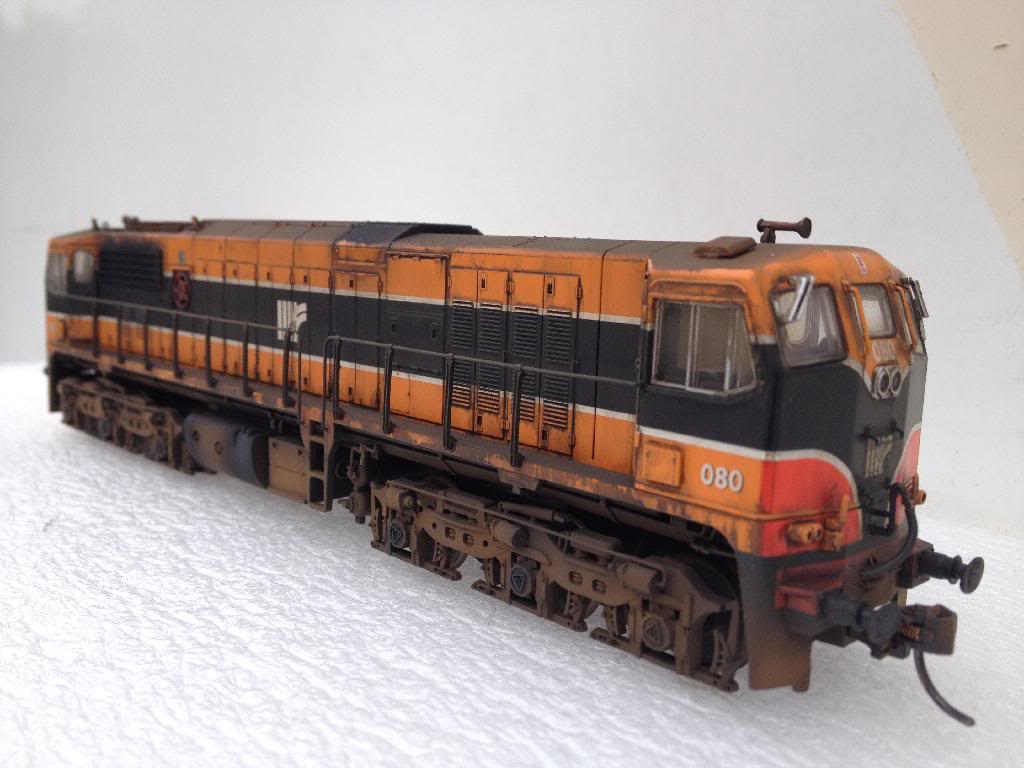
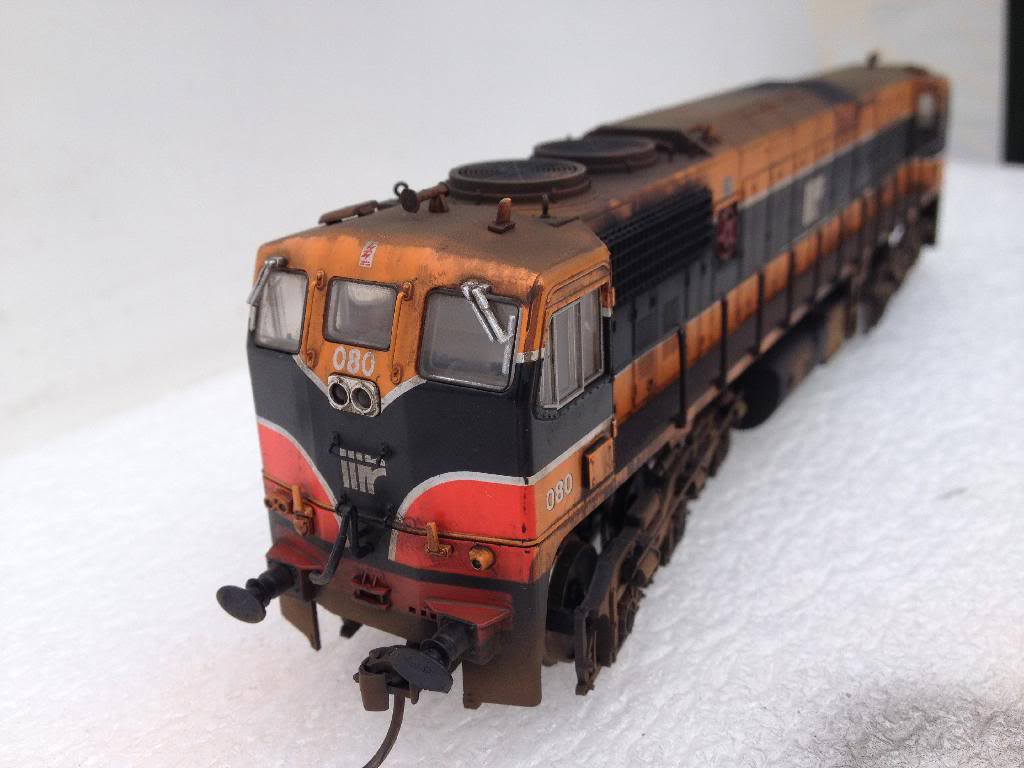
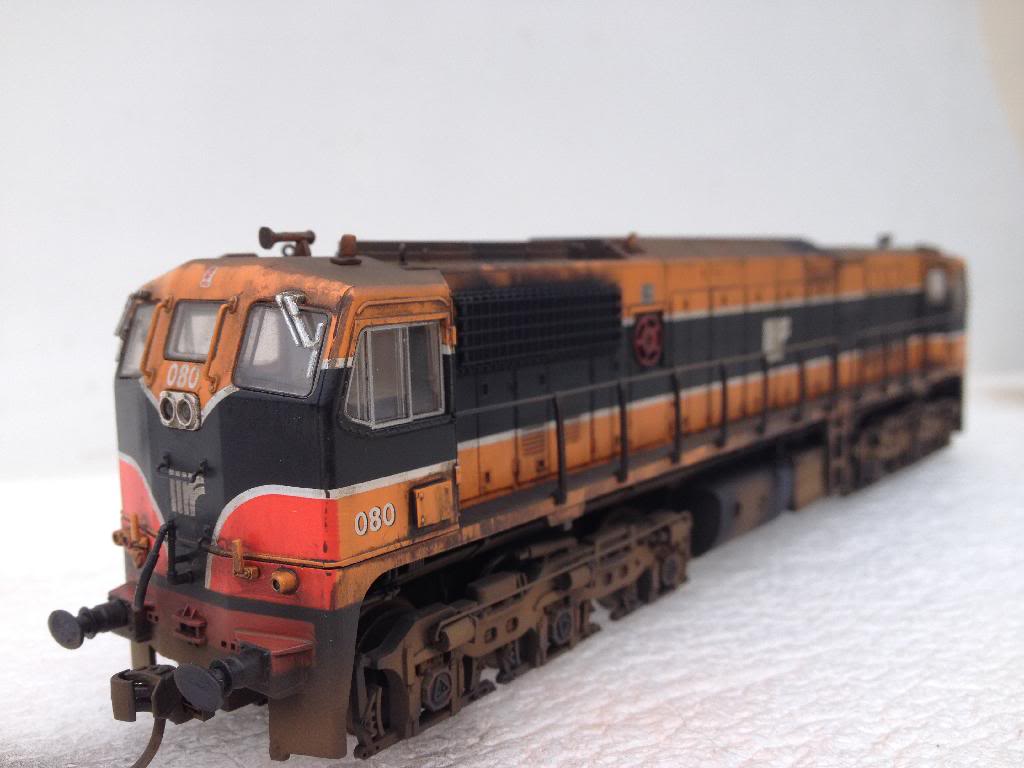
An Xmas present of some vouchers for Mark's Models resulted in me picking up 080 a couple of months ago and I finally got around to weathering her over the last few days. Have a look and see what you guys think....
-
Some good tips there David! In regards to the issue of pastels and weathering powders darkening when sealed; I had the same problem not matter how fine a spray of varnish was used. (I switched from aerosol to airbrush but to no avail!) I found a good technique was to give the model a coat of matt varnish BEFORE apply the powders. This gives a much betters key for the powders to adhere to. Sean, have a look at this thread: http://www.irishrailwaymodelling.net/showthread.php/1667-Weathering-Tips It's a link to a PDF on weathering. It's mainly for US freight stock but the techniques are still worth trying.
-
Hope this won't stop you posting on your workbench! I've always loved seeing your work.... Best of luck for the future, George.
-
As Warbonnet says spray the white first but after you've masked off the line spray ANOTHER layer of white over the masking. This will seal the edges and stop the paint from bleeding underneath the tape.
-
It looks like the couplers are fitted in NEM pockets so it's just a straight swap.
-
A4 mallard Model in OO for £2.99 !
irishthump replied to BosKonay's topic in British Outline Modelling
I suppose €4 is one thing but what are the later magazines going to be priced at? -
A4 mallard Model in OO for £2.99 !
irishthump replied to BosKonay's topic in British Outline Modelling
I saw it in Eason's earlier in the week. No interest in steam so I didn't give it a second glance! -
Not sure if this has been posted already.... http://stores.ebay.co.uk/roxley-2011/Railway-/_i.html?_fsub=8744030018&_sid=1074922478&_trksid=p4634.c0.m322 Some good deals on 201's, especially if you can avail of the free UK postage.
-
To be honest I've heard varying reports on the DCC Concepts decoders, but if it can make a Lima run smoothly without cutting out it's doing well! The TCS Keep Alive units seem the most effective, especially if you use insulfrog turnouts. http://www.youtube.com/watch?v=zoqXxxAtmZA
-
What about a stay-alive capacitor?
-
That's a nice job!
-
Wow! That's an ambitious project, looking forward to see it develop. Keep us updated! When you say zones, are you talking about splitting the layout into power districts? That would be a good idea with a layout of this size. Also to be honest I wouldn't go with a star formation for the bus, it sounds like more hassle. I'd probably run a ring bus around the main loop.