Patrick Davey
-
Posts
2,671 -
Joined
-
Last visited
-
Days Won
144
Content Type
Profiles
Forums
Events
Gallery
Blogs
Everything posted by Patrick Davey
-
Take it Easy(jet)
-
Taxi(way) for Alan!
-
Sure it'll give us a lift.
-
The puns are taking off now!
-
Hope the sciatica eases soon Tony
-
 Fair play folks.
 -
https://www.bbc.co.uk/news/articles/c784732yy5yo Not an actual link though, going by the 'artist impression' - looks like they are planning to move Sydenham station closer to the airport and make it easier for people to access the terminal from the newly-located station. Although that would certainly be an improvement!
-
This is superb - one of the best models on the forum this year!
-
Brookhall Mill - A GNR(I) Micro Layout
Patrick Davey replied to Patrick Davey's topic in Irish Model Layouts
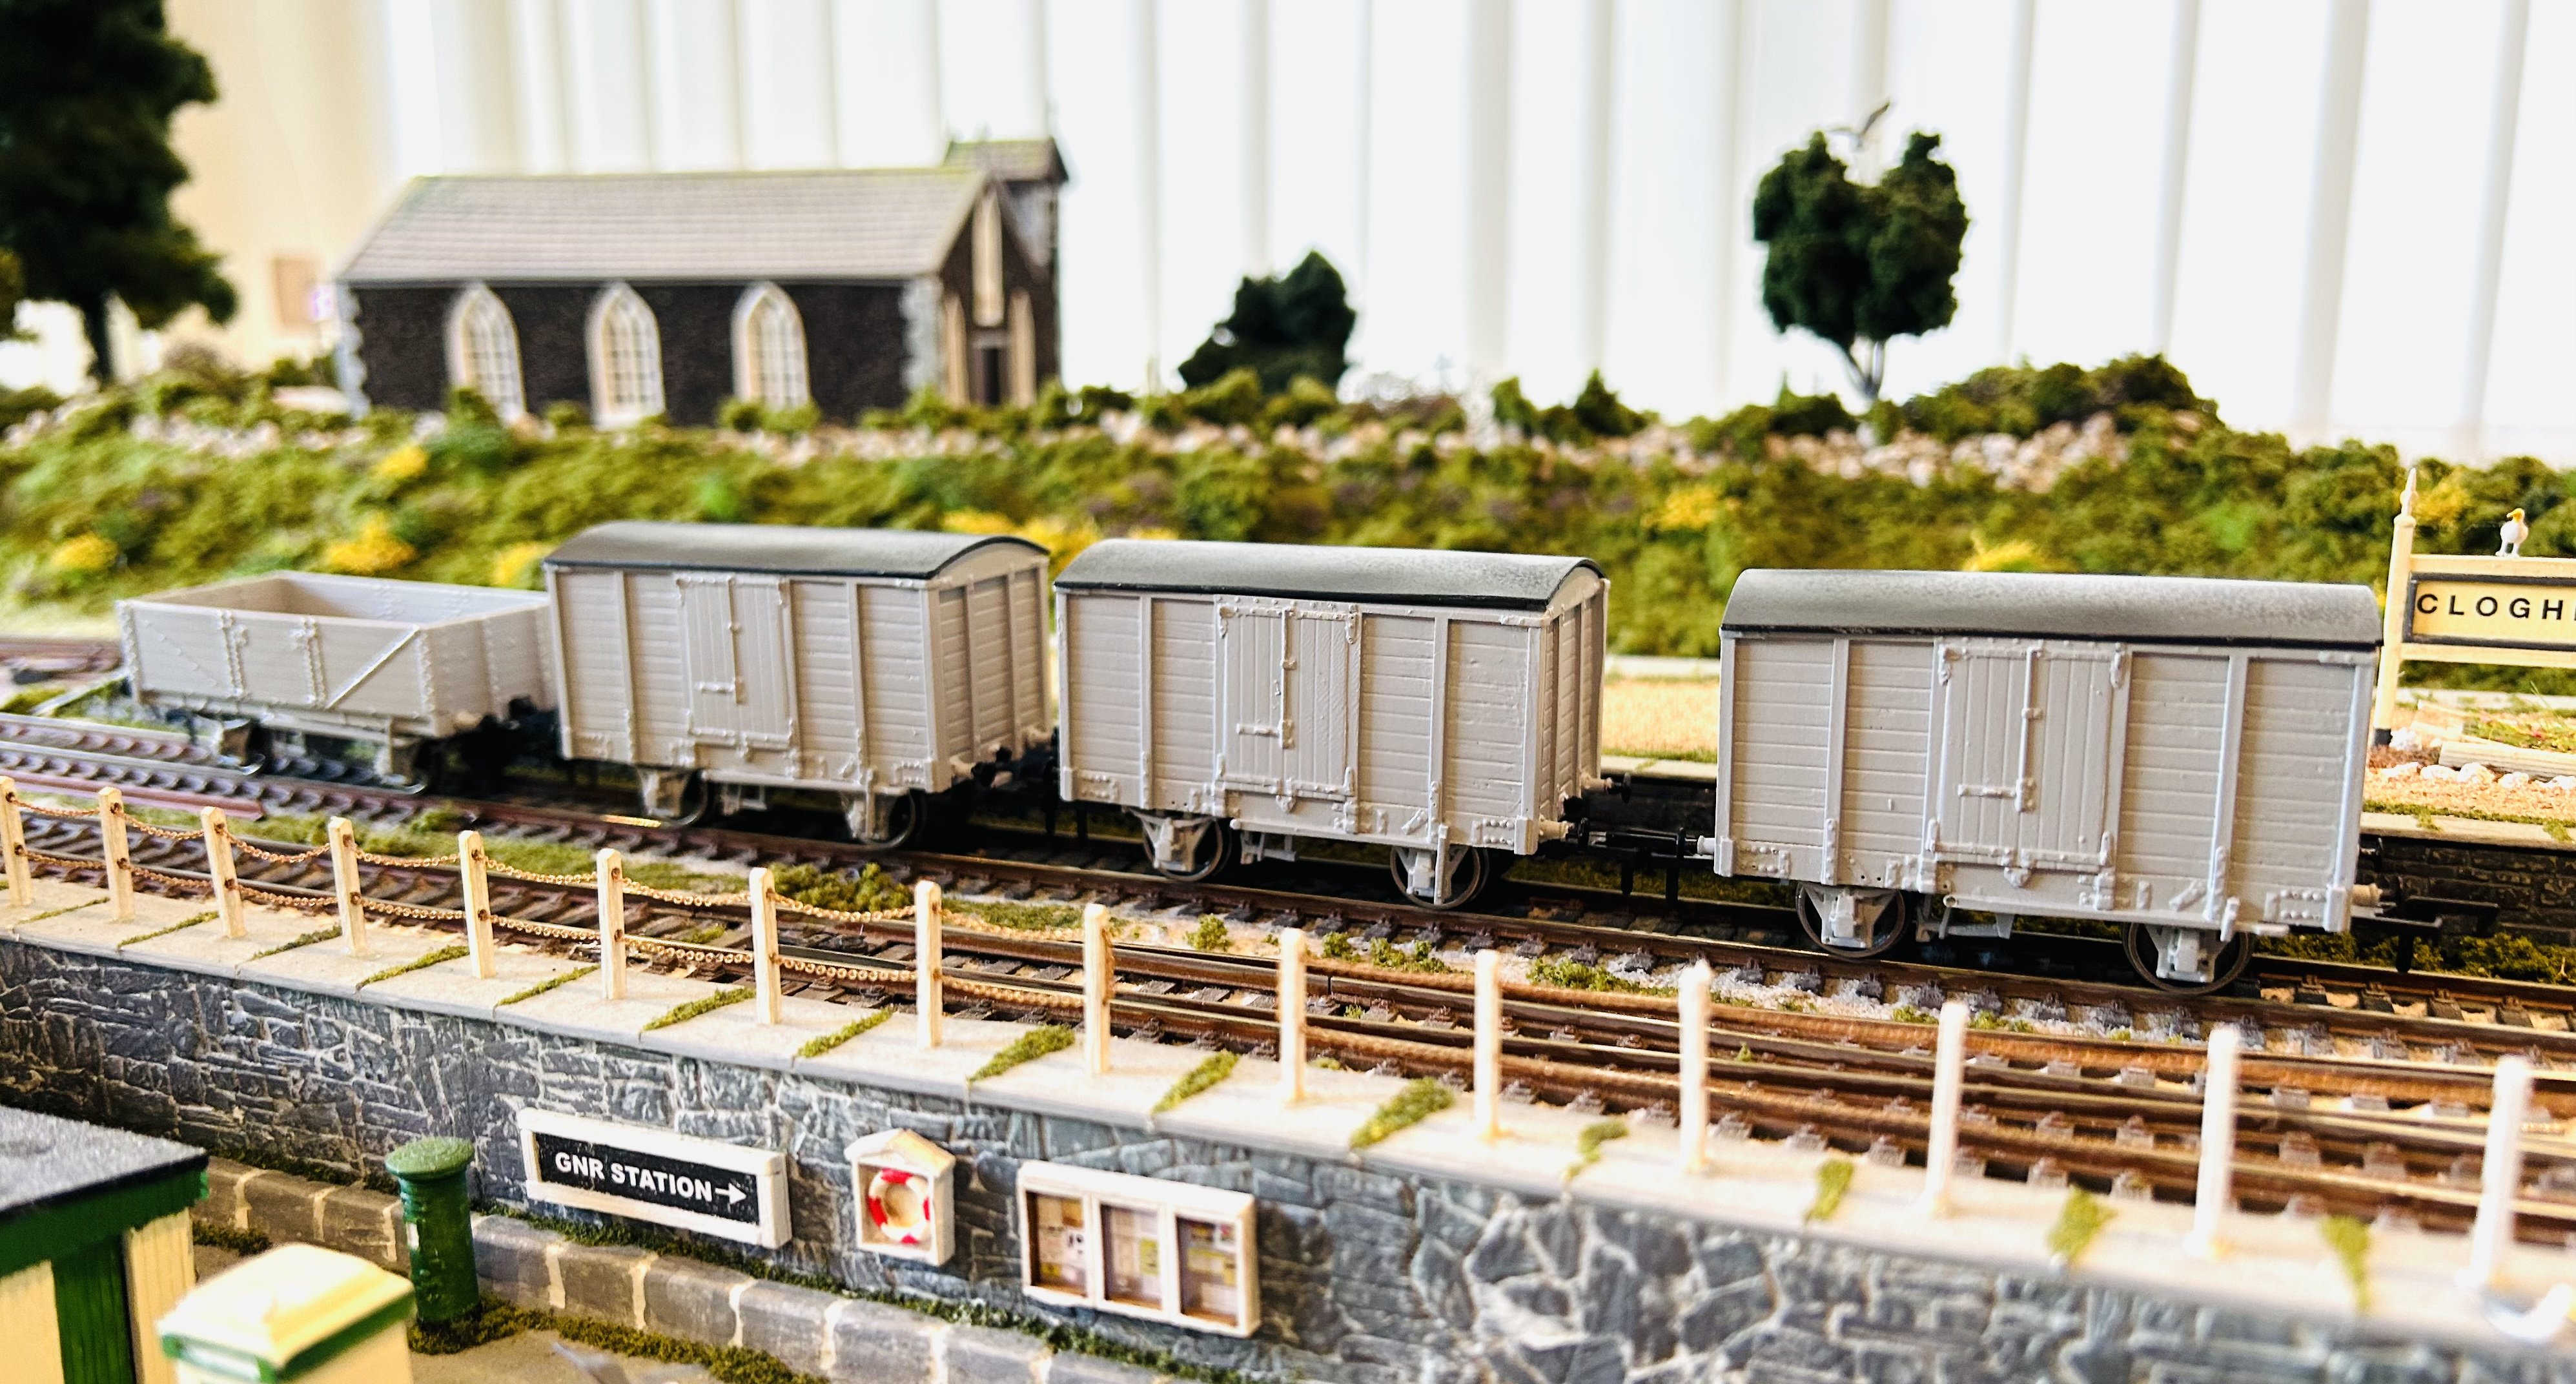
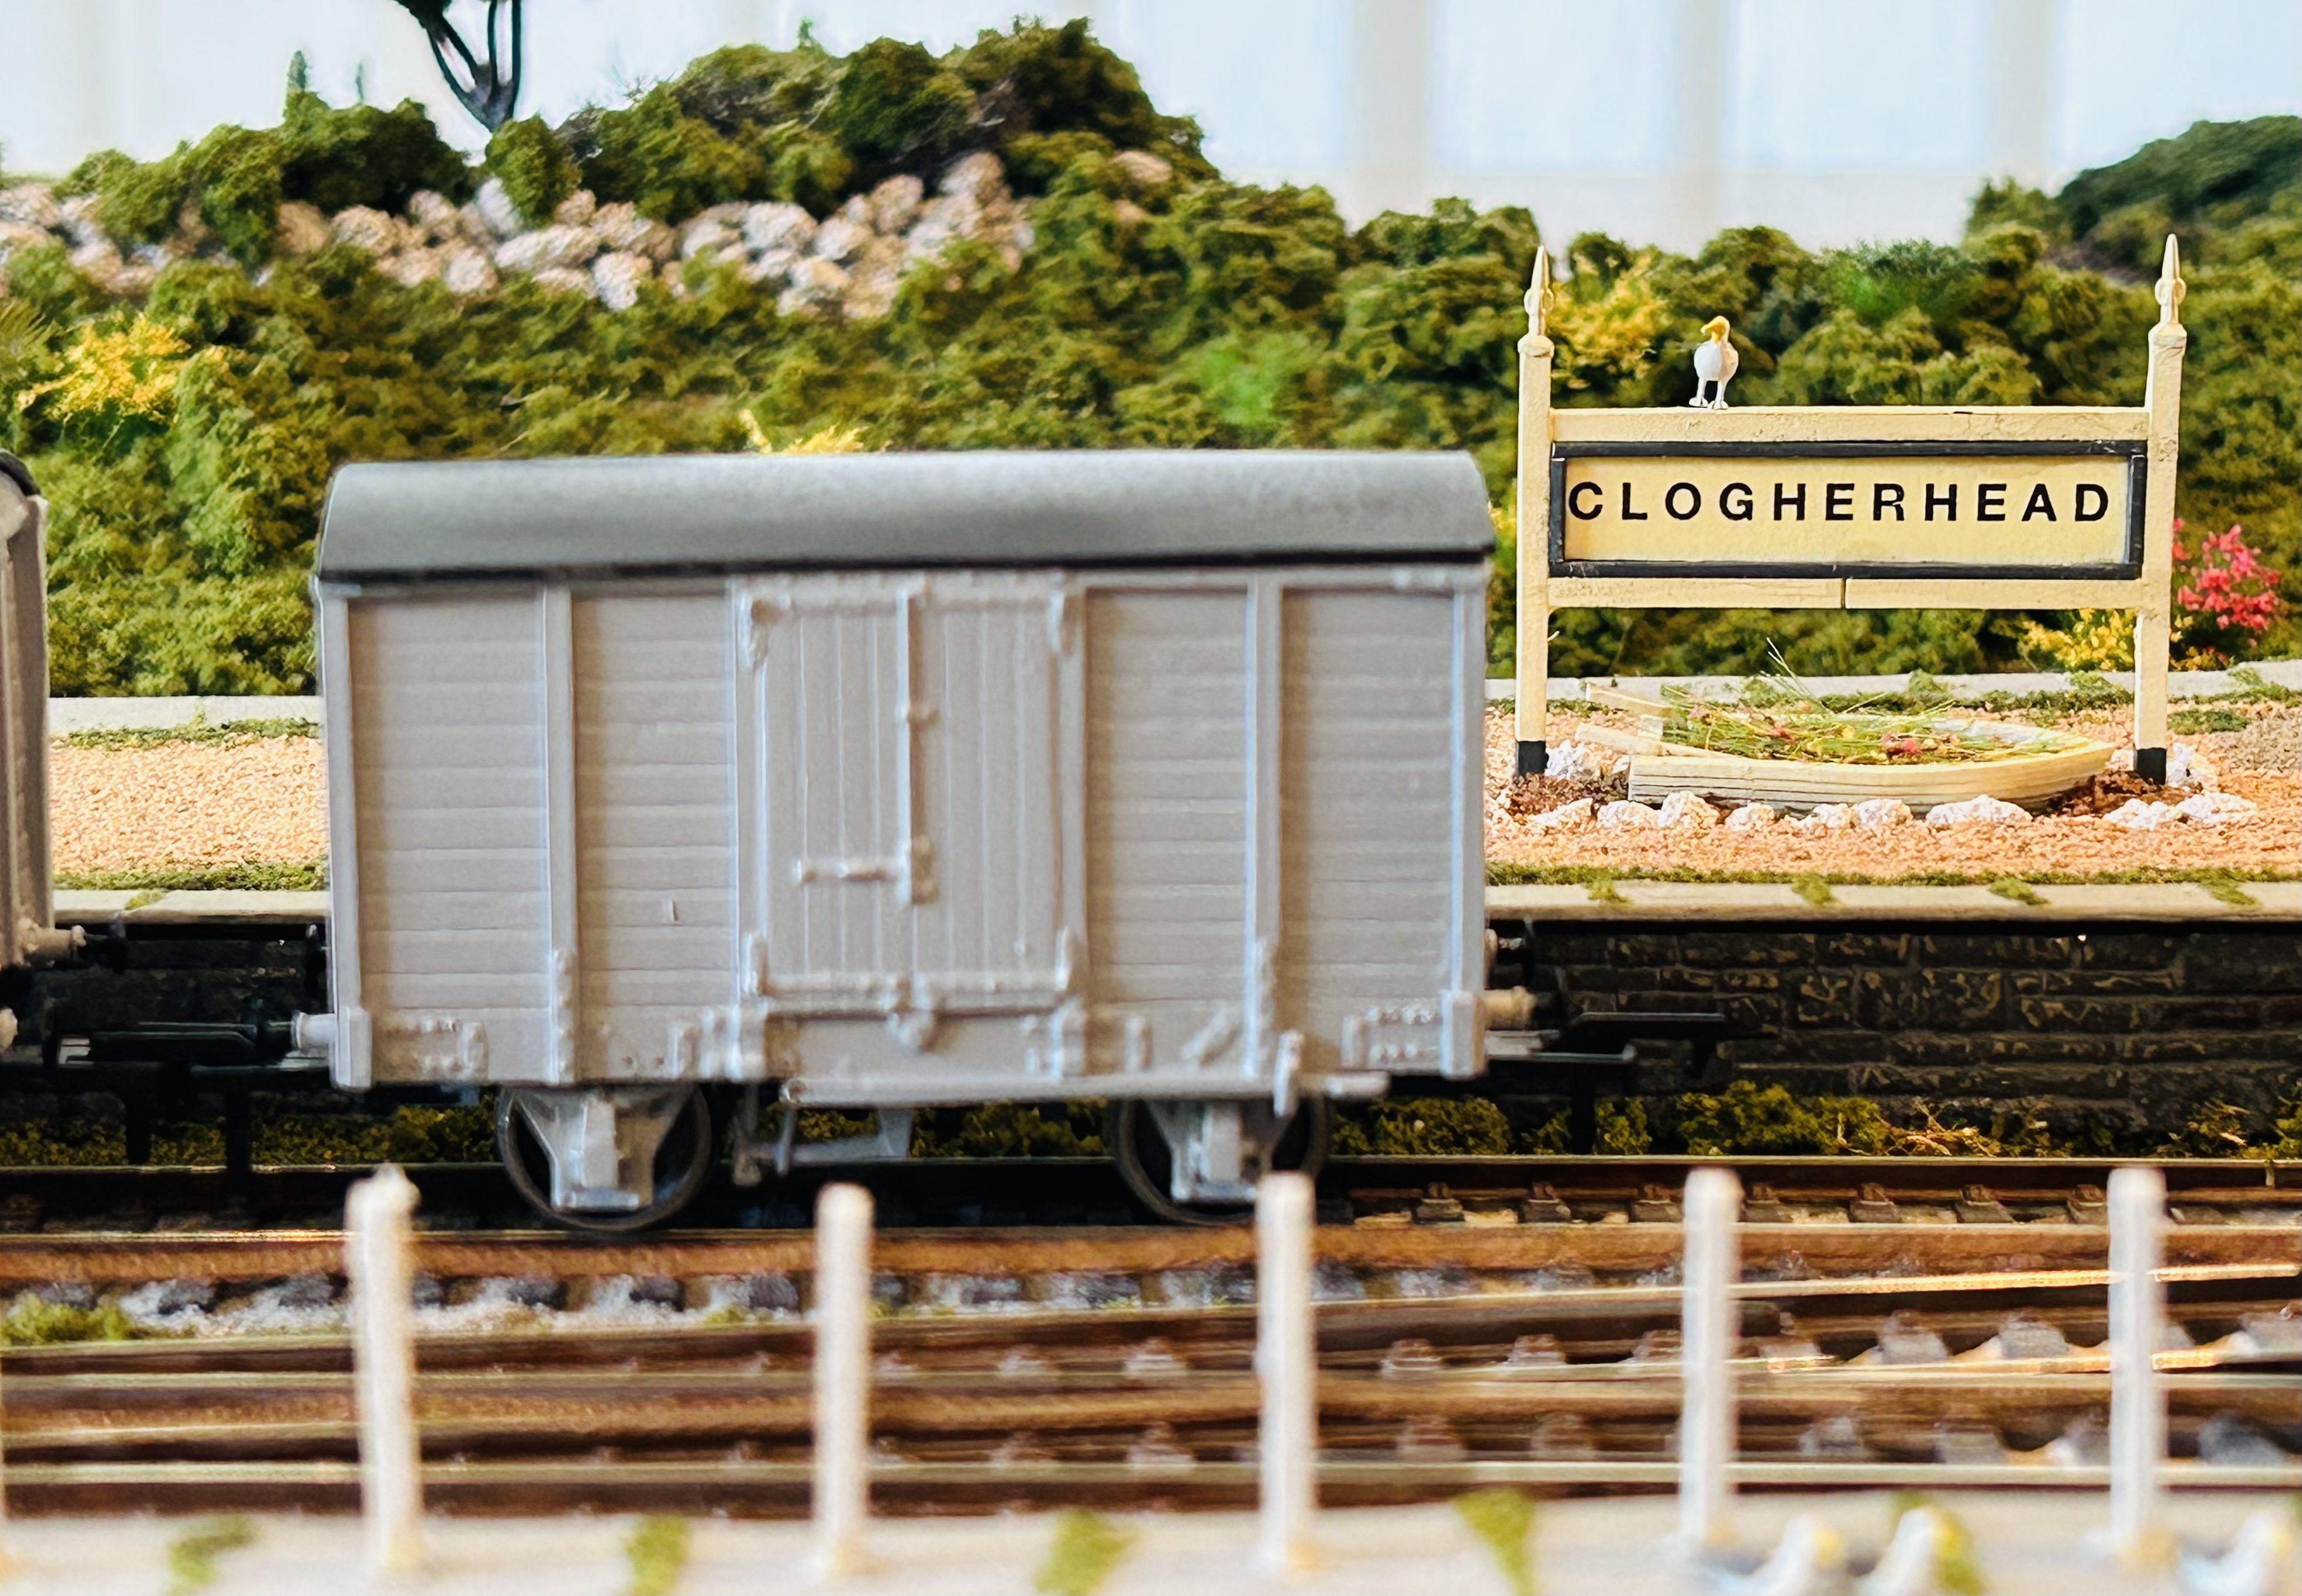
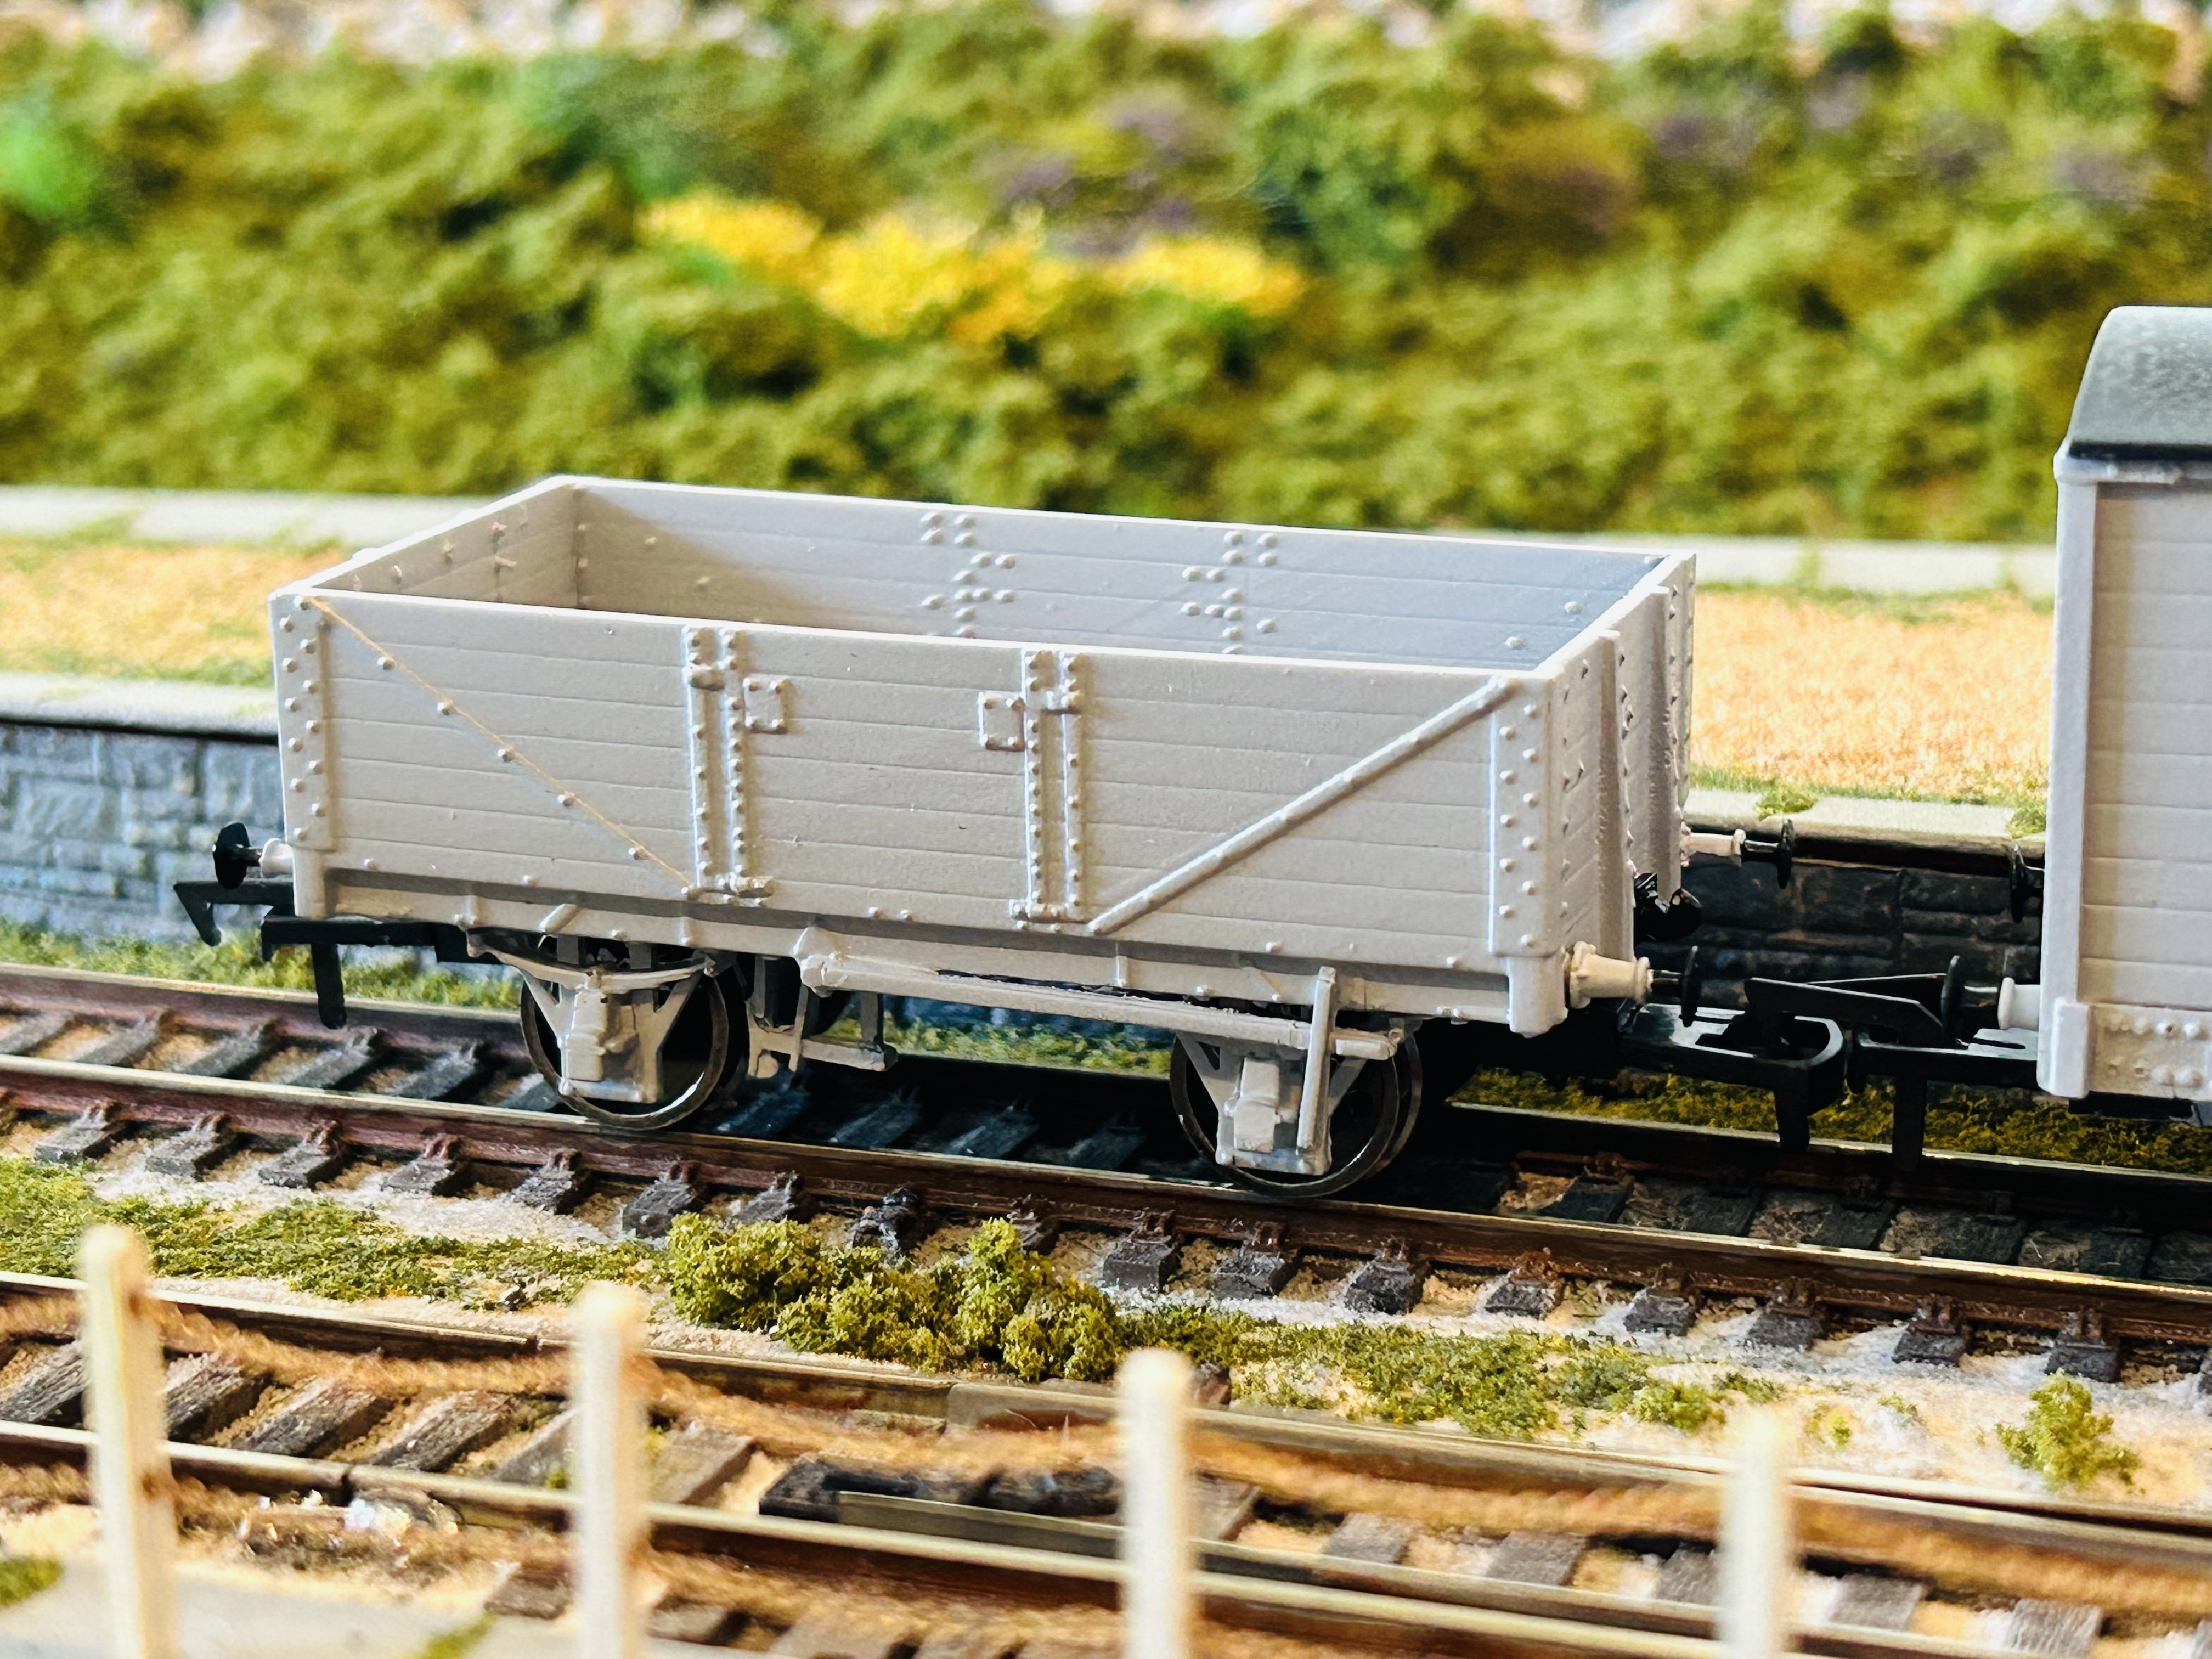
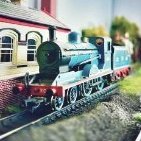
Once the linen traffic from Brookhall Mill started to decline during the 1950s, the cash-strapped GNR board repurposed some of the former cream-liveried linen vans into general use, giving them the more familiar grey livery. Here are three former BHM linen vans, freshly repainted, at Clogherhead in 1957, along with an also newly-repainted open wagon. The urgency to get the vehicles into traffic was such that it would be a number of months before they would receive their white lettering.
- 613 replies
-
- 11
-

-
Thanks to @Mol_PMB for spotting the latest update to the IRRS Flickr treasure trove - 355 superb photos from the lens of Gerald Beesley, a mix of B&W and colour, centred on Dublin with a nice selection from Belfast too (Great Victoria Street & Queen's Quay included.) Some cracking colour views of A class locos following their 1968-71 engine upgrade: black & tan heaven! This has been said many times but it's worth repeating: the price of the IRRS membership is worth it alone for access to the Flickr archive, over TWENTY EIGHT THOUSAND images from railways throughout the island of Ireland, very few if any have been published, and many many very rare and obscure locations featured. Very highly recommended! Very many thanks to the team at the IRRS for the huge effort involved in digitising and uploading these invaluable photographs. What a resource!
-
Just getting better and better!
-
Brookhall Mill - A GNR(I) Micro Layout
Patrick Davey replied to Patrick Davey's topic in Irish Model Layouts
He has well and truly retired Alan, now living in rural seclusion at Blackstaff in Co. Louth, with the two cats, Merlin & Peregrine! -
Brookhall Mill - A GNR(I) Micro Layout
Patrick Davey replied to Patrick Davey's topic in Irish Model Layouts
Yes indeed David - that's the plan! -
Brookhall Mill - A GNR(I) Micro Layout
Patrick Davey replied to Patrick Davey's topic in Irish Model Layouts
I am pleased to report that Brookhall Mill has a new owner, who will take great care of it and may well return it to the exhibition circuit. And with it, goes my final fling with DC - plenty of chips needed now so I can run everything on Clogherhead. -
So much so, they asked for an udder sermon.
-
N Scale Ballywillan, Co Longford.
Patrick Davey replied to Kevin Sweeney's topic in Irish Model Layouts
Mighty Kevin! Great to see you back at the buildings again. I love how you never shy away from a challenging prototype! -
Lovely shots Ernie. The Athlone cabin almost looks Great Northern!
-
Cracking Hunslet sir!
-
Magnificent altogether - Alan & Jamie (and my non-forum friend!) have done all the work, and I get to keep the locomotive!! It looks fabulous, and I hope I don’t ruin it by replacing some of the moulded detail and attempting a decent paint job….. Sincere thanks to both @Tullygrainey and @J-Mo Arts
-
Mega work David - how have I missed this! No. 74 is a favourite of mine, as she seems to have been caught by the photographers of the time on a good few occasions. She looks great with the crew!
-
Clogherhead - A GNR(I) Seaside Terminus
Patrick Davey replied to Patrick Davey's topic in Irish Model Layouts
That was a very helpful video on resetting the decoder, I’ve done it and still have the same problem, as @Signal Post anticipated -
Clogherhead - A GNR(I) Seaside Terminus
Patrick Davey replied to Patrick Davey's topic in Irish Model Layouts
I can confirm that the marker lights do not illuminate when this is attempted. The only way I can get them to work simultaneously is by swapping in a standard chip. IRM I think recommended I reset the chip to factory settings but dopey me wasn't able to follow the steps -
Clogherhead - A GNR(I) Seaside Terminus
Patrick Davey replied to Patrick Davey's topic in Irish Model Layouts
Yes I am familiar with this video. I have watched it a few times but my soldering skills would not be appropriate for this level of precision! -
Clogherhead - A GNR(I) Seaside Terminus
Patrick Davey replied to Patrick Davey's topic in Irish Model Layouts
I’m using an NCE PowerCab and it definitely does weird things from time to time - usually when I press F11 for rear marker lights, the whistle sound activates first, a second press does as expected. Some other times when I select an already operating locomotive, it other turns off or changes direction! Possibly all related? -
Clogherhead - A GNR(I) Seaside Terminus
Patrick Davey replied to Patrick Davey's topic in Irish Model Layouts
@Signal Post - here’s a summary of the cab light issue with my A classes: This is Part 1 of a 2-Part series And Part 2: