
Colonel
-
Posts
361 -
Joined
-
Last visited
-
Days Won
4
Content Type
Profiles
Forums
Events
Gallery
Blogs
Everything posted by Colonel
-
Elegant work as ever. I suspect the Society of Why Don't My Models Work Without Fettling has a considerable number of members, of whom I am also a member. If I could be bothered, am sure a suitably rude sounding acronym could be formulated.
-
Sound very much like Aveling and Porter locos. Essentially traction engines on rails. The Brill Tramway had one as did Garretts of Leiston, plus numerous chalk and cement works.
-
I suppose that, being made first and foremost as toys, they made them sturdy. Current models are works of art, with complex mechanisms and remarkable haulage capacity.
-
Any news of this fantastic layout? See its been nearly a year since the last post.
-
Thanks Eoin. Love the chassis set up!
- 70 replies
-
- 2
-

-

-
- o gauge layout
- irish outline
- (and 2 more)
-
Sounds like it is running better than mine ever did - three coaches was its limit and not a patch on the Hornby Dublo Pacific my friend had. Things have certainly moved on since then, but I wonder how salvageable some of the current finescale ft will be in 60 years time - especially if they are actually used in a regular basis.
-
7mm scale GMs - tell us more, please!
- 70 replies
-
- 1
-
-
- o gauge layout
- irish outline
- (and 2 more)
-
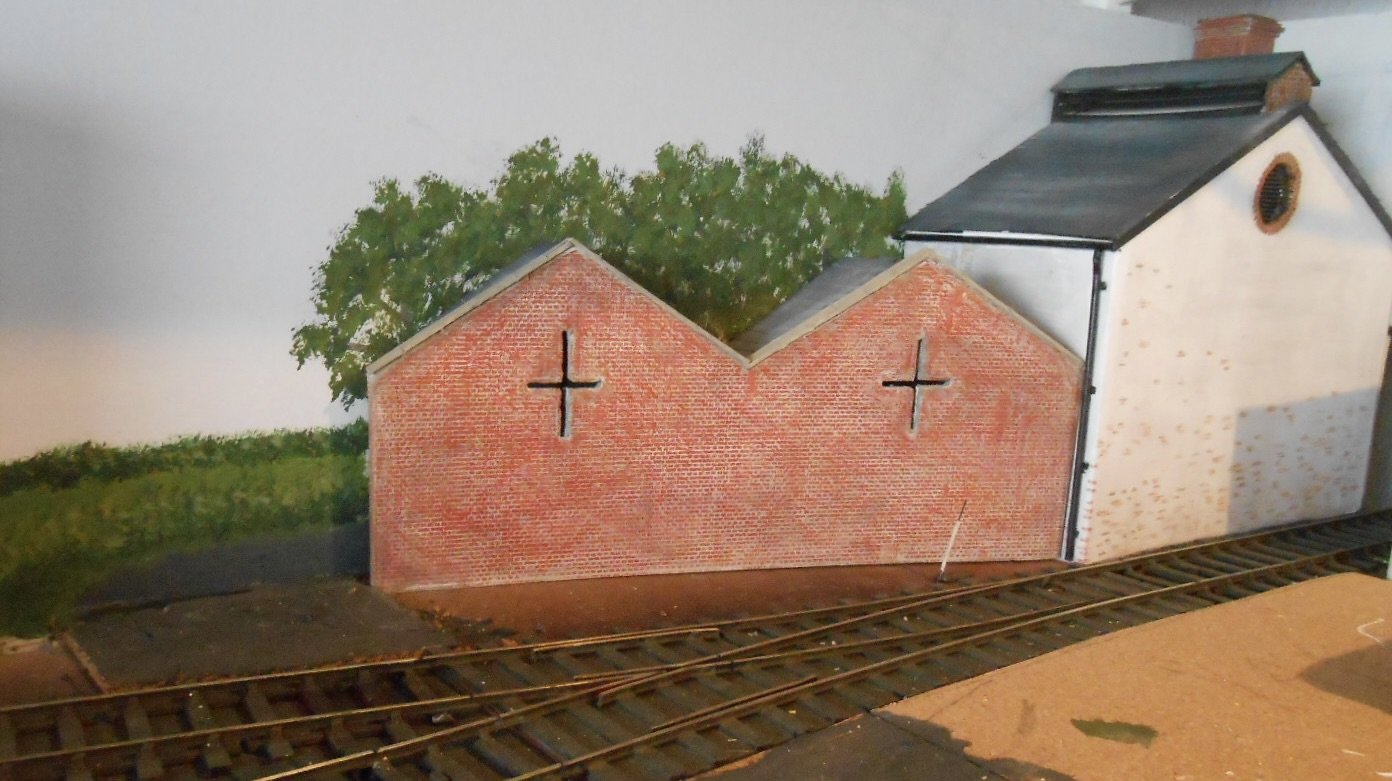
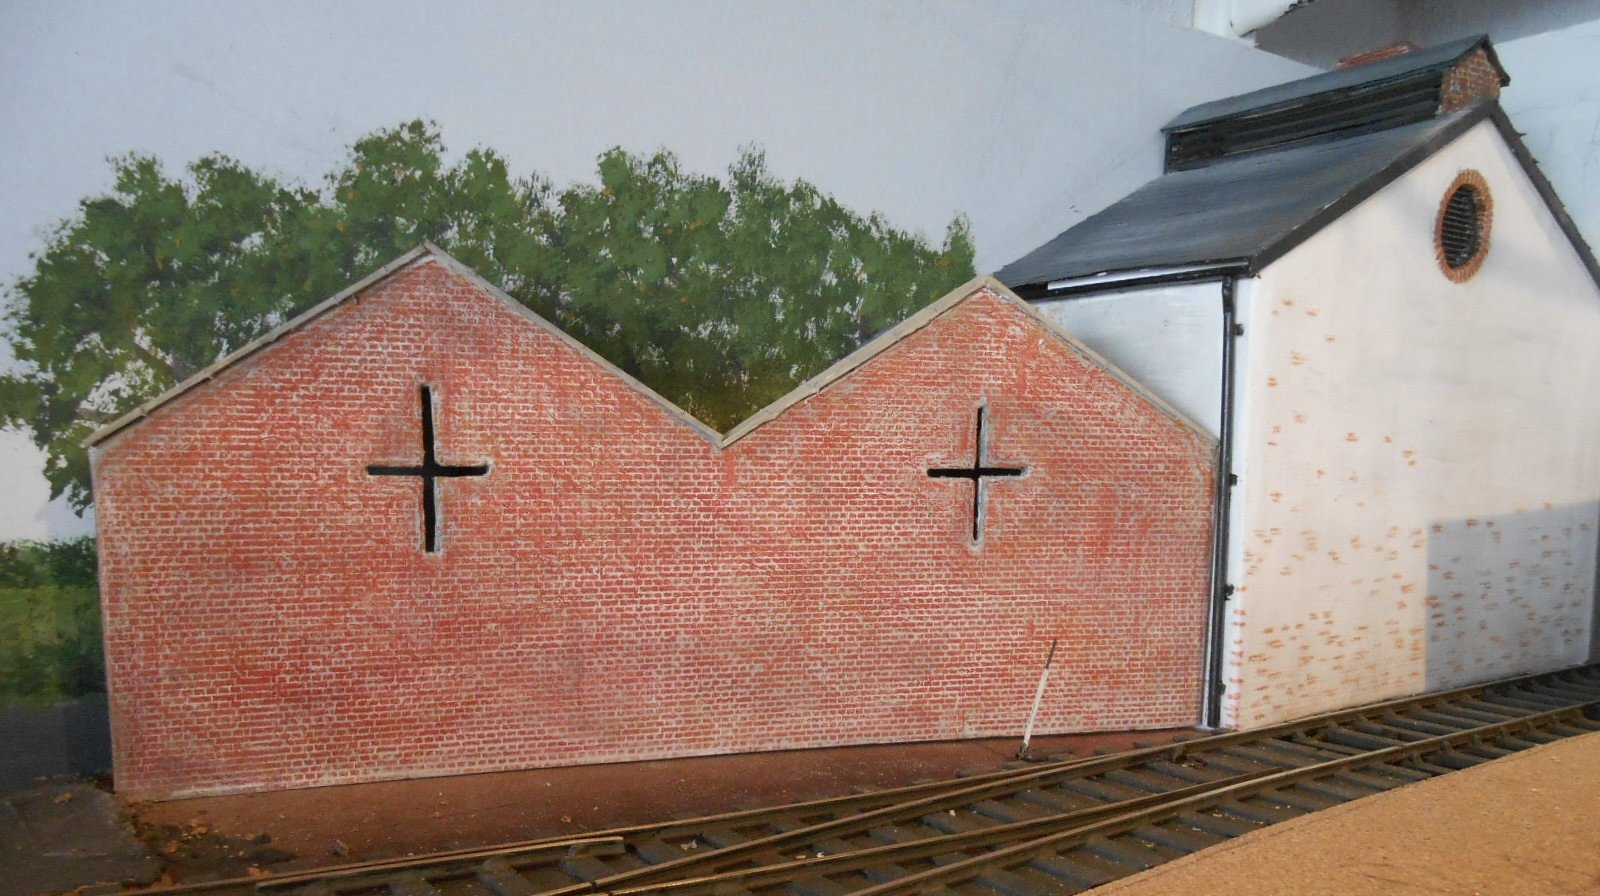
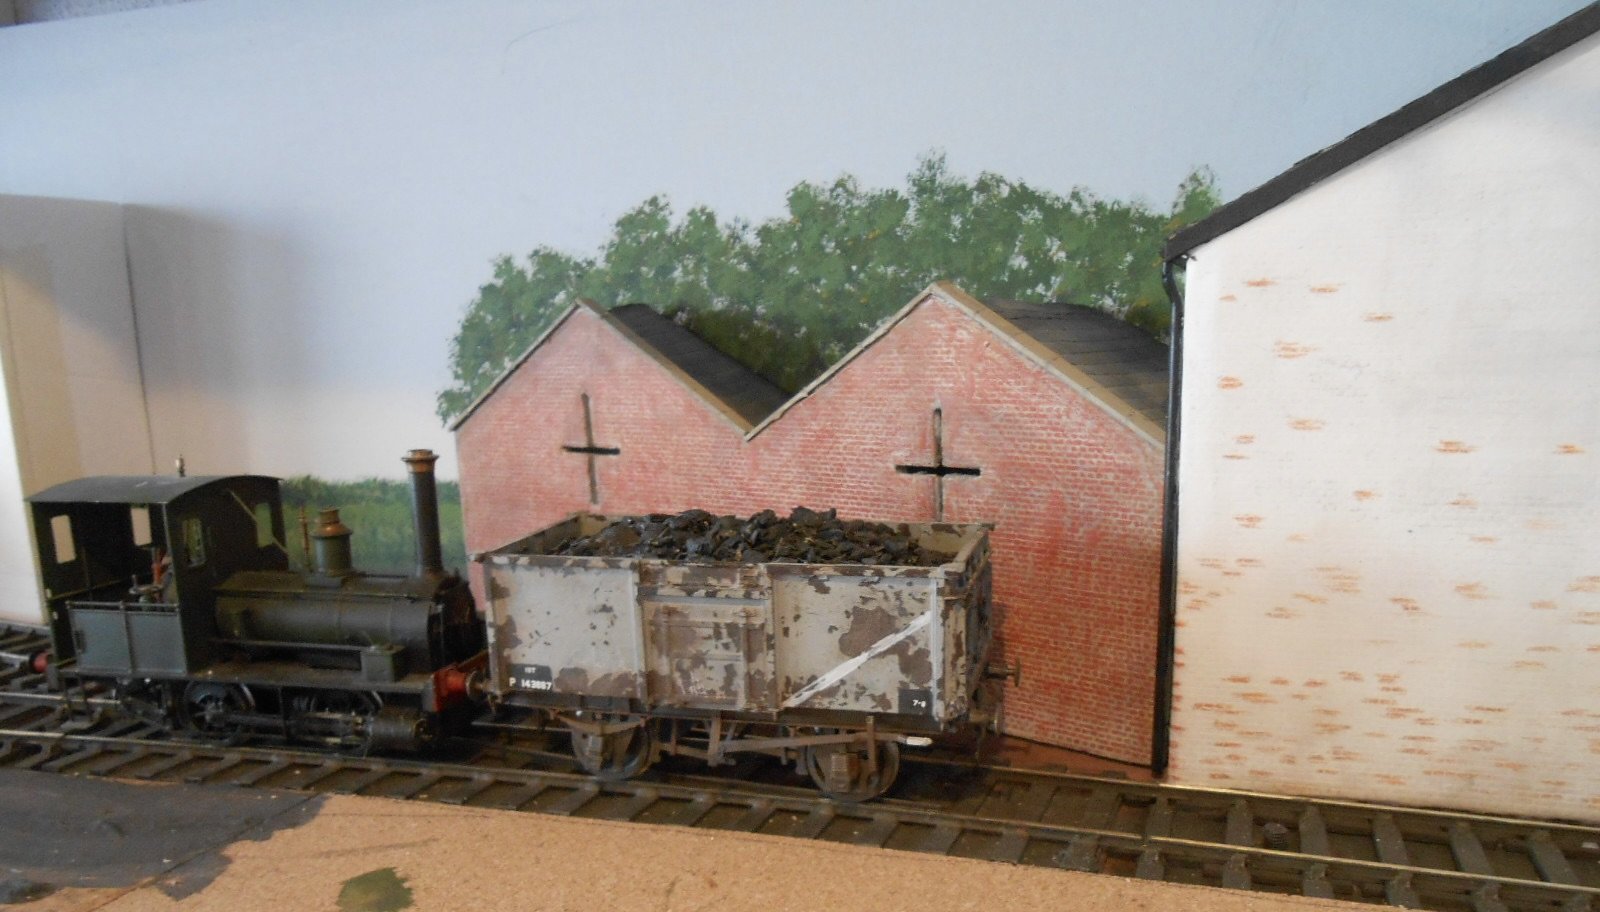
I've been working on the two industrial buildings this week. Nothing special about them really, except perhaps that, with all the talk about 3D printing, these are very much old school, being foam board shells, covered with Howard Scenics embossed brick. Roofs are both card, with water-colour paper cut into strips for the slates. Plain brickwork is water-colour pencil "brass rubbing' style over the embossing, with acrylics doing the job everywhere else. The next job is to bed both buildings into ground cover. As you can see, the back scene has been enhanced in my usual style, with acrylics to represent trees and hedgerows, along with a road curving round behind the building. I will be adding a crossing for this road, into the yard, serving either a car repair shop or a small independent bus garage. The other two pictures show my George England [ex Wantage] well tank, pushing a loaded wagon of coal off scene to the gas/engineering works.

-
Thanks Rob. As I've said before - clever stuff!
-
Methinks some of our brethren are speaking in tongues and are making my thumbs itch. Alchemy and acronymphomania! As ever, there is so much to learn about new and seriously clever stuff.
-
Fascinating. Do you have to CAD all those supports in, or are they part of the printing software and process?
-
Quite a saga - rare to get such a range of faults in pretty much all the working parts, especially when they all came from different manufacturers. More than entitled to feel a bit vexed!
-
Wibble - and beam me up Scotty. We need that J26 back...
-
Waterford & Tramore Railway Digital Layout + Documentary in Progress!
Colonel replied to Bullet_Wanderer's topic in Workbench
If this type of thing develops, it could, with the addition of virtual head sets, be almost the equivalent of a time machine. -
Presumably these are home layouts? As an exhibiter, I've long used 6mm ply for lightness. Top and frames, though 12mm for ends, to take baseboard joiners. Keeping baseboard size below 4' x 2' also helps with weight. 6mm birch ply is lovely stuff, but a lot of it came from Russia, so less easy to get hold of now, for obvious reasons.
-
An internet search showed a variety of resin castings kits from about £40 upwards in the UK. They tend to include things like rubber gloves, paper cups, lolly sticks and so on for mixing. Fine for a first attempt, but cheaper just to buy the material. One thing to note is that the silica mould may only last a few months once opened. After that, it doesn't set. The two part resin lasts longer.
-
Gauge 3 (1:22.5 / 1:24) Railways
Colonel replied to DJ Dangerous's topic in British Outline Modelling
We had Gauge 3 at the Chatham Show last year - all 20+ metres of it. You could build an N gauge branch terminus in the same space a bogie coach occupies. Lovely stuff. -
East Lynn is one of the all time greats. Looks wonderful and a delight to operate, something I was twice privileged to do. Railex is a fine show anyway, but the S scale contingent idea the cake.
-
Add Gordon Gravett and Barry Norman to the list, David.
-
A fine looking beast and absolutely iceberg like in what lurks beneath the sutace!
-
Presumably if, say sides and ends were printed, as per my castings, then being more 2d than 3d, would be quicker to CAD?
-
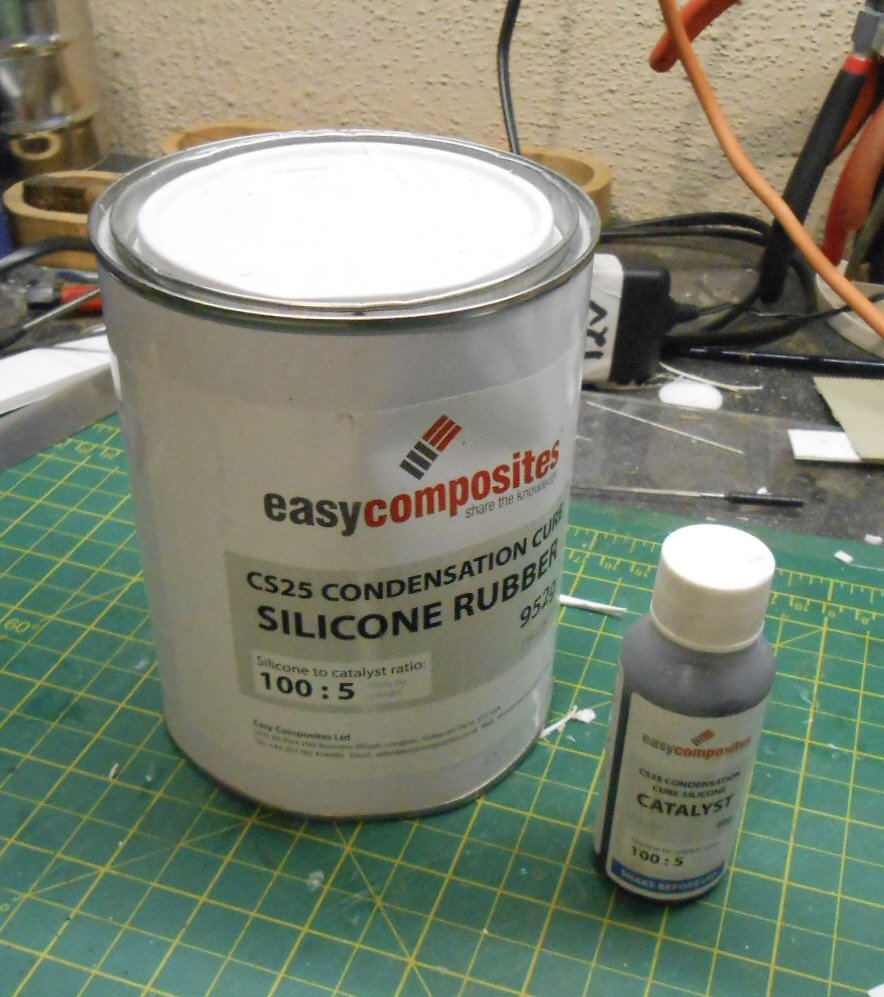
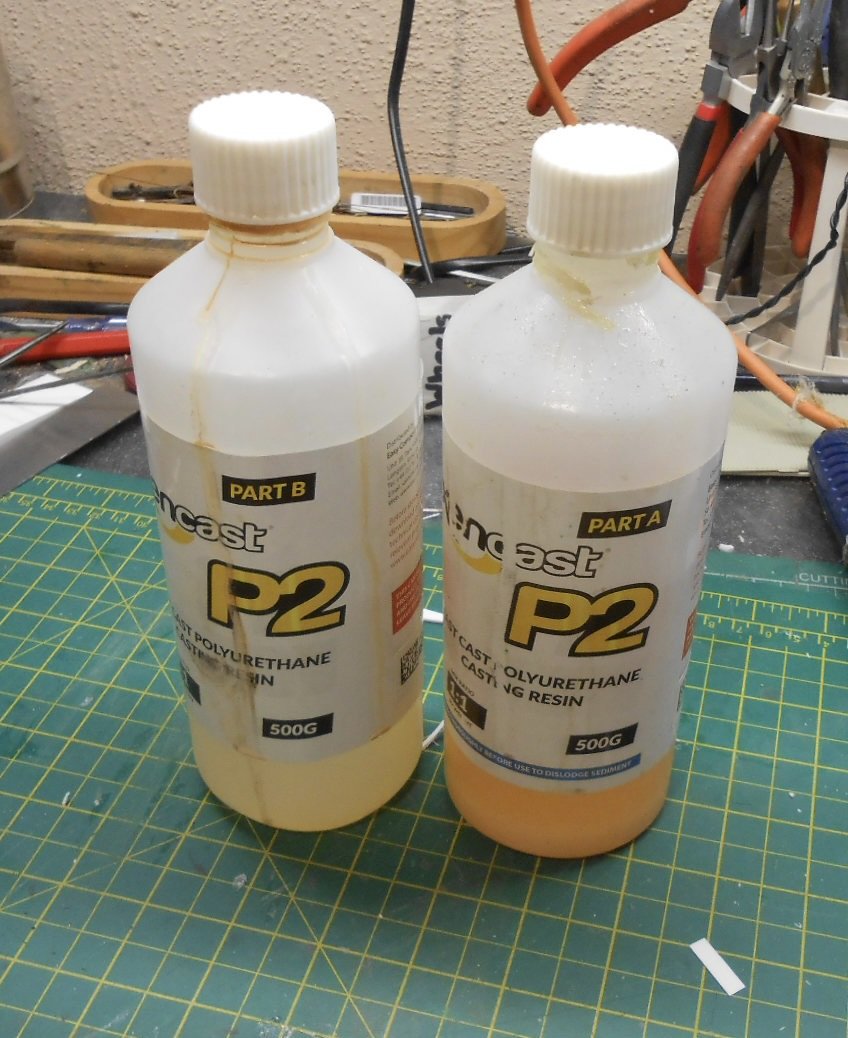
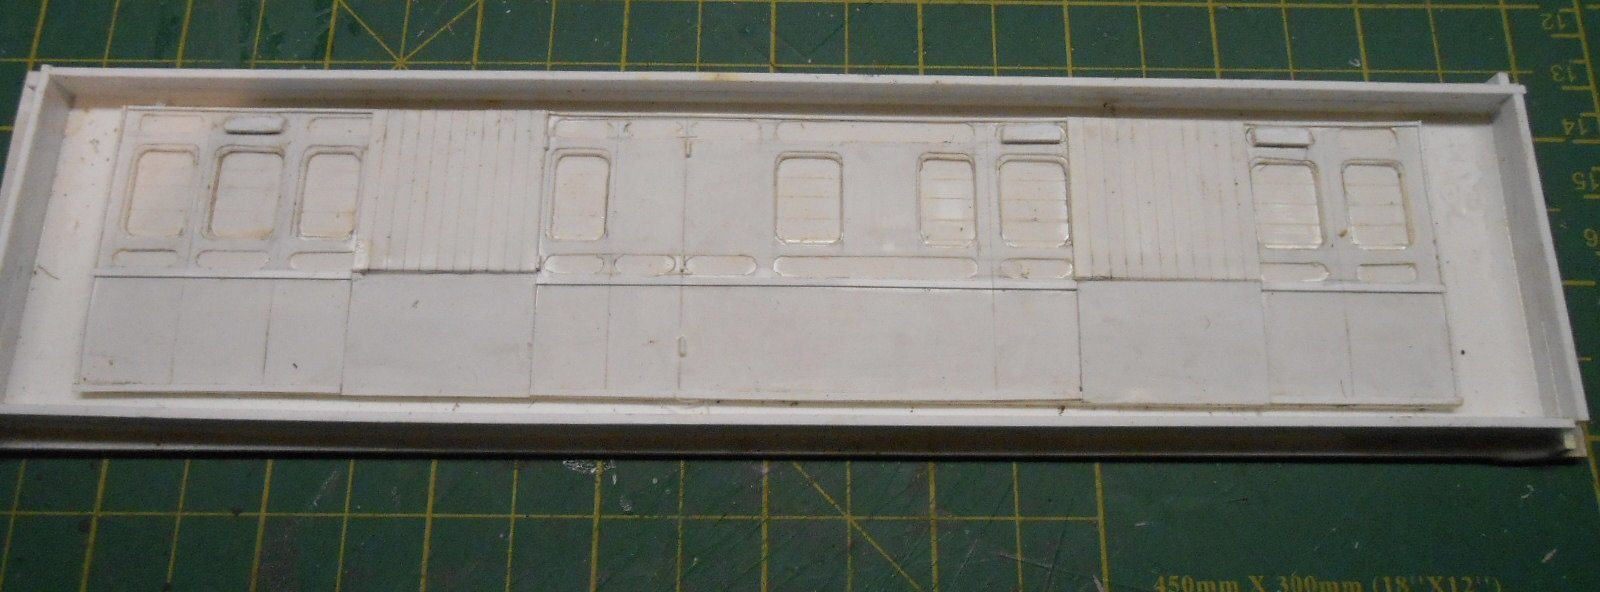
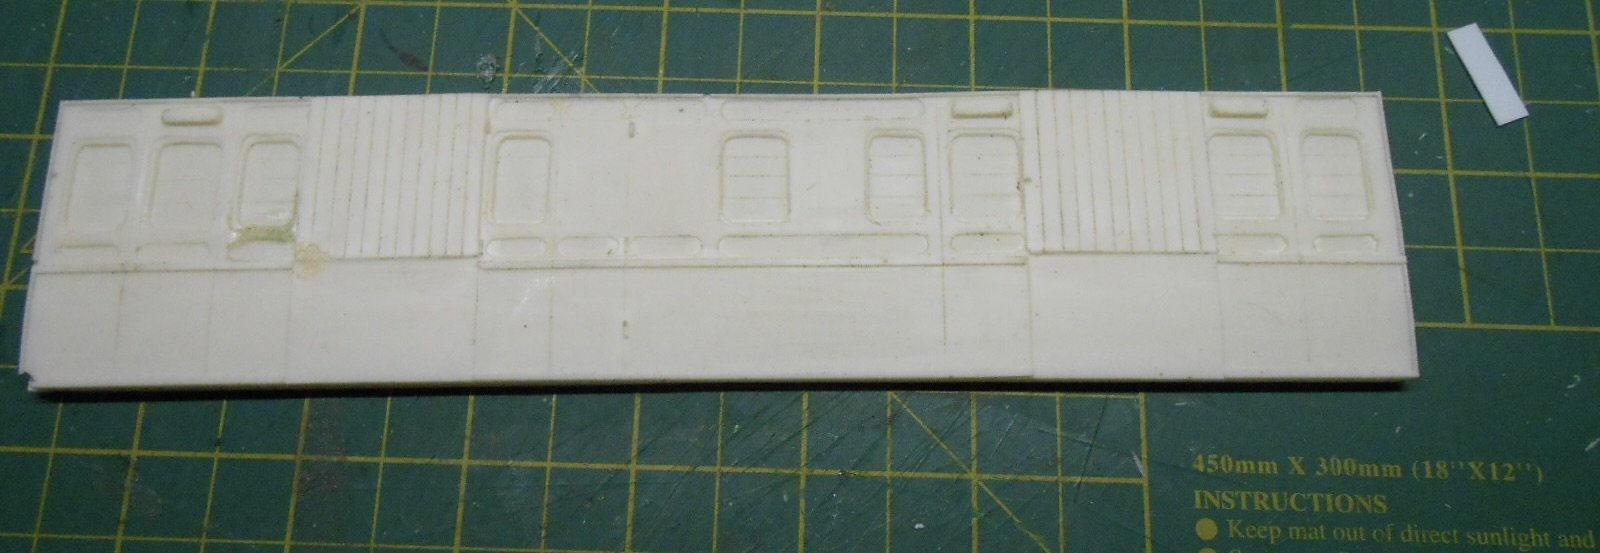
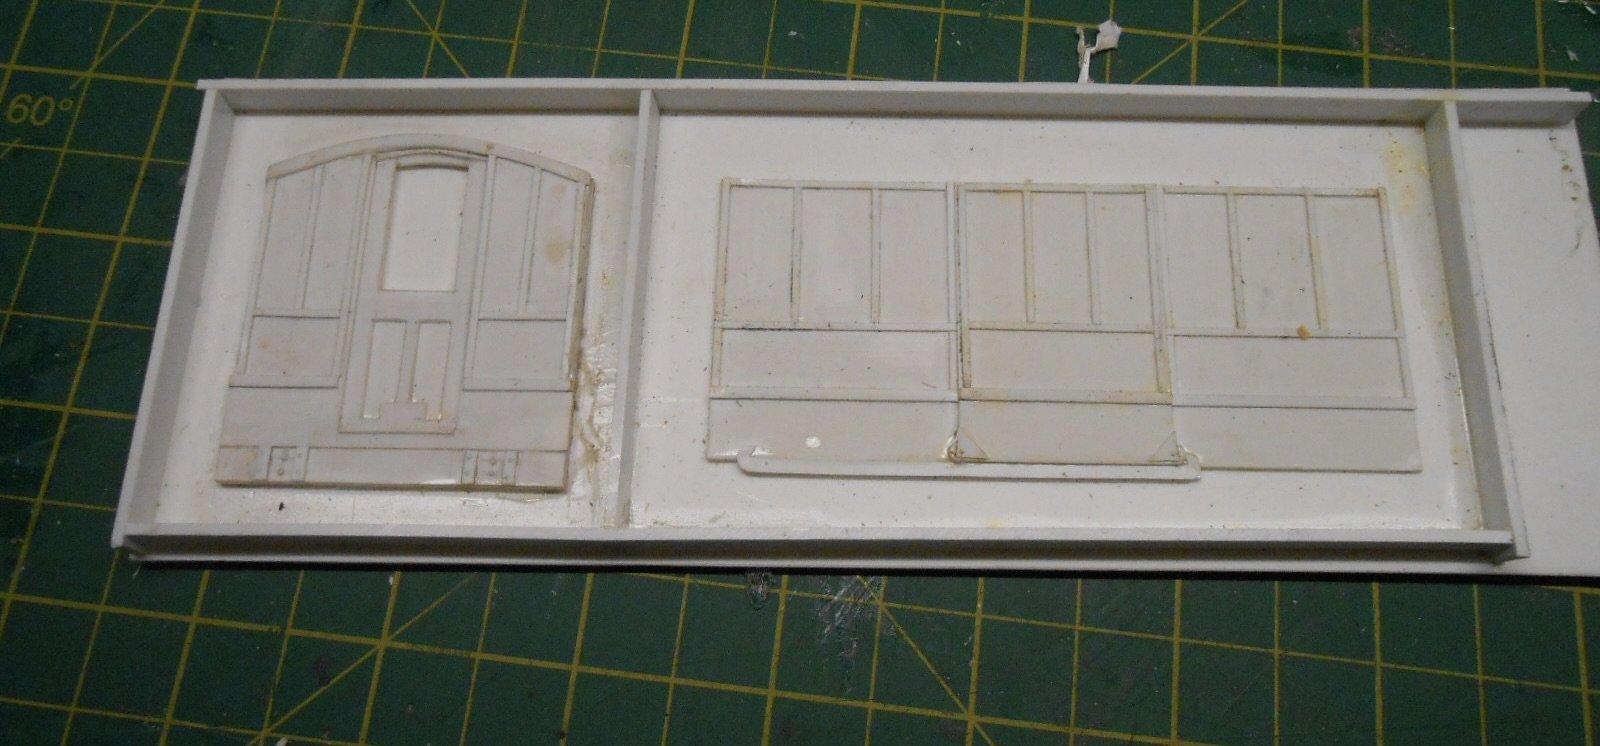
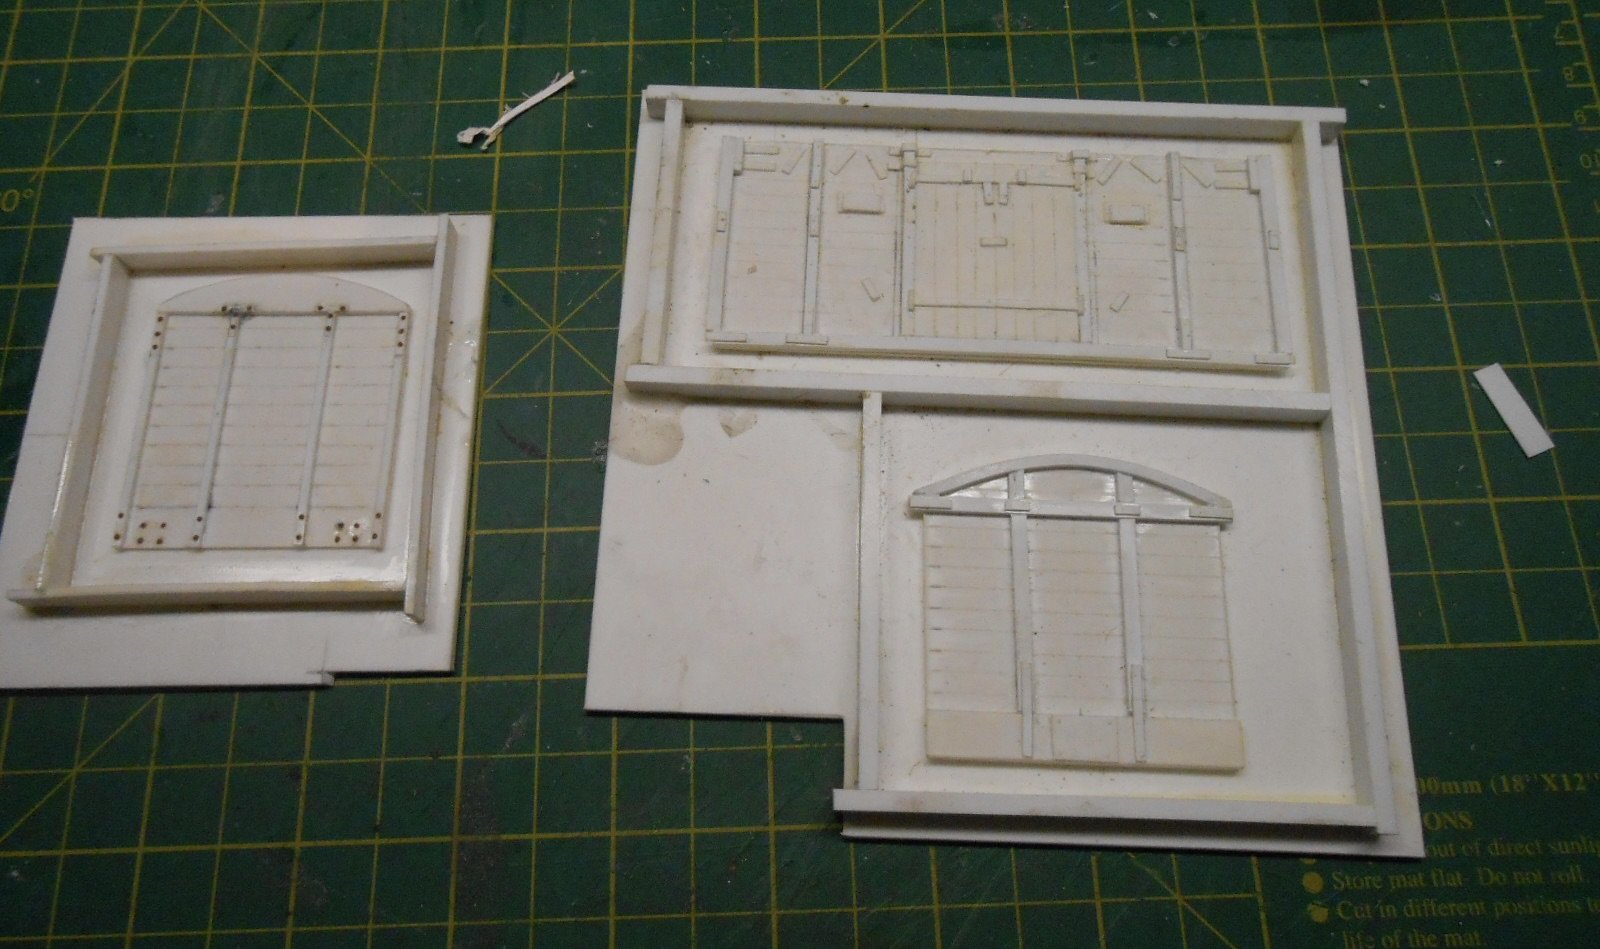
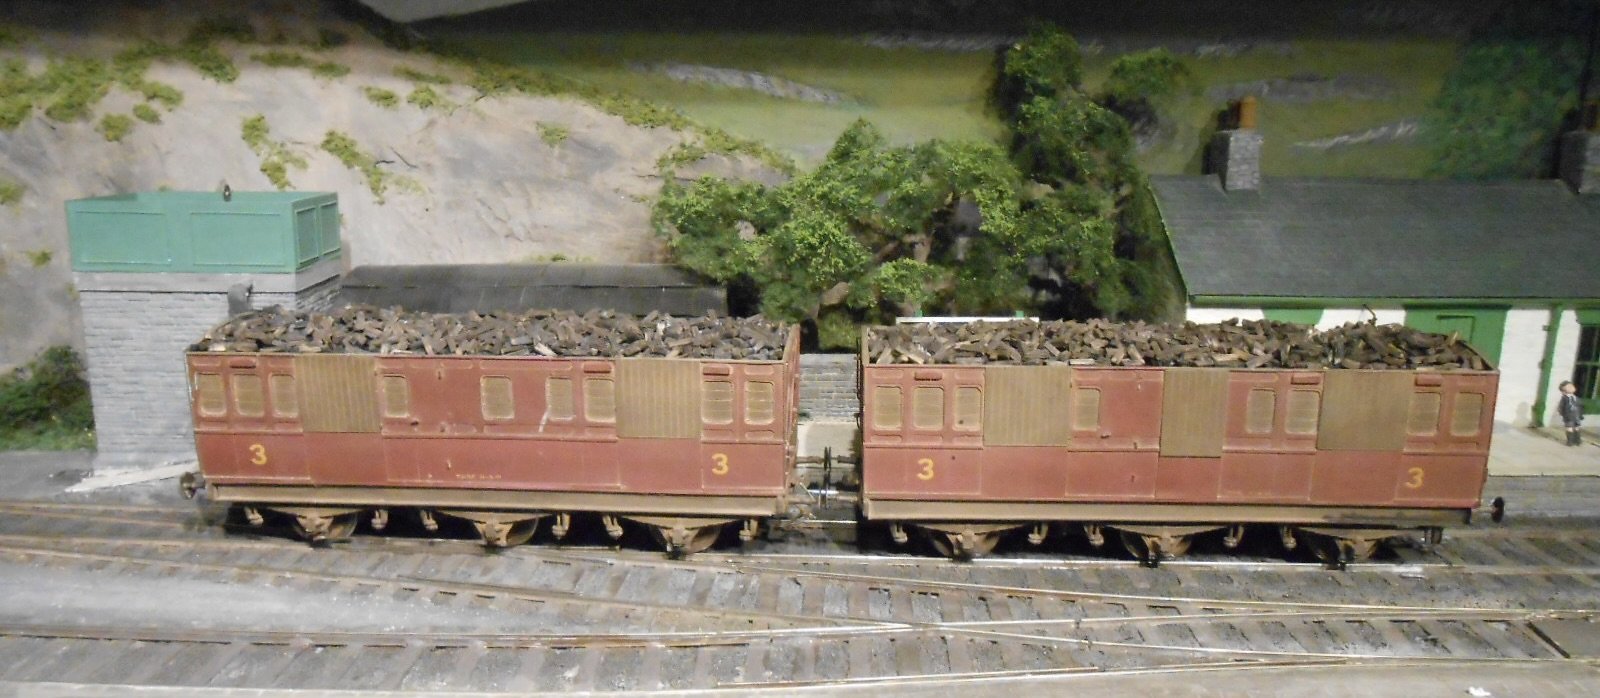
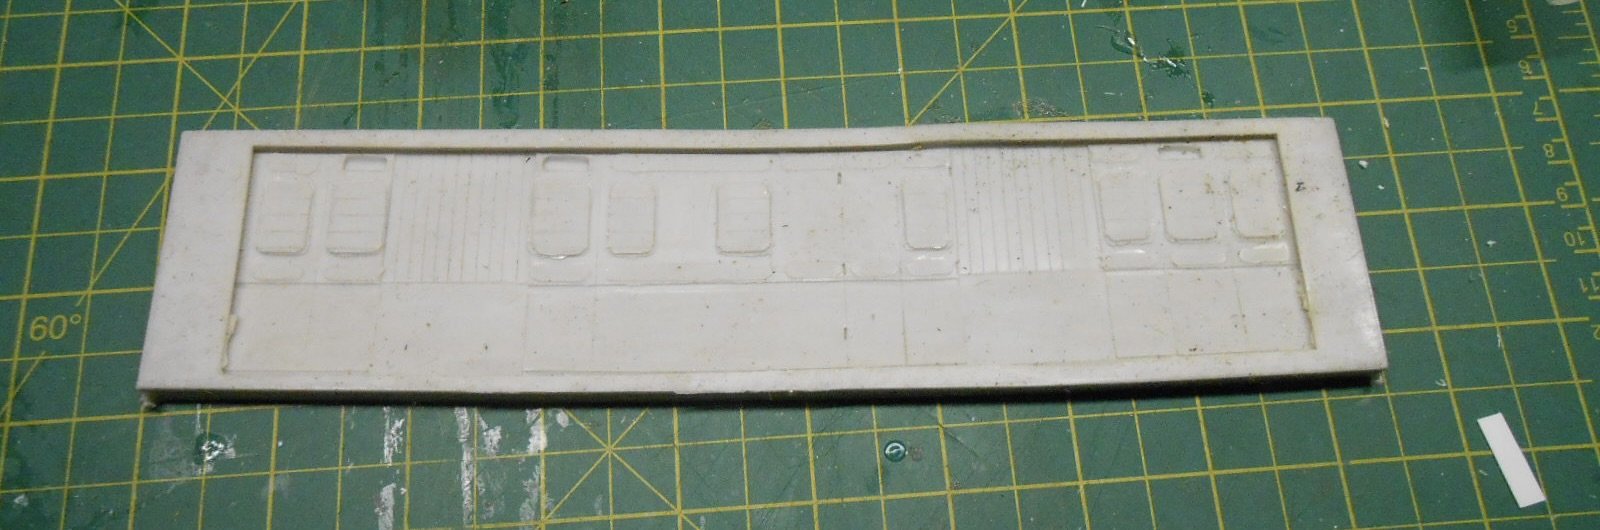
Further to this morning's post, here are some photos of the basics of resin casting. First the 'stuff': below is what you need to make the mould - a tin of 'goo' and the setting agent/catalyst. One part of the latter to 20 parts of the former. Mix and wait 24 hours for it to set. The other stuff is the resin - two parts mixed equally, which take well under an hour to set, so you can cast multiple copies in an afternoon. Above is the master for one side of an ex WL&WR six wheel coach which was converted to carry turf during the Emergency [aka WW2]. Made from plasticard sheet & strip, it was quite a few hours work, but worth it in terms of then being able to make multiple copies. When finished, it was mounted in a low walled box [more plasticard] to take the moulding material. Here's said mould, ready to take the resin and below is one cast side. Another side, two ends and a floor, assembled with cyan, and you have the coach body, which then had an Alphagraphix etched brass chassis attached as shown with the completed models below. Have done all sorts of other models, mainly wagons, for both broad and narrow gauge, as per more masters below. If you are not ready for 3D printing yet, would say resin casting is definitely worth a try.
- 161 replies
-
- 11
-

-
-

-

-
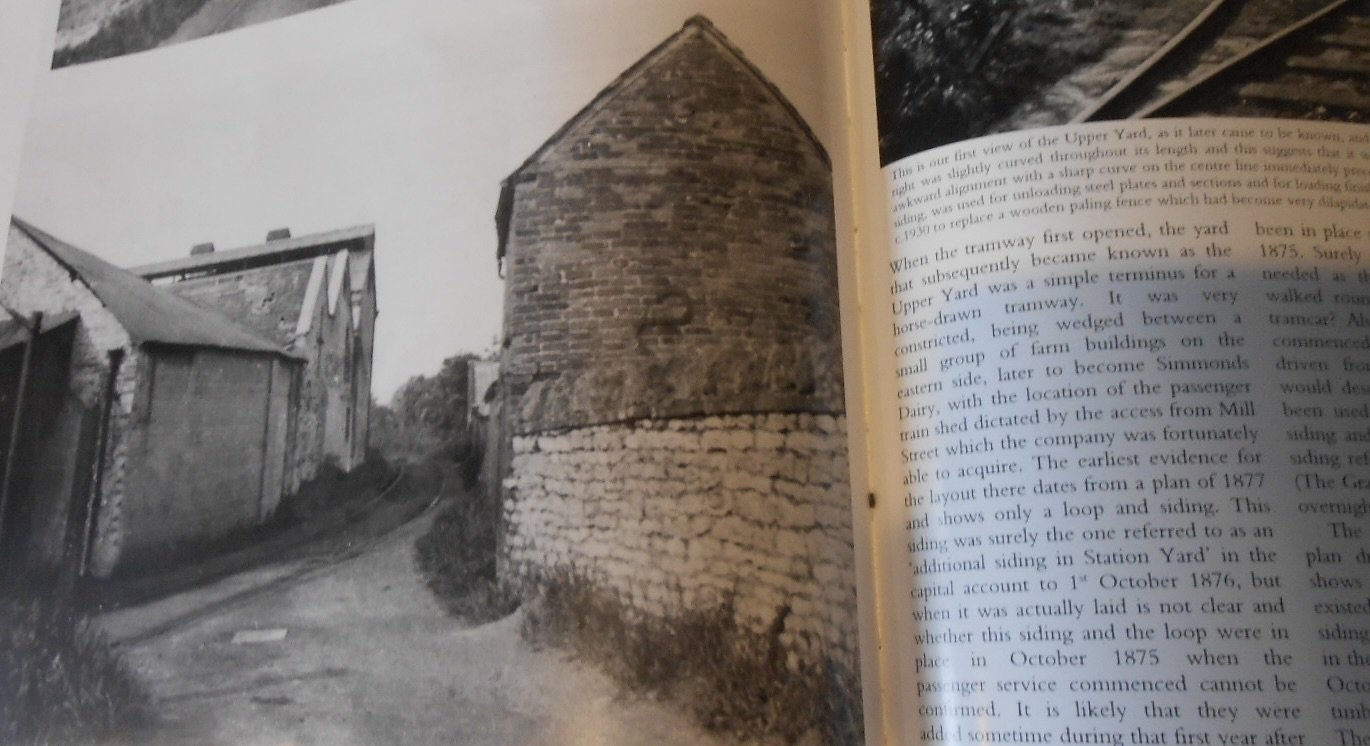
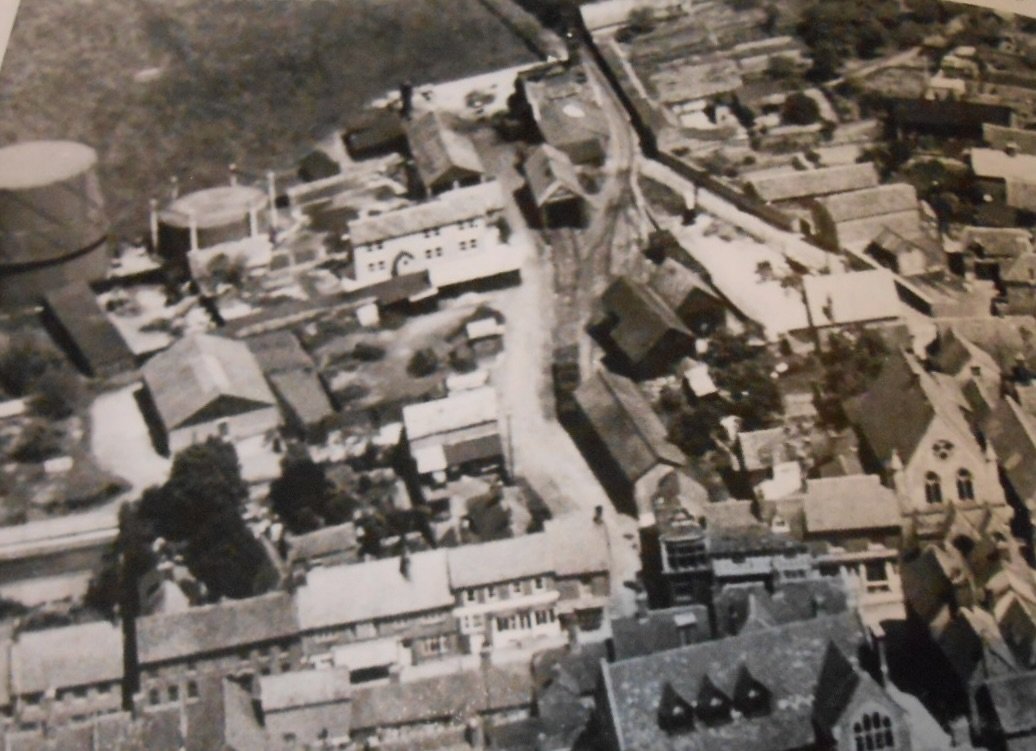
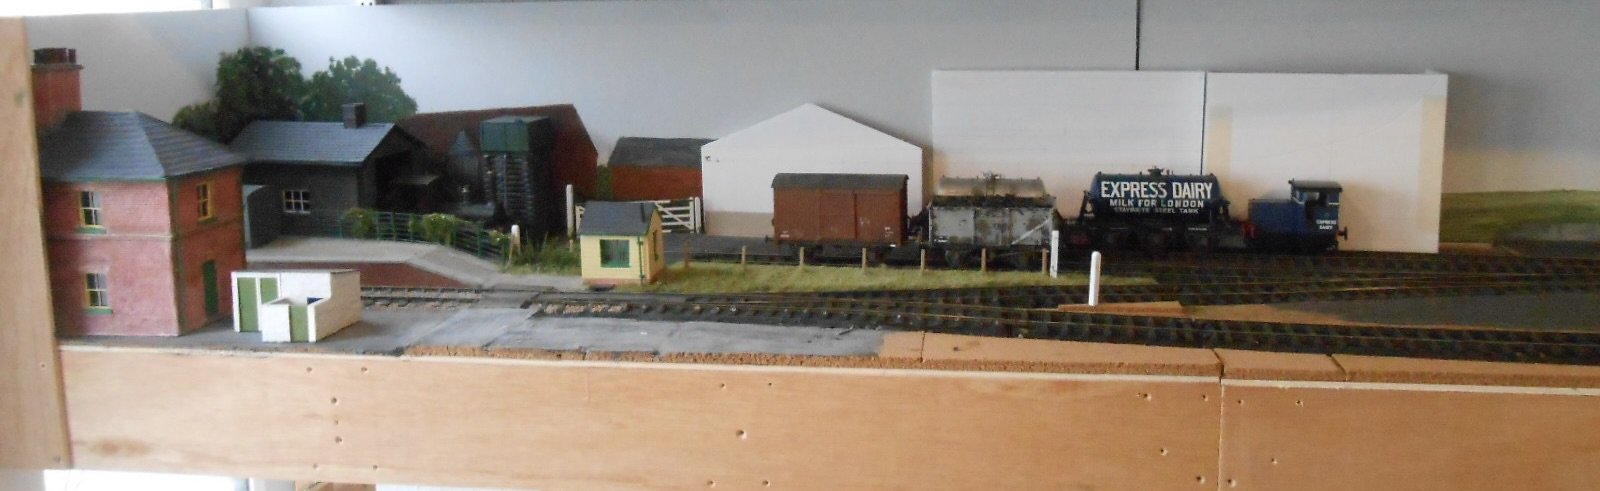
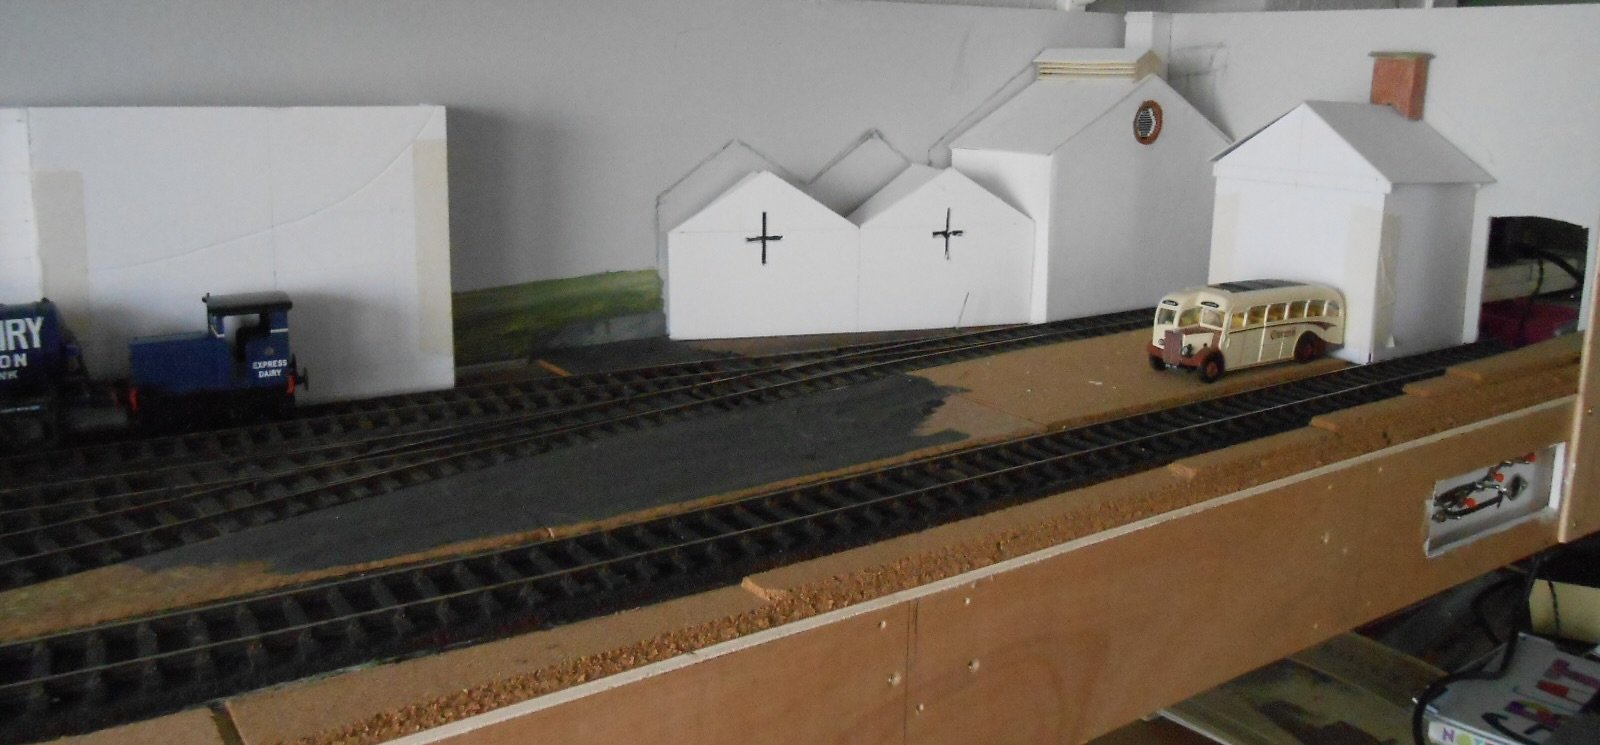
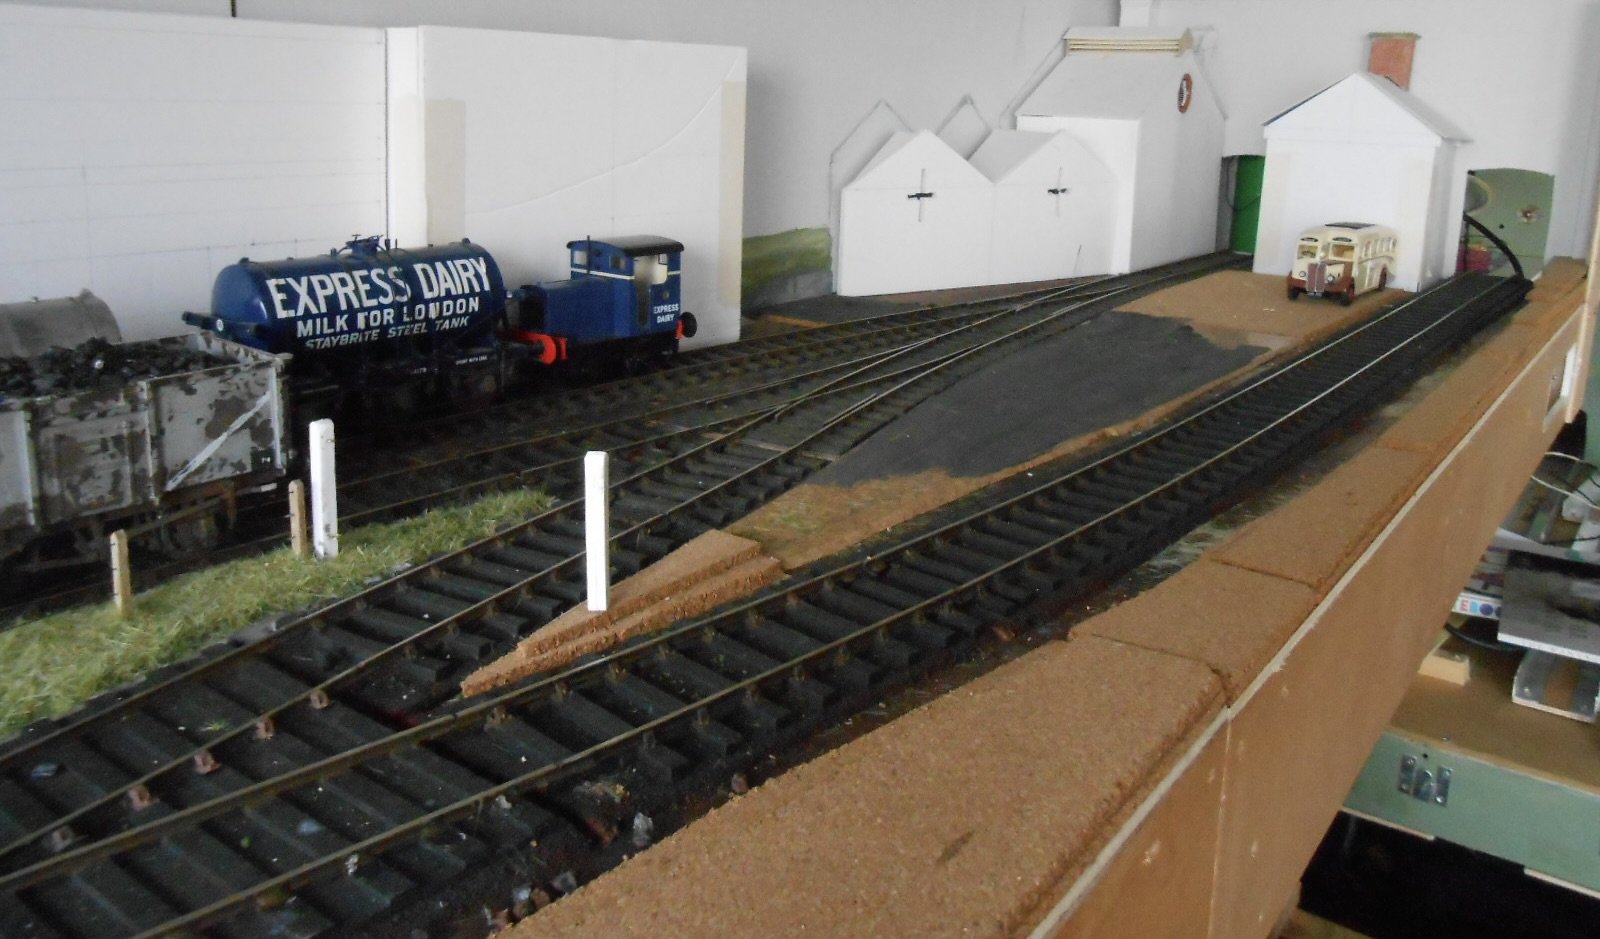
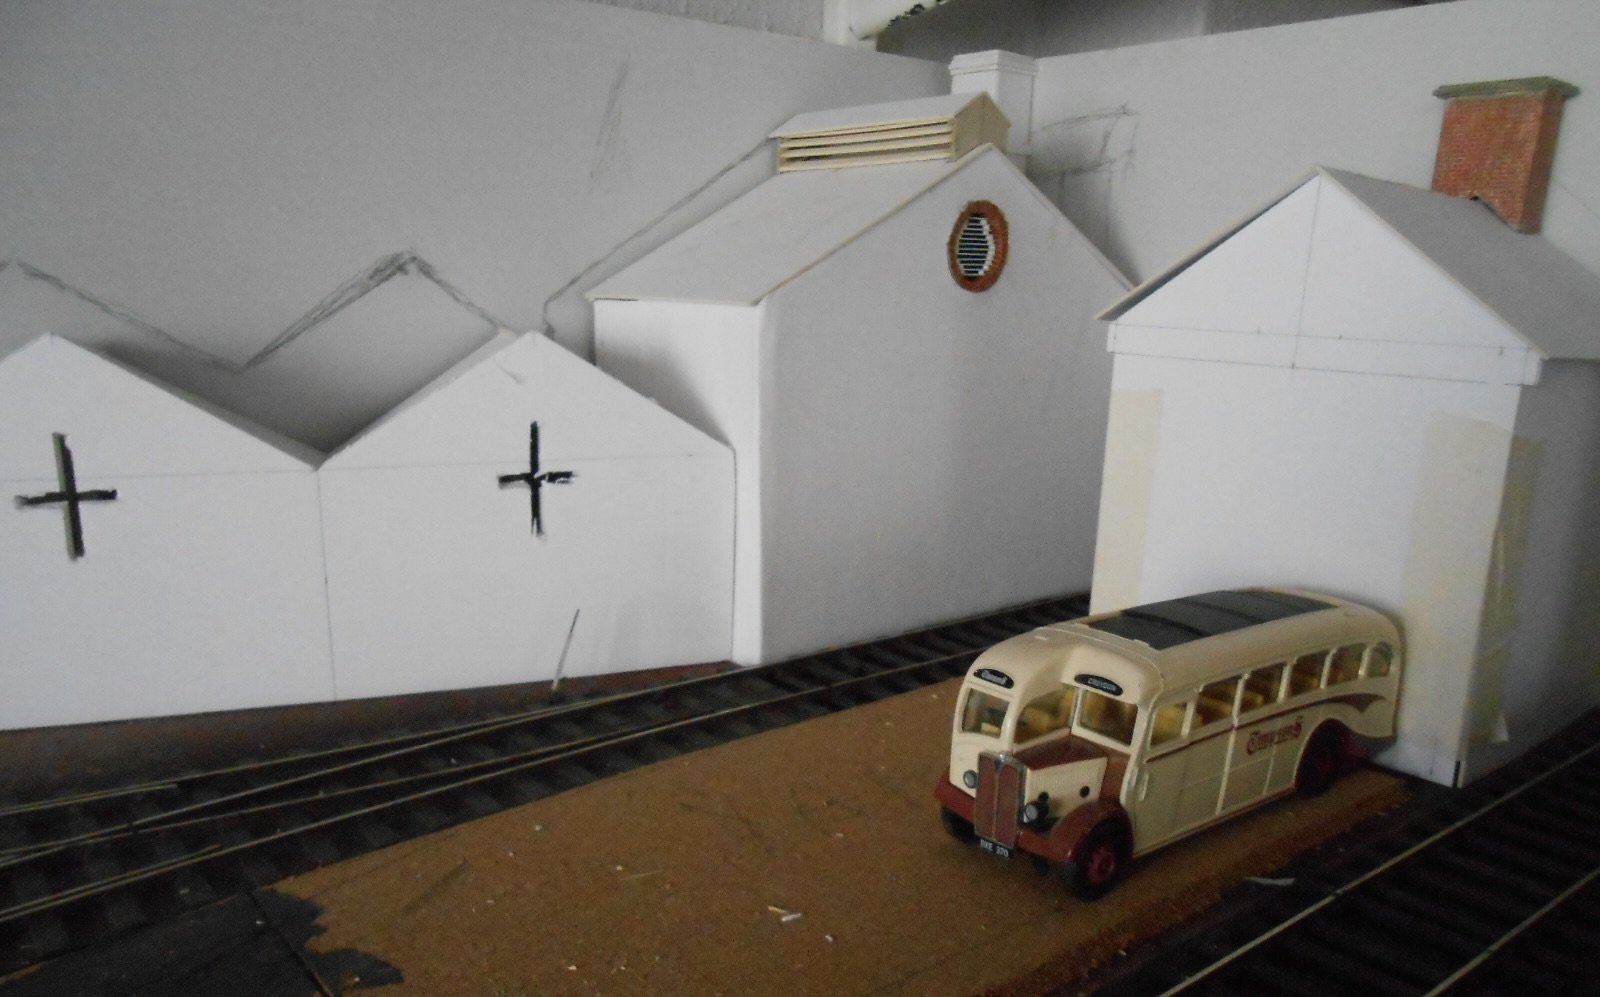
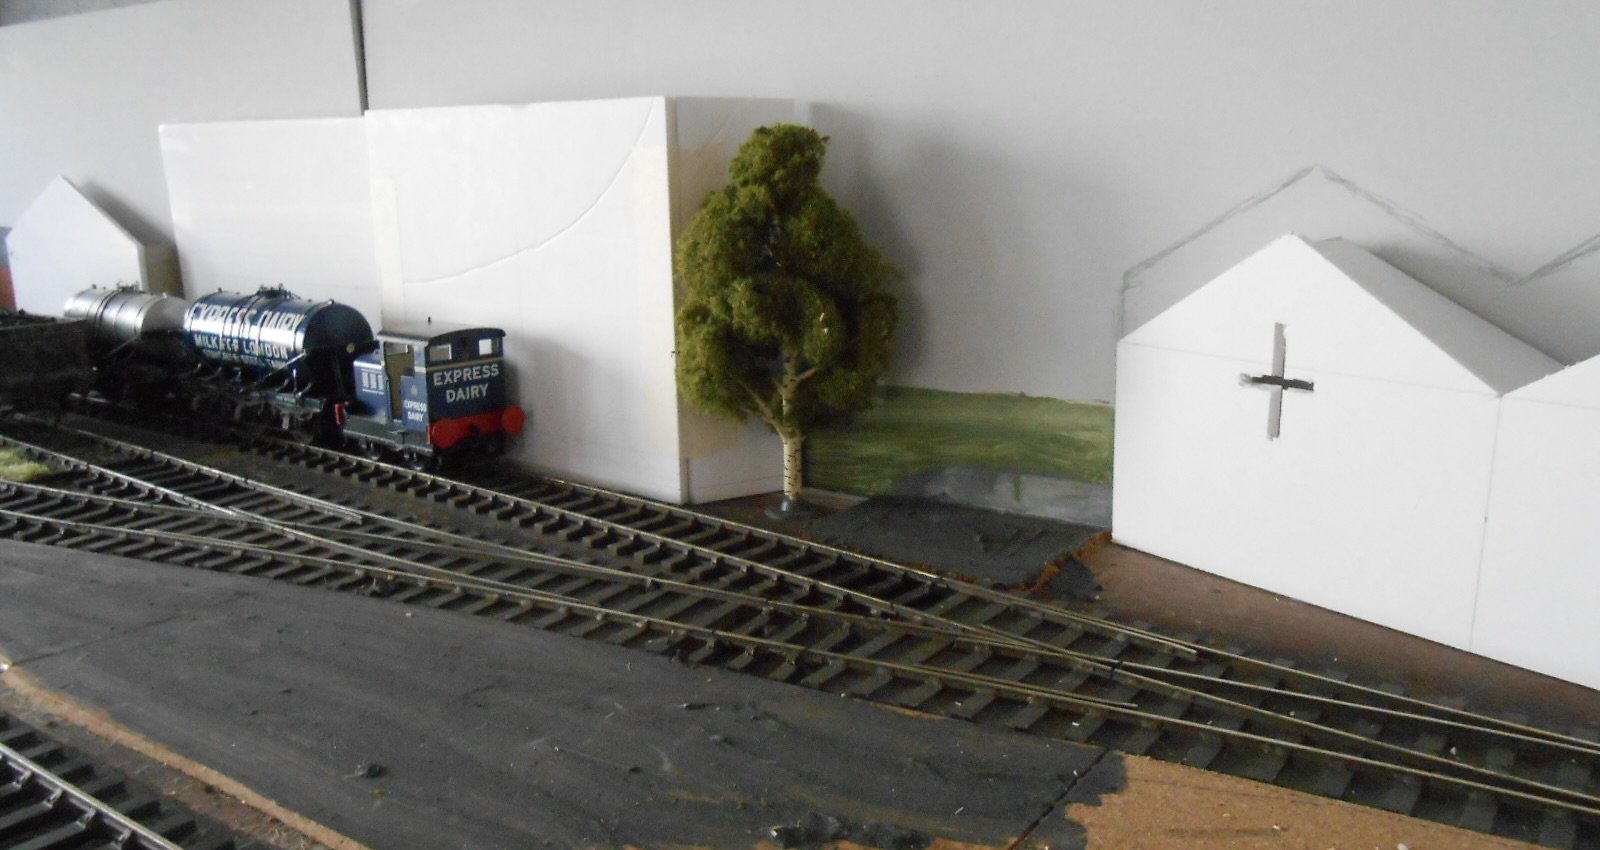
It's been a while, but as you know, I've been busy on other stuff. However, with other projects [mostly] out of the way, it seems a good time to get back to my British outline stuff. The layout is the first thing I see when I go into the workshop, so it has never been far from my thoughts & indeed the general rationale has been something I've thought about a lot. The middle section was hoped to be next, but with the reprint of Milk on the Rails not due to come out until the autumn, the focus has changed from the dairy to the right hand side & what may, or may not be a gas works. Inspiration here comes from the Wantage Tramway, where the line from the town terminus sneaked out past said affair. The furthest building is the retort house, though not sure what the nearer ones are, while the aerial view , below, gives the general picture. My concern is, would a dairy be set up quite so close to such a smelly establishment? If not, then the buildings might just as easily be repurposed as an engineering firm, though I think my time period of late 50s/early 60s might be a bit early for the change from coal to natural gas. The next picture shows the left hand half of the layout, with the one above showing where I'm going on the right side. The retort house, with its low chimney occupies the corner. It is a fairly simple building, made from foam board and card, the only slightly awkward bits being the louvred circular window and louvred roof section. As with the other buildings, Howard Scenics embossed card is used for the brickwork. Not sure what the building next to it was used for, but I rather like the unusual cruciform openings in the walls. At the moment, the important thing about these buildings is how they hide the exit to the fiddle yard AND blend into the back scene. I've long had an aversion to flat buildings, that only look good from one angle. Hence, this second building is angled into the back scene to try and hide the left edge. When the dairy gets built, its right end with be hidden by a tree, not the Woodlands specimen shown below, but hopefully you get the idea. Still not sure about the building on the right yet, but the bus might be an option - either a small, private, bus depot, or a local haulier./garage/whatever. All give the excuse to display some of my road vehicles, so why not? The back scene itself clearly needs work, but this was only crudely blocked in, so that is probably the next step, before I finish the two new buildings.
-
"Voiding the Warranty" - Mol's experiments in 21mm gauge
Colonel replied to Mol_PMB's topic in Irish Models
Amen to the above. A chimney or dome slightly out of alignment potentially spoils the whole model. Epoxy gives a nice amount of time to ensure all is in place, while still offering decent strength. -
Interesting - though following Mayner's post, don't think I'll be chasing a 3D printer any time soon. Very much admire the pioneering work going on, but if anyone is interested in a halfway house towards small scale mass production, resin castings can be very good. Have made numerous wagons, coaches and coach seats this way. First you make a master, from plasticard - usually a side and end of the wagon/coach. Next you make a mould of that. This takes 24 hours to cure, but after that, using 2 part casting resin, each part only takes 45 minutes to set. Different skills, but overall found I could create the parts for 3-6 wagons in far less time than it sounds like doing the art work, de-bugging and printing would take.