amdaley
-
Posts
519 -
Joined
-
Last visited
-
Days Won
4
Content Type
Profiles
Forums
Events
Gallery
Blogs
Everything posted by amdaley
-
That's a great way to do it if you live within a reasonable distance from NI.
-
At least you know what's happening to your package. This is what I get. Been that way for 10 days now. I don't think any package has ever been sorted so much Regards. Tony. 27 September 2021 13:52 Your delivery has been sorted DUBLIN MAIL CENTRE, DUBLIN 12 27 September 2021 13:50 We have your post in DUBLIN MAIL CENTRE, DUBLIN 12 24 September 2021 13:59 Your delivery has been sorted DUBLIN MAIL CENTRE, DUBLIN 12 24 September 2021 13:57 We have your post in DUBLIN MAIL CENTRE, DUBLIN 12 22 September 2021 17:17 Your delivery has been sorted DUBLIN MAIL CENTRE, DUBLIN 12 22 September 2021 17:09 We have your post in DUBLIN MAIL CENTRE, DUBLIN 12 20 September 2021 14:37 Your delivery has been sorted DUBLIN MAIL CENTRE, DUBLIN 12 20 September 2021 14:33 We have your post in DUBLIN MAIL CENTRE, DUBLIN 12 17 September 2021 13:13 Your delivery has been sorted DUBLIN MAIL CENTRE, DUBLIN 12 17 September 2021 13:09 We have your post in DUBLIN MAIL CENTRE, DUBLIN 12 17 September 2021 13:08 Your delivery was received by An Post in DUBLIN MAIL CENTRE, DUBLIN 12
-
The usual blah blah so. I've emailed so many Td's & Ministers at this point I feel I know them personally. Too lazy to do the job properly. My local post office clerk reckons they are just taking the easy way out. Tony.
-
Sorry but I thought that your post was stuck in An Post since last Nov
-
Last November
-
Well I bit the bullet this morning & rang An Post customer services on 01 7057600 After 35 minutes I got to the top of the queue. I gave him the two tracking numbers & he told me the first one is being sent back because of an incorrect Customs declaration. Nice of them to tell me. I asked him if there was anything I could do to stop this & he replied no as An Post can't do anything if the declaration is incorrect. I said I thought that when there was a problem that An Post were supposed to contact either the seller or the recipient for information before sending it back. He denied that was the case? The second package has had a customs charge attached to it, which I would expect & he gave me the Customs number as I hadn’t received any notification. Putting in the number it told me that the service wasn't available at present & to try later After lunch I tried again & paid the charge. Now I’ve been on to the seller Kevin Dickinson at Coastal Dcc in the UK & he can’t understand why the first package was rejected as the Customs declaration form CN22 is exactly the same as that on the second package which has got through? He’s going to check with his Post Office & get back to me on it. He’s afraid to send out replacements in case the same thing happens again. The strange thing is that Royal Mail held onto the second package in Heathrow until last Sat before sending it over to Ireland? Maybe something has been sorted out?
-
 I remember those Youghal trains. Packed in like sardines. Spent all my younger days on holiday in Youghal every year.
 -
NCE Mini Panel & SPDT Momentary Switches WANTED
amdaley replied to amdaley's topic in For Sale or Wanted
Can anyone help here please ? -
Think yourself lucky that Hattons didn't use Royal Mail, otherwise you'd still be waiting like a lot of the rest of us
-
I've been told that the matter has been sent as a parliamentary question To ask the Minister for Environment, Climate and Communications if he will investigate issues arising between An Post and Revenue related to the calculation and collection of vat and duties on parcels, and the steps he will take to establish a clear process for handling such issues that avoids parcels being returned to the originator, and if he will make a statement on the matter. I won't be holding my breath but some good might come from it if only to highlight the problem.
-
Hello Everyone. I am looking for an NCE Mini Panel if anyone has one they no longer use or need ? I'm also looking for a quantity of Single Pole Double Throw Momentary switches. If anyone has either please let me know. I will of course pay for them in case anyone was thinking I was looking for freebies Regards. Tony.
-
They still have them but at a premium.
-
Agreed but the problem is that Marks don't have the stuff that people need. I have two packages of DCCconcepts stuff stuck in customs at the moment, none of which Marks even advertise let alone have in stock.
-
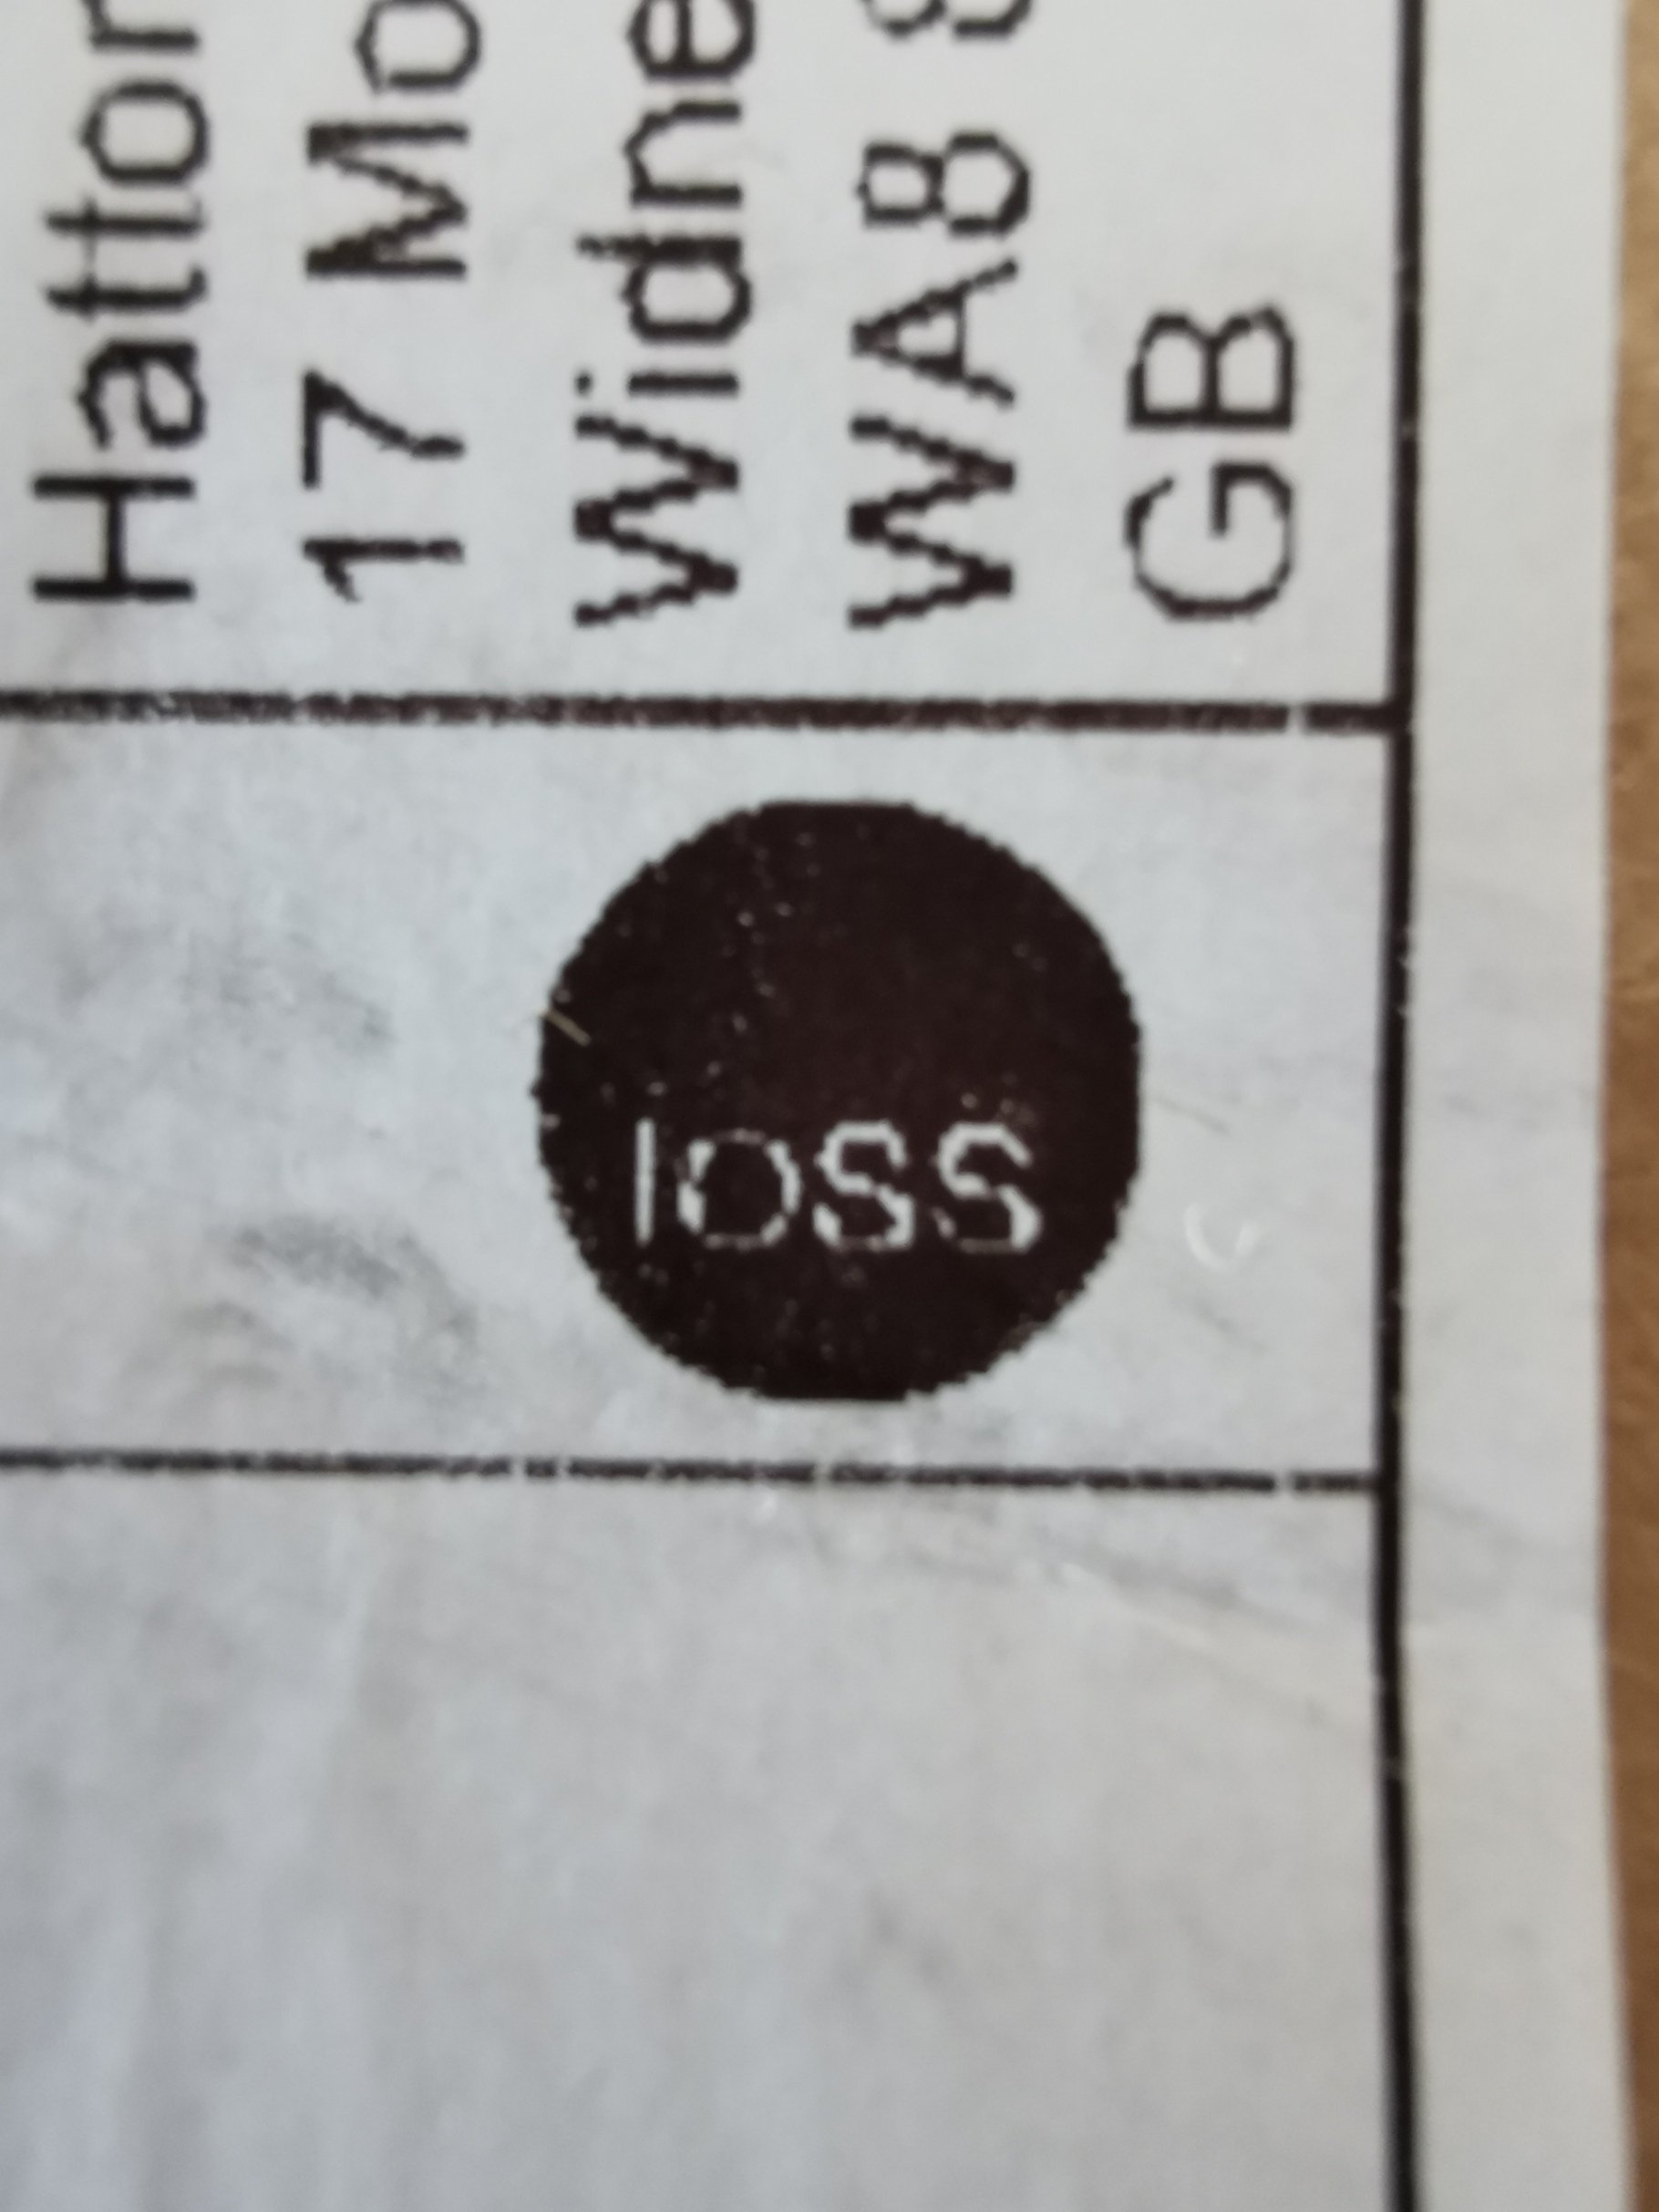
Let us know how you get on with Hattons ?
-
Think Seán needs to take a course on how to deal with the public
-
I got the usual An post message this evening when checking online. 22 September 2021 17:17 Your delivery has been sorted DUBLIN MAIL CENTRE, DUBLIN 12 22 September 2021 17:09 We have your post in DUBLIN MAIL CENTRE, DUBLIN 12 I've now sent the following email to my local Td's & Councillors as well as Michael Martin, Eamon Ryan & Mary Lou McDonald. Nothing may come of it but at least its worth a try. Hello *****. Would you please contact someone in An Post & tell them to get their act together. People all over the country are waiting for packages & parcels which are stacked up in Dublin 12 & elsewhere because An Post isn't following the customs rules regarding declarations. "Customs explained that An Post is responsible for entering customs data and collecting vat and duties due on behalf of the Revenue, but also responsible for contacting the sender or person receiving the package to make any necessary amendments if there is a problem with the electronic customs declaration transmitted by the sending postal authority to An Post." Instead of contacting the senders or recipients An Post is sending packages & parcels back from where they came. It's even happening to people who have paid the Customs Vat & the An Post charge. Regards. *I would urge everyone to contact their local TD's on this matter.*
-
Where I live in South Kerry we have a fantastic postman John who never misses a beat. When I moved here about 15 years ago someone sent me a birthday card but didn't have my address. They wrote my name & the town where I live, that's all Credit to our postie he found me with the card. I wish the rest of An Post staff were like that
-
This message appears on the Royal Mail International incidents update site. https://personal.help.royalmail.com/app/answers/detail/a_id/5317 Start date: 16th September 2021 Latest Update: 16th September 2021 End date: Ongoing Incident: Customs delays Latest Update We’re sorry for the disruption some customers are experiencing with some services to Ireland at the moment. This disruption is being caused by the implementation of new import controls which are resulting in the return of some items by the Irish Customs authorities. Royal Mail remains in discussions with our postal partner, AnPost with a view to help identify new processes that could improve the flow of mail items into Ireland and reduce the return of items. In parallel, we have a number of potential alternative services business customers may want to use to post to Ireland including Click and Drop .. We’ll provide further updates to customers as we have them. This is the message I'm getting for one of my packages from the UK on An Post site. My second package is still in London I believe because Royal Mail won't forward it here because An Post can't get their act together. Christ what a country we live in 22 September 2021 17:09 We have your post in DUBLIN MAIL CENTRE, DUBLIN 12 20 September 2021 14:37 Your delivery has been sorted DUBLIN MAIL CENTRE, DUBLIN 12 20 September 2021 14:33 We have your post in DUBLIN MAIL CENTRE, DUBLIN 12 17 September 2021 13:13 Your delivery has been sorted DUBLIN MAIL CENTRE, DUBLIN 12 17 September 2021 13:09 We have your post in DUBLIN MAIL CENTRE, DUBLIN 12 17 September 2021 13:08 Your delivery was received by An Post in DUBLIN MAIL CENTRE, DUBLIN 12
-
A thing about sending stuff anywhere more like
-
Only ever dealt with them once & never again
-
Trust Olivias to try something
-
Doesn't always work that way. I had two large boxes of cat litter coming from Amazon through DPD because of the weight. Both got stuck in the DPD depot in Athlone. The first one went from DPD to the Customs Office three times before it was released. It took so long that I had already received a refund from Amazon because they thought the box was lost. I received it about two weeks later, plastered with "Released from Customs" stickers. The second box came through in about a week with no stickers. Perhaps they had learned from the first incident ? The Mrs & I have never had an Amazon package not turn up when sent through An Post. Maybe we're just lucky.
-
Its total hit & miss with them especially when it ends up in the black hole that is the Dublin Mails Centre I have a registered package coming through at the moment & it looks like its playing a round the houses game. How many times does a package have to go through there before its eventually free ? My package arrived there on Friday & its already been sorted twice. Maybe Broithes tracker dog is on holidays
-
Yea that's it.

-
Hopefully but as other have said. Some are stopped & some get through. We'll see.