islandbridgejct
-
Posts
212 -
Joined
-
Last visited
Content Type
Profiles
Forums
Events
Gallery
Blogs
Everything posted by islandbridgejct
-
New 4mm kit released. Great Southern Railways Class 800 "Maedhbh"
islandbridgejct replied to Weshty's topic in News
Excuse my ignorance. Ain't she a beauty? -
I've just seen Garfield's Longford signal box with red woodwork from the 60s, so I must be wrong about the colouring. I don't remember when the grey was introduced: as a kid I thought woodwork had always been grey.
-
New 4mm kit released. Great Southern Railways Class 800 "Maedhbh"
islandbridgejct replied to Weshty's topic in News
Maybe someone should restore it and convert it to 5'6" gauge and run it in Spain. Then we could all go out on our holidays and say, 'she used to be one of ours'. Or just send it to Queensland, or was it NSW? (Light the blue touch paper. Stand well back...) -
I saw a picture somewhere - I think it was Des Coakham's carriage book - of a clerestory restaurant car between 2 railcars. It looked a little... unusual. Alan
-
A deck that close to the line is usually called a platform.
-
http://www.myhome.ie/residential/brochure/1-3-cappagh-bungalows-cappagh-lane-ninth-lock-road-formerly-lucan-newlands-road-clondalkin-dublin-22/2453937 Saw this in today's property supplement. Ideal home for a modeller. You get: - A house within spitting distance (literally) of the Cork main line - A 2nd house beside it, for your model railway - A 3rd house for SWMBO to retreat to when the trains all get to be too much - All for €100,000. Bliss.
-
Two platforms were usual, but Clara is a good exception. Tullamore also had only one platform until it became part of the main Galway line, when the 2nd platform was added. Until then, it had a substantial goods yard opposite the platform. Generally, if it's a passing point on a passenger line in CIE / IE days, it needs 2 platforms. A terminus only needs 1. Ballinasloe is a good example of an ex-Midland station still with a passing loop. Millstreet is a modern single platform station from the GSWR. It used to have a 2nd platform up the middle, but this has been removed and the track realigned. Banteer and Rathmore still have both platforms and a passing loop. On the DSER, 2 platforms were the norm at passing points. Rathdrum was unusual in being signalled for trains to use the right hand loop. The left hand loop in the down direction led onto a falling gradient, whereas the right had a level headshunt, so there was less risk of a runaway. The norm for the GNR was 2 platforms, again with exceptions. Your station looks like a former junction, with a bay behind the platform, now lifted. If so, the majority of the points would have been at the branch end, so the signal box should go there. Other general rules for signal boxes is to locate them beside any level crossing, to operate and supervise it, and generally they go at the end of the platform. DSER boxes were generally accessed off the footbridge. Nice looking station. Don't forget to repaint the woodwork. Under CIE, doors and woodwork were grey with occasional bits of black or white. From about 1985-6 a deep green was used, at least for mainline stations, and there was a deep blue too at some point. I have a photo of Malahide in dark and light blue - it looks awful. I've lost track of what colour they are now - mostly galvanised where I am. Regarding platform length, the down platform in Malahide was about 6 carriage lengths, while the up platform could handle a 9 coach train. They were rebuilt for the DART so now the signal box is mid-platform, but it used to be at the end. Platforms on the Mayo branch were only about 3 coaches long in the 80s - I once got off at Castlebar airfield rather than in the station. Alan
-
Very interesting, and interesting information about the resin too. I had always thought that resin and styrene were less hazardous than white metal, which I'm trying to avoid using. Is there a working temperature range for the rubber mould? Prince August do a lead-free casting alloy and, if it could be used along with a non-hazardous mould, it might provide a route to non-hazardous casting. Nice result on the wagon casting. Alan Edit: Also meant to say that's a great explanation, and makes the whole thing clearer than other explanations I've seen in MRJ. Thanks.
-
Stunning work. Alan
-
Solebars on Goods Wagon Bodies
islandbridgejct replied to Glenderg's question in Questions & Answers
Sorry I'm slow getting back on this. Drawings show 4mm iron solebars on Midland wagons from the late 1890s. GSWR ones seem the same. If you want to measure one, the wagon under the crane at Mallow is a standard GSWR underframe on 3'6" wheels. For CIE 4 wheelers, the older ones seem to have narrower frames. Alan -
Solebars on Goods Wagon Bodies
islandbridgejct replied to Glenderg's question in Questions & Answers
There's a drawing in Ernie Shepherd's book on the Midland that shows them at (I think) 4mm. I'll check up when I get home and see if I can find anything else. I'd imagine John could help you in relation to more recent stock, given his 20ft container flat kit, but they look similar to me. Alan -
I was measuring it on Google Earth a while back, and reckoned 6m x 2.5 would take you from the tunnel mouth to half way through the shed, so you should be able to do it without too much compression. Would love to see the track plan when you finalise it. If you used the Cobh platforms to represent the other end of the line (can't remember where it goes to at the moment), you could send trains to yourself. Alan
-
Not even a bit. Very realistic. Maith thú. Alan
-
Lovely looking cement wagons.
-
The 001 and the shed roof are magnificent. This is going to be one hell of a layout. Any chance of a pic of your roof press tool? There've been a few accounts of using foil for corrugated roofs on here, and I'm hoping to use the technique on my GSWR convertibles. Would I be able to curve it to shape after laminating and pressing the corrugations in? Or would I be able to corrugate it after curving it? Alan
-
Lovely video there, and thanks for the link. Very interesting about the brake van liveries. As for the railcar numbers, I hope I didn't sound critical above - I've a terrible tendency to make suggestions. I'm sure I'm going to end up as one of those cranks who says, 'you've missed out a rivet on the tender there: there should be 13 and you've only got 12." I really admire the way you're focusing on getting the overall picture right, and getting the trains up and running. Alan
-
Well, I'm cock-a-whoop this morning because last night I completed my crossover and it works! I'm attaching, hopefully, a short video of me pushing three wagons over and back. The idea was to whizz them as fast as possible and see if they fell off. They didn't. Next up, wire it up and supply power and changeover switches for the frogs. Then convert one of Mr Murphy's nice 141 class to 21mm gauge and see if it can manage the crossing. Then try to figure out how to make the Alex Jackson coupling. Then see if my 141 can shunt a wagon or two across. Alan
-
Nice work with the scratchbuild. Looking forward to seeing her finished and painted. Alan
-
I love the long sweeping curves and uncrowded station layouts, and the scenic work is first class. A couple of points to note. You might want to renumber that railcar: they were renumbered into 6101 series when the engines were taken out and after that they worked push pull with B201 class between Bray and Dundalk. You might want to check whether the white band on A58R should be a bit thinner and more rounded - it looks a bit too triangular, but I could be wrong. Finally, did you repaint your bauxte brake van grey? I thought they were always in bauxite myself, but others on here would know better than I do. Cracking layout. Looking forward to seeing more of it. Alan
-
Murphy Models 071 - New, detailed pre-production photos added!
islandbridgejct replied to Admin's topic in Irish Models
-
Is that part of the District Line?
-
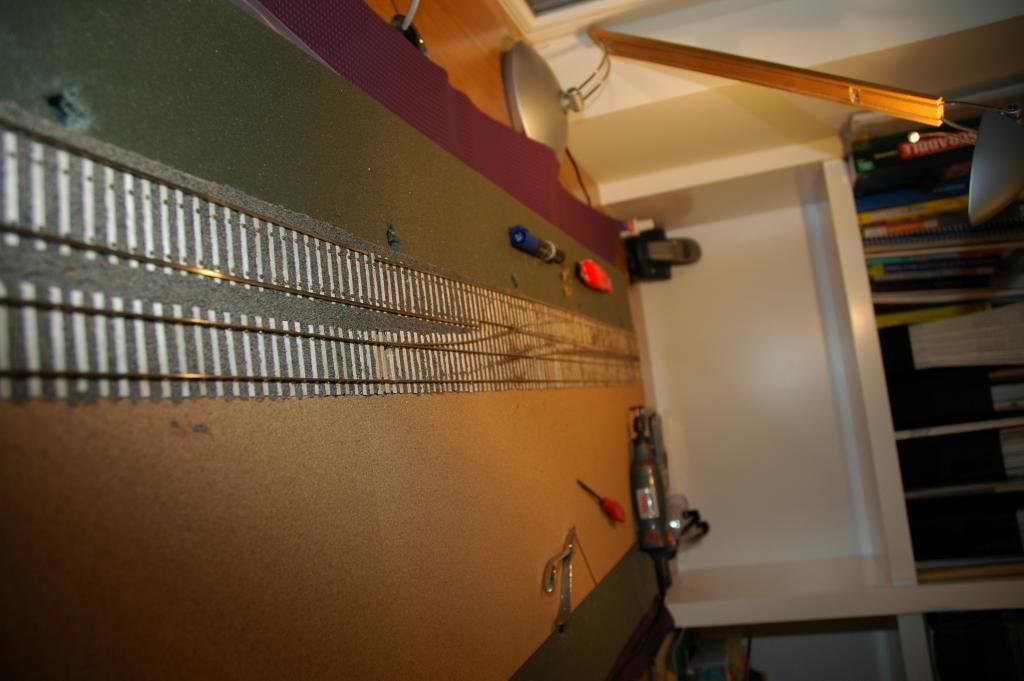
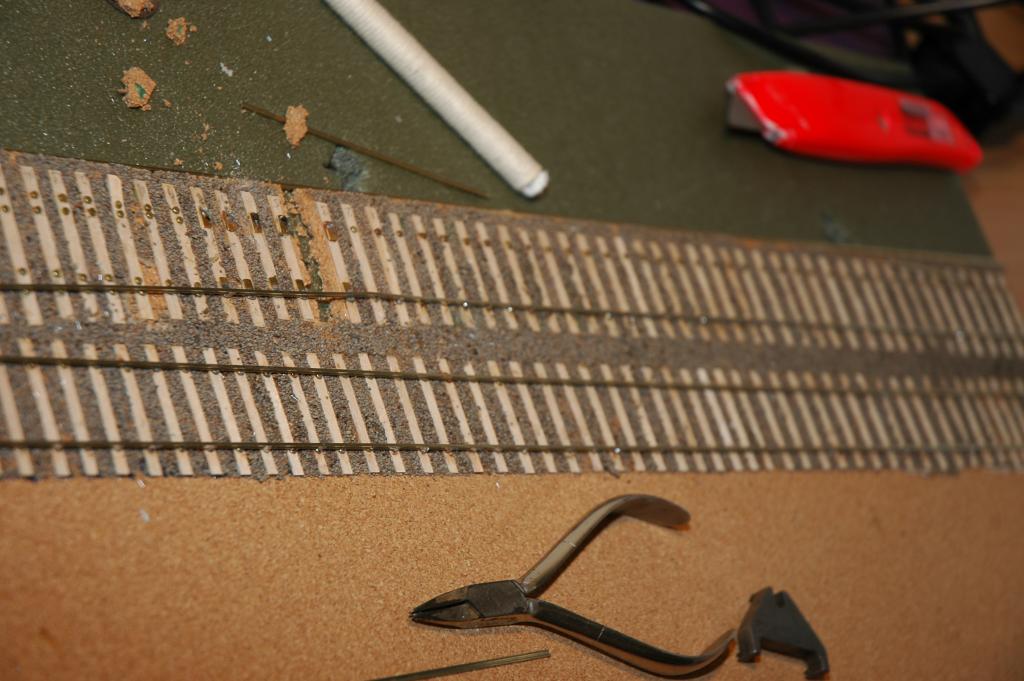
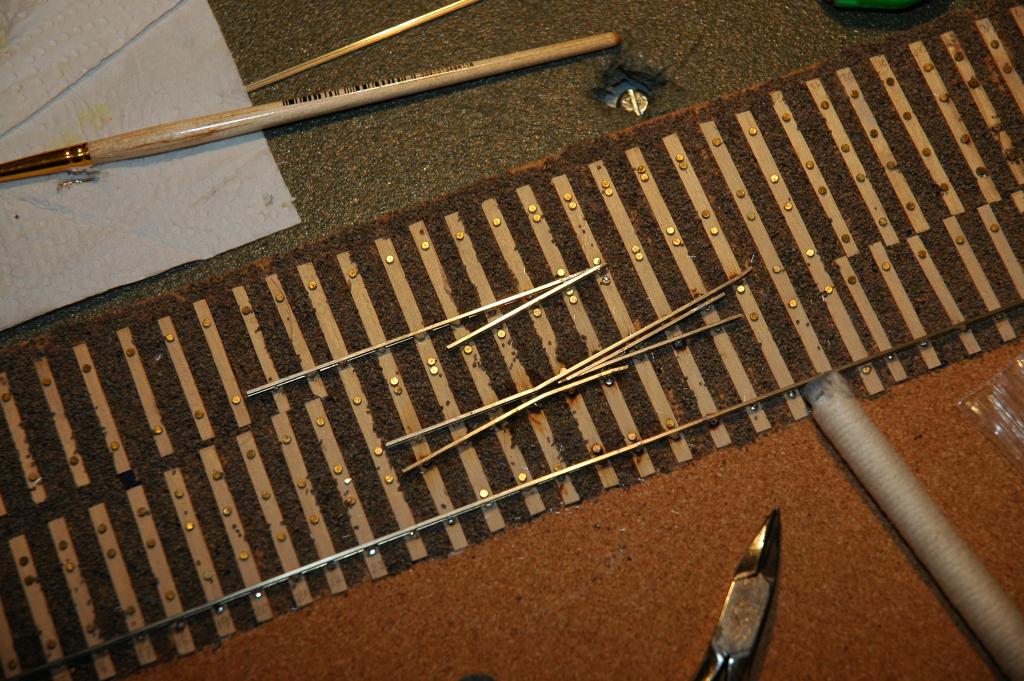
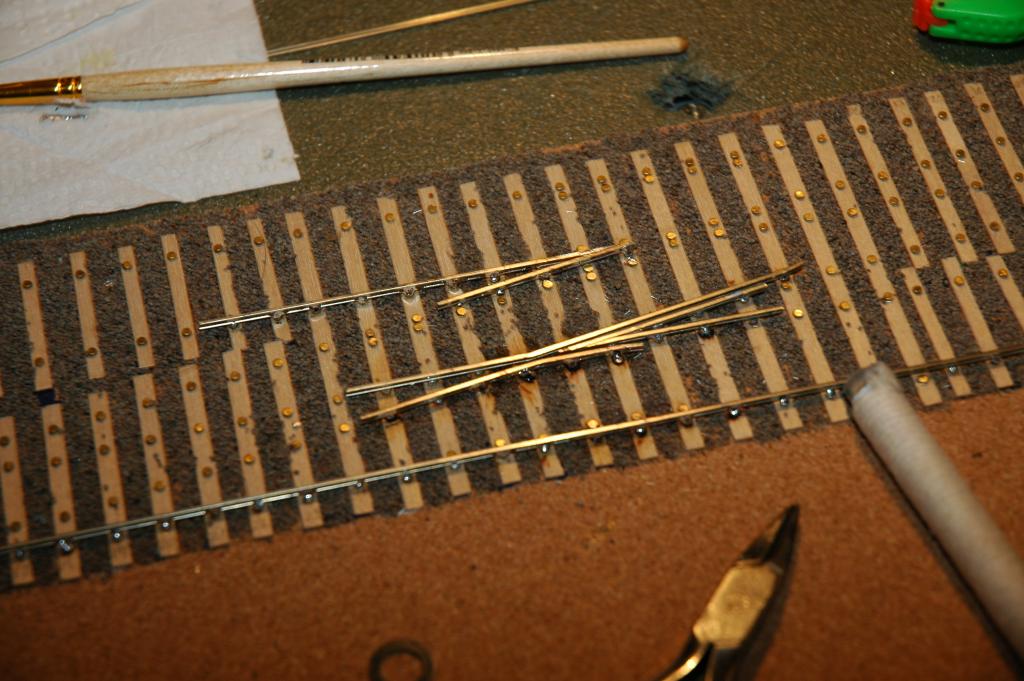
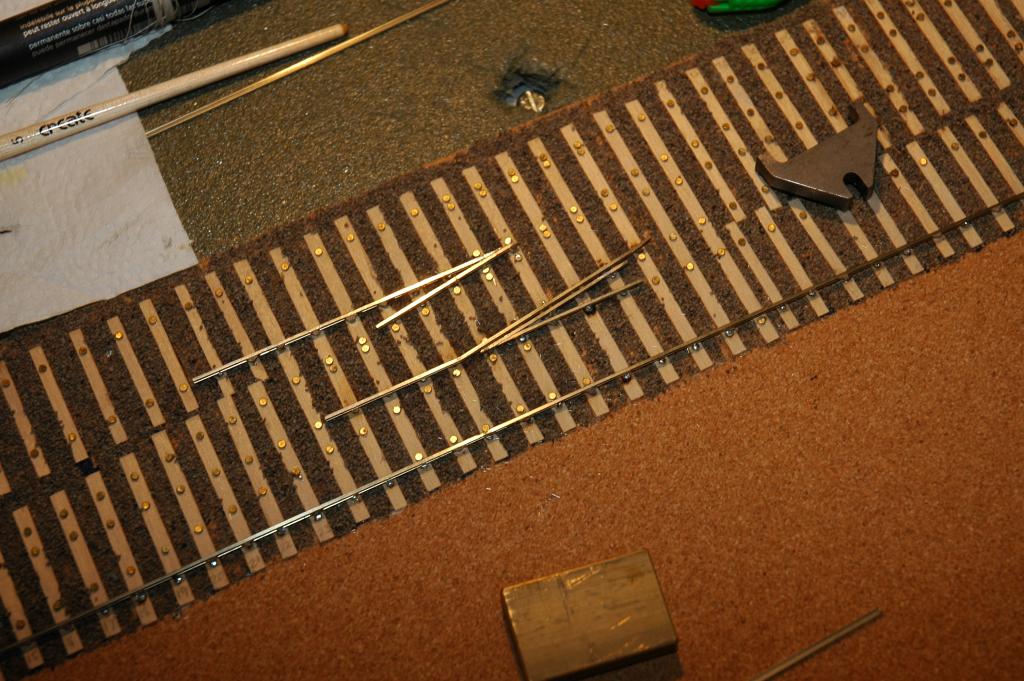
Thanks John, Bosko and Rich. John, I haven't forgotten that 24mm would be too tight for a curve, but this section is purely straight, and I can ease things out on curves. I hope that will do. I'm itching to get back and do a bit more, but had to work late this evening, so it'll be the weekend at least before I can get more track down. Here's a few pics that failed to upload at the end of my posting session last night. (Incidentally, does anyone know why the site has turned them on their side: they display right way up on my computer.) 1st, one running line complete. 2nd, gouging a hole under the sleeper that will move the turnout. 3rd, fettling the joint between the stock rail of one turnout and the point rail of the other, because I hadn't soldered them in line. 4th, making more holes in the cork underlay. Alan

-
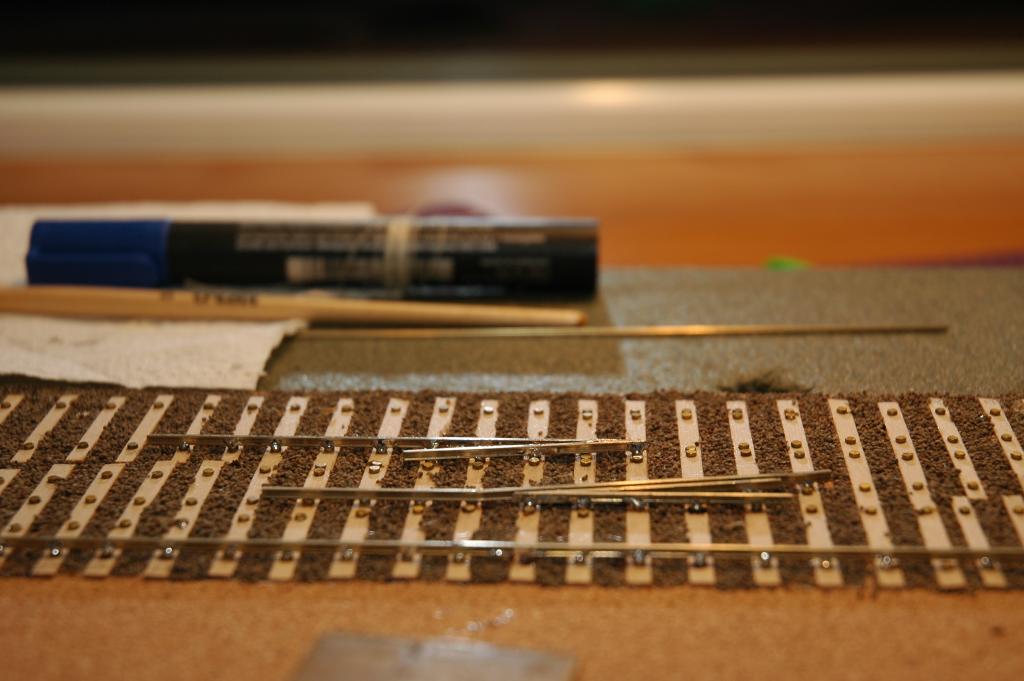
Next up is the other closure rail. Not so successful here. This one will need to be adjusted as the alignment is wrong and the clearance is too loose. I'm having trouble getting it off though. (I think I may need to rephrase that: the rail is reluctant to allow itself be unsoldered.) Anyone for the last few choc ices there?
-
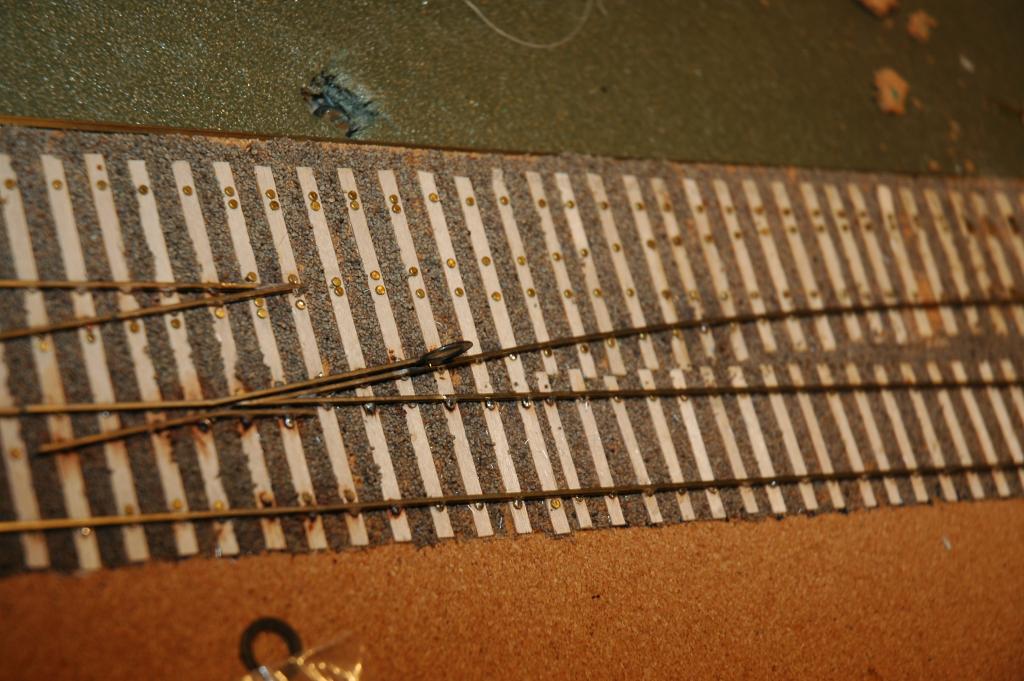
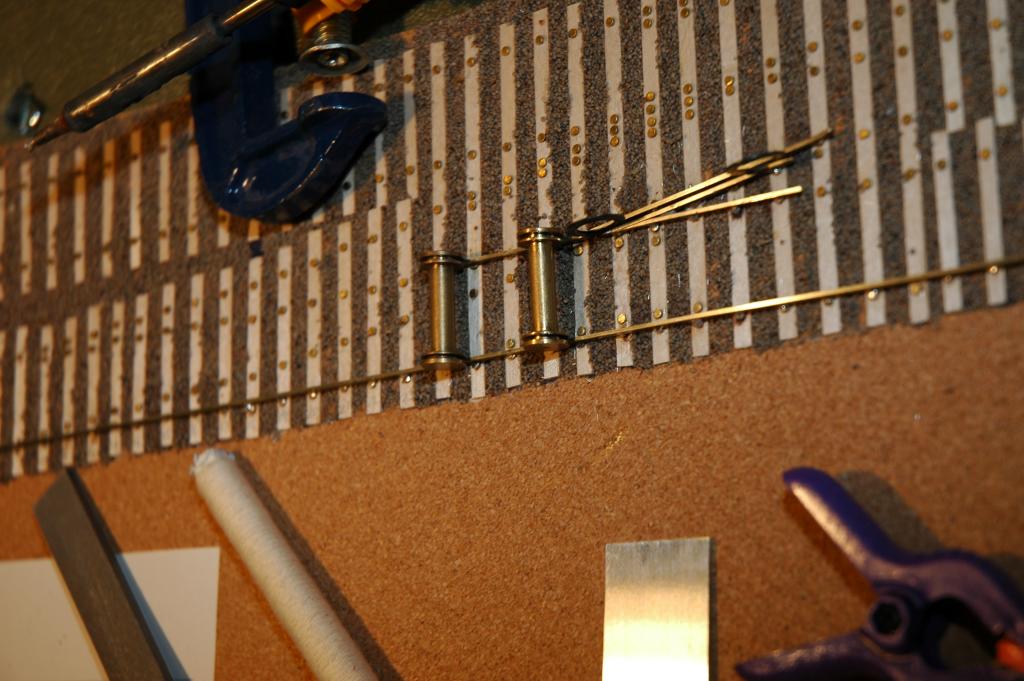
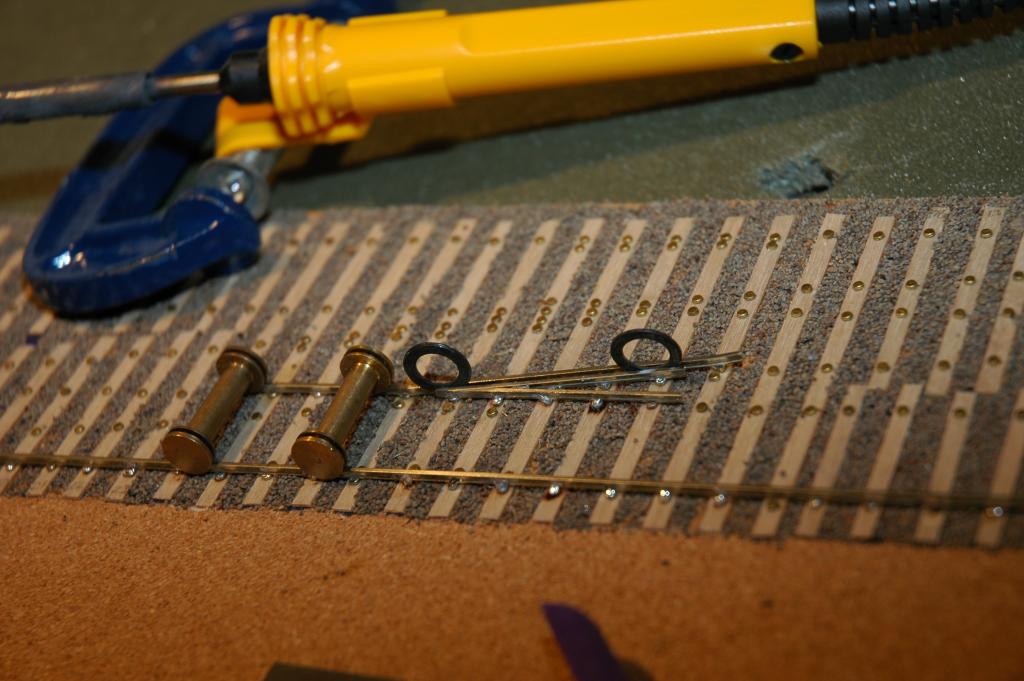
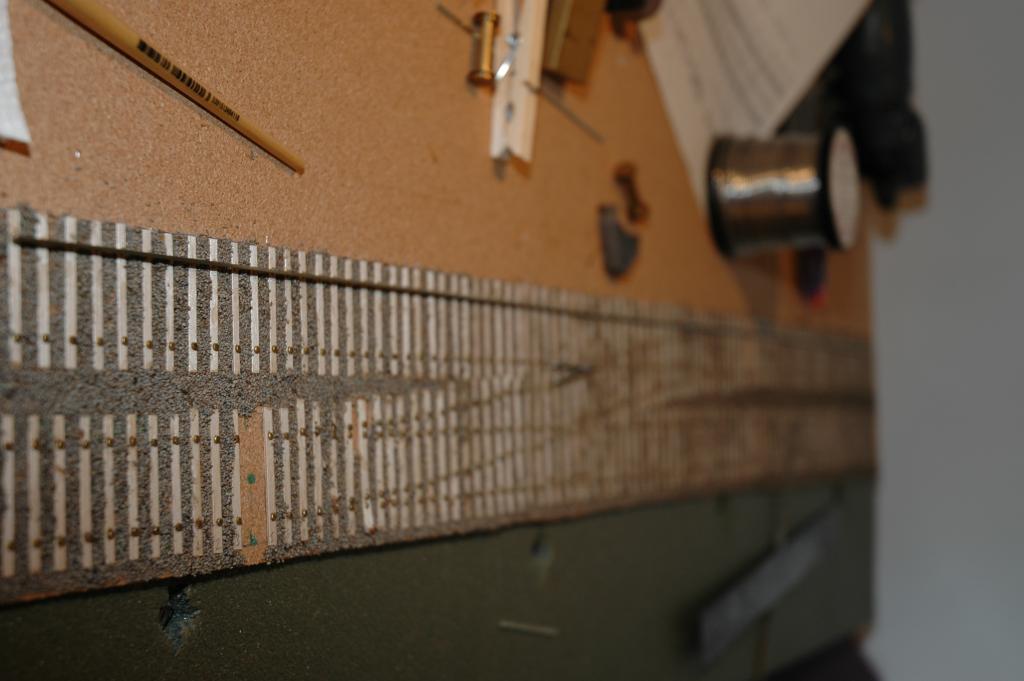
Hmmm, very poor depth of field in that last one. Moving on again, I next tried fitting the closure rails. Gauges in use to maintain clearance, and trying to get a good alignment. One worked. I'll have to go back and sort out the other.
-
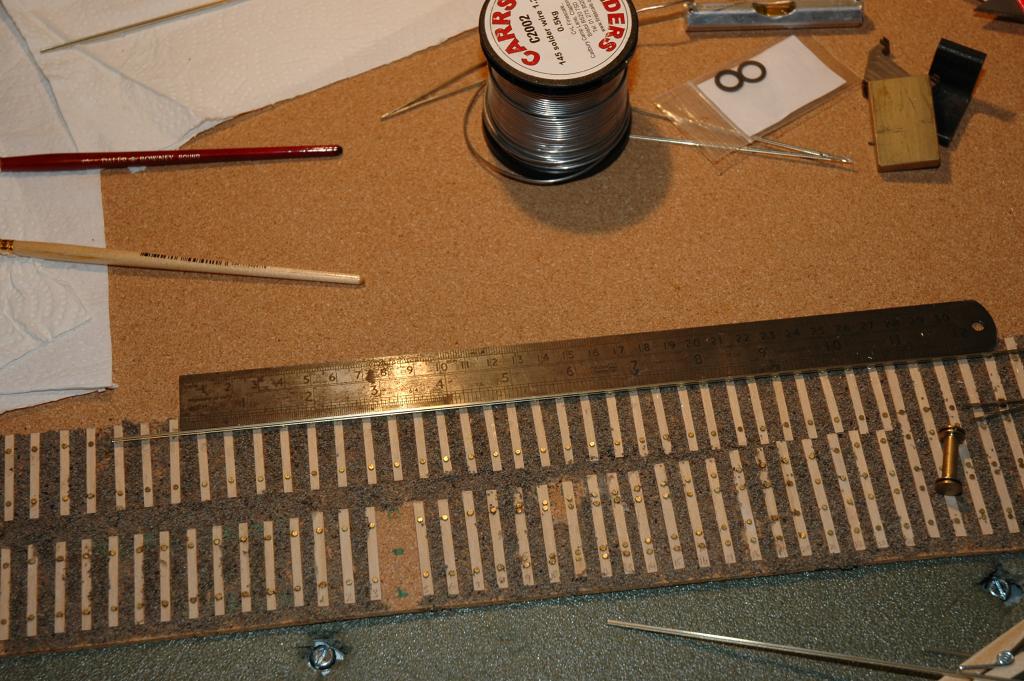
After that, it's time to lay the straight. I used a ruler to get it straight. It seems to have worked. I've a bit of a horror of the wiggly look you sometimes get when the rail is poorly laid. I keep expecting to look at it and go, "oh boll*cks."