
Georgeconna
-
Posts
2,713 -
Joined
-
Last visited
-
Days Won
31
Content Type
Profiles
Forums
Events
Gallery
Blogs
Everything posted by Georgeconna
-
00 Gauge Skaledale buildings and other bits
Georgeconna replied to Paudie Riordan's topic in For Sale or Wanted
Paudie, Can you bring the T/penny one down to Camden, Might be interested in that bud. -
Planes, Trains, RC Boat Pond. Plastic Kits, Diecast, Reenactors and Enactoresses and traders. Great day last year, piccys here: http://irishscalemodeller.com/forum/viewtopic.php?f=9&t=2818 Much more than a model show. Come see the Secret Passages etc. http://www.camdenfortmeagher.ie/
-
CIE gave me rates for containers to Cork back in the 2000's, These would arrive Dublin port and be transported by rail to Cork. I was all excited till I saw the Rates. Completely out of kilter and not competitive with road. Container trains to Cork pointless as we have feeder Vessels into Cork from Rotterdam that the Truckers collect and deliver around the Munster area. There would be no point in Railing these from Dublin to Cork as it would mean extra time and cost. Why don't you get your containers to come into Cork Port and not Dublin? It would be great if this did happen as I have a Fab view over the Marina from the office but as it was said earlier on it most likely is all PR Spin.
-
check out the F-22 At IAT , Excellent display when we were there. The Tiffie looks tame compared to it!! the '58s were always a Sexy beast.
-
2 things for Me -- VIGGEN & DRAKEN !!! Cricky looks like a Fair bit of a Walk from the Station to Schools road, Cant see the Missus and sprogs doing that!! 1.5 hours walk to and from the prom. We'll see.
-
Excellent, Thats the Airshow weekend so will be able to make that now!! Sweet. http://brayairdisplay.com/
-
LOL, Thats Funny.
-
Photographic Website Updates
Georgeconna replied to thewanderer's topic in Photos & Videos of the Prototype
That belmond loco, Is that colour scheme the actual finished Article? -
With you on that one. Plus no VAT on Purchases if they go out of the EU. Potential Saving there also once Revenue don't catch your stuff coming in.
-
Emerald Isle Steam Tour
Georgeconna replied to Sulzer201's topic in What's happening on the network?
Heard from the Lads it was due to the Steam being allowed to only take 5 coaches out of Cork.They had to drop a coach for the Steam to take the train out of Cork on the Saturday. Some great sights and sounds to be had over the weekend. -
Emerald Isle Steam Tour
Georgeconna replied to Sulzer201's topic in What's happening on the network?
Ta JHB. -
Same here, all sorted ! thanks Guys.
-
Emerald Isle Steam Tour
Georgeconna replied to Sulzer201's topic in What's happening on the network?
Question on this tour. Seen the times on Boards.ie Any one know why it changes to a Diesel for the leg from Mallow to Cork tomorrow evening return leg back to Cork from Killarny The Diesel then hauls it on Sunday from Cork to Mallow on Sunday and then it changes back to Steam? any ideas? -
Emerald Isle Steam Tour
Georgeconna replied to Sulzer201's topic in What's happening on the network?
Cool, This Train is now due into Cork this Evening. Looking forward to seeing a Steam loco again! Leaving Cork tomorrow then for Killarney so no Lie in tomorrow am! Great sight and sound to be had coming up from Rathpeacon. -
Good news so I ordered 4 of the original ones so will avail of mixing up of the new 2, I have a friend who will take the extra pack from me.
-
Removing paint from transparencies.
Georgeconna replied to Broithe's question in Questions & Answers
Freezer bag, Spray on in your Mr Muscle oven cleaner, paint will come off and the glazing will be ok. If the kit is built you can always use some very fine Wet n Dry down to 2000 grade and then clear coat it or cotton bud your over cleaner over it. I have not tried brake fluid but looking at the net advises it could cloud it. G -
Is it in a spray can or tin? Would Vinny not be able to Advise.
-
Cumbres and Toltec Scenic Railroad
Georgeconna replied to Mayner's topic in Photos & Videos of the Prototype
Wow that last shot is Fab. -
Was there a month after the WTC was hit, Had an Airshow itinerary booked but they were all cancelled so went railway & culture instead! Booked the observation open car with no windows, When we reached the snow line things started to get a wee bit cold but a 2 massive 'buckets' of Hot Chocolate save the day. I still have the cups they take a whole kettle of water! Great spot to visit. Loved listening to the radio during my stay there were instead of Traffic watch they had 'Bear Watch' These shots bring back great memories and nice to see no yellow jackets or yellow lines in evidence.
-
Now that is quite something to savour. Top class work. Are those coach side still available?
-
All soldered Des. Between that and filing off the little brass tags to make them sit lever, Sweet lord the mind was nearly gone.
-
Absolutely Fab Dunluce. Shows what can be done in such a smallish area. Love the details. Hopefully we will see this in Dublin in Oct?
-
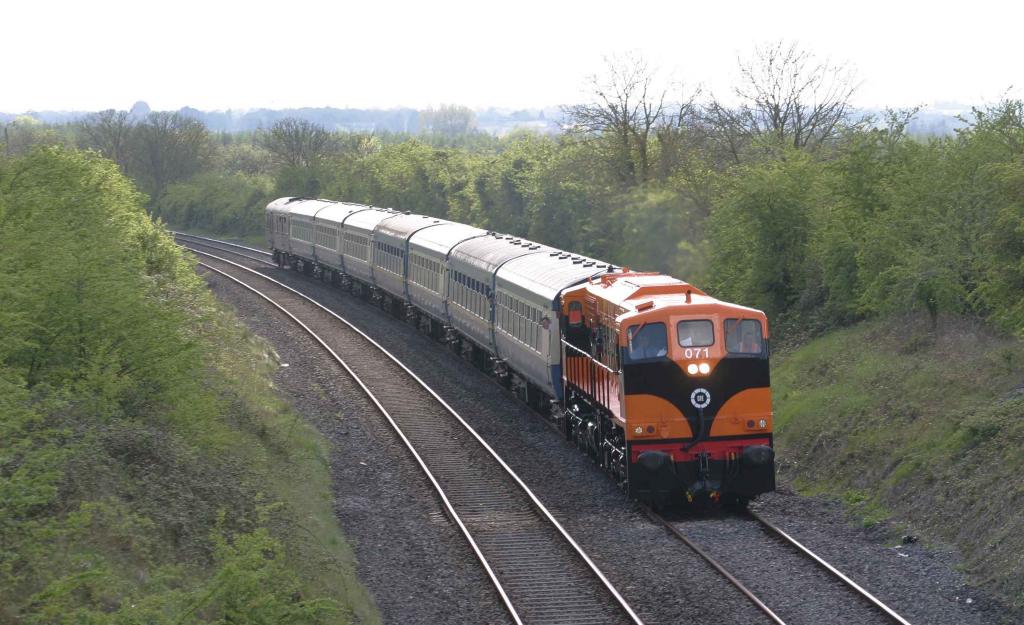
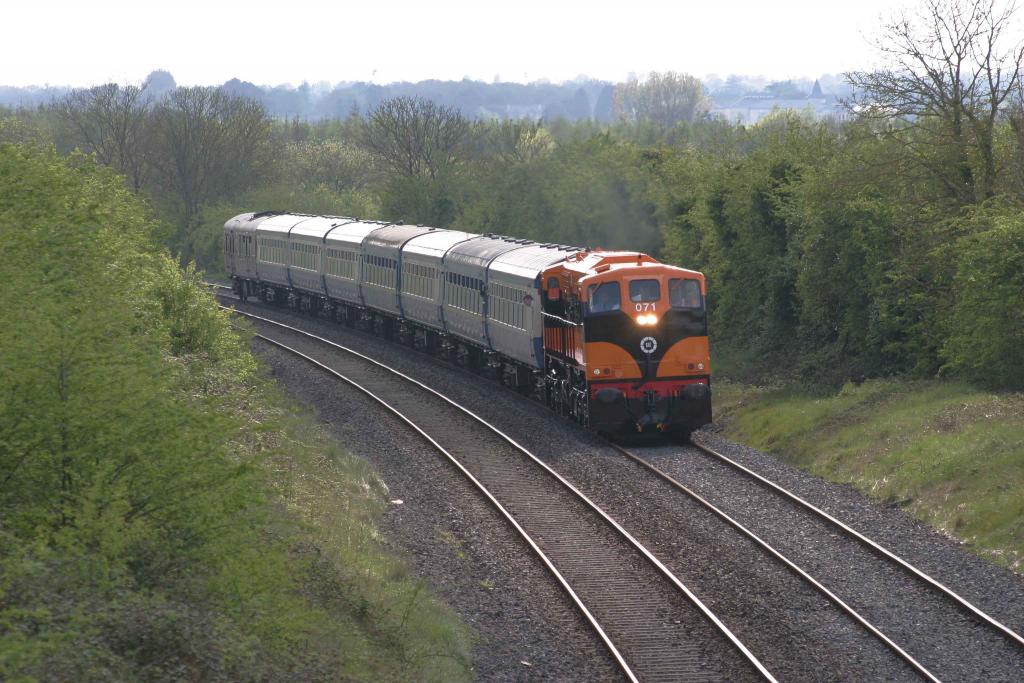
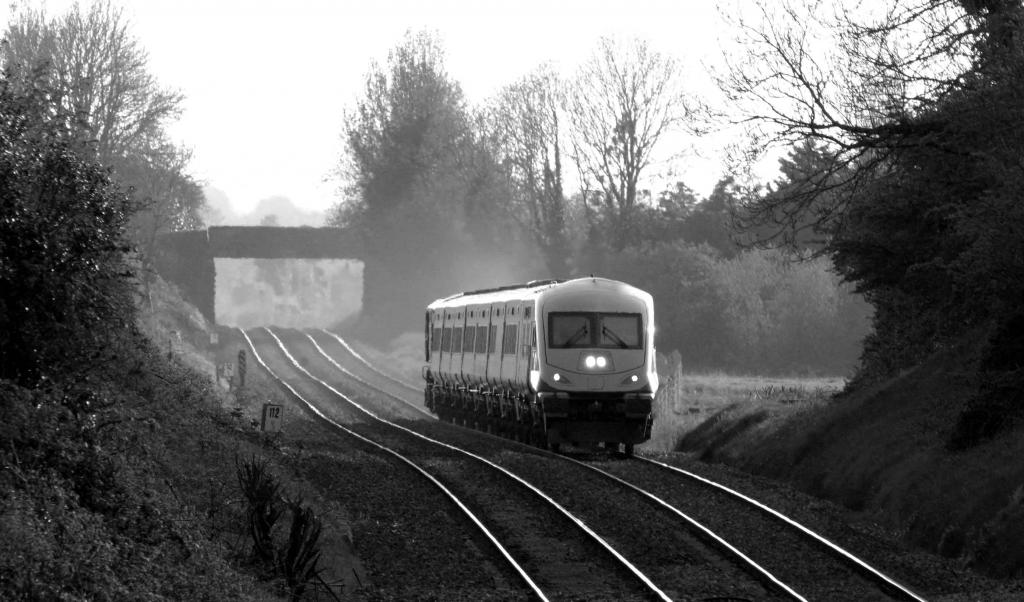
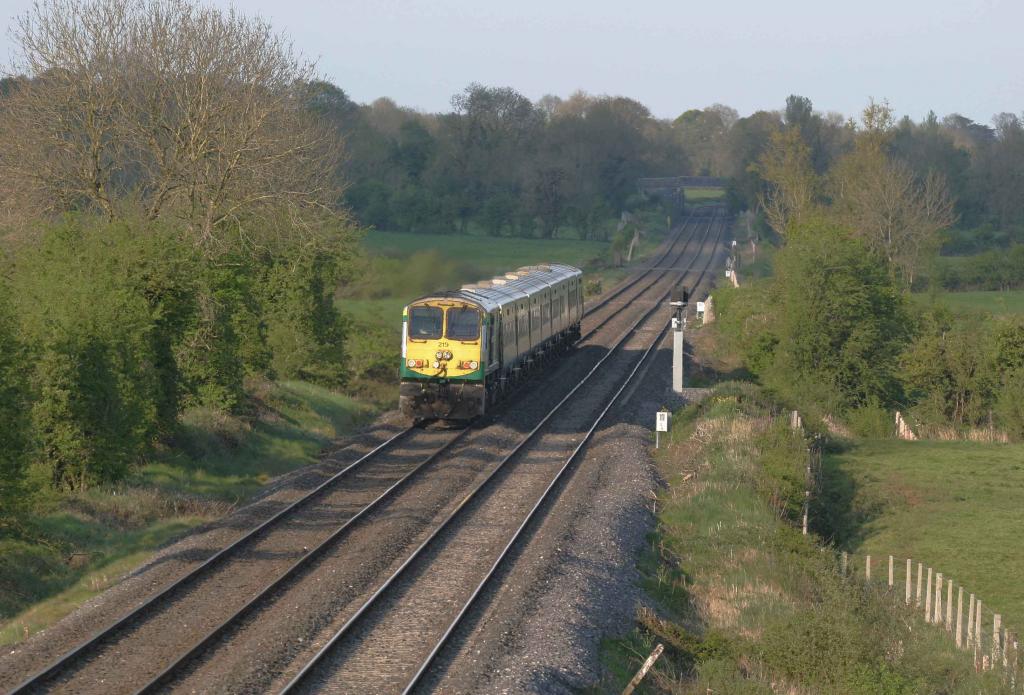
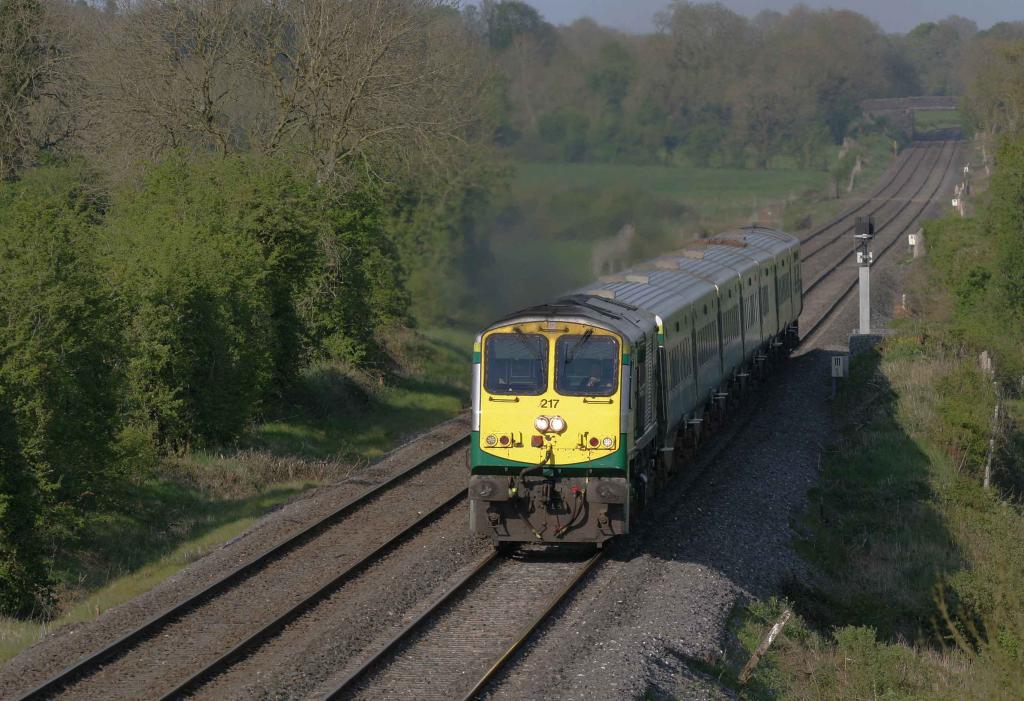
I managed to get a few hours from work to nip up to the Junction the other week. Thanks to a road closure I missed it coming through Tipp town here are pic or two of just north of the Junction. Near Elfin I took these couple that you may find of some viewing pleasure.

-
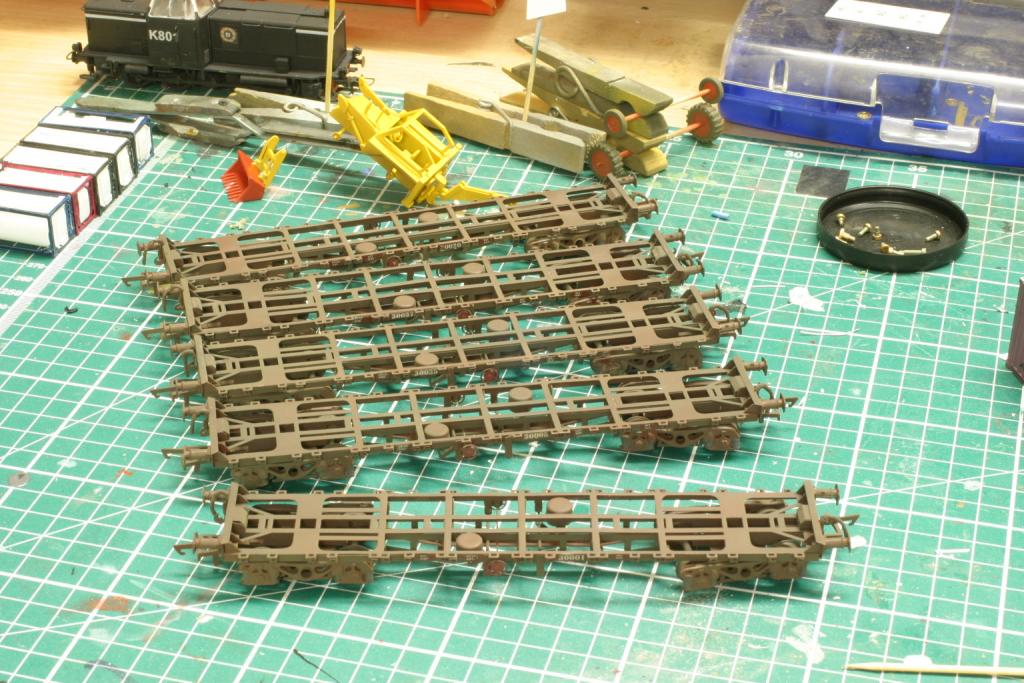
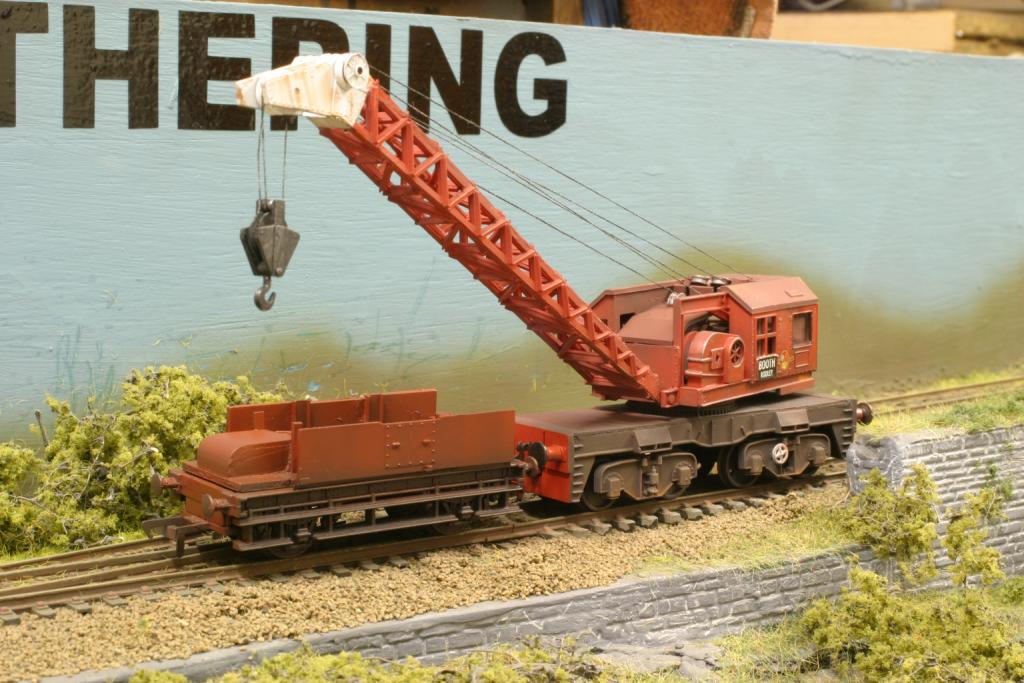
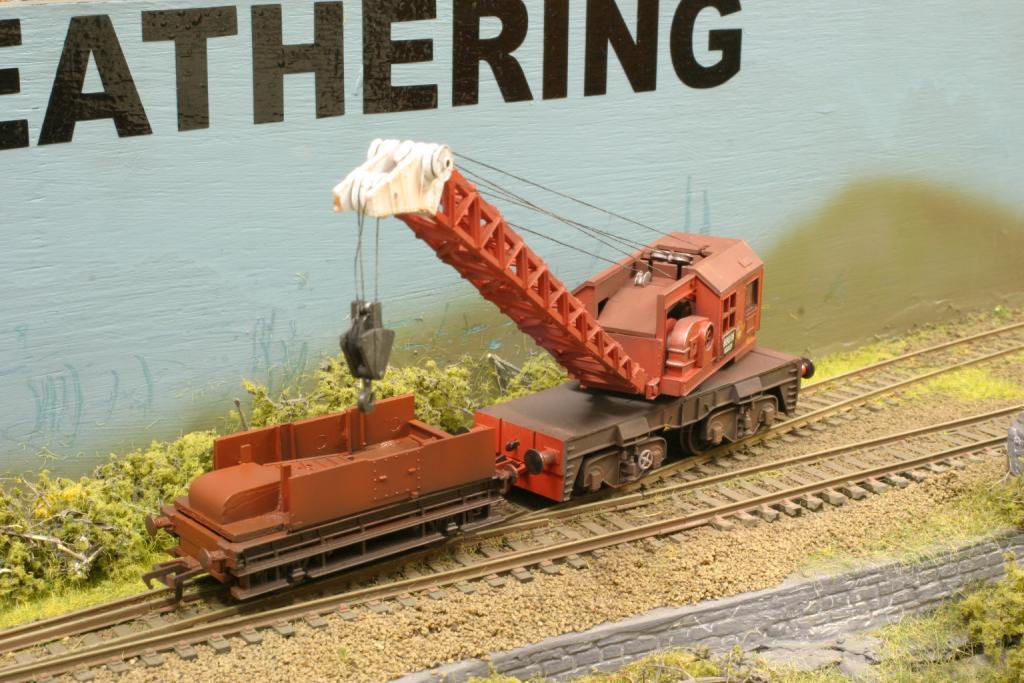
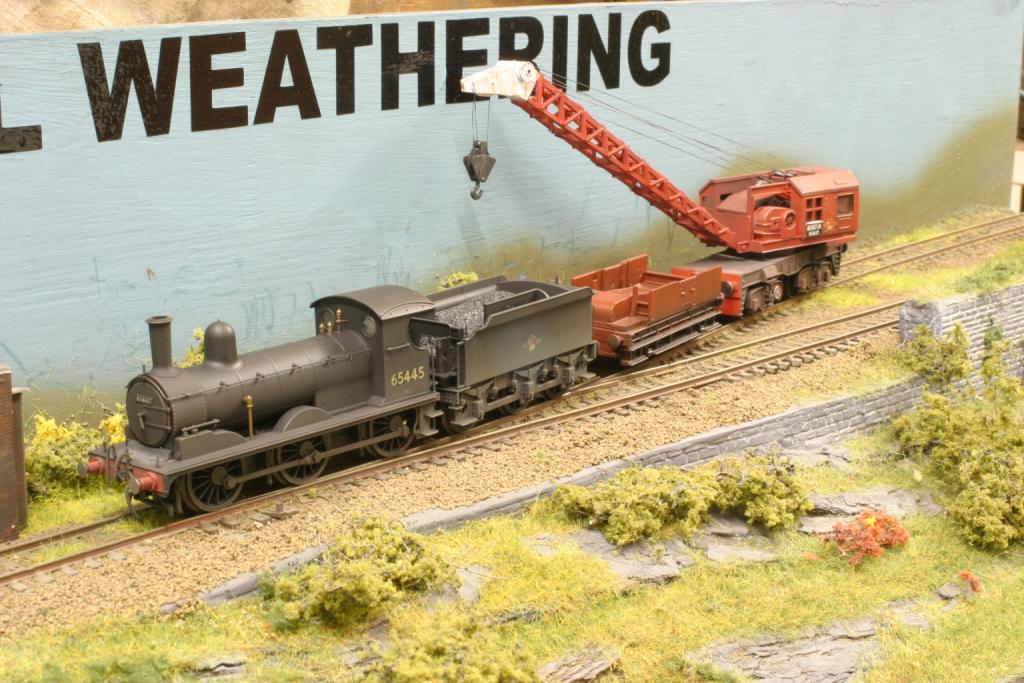
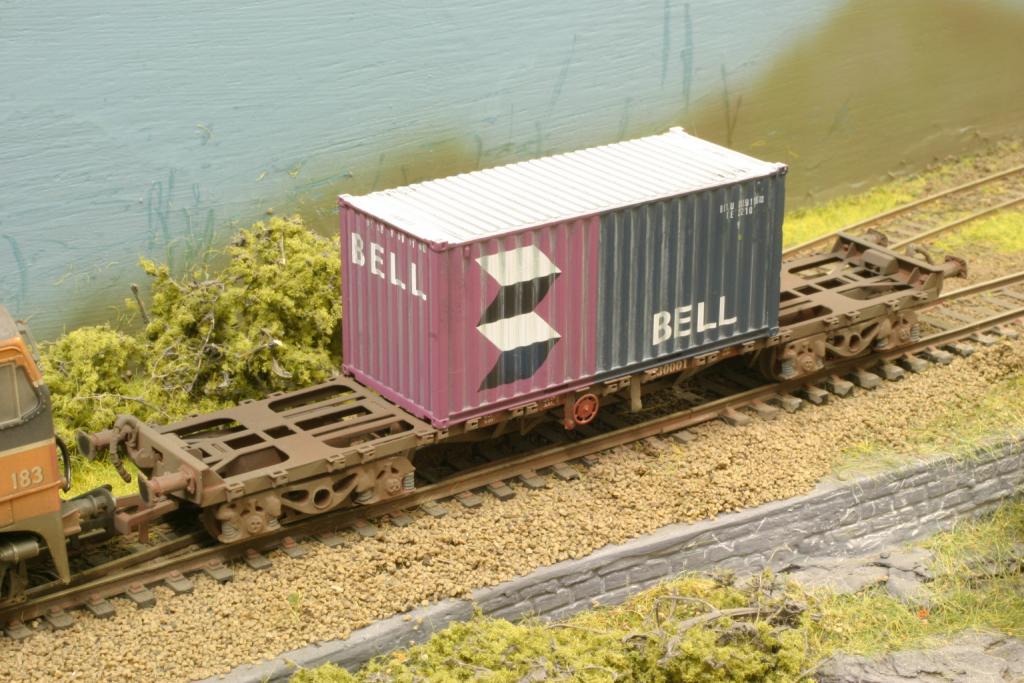
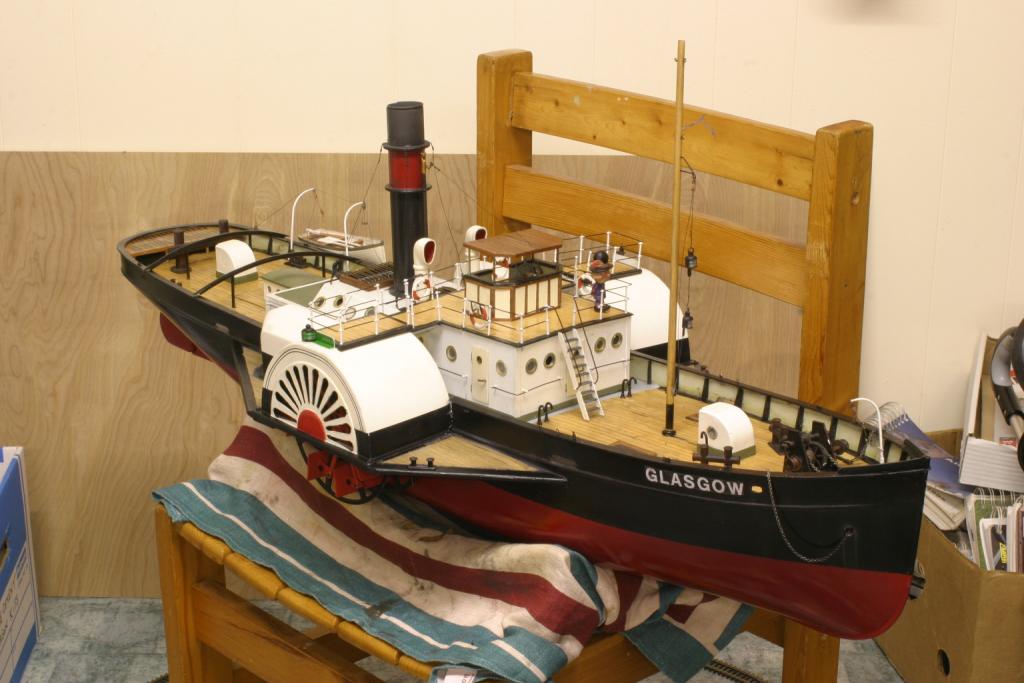
Some more bits on the go over the past while. 6 SSM flats, all soldered,the bell container sets them off Dapol 15 ton Crane and made up jib carrier. nice little model this one despite gluing the jib Back to Front I managed to recover it!! Despite modelling for years always read the instructions!! other bits not really related, a fit of my Dads Paddler, Waiting on rigging and turnbuckeles for the mast to finish and an Airfix beam engine which I hope to motorise it.
-
How much?