
Georgeconna
-
Posts
2,713 -
Joined
-
Last visited
-
Days Won
31
Content Type
Profiles
Forums
Events
Gallery
Blogs
Everything posted by Georgeconna
-
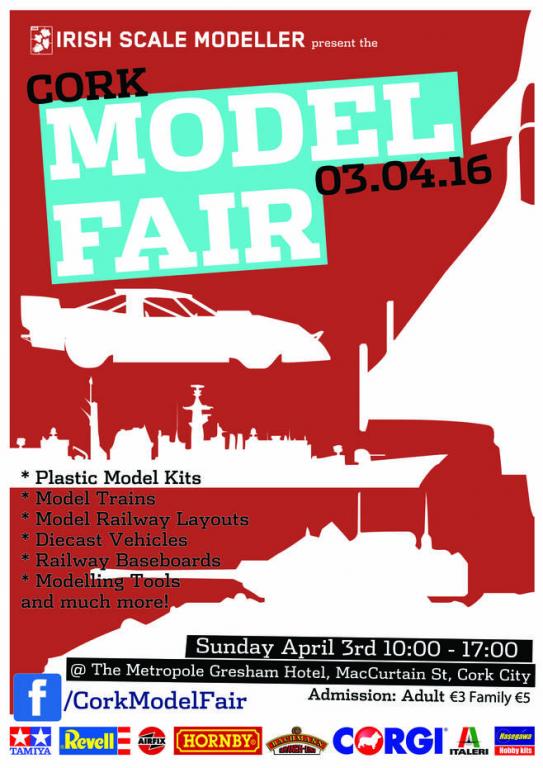
 Poster below for the show. Will update attendees when I get this list from the Floor manager.
-
Lads, The tables are nearly all sold out but there are a few left if you interested in getting rid of surplus stuff tis a good time to do it!! Likewise you have a display / layout please give Wayne a call below. if you are interested tables are €15 a go for a 6 foot table. Exhibitors are free Please contact him on 087-3618980# tks G
-
Hope you don't have curves like that WB as you wont be able to run an opposite Service giving the nose sticks out a fair bit. I was reading it doe not go over set track points though. Just ponied up the cash for my one there now, It better be awesome.
-
Nice one, Saw it afterwards. Nice little Dio could be made with that!
-
Lord that Iron Bridge Model on their website is fantastic. No Scale on it but very tempted to get one!!
-
looks the biz Dave, Not too much clutter either. The Loco shed floor looks well executed.
-
Wow, there comes a time when you reckon enough is enough, Same happening with my own plastic kits, I don't have enough lifespan left to build them all not to mind keep them when they are built. You guys are lucky to have one interest. I have the RC Planes, Boats, Trains to contend with!! Whats the new user name going to be then , Murphyeire?
-
New Antex Temp Adjustable Soldering Iron.
Georgeconna replied to Georgeconna's topic in Tips & Tricks
Good ol price on that Hakko and a good few bits come with it. I have used Antex and its pretty good product stuff really. Thing with the Antex digital is it does not come with the station, all contained in the handle. -
After melting my Adjustable Iron some weeks back I am in the market for a new one and came across this new Iron from Antex. It has a Digital Read out in the handle and easy Temp Adjust buttons. Handy for variable temps when using different melt solders for a reasonable price. http://www.rapidonline.com/tools-equipment/antex-t48jj70-tcs-digital-50w-temperature-controlled-iron-85-0555 This Antex TCS 50W Digital Temperature Controlled Soldering Iron is an updated version of the classic Antex TCS soldering iron. This enhanced model benefits from push button-operated temperature adjustment and a digital display of the temperature set. The new TCS 50W uses the same range of tips as the old model and is compatible with Antex iron stands. Digital temperature display Easy button-operated temperature adjustment Temperature range adjustable from 200 to 450°C Supplied with iron-plated, 2.3mm nickel-coated tip Tip life up to 30,000 operations Range of 9 alternative easy-change tips available Ergonomic handle 1.5mm burn-proof Silicone cable fitted as standard Supplied with fitted UK 13A mains plug Manufactured to DIN EN 60335-2-45 CE & EMC Low Voltage Directive conformity Antex type TCS 50W
-
Wayne Elmes is now taking bookings for anyone looking to sell or Display at this years Cork Model show in the Metropole Hotel. If you are interested tables are €15 a go for a 6 foot table. Exhibitors are free Please contact him on 087-3618980 Model Rail Baseboards and Studio Scale Models and confirm as attending. thanks George.
-
Lads, Just a heads up on this one, We are planning to hold this in the Metropole Hotel, McCurtain Street again on the 3rd of April 2016 Primarily this is focused as a buy and Sell event with also quite a few exhibits on show as well. Check Previous thread and Cork Model Fair on Facebook for full details. If you are interested in selling or displaying anything Model Related we would be delighted to hear from you. Just drop me a PM to Discuss. Regards George
-
Wonder could the 1916 commemoration product be something like this? would have a Broad appeal too? http://www.ehattons.com/50342/Bachmann_Branchline_CE00609_Tram_69_Birkenhead_Corporation_tramways_Motorised/StockDetail.aspx Tis the only thing I can think of RTR around 1916 and that's available? happy new year lads. G
-
Just ordered Hornbys S15 earlier today, To be honest it was a good price even without the discount. €100 in marks €180 in Seamus's Result!
-
Love to be going there. Fingers crossed there's Tea n coffee there for you lads.
-
SDMRC Exhibition - Blackrock Collage October 24th-26th.
Georgeconna replied to steventrain's topic in What's On?
Popped up yesterday, enjoyed the Show, Nice mix of Layouts and some real quality on show. Loved the Donegal one, Not to crowded with Items on it just right, had a nice chat with the operator and Belturbet which I had not seen before along with that O Gauge end to end....Wow! Spent from 11am till 150hrs there. Picked up some baseboard Alignment dowls, Catchs, Mekpak and a couple of packs of Coupling hooks( Bloody hell at E13 for 10!!) and a book on Brass Chassis contruction Sadly no Southern region bargains to been seen from my scout about. Called to Area 22 , sorry Stand 22. One man missed but hey next time!! Good luck with the venture lads. -
* The Garrison Model Show- Sunday 30th of August: With over 30 exhibitors from all over Ireland, this show is exclusive to Camden and has something for all model enthusiasts! Featuring model trains, planes, boats, military vehicle and demonstrations-one not to be missed for kids of all ages! Camden Fort Meagher, Crosshaven, Cork Harbour is internationally recognised as one of the finest remaining examples of a classical coastal artillery fort in the world.45 Acres,65% underground. See camdenfortmeagher.ie for more. The Fort alone is a Cracking day out add in a Model show and its a Massive day out and is looking to be even bigger and better this year from all accounts. I will have some RC Stuff on Display so do say Hi!
-
You will love this one then Noel, Touch it up a bit is the instruction.......Eh.....The Brass grill is caked in superglue. 1st step oven Cleaner bath which unfortunately did not shift 1 iota of paint but a spot of Cellulose Thinners did
-
Here you go, Some inspiration or perhaps madness. got one myself to RC. http://www.britmodeller.com/forums/index.php?/topic/234929377-172-revell-corvette-snowberry/
-
As Pops says less is more, Quite like the N in the sun.
-
Yep, Got 2 201s myself, 230 and 209. There is still a fair bit left on the shelves in Cork, I did mention would it be extended to Wayne in the Shop but thats not going to happen as the prices were taken down Saturday PM. Heres hoping it will be back at some stage as I would still Fancy an enterprise with Full Yellow Faces but not a current prices there just too high for my pocket right now and really how many do I need.
-
Renumbering a Weathered 071 Class Locomotive
Georgeconna replied to DiveController's question in Questions & Answers
get an unweathered loco and work with that, GEt some White Spirits, A cotton bud and wipe the number away, Apply the new numbers, Seal with a non Oil based Varnish like Tamiya so such as SSM Decals don't like oil based stuff, I seal mine my Johnsons clear, Then paint over a Satin Varnish and if you have done it well it will be hard to tell the Difference. -
This will be long shot, A Friend wants me to finish off some 121s, they look like they did not come with Flush Glazing so If any one has some Squirreled away that's willing to part for a few bob drop me a line. I could Vac Form me own but time is not on my side these days:SORRY:
-
tis the Dubs dont travel in all Fairness:
-
You can pull them off Quite Easily with a Tweezers.
-
Photographic Website Updates
Georgeconna replied to thewanderer's topic in Photos & Videos of the Prototype
That Rainbow shot is Lovely.