
Georgeconna
-
Posts
2,713 -
Joined
-
Last visited
-
Days Won
31
Content Type
Profiles
Forums
Events
Gallery
Blogs
Everything posted by Georgeconna
-
Fraid the ol lap top is down but I try tonight anyhow to do so and stick em up tomorrow if I manage to get it past the missus. Some Production though the box alone is just sublime! One on Ebay nearly at the £600 pounds mark!! 747 euros. Could I be tempted to flog it for a few more Bulleid Pacifics!!
-
Nada WB. UPS just dropped the box to me a few mins ago, No tracking info. Cant want to hear this roar!!!
-
Trembling now, UPS Called, A Box has just appeared on my desk with APT-E on the side!!!! Oooh. Roll on 1730hrs.
-
Intermodellbau 2016 Dormund.
Georgeconna replied to Georgeconna's topic in Continental European Modelling
Cheers, It was the Airbus Factory we are going to Hamburg for really. The Train set will get a visit too!! -
Hi Lads, I was taking to Sean Ryan about all things German and he mentioned this model show Intermodellbau, Dortmund This happens to be on in Germany when I am in Hamburg, Anyone been to it before and any tips to take it all in would be appreciated. cheers George.
-
St Joseph's Hobby and Model Show Easter 2016
Georgeconna replied to Irishrailwayman's topic in What's On?
I must admit I enjoyed the Show, Some lovely Layouts on display, Some nice Bargains to be had also. Spent about 5 hours there, Did not help that I forgot to add the extra hour to the timepiece!! I hope the Monday had a good turnout as it was well deserved. -
Surprised there is even a bid on this TBH. I have one in the loft, might try Ebay or file it in the bin. Spose some fellows hanker after the old days...
-
Well I though this was something I could look at in my shed at some stage although I would like something like Swanage as my middlepart as a seaside Terminus and keeping the point etc down to a min due to cost. I was thinking of Starting the middle first as a removable exhibition piece and seeing how I get on from there. The other issue I would have is the gradient especially as I have a lot of Steam suff which wont go up the slightest gradient unless banked or double headed. Hope you start something on this as it does look fab.
-
FYI: An update on an offer from one of the Attendees at the Fair. Some great tools to be had from RB, See link below. No just for Plastic builders. RB Productions will have a stand at the Cork Model Fair. We can offer a 10% discount on pre-orders for collection at the Fair. Customers can pay for the pre-orders at the show. To pre-order please use the shopping cart as usual, choose "IBAN" as a payment method and choose and choose "Store Pick-up" as the shipping method. Please note that we will have a very limited number of Zoukei Mura kits at the fair. See you there! http://www.radubstore.com/index.php?main_page=index&cPath=77&zenid=da60e6e3d48255eb249d2b526a8e7aae
-
Attendees so far listed below: Irish Scale Modeller - Large Exhibit of Irish modellers showcasing their hard work - Plastic Kits of a scales and types. Dermot Allen - Model Railways Trader Flor Hurley - Plastic Kits trader David Moore - Plastic Kits Trader Vincent Russell / George Norman Plastic Kits / Books / Model Railway Joe OToole - N gauge Model Railway Decs Model Garages http://www.decsmodelgarages.com/page_1.html Atlantic Model Boat Club - RC model Boats RB Productions (inc Max Decals): http://www.radubstore.com/ Model Rail Baseboards: http://www.modelrailbaseboards.com/default.html Diecastmodels4u http://www.diecastmodels4u.ie/ M&M Diecast Models: http://mandmdiecastmodels.com/crane-diecast-models.html Roy Mckay – Diecast and Bespoke Model Cars Stephen O’Mallay – Model Railways Seller Proninsias – Plastic Model Cars Stephen Rogers – Plastic Model Kits Garry O’Brien – Military Memorabilia Cian O’Grady – Model Railway Layout Leo Spillane – Diecast Cars Trader Jim Dooly – Exhibit ofArmour Kits Kevin Finlay – Diecast Models Kevin Parsins – Exhibit of Model Kits Darell Maloney – Exhibit of Irish Military Models Bobby Begin – Model Display Liam Walsh – Model Display Michael Clark – Diecast Mark Dunlee – O gauge Model Railway Kevin Meany – N Gauge Model Railway with Tablet control Demo Peter Subaroman – Model Car Display and building demonstration Spud + Leo – Armour kits Brian Walsh – The Hobby Den Trader of Model Kits Owen O’Callaghan – Cork Model Aero Club Radio Control Aircraft display Jack Dziworski – http://www.allscalesmodels.com/shop/Buildings Marks Models Brenden Buckly - Armour display IPMS Dublin ( maybe) Stephen Fitzpatrick – Model Kits trader Derry O’Keefe Models & More trader
-
David, Good spot, Heller D-6 Securite Civil Dc-6B. Started it in 1988 would you believe. Got it in a Model shop in Limerick for a £10 way back int the day. She is now in Grey primer for the last 6 months as I need a to tidy up the windows.

-
thanks, Des can take a bow for the Details Really, I did not add on anything extra.
-
Afflicted more Likely John!! small bit of time and patience kid, right tools and solder and you will have no issues. On the couplings. There a standard NEM couplings and are just cemented onto the bogie etch and there is enough space for these to lie flat and not foul the buffer beam. The Kaydees are possibly thicker so the buffer beam might need to be reduced to accommodate the coupling? Would you need to mount the Kaydees onto the wagon body itself. I have a few kaydees lying about and will take a look tonight Might change the couplings on the brake vans too as they look bloody awful.
-
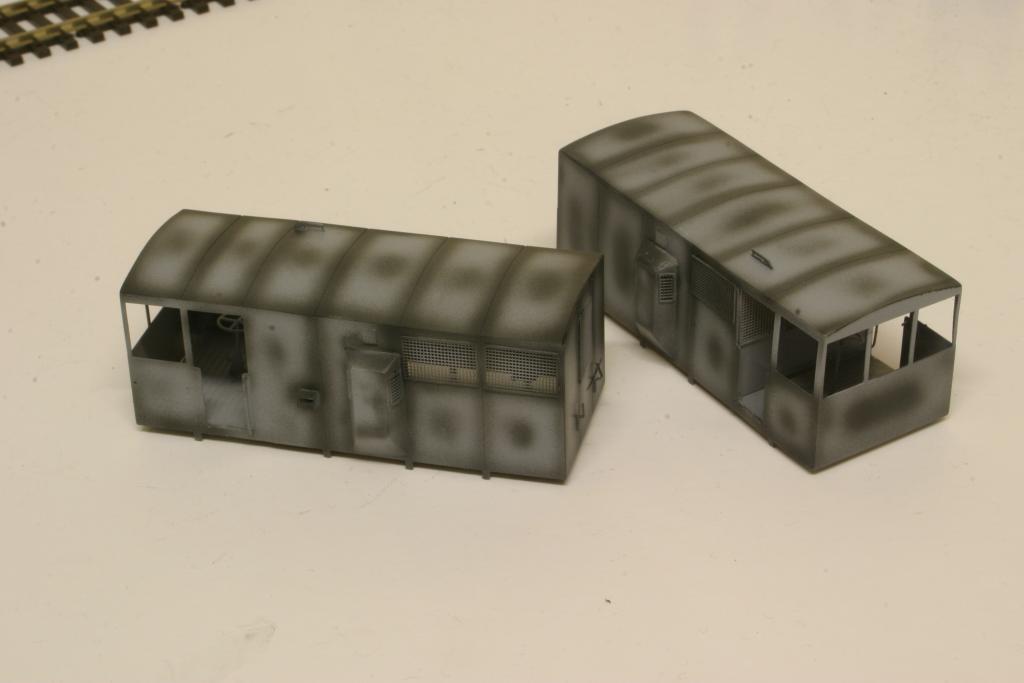
Final Installment is the Plough vans, Used Holts Primer for to cover the brass. Tidied up any gaps with Squadron putty, Tidied up the putty then with a cotton bud and some nail varnish remover to remove any excess. The Nail Varnish remover makes the putty nice and plyable. I then sparyed some preshading with Humbrol Black, this takes the flat boring yellow finish and creates some dark and light patches. You can do this with white as well to brighten colours up. I noticed that I put on the steps the wrong way with the cutout facing outward and I think one of the roofs should have it panel lines lining up with he Side panel lines but we live and learn!!
-
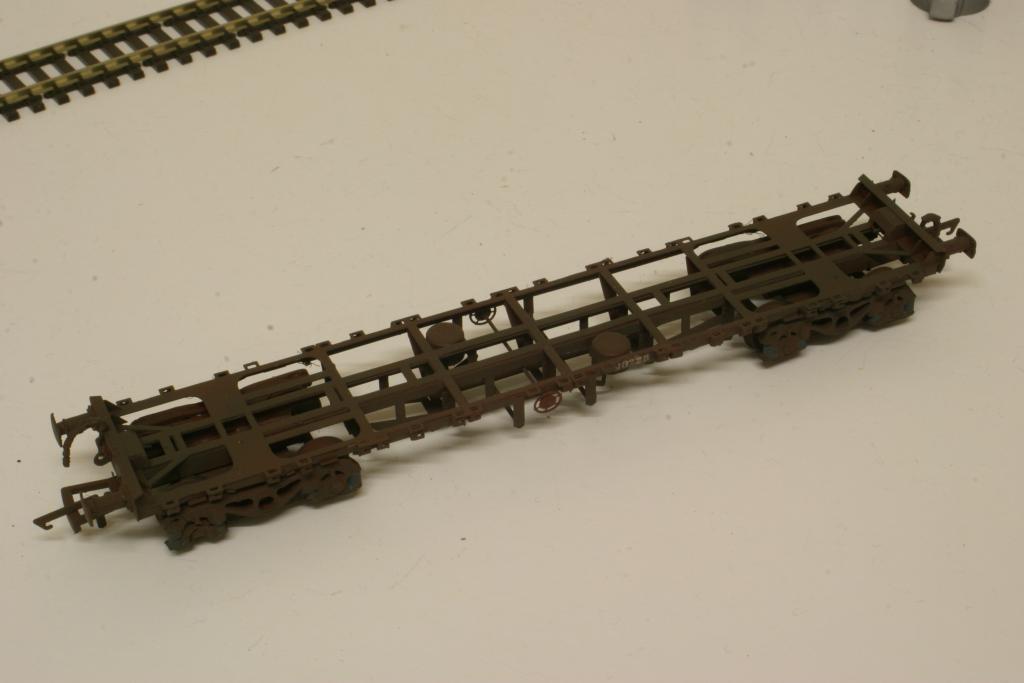
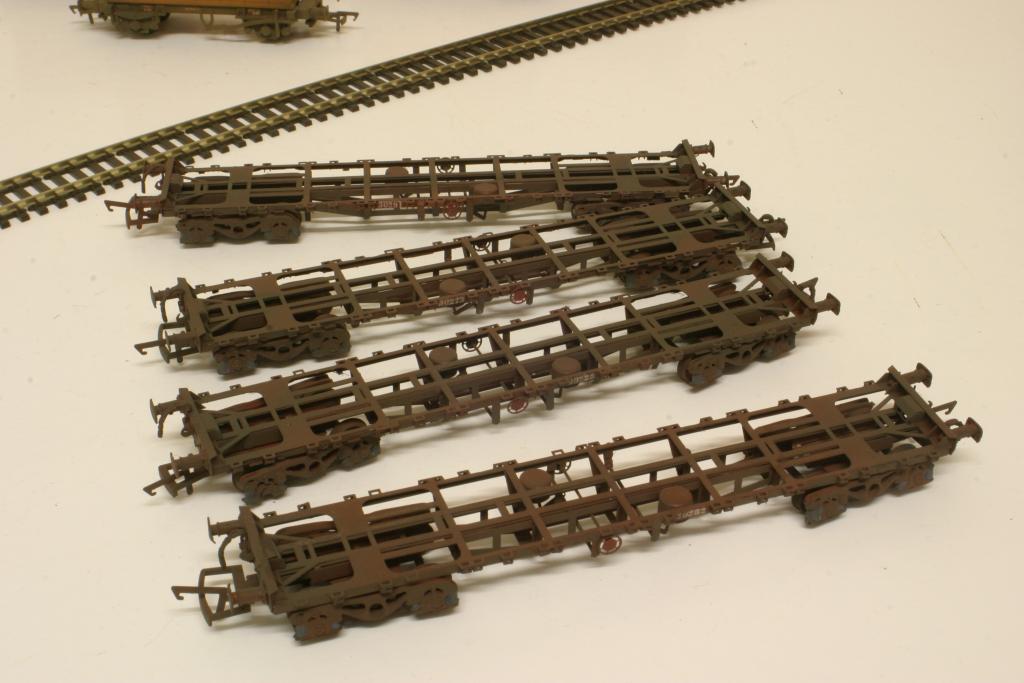
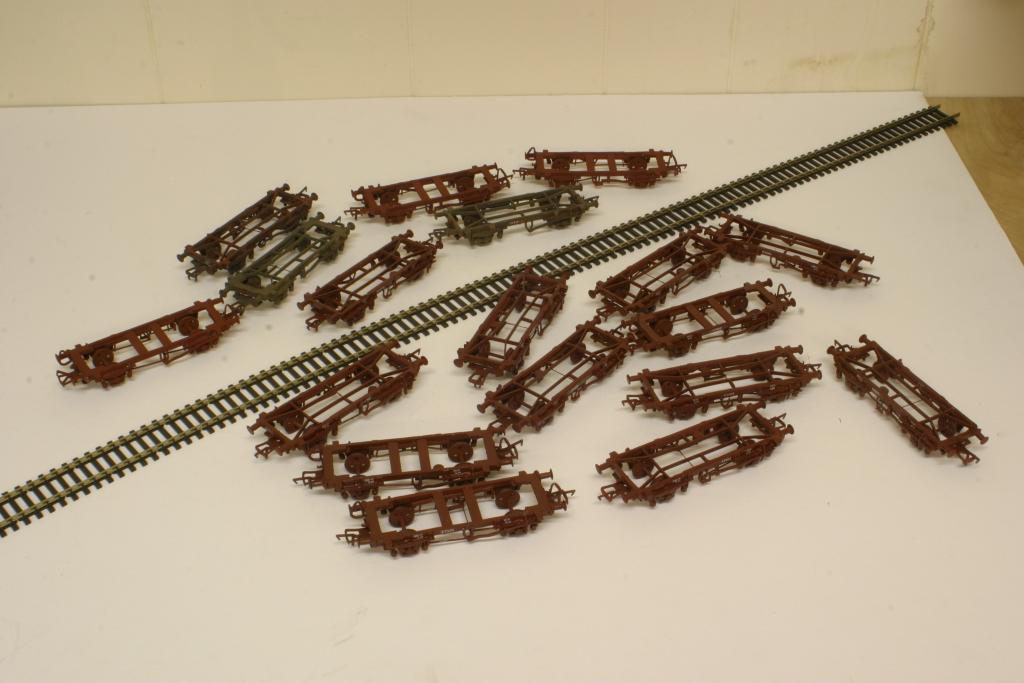
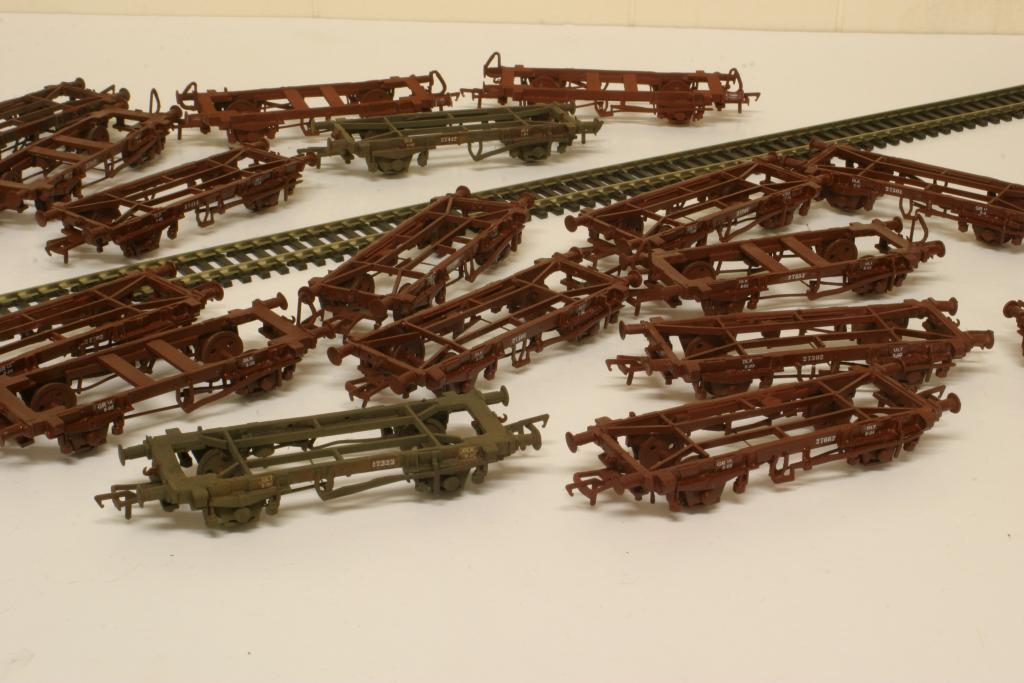
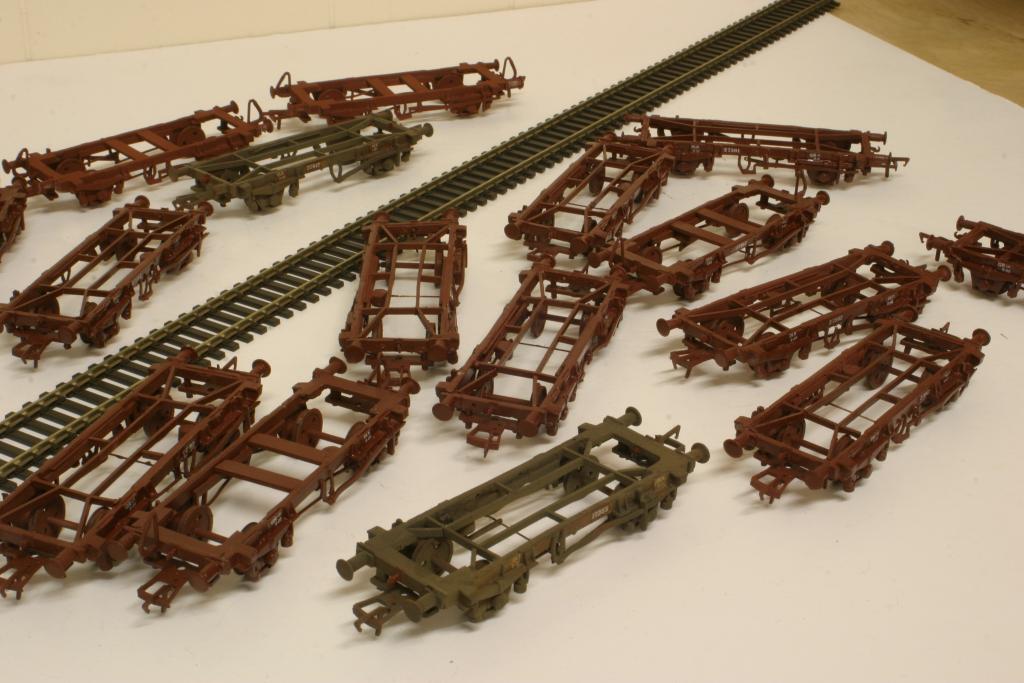
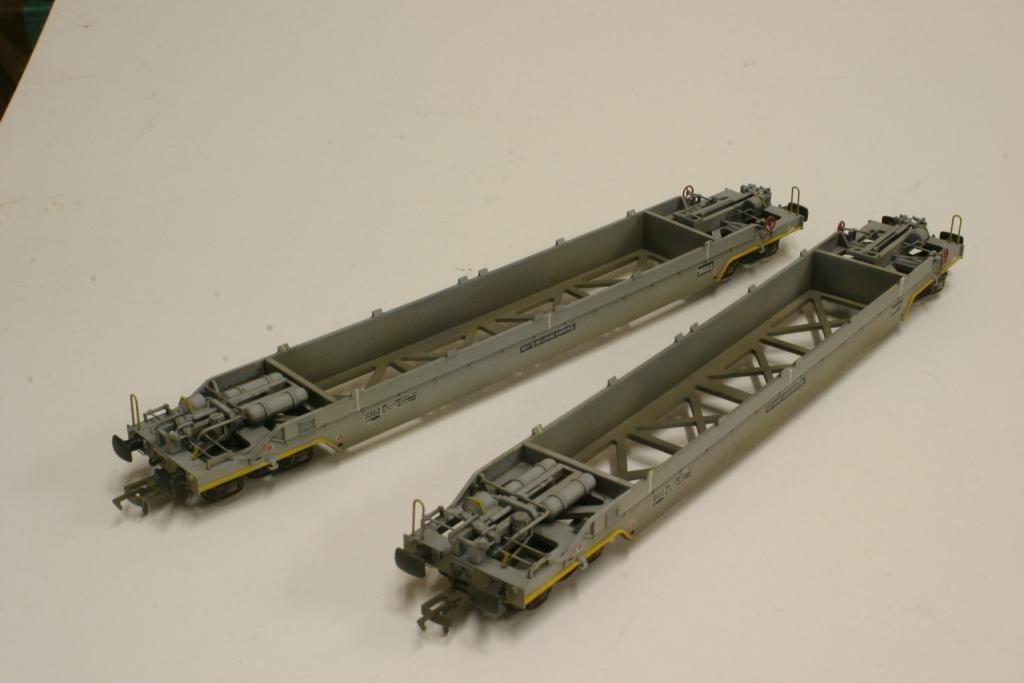
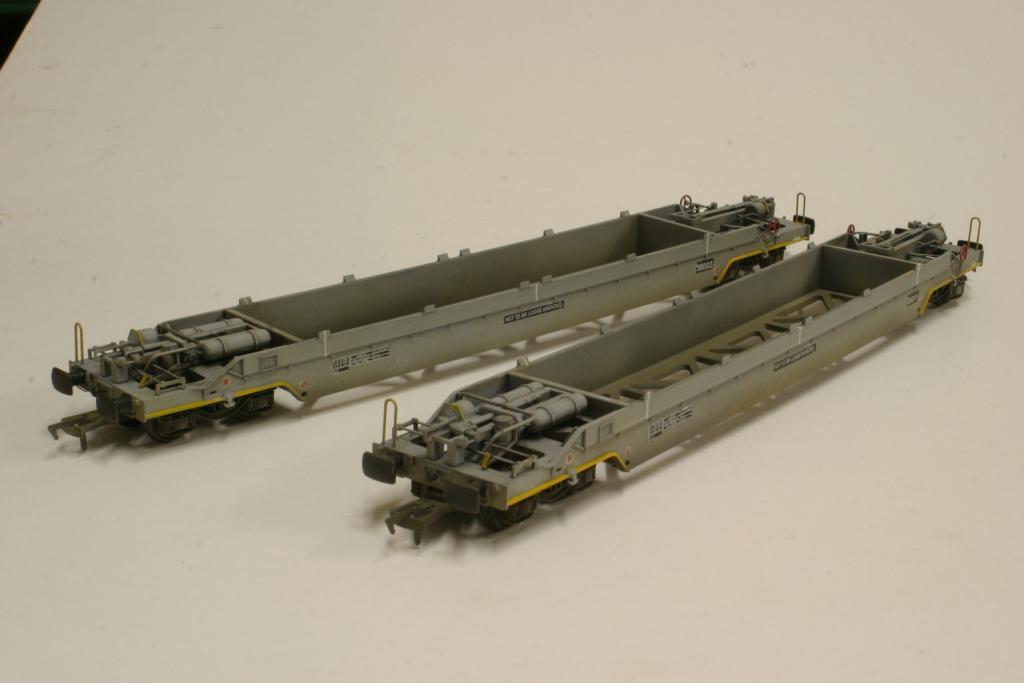
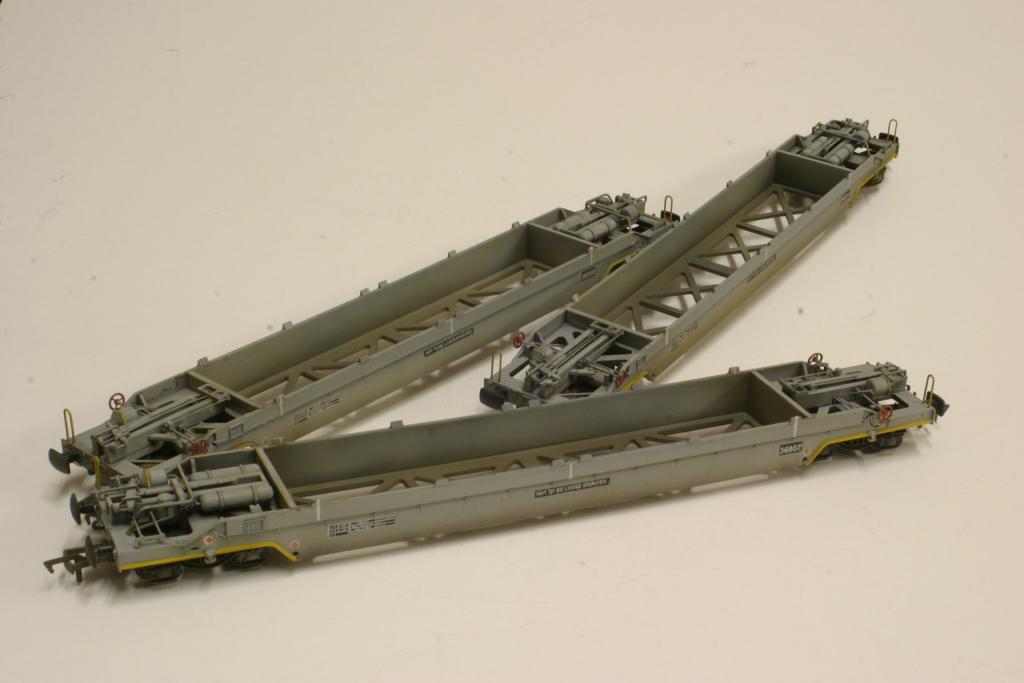
Here 4 of the Only Fab Studio Scale Models Brass flat Wagons. I must admit to have great satisfaction in building these and seeing them run around behind a Loco. After making one complete wagon I decided to adjust they way I approached these. I started with the task of cutting and folding each part off of the etch for the remaining 3 wagons. This Took about 4 hours to do, Each wagon took about an hour then to solder. Primer and painting and a small bit of weathering sets them off. Sorry about the quality of the photos, The resizer seem to take some clarity off of them and my laptop is kaput.
-
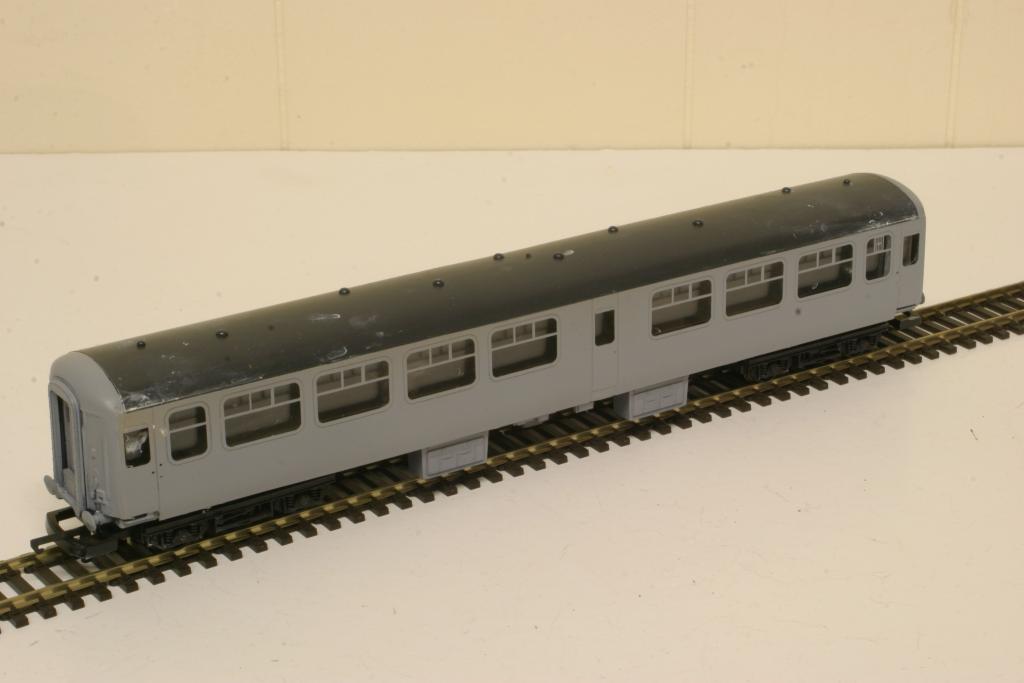
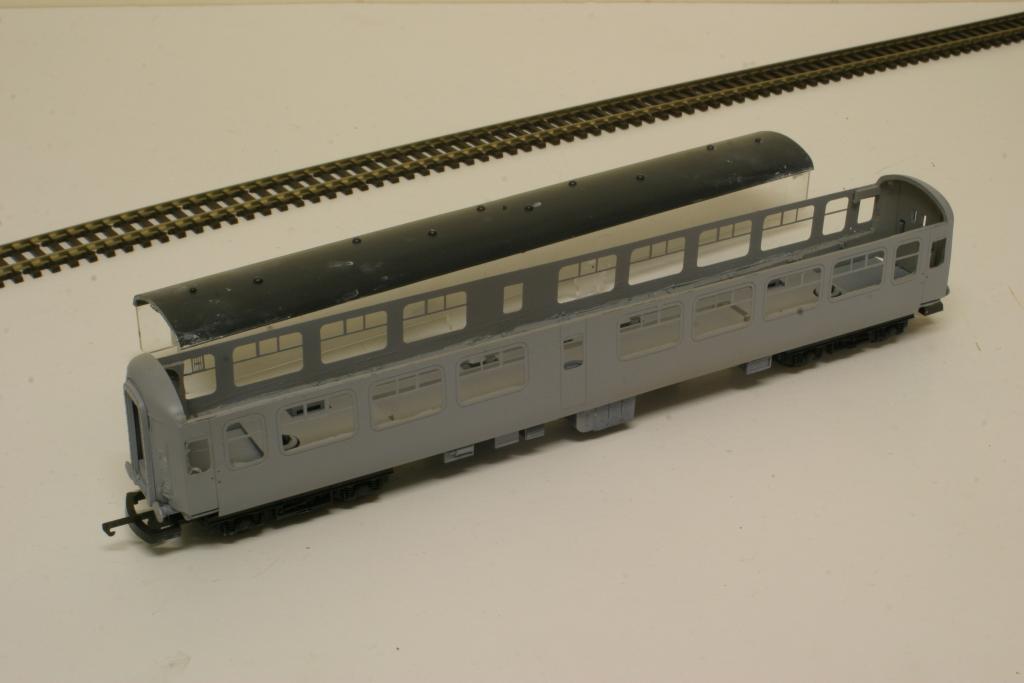
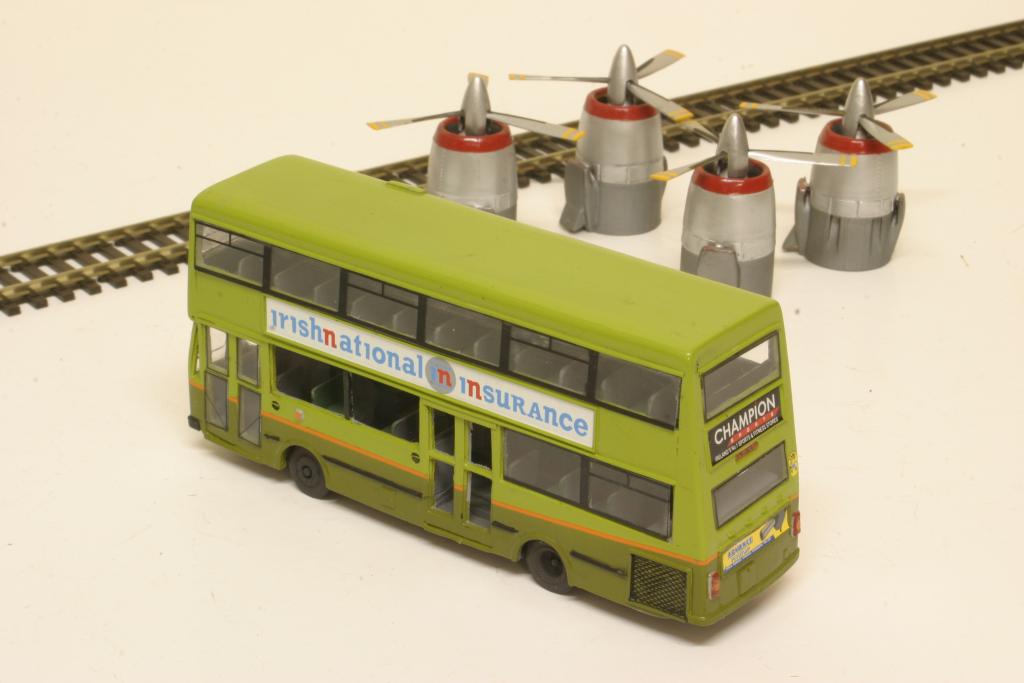
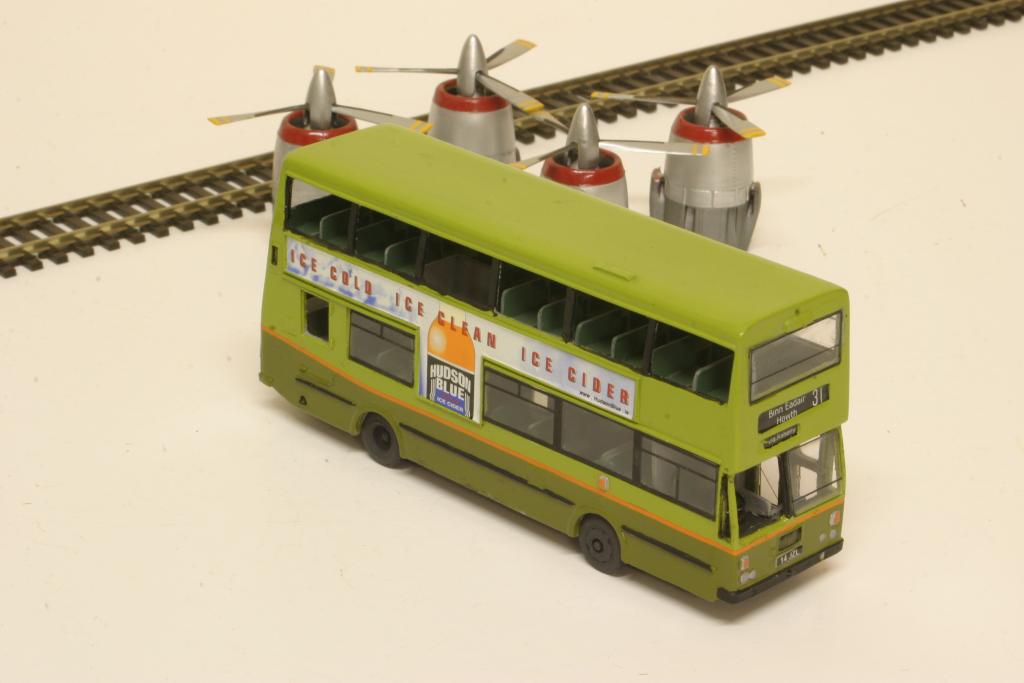
Hi Folks, Some more bits and bobs on the go or just finished. Jim Poots KD Bus, Center Coach of an 80 Class, 18 MIR White metal Flats.
-
Looking Fab ECM. will this be a little bit Portable like the last one?
-
Thats a Certainly Nifty plan, Good idea about the middle section too.
-
this stuff looks class, I will have to have a proper read of the thread as I must of missed some posts...
-
oops had it switched off kid.
-
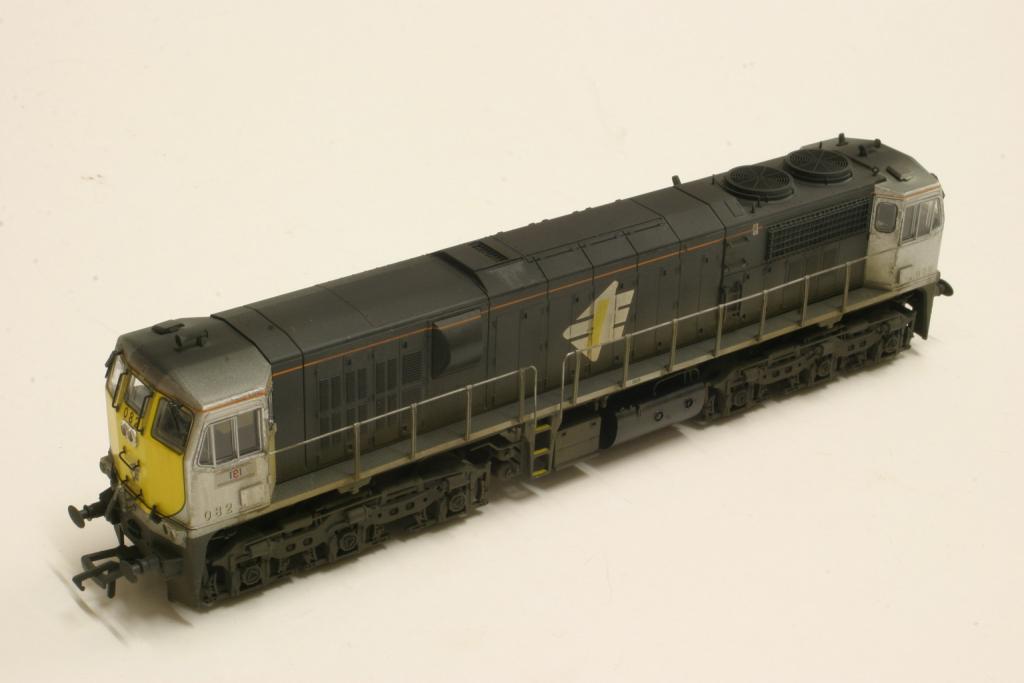
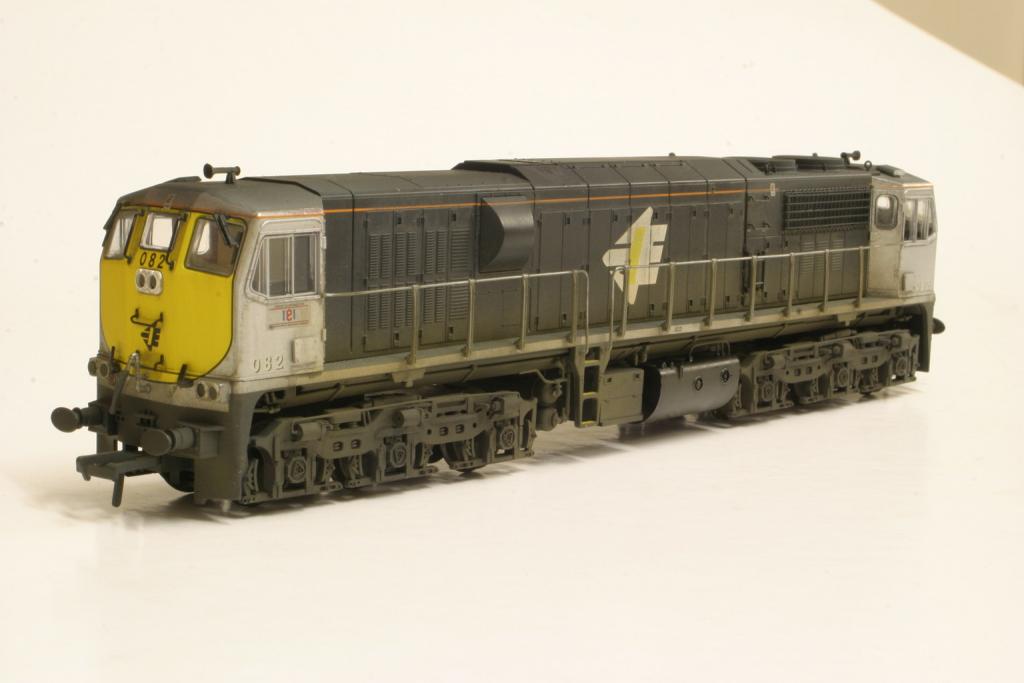
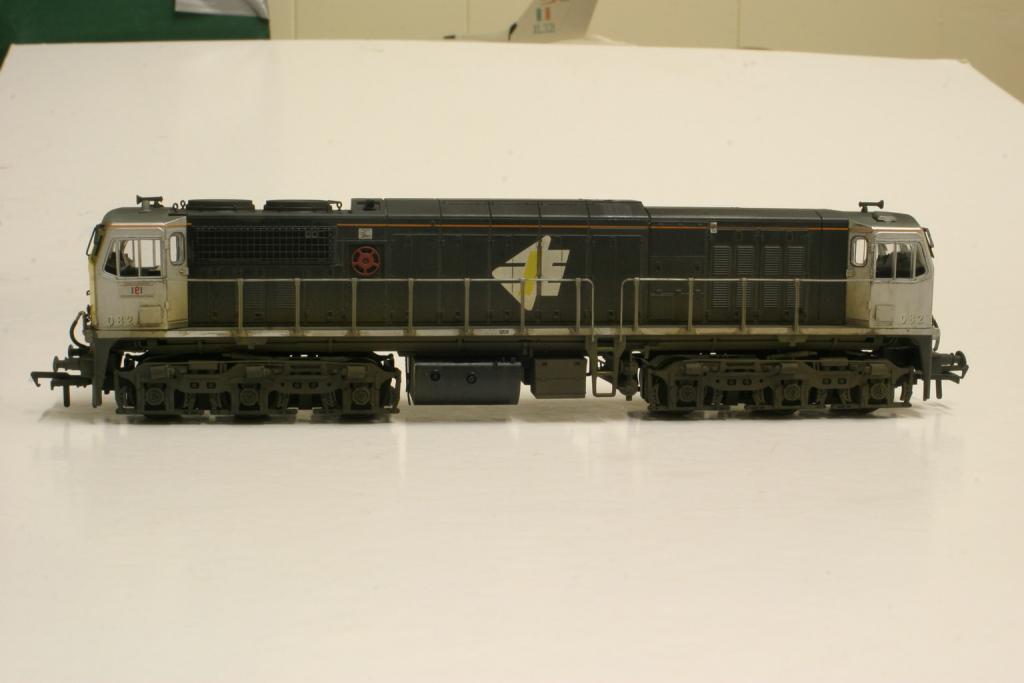
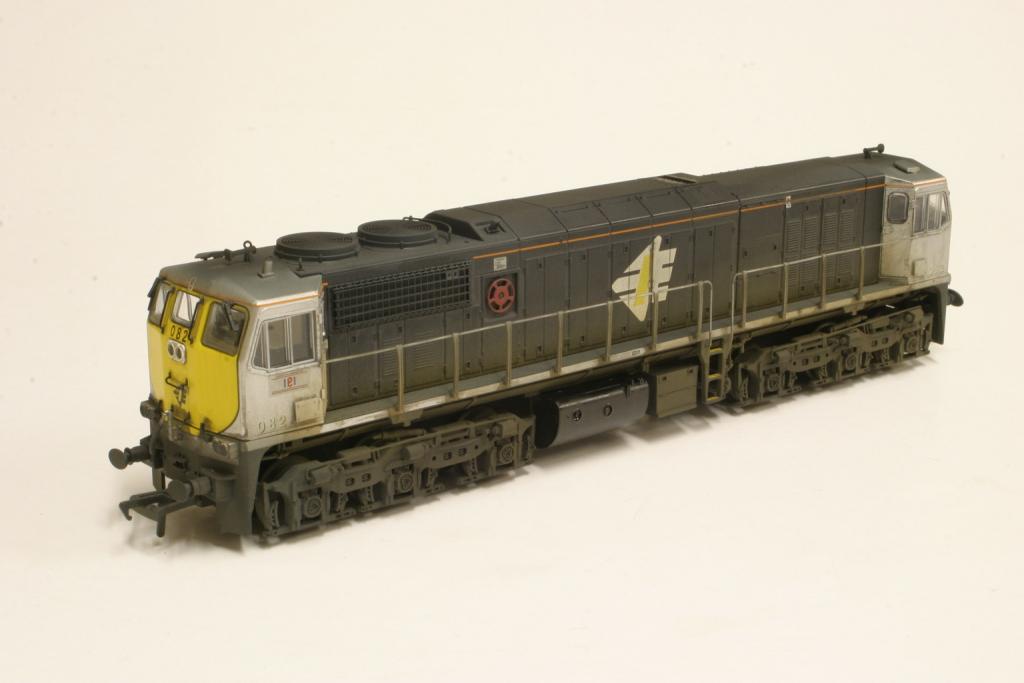
Few more piccys of some re painting /decalling on Dapol Pocket wagons and a Weathered 071. Apologies for the Backgrounds. The ol Laptop gave up a few weeks back.
-
Cabin is fine rich,Cold thee evenings though. Kinda wish a spent a few more pound for a better one really. Great as a Sanctuary with the radio for my friend. Trying to Ween off this building lark now shortly and will focus on planning a Southern Region layout probably 8 ft Scenic and 4ft fiddle yard before the Magnum opus and how to work out how to intersperse Irish with my Southern stuff!! Plenty of inspiration here though for the time being in the layout sections! There just never enough time is there. Appreciate the comments lads.
-
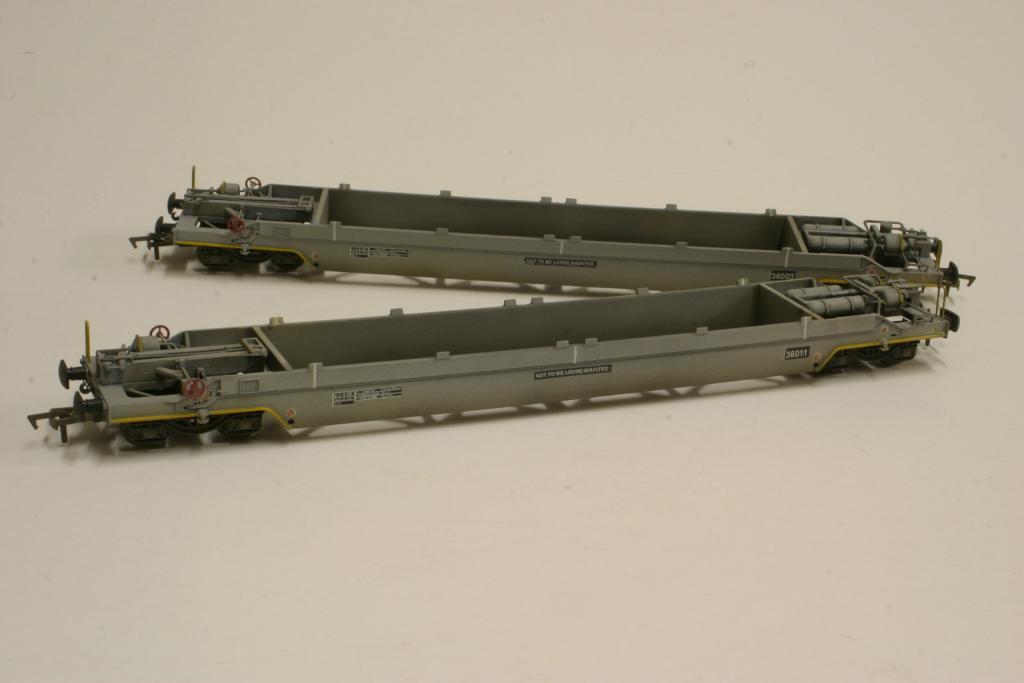
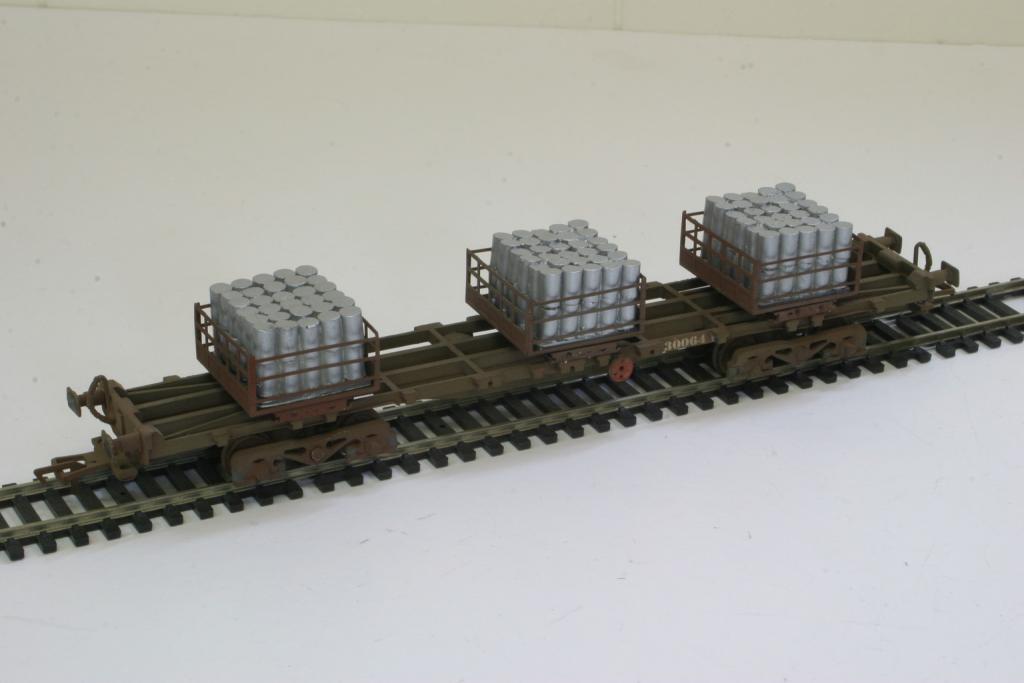
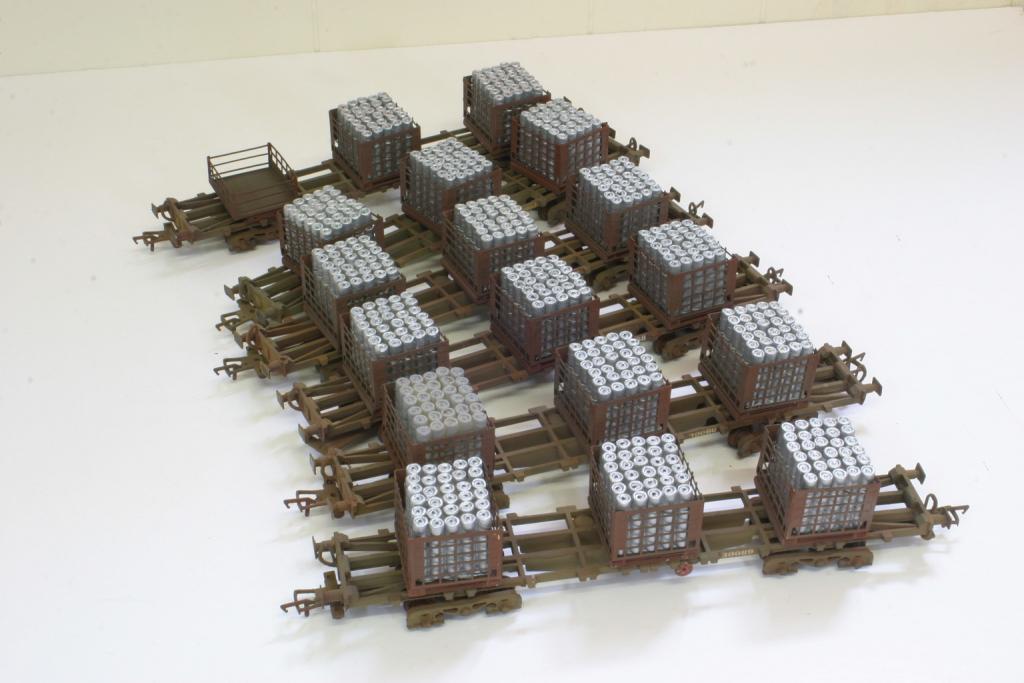
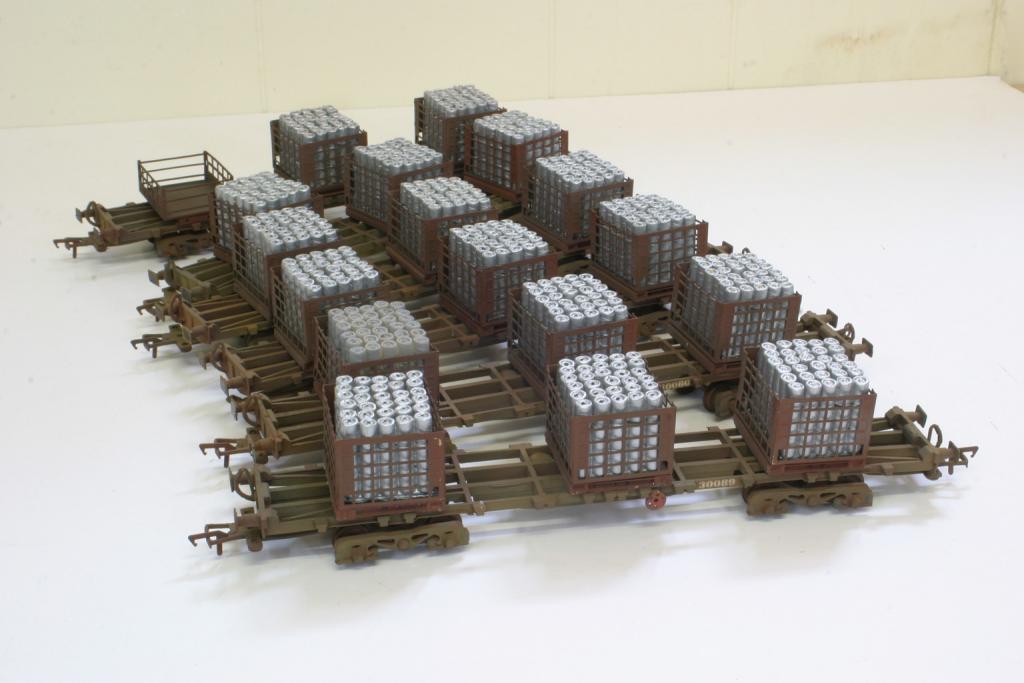
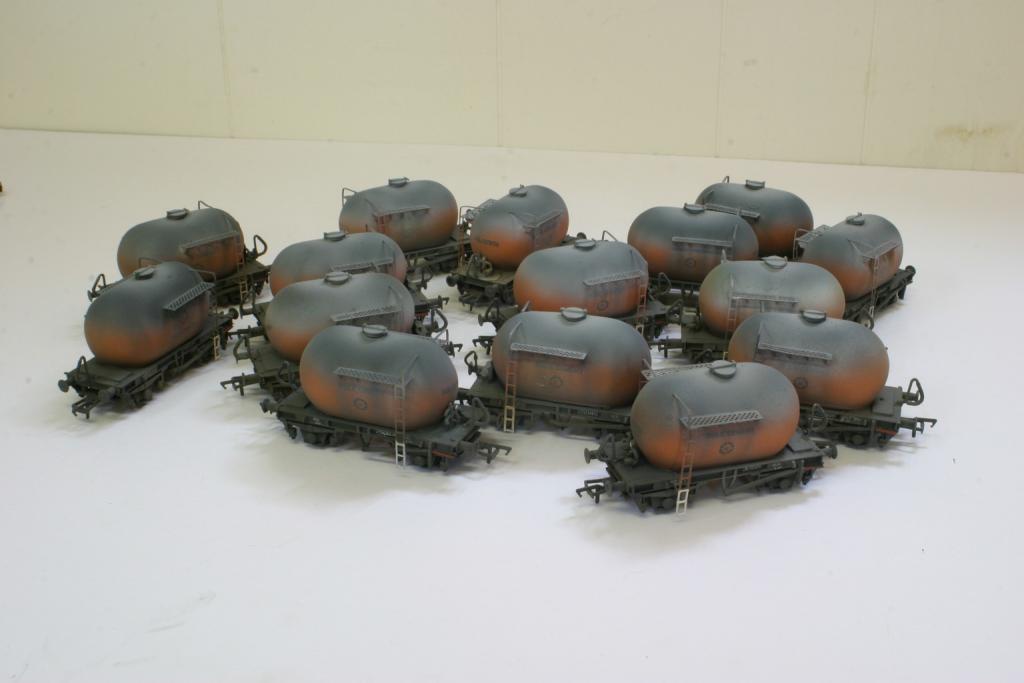
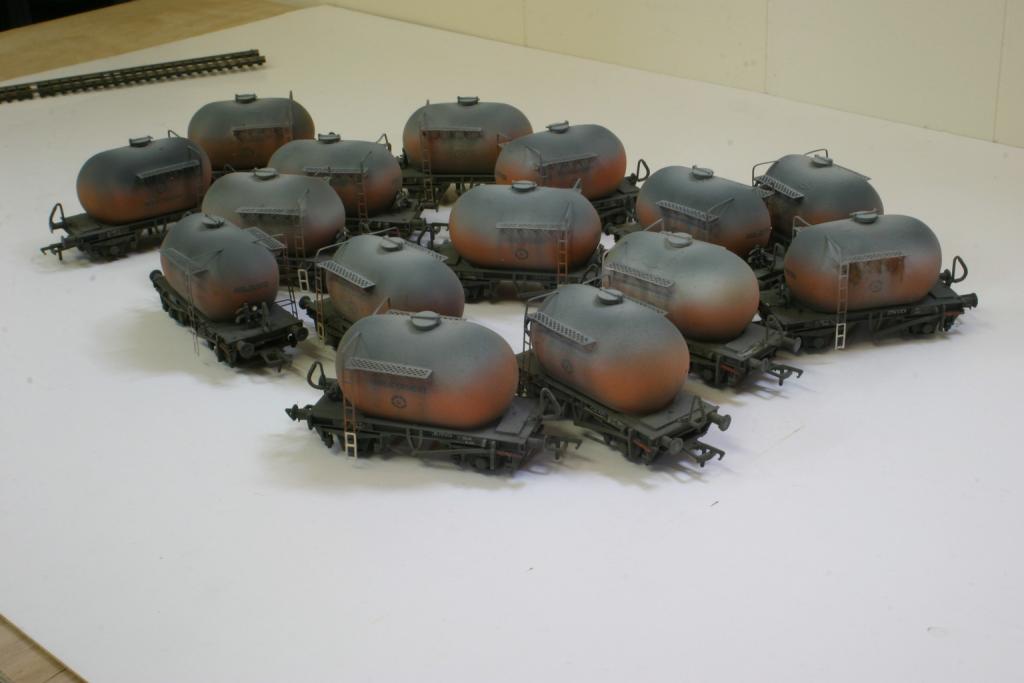
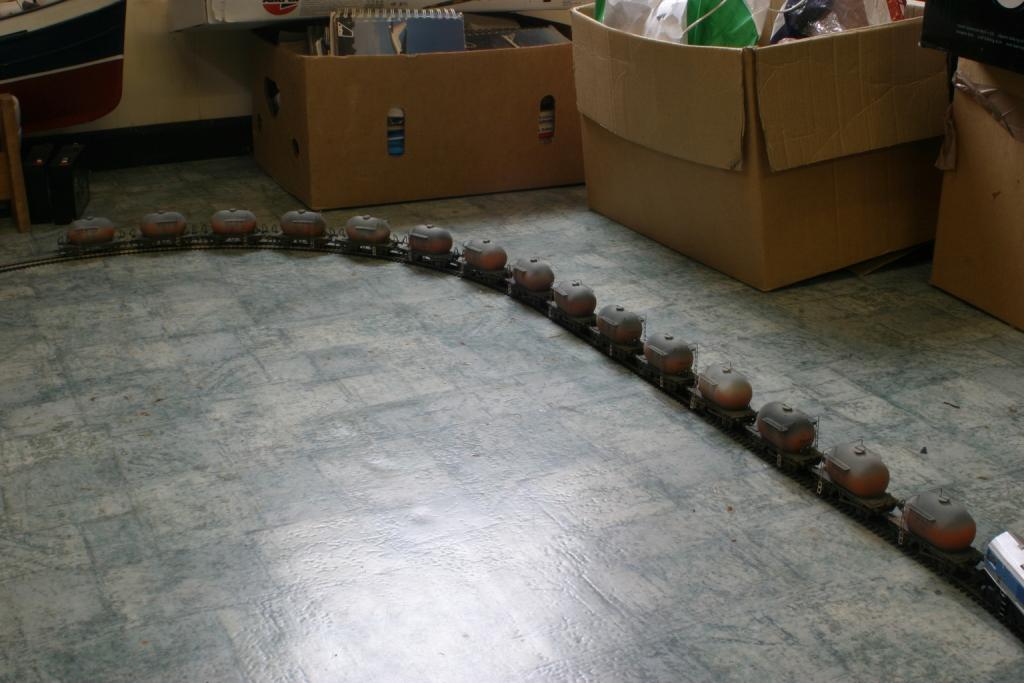
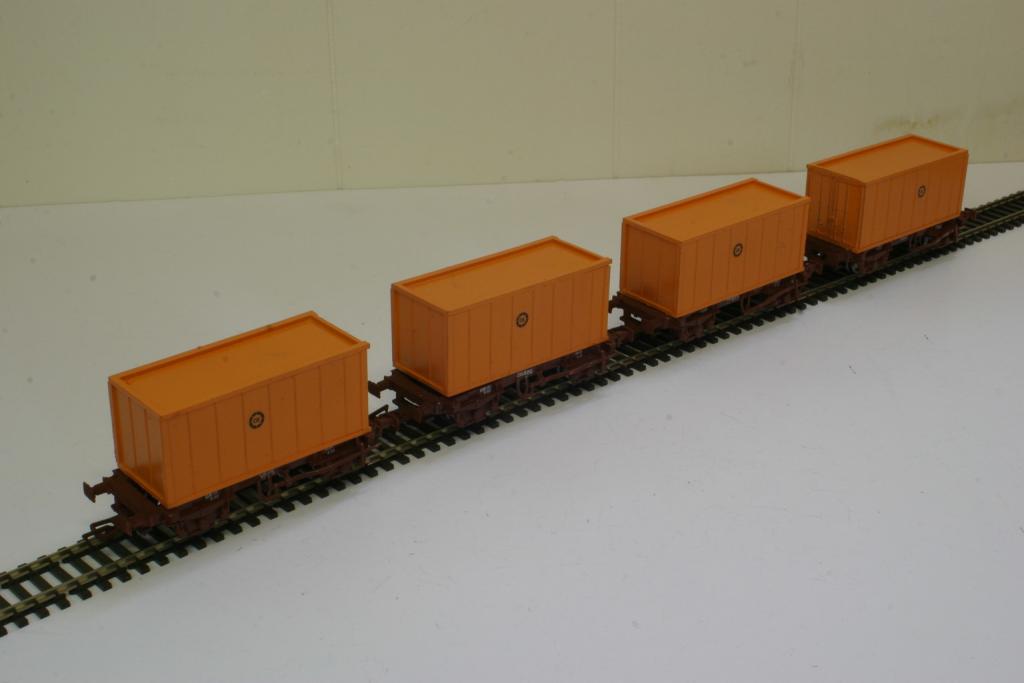
Thanks for the comments lads. Don't want to bore you lads with kit building bit here are a few more bits passing through on the Work bench this week. MIR Resin Flats with Keg loads, Mir 4W Flats and Containers (Not finished just yet), MIR 4 Wheel Cement Bubbles. The eagled eye amongst you will notice the Bubbles are up for sale on Done Deal if anyone is interested.
-
Double post not sure how to delete this!!!
-
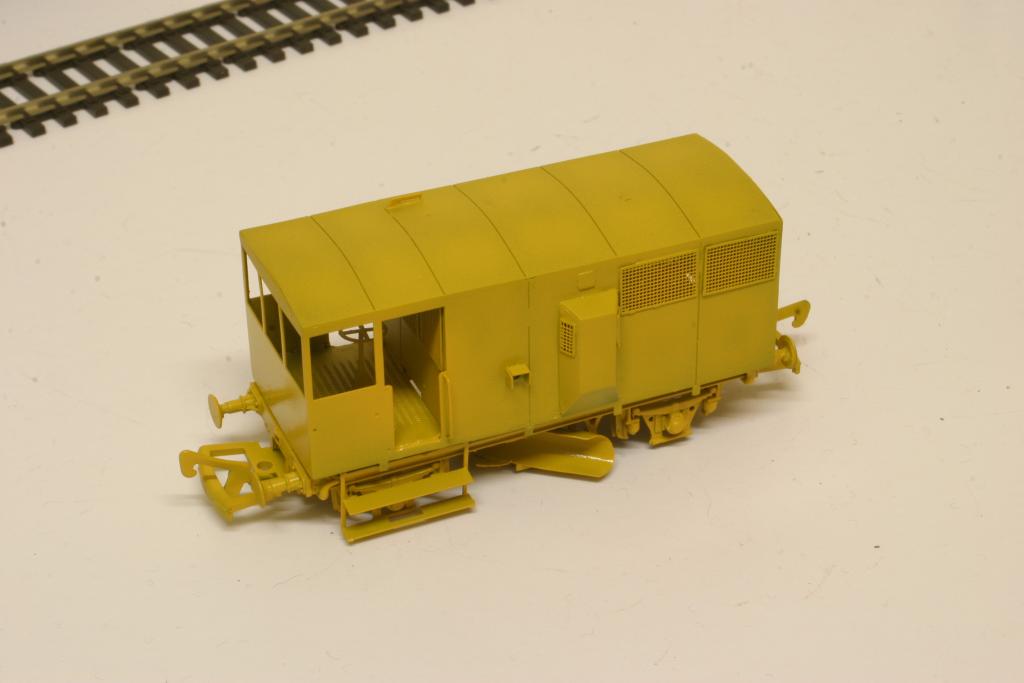
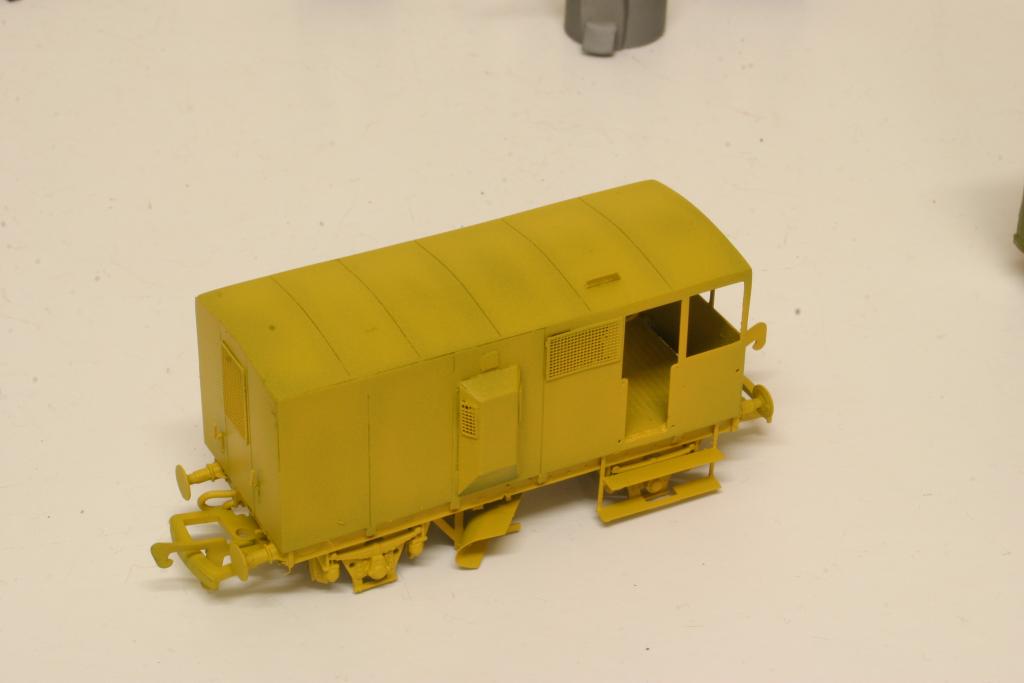
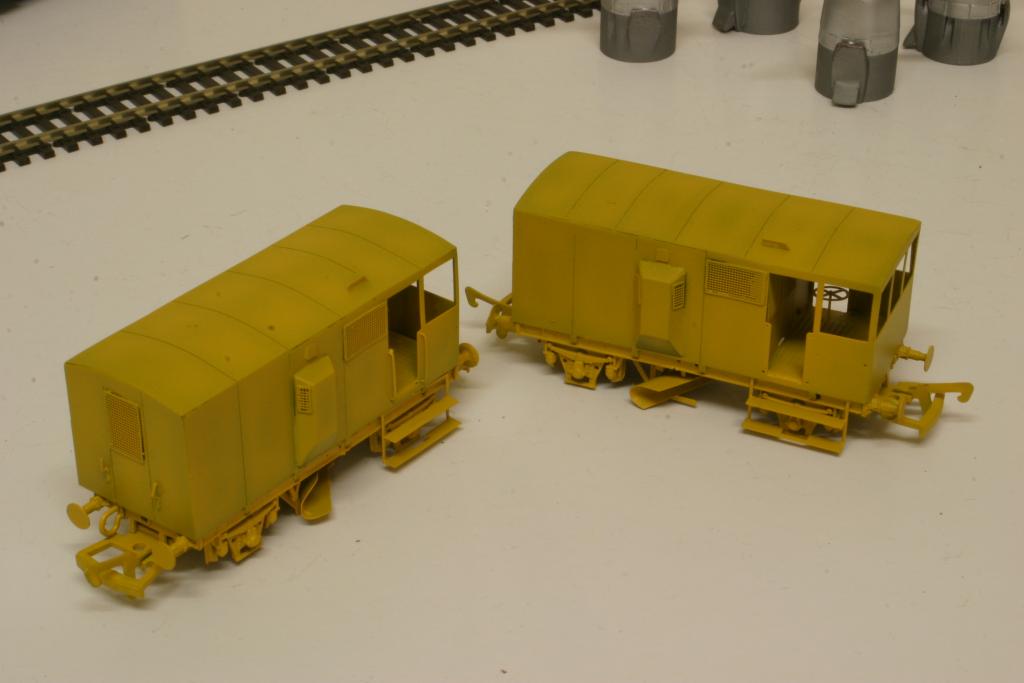
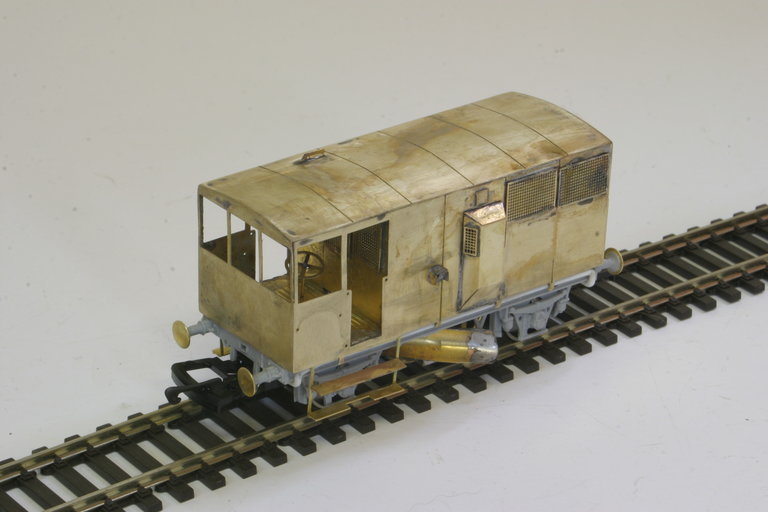
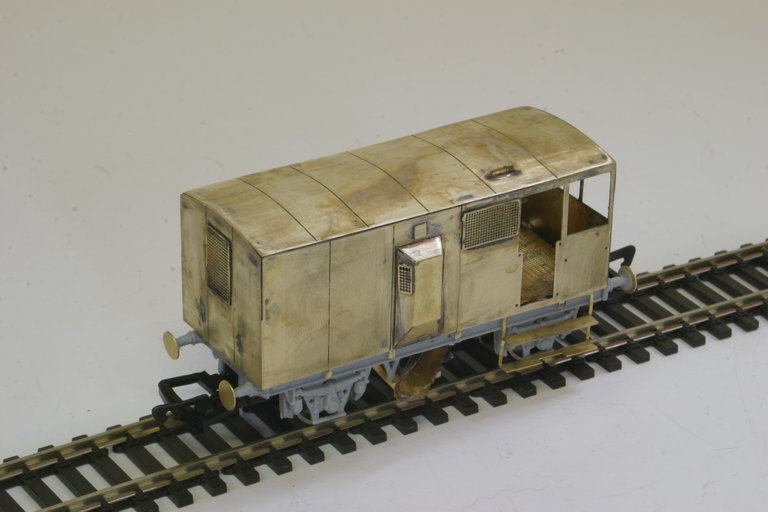
Hi Lads, Just tackling two of the fine kits from SSM. Went for the soldering option for all the etch. Everything goes together nicely with only the roof being the main challenge but when rolled the profile it Soldered on quite nicely. I used Carrs solder with 70 and 177 degree used. I rolled the roof using a Scalpel knife handle and a Tea towel Wrapped over itself like a cushion of rolled the brass on that. Primer now next and then the dreaded yellow, I hate painting yellow!