Galteemore
-
Posts
4,614 -
Joined
-
Last visited
-
Days Won
59
Content Type
Profiles
Forums
Events
Gallery
Blogs
Store
Community Map
Everything posted by Galteemore
-
Just seen. Recommended! Lovely to hear commentary on the layout.
-
1/32 Scale Mountfleet Round Table Minesweeper
Galteemore replied to Georgeconna's topic in Aviation & Maritime Modelling
Nice work George. Something deeply satisfying about a nice soldered fabrication job like that. -
“Locomotives of the GSWR” by McMahon, Clements & O’Rourke
Galteemore replied to jhb171achill's topic in General Chat
Mine has just arrived. First impressions are excellent. I had heard some comments about the flat rather than gloss paper, but paper type (excellent quality ) is appropriate for what is essentially an academic treatise rather than a glossy pictorial. Loads of detail and data which is what we need....wonderful stuff and well worth a purchase. -
Gorgeous work, David. Many thanks for the lathe tips. I have a significant birthday looming (aren’t they all right now) and Mrs G has provided me with a lathe as this is one thing that keeps coming up as a useful tool for various jobs. Haven’t used (or even opened it) yet...so any tutorials are good. Chuck key is a good tip - wouldn’t be first time I’ve started the pillar drill with the Chuck key in it.....but beside the quality pedagogy, the modelling is as usual superlative. And it’s nice to see Sir Henry nudging into a photo !
-
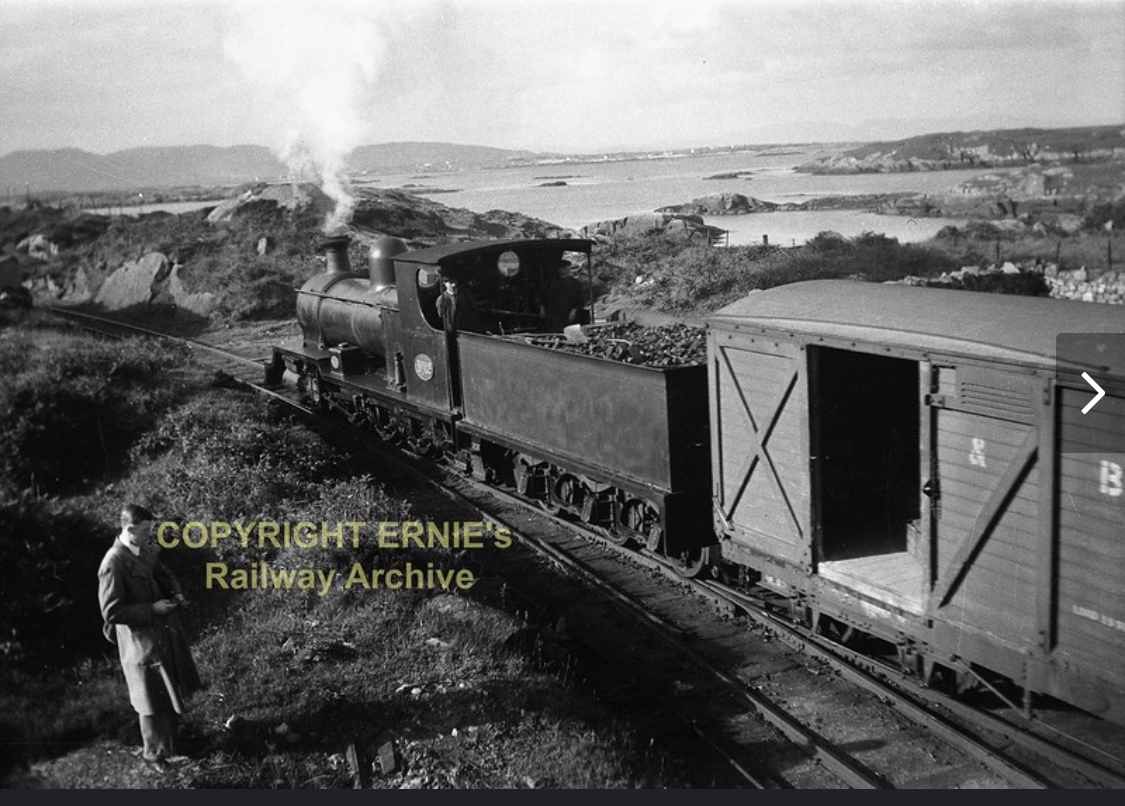
Ernies Massive Irish 1930's to 2005 Photo Archive
Galteemore replied to Glenderg's topic in Photos & Videos of the Prototype
Cracking view of Burtonport today. Casserley lived in the London suburbs beside the West Coast Main Line. This must have felt like the far end of the world....
-
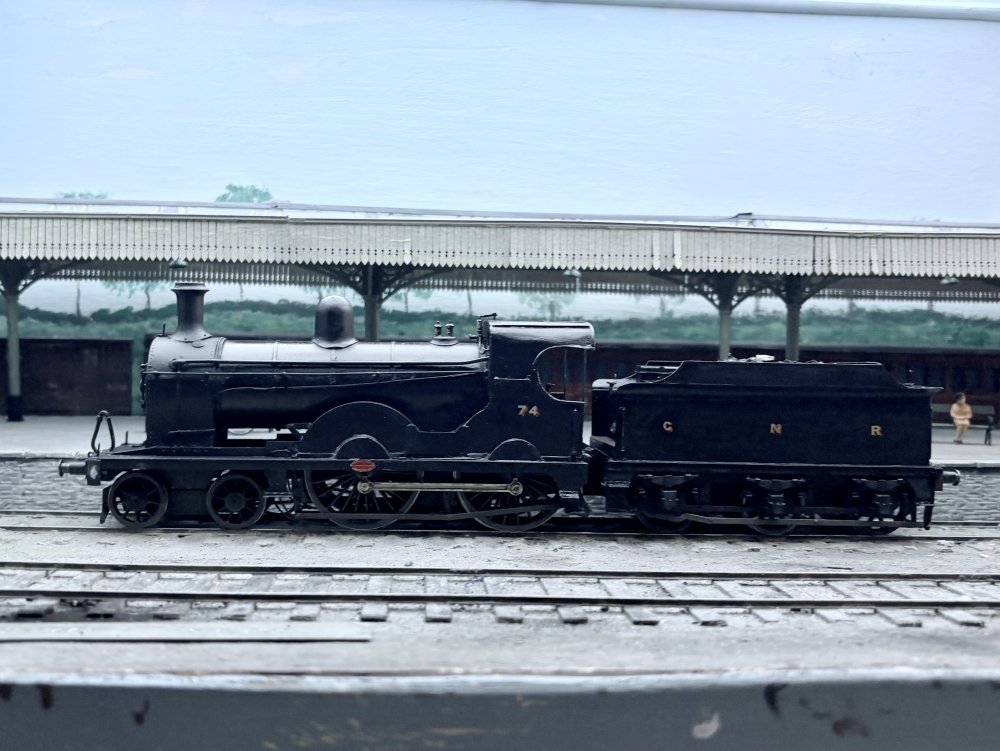
This is delightful. Very convincing and as scenic development continues will nicely lend itself to black and white photos appropriate to the era! Really like your 309. Those classic 4-4-0s don’t get modelled enough, but are absolutely key to any Irish layout set before 1960.
-
Roof looks good George - how’d you do it please? !
-
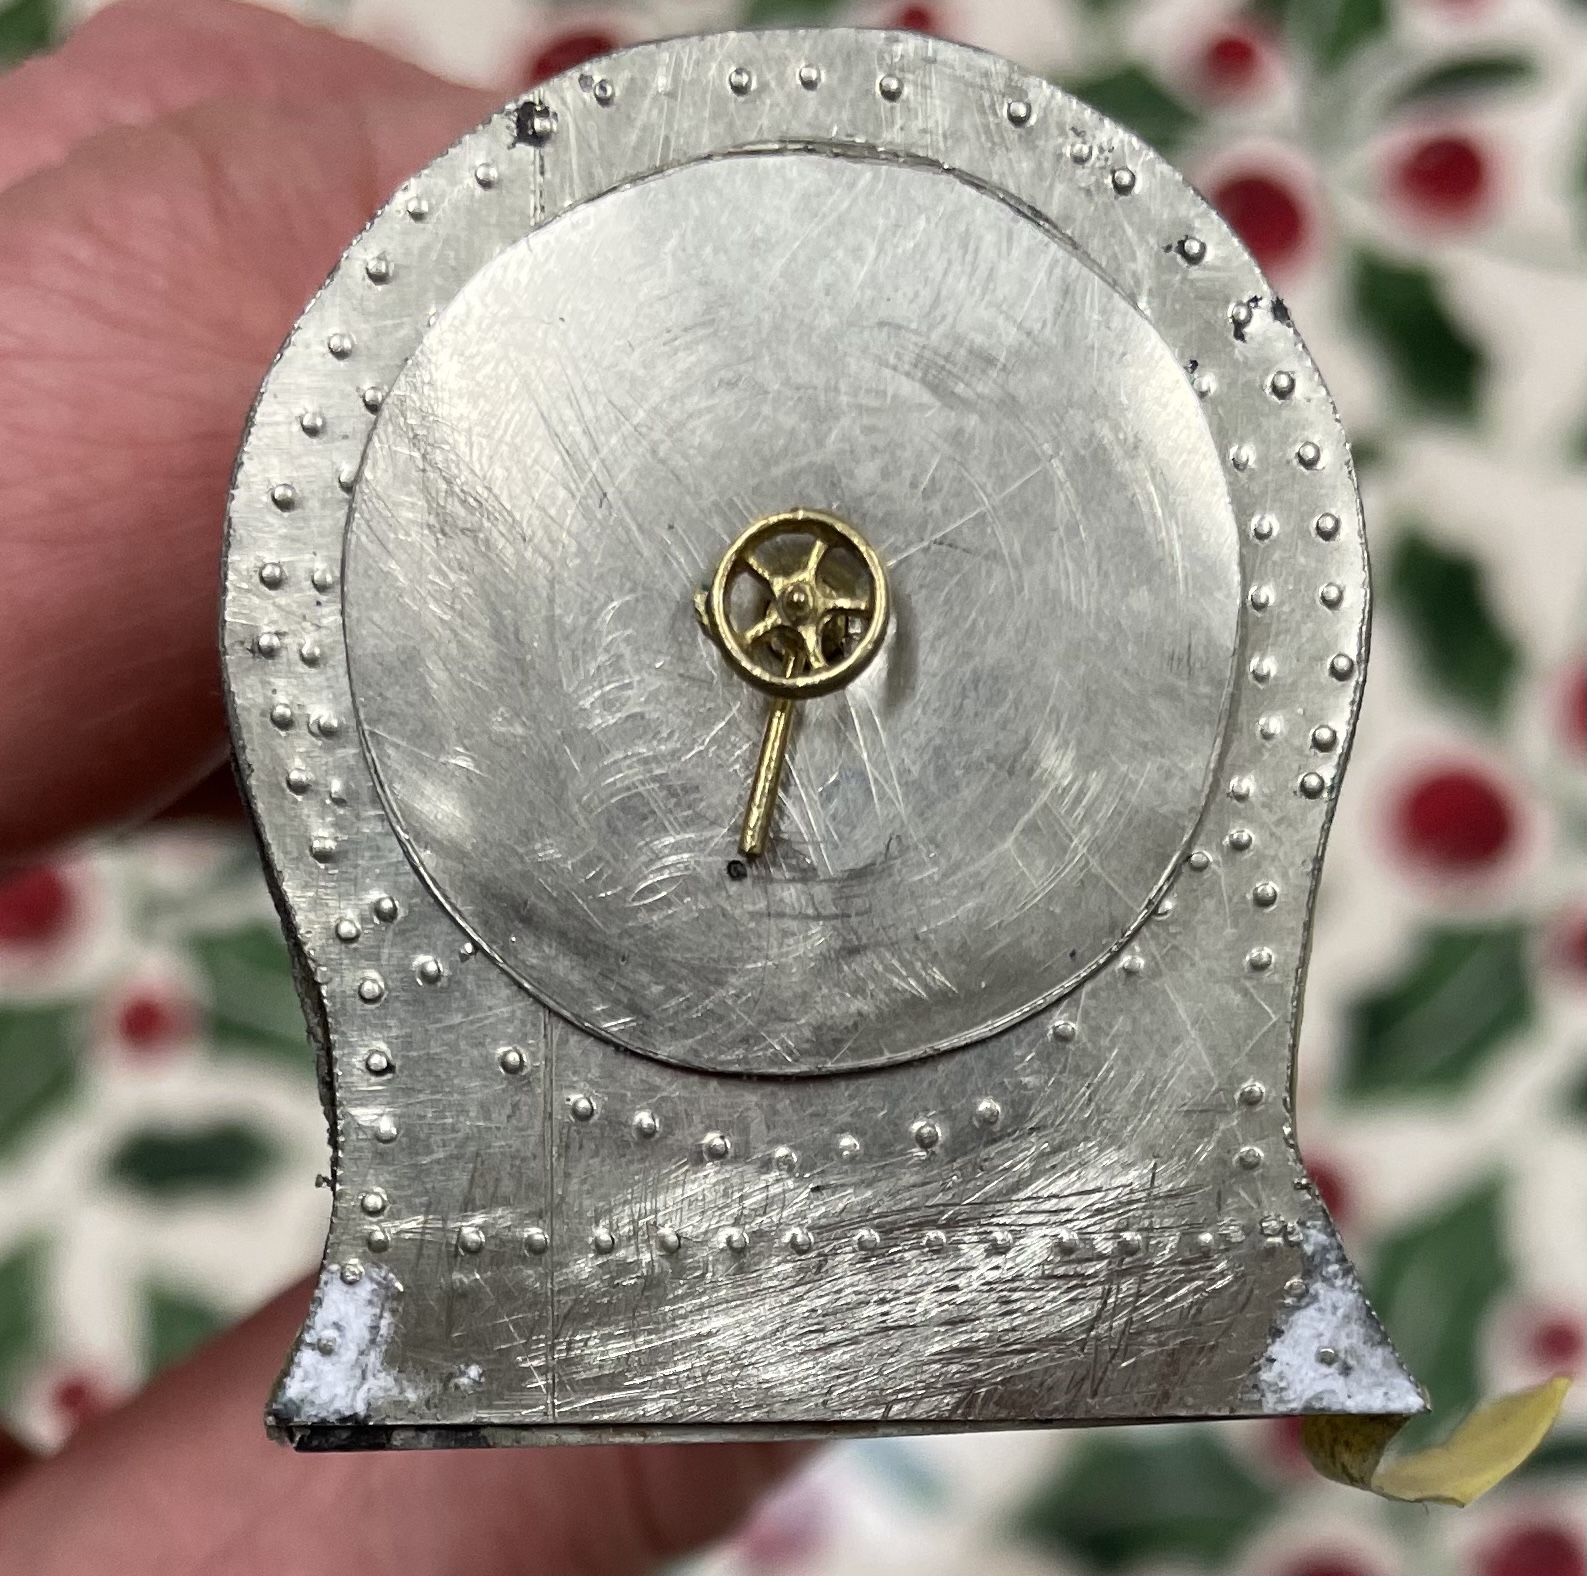
Very nice Eoin - lots of scope for you to work your magic! Nice tip - I’d forgotten to look at Slaters for a Belpaire backhead so ended up fabricating my own this week.....should have looked !
-
GSR & CIE locomotive list for grey, green or black livery
Galteemore replied to jhb171achill's question in Questions & Answers
Looks great Jim. I took the liberty of turning it over...
-
GSR & CIE locomotive list for grey, green or black livery
Galteemore replied to jhb171achill's question in Questions & Answers
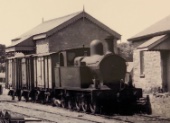
Somewhere in Ernie’s archive, Jim. Early days of UTA ownership as it’s still in SLNC colours (nameplates are giveaway). Looks like Adelaide and I think that’s VS ‘Erne’ beside it. -
GSR & CIE locomotive list for grey, green or black livery
Galteemore replied to jhb171achill's question in Questions & Answers
It’s incredibly difficult to notice in b/w and sometimes colour unless the loco is sparkly clean. These are identical black engines : but clean and dirty they look very different.....my thanks to Ernie and RCTS....
-
Ernies Massive Irish 1930's to 2005 Photo Archive
Galteemore replied to Glenderg's topic in Photos & Videos of the Prototype
Bloke to the left of the sign is probably Dr P Ransome-Wallis, a GP from Herne Bay in Kent and noted photographer. He features in another shot by HCC on Ernie’s site on the same day, and is named in the caption. Ransome-Wallis was a remarkable character who knew both Stanier and Churchward personally, and whose knowledge of locos was such that as a medical student in Edinburgh he was asked to lecture the local loco crews on valve gear. During WW2, he was a Navy surgeon and on a visit to the US saw the trial steaming of a Big Boy at Alco’s Schenectady plant. As a man acquainted with some of the finest loco works in the world, one wonders quite what he made of the SLNC set up at Manorhamilton.... -
John - quite right re Glenfarne and Florencecourt. This was especially so during the summer I think. Any ideas where such traffic may have originated ? Am assuming it was from Dublin/Belfast and carried in GN/CIE wagons with no transshipment, but will be hunting out that Florencecourt photo. I have a wagon load of drums for Rosses Point - much as I’d like to use an SLNC wagon for that it strikes me as unlikely and I should probably provide a CIE open.
-
“Locomotives of the GSWR” by McMahon, Clements & O’Rourke
Galteemore replied to jhb171achill's topic in General Chat
Very helpful comms from the publisher just in and now appears that the item is well on the way through An Post. Collon Publishing posted it on day of purchase so great service from them. Really looking forward to it arriving. -
“Locomotives of the GSWR” by McMahon, Clements & O’Rourke
Galteemore replied to jhb171achill's topic in General Chat
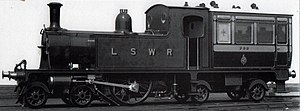
Two weeks after ordering mine hasn’t appeared yet. Covexit no doubt. Sounds great though! Fascinating re the pay carriage. Roger did a model of that little Sprite I think. One of my favourites of that genre of loco was Drummond’s Bug which achieved remarkable feats on the LSWR and could convey the wrathful CME to wayward sheds at considerable speed !http://svsfilm.com/nineelms/bug.htm
-
Lovely Eoin. We had a tender version of that - they are fun little things. Nice job conserving the paint work too!
-
21mm gauge track; the pros and cons?
Galteemore replied to jhb171achill's topic in Irish Model Layouts
Sounds good. Tegral factory branch is interesting and historic with its Ballylinan back story. Some fantastic scope for a 141 shuffling about in the weeds.https://thewandererphotos.smugmug.com/ForgottenRailways/The-Wolfhill-Branch/i-Vndptrw/A -
Nice work. Bit more info on what you did to get here would help many forum members along their modelling journey, I think - eg the 800 class - is that a Royal Scot conversion ?
-
21mm gauge track; the pros and cons?
Galteemore replied to jhb171achill's topic in Irish Model Layouts
Much wisdom above. Having begun broad gauge modelling myself two years ago, I can testify that there is much to commend in the Iain Rice cameo approach - a small self contained layout. Not much track required, not much stock, not much space needed, but lots of emphasis on the layout as a whole package - scenery, lighting etc. Hornby Trainmat it is not! An ideal way to prove concepts and get something sorted quickly. If you get bored with one aspect you can go and do something different on the layout, but a complete project can be assembled in a reasonable amount of time, giving a sense of progress and completion. Modelling is often as much of a psychological challenge as it is one of skill! -
Brilliant stuff David. Was hoping we would get to see some of the lathe output. Those MGWR buffers are quite something - very delicate looking.
-
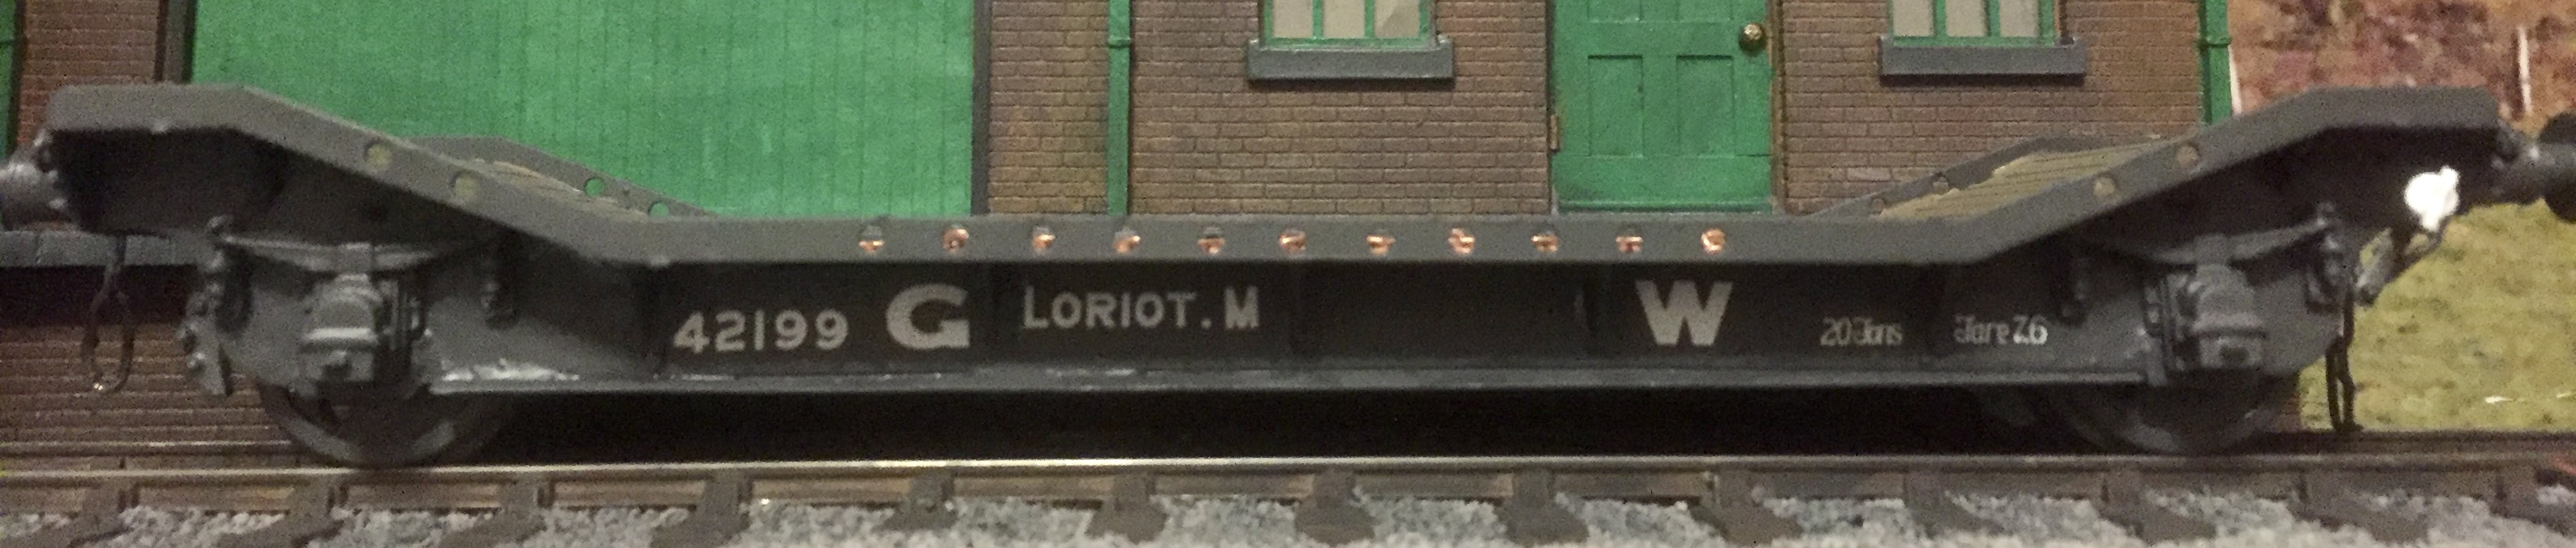
Telegraphic codes. GWR was a big user eg Mink, Hydra etc. https://www.svrwiki.com/Telegraph_codes First brass kit I made was an O gauge ‘Loriot’
-
https://www.eventbrite.co.uk/e/the-golden-age-of-steam-tickets-136434508287 Hot on the heels of his BackTrack article, AirfixFan of this parish is doing an online talk for PRONI next month 18 Feb at 1400. Lots of images not used in the article, with expert commentary. So consider yourself invited!!
-
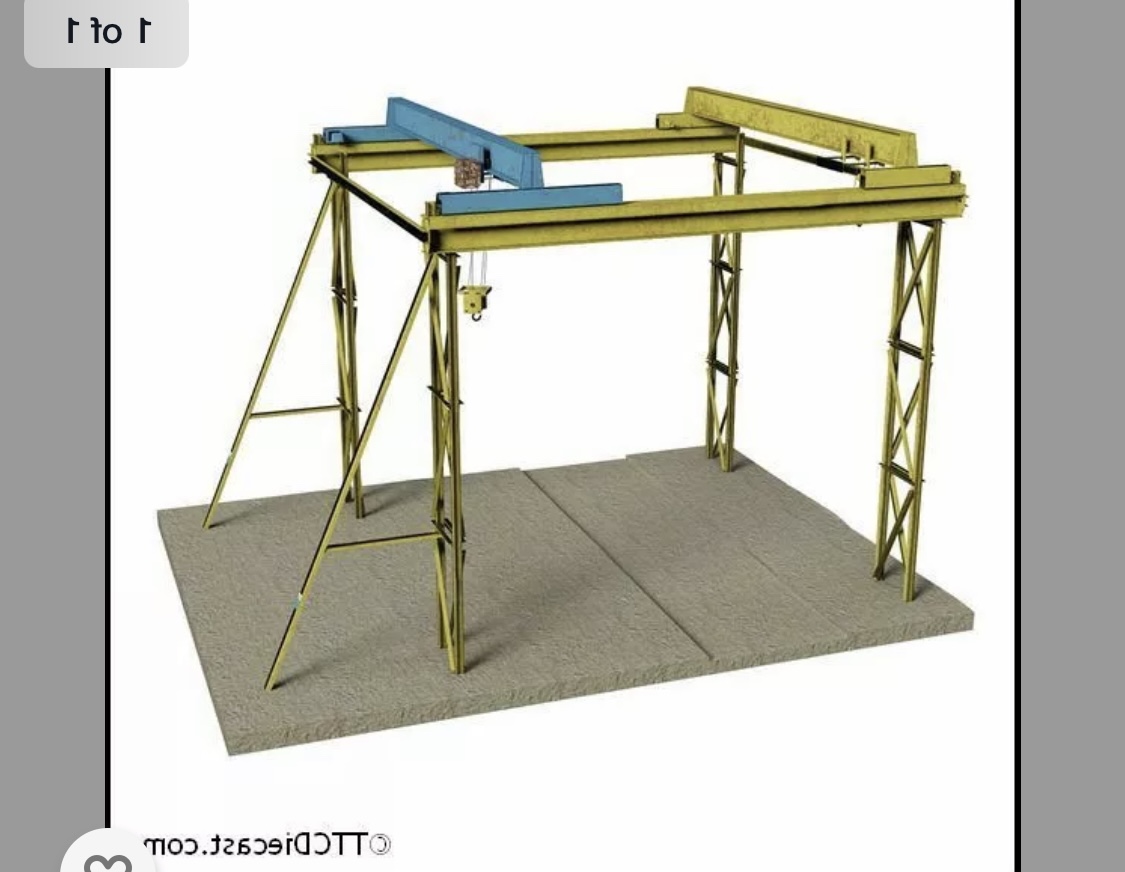
https://www.downrail.co.uk/rolling-stock/steam-crane-3084/
-
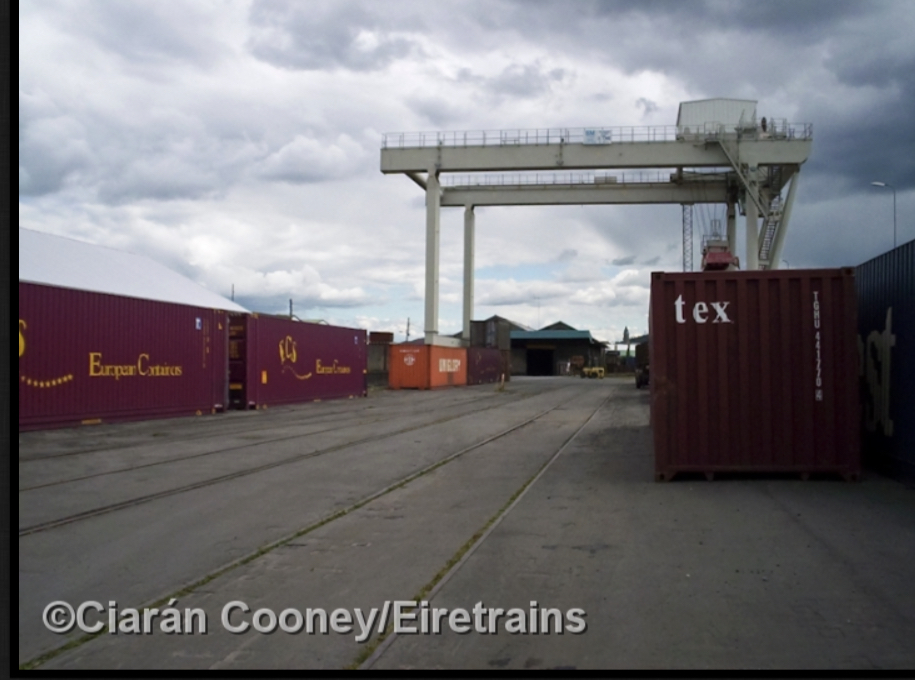
This is more your man here...https://www.ebay.co.uk/itm/274423615940 not far off Sligo Quay (from Eiretrains site).
-
Is a face beginning to emerge?
- 542 replies
-
- 10
-