Angus
-
Posts
301 -
Joined
-
Last visited
-
Days Won
3
Content Type
Profiles
Forums
Events
Gallery
Blogs
Everything posted by Angus
-
That's really taking shape now David. I'm enjoying seeing it develop.
-
Ernies Massive Irish 1930's to 2005 Photo Archive
Angus replied to Glenderg's topic in Photos & Videos of the Prototype
Thanks for posting these Irishswissernie, there a couple of views of Dromahair I haven't seen before. -
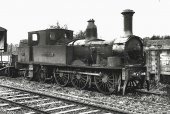
I quite fancy building one of these in 2mm from a Worsley works etch. I've never been able to find the wheelbase of these machines, can anyone point me in the direction of a drawing? Thanks
-
Fantastic work on the buffer beam there Galteemore. Just out of interest how are you planning to fit them to the frames?
-
Hi David, 4mm sale drawings for the D16s were printed in the April 1976 edition of Model Railways magazine as part of the Irish Miscellany series. I tracked down a copy a while ago as a 2mm scale D16 is on my to do list. I've PMed you a copy. Whilst being a long way from a works GA drawing I hope they might be of some use, I've not checked the accuracy of the drawings mind. Looking forward to seeing this train develop. Angus
-
Actually it was only just over a decade ago. March 2009 is the edition, a nice 3mm scale drawing with detailed drawings of the winch and a few other items plus a potted history of the vessels.
-
There were plans for a puffer published in an edition of the Railway Modeller 20 years or so ago. I have the edition somewhere, I'll dig out and let you know what month and year. I do love the puffers but they are a bit ubiquitous in the model railway world appearing in all sorts of inappropriate places! I would guess a trip across the Irish sea in one would not be a trip to relish unless calm. They were really designed for near shore coastal waters around the Clyde and West Coast of Scotland.
-
Hi Brian, There is some commentary about them on my Dromahair topic starting on May 21st, albeit in 2mm scale. Out of the box they are disappointing but can be made presentable with effort.
-
Wrong scale for me but the build results looks superb, I hope it's a success for you, it deserves to be!
-
Hi JHB, They did appear in my Dromahair topic in the Irish Model Layout section That was back in May, and embarrassingly I'm no further applying with applying planking to the blank side panels on the van or getting them painted.

-
Hi David, Not yet, my copy is still winging its way from the Titfield Thunderbolt as no local shops stock it any more. I've deployed the sentry to advise me of its arrival.
-
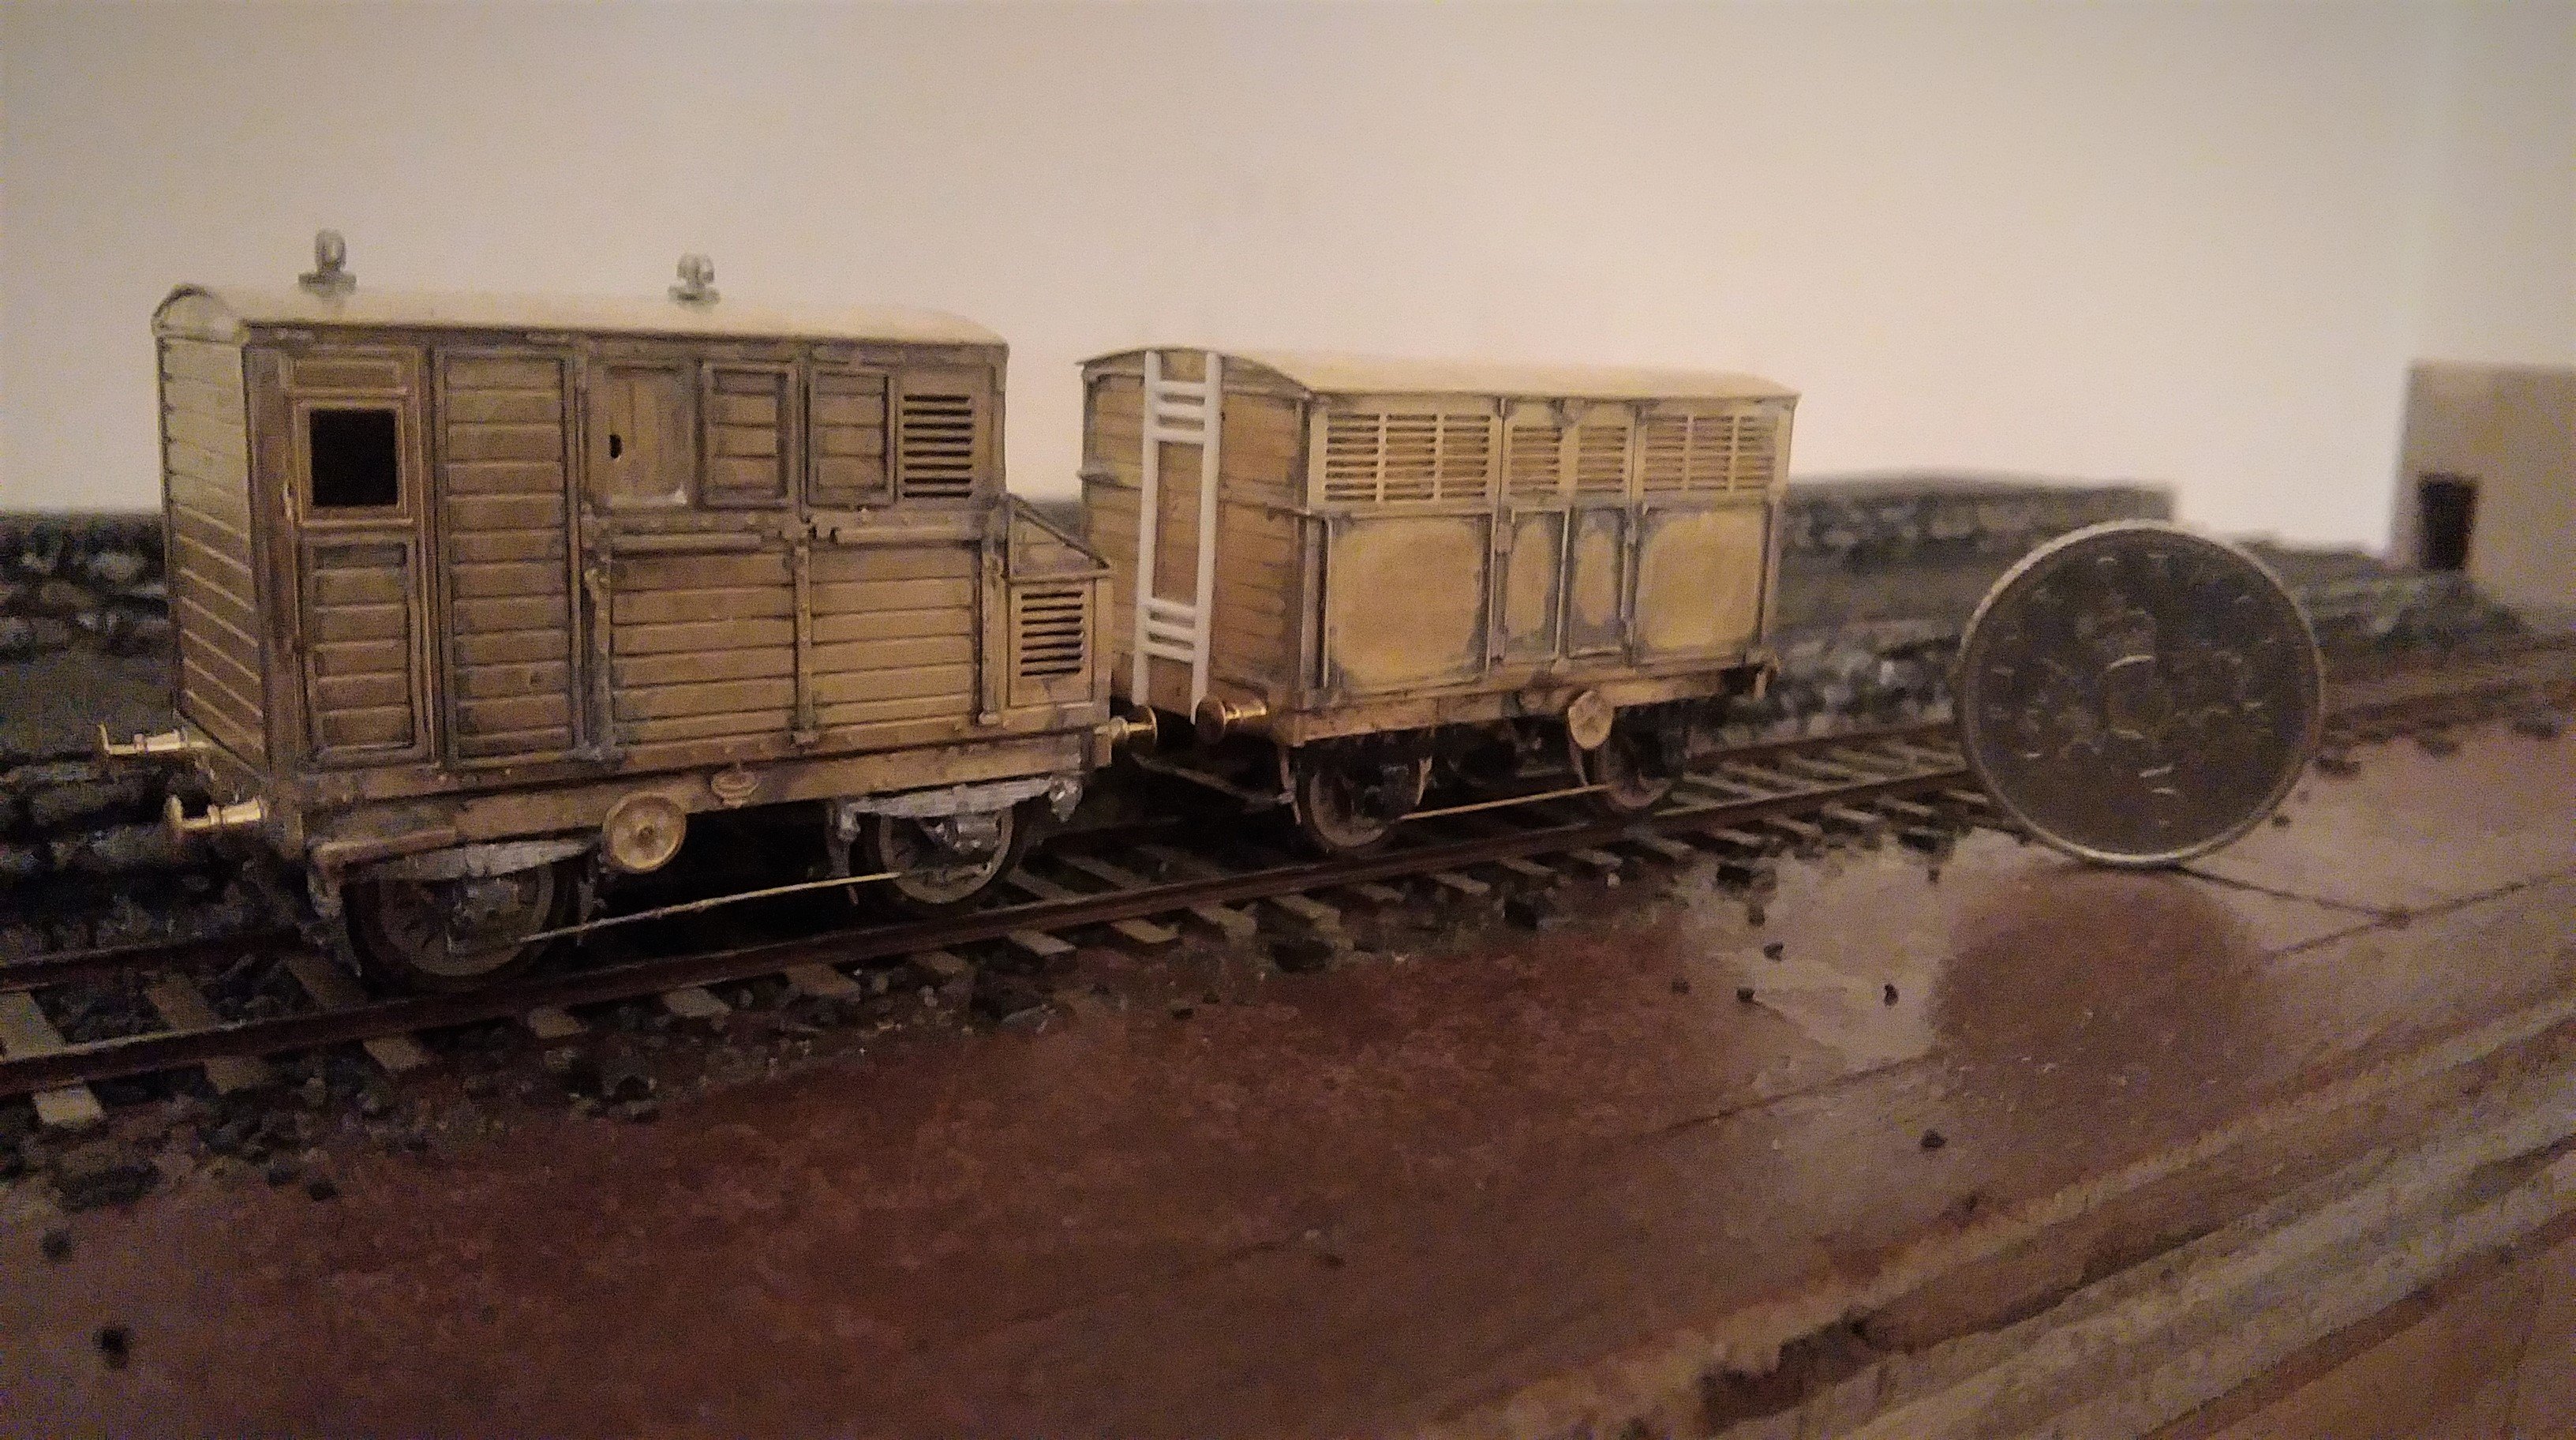
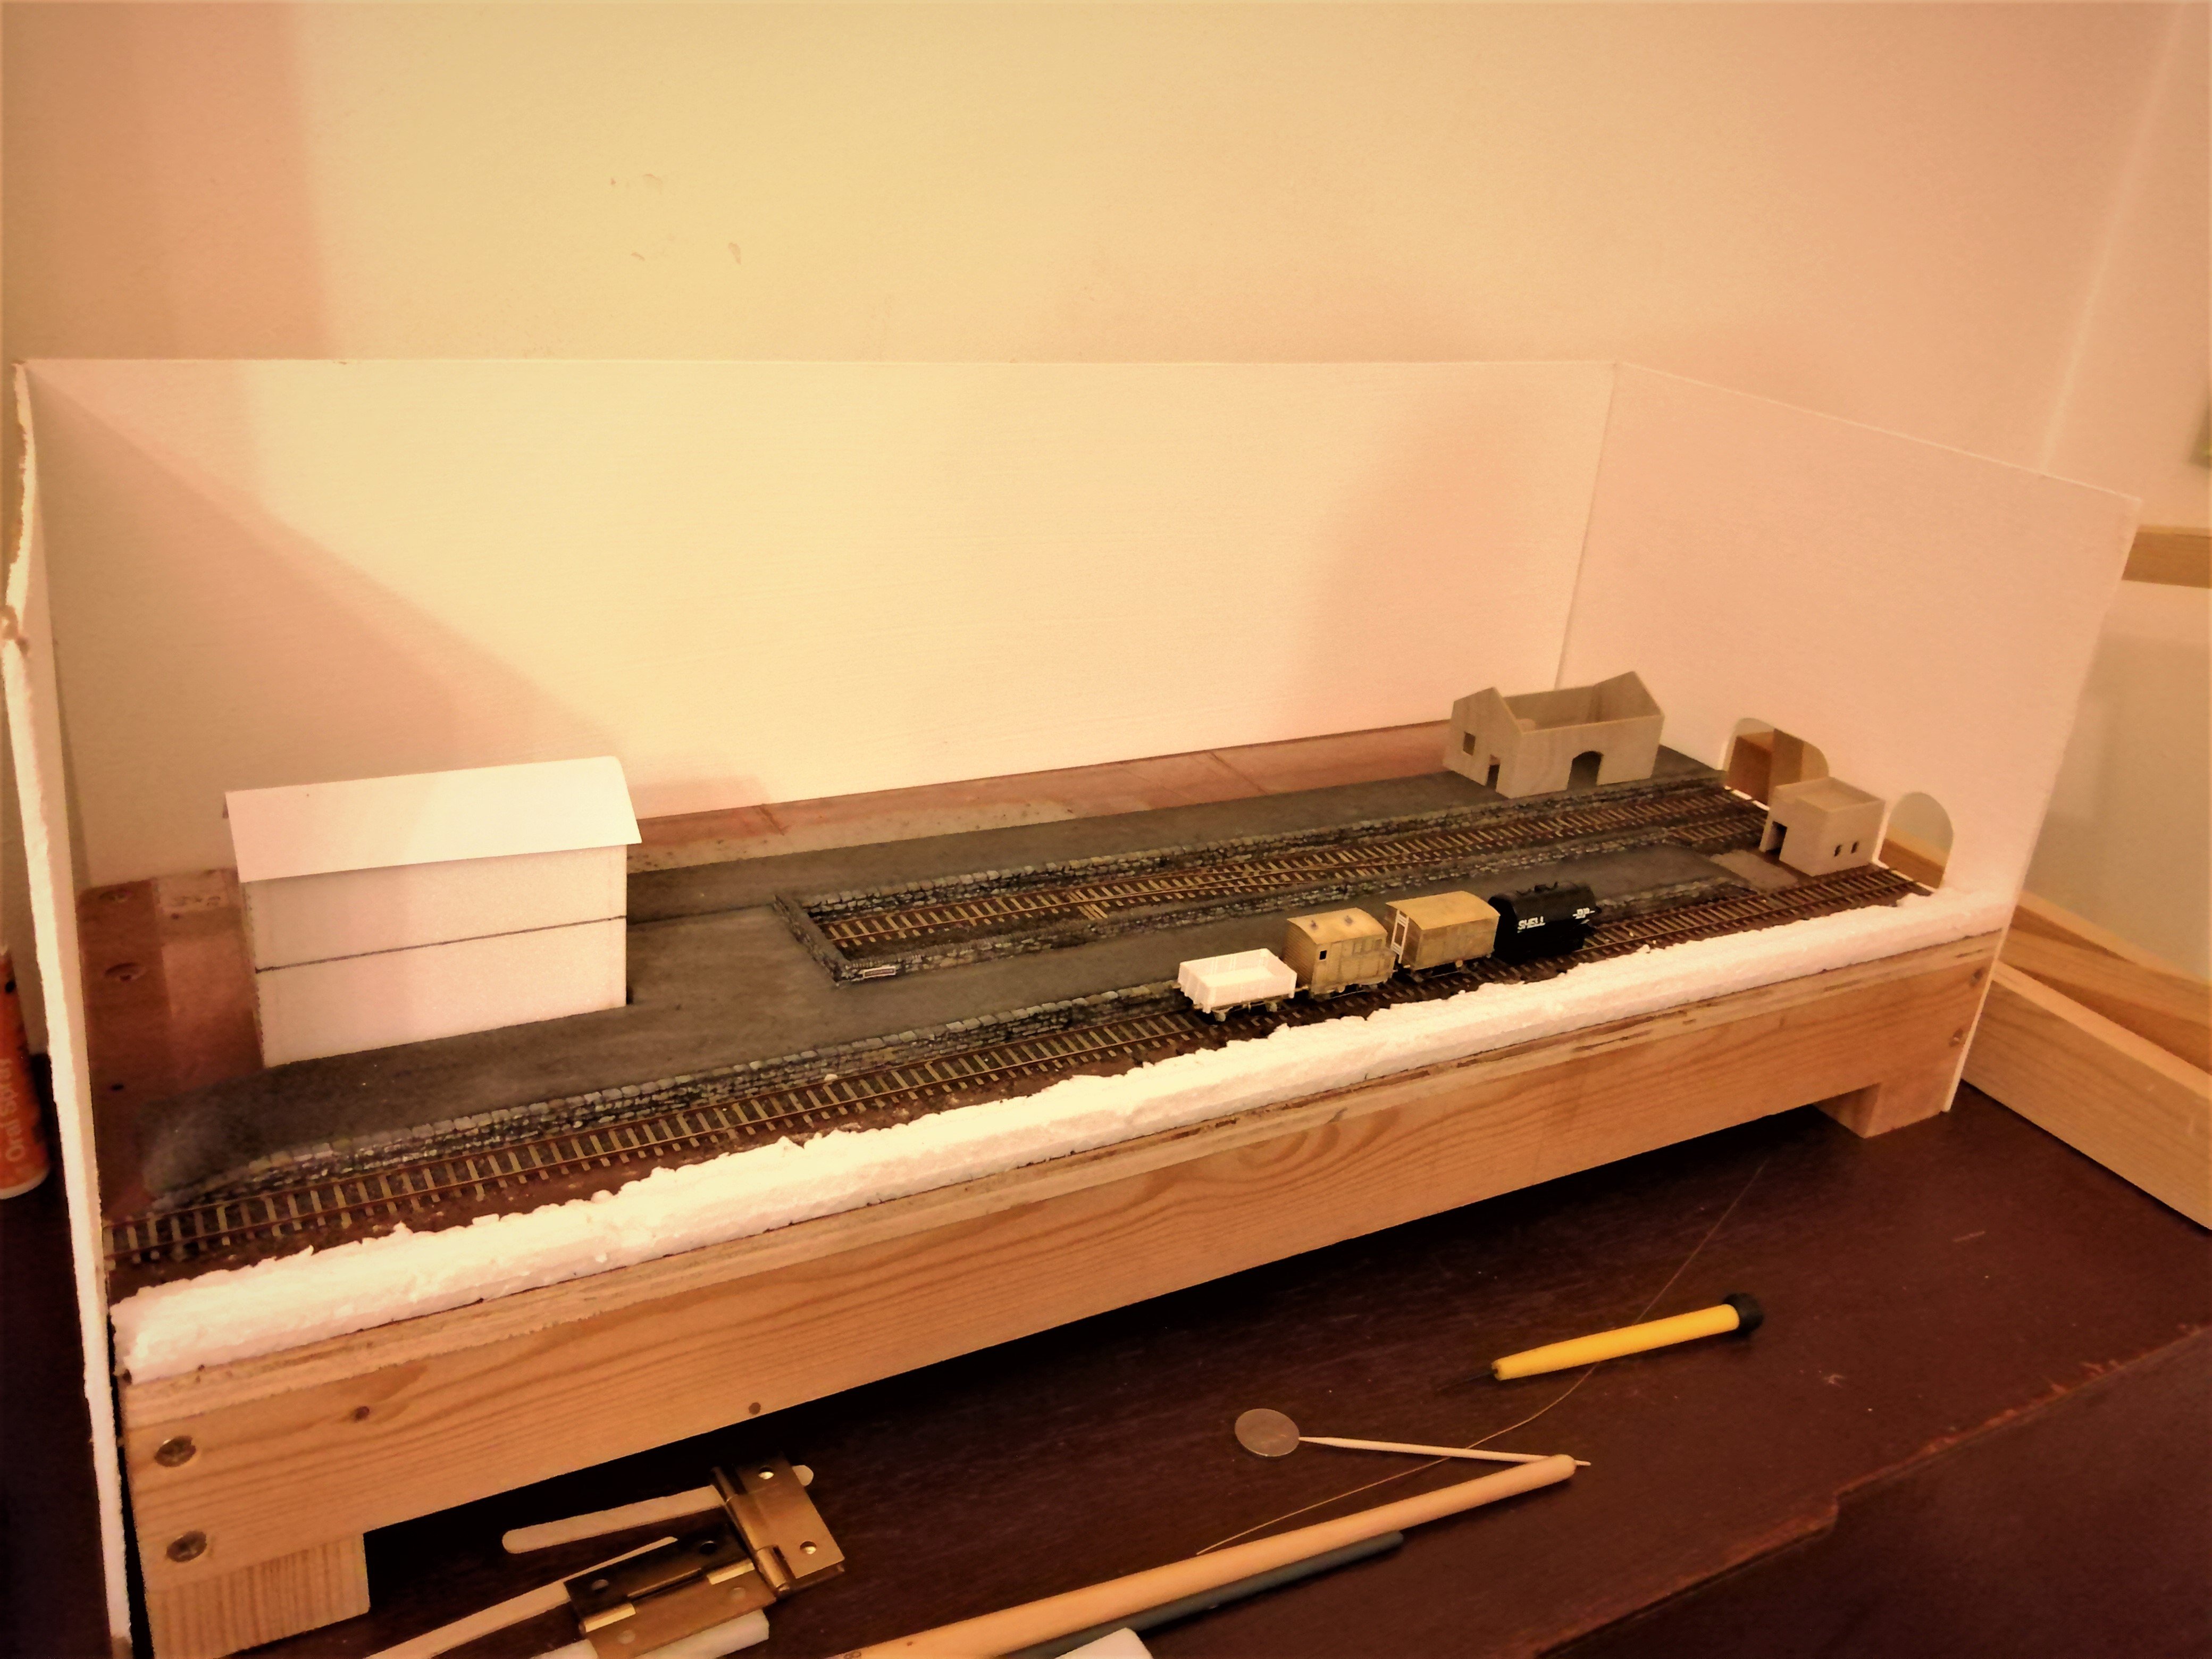
Ah! well, if we're including "ongoing thingy stuff" in the mix then does my 2mm scale version of Dromahair qualify? 2 ft long and 10.5mm gauge. Hopefully the start of something bigger. Apologies for the poor photo, the layout is currently residing in an unlit corner.
-
Hi JHB, I had an email exchange with Steve back in May and all seemed ok. I'll PM you his email address.
-
Hi Galteemore, great progress there! I find it is always good to have a connection with the loco you are building, it feels more personal then. I'm looking forward to seeing this one develop. Angus
-
Hi David, If not already seen it Archers do a video tutorial on how to apply their rivets. The technique is not earth shatteringly novel but using it makes applying the rivets much simpler.
-
Looks good Galteemore, certainly captured the look of the carriage. Just out of interest what drawing did you use as a starting point?
-
That's looking good Galteemore, No 4 is on my to do list also, a quintessential SLNCR carriage!
-
Hi Ken, As I've said over on my Sligo thread it is very much appreciated that you've shared your work with us. Thanks Angus
-
Thanks Ken, That is much appreciated, although the Sligo tank is somewhat different it is always useful to have some comparable dimensions to compare to. Angus
-
Hi David, I've just sent you a PM, I am suspicious of the plan dimensions for the smokebox and boiler. As modelled they look about right (which is the aim of the game is it not?). I suspect if you had made the smokebox 6" wider it would have looked very wrong. I agree with Murryrec that there is something off with the sandboxes though when compared to the photo( did these vary across the prototype?). The sandboxes on the drawing I sent also seem to more like the model than the the photo
-
Hi Ken, Yes please, any details would be useful. Thanks Angus
-
Hi Ken, I've just been asking about a gas tank that appears on a couple of photos at Sligo over on my thread about Sligo station and was pointed here. The tank wagon in question is different to yours but I would guess similar in size, what diameter did you establish the tank to be? Thanks in advance. Angus
-
Thanks Eoin, I will do, it looks like a different wagon (no end timbers and straining wires) but probably similar dimensions.
-
Thanks both, I did wonder if that's what it was, it looks quite antiquated. Something else to add to the list to model. I doubt any drawing exist though so it will need to be scaled from photos.
-
Having conquered to locomotive roster I am now looking into the carriages, One question before I delve into that though, whilst looking at the photos of SLNCR passenger stock I came across this picture on the HMRS web site. https://hmrs.org.uk/photographs/tri-composite-bogie-coach-no-10.html My question isn't about the carriage but the tank wagon next to it. It is clearly a CIE vehicle but the tank seems very narrow in diameter. Any ideas what this might be for (....or is Guiness really that dense!) ?