David Holman
-
Posts
4,359 -
Joined
-
Last visited
-
Days Won
117
Content Type
Profiles
Forums
Events
Gallery
Blogs
Everything posted by David Holman
-
Isn't hindsight wonderful? As are indeed the models.
-
Fantastic work Ken, making a super little train.
-
A bit of tweaking to the can roof too by the look of it? It all sits very well and definitely looks the part. Classy!
-
Thanks, I think it's really just the Terrier type chimney, as everything else is pretty much the same, though the smokebox door is also different of course. The lining should also make a difference, but as you know, it is no quick fix!
-
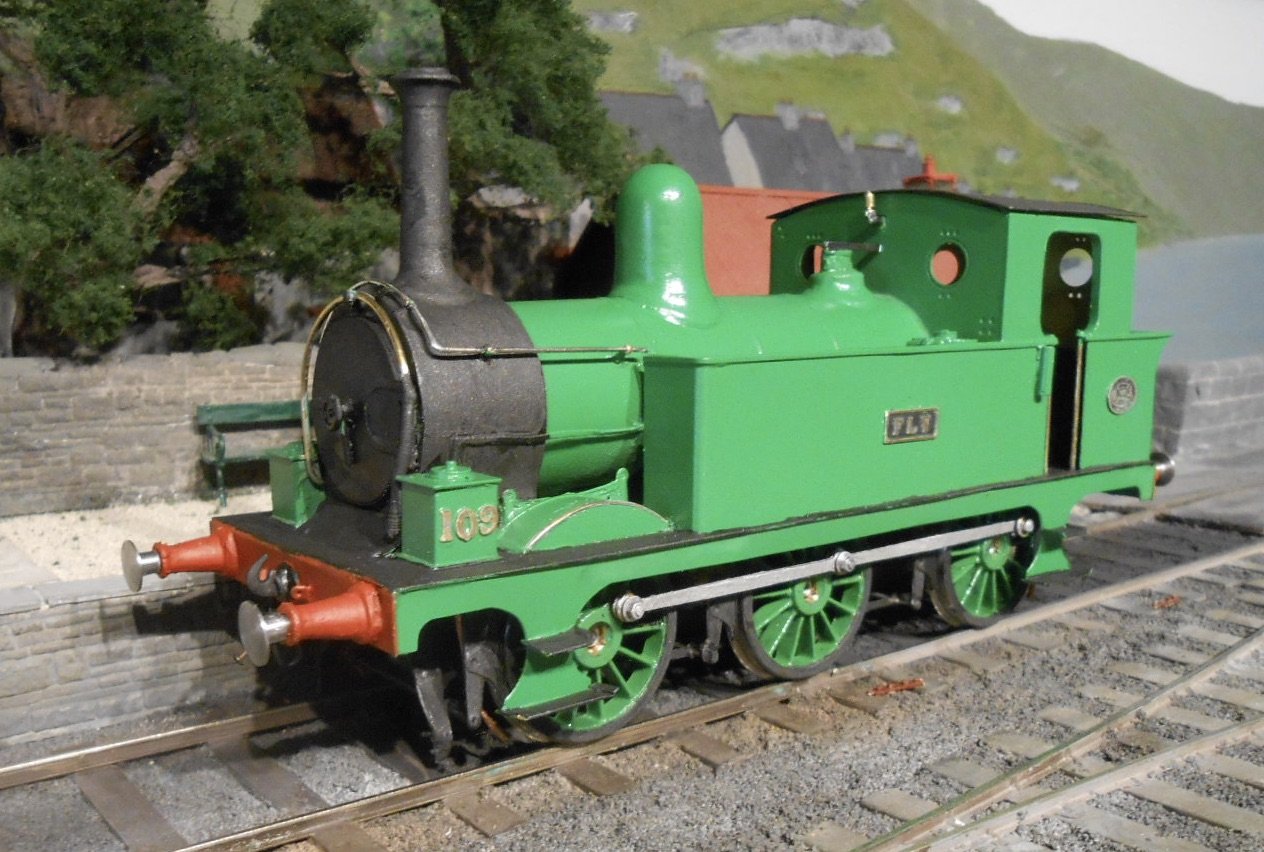
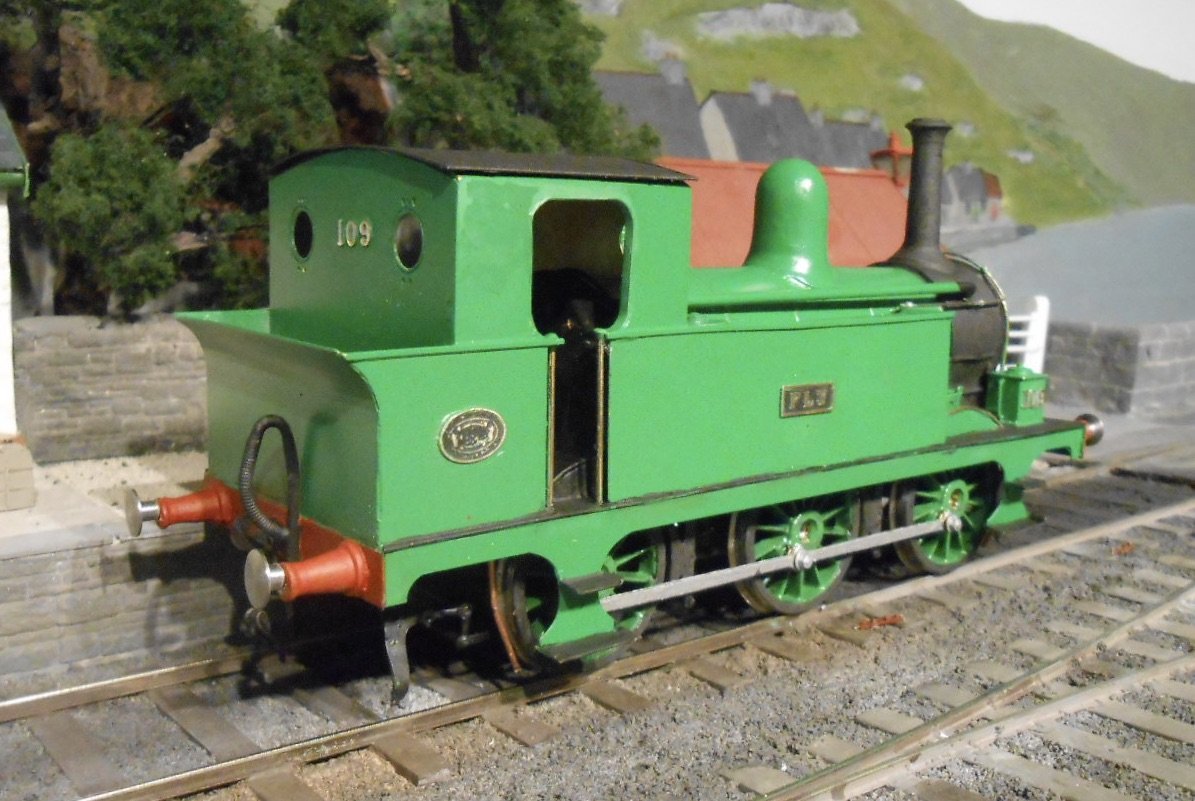
Only a few things left to do on Fly now., albeit one of them being the lining. Other things done in the last couple of days are: buffer beams painted red, with screw link couplings added buffers themselves have had their shanks turned down in the drill and for now, just push fitted in place cab interior has been painted black to waist level and cream above driving wheel spokes have been brush painted green, while the rims are now dark grey. Wheel nuts are currently not in place to aid painting. Dark grey [a 60/40 mix of matt black and gunmetal] has been used to also paint the smokebox, footplate and chimney Likewise the cab roof, as yet unfixed Background of the name and number plates painted black Coupling rods are now gunmetal Sandpipes have been painted copper Other items have had the paint scraped/filed off to leave bare metal. These include the handrails, raised letters and numbers,, plus the vacuum pipe around the front of the smokebox. Fly still looks very green, but these details are certainly starting to tone things down, so am very much hoping that the lining will do this even better.

-
Thanks Alan and everyone. Forgot to add the £40+ for lining transfers to the bill, but as you say, it is what it is and the main thing about indulging in creative hobbies is the satisfaction it can bring. Well - mostly!
-
Northport Quay is just 7'6, while if you were to decide on narrow gauge, Fintonagh is just 6'6. Short trains, but perfectly operable and both show what can be done in limited space. Try and get hold of Iain Rice's book on Cameo Layouts, where there is a wealth of ideas, including 7mm scale.
-
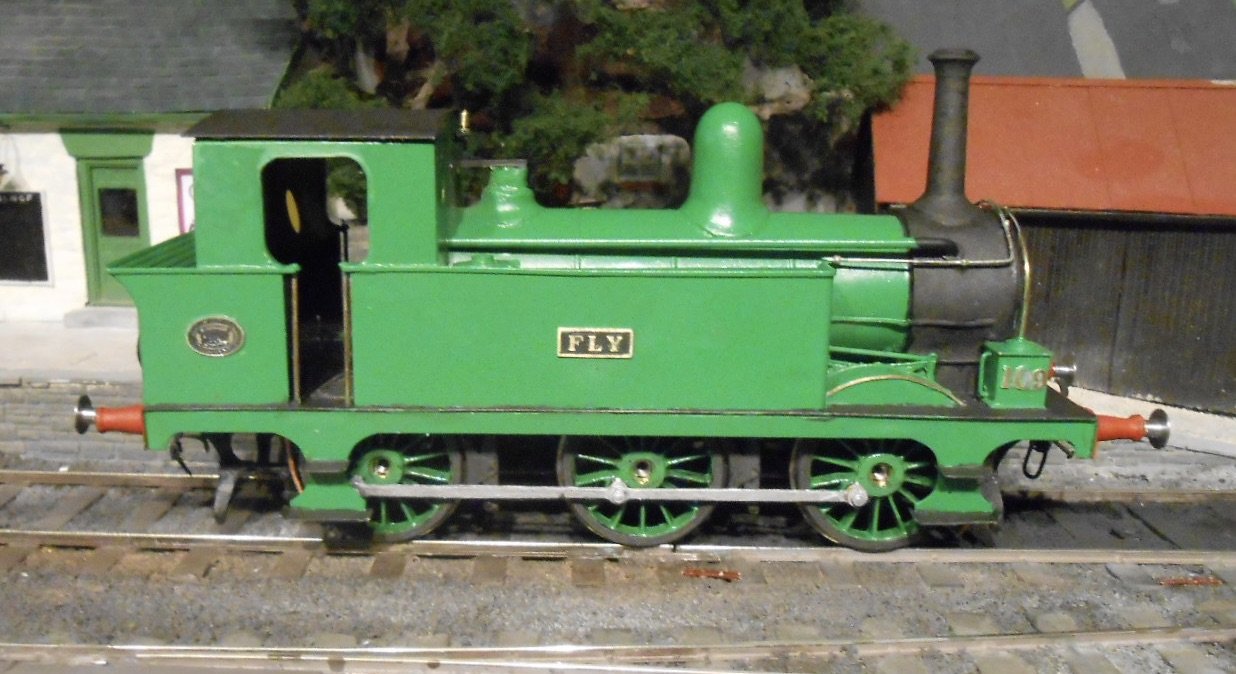
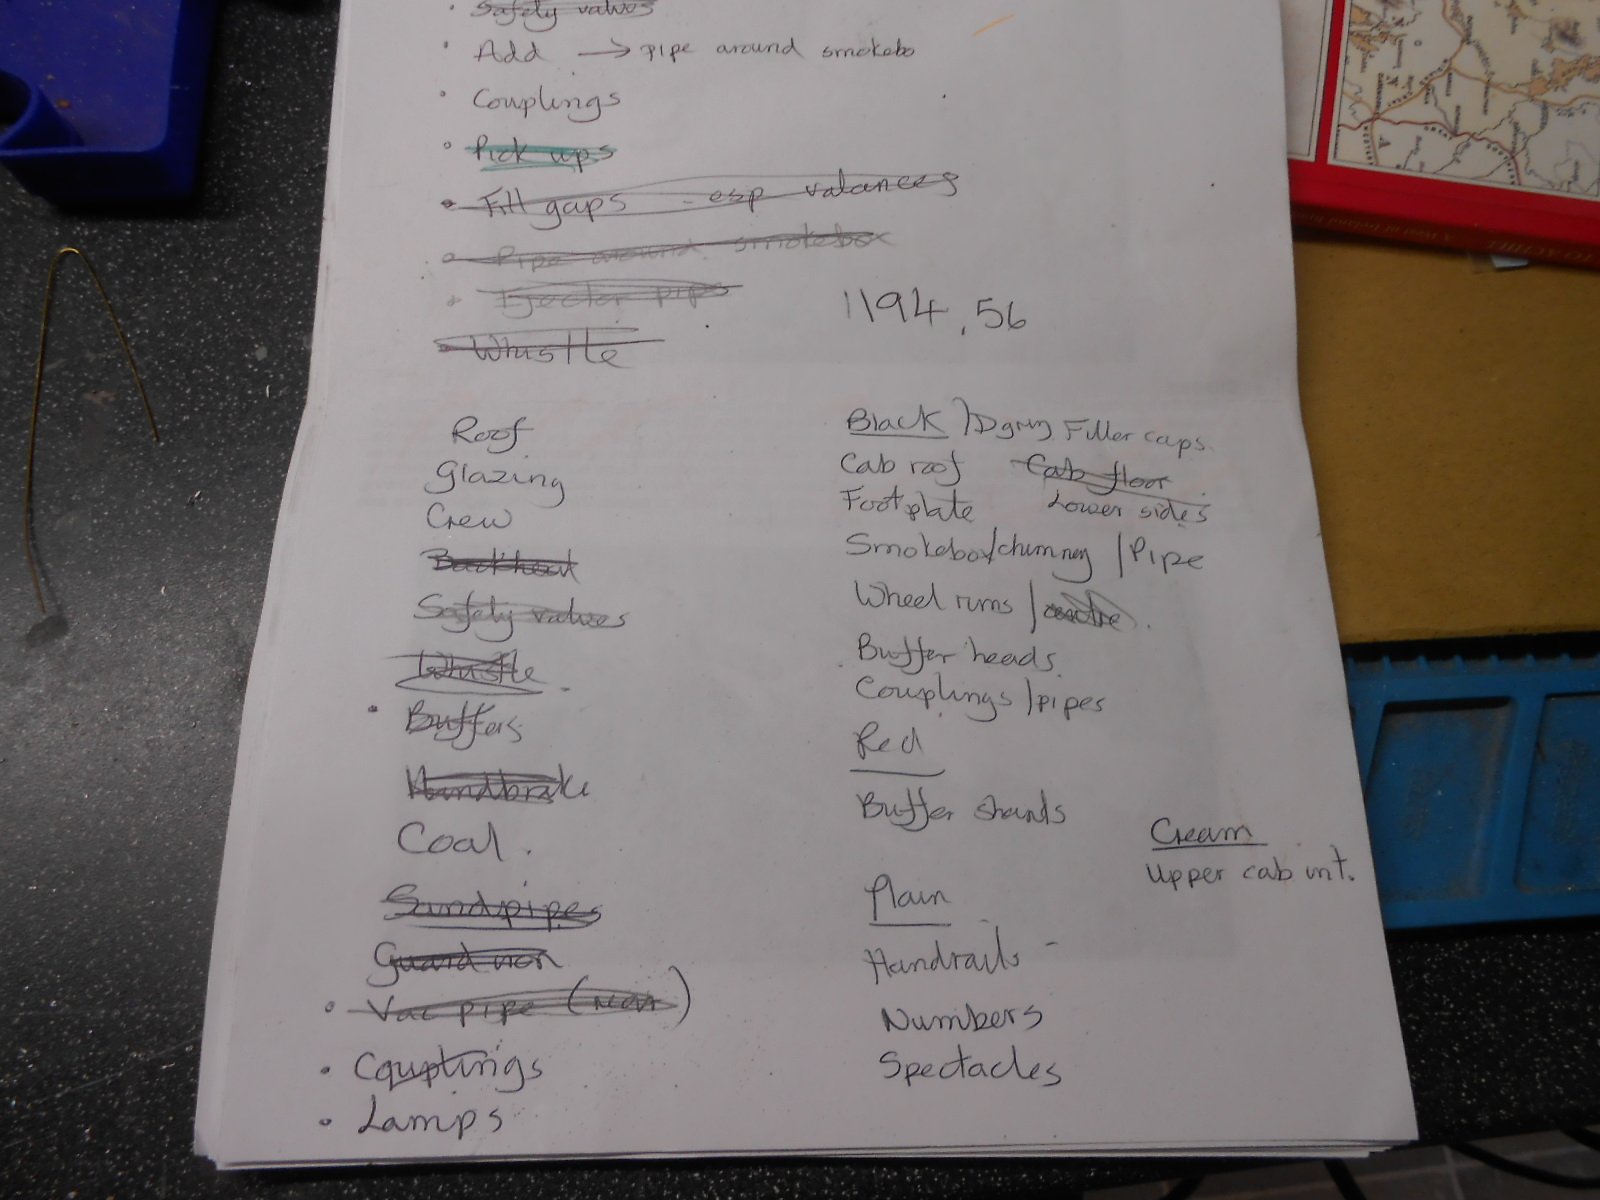
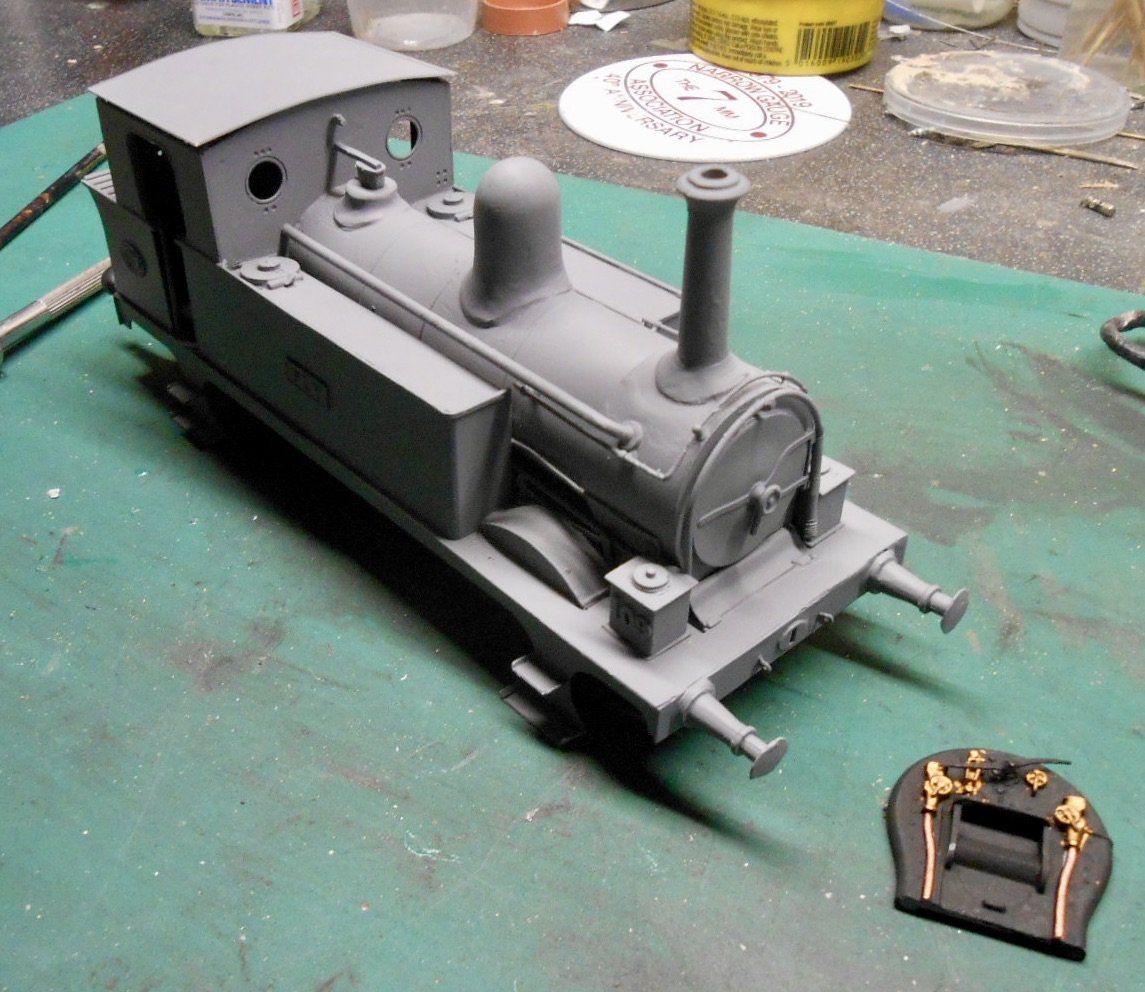
Well, E Class "Fly" is at last looking [very] green, following the arrival of a new rattle can of RAL6001 Emerald Green. At this stage, I don't much like the first top coat, because it always looks too bright [or black]. However, am likewise alway surprised and pleased that the addition of the other colours, plus a bit of weathering, tones things down. This is also the time when I find there is a bigger list of stuff to finish than I first thought, as you can see below: Two that took up rather too much of my time were the buffers and screw couplings. The latter were because I didn't have any sets left in my stores, though I did find two brass castings of the central pivoting section. Therefore, got out some 0.5mm wire and bent up four loops to finish them off, then adding each unit to etched hooks that I did still have. The original white metal buffer heads took a bit of a battering when I dropped the model on the floor, so inspired by Alan's [Tullygrainy] work with files & a drill, I got four steel buffer heads from my store and turned the shanks down to 3mm diameter, then cut off half of the 2mm diameter shank, so they can fit into holes drilled in the main shank. Before this, I cut off the white metal heads of the original buffers. Have also found four lamps that, after painting, will be glued to the buffer beams. A photo of these bits, along with the latest picture of Fly is shown below. Another five hours or so have been added to the build time, bringing it to 35. Speaking of numbers, have been brooding on the cost of this project. The kit itself costs £125 - not bad. However, other stuff soon starts adding up: £84 - wheels and broad gauge axles; £50 - motor/gearbox; £20 - paint; £5 - couplings [albeit a while ago], bringing the total to £284. There again, a new 4mm scale loco can easily top £200 or more these days!
-
Thanks folks. RAL6001 is indeed the number on my rattle can, so that will be my next quest.
-
Very pretty, VERY neat and tidy, while am certain Bachmann, Hornby or anyone else are not going to bring out a rtr version either. Looks a real treat Alan and hope your cans rattle better than mine!
-
Well, how fab is that and who cares what is under the paint when it all looks so convincing? As Alan and Leslie have already said, a bit of homespun ingenuity can work wonders. Lessons here for all of us.
-
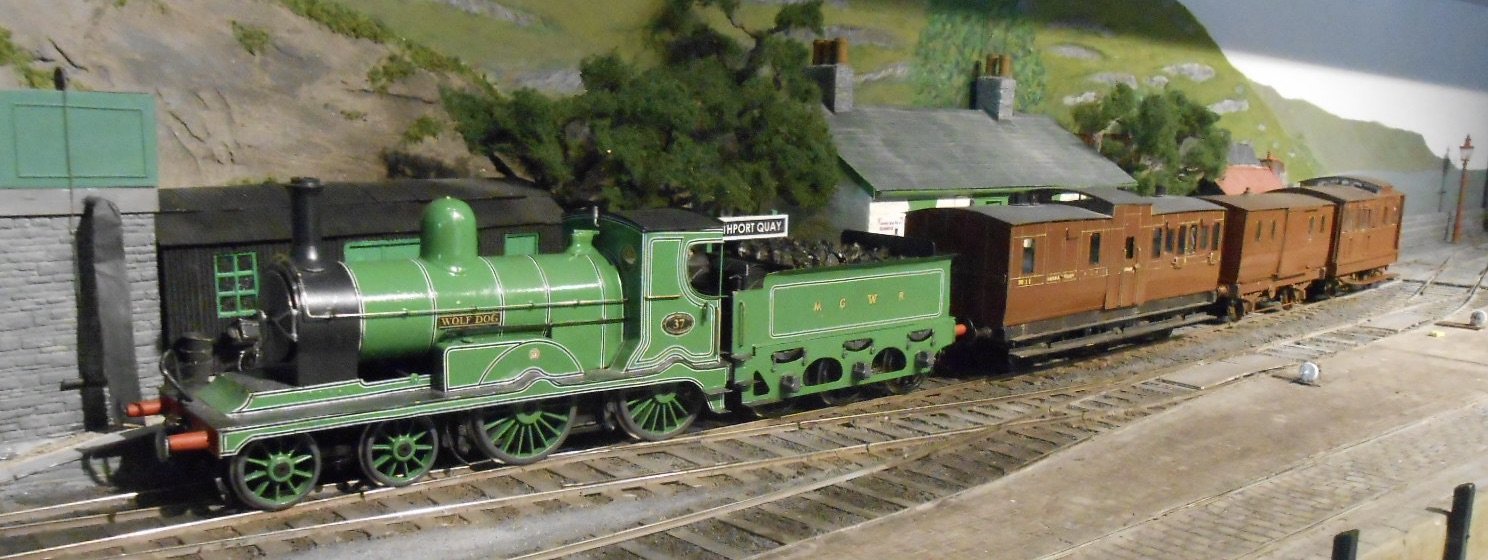
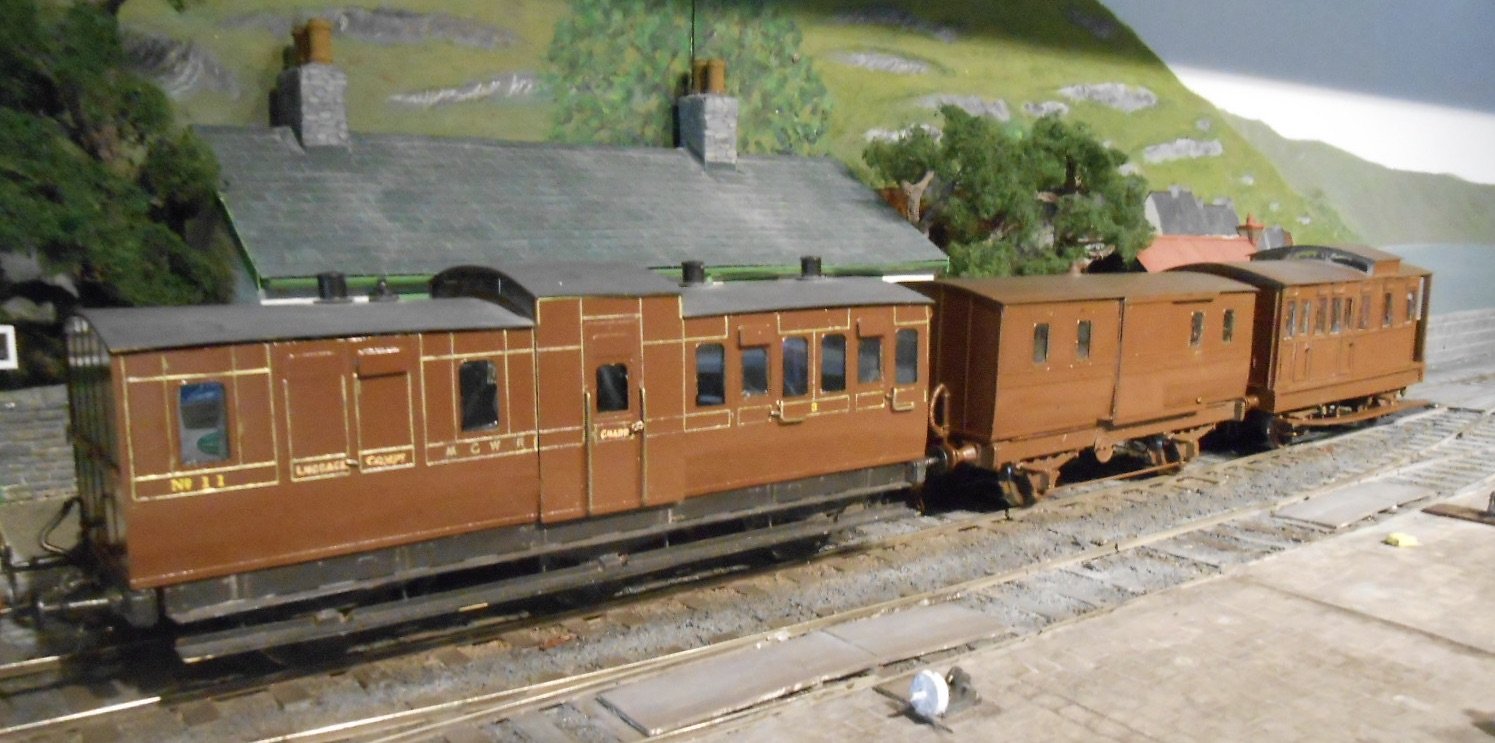
This model is really starting to test my patience! Nothing wrong with the kit, but the gremlins are very active chez Holman it seems... Having got the model ready for its top coat [again], I got out my Halford's Ford Garden Green rattle can [same one as I used with Wolf Dog] and, following a good shake, proceeded to spray the model. Instead of the usual fine spray, what came out was more akin to a muck spreader. Forget the fine mist, think diarrhoea! Sorry... What I should have done was stop immediately and wash it off, however the coverage, though heavy, looked like it might be ok, so I carried on. The reason for this bit of madness is that it is perfectly possible to rescue a bit of heavy spraying by using T-Cut, though of course this is less effective when the paint is nearly an inch thick - ok at least a millimetre. Having left the model to dry for a full two days, I tried the T-Cut this morning, but it got me nowhere, so it was back to Halfords for some paint stripper and a new can of paint. Stripper, fine, but the Ford Garden Green is no longer available it seems. Told you it was trying my patience! At the moment, option one is to spray the existing can into a container and then decant this into the side cup of my airbrush and spray it on that way - hopefully getting a decent finish. Option two is whatever alternative suggestions you good folk out there might have. I'm happy with rattle cans, but currently I can't find anything that matches Ford Garden Green = the shade I've used on Wolf Dog = MGWR green. Suggestions are most welcome, please and here is Fly, back in the buff, albeit needing a bit more cleaning up [and the sandbox lever straightened] before putting on the primer. Again. In the meantime, I've made a start on the train for the E class. All of it already exists, starting with a Brake 3rd with a centre look out on the roof, which used to be the third coach in Wolf Dog's mail train. To go with this, I've repainted both the 4w hearse/fish van and Glasshouse Brake in MGW brown and am intending to add the gold lining also present on the Brake 3rd. Am very much hoping this is historically correct for the early 1900s as, with the lined green loco, it should make an attractive little train. So fingers crossed this is acceptable!
-
Thanks folks! As suggested, am not too bothered about the buffer beam having a slight dent in it as such things seemed to happen quite frequently. The smokebox is still showing signs of meeting the floor, but am hoping this will disappear once a coat of dark grey (almost black) is applied there. If not, more filler may be needed. Ordered the lining from Fox Transfers last night, so once that arrives another stress test beckons. The MGW didn't hold back when it came to lining...
-
Three further lots of filling, filing and more primer had the E class ready for its top coat... ... until I dropped it on the floor. It was like what you see in films, everything in slow motion. I managed to stick a foot out to try and break the fall, but the model hit the floor chimney first. That broke off bashing in the smokebox top in the process, while the next bounce was on the left hand buffer, knocking the beam inwards. There are of course no words to describe the anguish at that point - even the rude ones were not enough, but what to do? At least the chimney came off in one piece, but the top of the smokebox was a right mess. Being only 10thou brass, it had deformed badly with the impact and the was no way to get inside to push the dent out again. Instead, I used a piece of thick brass rod, bent into an L shape, pushed inside the small hole in the top of the smokebox and managed to ease the metal upwards a bit. However, it was never going to come back properly, so the only option was to refit the chimney and then build up the surrounding surface with more filler. The buffer beam was less bother - a bit of tweaking with a pair of flat nosed pliers [mostly] straightened it out, followed by a bit more filler. The dome had a couple of scratches, but these at least polished out while the handrail also needed a bit of tweaking. Could have been worse I suppose. Anyway, another couple of rounds of filler, filing and spray primer and the loco is [almost] back to where it was this morning and hopefully ready again for its green top coat. I guess about another four hours was spent on the original fettling, so, not counting bouncing the model on the floor, that brings the total time to 30 hours.
-
Shame about Backwoods, shame too they never did much (anything?) in 7mm scale. Temptation to build a 4-8-0 and 4-8-4T, even as just display models, would have been difficult to resist! Love the 2-6-0T, by the way.
-
Lovely stuff Alan - old school modelling at its best! Nothing wrong with 3D printing, or indeed the skills of lathe workers, both of which I have every admiration for. Nevertheless, the dome and chimney show how you can turn basic shapes and materials into something far more complex with a little thought and application. Also, there is no guarantee that castings will turn out to be accurate either, as per the dome on my E class... Our hobby is blessed with all manner of high quality products these days, but there is so much satisfaction to be gained from making things for yourself.
-
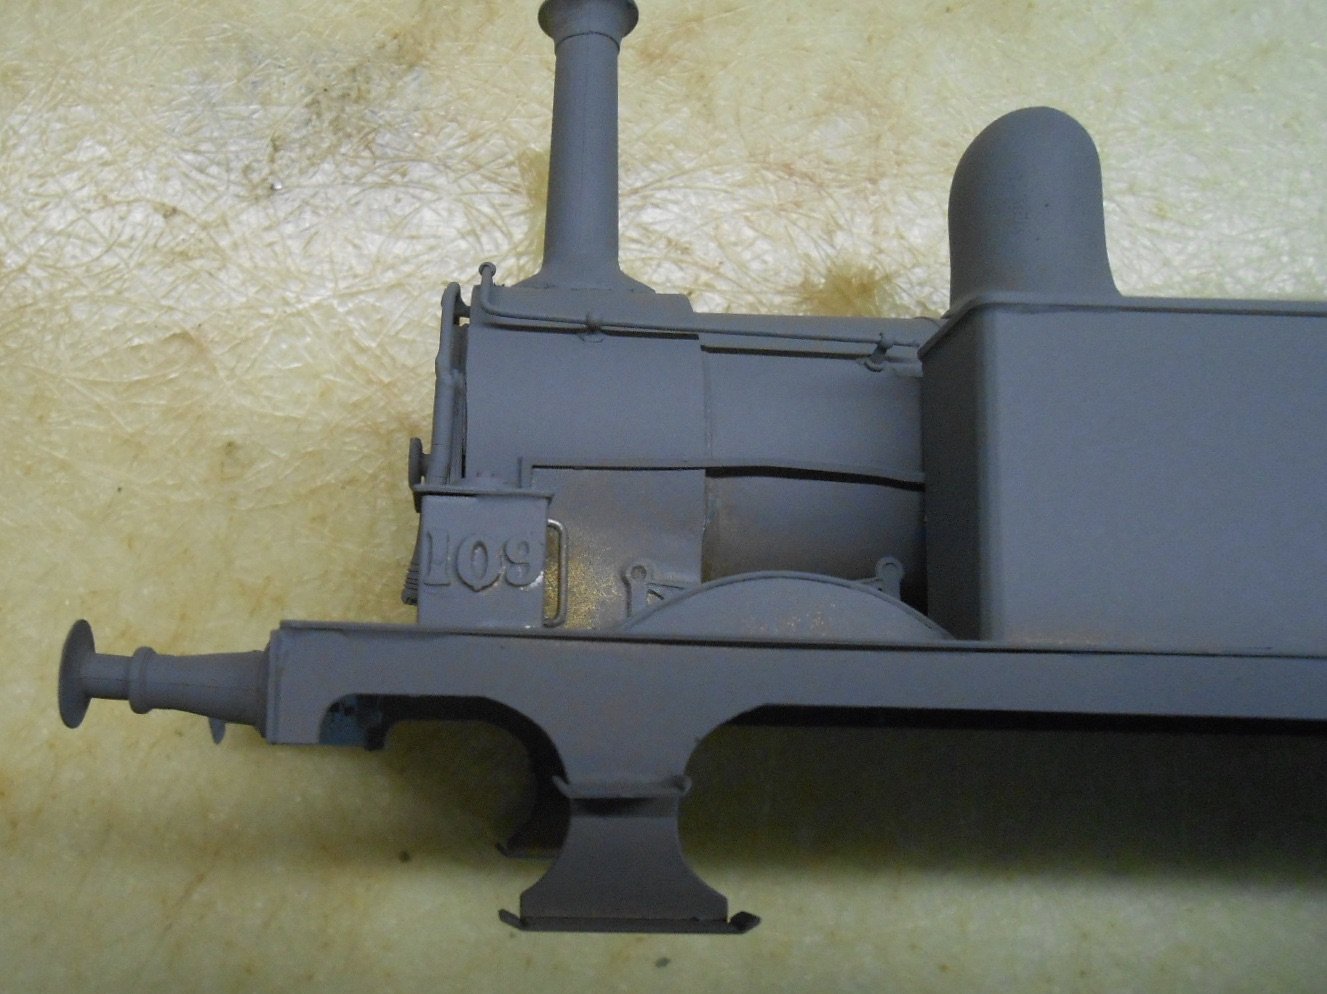
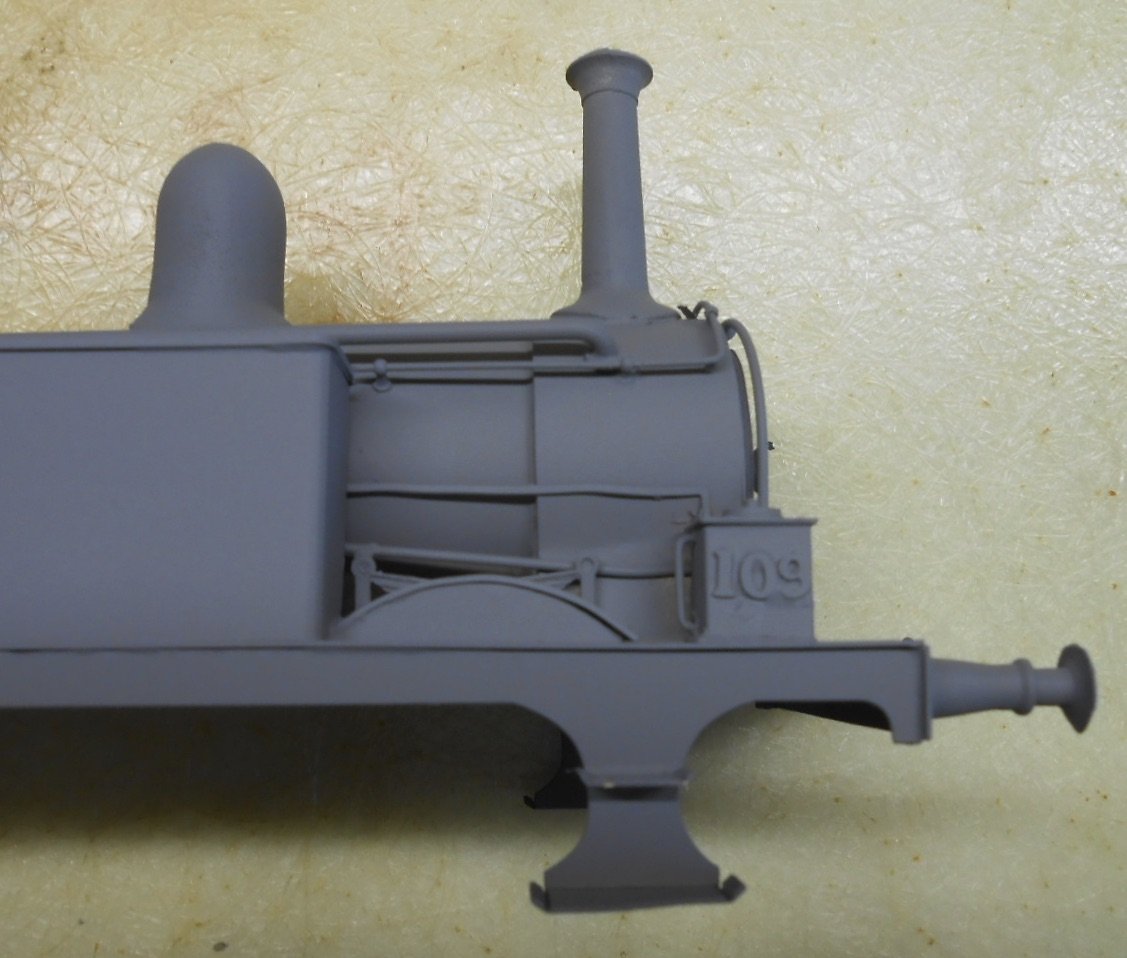
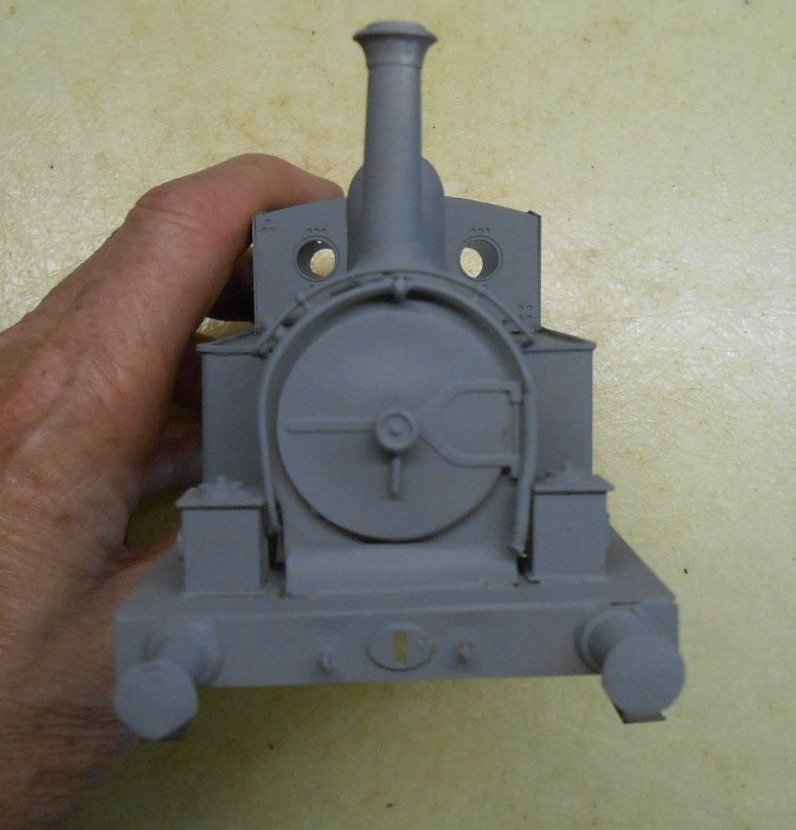
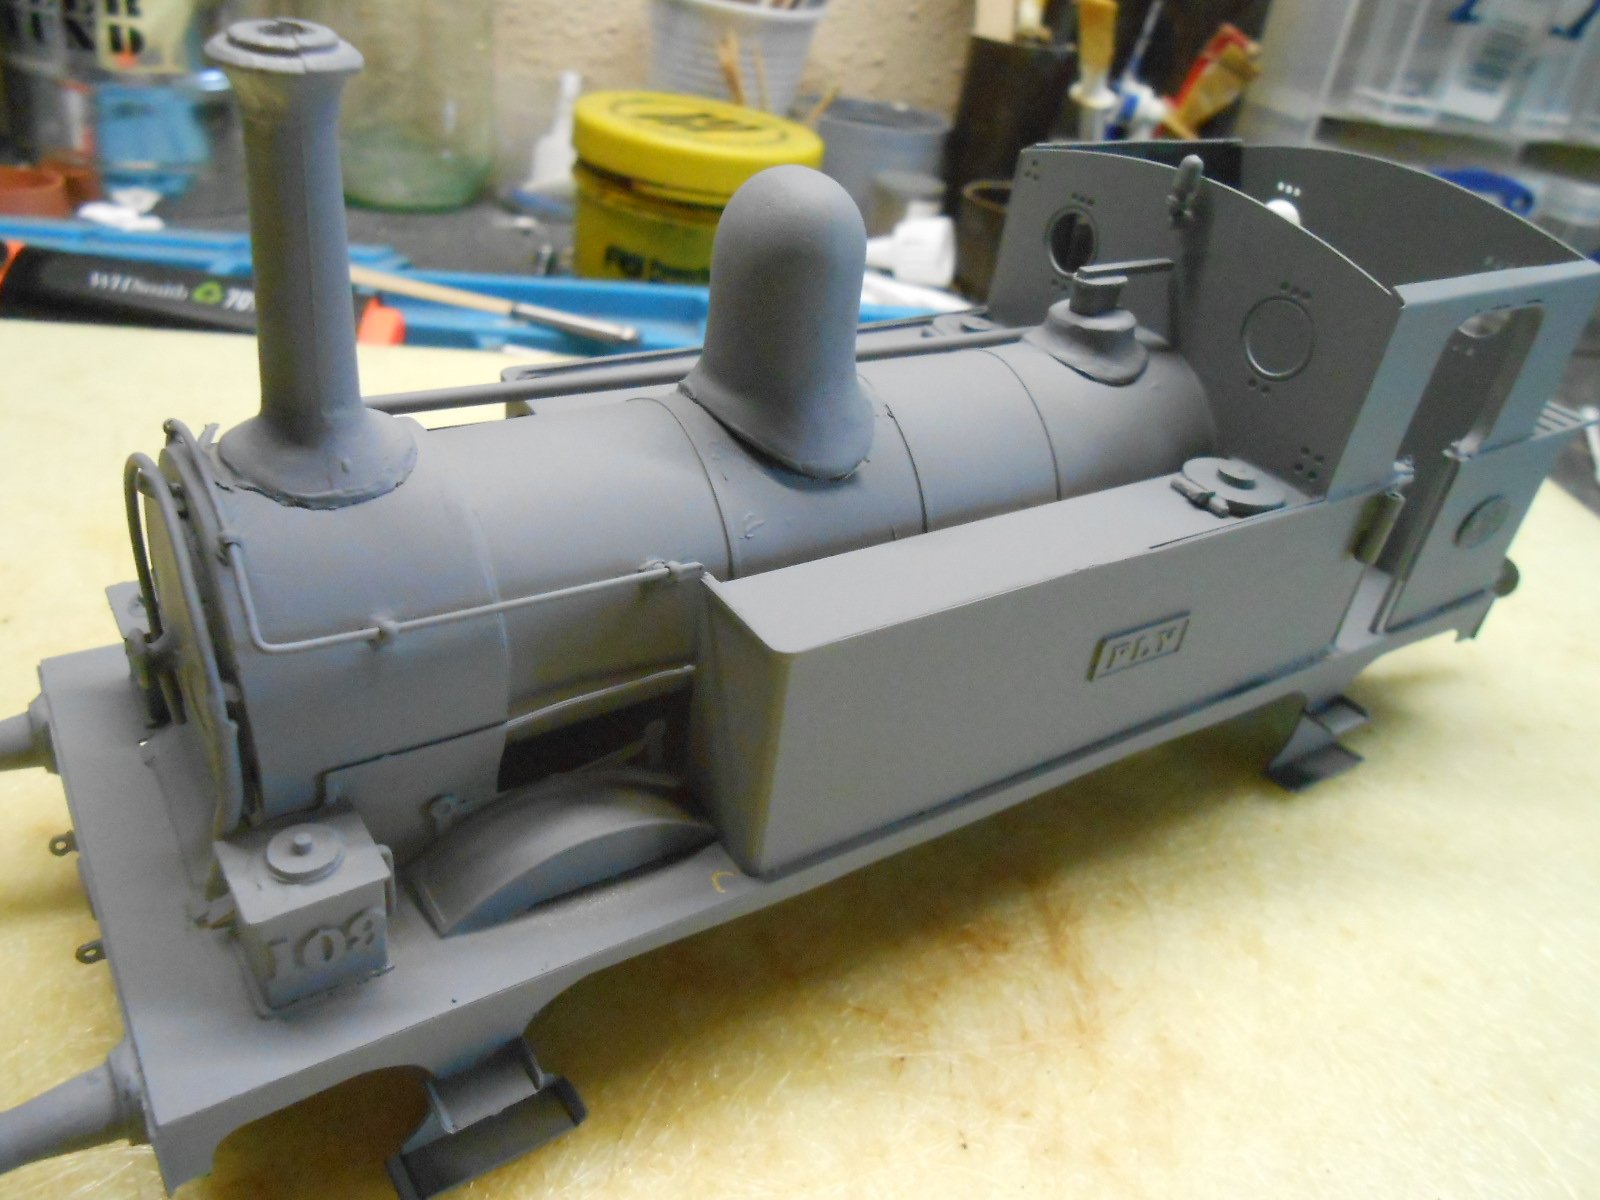
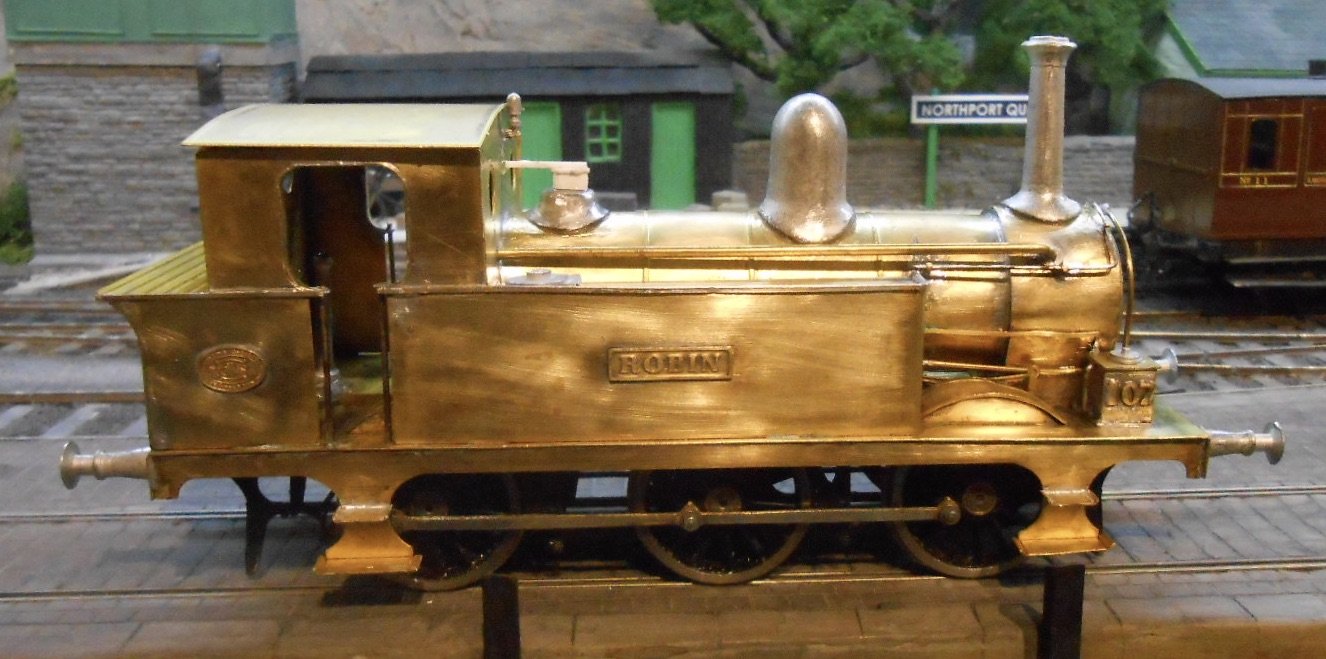
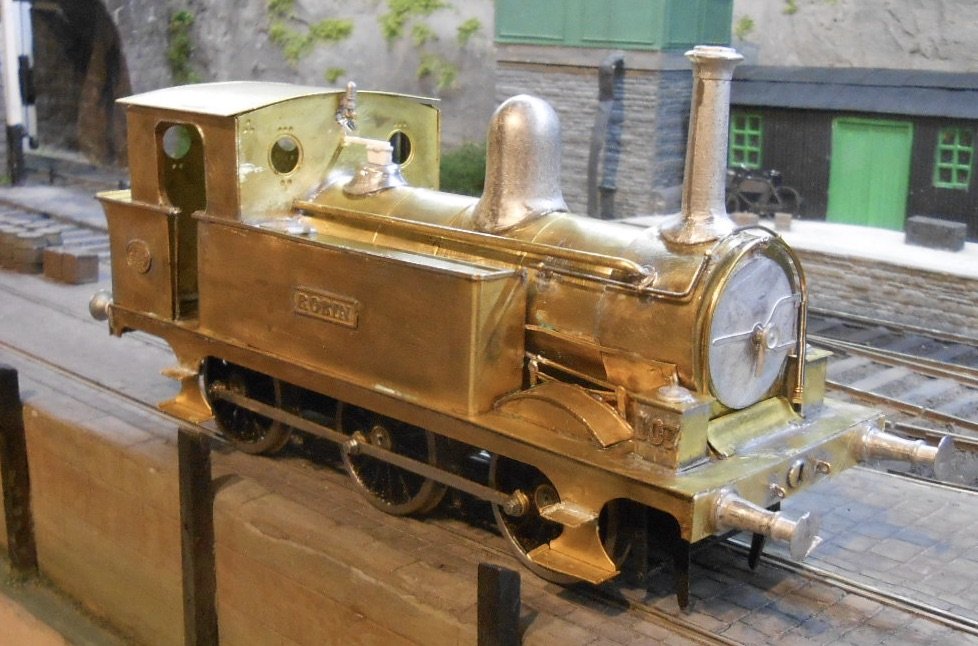
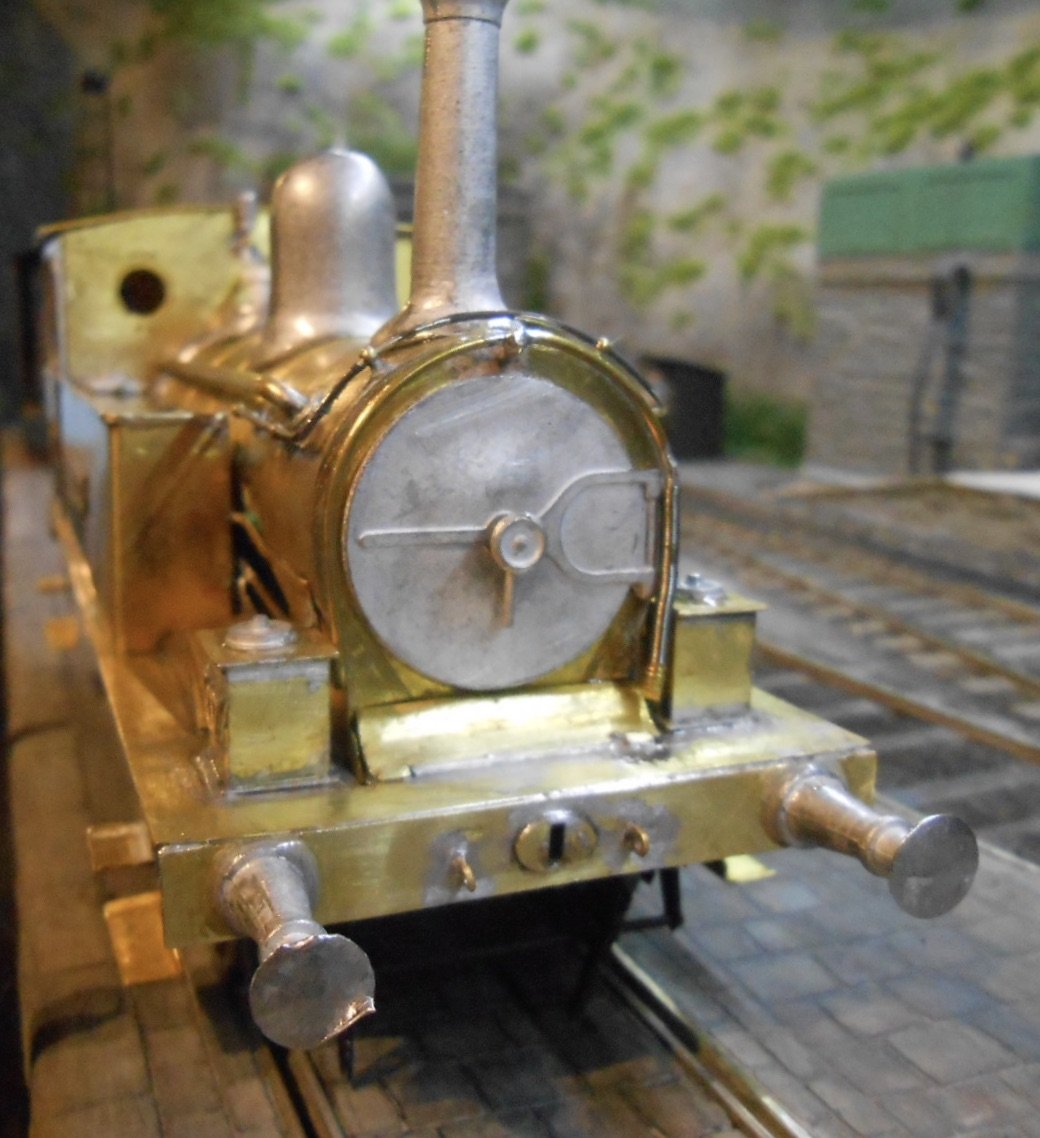
A bit more fettling and then a good clean [using Cif and an old toothbrush] was followed by a coat of car primer. I'm always surprised by the outcomes of this 'witness coat' - things you expect to show up don't, while other stuff appears that you weren't expecting. The picture below shows the model in its new guise as 109, Fly - and what a complete pain it was changing the numbers! However, at first sight, the loco looks ok - until you look closer... The next picture shows those numbers on the sandbox. Annoyingly the middle 0 is a fraction too low, but more importantly, look at the shape of the dome! Hadn't noticed that until I took the photo, so a bit of filing to reshape it is required. Now we have the rear bunker & spectacle plate. The numbers are now in the right place, but the 1 is leaning over slightly, while a gap is showing where the bunker meets the rear buffer beam. Now for the other side: not too bad here, but that dome clearly needs attention, while the lower step needs tweaking slightly. The smokebox is reasonably ok, but again, note the dome... ... while on the bunker side, we have a gap where it joins the footplate. Looking from above, we can see that the chimney, dome and safety valves are not sitting snugly on the boiler, so some filing and filling is needed here. while finally [for now], a rear 3/4 view of the bunker shows the need for a bit of filling. All of this work is a bit tedious, but very necessary if a decent finish is to be achieved - so back to filling and filing before another coat of primer and [probably] further fettling and the top coats can be applied.
-
Definitely three in 36.75mm gauge, Leslie. Given I have to move the rear numbers, may well change mine to 109 & Fly. No point in having two Robins when there are plenty of other names to choose from, plus Fly was at Westport in GSR days, so not a million miles from Northport - wherever that might be!
-
Nicely put and thank you. A variation of the "measure twice, cut once" moral... and looking at the photos, there are a couple of other tweaks required too!
-
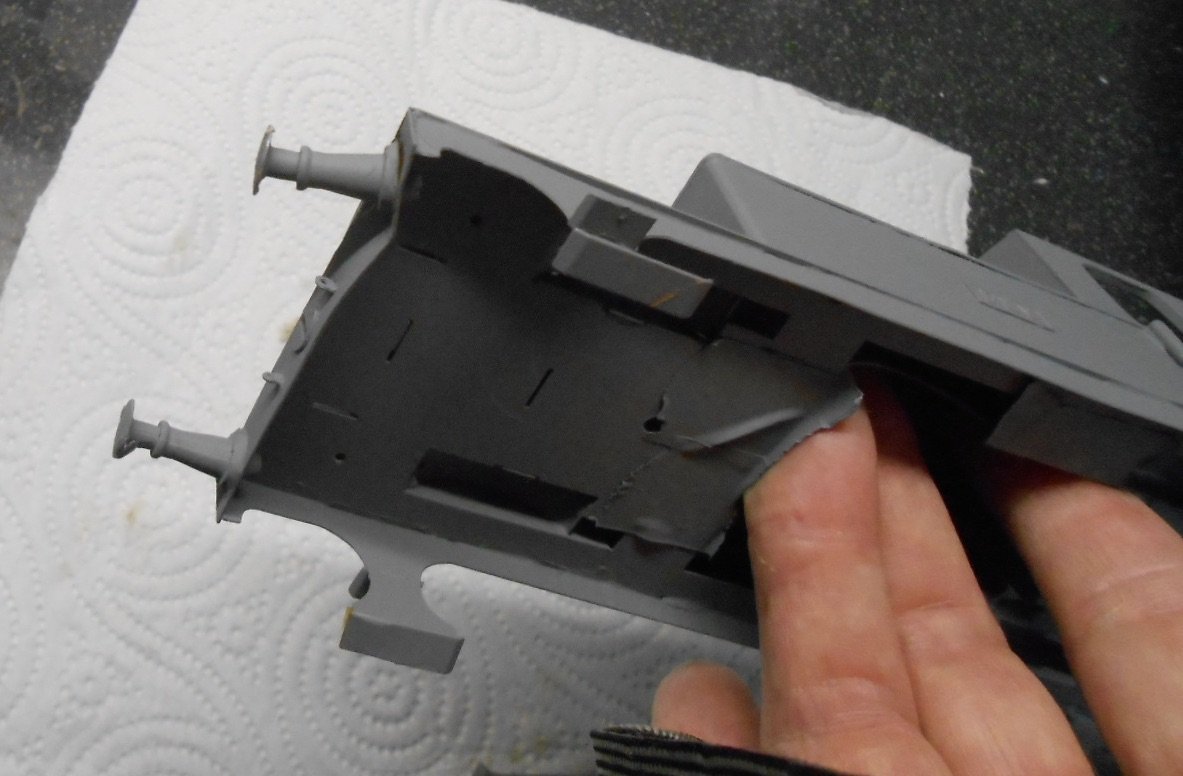
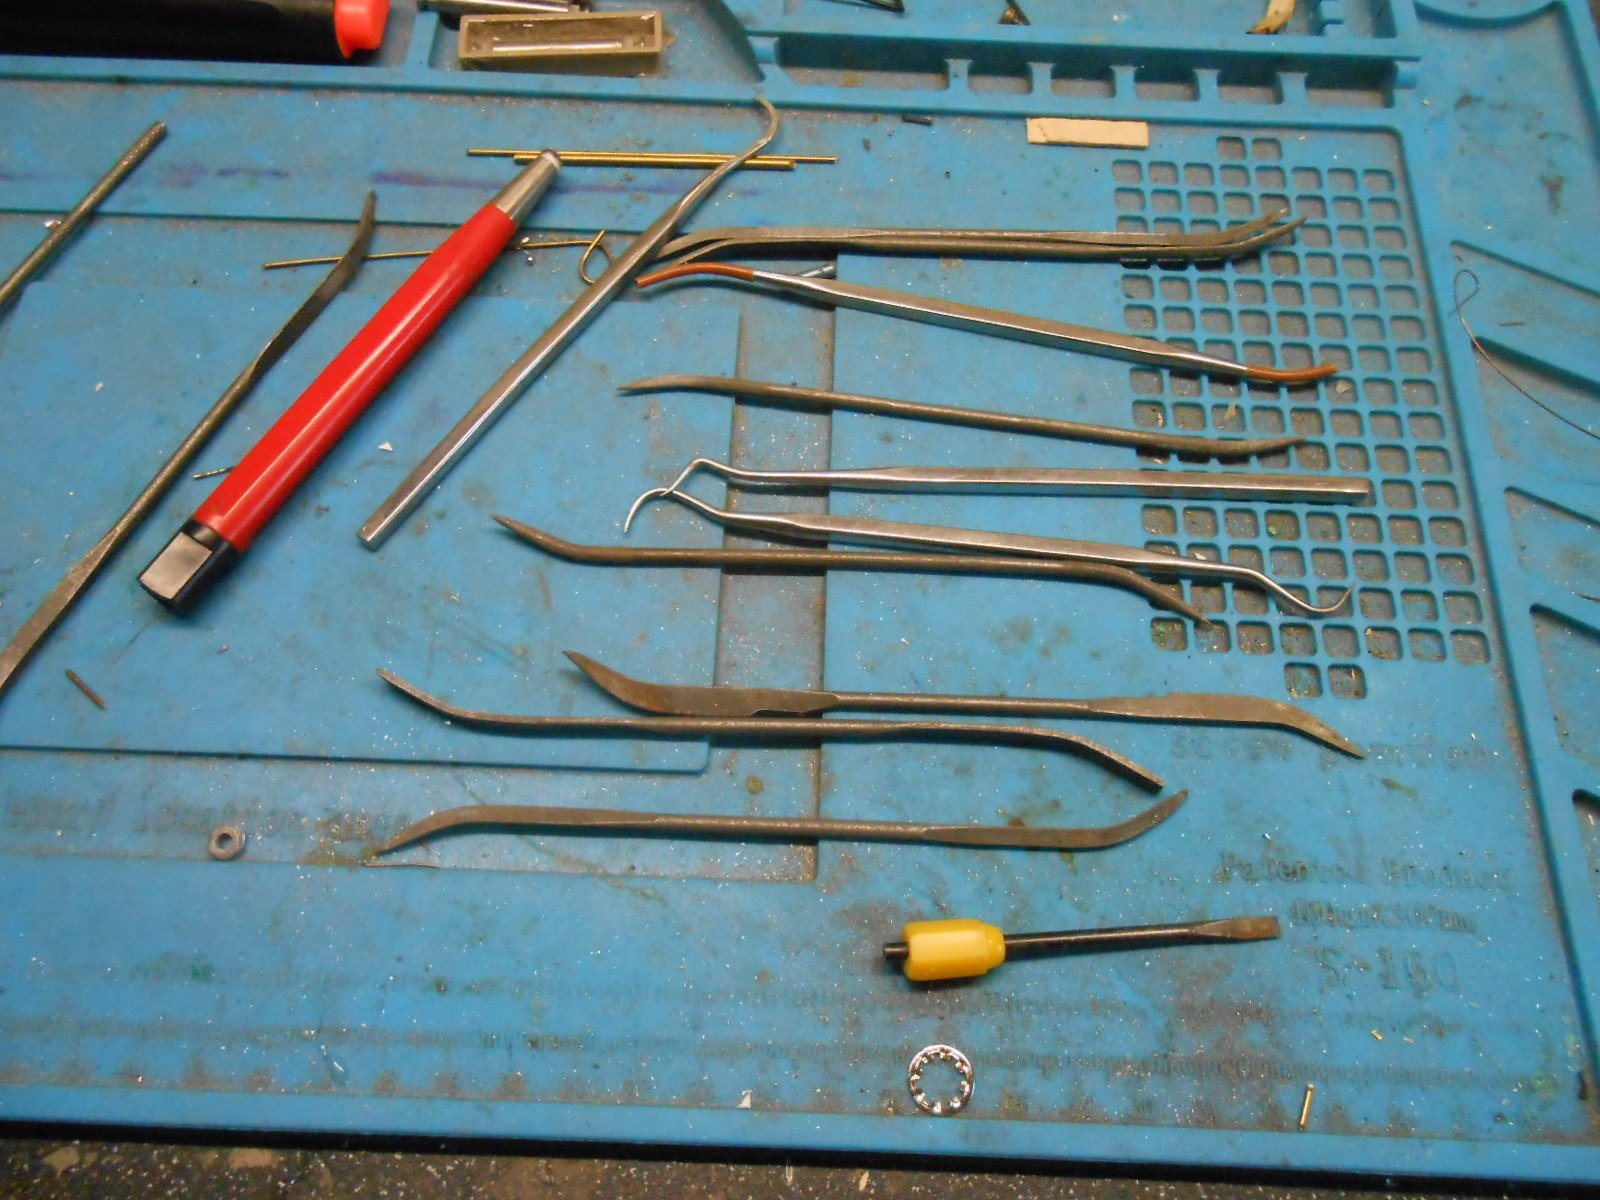
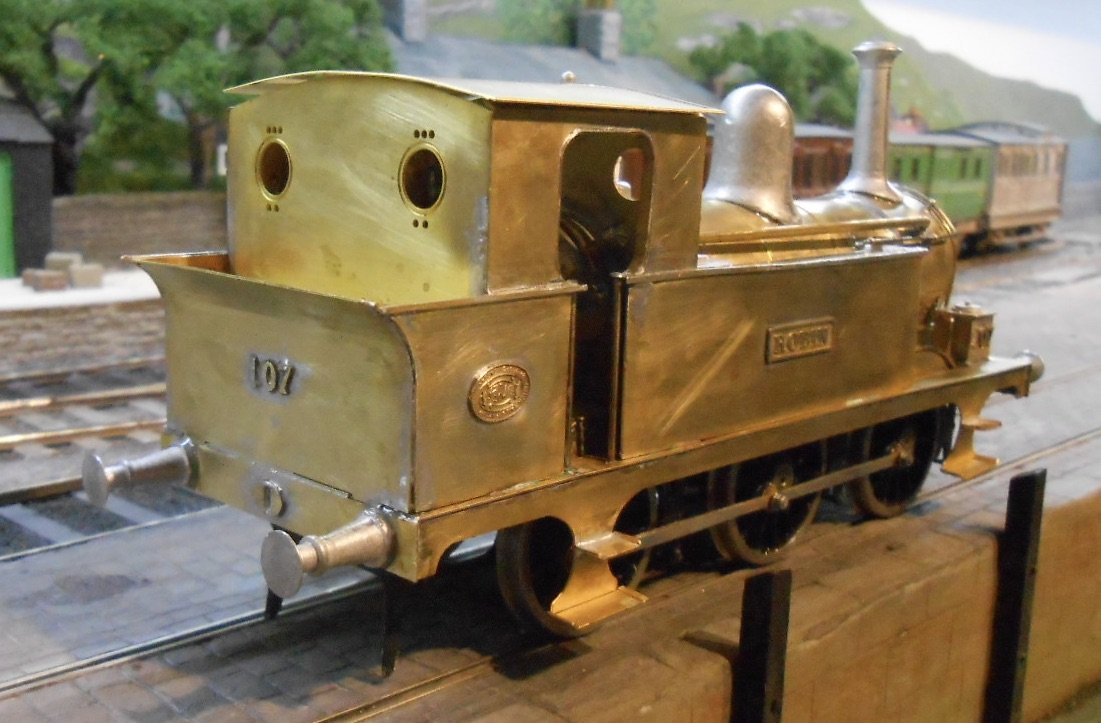
After the gentle delights of a weekend at the Orpington show, the next job was to fit the pick ups. I found some thin copper clad strip, which was fixed to the frames with 5 minute epoxy. 0.5mm phosphor bronze wire was then soldered to this & then bent to press on the wheels. Solder a wire to each of the motor terminals and a brief holding of breath to see if I'd got the polarity right and, hey presto - the wheels turned the same way as my other locos. Nice... The photo below shows the chassis in action on my basic rolling road. While there was still a bit more soldering to do, much of the remaining work used more 5 minute epoxy to fit the white metal castings - chimney, dome, buffers and so on. The good thing about epoxy is that the setting time allows you to check alignments without waiting too long, but very important when trying to get key items to sit right. At this stage, I like to go through the instructions to make my own list of things to do in order to complete the model, in particular adding things I've noticed from photos - and indeed a couple of recent posts on that odd looking pipe around the smokebox, now thought to be part of the vacuum brake system. I've used 1.0mm brass wire and some spare bits from a set of Slater's vacuum pipes to try and replicate this. Various bits and pieces later & it is time to start getting ready for the paint shop. Just in case anyone might think otherwise, a few pictures show the loco before the cleaning up process. Another shows the main tools for this - various dental probes and scrapers, plus a range of "whifflers" - files of different shapes that enable you to get into tight corners. Various grades of wet and dry sand paper are also used of course, plus the dreaded [but hugely effective] glass fibre pencil. The result is the last few photos of the [mostly] cleaned up model. A tip here is not to try to be too fastidious, because however thorough you are, that first 'witness' coat of primer will quickly show what you have missed. Hence, you simply have to live with the fact that a bit more filling and filing will be necessary before you can think about the top coats. Total time is now about 26 hours.
-
Checkout my thread - David's Workbench - Marc. Am doing a bit by bit account of building an E class and also did one in J26 guise. Photo of that one is used on the box the kit comes in and the Alphagraphix website. If you can solder, it is a lovely kit that can be built in 30 hours or so, not including painting.
-
VERY impressive - especially all that fine detail you have included..
-
Fair enough - and as you say 00 coaches can be arms and legs these days.
-
Refer to previous posts about Hatton's 0 gauge stuff. It is cheap, but for a reason. Many of the coaches have had bits falling off. By no means a deal breaker, but buyers may need to do some work to make them presentable. Same caveat for the A3 and A4 locos
-
Some folk use "gun blue" to chemically blackened the surface of the rails - though it will still wear off eventually. Has its uses in other areas too, especially any raised edges on brass kits, prior to putting on primer. Rusty rails are a topic of their own, because the effect of weather and environment means significant changes to colour, depending on location and use. Sidings tend to be much darker, while anywhere that locos stand for longer periods get oily. Brake dust adds another hue, while newly laid rail is different to older stuff, so all part of the fun!