David Holman
-
Posts
4,359 -
Joined
-
Last visited
-
Days Won
117
Content Type
Profiles
Forums
Events
Gallery
Blogs
Everything posted by David Holman
-
Scary stuff...
-
Omelettes and eggs...
-
Life is complicated - which is why it is fun. Allegedly, anyway... Like your thinking.
-
Don't let anyone say that building coaches is easy! Timewise, I reckon a coach can take as long as some locos. That suspension certainly looks dainty and as GM says, should run well too.
-
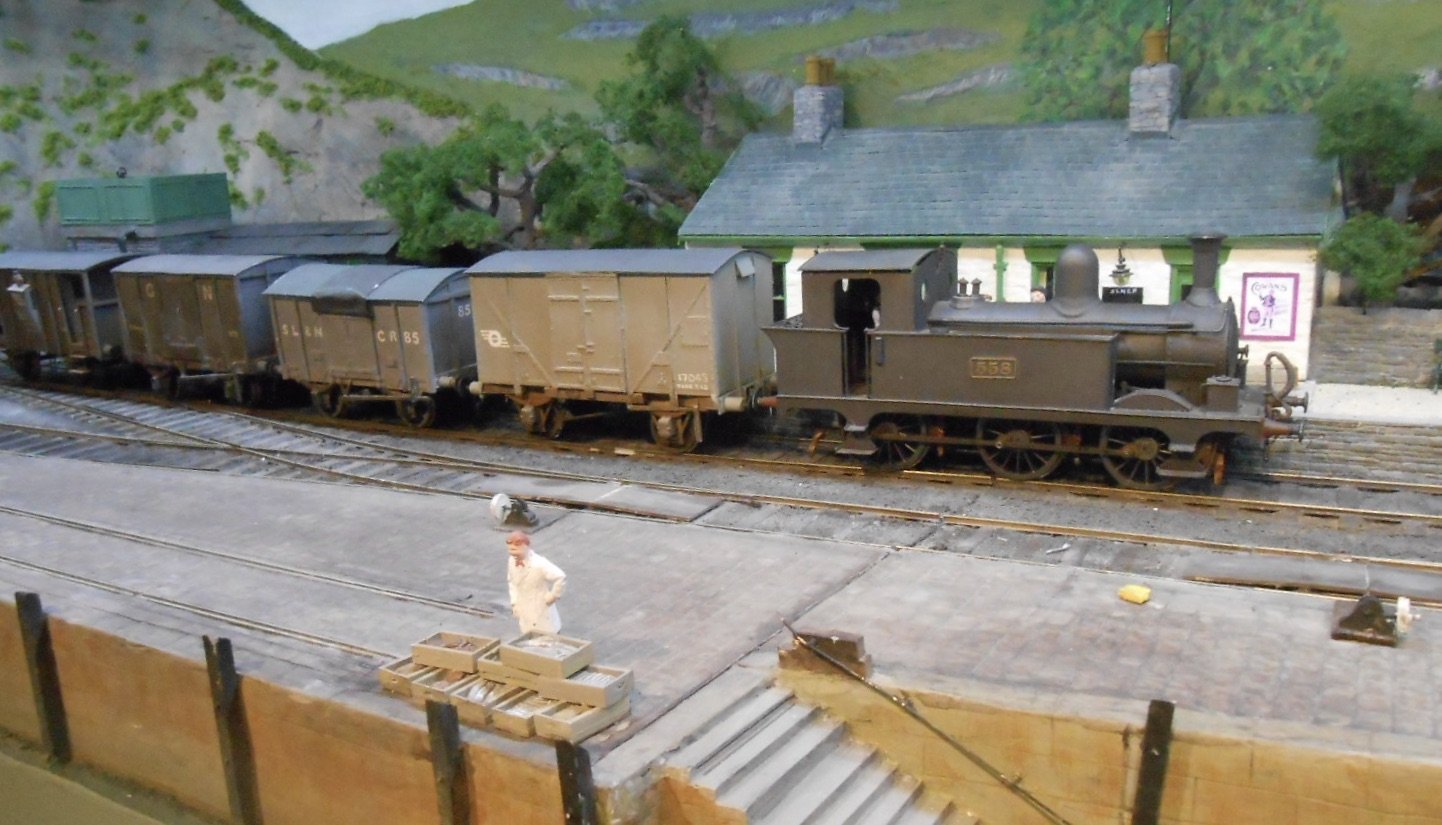
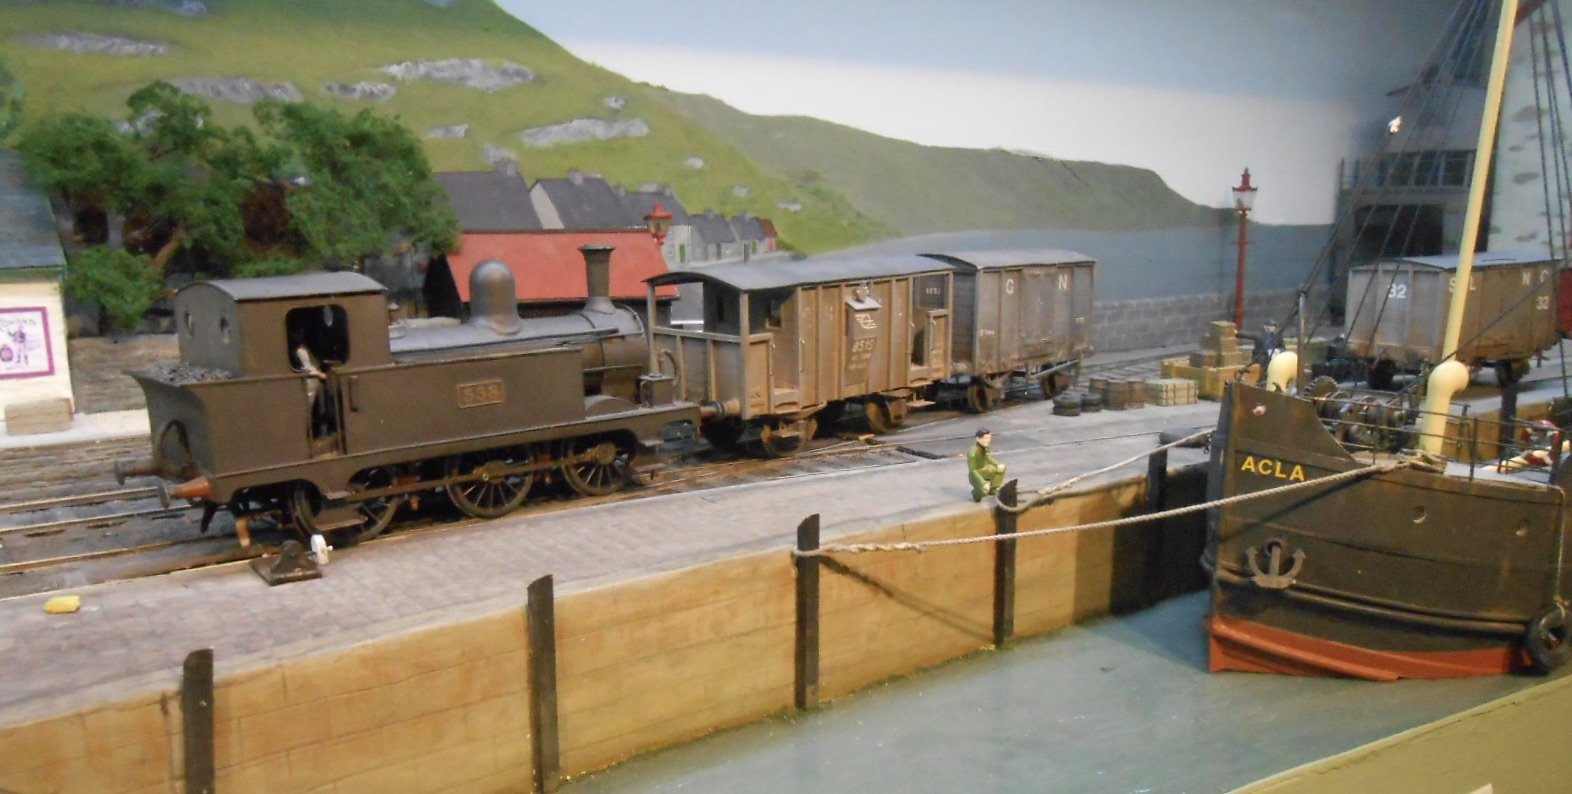
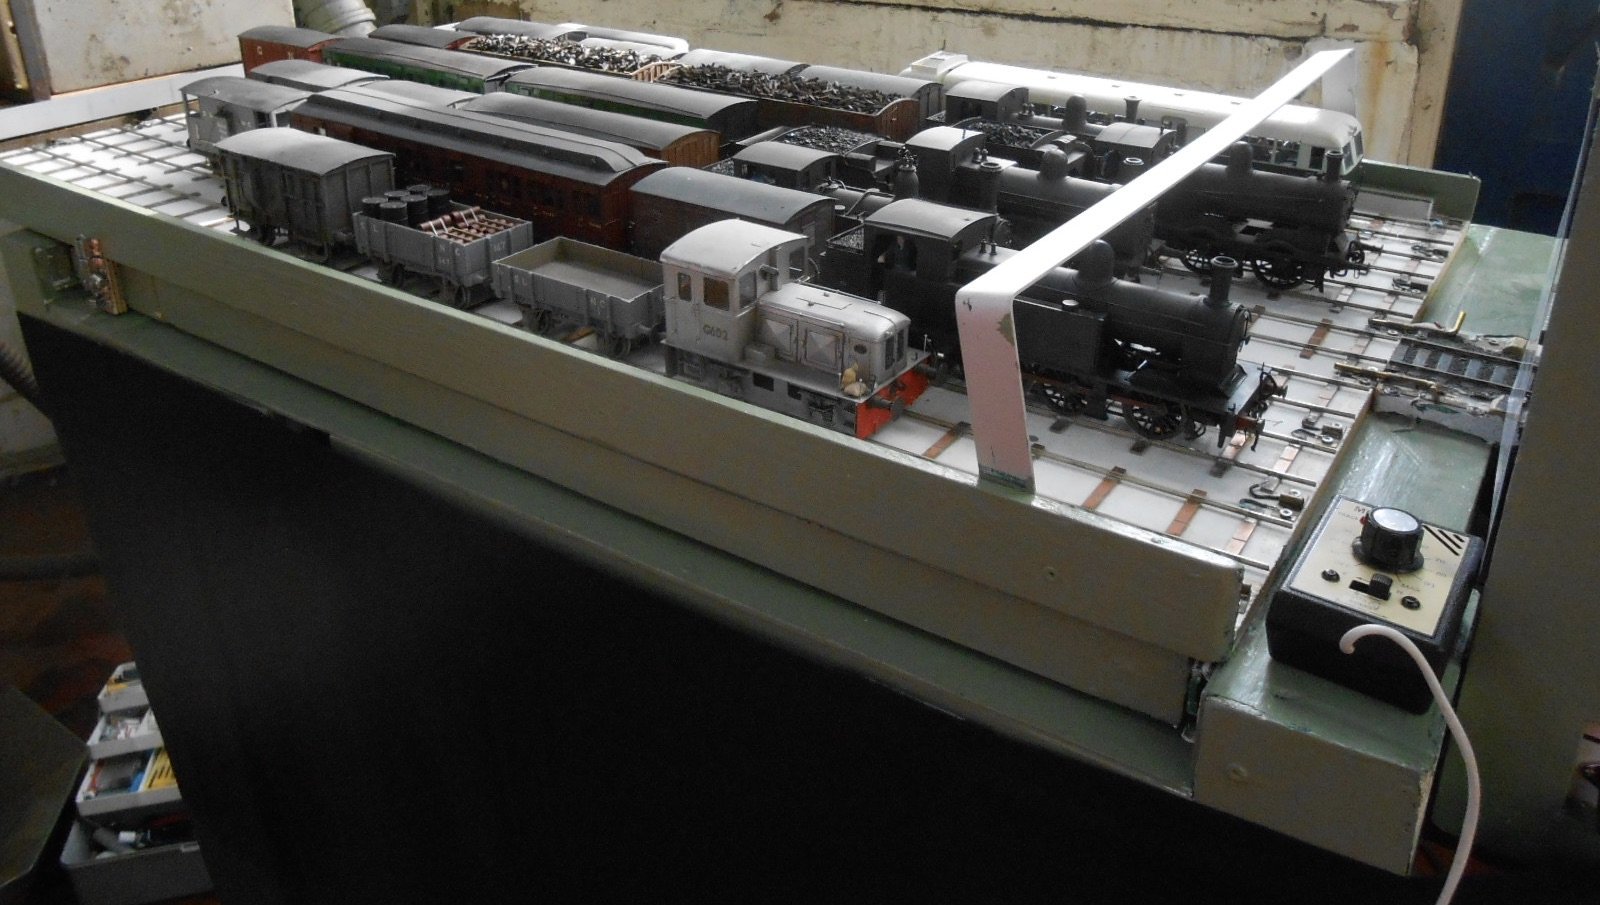
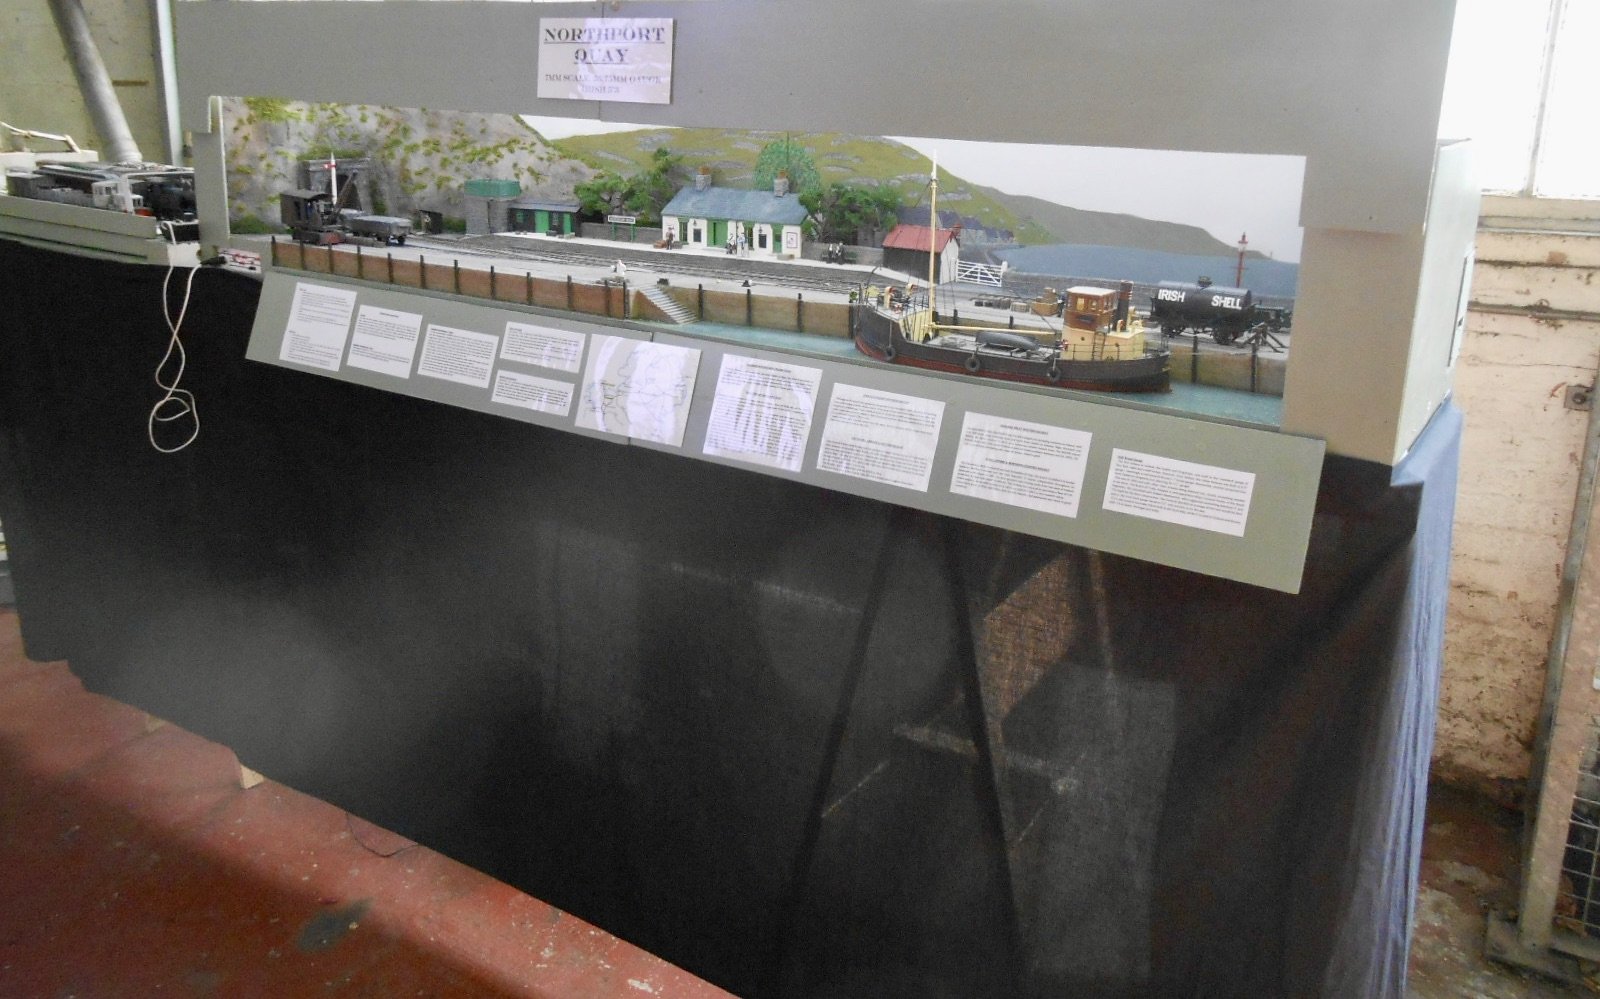
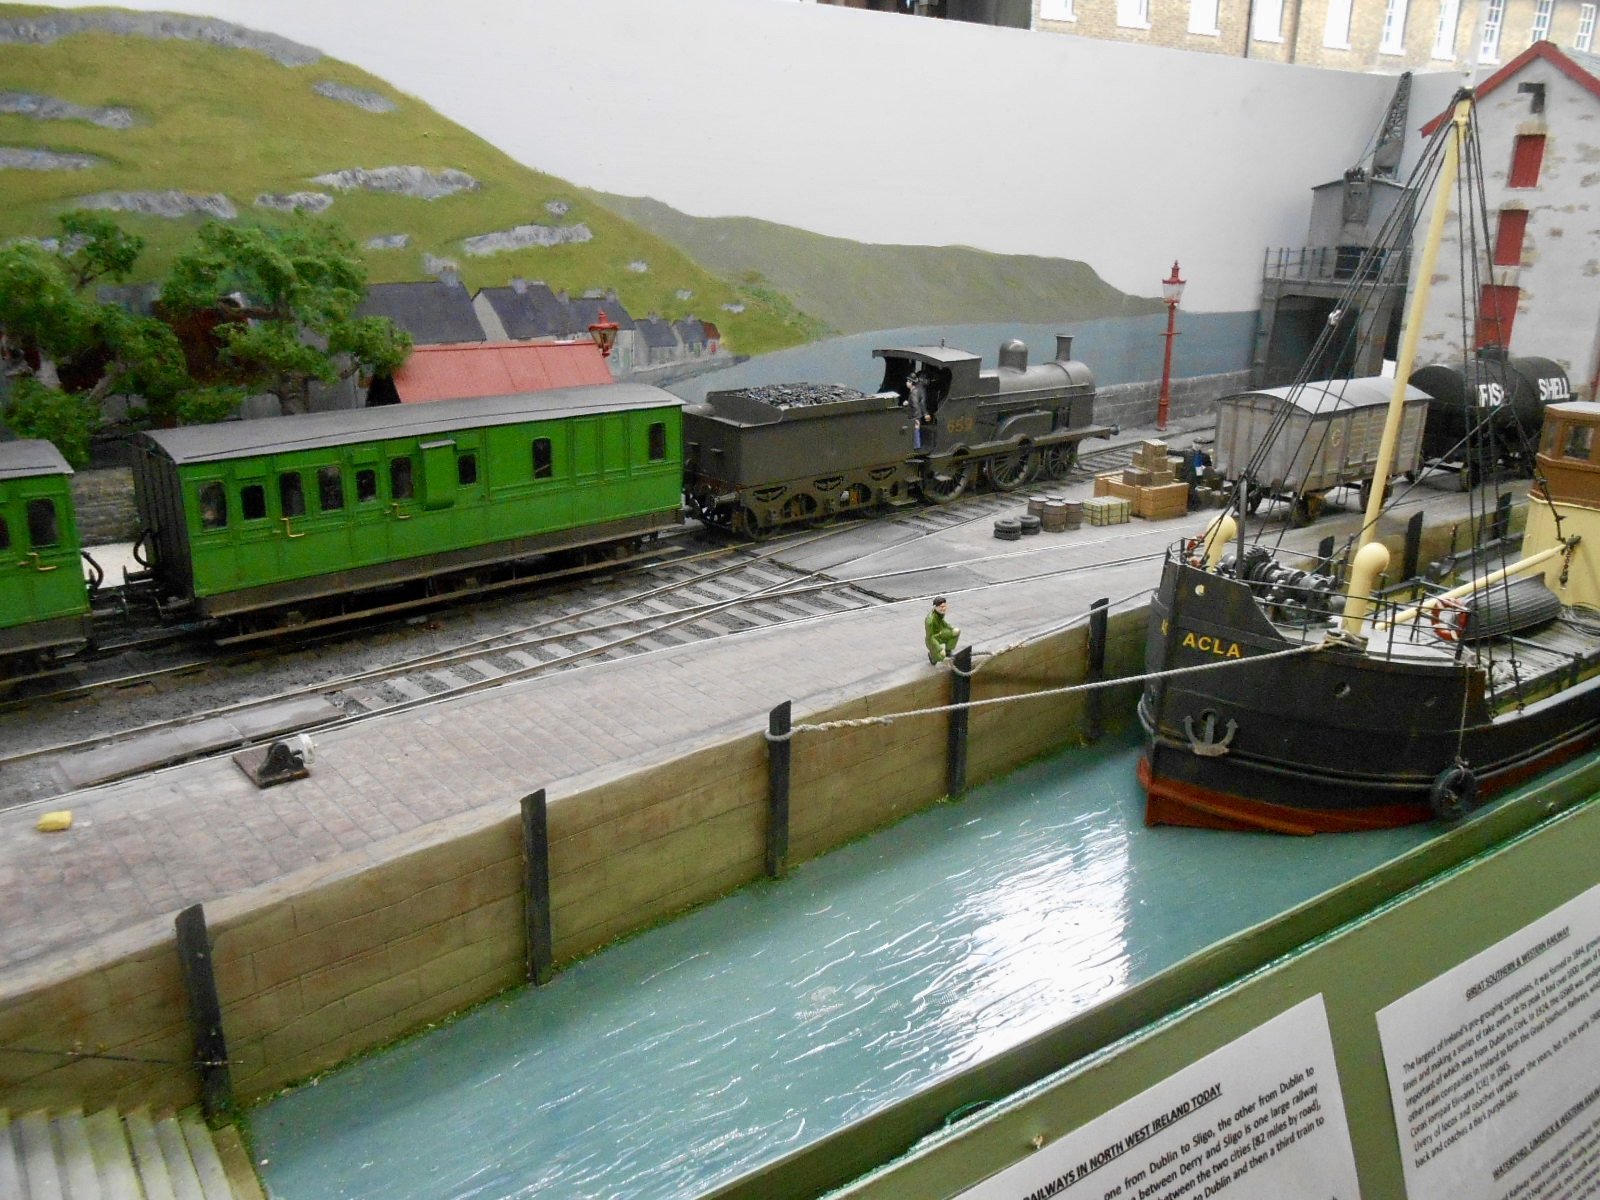
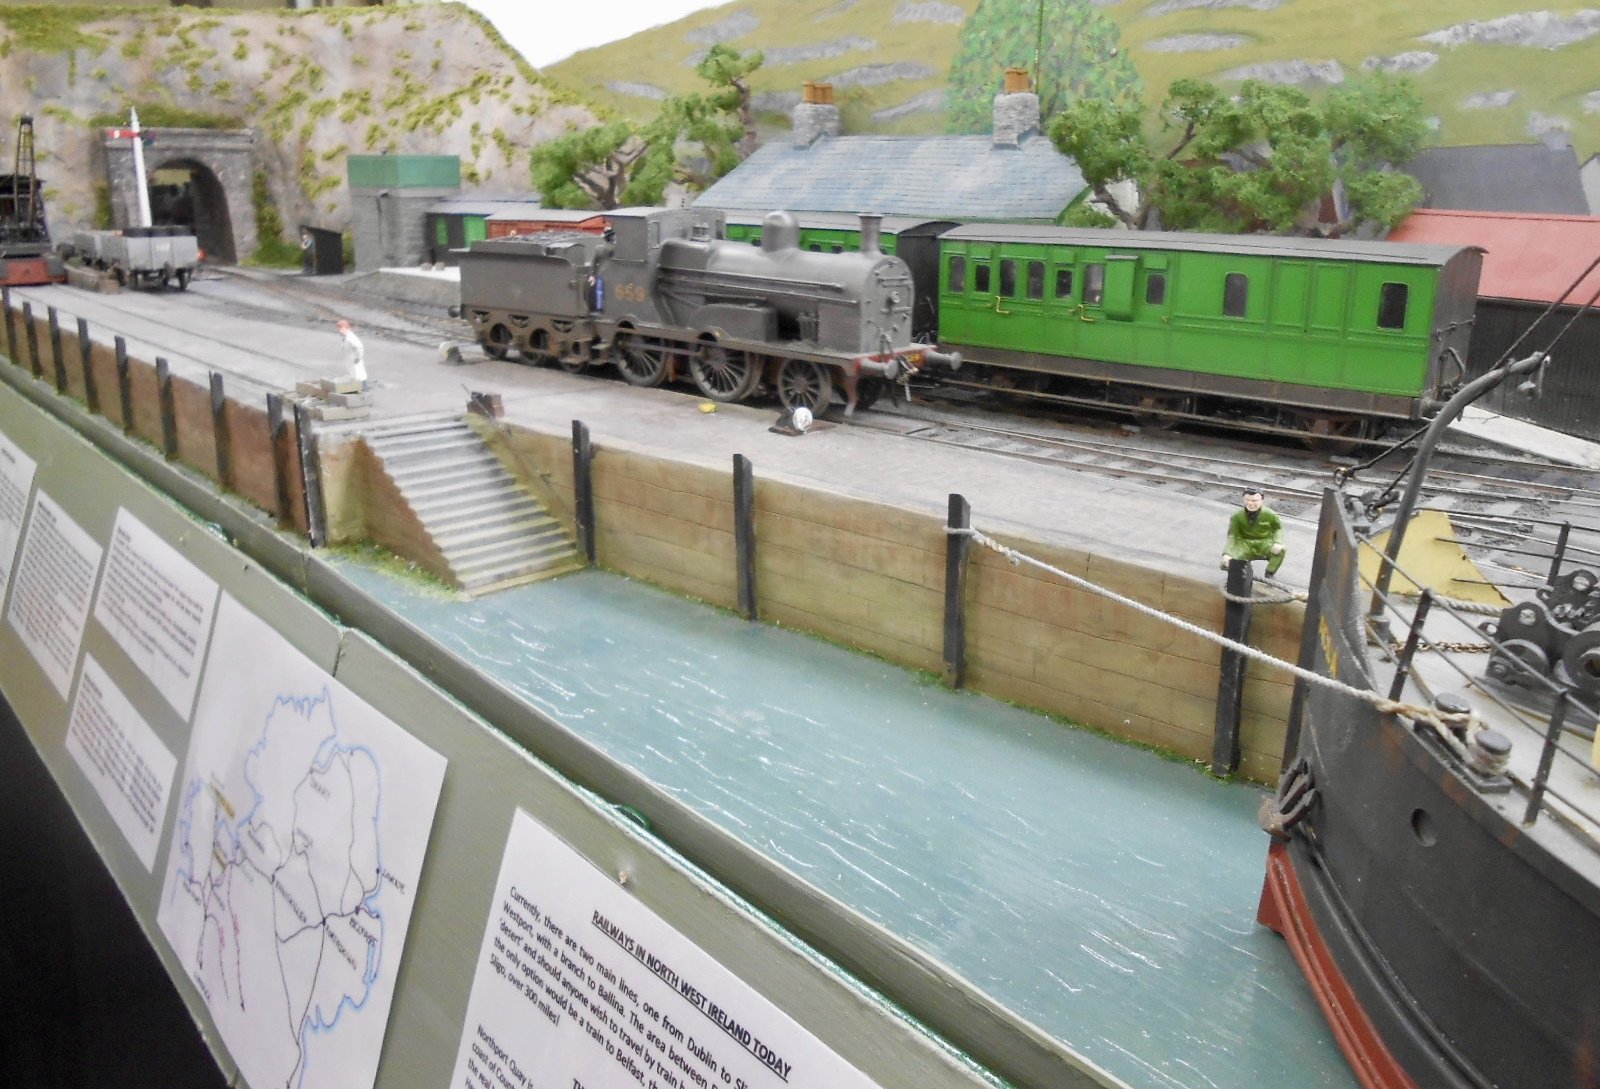
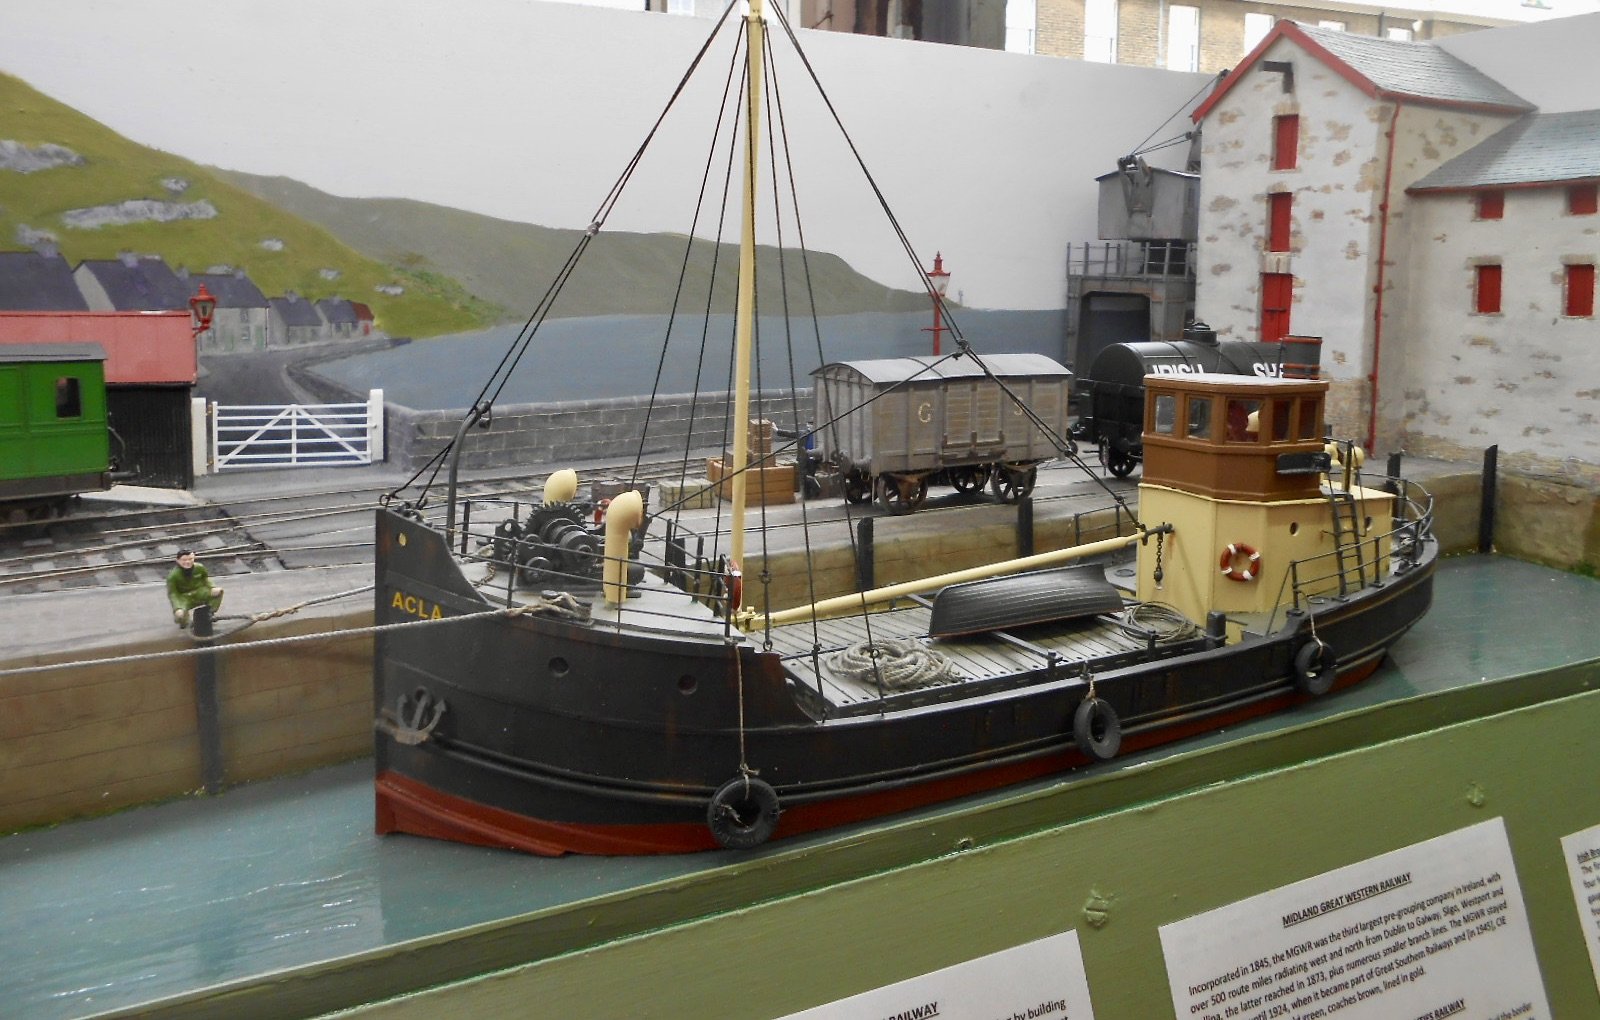
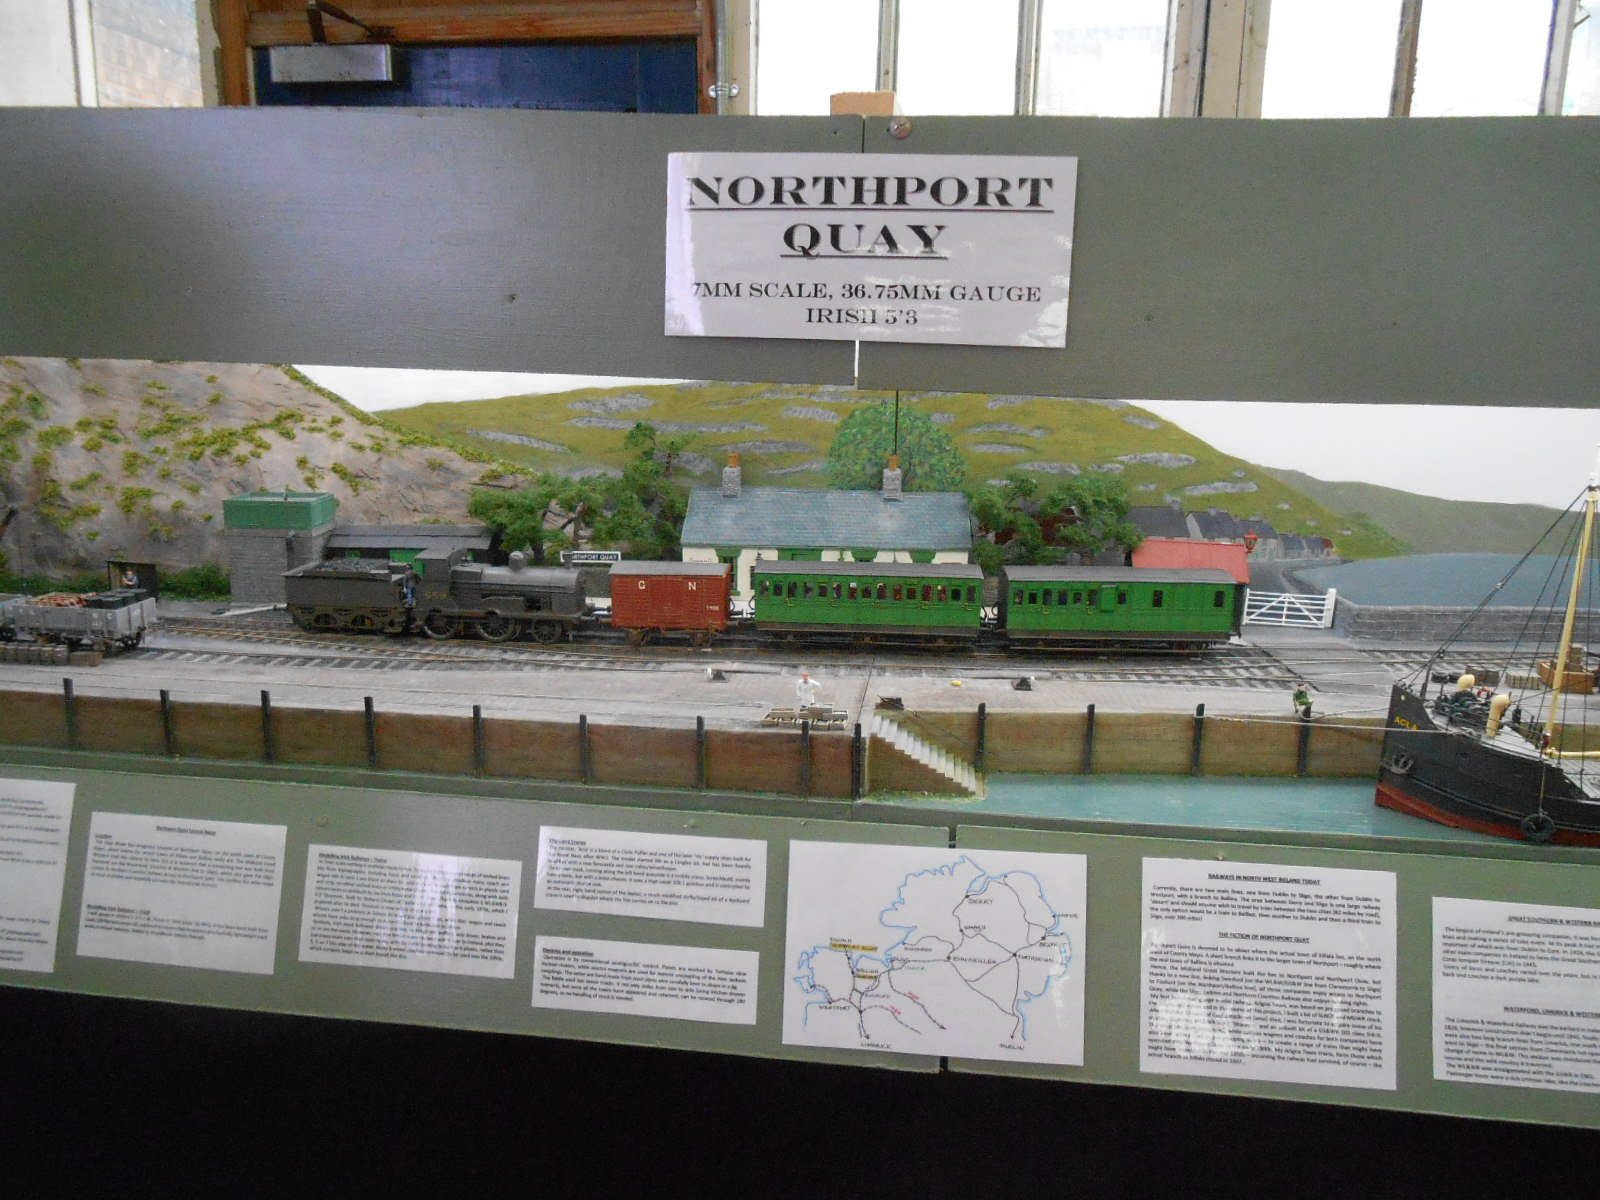
I'm really pleased I took the opportunity to do a dress rehearsal with NPQ last Sunday. Every time you take a layout to a show, you learn something new about it [mostly through something going wrong], so am very much hoping the experience will improve things for its proper debut at Uckfield. Much of this week has been spent fettling various bits and pieces, including a nasty kink in one rail in the runnel and making sure the track is smooth across the joints from the fiddle yard to the layout. Some more weight at the front of the Deutz means that can now earn its living again too. Another issue which came up was that we could run the whole sequence of seven trains in not much more than 20 minutes - mainly because only two were doing any shunting, with the rest just 'out and back'. Solving this caused much stirring of the grey matter, but eventually worked out that I could swap a wagon from the mixed train into the right hand siding, as per a similar move using the J26 and its short goods. It turned out to be a bit more complicated than that though because to make this happen several wagons needed to have AJ couplings added, while the same thing was also needed for two trains on the 1900s period. While doing this, I decided that several wagons needed swapping around as their chassis were less than perfect and really could do with some compensation units added. However, for now, there is enough spare stock without resorting to major surgery, though I must admit it will be nice to get back to some proper modelling once Uckfield is out the way - my broad gage stock hadn't turned a while for over two years, so a lot of servicing has been needed, plus the fitting [and testing] of all those couplings! Some cosmetic work is still required too... Anyway, here are a few pictures of the J26 and its revised train. Quite an eclectic mix too, with a 'modern' H van, followed by an ancient Sligo 'semi', an equally antediluvian GNRI box van, to say nothing of the ex GSWR brake bringing up the rear. After running round, the loco removes the brake and GN van, moving these to the headshunt. The loco can then pick up the van in the right hand siding [in this case a Sligo box van] and attach this to the brake. The GNR van can then be pushed into the siding, after which the Sligo van and brake go to the headshunt, under the crane. Finally, after running round and coupling up the four wagons, the train is ready to depart, as the signal shows! This third shunting move helps balance the overall sequence with three out of seven trains doing more than just run round. Remembering to shuttle the crane up and down should mean the sequence now last about 30-40 minutes. There is quite a scoop for this year's Uckfield show, with no less than five of Iain Rice's layouts appearing. NPQ will try and match that on the Sunday, with no less than five SLNCR 0-6-4Ts on show: thanks to Galteemore coming to help. Ok, the layout is only one engine in steam, but the photo opportunities should be good!

- 257 replies
-
- 19
-

-

-
Splendid! For such a small area, it has a very spacious look to it.
-
Amen to the above, but would also add craft knives with snap off blades. It is only the tip which goes blunt, so the snap off gives a new, sharp one with minimum effort.
-
Page 7 of my David's Work bench shows the Alphagraphix solution to a 6w chassis, Alan. Simple, but quite elegant and has worked well on all my 6w coaches. Probably just another variation on the theme, but hopefully it might help.
-
Couple of hundred hours work to create a model of that, I'd think...
-
Very Worsley Works - no instructions or fittings - but very much worth it. Who'd have thought etchings for something that obscure would be produced? They look good too.
-
All things being equal, NPQ's dress rehearsal worked out fairly well today. There was a great atmosphere in Chatham Dockyard for its 1940s weekend, with lots of people in costume, including many in Services uniform. Can't have been much for for some of them as it was over 90F and humid too... Chatham Model club were in the Engine Shed, with two industrial diesels for company. The floor was nice and flat, so no complaints about setting up, while everything fits in my car - albeit pretty snugly. At first, things didn't go well - thought my controller had failed, until I realised that I'd plugged in all three transformers in the wrong sockets... Once that was sorted, the layout ran reasonably well. The Alex Jackson couplings still need a bit more adjustment, while one of the wagons needs replacing, pending a chassis rebuild because it derails. Two of the locos didn't function well, though it turns out to be my own fault. The Deutz needed a bit more lead ballast, but I added two much at one end, so it is very unbalanced and won't pull anything in one direction. Same problem with the J19, where in refixing the fall plate between loco and tender I'd inadvertently lifted the rear drivers a fraction off the rails. The latter easily fixed, but just as well I took 0-4-2T Lark with me, which proved an ideal substitute for the little diesel. A short list of other bits and pieces requires attention - but at least I know before its first proper outing to Uckfield next month, when hopefully it will not be quite so hot! Below are a few pictures from the day.
- 257 replies
-
- 22
-
-

-
Great to see the new loco at work!
-
Clever! The Sligo 0-6-4 tanks likewise require a bogie with side play/springs and need careful driving on Northport Quay - though they shouldn't be going fast in such a confined space anyway...
-
A little beauty Ken. Will be great to see it paired with the coaches.
-
Thanks chaps - looks like my model is not a million miles from a Swilly co!our scheme (they seem to have had plenty!); perhaps a red roof and new decals?
-
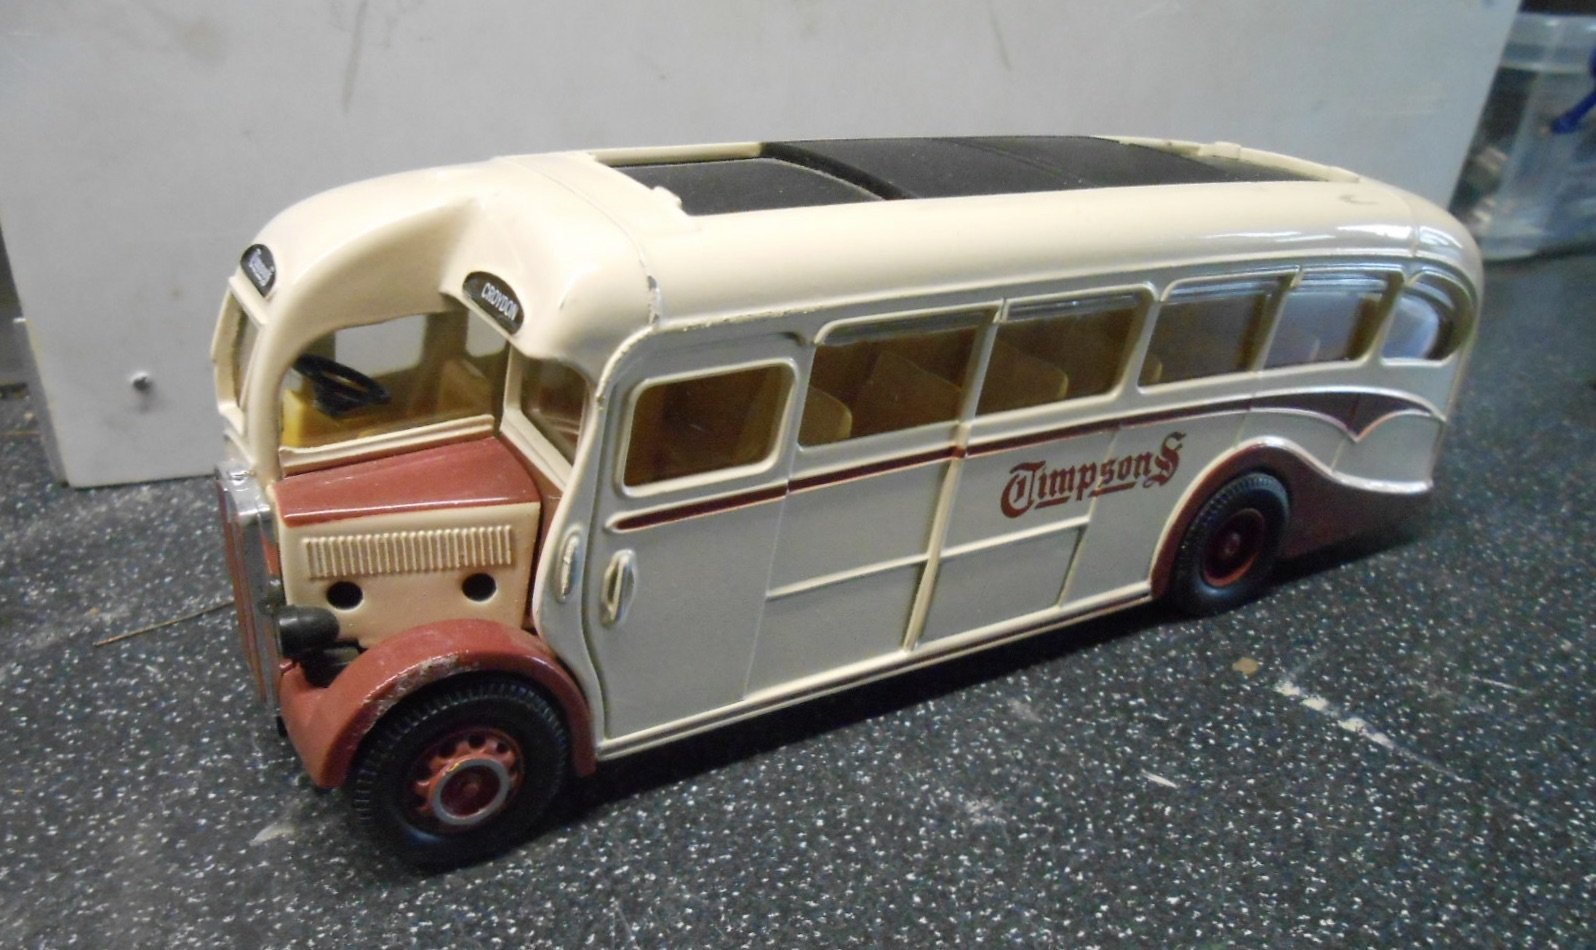
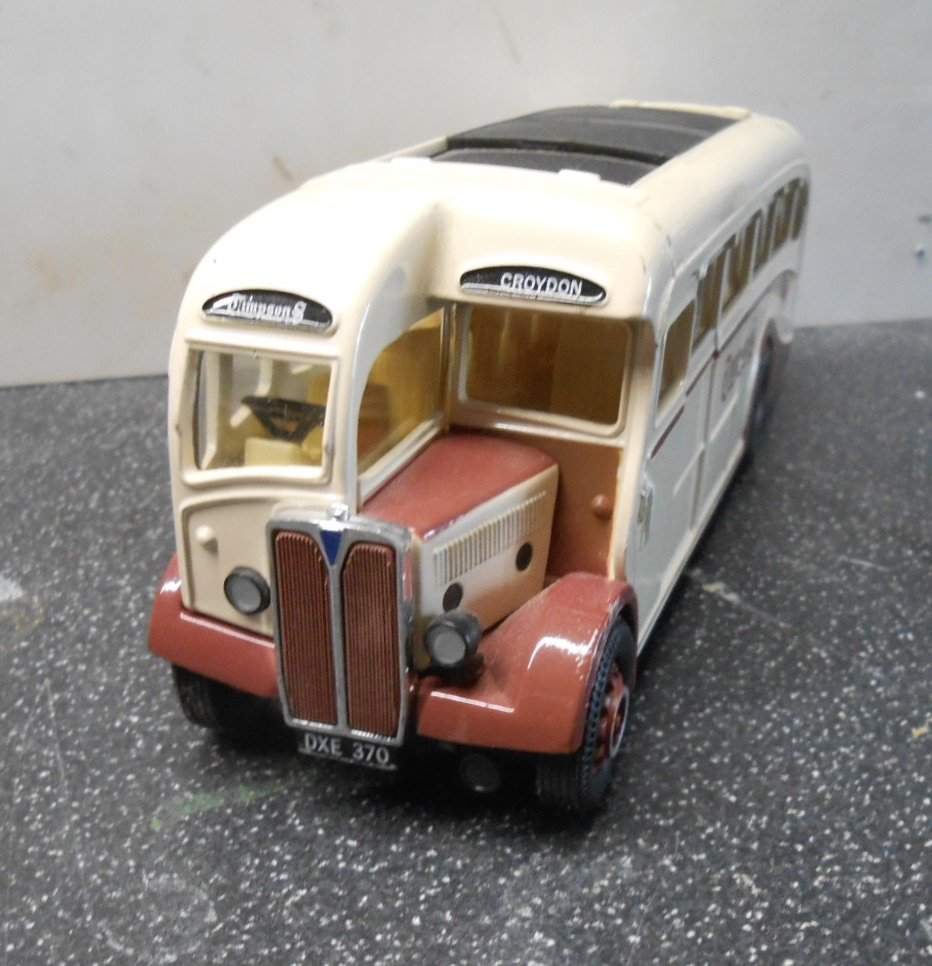
Came across this Corgi Classic model in a local collectibles shop recently & being priced at just ten quid, I couldn't resist! Underneath, it says it is an AEC Regal and though it is probably 1:48 [or even !:50], am thinking it might be appropriate for my Swilly/Donegal makeover of Fintonagh. Steve Flanders Irish Railway Pictorial of the Swilly notes that AECs were among a 'motley collection of buses' run by the company in the '30s & '40s, so am hoping I can make this model presentable. Swilly buses all seem to have had roof racks/boxes fitted, so a bit of filling may be needed on the Corgi model, which has a sliding 'sunshine' roof. New numberplates & destination blinds will be needed, while I find it is always nice to angle the front wheels slightly and file flats on the bottom of the tyres so the model sits better. However, what about livery and lettering? Are there any suitable Swilly decals available? Something that might require more work is that Swilly buses seem to have their passenger doors behind the rear axle, while the Corgi model has its at the front. Any thoughts and ideas welcome, please!
-
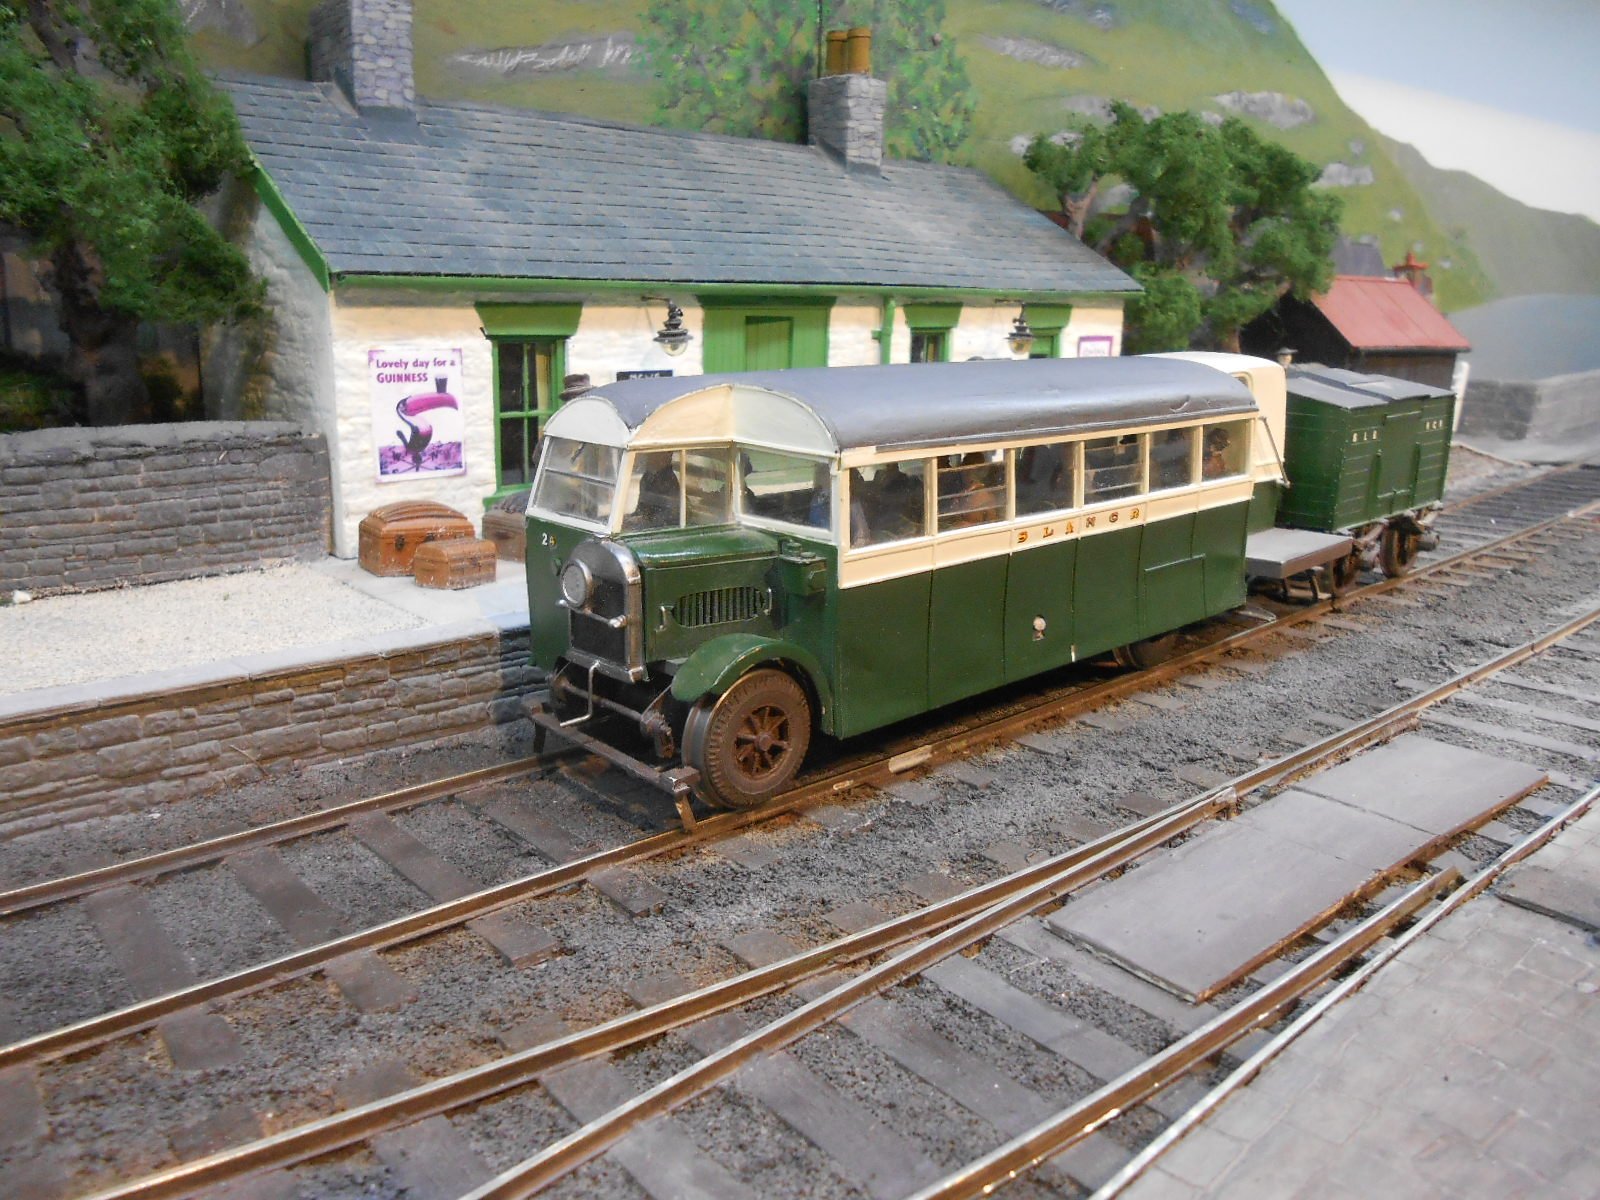
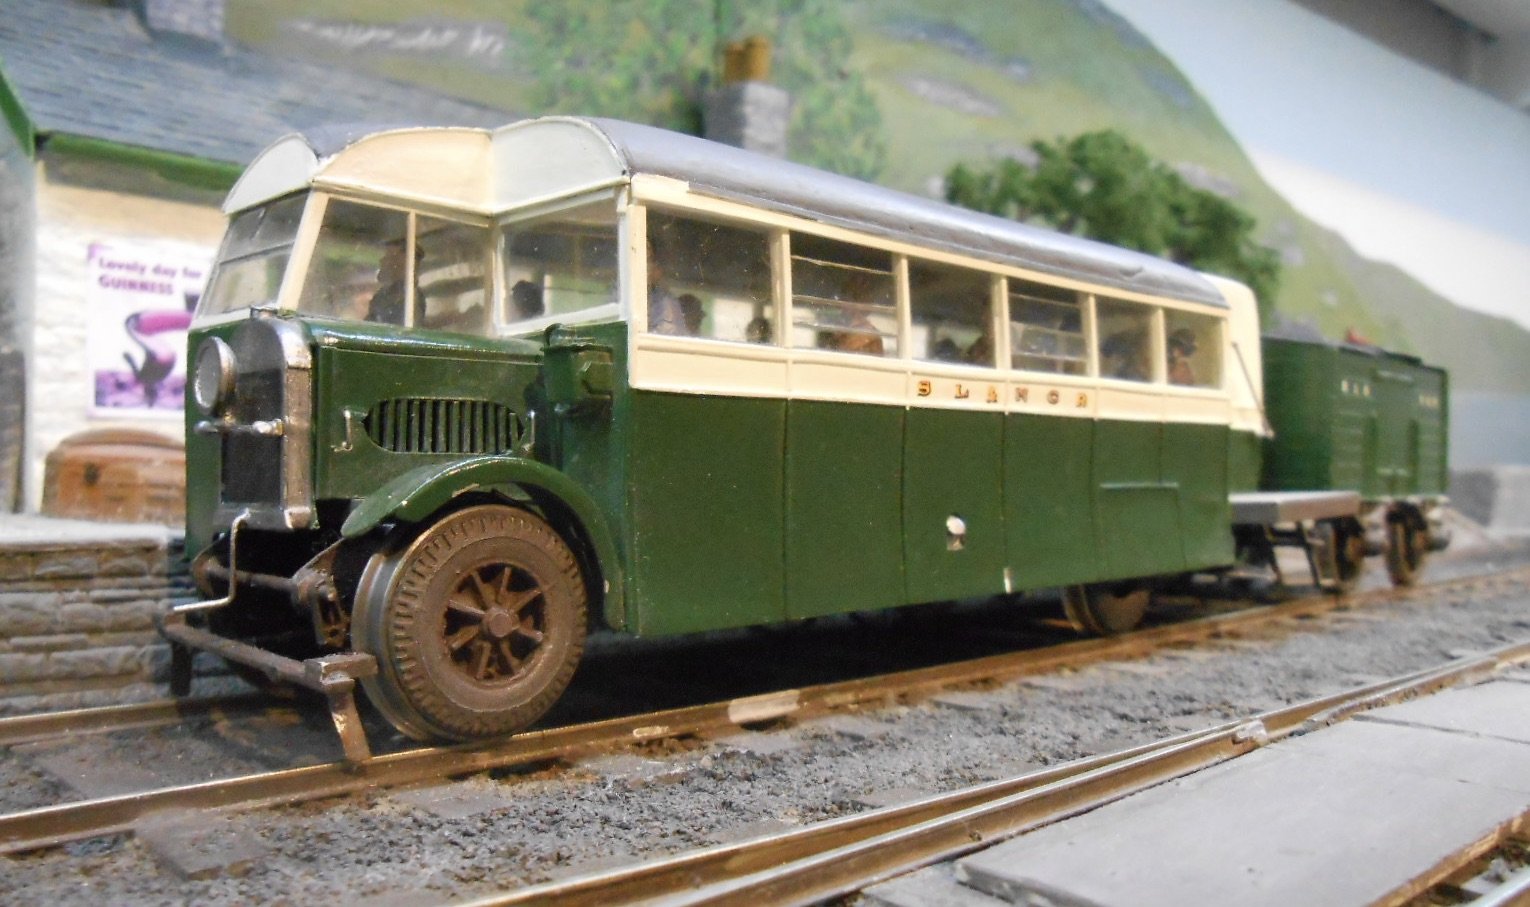
While awaiting a verdict on the crane shuttle unit, have continued to work on layout presentation: lighting, pelmets, display notes & so on. Indeed, an opportunity has arisen for a trial run in two weeks time as it is the 1940s weekend at Chatham Historic Dockyard, so have volunteered to show NPQ on the Sunday [10th September] & have been given a space in the main cafe. Given that this is not a model railway show, hopefully that means a bit less pressure in terms of a public debut. Hopefully, it will also be a chance for a couple of my operators to experience the new AJ couplings, while a bit of practice in loading up the car, setting up and so on will not go amiss either. If the shuttle unit can't deliver, then I'll wire the crane track to the main controller, so a bit of trundling back and forth should still be possible. Hopefully the 'to do' list afterwards won't be too long & there will still be a month to go before Uckfield. Was wondering whether to take the 1950s or 1900s stock with me, but given it is a 1940s weekend, then the former seems more appropriate. Below is Railcar 2b - very much from that era. For those not familiar with Arigna Town, I used the Alphagraphix card kit as a template to scratchbuild the model in plasticard on a nickel silver chassis. The 'Howden-Meredith' patent wheels are simply Slater's wagon wheels with a slice from the tyres of a Corgi Liptons Tea Van.
- 257 replies
-
- 17
-
-
-
Tasty. Very tasty indeed! Apart from the obvious fine modelling, it is the colour that does it for me, because it just looks so right. The view through the bridge to the row of shops is sublime.
-
An absolute joy - the delights of 7mmNG personified!
-
I believe it was Iain Rice who coined the phrase 'Bitsa Stations', avoiding the need for long platforms to enable operationally more interesting siding space. And very good it looks too.
-
Real atmosphere is developing here.
-
It's been a while, but welcome back. Certainly all sounds very interesting!
-
Love it when ordinary things are repurposed into something truly elegant. Love the vision to see the possibility in the first place too. It was said that Michaelangelo saw a statue waiting to emerge from every block of stone, but bet he never saw a chimney in a brass woodscrew!
-
Clogherhead - A GNR(I) Seaside Terminus
David Holman replied to Patrick Davey's topic in Irish Model Layouts
Easy to spend a small fortune on custom stock boxes - and understandable given how much we spend on our models! Have found A4 box files work well for wagons and coaches, while containers from The Really Useful Box Co are ideal for locos, once sectionalised with card or foamboard as you have done. -
Immediately wondered about that when I saw the pictures and probably the only way when you think about it. Lovely model! As for Drew's article, can see I need to investigate the Guild archive. Easy to see why he is held in such high esteem. What some of these guys achieved with spring drive is just amazing.