murrayec
-
Posts
2,725 -
Joined
-
Last visited
-
Days Won
70
Content Type
Profiles
Forums
Events
Gallery
Blogs
Store
Community Map
Everything posted by murrayec
-

CIE Laminate Coaches - Worsley Works - ECMbuild in 4mm
murrayec replied to murrayec's topic in Irish Models
Hi From josefstadt's posted photos above- very handy, it's quite hard to find photos of this coach type up close! there is no sign of storage tanks under frame! What do we reckon?- this is a break coach would it have had storage tanks? Eoin
-
CIE Laminate Coaches - Worsley Works - ECMbuild in 4mm
murrayec replied to murrayec's topic in Irish Models
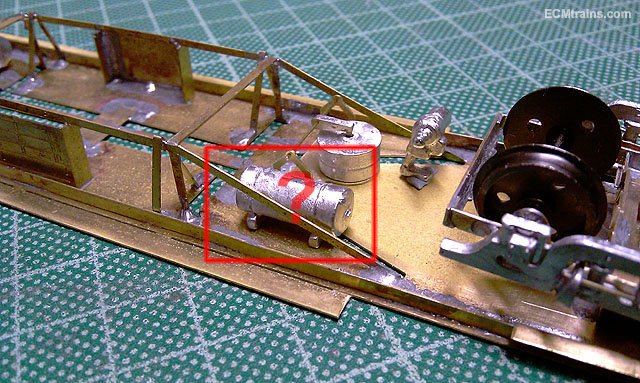
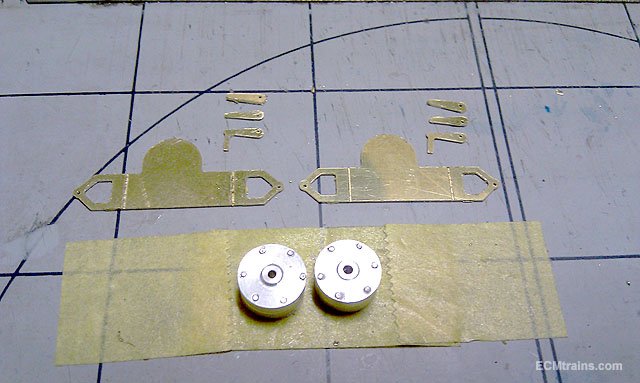
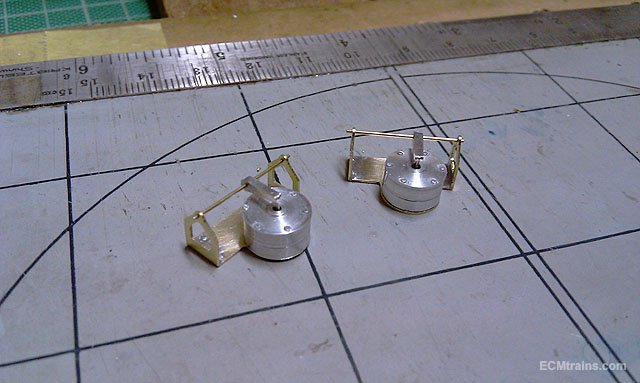
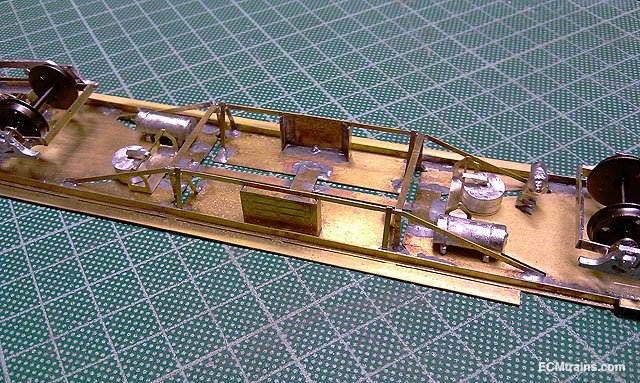
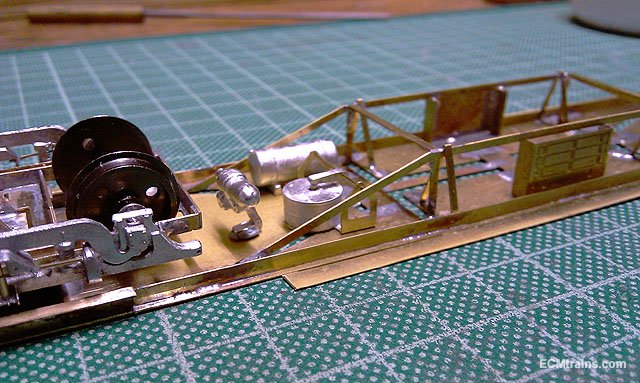
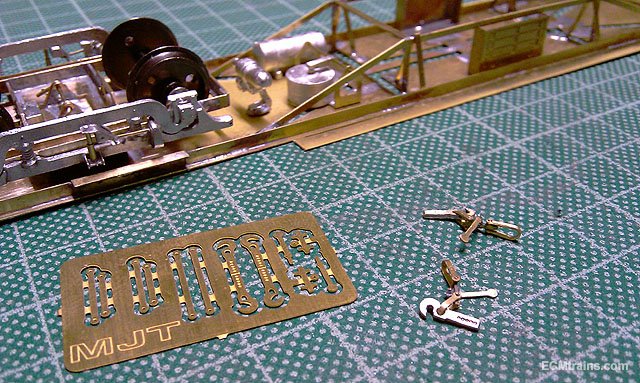
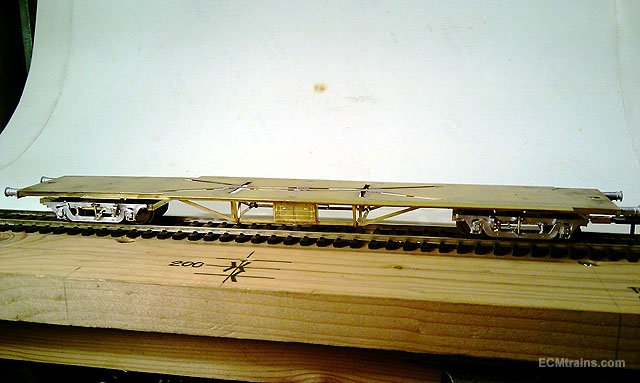
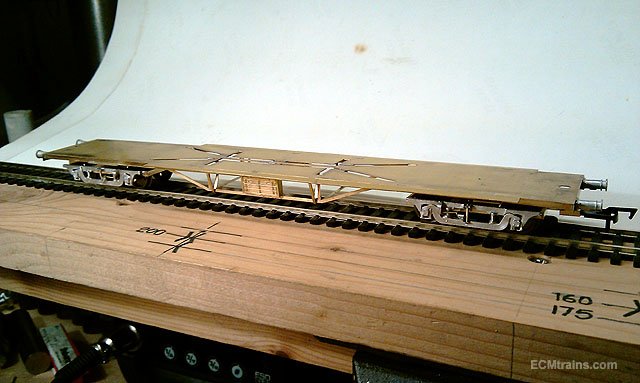
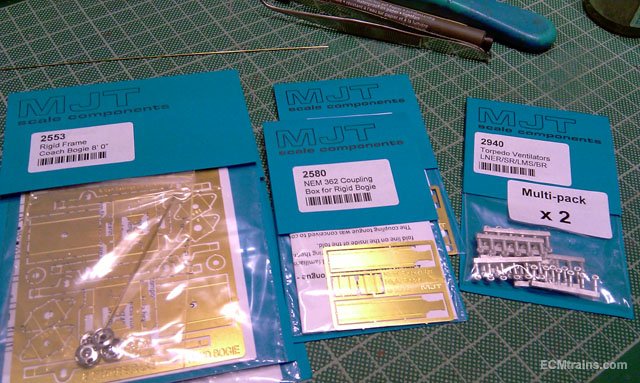
First Parts of 2019! Happy New Year to you all...... Brass parts cut out of .39mm brass sheet, needing a bit of an edge clean up, fold, and then solder. All done, with a .5mm brass shaft to be soldered in when going onto the chassis. Making the mould to cast the tanks in whitemetal was then done and the first casts tested today! Placed on the chassis to check final location. And screw coupling linkage- I have a packet of these MJT etched kits and this is a good excuse to try them, their a bit fiddly but look good when finished. Not sure how they will work with the bogie coupler! they get in the way..... Here is a question;- Did Laminates use generators? if they did from what period, this coach livery is Black n Orange?? also- any photos? Eoin
-
Excellent job Ken, It looks great, looking forward to the painting Eoin
-
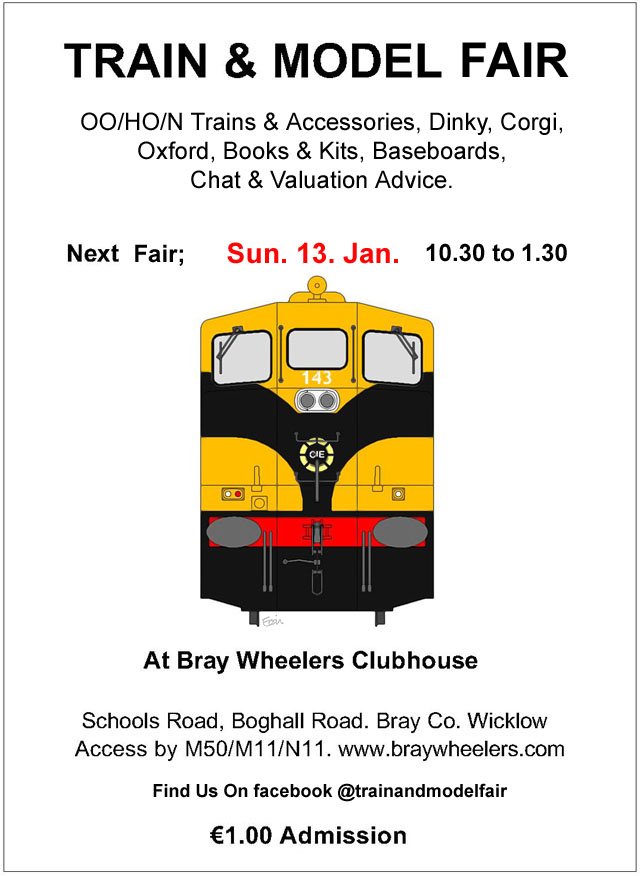
The first Fair of 2019 is on Sunday the 13th of January.....
-
CIE Laminate Coaches - Worsley Works - ECMbuild in 4mm
murrayec replied to murrayec's topic in Irish Models
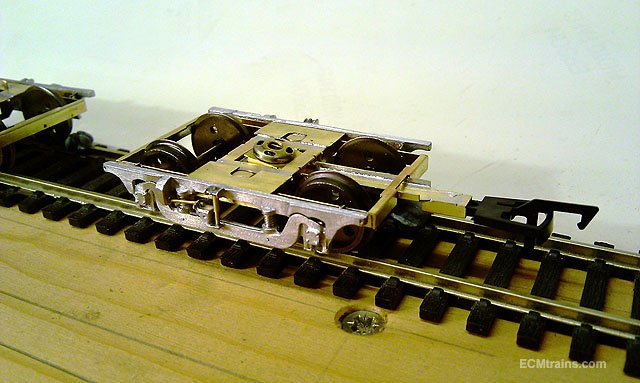
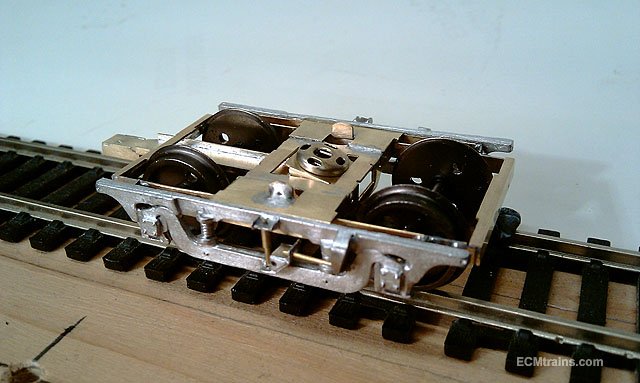
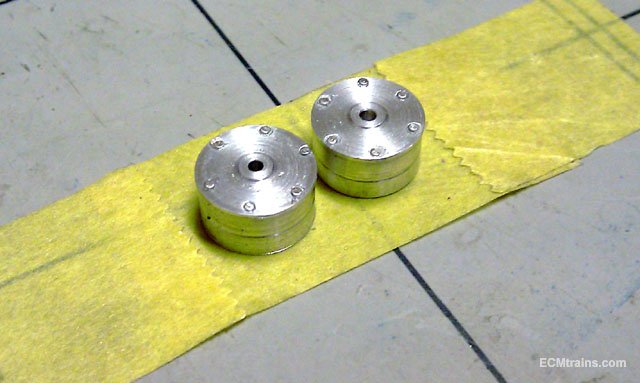
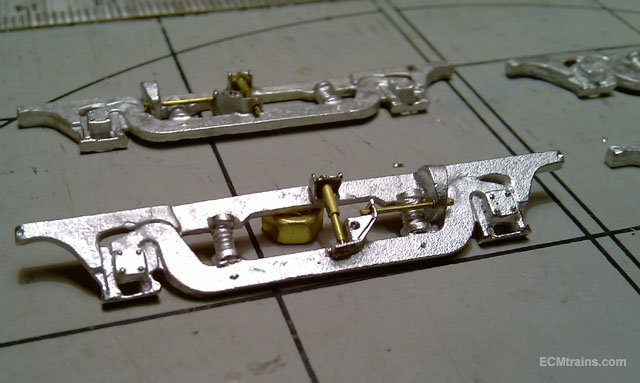
Thanks guys for kind comments MJT 8' bogie frames were put together, coupling bar n socket added and the sides glued on with epoxy- a nasty bit of soldering there, liable to see something melt so glue is your man! and on the chassis and these are the patterns to cast up break vacuum cylinders There are a few brass bits to go with these, yet to be cut out........ Eoin
-
CIE Laminate Coaches - Worsley Works - ECMbuild in 4mm
murrayec replied to murrayec's topic in Irish Models
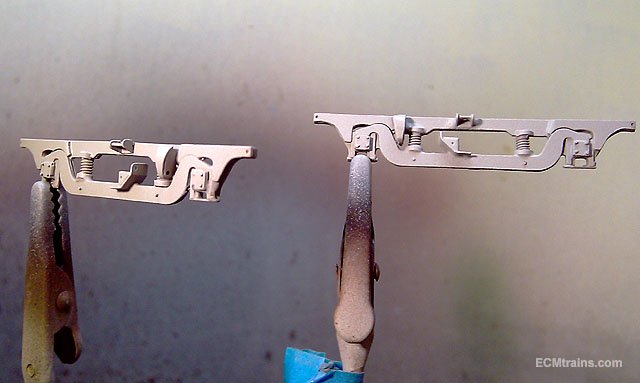
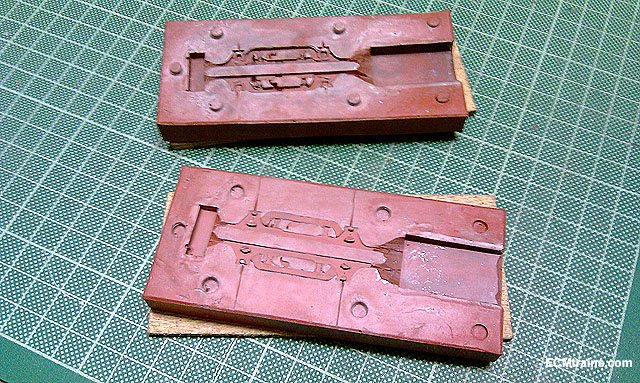
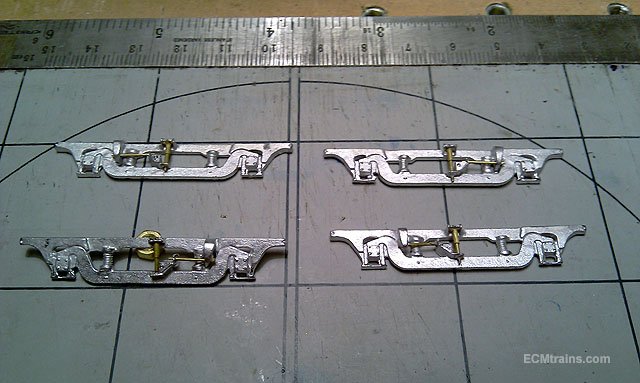
The bogie sides were completed today, some difficulty with the mould so I'll have to revisit that! though I got 4 sets of sides out and I can now proceed with the laminate coach;- Painting and filling the side patterns, The mould, you can see where I cut vents out to the side of the mould, I also drilled hole through the mould to get the suspension shock brackets to work- these are a bit thin and I think they have to be beefed up next time around, Castings with brass shock and torsion bar installed A bit of a rub down with the fibre pen is required, The 8' 0" bogie units and roof vents eventually arrived, so their next Eoin
-
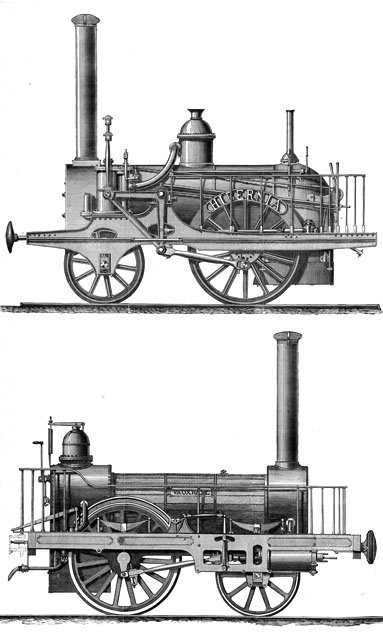
There is a certain magic to them, but unfortunately on the Hibernia- 'super' was not the case! This loco was an 'Experiment' by Mr Roberts, he designed vertical cylinders with a bell-crank to turn the motion to horizontal and that was it's downfall, he ran a few of this type in England but very quickly they were removed from service- the loco bucked from side to side, pounded the track, and leaked steam from the cylinders which they could not stop. I reckon the spares from the 'Experiment' were sold off cheep to the D&KR- against the protests of the D&KR engineers, by Sharp Roberts after languishing in the corner of the shop, only too delighted to supply the locos with engineers for two years to be rid of the stuff. The D&KR did run three of these locos for several years and they gave good services for the bargain price, all removed from service after one of them exploded in Kingstown when left unattended running with low water in the boiler. What a pity one of them was not held on to....... I'm building models of this loco- the Gauge O early development test work can be viewed on my workbench thread- work is progressing very slow but I'm at the brass cutting out stage now, other scales are been worked on with a Gauge N about the most advanced..... Eoin
-
Nice one
-
Here are the first two locos, the Hibernia & the Vauxhall
-
I bet the Missus is impressed! Eoin
-
Nice Birthday Celebration there G Eoin
-
Hi Jason Where does one stop! Though John has a valid point about the slab edge detail, though I would not close off the void under the floor fully, all the timbers in the void need air ventilation from the underside. Here is an idea that I have used in the past- a galvanised steel drip pressing installed behind the lower weather sheeting plank, dressed up behind the sheeting and fixed to the studs, the lower plank has to be removed to do this! the drip pressing is carried outwards and then down to cover the conc slab edge with a little turn up to create a drip. Rodent mesh could be installed behind to close off creature access into the void under the floor but still allow ventilation..... The flashing out turn should be about 10mm below the the weather sheeting so that water is not held up against the timber edge. If you consider doing something like this, do the barges also as John suggests- it will pay for it's self in the end! Eoin
-
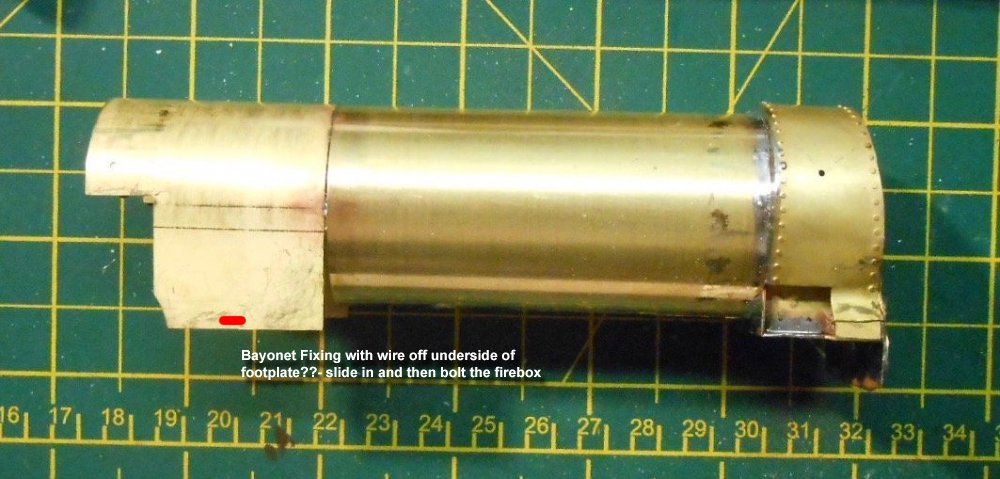
Hi David Your flying along Here is an idea to keep from soldering the boiler in, I would try to keep them separate, though you have to consider the fixing of backhead also! If there is room under the footplate, make a bayonet slot in the firebox sides hooking and sliding on a wire soldered to the underside of the footplate? This wire could othrwise be a threaded bar and a nut spun on when the boiler is in place...... Eoin
-
Well at the moment they are in pretty safe and secure hands, better than they have been in the past 5 or 6 years! The Council do plan to conserve the models and re-storage them correctly which was included for in the Museum Exhibit Tender, whether they carry out this work is another question..... Eoin
-
The Fry models cannot be sold off, Fingal Co Co are the custodians but the collection belongs to the Irish People. I would say that the models fit for display will be used in the new facility, the un-fit will be held in storage, possibly never to be seen again unless the Council decide to put more money in to restore them for display!! Hi Colin A fantastic idea, one that I had many discussions about, but alas, if you take the current situation on the Fry Models;- A number of years ago in discussion with 'Irish model/ heritage railway fans' and on this thread- if you look back, we asked them to lend support on the Fry Model Cause, of which many said they would get involved. But in the end very little support was given and at the time when we had public comment during the planning process only one 'Irish model/ heritage railway fans' took the time to do so. On that basis I feel your idea would not have enough support in this country! sadly Ireland's Pendon will have to be at the Casino in Malahide- for now!...... Eoin
-
Yes, and again sadly the proposed facility will display a very small part of the overall collection. Fry also had a monster loco in the 5 or 7.25inch gauge scale! it now resides in the tourist office on Suffolk Street- that should have been included in the plan!! Eoin
-
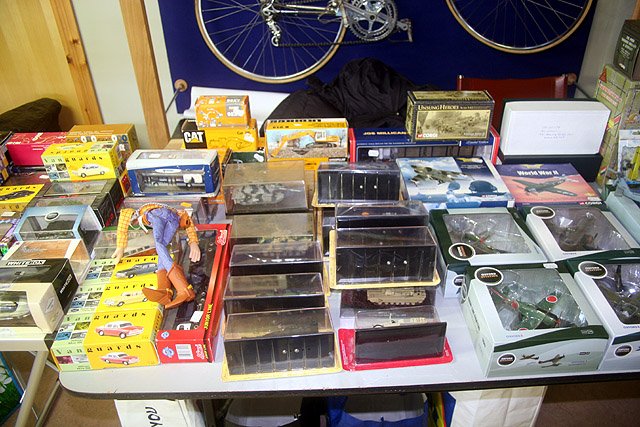
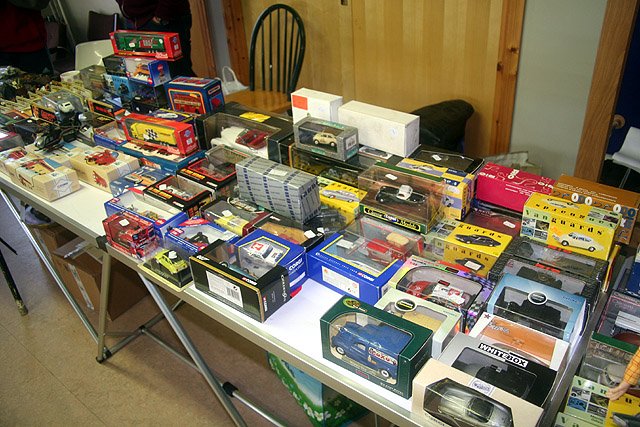
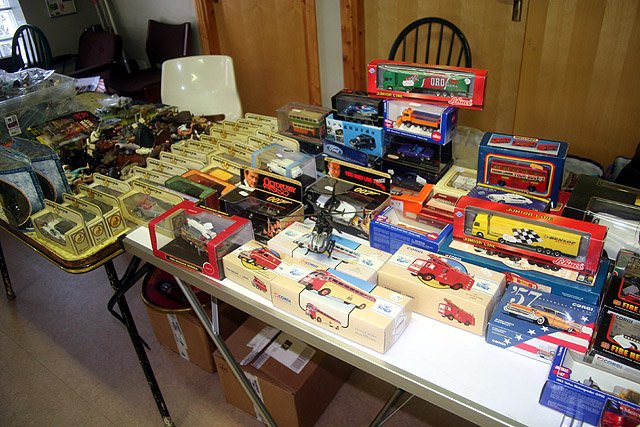
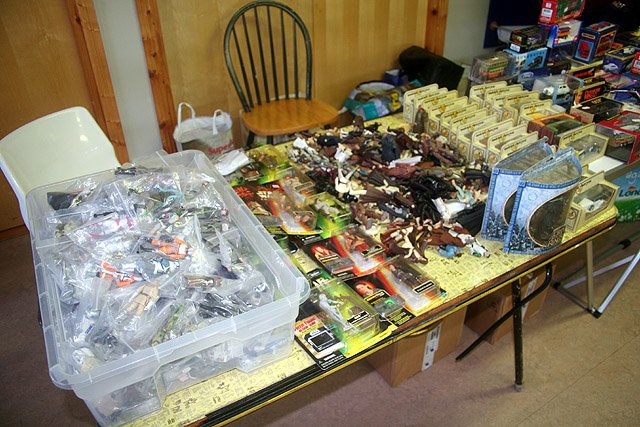
and D O'Toole Table;- Kinvara Train Man & Kieran the Soldier Man will be there also.
-
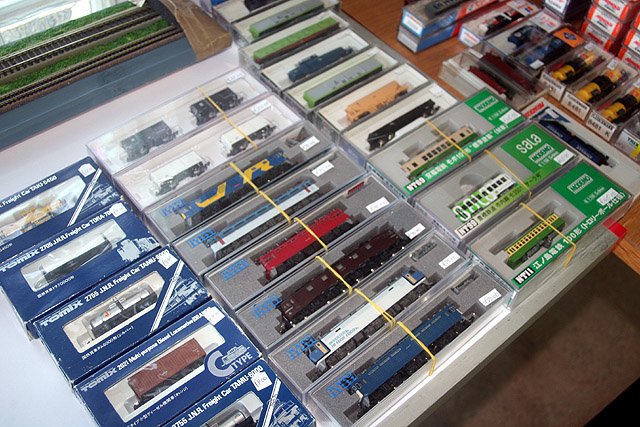
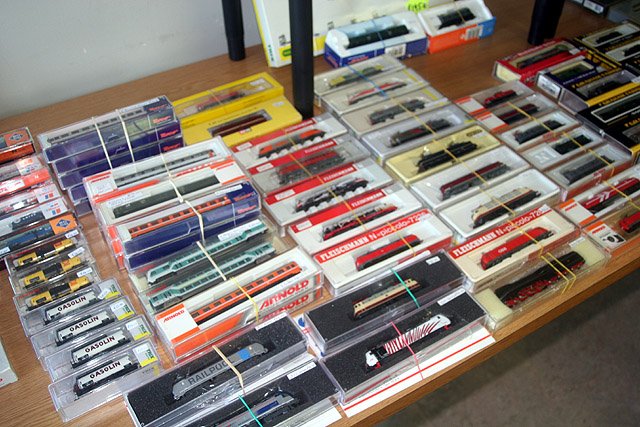
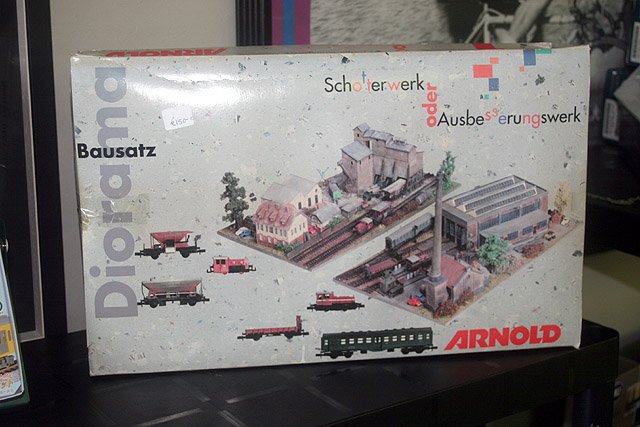
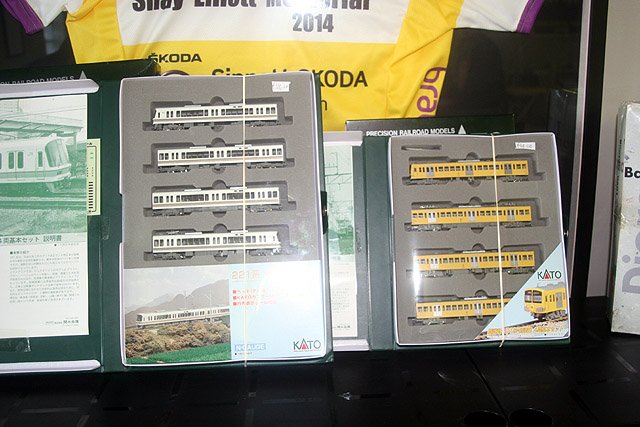
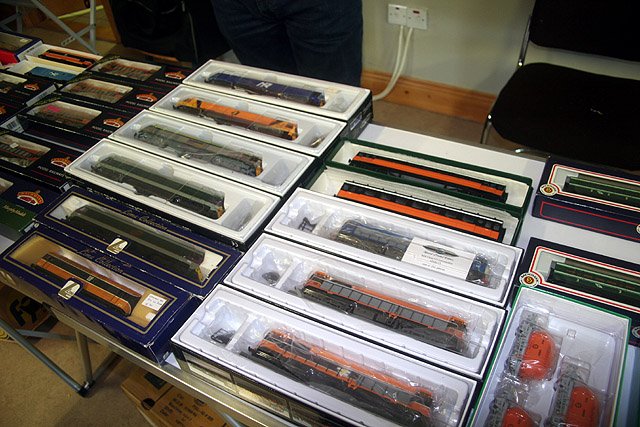
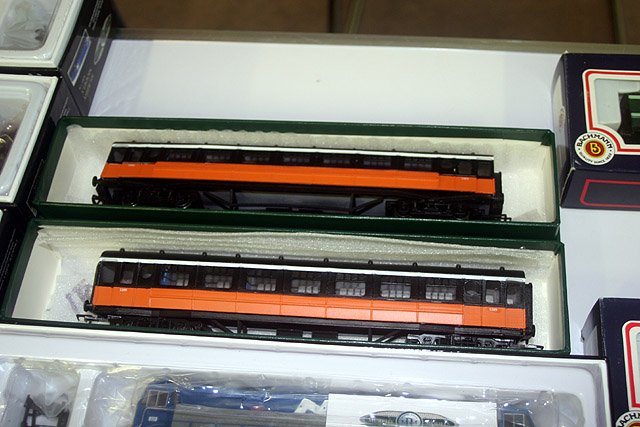
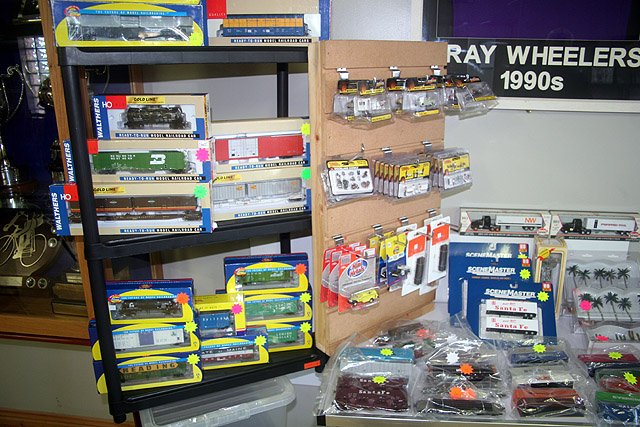
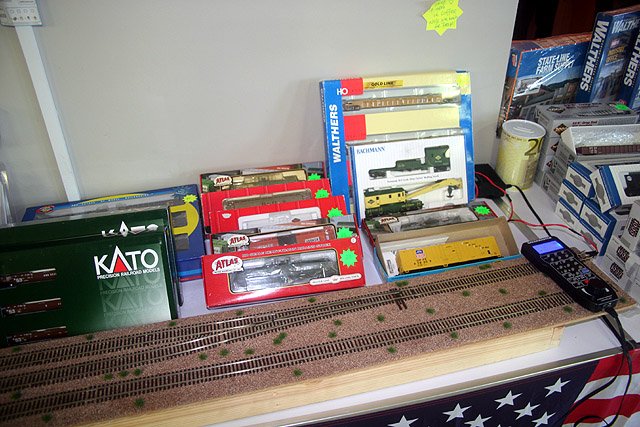
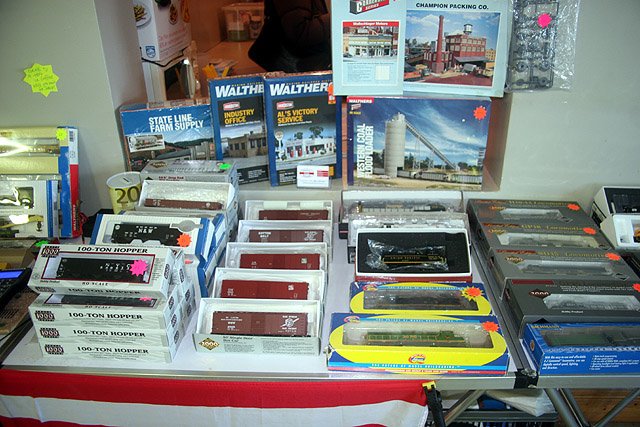
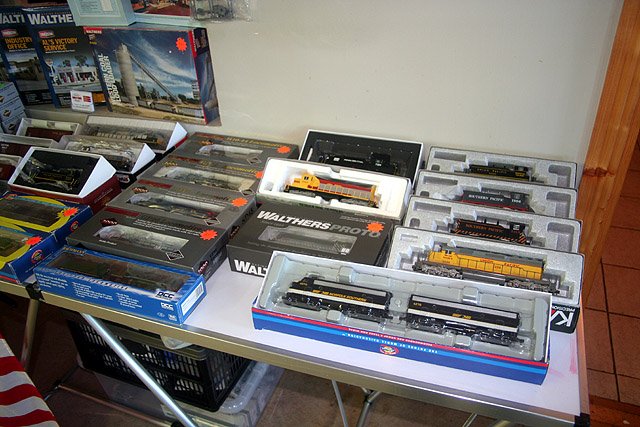
Some photos of items available at the Christmas Fair this coming Sunday;- S Ryan Table;- D Bracken Table;- P McHugh Table;- ECMtrains table;-
-
Hi snapper That's called a 'Hold n Fold' tool, looks like ken has inverted the top clamp and used a round bar held by the clamp to do the fold over- Eileen's Emporium stock them and they come in different sizes. Eoin
-
EM/OO Fine standards applied to Irish 5'3" gauge track.
murrayec replied to Mayner's topic in Irish Models
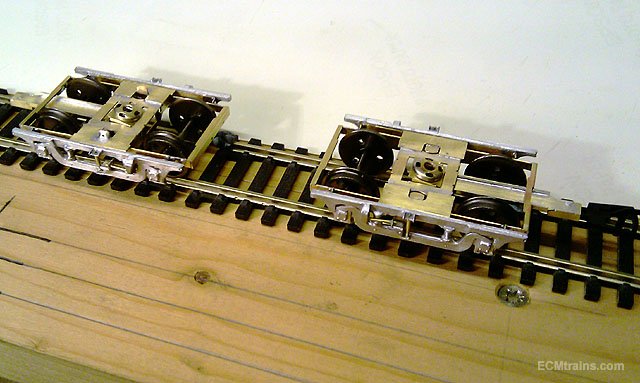
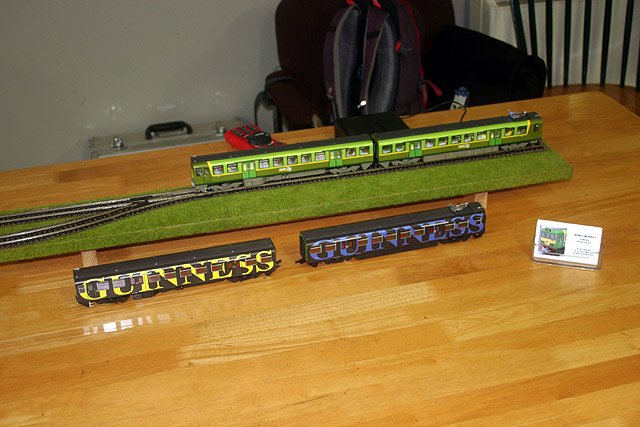
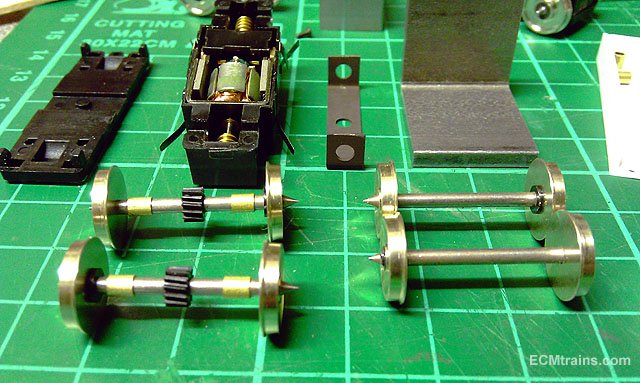
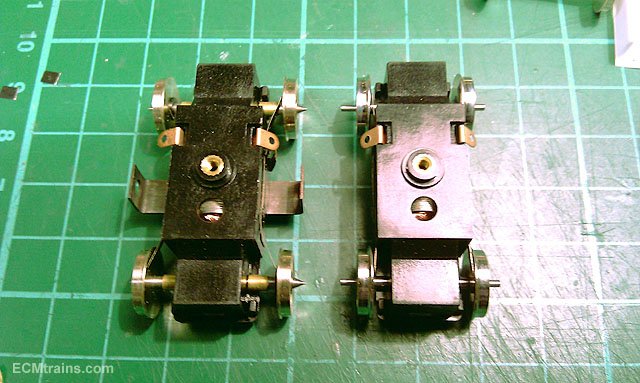
Hi jhb The spud motor lends it's self to conversion pretty easily, just replace the axles with longer ones, replace the pick-ups, and also the wheels need to be replace as the spud has stepped axles ends- down to 1.5mm! Here are a few photos of the spud set up for a 21mm DART;- Eoin
-
CIE Laminate Coaches - Worsley Works - ECMbuild in 4mm
murrayec replied to murrayec's topic in Irish Models
Yes, these are patterns for making the moulds. Cast white metal sides will be available when the process is complete. Eoin -
It is very disappointing to hear the announcement that the running model will now be in Gauge OO scale, it was inevitable I suppose with the way the County Council design team ignored the scale of the Fry Layout and chose a facility & extension not compatible with what would be required. A large Gauge OO layout will be a delight to have but will in no way personify, compare or pay homage to the Fry Layout. This may not matter to the general public, but in my opinion, and others, dilutes and seriously diminishes the impact and essence of what the Fry Model is, or from now on- used to be. There is a belief on the part of the design team that the Gauge O models cannot be restored to running condition (the original Fry Models are restricted from running) or new stock prepared on the basis of the cost- 1.5 million Euro was left by Mr Gaffney, which is now probably over 2 million Euro on deposit, for the restoration of the Fry Model and housing the exhibit in the Casino, of which the majority of this money the Council has decided is going on the building and interior display systems and a very small proportion of the bequeath is going on conservation of the models and the building of the Gauge OO layout. In my opinion this is wrong and has come about because of the lack of understanding of what the Fry Model is, it's scale, and the fact that there was no 'Qualified' person on the design team to represent the Fry Model and to promote the restoration of the models and keep the running layout at Gauge O scale. Also ensuring an adequate proportion of the funds went towards the exhibits restoration and additions in the future. I have not seen the interior design for this project, but on reviewing previous work the appointed interior design company has done- it's minimalistic, with very modern feel, a design company that will spend far more money on interior finishes, display cabinets and display systems than the Council has decided to spend on the actual exhibits. There is also additional money being put into the building project by the Council on behalf of the Irish people! I made several attempts to offer assistance to the Action Team for the Fry Model, and to the County Council, but my assistance was flatly refused and ignored. I did make submission during the planning process and was successful in having a few alterations done to the design- but the main point of 'Scale' was ignored. An opportunity lost, it could have been so much better, though it would have required a larger budget and a lot more visionary thinking and planning on the part of the design team to achieve it. It is great to see the project proceed, although in diminished form. Eoin
-
I have a difference of opinion on this matter, but it would be wrong to take up issue on this thread as it relates to the Gauge OO layout of which I'm sure Dave will provide a superb layout as per his brief from the design team. I and a few others campaigned for retention of a Gauge O Layout for the new facility but it fell on deaf ears- the councillors are more interested in the kudos of the project than getting an understanding of the scale difference and the significance of the Fry Model Layout display and what it could be into the future. I suggest further debate on the Gauge O matter be carried out on this thread;- Eoin
-
Hi Horsetan I really only took on the cylinder parts, valve gear, coupler rods, and bake system- though the firebox is something I will discuss with the client and we will see if something needs to be done? Eoin