.png.c363cdf5c3fb7955cd92a55eb6dbbae0.png)


Mol_PMB
-
Posts
3,870 -
Joined
-
Last visited
-
Days Won
239
Content Type
Profiles
Forums
Events
Gallery
Blogs
Everything posted by Mol_PMB
-
This does open the door to a lot of developments, and when Accurascale said they want to do 'everything' it's a good step in that direction. This may not have originally been in the AS long-term strategy, but it sounds like the best option to keep the Heljan tooling going which will ultimately be a significant benefit to modellers. It buys AS greater experience and market share in scales other than OO. It's interesting to see the Heljan OO brand being repositioned loosely equivalent to the Hornby 'Railroad' - i.e. lower cost entry-level models for those who don't demand the expensive full-DCC and extremely fine detail options. That does make a lot of sense in the short term and perhaps in the long term too as a parallel range once some Heljan prototypes have been 'promoted' to the main AS range. We may even see more 'budget' models developed - perhaps including some Irish ones? I do think Accurascale will have to be careful to distinguish between the two product lines and manage buyers' expectations to avoid damaging the excellent AS reputation for accuracy and detail. I shall wait to see what transpires, but first I might just pop over to the Heljan website and see if there are any O gauge bargains...
-
Nah, small fry. Hornby...
-
Wow! Now I see where the discussion on Irish O gauge was leading...
-
"Voiding the Warranty" - Mol's experiments in 21mm gauge
Mol_PMB replied to Mol_PMB's topic in Irish Models
A bit of sun early this morning, after yesterday's hailstorms, so here are some photos of the tin van. This is from a JM Models kit with a few additions/modifications: Some areas of this came out well, others not so well, but overall I'm happy with it. It has the interior modelled, not that there's much of it. Perhaps it would benefit from some parcels and cases inside. I have a plan to fit battery-operated, magnetically switched lighting in the roof, but I haven't done that yet. My 6-wheelers don't have lighting but the Park Royals will so it seems sensible to add it to the tin van. I'll wait until the Park Royals are here, so that I can design the lighting to match the colour and brightness, and to work with the same magnetic wand. I have a similar kit for the heating van variant, which I have not yet started. I can't decide what colour to paint it, in fact I wish I'd bought two so that I have them in different liveries. As a compromise I'm considering early (1961) BnT livery.
-
Thanks. I think you're right about single ply tissue - perhaps the stuff the etches come wrapped in. I had looked at crepe paper but it was too coarse. I also thought about using graph paper to approximate the checked pattern, but even with 1mm squares it's too coarse and the paper is too stiff. I don't think the tissue paper will successfully go through the printer, so perhaps a very fine pencil or pen could be used to draw a pattern? Or probably that would just look overscale. I will postpone that decision for a while!
-
I think I've now completed the body etch artwork. This uses broadly the same construction principle as the SSM 6-wheelers which I found worked rather well. There is still more to do on the underframe and bogies, but that will have to wait until I'm back from Ireland next week. Then I'll get a trial set made. I have provided some etched partitions for the interior but haven't yet gone beyond that - at one stage I was wondering about etched seats or at least seat ends, but I've run out of space! The windows are quite big so maybe it's worth making some more effort on the interior, if there's room on the underframe etch? But these coaches were only ever gas lit so it will be gloomy inside. The original seats were more elaborate than the restored example at Downpatrick, and they had high backs: Also seen here in a photo: https://www.flickr.com/photos/irishrailwayarchive/53509061464/ Or do I just use a bog standard Comet style open coach interior? https://www.wizardmodels.ltd/wp-content/uploads/2025/11/int3.pdf What do you think? And how do I reproduce the distinctive material for the curtains? (extract from Ernie's photo https://www.flickr.com/photos/irishswissernie/54398371926 )
-
It's all starting to make sense now! Superb modelling.
-
It will be interesting to see how the ICRs fare. Part of me thinks that once they're here and have been shown off, there will be a rush to buy. But I'm not a gambling man. Meanwhile, over on eBay, NIR 113, with sound but in far from perfect cosmetic condition, has just sold for a mere £435.20 plus postage. https://www.ebay.co.uk/itm/397732024596 (P.S. I weakened and bought the silver A30, it was my significant birthday this month and postie didn't bring my Park Royals. Maybe they'll come for Christmas?)
-
I hadn't spotted the Hunslet! It must be good that these are close to selling out rather than ending up being remaindered. I guess there may be a few more available later if some people who have ordered don't complete their purchases. Here's hoping that IRM will announce something new once the Hunslets and Park Royals are delivered.
-
The seller is a dealer - I guess they have acquired a collection and are putting all up for sale at once. There were a couple of 071s yesterday but they went very quickly. I agree the prices are a bit high (even for UK buyers like myself) but there are a few items in there that aren't seen for sale so often, and they do seem to be selling. For someone just getting into Irish modelling, the availability of second-hand stock is important. At any one time, the items available brand new and in stock usually don't complement each other to form a consistent train. (on which point, I note that 5 of the Park Royal types are now sold out!)
-
A bunch of A class now, from the same seller. Now, how much do I need a silver one...?
-
Quite a cramped site between the river and the canal, which always helps for a model railway layout. The main loco and goods facilities were elsewhere. Hopefully one or other of these links will work: https://arcg.is/0zXvzb0 Irish Townland and Historical Map Viewer Ernie Shepherd's book on the MGWR includes an elevation drawing of the main station building, though it is not dimensioned. Plenty of photos in the IRRS Flickr archive, and of course a fair amount of it is still there including the ornate pump house by the Shannon as well as the station building and a few of the sheds. An interesting place, and would make a great model!
-
Yes, though mine had different lettering. I did a lot of modifications, partly for 21mm gauge, but a simple repaint would get you 80% there and close enough for most. Incidentally the margarine works was about 2 miles from my house, and there’s a 1:1 scale model of one of their tank wagons at Irlam station.
-
"Voiding the Warranty" - Mol's experiments in 21mm gauge
Mol_PMB replied to Mol_PMB's topic in Irish Models
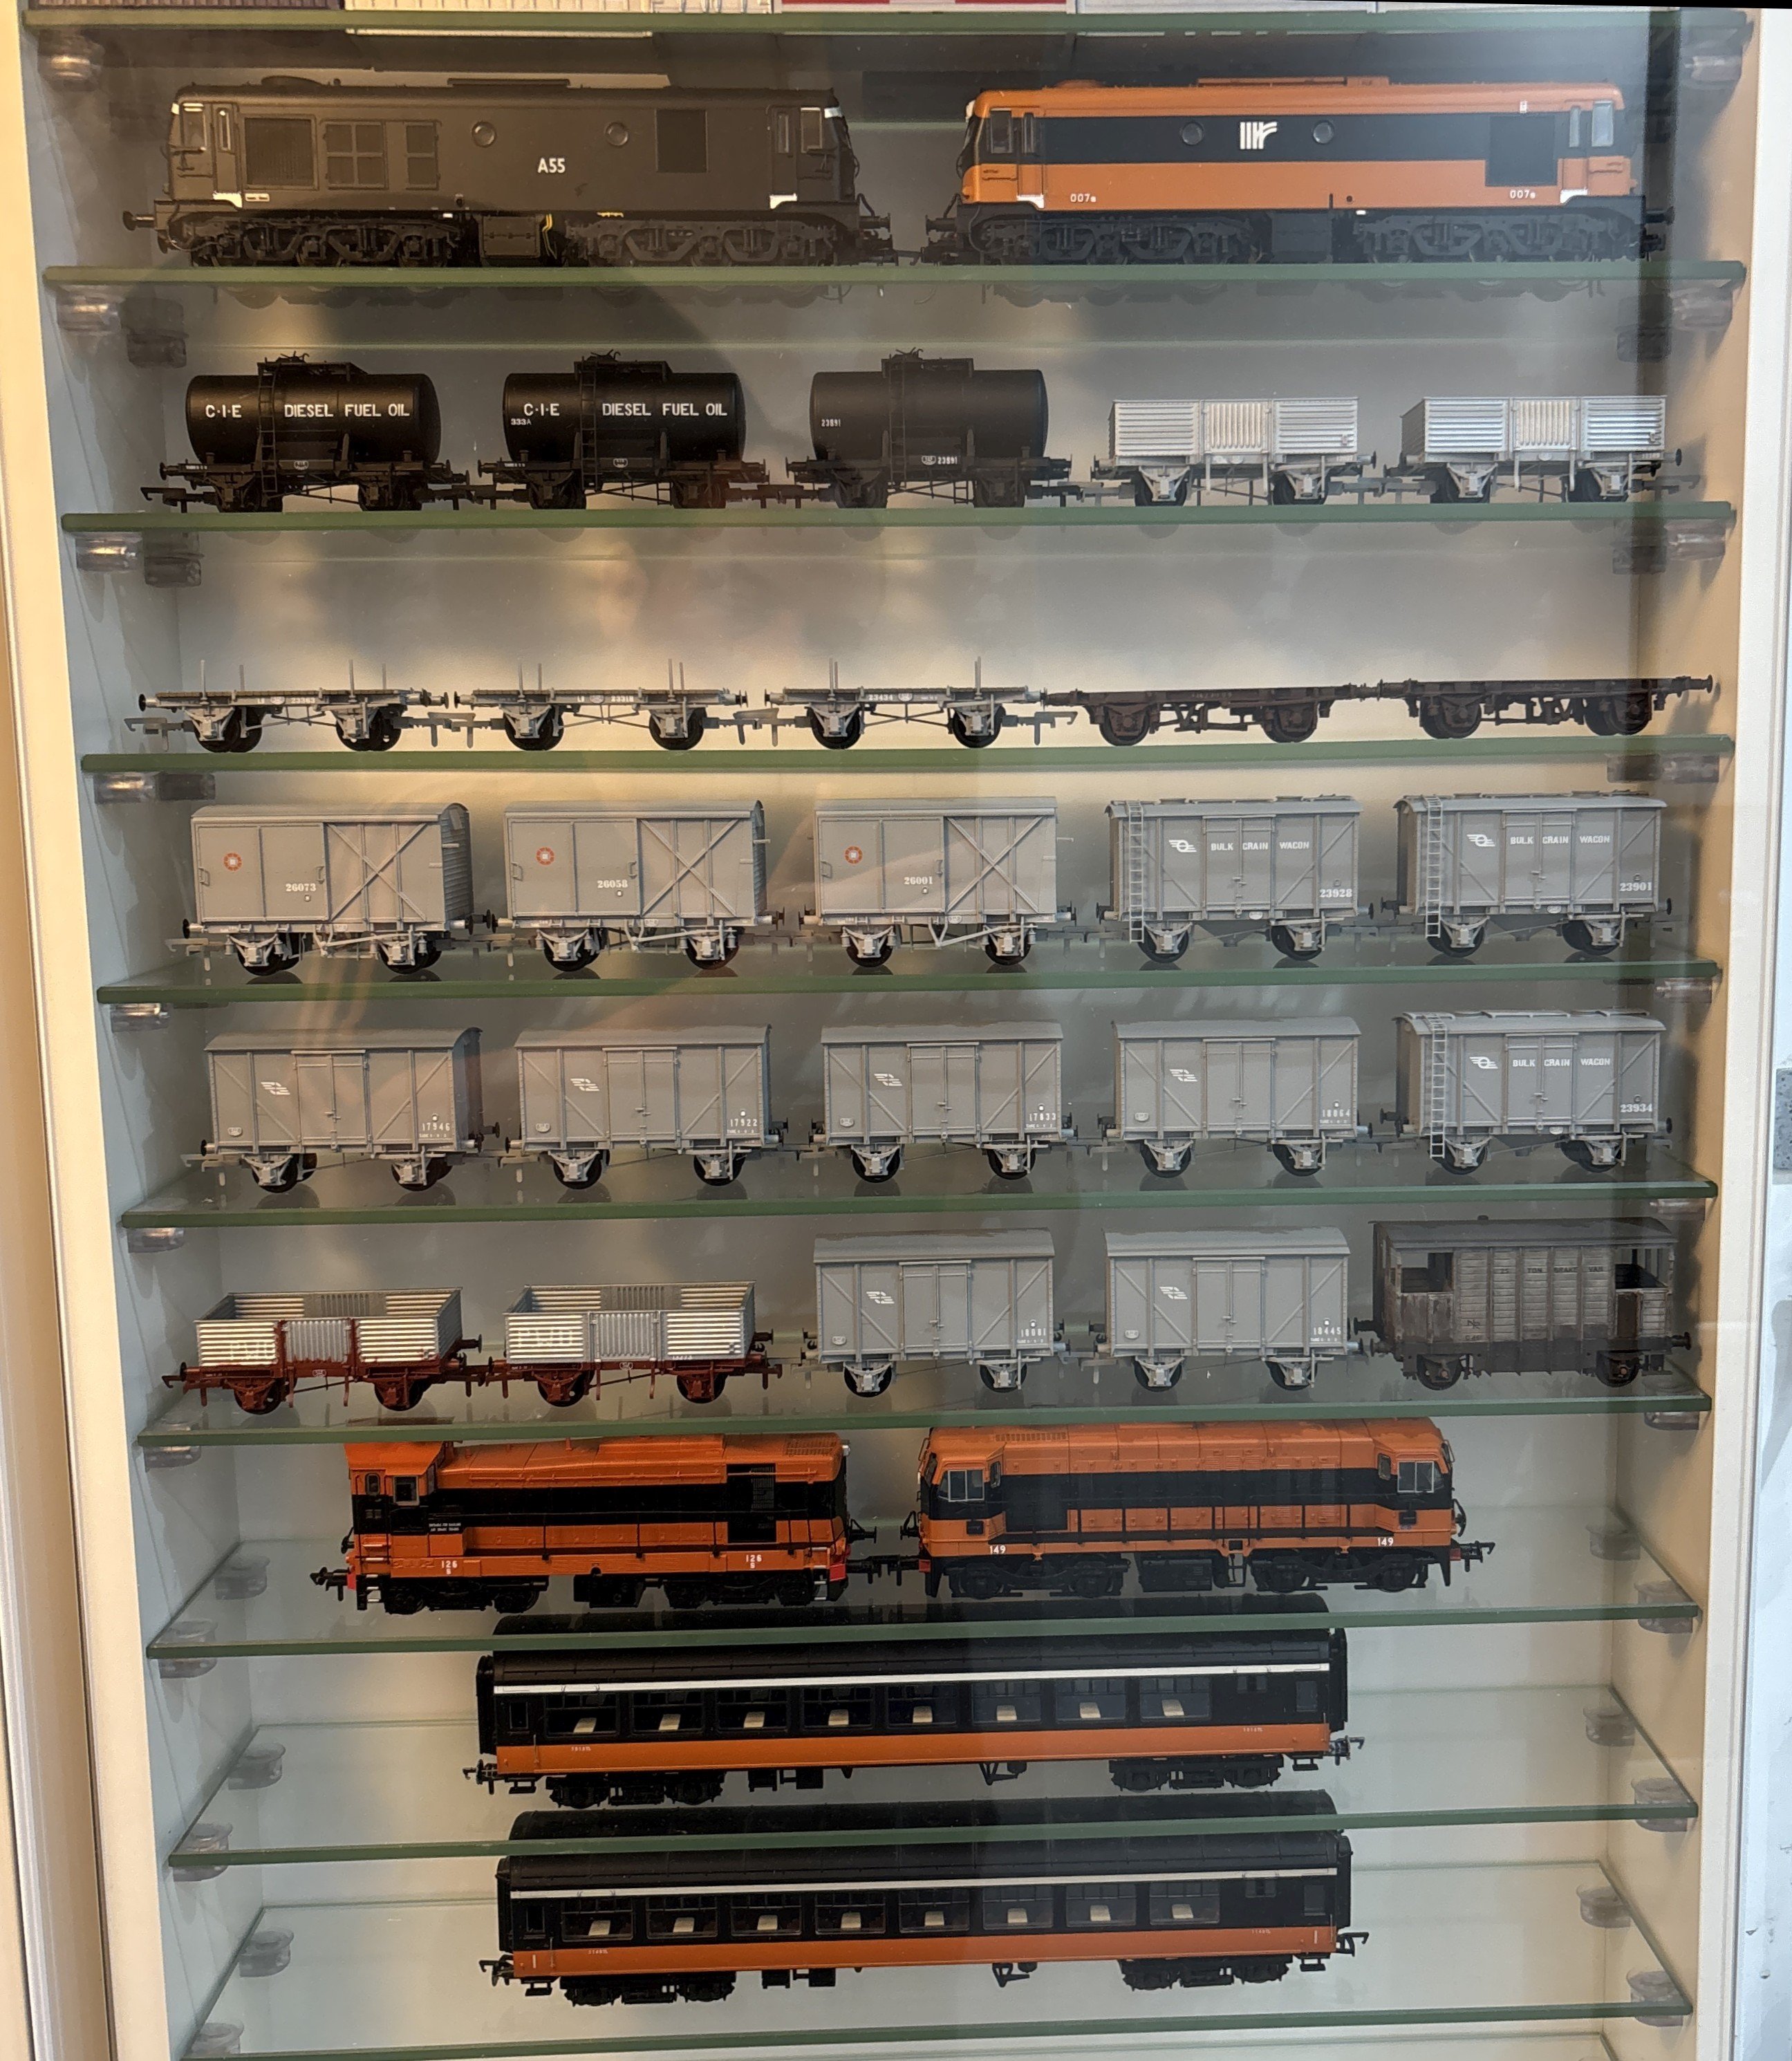
The plan view of each shelf is 450mm x 89mm, and with them at the close spacing they are 63mm apart (height of 58mm between the top of one shelf and the bottom of the one above). The top and bottom shelves have slightly less clearance. It's just enough for 4mm scale Irish stock on the low profile 21mm gauge track. But there's less than 2mm clearance between the 141's horns and the shelf above, so taller stock needs a bit of care to get in and out. -
"Voiding the Warranty" - Mol's experiments in 21mm gauge
Mol_PMB replied to Mol_PMB's topic in Irish Models
Now I have scared myself with how many wheelsets need regauging and how many buffers need moving. And I haven't even unboxed the cement bubbles which are the most difficult. I also have a stash of wagon kits to work on, which will probably take priority over many of these. I can see the commercial reasons for IRM producing wagons in sets of three, but it's a policy that has led to be buying too many. Note to self: NO MORE TRUCKS! As you can see, full-length bogie coaches only fit one to a shelf in these display cabinets, though they could be paired with a tin van or a baby GM on a shelf. Some of the trucks will have to get put away again, or be regauged and move to the other side of the cabinet, to make room for the Park Royals when they arrive.
-
"Voiding the Warranty" - Mol's experiments in 21mm gauge
Mol_PMB replied to Mol_PMB's topic in Irish Models
Thanks! I'll fill up the other side with some unconverted stock and see what it looks like. Though I might get daunted by the amount of work still to do on them! -
"Voiding the Warranty" - Mol's experiments in 21mm gauge
Mol_PMB replied to Mol_PMB's topic in Irish Models
Another purchase arrived this afternoon - some extra shelves for my display cabinet, so that I can fit in twice as many toy trains! I have fitted them and done some reorganisation and consolidation. The principle at present is that the left-hand cabinet contains only completed 21mm gauge models, while the right-hand cabinet is at present mostly empty but I may put some of my yet-to-be-regauged models in it now that I have the space. I have an embarrassingly large stash of green IRM boxes (and some black MM boxes) that haven't yet been regauged, as well as some kits still to build. These cabinets can hold a lot of wagons but once I start putting bogie carriages in, I think they will fill up rather quickly. Hence my desire to make best use of the space with extra shelves. Here are the finished items, and the eagle-eyed may notice a new vehicle - the tin van - bottom right. I've just completed this today and will take a proper portrait of it on the photo plank when the sun comes out. You can also see that my era selection has been rather indecisive, with some wagons in late 1940s liveries, right through to the 1970s. The truth is, I model what I like the look of! I still need to put A11 back together so it can take its place on the empty shelf, and I also have the WLWR horsebox to finish off. There are a couple of other stalled projects but I may allow myself to start something new when I get back from my weekend trip to Cork.
- 822 replies
-
- 12
-

-

-
Having another trawl through my IRRS journals I have found a lovely photo in No.184 (June 2014) inside the back cover. It shows a fair special from Kingsbridge to Carlow on Sunday 25 July 1948. It has slowed while passing some PW work on the adjacent line and this seems to have encouraged the passengers to lean out of the window and look at what's going on. The train comproses J4 0-6-0 257, then six various horseboxes including GSWR types and one WLWR, all occupied and with some of the grooms visible peering from their compartments. The first horsebox is still in tatty GSR livery but the other 5 have acquired a snail so are presumably in dark green. Next is an old arc-roof bogie passenger carriage, with passengers on board, followed by a 'sleeping car' (it appears to be a 6-wheel coach but only has short footboards), again occupied. The remainder of the train comprises a long string of cattle wagons stretching into the distance - the brake van is out of sight. So that gives a nice example of how a fair special might be formed up and how one might use horsebox models. I promise to finish my model soon!
-
"Voiding the Warranty" - Mol's experiments in 21mm gauge
Mol_PMB replied to Mol_PMB's topic in Irish Models
London Road Models kit, I'm not sure of its parentage. It seems about the right size for an Irish branch line. Big enough for an 0-6-0 or 2-4-0 steam loco or a 121 class. -
On the buffets specifically, I would tend to agree with JHB that the photo of 2407 linked above is in standard post-1955 light green. The green-painted window is a clue - these were frosted/white when first outshopped. Also it has a snail; these were usually absent on the early 1950s liveries. IRRS journal 184 (June 2014) has an article 'Vico Day' with a whole set of (monochrome) photos of special trains taken on Sunday 5 September 1954. One of these is a 6+2 railcar set, including a buffet car which is clearly a lighter shade than the rest of the train. This must be one of the trial shades of light green applied in 1953/54. It has a waist line, but unfortunately part of the lower bodyside is hidden by a wall so we can't see if it has a snail. This photo from May 1954 shows 2408 in what appears to be a lighter green than the adjacent coach, with waist line but no snails or class designations. RNC_GSR_2408_Claremorris_09_May_1954 | [Photographer: Robin … | Flickr On the same occasion, compo 2146 still looks very clean and ex-works, and is a distinctly lighter colour than the adjacent vehicle which is one of the 1339-1355 compartment thirds outshopped in 1951 in plain dark green livery with no lining, logos or class digits. 2146 has a waist line and a 1 class digit, but no snail. This is definitely a lighter green than the traditional dark shade. RNC_MGWR_642_nr_Claremorris_09_May_1954 | [Photographer: Rob… | Flickr RNC_CIE_2146_nr_Claremorris_09_May_1954 | [Photographer: Rob… | Flickr RNC_CIE_2146_nr_Claremorris_09_May_1954 (2) | [Photographer:… | Flickr Colour views from the early 1950s are extremely rare, and without them it's really hard to tell whether the 1953/1954 experimental shades of light/bright green were similar to the shade later adopted as standard. It may be as JHB says that the experiments were more in chemical formulation than colour, though one might expect that different formulae might have slightly different colours. But the monochrome views do support the statement below that the Buffets and Compos in these series being built at the time were painted a lighter shade than the previous carriages, and they had a waist line. When looking at later 1950s photos, it's worth remembering that the '2' class digits were introduced in mid-1956 (when second class formally replaced third class across Europe) and seem to have been applied to all standard class doors on carriages repainted after then. Snails were also re-introduced. I think the '2' class digits were also retrospectively applied to some coaches in older liveries, but I think if you see a light green carriage without class digits on the doors then the chances are that it was repainted before 1956, and therefore it's worth considering whether it may be in a 1953/1954 livery... https://irishrailwaymodeller.com/topic/17455-voiding-the-warranty-mols-experiments-in-21mm-gauge/page/17/#elControls_277660_menu Also worth remembering is that the standard livery for new carriages in the 1956 to 1958 period was not green at all - it was unpainted aluminium. I really do want to get to the bottom of this, but it will take time as I need to get back to the contemporary sources in the archives. If anyone has a set of IRRS journals or Irish Railfans' News from the 1950s they could look through for info on new carriages and liveries, then that would help. It should at least mean that I can be better prepared when I visit the IRRS archives (and hopefully CIE archives) in Dublin.
-
"Voiding the Warranty" - Mol's experiments in 21mm gauge
Mol_PMB replied to Mol_PMB's topic in Irish Models
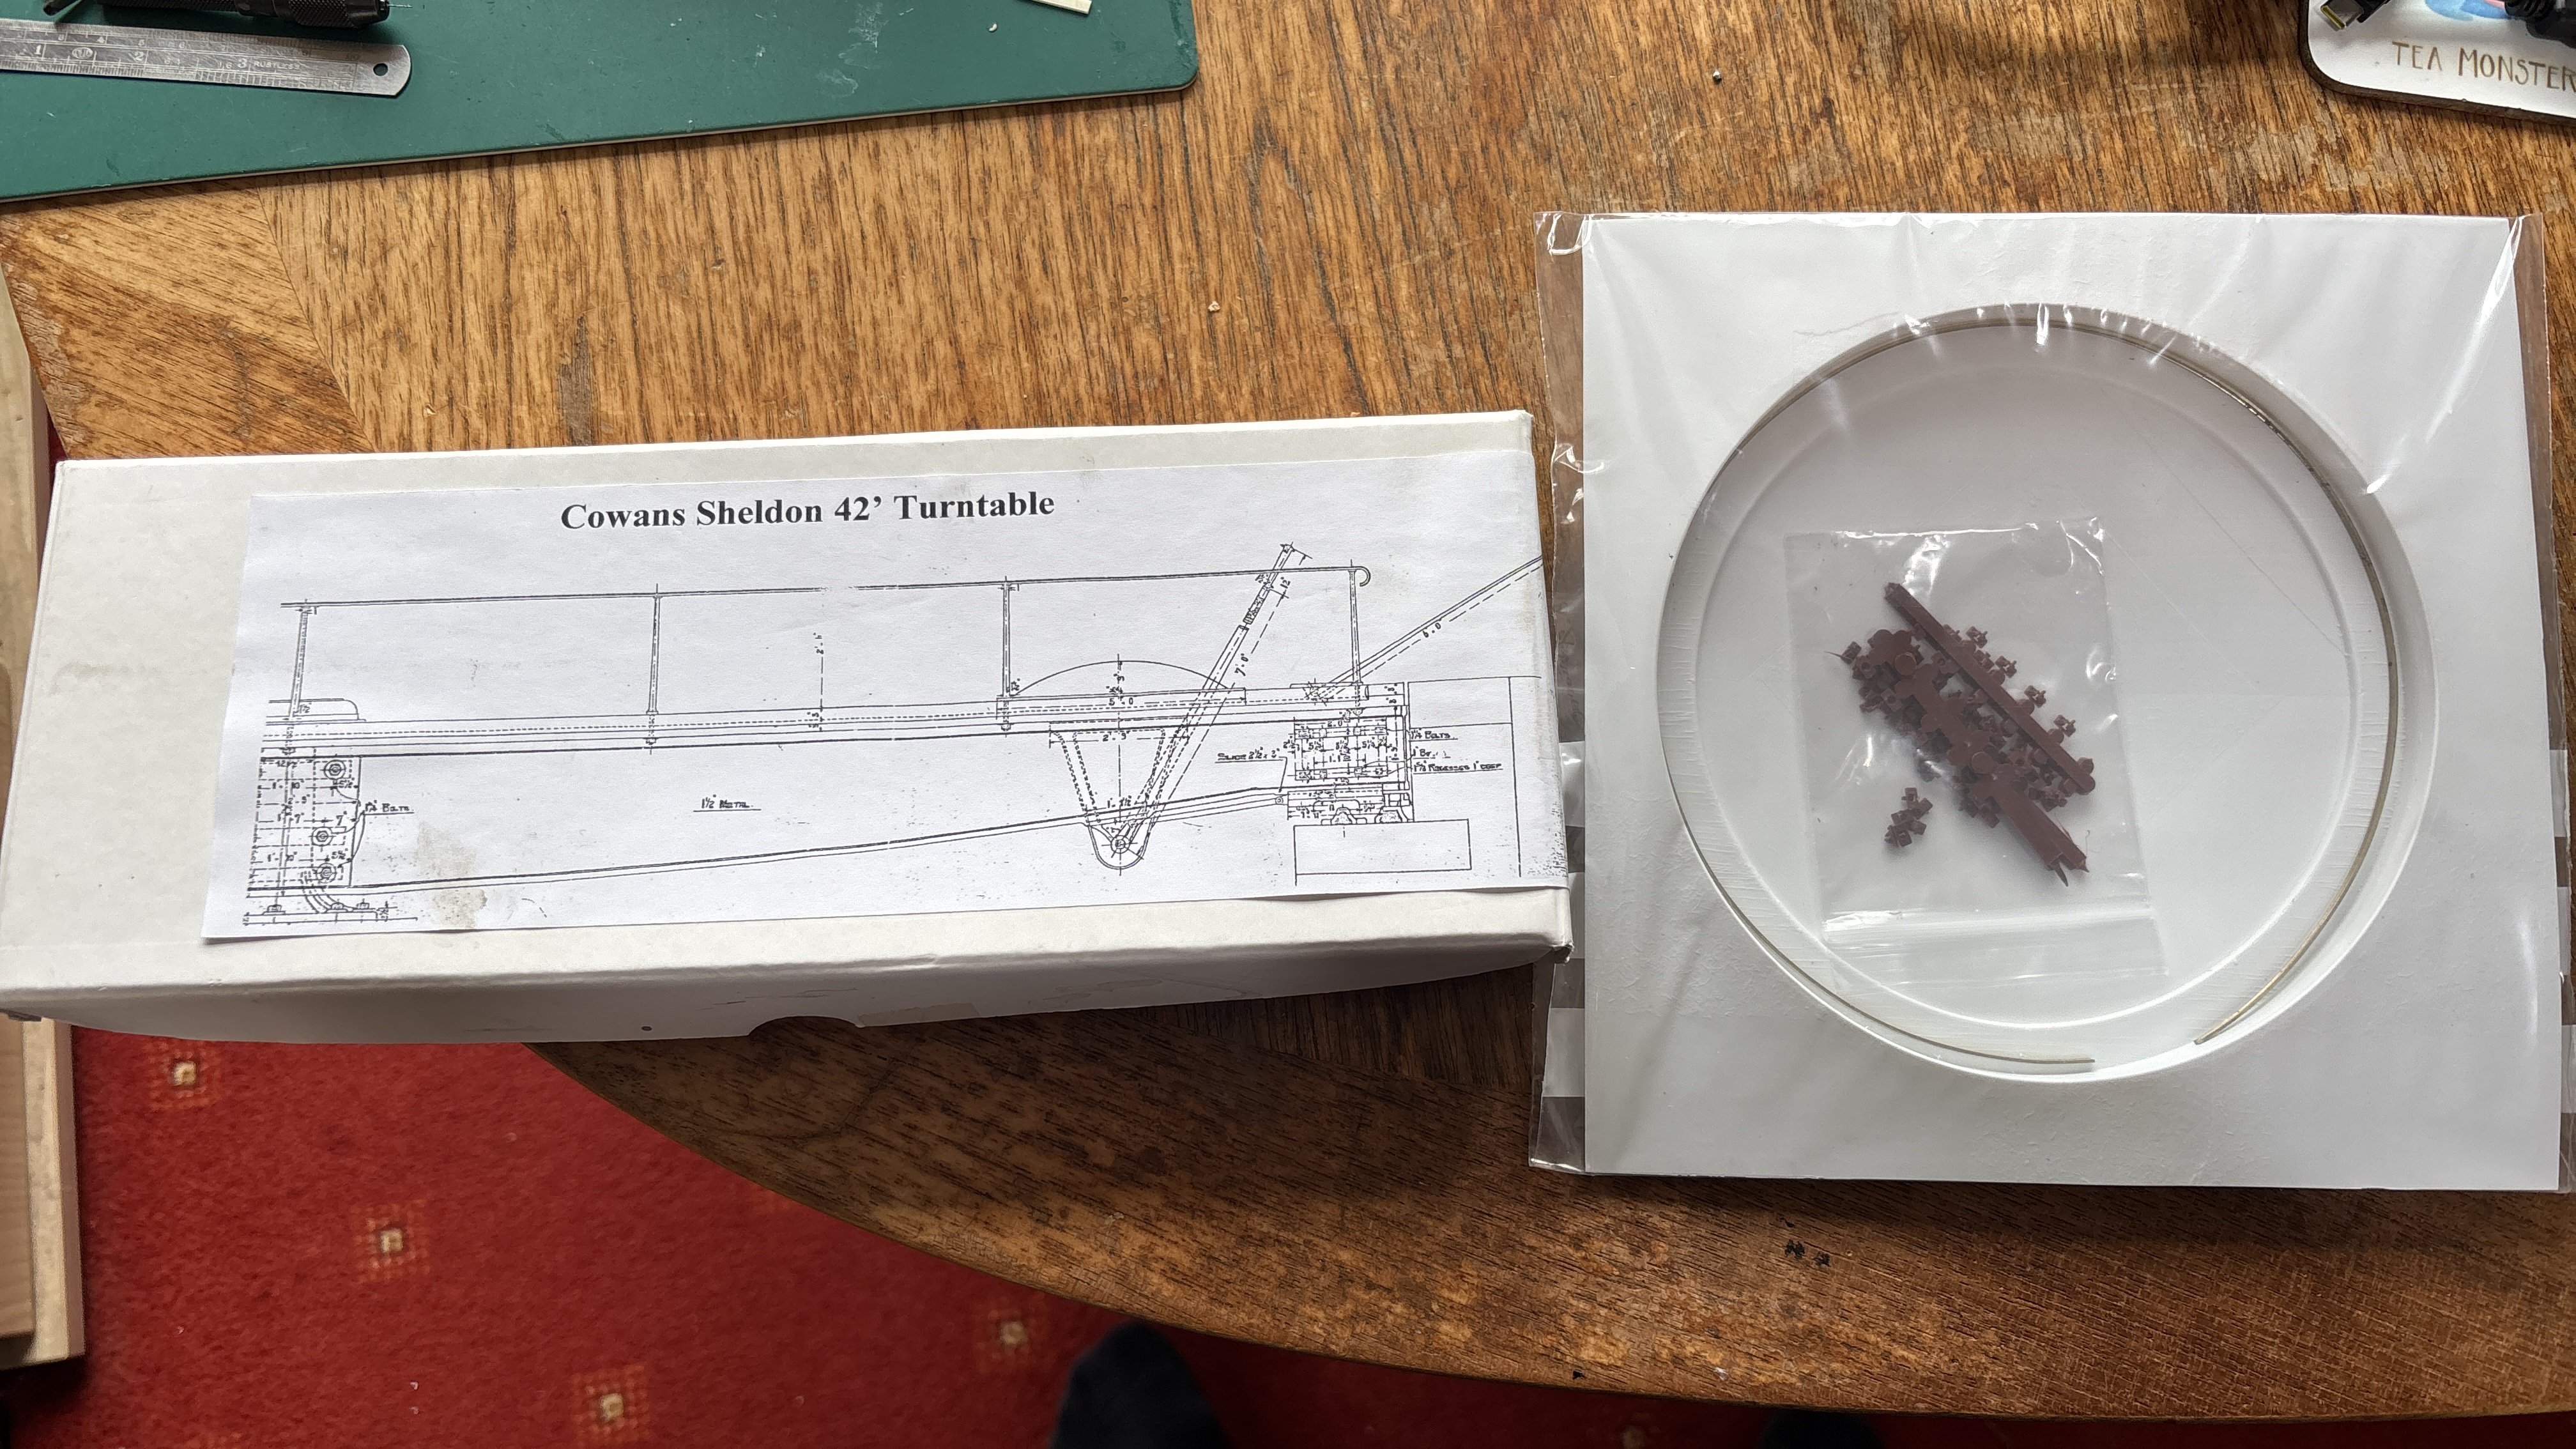
I had a bit of an accidental impulse buy on eBay this week and have acquired this with no real plan of what to do with it!
-
The CIE carriage liveries in the 1950s went through a complex series of changes and I have been trying to get to the bottom of this. Much of the available information is conflicting, or over-simplified. Some of it was written decades after the event, some may be relying on fallible memories from a lifetime ago. Colour photography was rare and there were many problems with colour sensitivity and deterioration over time. So it's really difficult to be sure about shades of green. Even if there were only 3 main body colours, there were many different livery styles through this period (in terms of lining, lettering, snails, underframe colours, end colours etc). My understanding of JHB's view is that there were 2 'standard' liveries and a load of oddballs. Whilst I agree with those 2 'standard' liveries, I think there's a clear sequence to most of the other variants and I want to make sense of them. I am gathering material to write a detailed thread about the liveries of this period, but I'm not rushing into print because I need to avoid perpetuating myths. I am presently trying to arrange visits to the IRRS and CIE archives to see if I can find any clues in documents actually written at the time it happened. In fact I had a helpful email from Norman Gamble last night that I need to follow up on. I started trying to summarise my knowledge so far, but it's going to take too long - I have to go to work! I'll try and do it later. See also this recent post of mine which is illustrated, but far from the full story:
-
There was Spruce Goose?
-
Another DCC Dilemma......
Mol_PMB replied to Patrick Davey's question in DCC, Electrics and Electronics
I’m no expert but just a thought. One of my friends using NCE had a problem like this when he consisted a loco with another. Then when he tried to use the loco on its own (without disbanding the consist) it misbehaved. -
I wonder how one would look in the BnT scheme the 141s were delivered in? Or in late 1950s green? what are the rules on warning panels and visibility these days?