.png.c363cdf5c3fb7955cd92a55eb6dbbae0.png)


Mol_PMB
-
Posts
3,869 -
Joined
-
Last visited
-
Days Won
239
Content Type
Profiles
Forums
Events
Gallery
Blogs
Everything posted by Mol_PMB
-
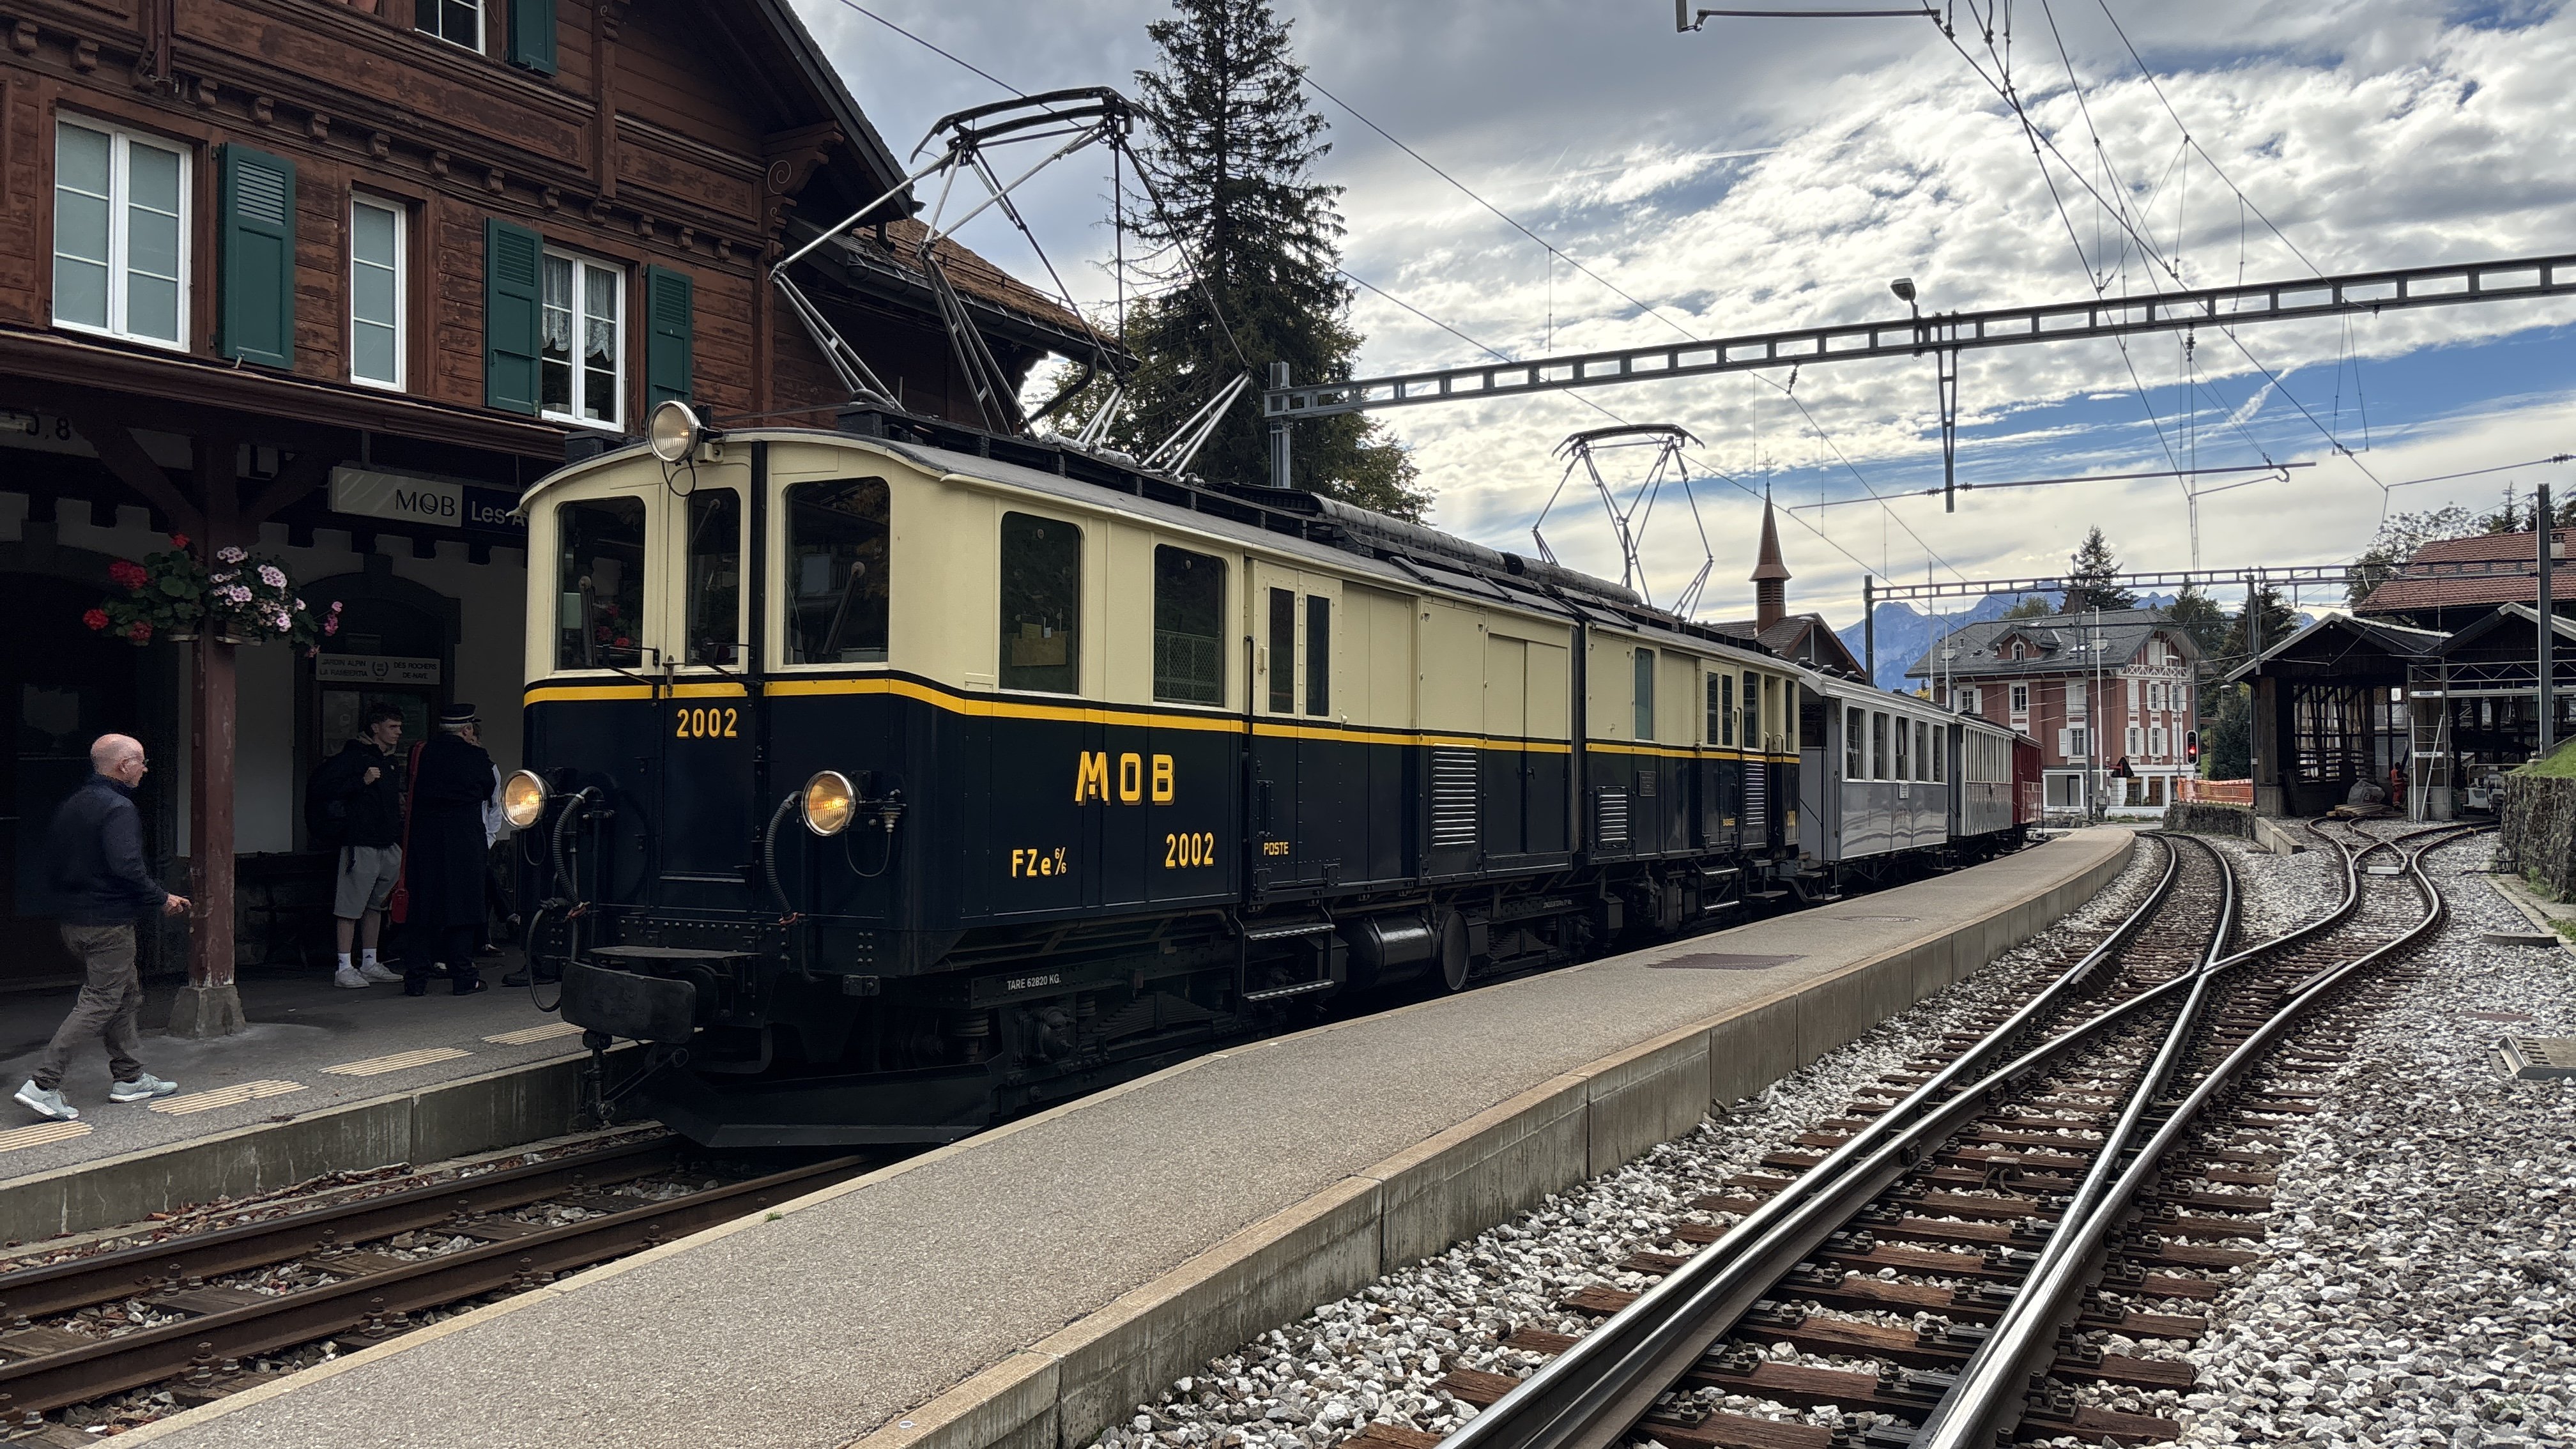
This 62-ton narrow gauge behemoth dates from 1932. Two were built and I think they were the first to use the Bo-Bo-Bo wheel arrangement. Primarily a locomotive designed to haul heavy Pullman trains on the MOB’s 1:14 gradients (adhesion only), it also incorporates a travelling post office section complete with sorting racks, and a guard/luggage compartment. Finally withdrawn in the 1990s it was preserved and occasionally operated on the Blonay-Chamby heritage line but this year it has returned to the MOB main line for a handful of events to celebrate the railway’s 125th birthday. Also running this weekend is MOB railcar 11 of 1903, and a rake of carriages from the same decade. The MOB was one of the Swiss narrpw gauge lines that were built electric. Ireland got there first, of course, but all that survives of those pioneers is a few vehicles at Cultra.
-
Almost following in Leslie’s footsteps I have had a special trip behind some interesting traction today - a personal favourite that rarely comes out to play:

-
I’m away from home at the moment so don’t have access to my library. I’m sure I’ve seen a colour photo of a UTA green one. Possibly with RPSI 186 when it was at York Road? They were built over a 20-year period and were not all identical. I think the LMS would have painted them freight bauxite (red-brown) but some of the earlier ones might have been in passenger maroon livery.
-
The latest uploads to the IRRS Flickr albums include a nice selection of 'silver' carriages, as follows: An entire silver train, as far as we can see. Very unusual: https://www.flickr.com/photos/irishrailwayarchive/55585500921 A clean heating van in traffic: https://www.flickr.com/photos/irishrailwayarchive/55585692764 https://www.flickr.com/photos/irishrailwayarchive/55585916420 Some brand new open standards, silver all over, in these trains: https://www.flickr.com/photos/irishrailwayarchive/55585620123 The last carriage in this train is one of the silver composites, again with a silver roof. This didn't last long: https://www.flickr.com/photos/irishrailwayarchive/55585500241 Maybe the same here: https://www.flickr.com/photos/irishrailwayarchive/55585489846 The TPOs were the last carriages to enter traffic in silver, and these photos show that the bogies or axleguards were black, rather than silver as on the earlier vehicles. Also the battery boxes, buffers etc. The roofs were initially all silver, but not for long: https://www.flickr.com/photos/irishrailwayarchive/55585500716 https://www.flickr.com/photos/irishrailwayarchive/55585620023 https://www.flickr.com/photos/irishrailwayarchive/55585620243 https://www.flickr.com/photos/irishrailwayarchive/55585915920 The 800s could haul trains including the silver open standards: https://www.flickr.com/photos/irishrailwayarchive/55585490226 https://www.flickr.com/photos/irishrailwayarchive/55585489331 https://www.flickr.com/photos/irishrailwayarchive/55584460017
-
Haha! I haven't looked at the GNR sets in so much detail. One panelled carriage received 'the other place' blue and cream, but I don't think it ever ran in a railcar set. The carriage registers indicate that different through-wiring was required for the GNR and CIE AEC sets. The BUT sets were different again, and needed the UIC-style rubber tube gangways too. I think that once the UTA took over the GNR sets they modified the control system to permit more flexibility of train formations - the UTA was at the forefront of this with the MEDs and was later copied by British Railways.
-
A few more IRRS photo links for this type of ventilated van (though with different door variants in some cases): https://www.flickr.com/photos/irishrailwayarchive/53499891792 https://www.flickr.com/photos/irishrailwayarchive/53508810229 https://www.flickr.com/photos/irishrailwayarchive/53509033323 https://www.flickr.com/photos/irishrailwayarchive/53508917715 https://www.flickr.com/photos/irishrailwayarchive/53511374431 https://www.flickr.com/photos/irishrailwayarchive/53500932193 https://www.flickr.com/photos/irishrailwayarchive/53508714243 https://www.flickr.com/photos/irishrailwayarchive/54419881040 https://www.flickr.com/photos/irishswissernie/54511224114
-
The P O'Cuimin paper is indeed very useful! One key thing I took from it is that Atock had a policy of renewing rolling stock every 20 years. Atock was in charge at the MGWR from 1872 to 1900. 'Renewal' was partly an accounting term, i.e. new rolling stock was built to replace old stock, and often the new vehicle would take the old one's number. Depending on traffic needs, cattle wagons might be renewed as covered vans, or vice versa, but this didn't represent a conversion. Renewed vehicles were built new to current designs, but might re-use ironwork from older wagons if it was suitable. Additions to stock were also made, either from outside contractors or built at Broadstone. What this means is that covered vans to the 1870s drawings in the HMRS archives would have ceased to exist by 1900. They would have been replaced with 'renewed' or new-build vans to updated designs (possibly re-using some older ironwork). Although the 20-year renewal interval wasn't rigidly adhered to after Atock's time, a lot of the pre-1900 vehicles seem to have been scrapped in the 1930s. However, some survived longer and the P O'Cuimin paper shows a nice photo of 1895-built 2592M in service in 1962. P O'Cuimin lists 5 main variants of covered vans, dating from 1872, 1891, 1893, 1900 and circa 1912 (additionally there were the 1920s IRCH standard vans which were very different in character). Prior to 1893, the length over headstocks was 13'6" and from 1893 this was increased to 14'2". The Guinness wagons were non-standard and a foot longer. Over the years there were other changes to both the body style and the ironwork (brake gear, axleboxes, buffers and drawgear etc). I won't repeat the whole article here, but the external diagonal rib was introduced in 1912.
-
I'll present a list and some more photos in my IRRS talk in November. I have identified a total of 29 vehicles of pre-CIE stock that were through-wired (and piped) for CIE AEC railcar use, ranging from tea car 343 of 1898 to the Drumm trains C&D.
-
One day I'll come back and finish off this thread. Research is still turning up new information, and I'm delighted to say that I finally have an image of a Cravens in an AEC set. Thanks to Ciaran's latest upload to the IRRS Flickr archive, this photo was taken by Dave Murray in May 1966 and is the Down 18.50 Galway/Mayo "Cu na Mara" service. DMY_CIE_AEC_2602_Reeves_m1960s | [Photographer: David Murray… | Flickr The Cravens (in the middle of the train) is a bit distant, but Ciaran has very kindly sent me a higher-resolution scan of that part of the image, which proves it is a Cravens coach. This is also a good one for intermediates and tail traffic, with no fewer than three catering cars in the leading set! The nearest one is either 841 or 843 (I'm still trying to confirm which), then a standard CIE buffet, then 838. There's also a bogie brake third as tail traffic, not a through-wired type. Again, Ciaran has kindly sent me a higher-resolution scan of this. DMY_CIE_AEC_Enfield_Sept_1955 | [Photographer: David Murray]… | Flickr The ancient clerestory tea car 343 makes an appearance here: DMY_CIE_AEC_2606_Westland_Row_May_1952 | [Photographer: Davi… | Flickr Finally for now and a little off-topic, an ex-GNR (now UTA) set on the GSWR, forming a special to the Curragh: https://www.flickr.com/photos/irishrailwayarchive/55585675434 GNR AEC sets did run off their home network on excursions; one set reached Killarney in 1952.
-
The latest upload of IRRS Flickr photos from Ciaran includes some more images of these coaches, mostly from the 1950s. Here are the links for those of you who are IRRS members. Not brilliant photos but they give an idea of the sort of trains these were used in during the 1950s. Open third: https://www.flickr.com/photos/irishrailwayarchive/55584463897 (1st coach in train) https://www.flickr.com/photos/irishrailwayarchive/55584459187 (3rd coach in train) https://www.flickr.com/photos/irishrailwayarchive/55585490226 (partly visible behind the tender) Lavatory open third: https://www.flickr.com/photos/irishrailwayarchive/55585905540 (1st coach in train) Lavatory open third and brake third (either side of the signal): https://www.flickr.com/photos/irishrailwayarchive/55585680629 Tea car, I think 843, in railcar set: https://www.flickr.com/photos/irishrailwayarchive/55585500631 Full brake / luggage / parcel van variants (in all cases, first vehicle behind loco): https://www.flickr.com/photos/irishrailwayarchive/55585692729 https://www.flickr.com/photos/irishrailwayarchive/55585608923 https://www.flickr.com/photos/irishrailwayarchive/55585488916 https://www.flickr.com/photos/irishrailwayarchive/55585680759 https://www.flickr.com/photos/irishrailwayarchive/55585608618 https://www.flickr.com/photos/irishrailwayarchive/55585906140 https://www.flickr.com/photos/irishrailwayarchive/55584459972 https://www.flickr.com/photos/irishrailwayarchive/55584459002 I have done artwork for the brake third, and could do for the different variants of full brake, but they're not a priority for me at present.
-
Would the UTA ones have headed south? Or were the bogie vans preferred for pigeons etc?
-
The Belfast & County Down Railway - Revisited
Mol_PMB replied to Patrick Davey's topic in What's On?
You're on safe ground - the BCDR is probably the line I know the least about! Though I learnt a bit more walking round the triangle at Downpatrick a few weeks ago. -
The Belfast & County Down Railway - Revisited
Mol_PMB replied to Patrick Davey's topic in What's On?
Excellent - I look forward to it! -
On the IRRS Flickr, this is a super photo of a brand new Park Royal, complete with green ends and green roof. https://www.flickr.com/photos/irishrailwayarchive/55585692839 When I get a chance to do some modelling again, I'll modify and repaint one like this.
-
Lots of ‘Queens’ with interesting train formations including ‘silver’ laminates… Some more super AEC railcar shots. Tons of other fascinating photos. I will try to find time to work through them properly and add to my spreadsheets and threads.
-
Ciaran has just uploaded around 800 new photos
-
A couple more snippets from my confuser... Type D in 1950, in the '2 small snails' livery: Type E on the left margin: Type A in 1950: Types C and D : https://www.flickr.com/photos/irishrailwayarchive/53510248182/ I also note that the HMRS drawings include several early MGWR vans, but most of the thumbnails aren't visible online. It's possible that some of them relate to the other variants I've identified from photos. https://hmrs.org.uk/hmrs-18145--covered-goods---8ft-w-b.html Subject Type Goods Van Subject Subdivision Van - Covered Goods (inc End Loading) Drawing Type General Arrangement Company Midland Great Western Railway Date 16 Jul 1872 Original Company Metropolitan Railway Carriage & Wagon Company Limited (Late J Wright & Sons) Original Drawing Number 1280 Collection Name Metropolitan Cammell Source Identity Roll 0351 Notes Scale 1ins : 1ft Digital Image Availabile No https://hmrs.org.uk/hmrs-18148-covered-goods-8ft-6ins-w-b.html Subject Type Goods Van Subject Subdivision Van - Covered Goods (inc End Loading) Drawing Type General Arrangement Company Midland Great Western Railway Date 31 May 1870 Original Company Metropolitan Railway Carriage & Wagon Company Limited (Late J Wright & Sons) Original Drawing Number 1275 Collection Name Metropolitan Cammell Source Identity Roll 0351 Notes Scale 1½ins : 1ft Digital Image Availabile No https://hmrs.org.uk/hmrs-18149--covered-goods---8ft-w-b---14ft-o-b.html Subject Type Goods Van Subject Subdivision Van - Covered Goods (inc End Loading) Drawing Type General Arrangement Company Midland Great Western Railway Date 9 Nov 1875 Original Company Metropolitan Railway Carriage & Wagon Company Limited (Late J Wright & Sons) Original Drawing Number 1273 Collection Name Metropolitan Cammell Source Identity Roll 0351 Notes Scale 1ins : 1ft Digital Image Availabile No https://hmrs.org.uk/hmrs-22835-covered-goods-8ft-w-b-14ft-2ins-o-b.html Subject Type Goods Van Subject Subdivision Van - Covered Goods (inc End Loading) Drawing Type General Arrangement Company Midland Great Western Railway Date 15 Mar 1895 Original Drawing Number 8082 Collection Name Metropolitan Cammell Source Identity Roll 0007 Notes Scale 1ins : 1ft Digital Image Availabile Yes (This is the one with a thumbnail visible) https://hmrs.org.uk/hmrs-18140-covered-goods-8ft-w-b.html Subject Type Goods Van Subject Subdivision Van - Covered Goods (inc End Loading) Drawing Type General Arrangement Company Midland Great Western Railway Date 11 Oct 1870 Original Company Metropolitan Railway Carriage & Wagon Company Limited (Late J Wright & Sons) Original Drawing Number 1286 Collection Name Metropolitan Cammell Source Identity Roll 0351 Notes Scale 1ins : 1ft Digital Image Availabile No
-
Some more info and photo links/refs here...
-
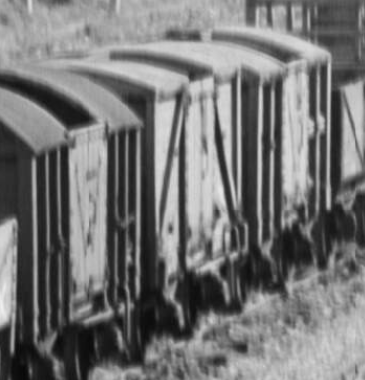
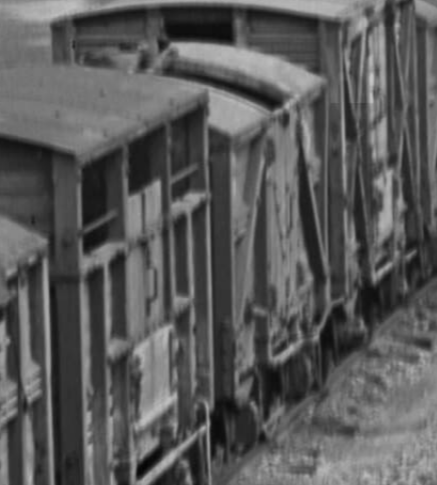
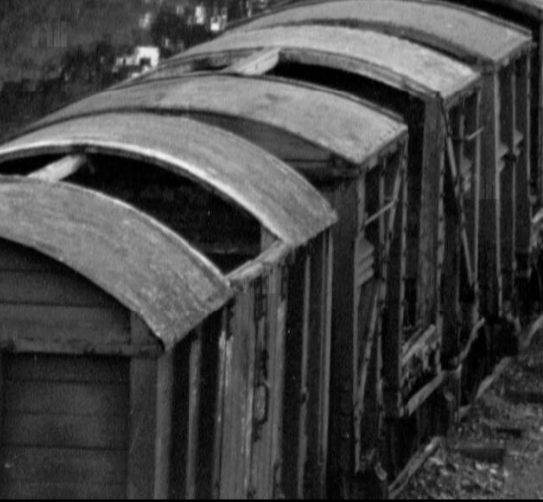
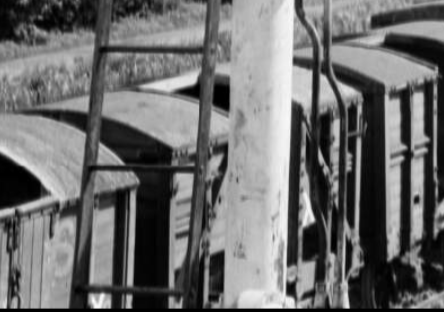
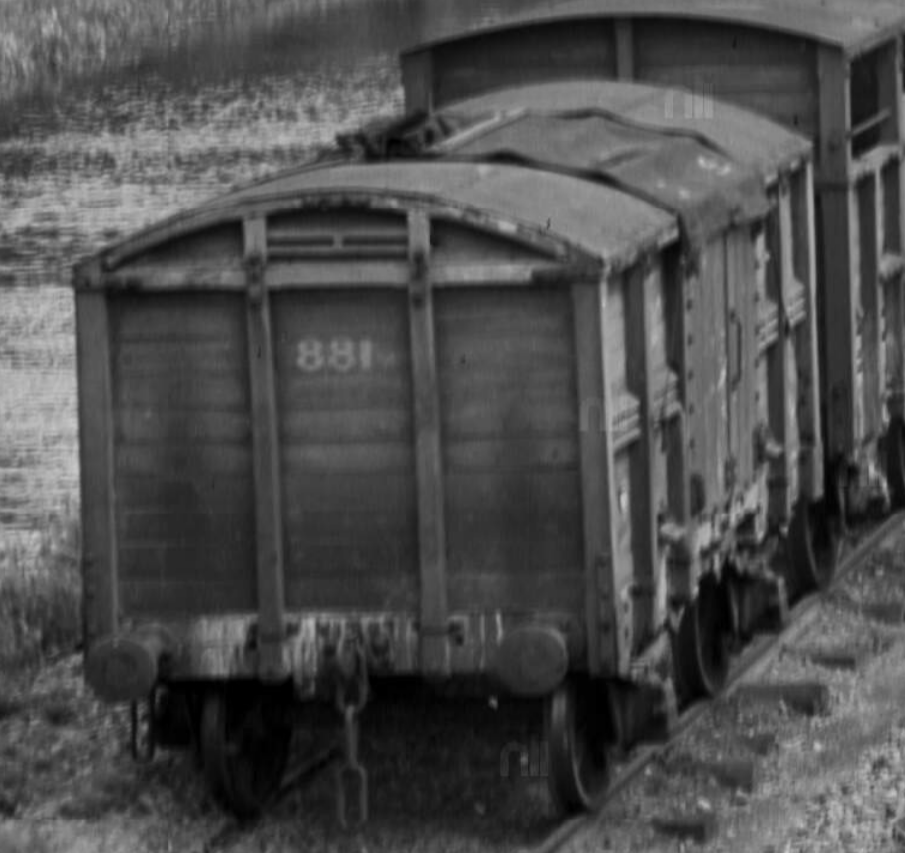
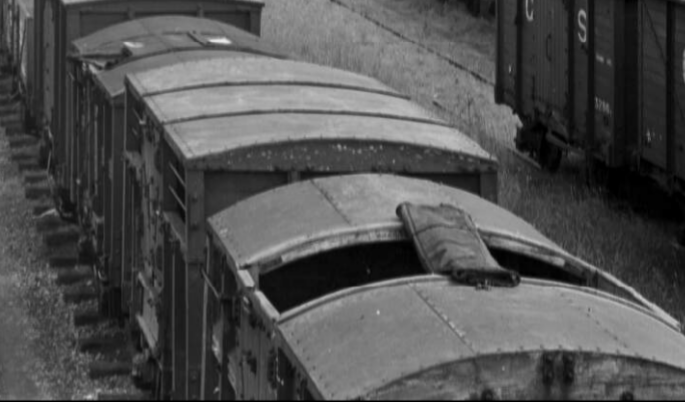
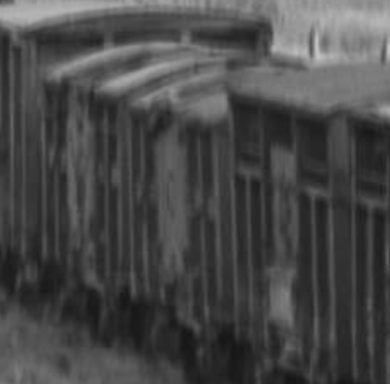
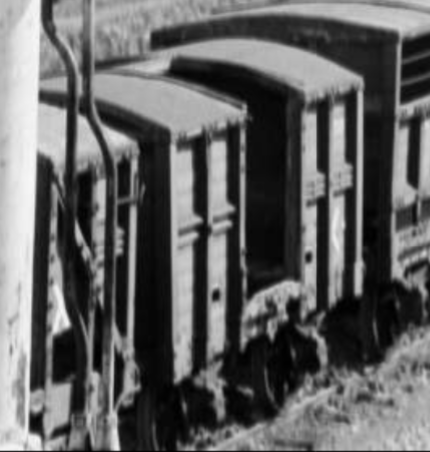
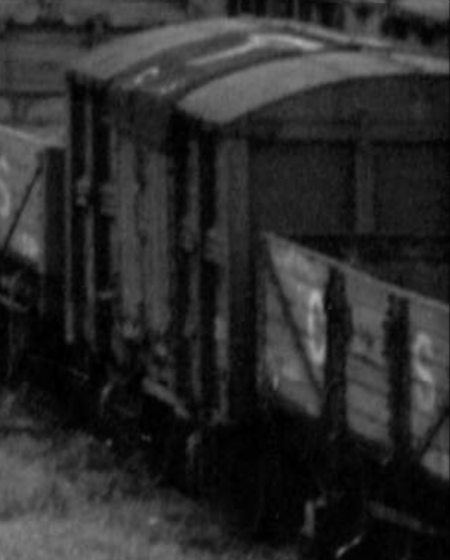
Following some discussion on the 3D printing thread about MGWR convertible vans, I thought I'd collate a bit of information on these. Feel free to add more, I'm not an MGWR specialist. Initial discussions on successful printing of a model in this thread: https://irishrailwaymodeller.com/topic/19981-the-irish-railways-3d-printing-thread/ I think these were introduced by the 1890s, perhaps earlier, and constructed into the 1910s. Many were withdrawn in the 1930s but a few survived in service into the 1950s until superseded by H vans. One was still in existence as a static store in 1971, but none were preserved. Several variants were built; common features were: Short and low body with a moderately curved roof. GSWR and some other railways had a more pronounced curve radius on their convertible vans, while later vehicles had a much flatter roof. Double hinged doors in the middle, with an open portion of the roof above them Ends with 2 vertical ribs to cantrail height. Above that, types vary. Predominantly wooden with external wooden ribs and iron bracing. Side rib and vent arrangements vary. Basic brake gear Body styles Photos and drawings indicate several styles. There may have been more. I will arbitrarily label these with letters A to E. Type A External timber diagonal braces on the sides, in a / \ shape. No louvred vents on the sides. Drawings: MGWR drawing 21882L exists in the IRRS archives - this is a detailed and well-dimensioned GA drawing, from Broadstone Works and dated March 1917. However, I suspect the wagons depicted are older, or perhaps rebuilds of older wagons. The IRRS archives also has a GSR diagram for this type, page A1, stamped April 1928. Key dimensions: 8’0” wheelbase, 14’2” long over headstocks, 17'4" over buffers, 7'11 1/8" width over body pillars, 10'9" to top of solid roof (battens higher), 7 tons. This photo at Liffey Junction dated 1939 may show this type https://catalogue.nli.ie/Record/vtls000303461 Type B Similar to Type A, but with louvred vents half-way up the sides, outboard of the diagonals. Drawings: none found yet Photos: 'The MGWR: An Illustrated History' (Shepherd) page 39 shows one of these in the loco-hauled train, just behind the brake. 'The MGWR: An Illustrated History' (Shepherd) page 61 shows one of these in the loco-hauled train, just behind the loco. This photo at Liffey Junction dated 1939 shows this type: https://catalogue.nli.ie/Record/vtls000303458 Type C Same as Type B, but with the addition of vertical ribs each side, so the diagonal and vertical ribs cross each other. Louvred vents in the outermost panels of each side only. Drawings: none found yet This is the type represented by the SSM whitemetal kit. Photos: An excellent photo of No.937 appears in 'Irish Railways in Pictures No.2' (IRRS London) page 33. 'The MGWR: An Illustrated History' (Shepherd) page 98 shows the same photo. 'Rails to Achill' (Beaumont) page 48 has a part view of one of these, possibly No.712, on the left margin. This photo at Liffey Junction dated 1939 shows this type https://catalogue.nli.ie/Record/vtls000303459, also seen in https://catalogue.nli.ie/Record/vtls000303461 Type D This type has no diagonals, just the vertical ribs in the centre of each side panel. Louvred vents are placed in all 4 panels of each side. This is the type drawn up as an stl file which some of us have been playing with. Drawings: HMRS https://hmrs.org.uk/hmrs-22835-covered-goods-8ft-w-b-14ft-2ins-o-b.html 'The MGWR: An Illustrated History' (Shepherd) page 132 Photos: 'The MGWR: An Illustrated History' (Shepherd) page 39 shows 3 of these on the left-hand siding and more in the loco-hauled train. 'Rails to Achill' (Beaumont) page 48 shows two of these, including Guinness-branded 1888. 'SLNCR: An Irish Railway Pictorial' (Sprinks) page 59 shows a clear end view of 2645M. There are also several visible in the Liffey Junction photos from 1938/39: Known numbers: 881M, 2263, 2609, 2645M Type E Same as Type D but with no louvres on the sides. This type seemed to be the latest survivors, with photos showing them still in service in the 1950s. Drawings: None yet found. Photos: The IRRS Flickr archive has photos of two in use at Timoleague in 1952, 655M and 840M: https://www.flickr.com/photos/irishrailwayarchive/53511597095 And a 1940s image of one in GSR livery on the right margin here: https://www.flickr.com/photos/irishrailwayarchive/53511306613/ The IRRS Flickr archive has plenty of photos of the 1970s survivor, 2618M: https://www.flickr.com/photos/irishrailwayarchive/53570657363 https://www.flickr.com/photos/irishrailwayarchive/53570896890 https://www.flickr.com/photos/irishrailwayarchive/53511783010 https://www.flickr.com/photos/irishrailwayarchive/53527507348/ https://www.flickr.com/photos/irishrailwayarchive/53526427782 One lurks on the right of this photo from Ernie, mid to late 1950s: https://www.flickr.com/photos/irishswissernie/40314027015 Known numbers: 655M, 840M, 1888, 2618M Note on Doors Some drawings and photos show externally-framed, horizontally-planked doors. Most photos show doors with external, vertical planks. One photo shows doors with external diagonal braces. Various body variants have various doors. Study the photos! Note that the MGWR also had a convertible version of the IRCH standard van, which are dealt with already, here: https://irishrailwaymodeller.com/topic/18829-irch-standard-goods-vans-wooden-framed-variant/#findComment-264017 These were significantly larger and very different in style to the early convertibles.
-
A few photo links showing some of the variants of these MGWR vans, in the late 1930s. I'll put together a separate and more comprehensive thread in due course: Holdings: Before alterations, Liffey Junction, Co. Dublin. :: Library Catalog Holdings: View of the junction from Broom Bridge, Liffey Junction, Co. Dublin. :: Library Catalog Holdings: After alterations, Liffey Junction, Co. Dublin. :: Library Catalog Note: these aren't all MGWR vehicles, but there are a variety of MGWR types amongst them.
-
Nowhere especially warm - but we had a few days in the summer where the room temperature was over 25C.
-
That’s interesting - I thought that painting it and keeping it out of direct sunlight was the right thing to do. if anything it seems to have softened a bit (i.e. become less rigid) during storage. it’s squared up nicely now so hopefully will be fine with the extra bracing. Perhaps I’ll get it finished off in the near future. A while back I was digging out photos of these old MGWR vans and it’s apparent that there were lots of variations in ribs, doors, vents etc. drawings or diagrams exist for several, others can be seen in photos. A common theme is that most have what look like drains in the lower sides, presumably for sluicing out after being used for cattle. Those aren’t on the original drawing. I’ll try and pull some info together. I was wondering about hacking mine about to represent a later type.
-
Many thanks to all!
-
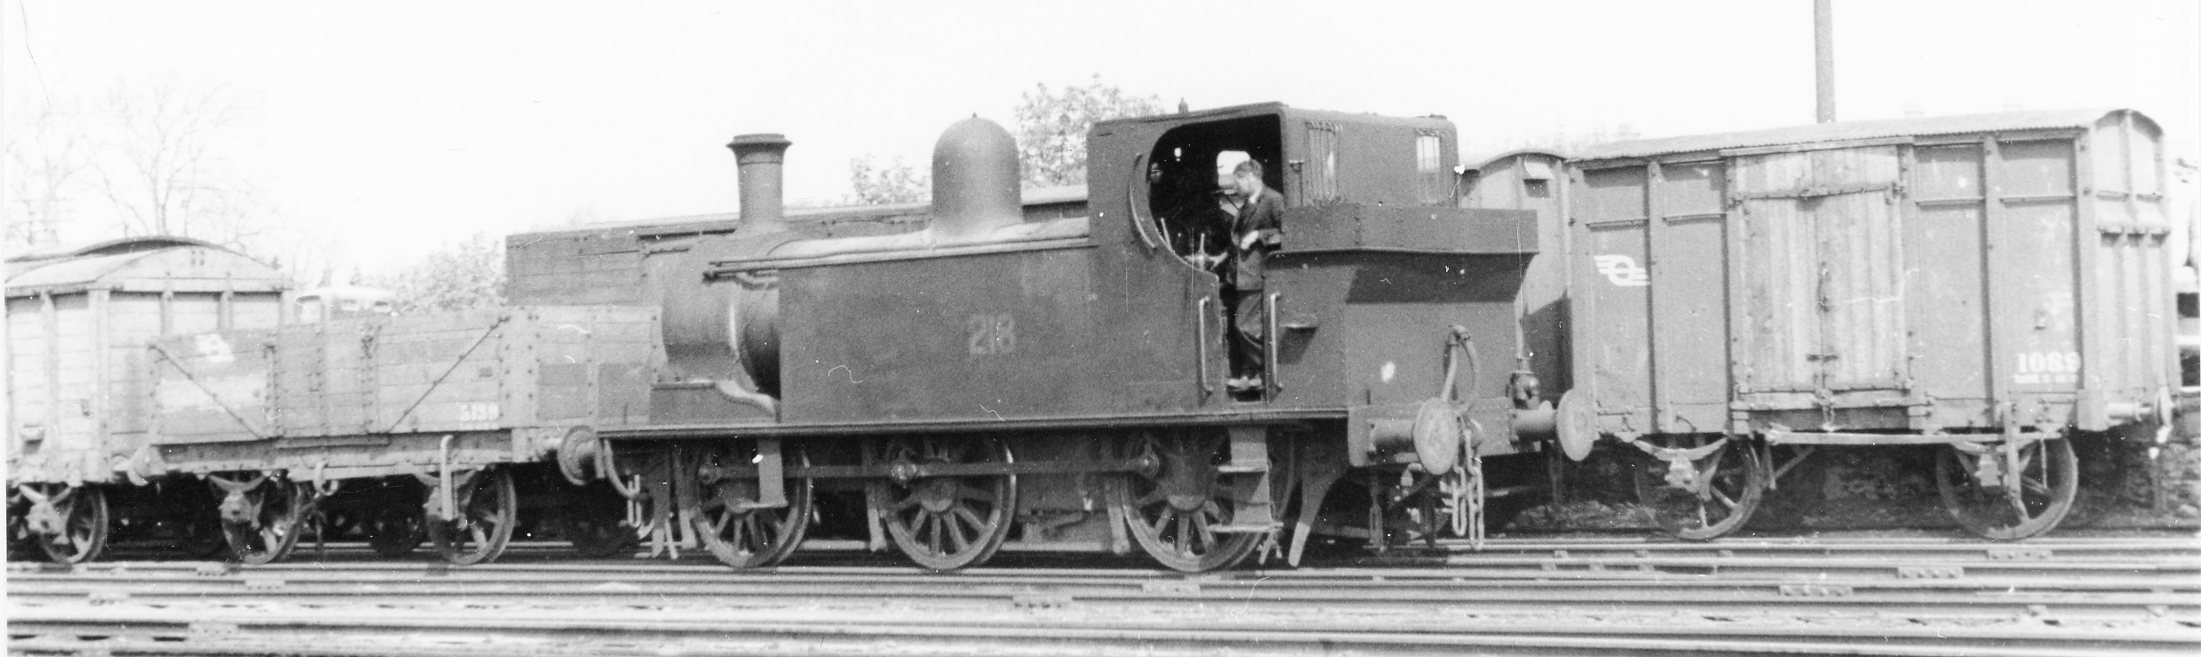
How about UTA green? Or maybe just filth livery? Here’s one of the non-louvred ones with UTA lettering: Some interesting weathering on the left margin of this image - possibly a similar van:
-
I suspect that I will let Leslie twist my arm to get one, though he may not want to see it painted green…