Mol_PMB
-
Posts
2,980 -
Joined
-
Last visited
-
Days Won
176
Content Type
Profiles
Forums
Events
Gallery
Blogs
Community Map
Everything posted by Mol_PMB
-
"Voiding the Warranty" - Mol's experiments in 21mm gauge
Mol_PMB replied to Mol_PMB's topic in Irish Models
I did think it was an unusual shade of mid chrome green! Also, for a railway where the locos were highly standardised, this somehow combines a load of standard features into something that looks completely wrong!
-
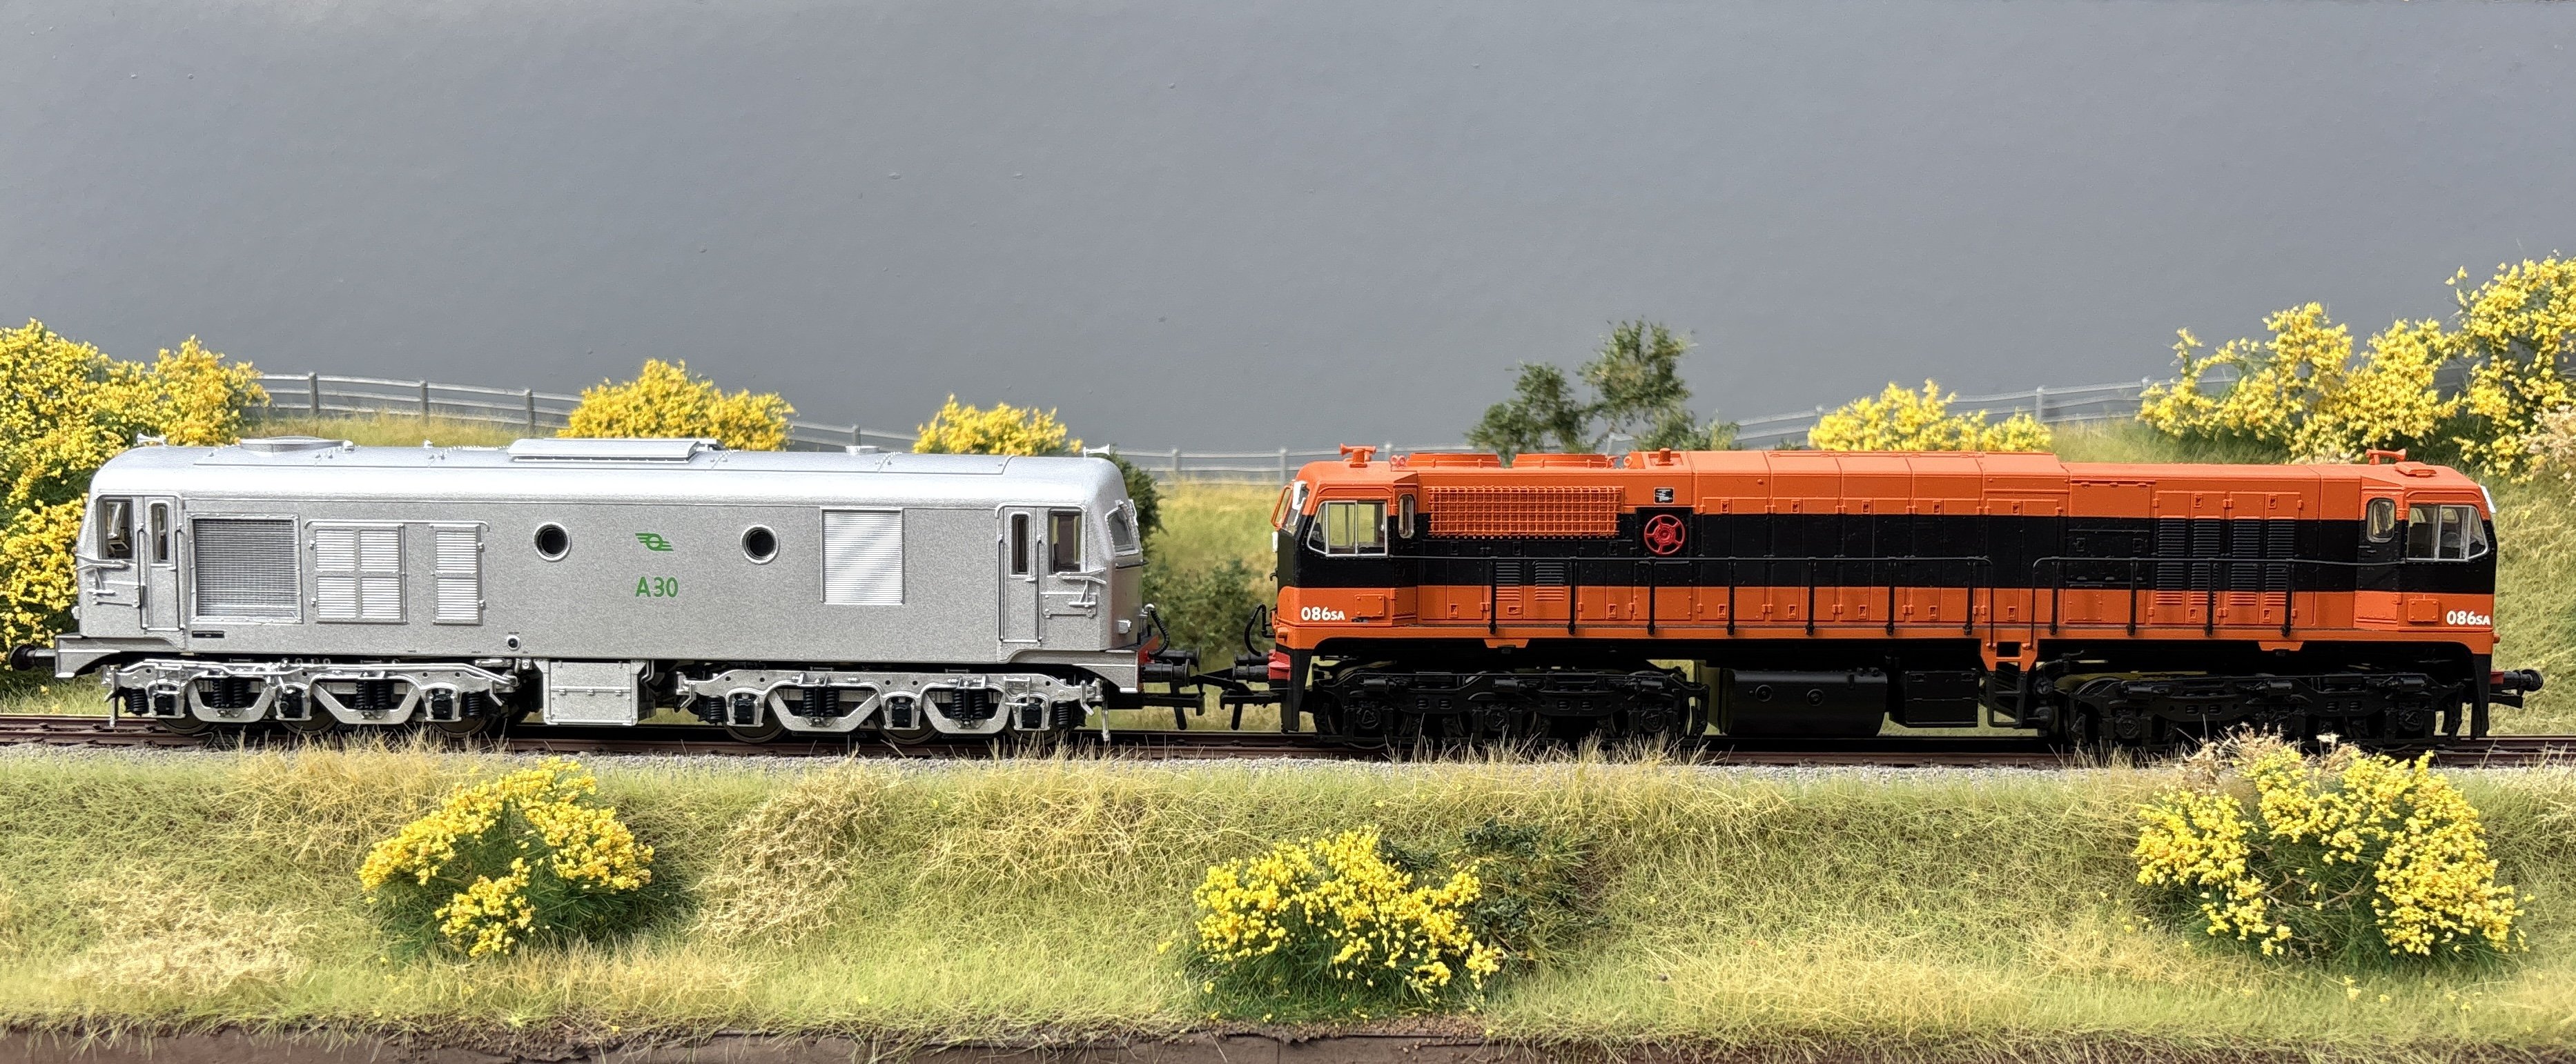
Here’s another 071 to watch… https://ebay.us/m/PFAMnc The tippex liveried ones seem to come up on eBay fairly frequently but the other liveries seem scarce, hence why I was pleased to bag a supertrain one. Maybe there will be another batch in future but I hope the IRM C class comes first.
-
"Voiding the Warranty" - Mol's experiments in 21mm gauge
Mol_PMB replied to Mol_PMB's topic in Irish Models
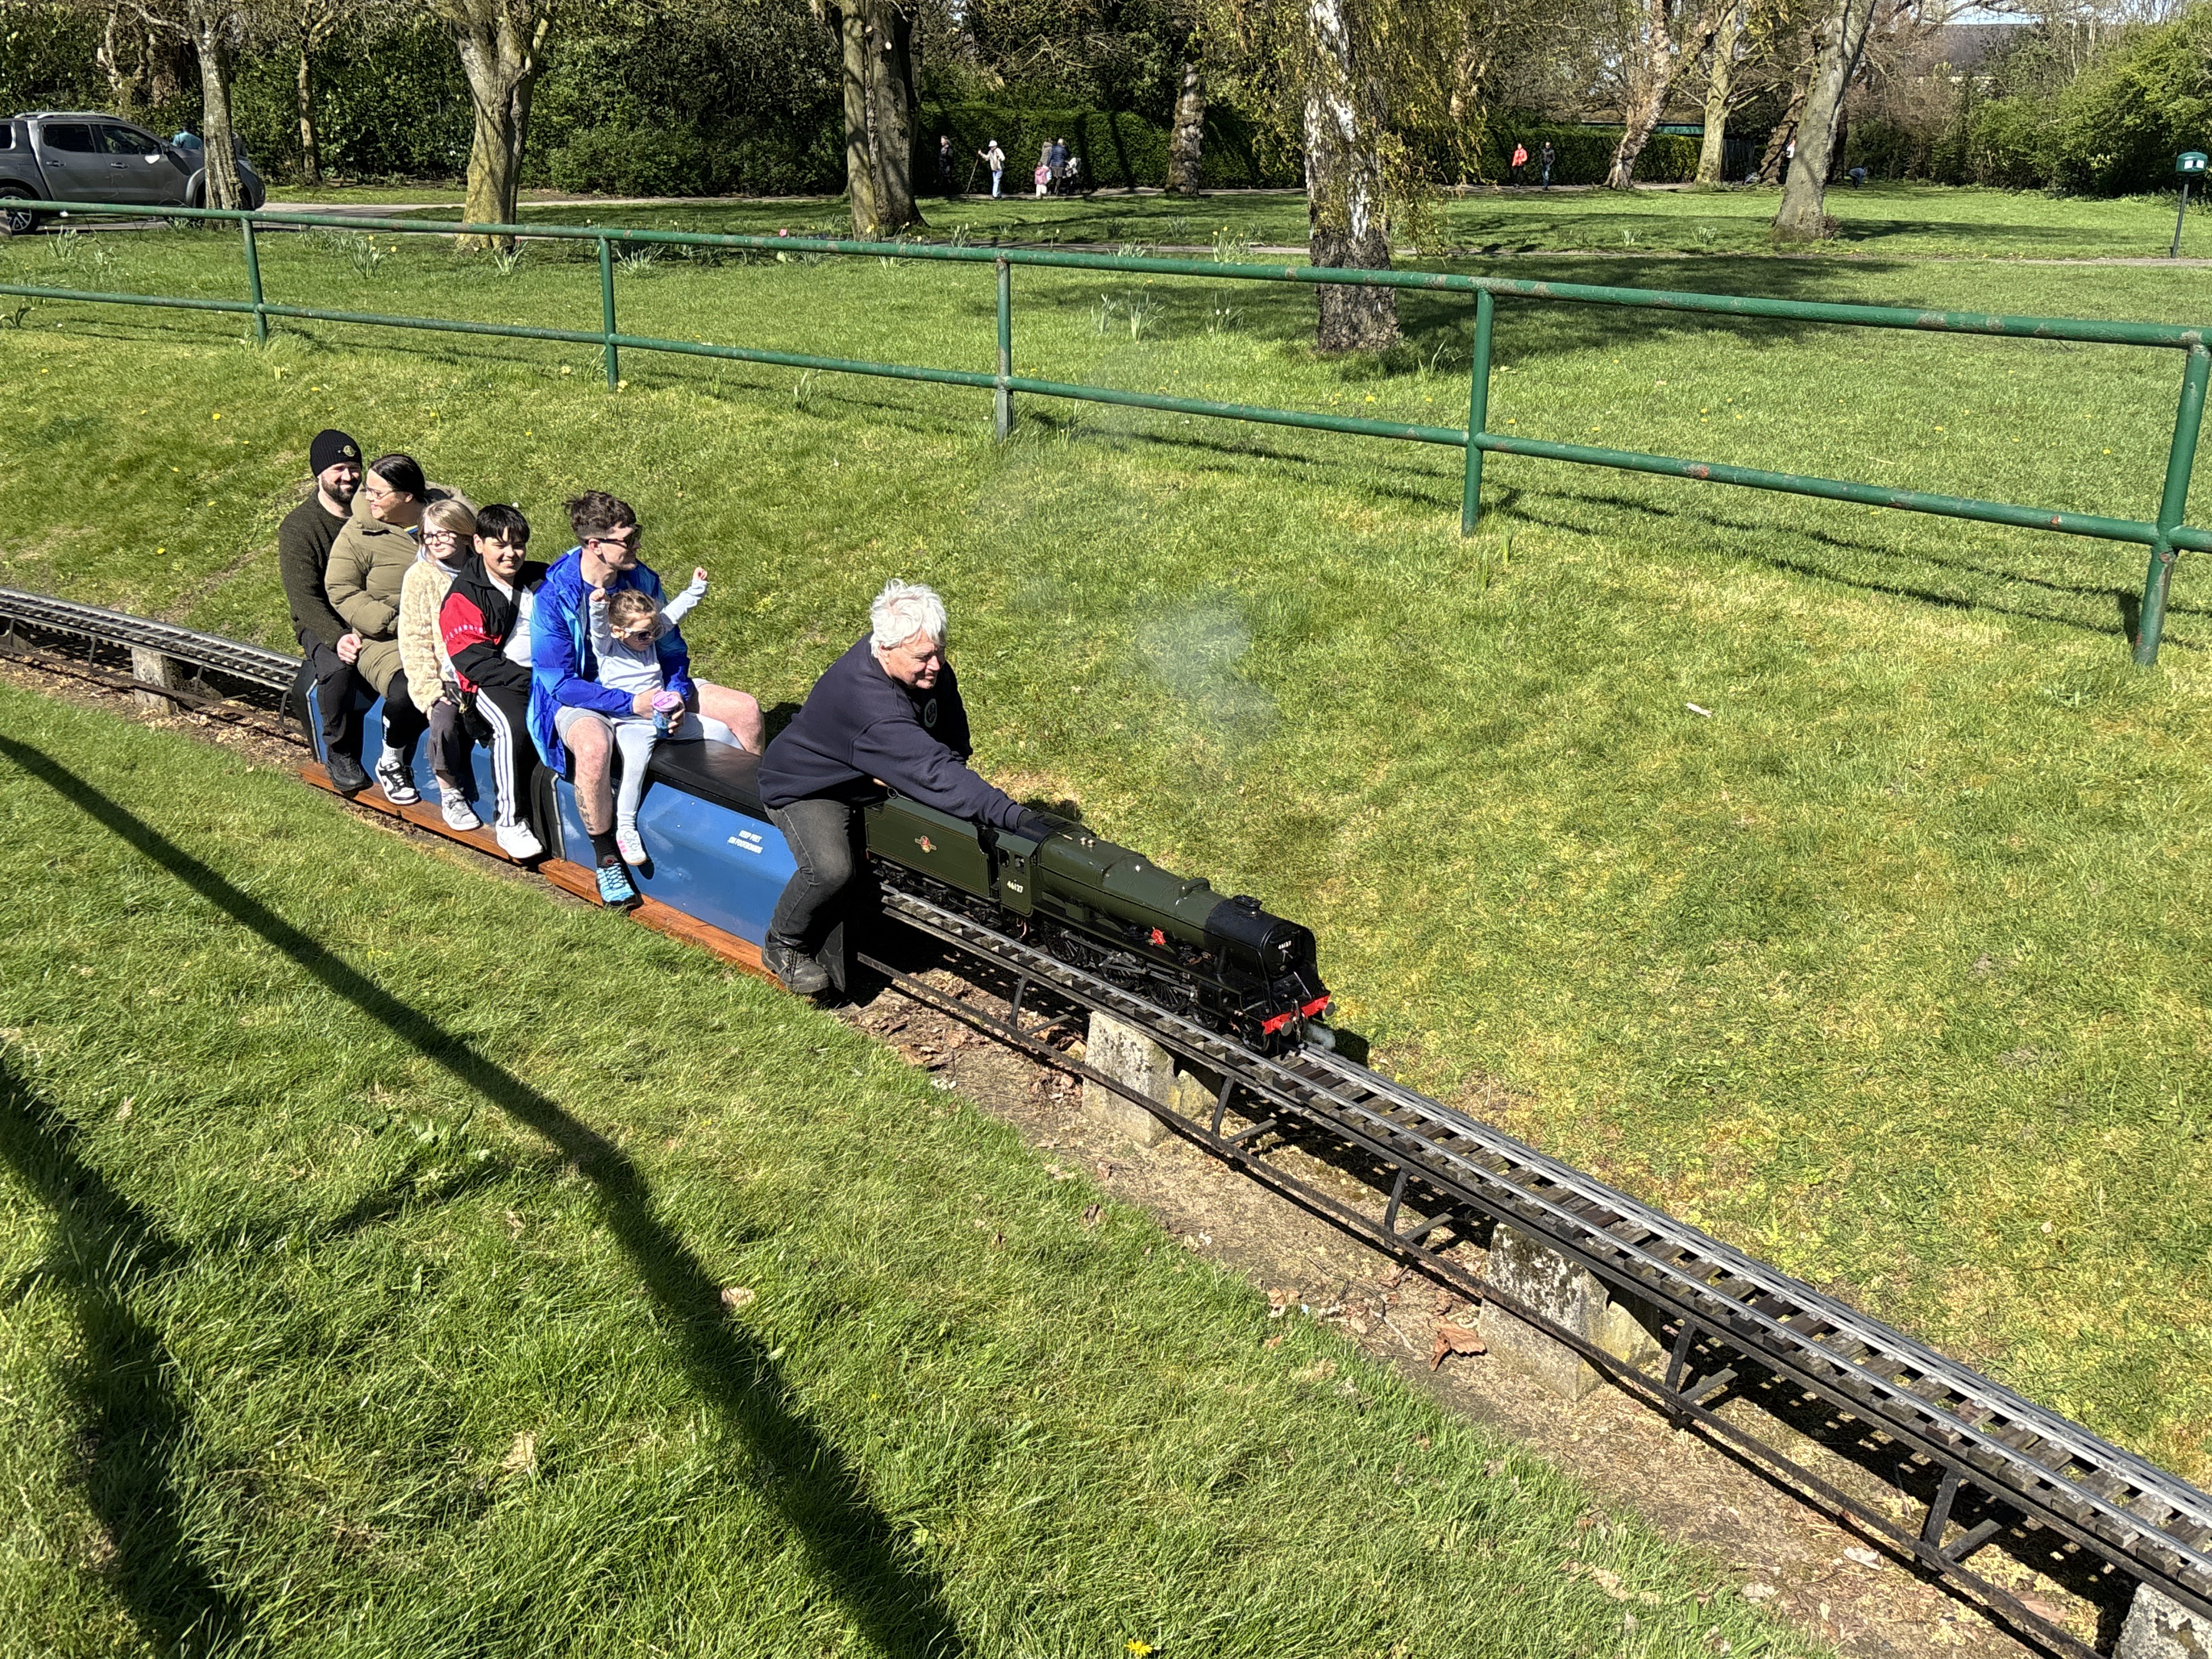
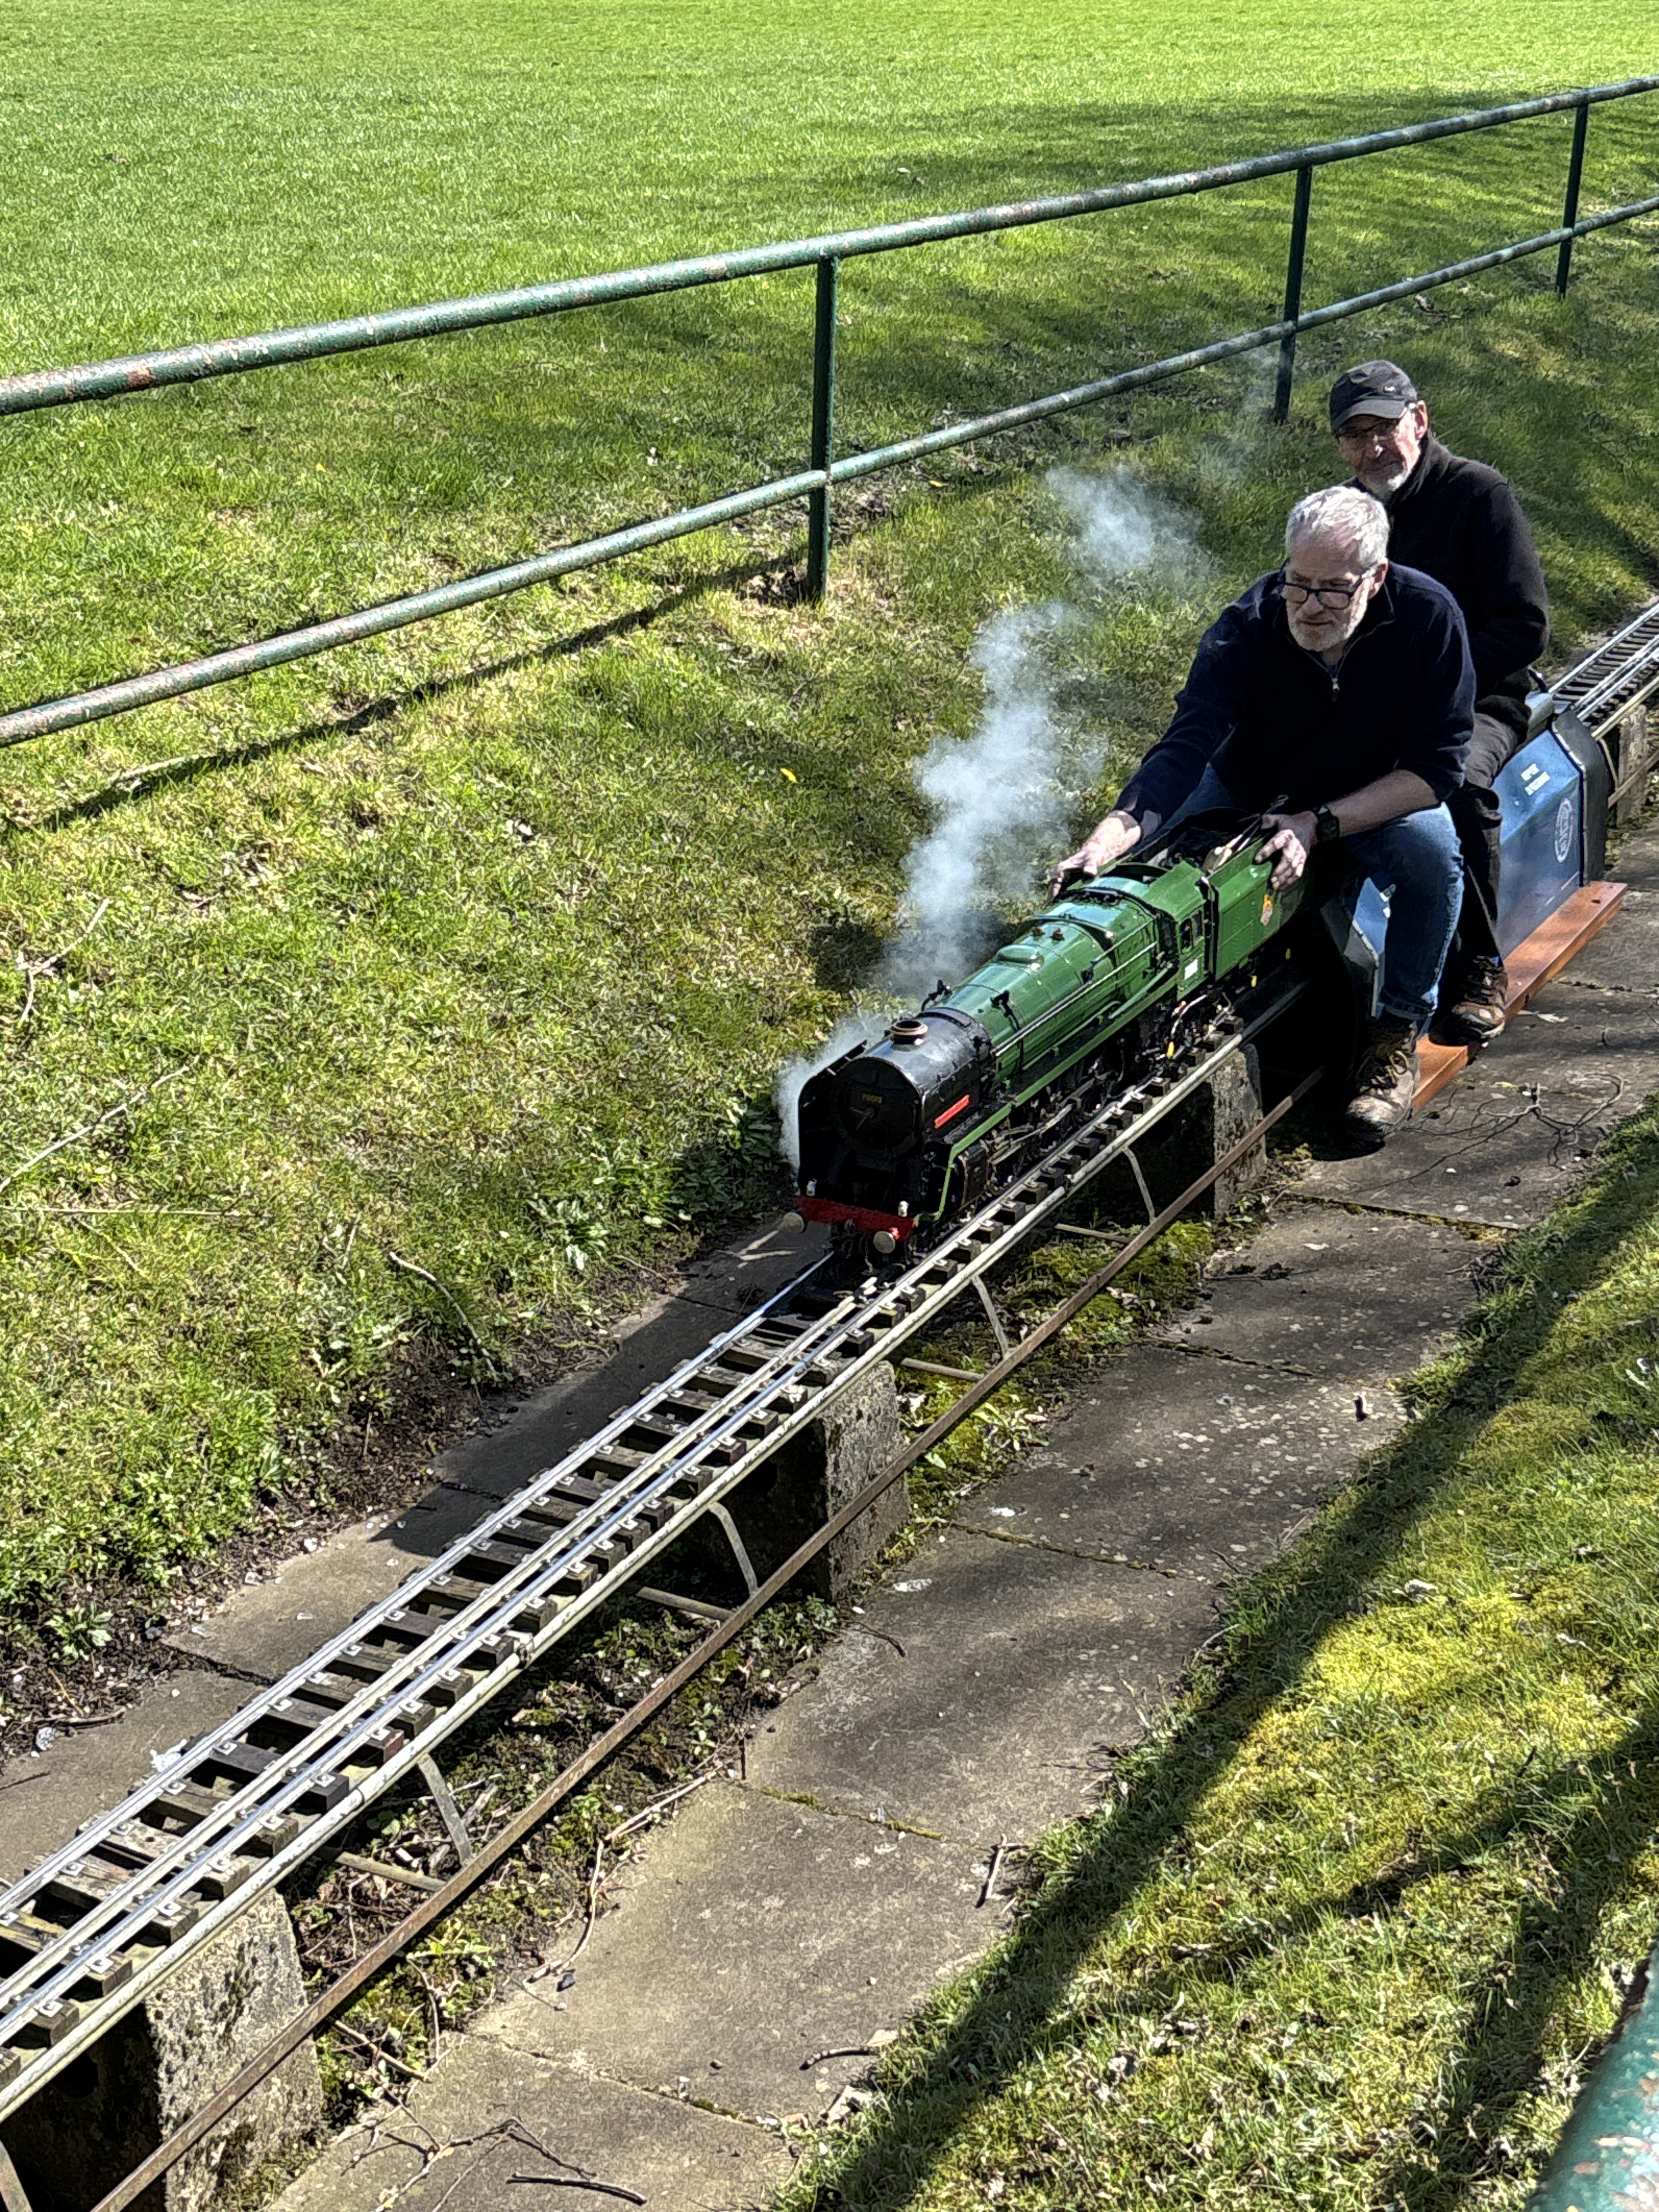
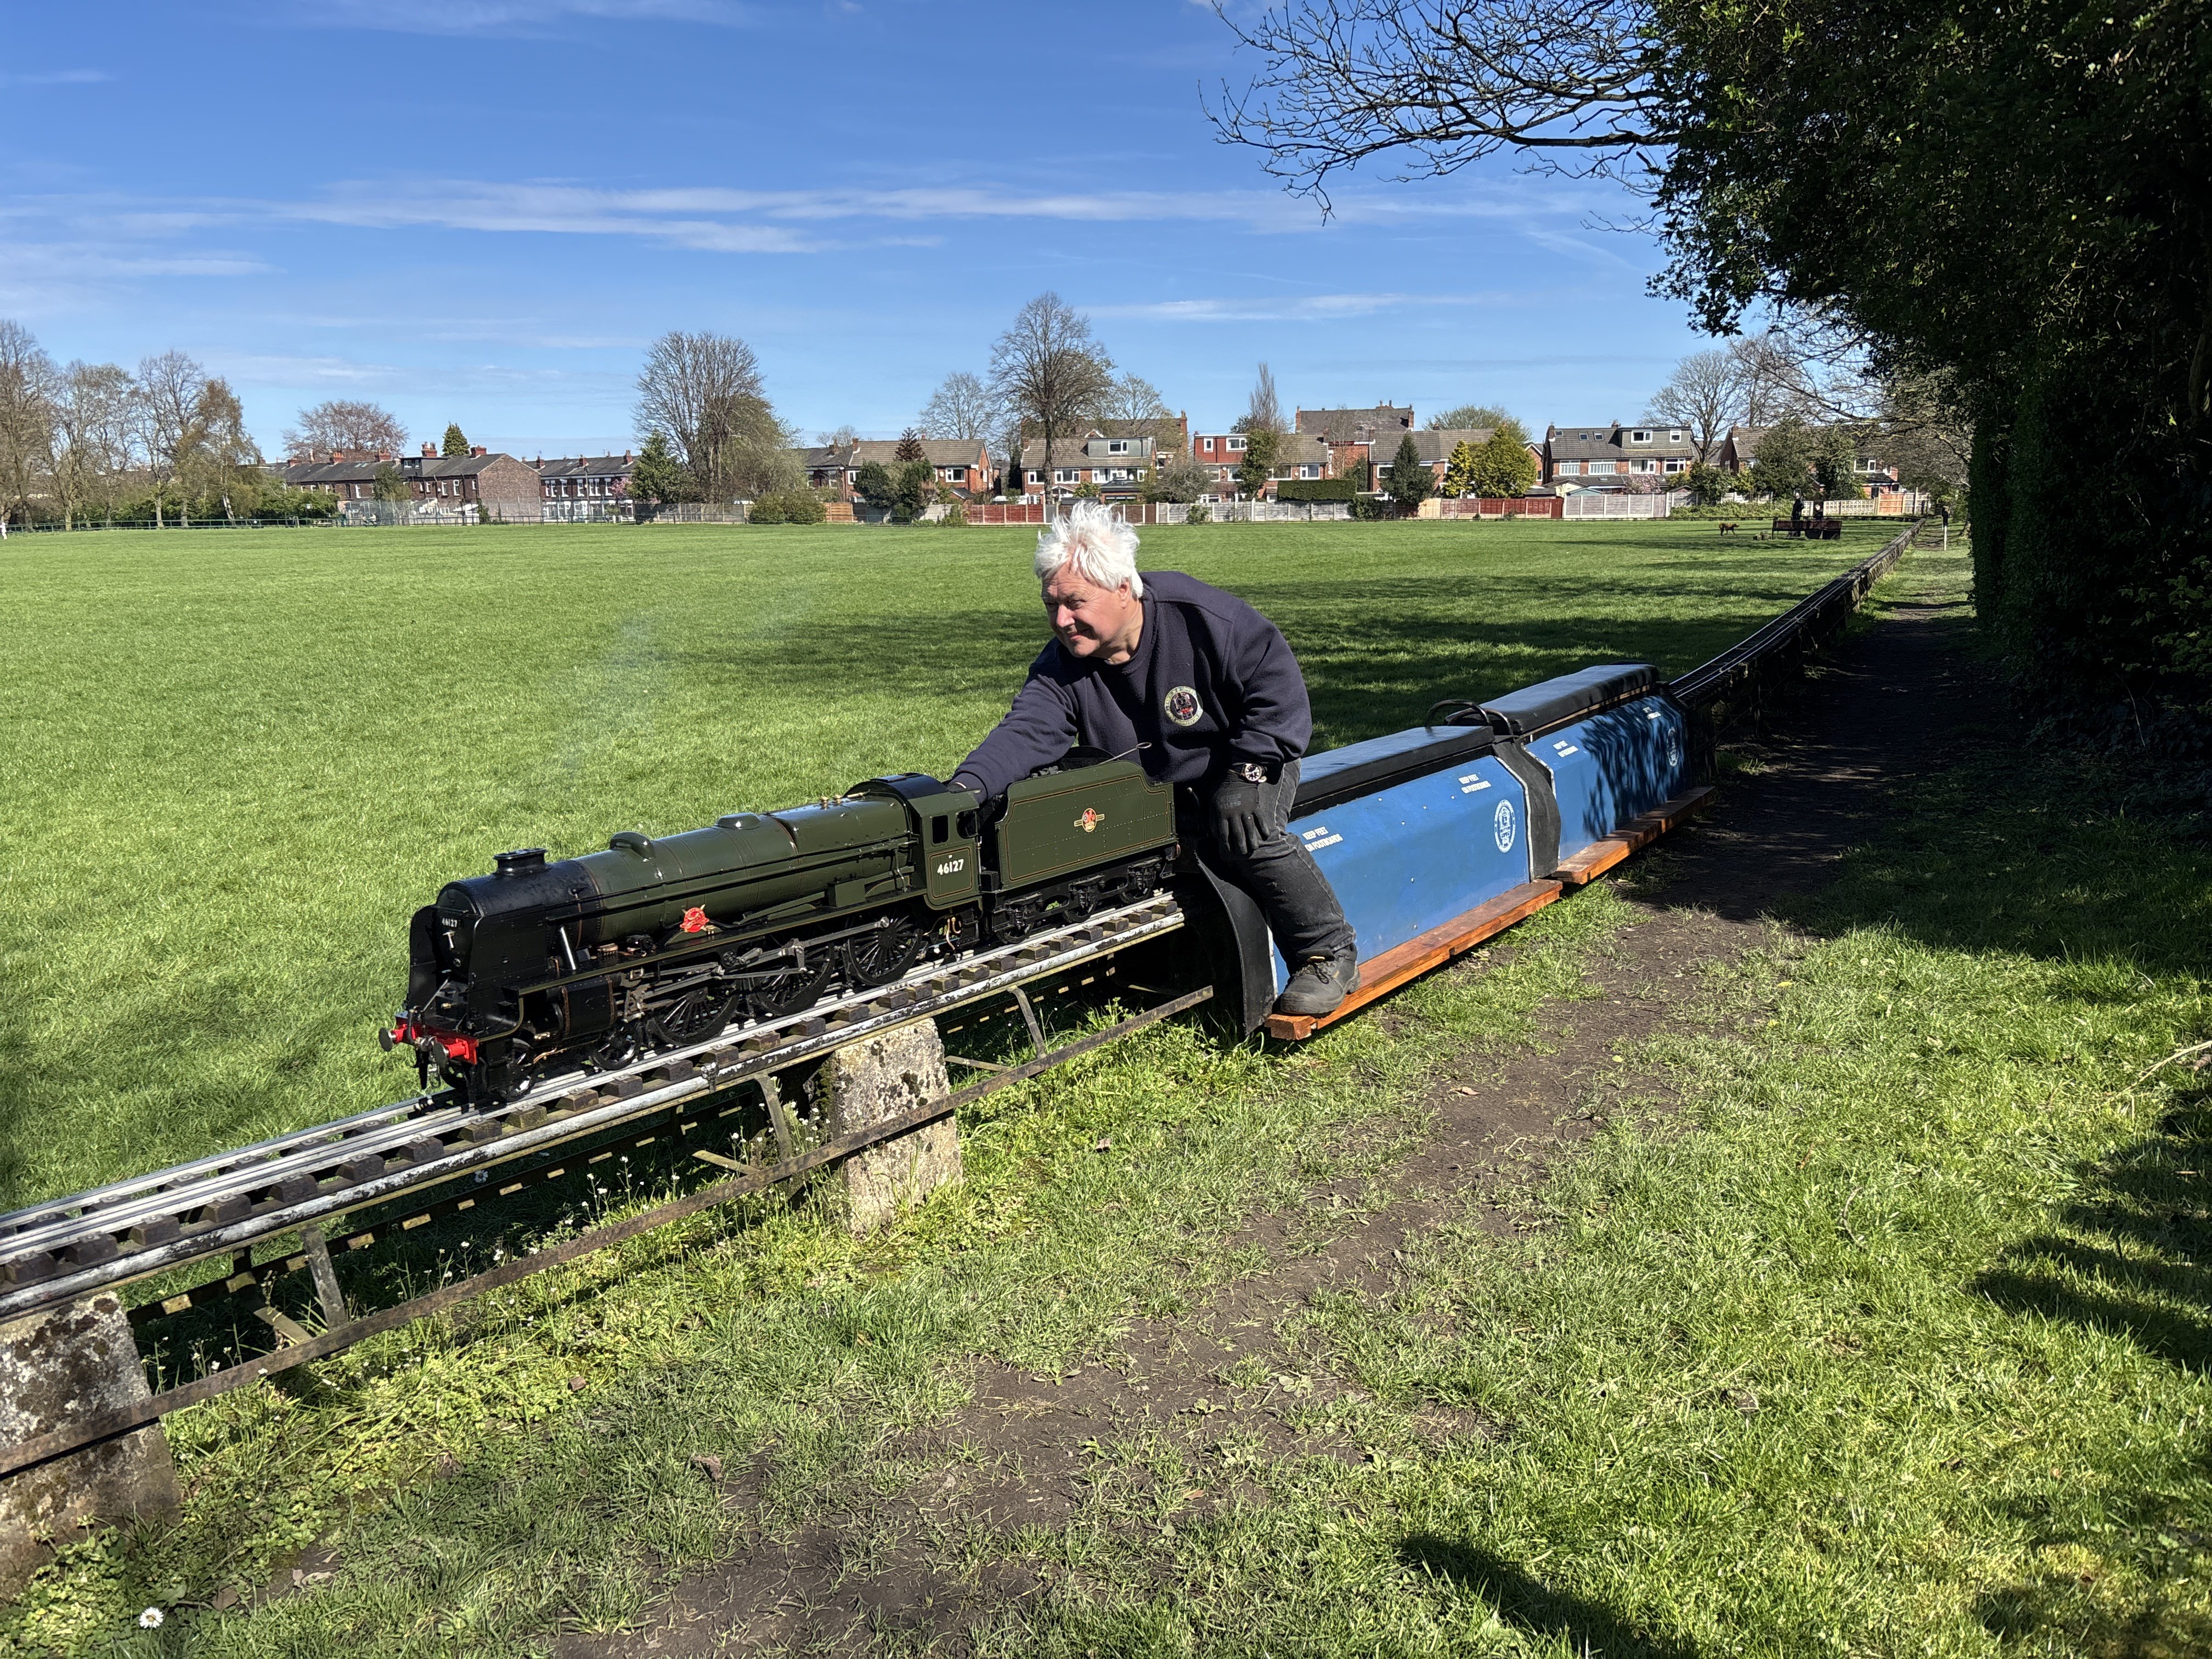
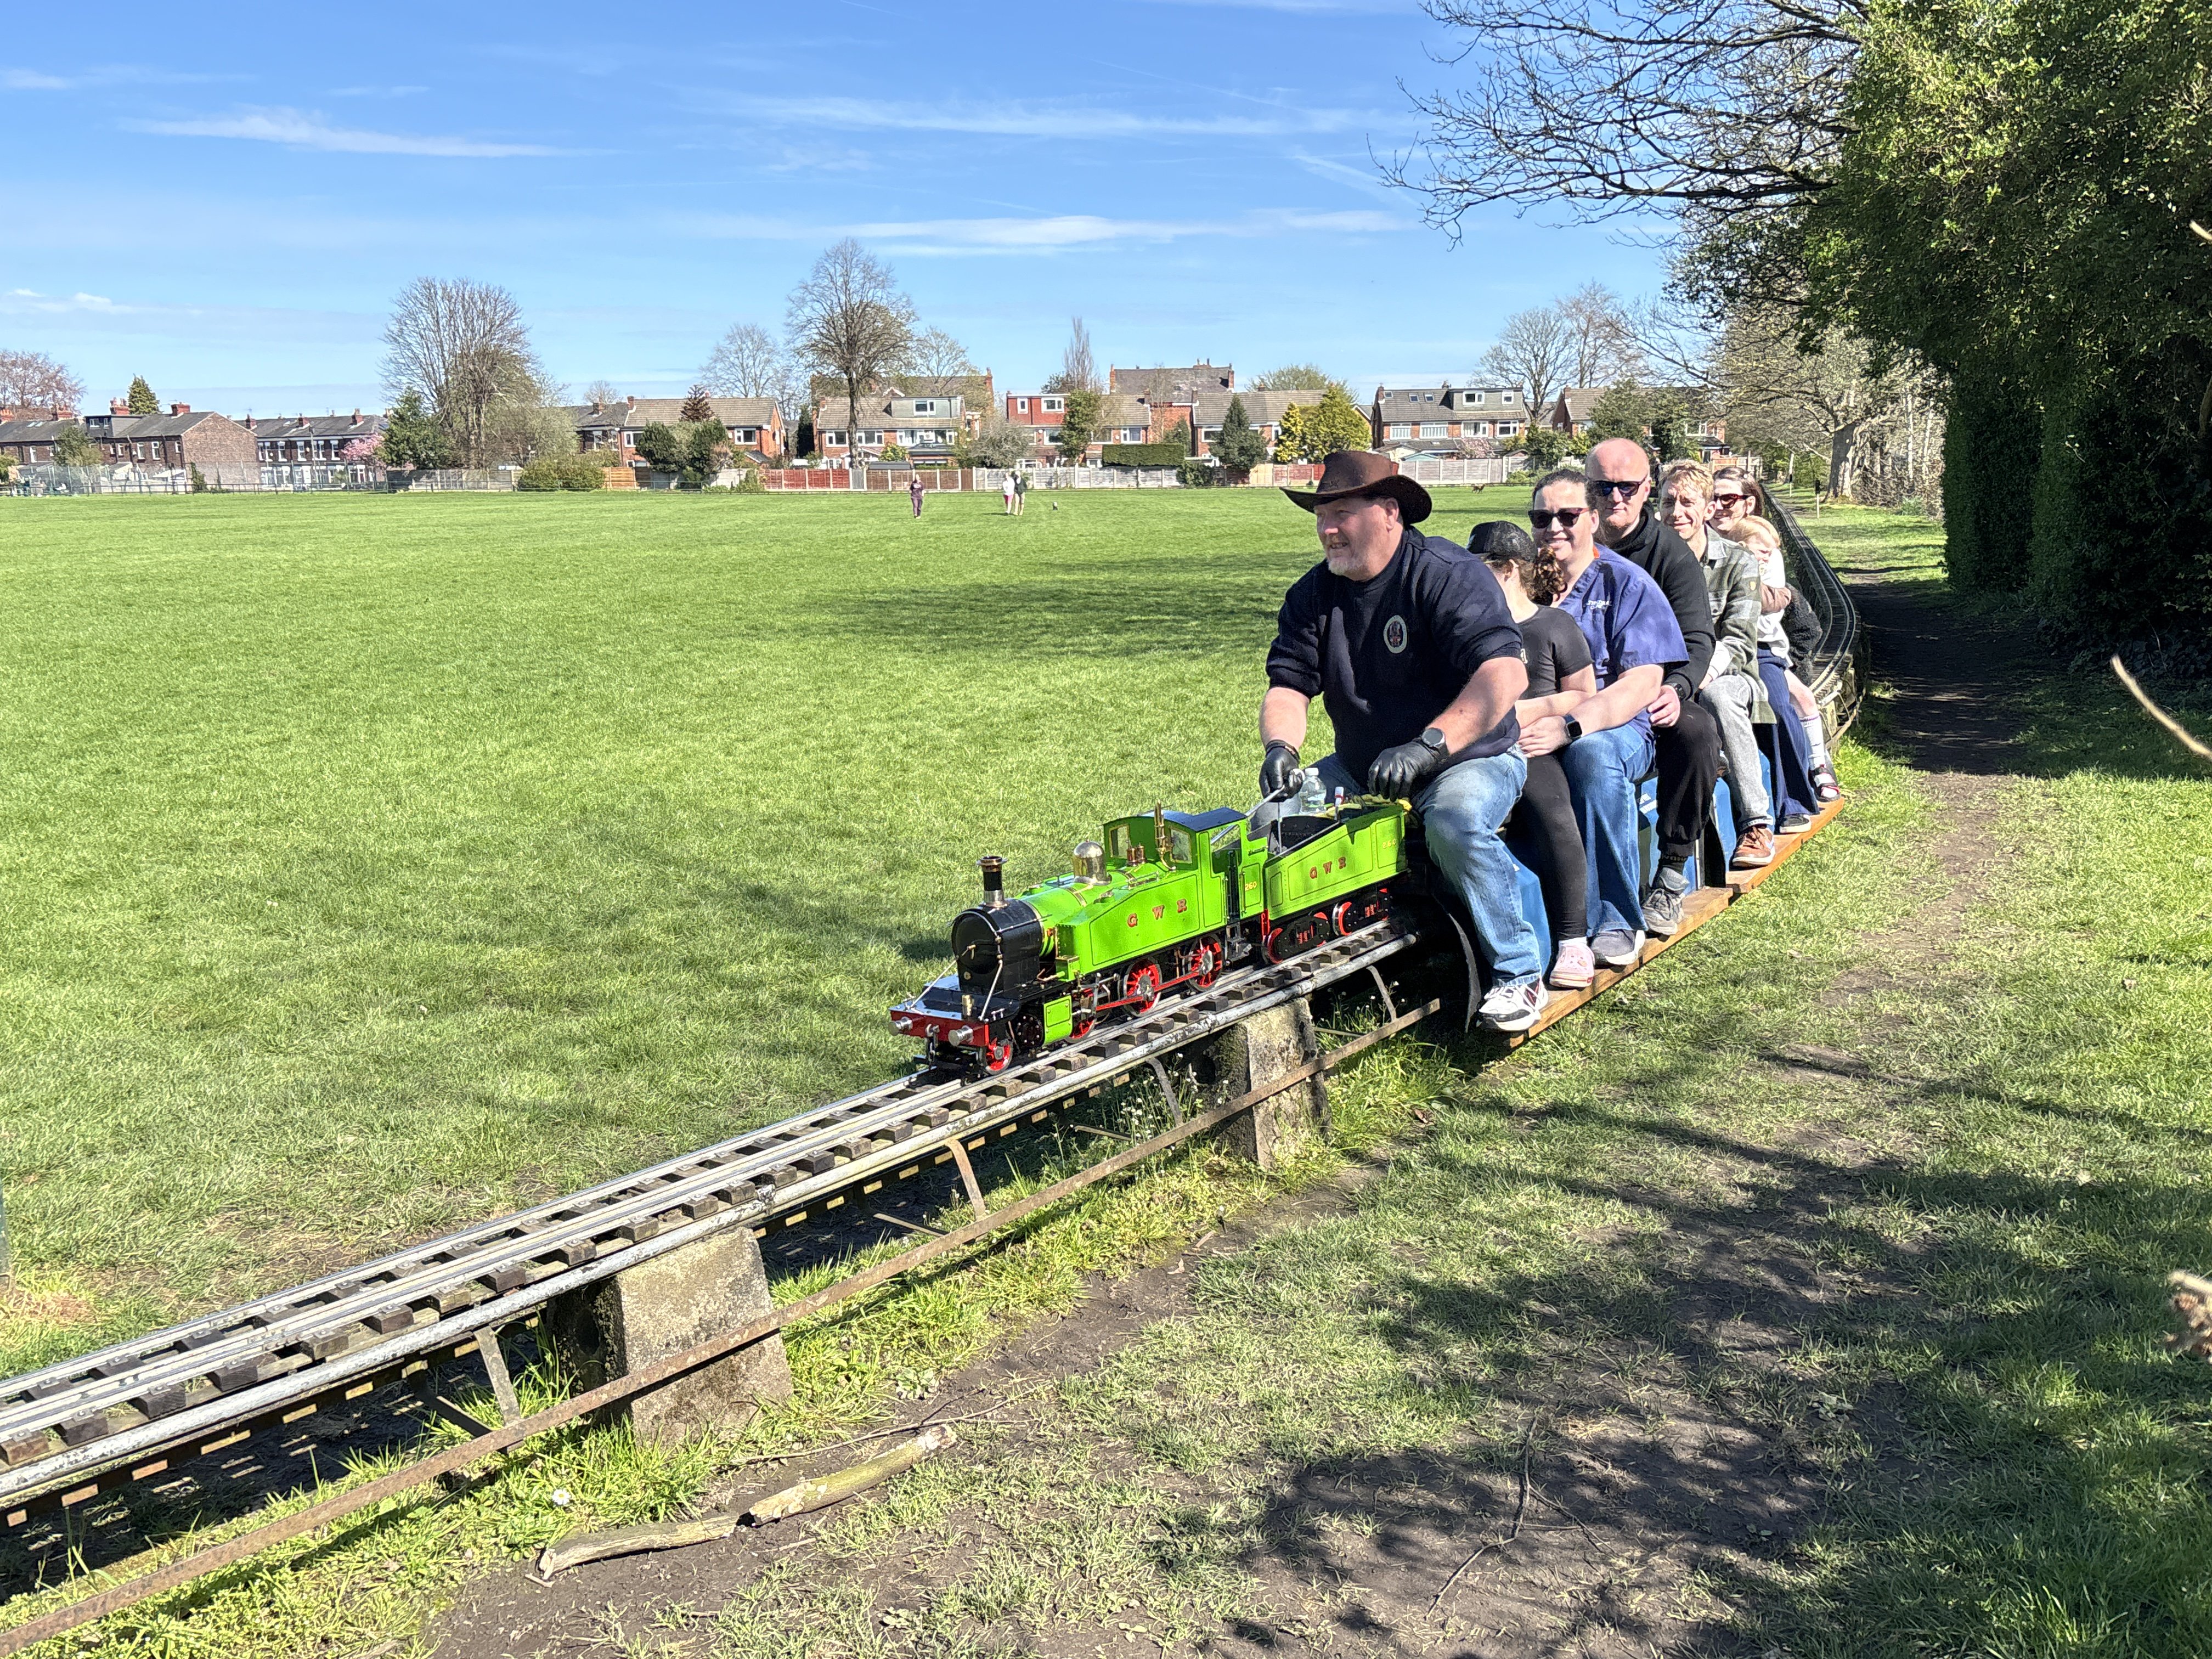
Well I’ve been out walking for a couple of hours in the sun while my mind thought about an axle assembly jig. I think I’ve worked out a design I can make on the mill with materials in stock, and will set both the length and squareness. On the way I passed the local model engineers’ track where 5 locos were in steam giving rides. But now i have fallen into the pub to quench my thirst, so no machining for me tonight. Tomorrow maybe.
-
"Voiding the Warranty" - Mol's experiments in 21mm gauge
Mol_PMB replied to Mol_PMB's topic in Irish Models
Very nice! Thank you. I’ll see what I can set up in a similar way, might have to borrow some bits off a friend. If that fails then I know who to come to, to do it for me! -
"Voiding the Warranty" - Mol's experiments in 21mm gauge
Mol_PMB replied to Mol_PMB's topic in Irish Models
After a few hours of hewing the metal, I have achieved the following, seen in cruel closeup: High Level hornblocks and CSB tags are on order, and there's still a fraction of a millimetre to file off the hornguide slots to enable me to fine-tune their postions. I still need to fire up the CSB spreadsheet and work out where the spring fixing points should be, and drill for them. Hopefully not somewhere in fresh air! Speaking of fresh air, after the weekend's storms it's a lovely sunny day outside now so I'll stop work and get out for a walk in the sun instead.
-
"Voiding the Warranty" - Mol's experiments in 21mm gauge
Mol_PMB replied to Mol_PMB's topic in Irish Models
Yes, that is a fallback option. Though Gibson don't make the correct style of wheel. Another option is to bore and sleeve the wheels I have, to fit a plain 1/8" axle. A lathe job but perhaps no more difficult than the axle modifications. -
"Voiding the Warranty" - Mol's experiments in 21mm gauge
Mol_PMB replied to Mol_PMB's topic in Irish Models
Thinking about axles. I think making new, longer, square-ended Romford style axles is too difficult. To modify and extend the existing axles, two solutions spring to mind: The first is simpler and will work for unpowered axles in hornblocks. The second requires some lathe work (I don't have a lathe but I have friends that do) and would work for powered axles, and doesn't require hornblocks. I would need to make at least one of the second type for this project. I see the bigger challenge as assembly, to get the squares aligned with each other and the back-to-back spot on, and then to hold it all together. I have experience of this with extending pinpoint axles by cutting and sleeving, and have found that if the fit is too tight it's very hard to get the length spot-on, while if the fit isn't tight enough then they rely too much on the glue and may not be perfectly straight. With the loco axles there is also the challenge of the squares. It's worth noting that the square sections are very short, I think 1/32" (less than 1mm) so there's not much space to clamp or support the parts on those squares. OK for alignment but not for applying much force. I did wonder about milling a flat on the body of the axle, making part of it a D shape, before cutting it in half, but I'm not convinced that really helps. The D sections would have to avoid the hornblock and gearbox bearings and would therefore probably end up in the area of the sleeve which wouldn't achieve the desired effect. I think the answer will be to make the parts a snug sliding fit, set them up in a jig, and then to apply some locitite to the joint. Better ideas would be welcome!
-
You’re a braver man than I to tackle that valve gear in model form. It’s bad enough to get right in full size! Sidhe is coming along very nicely!
-
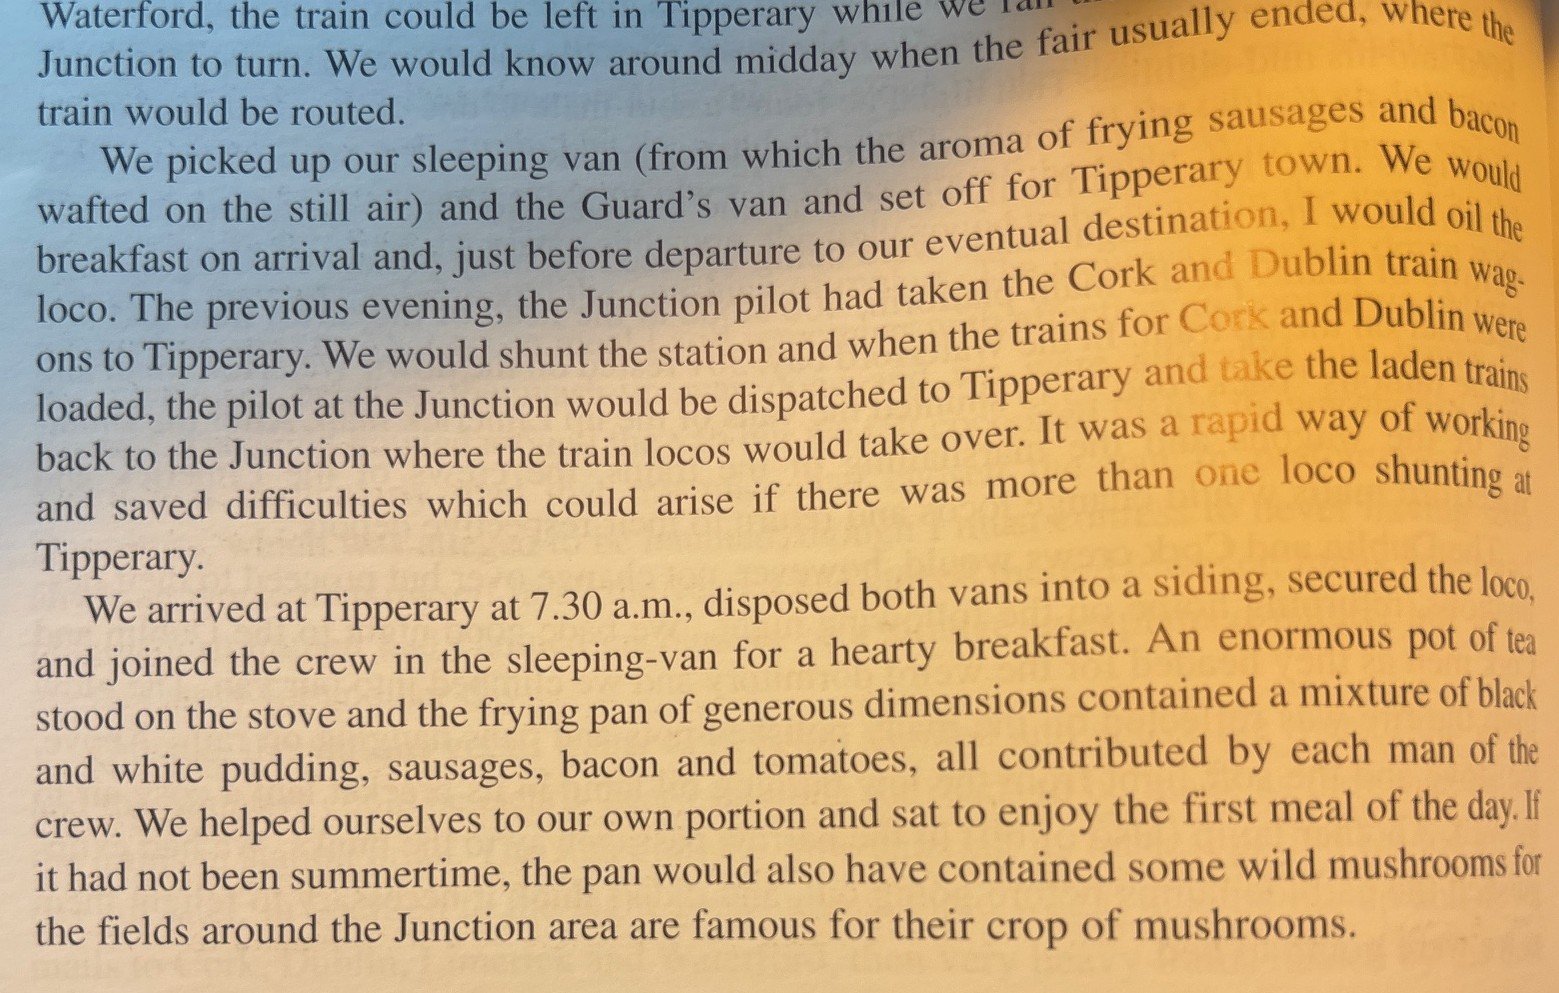
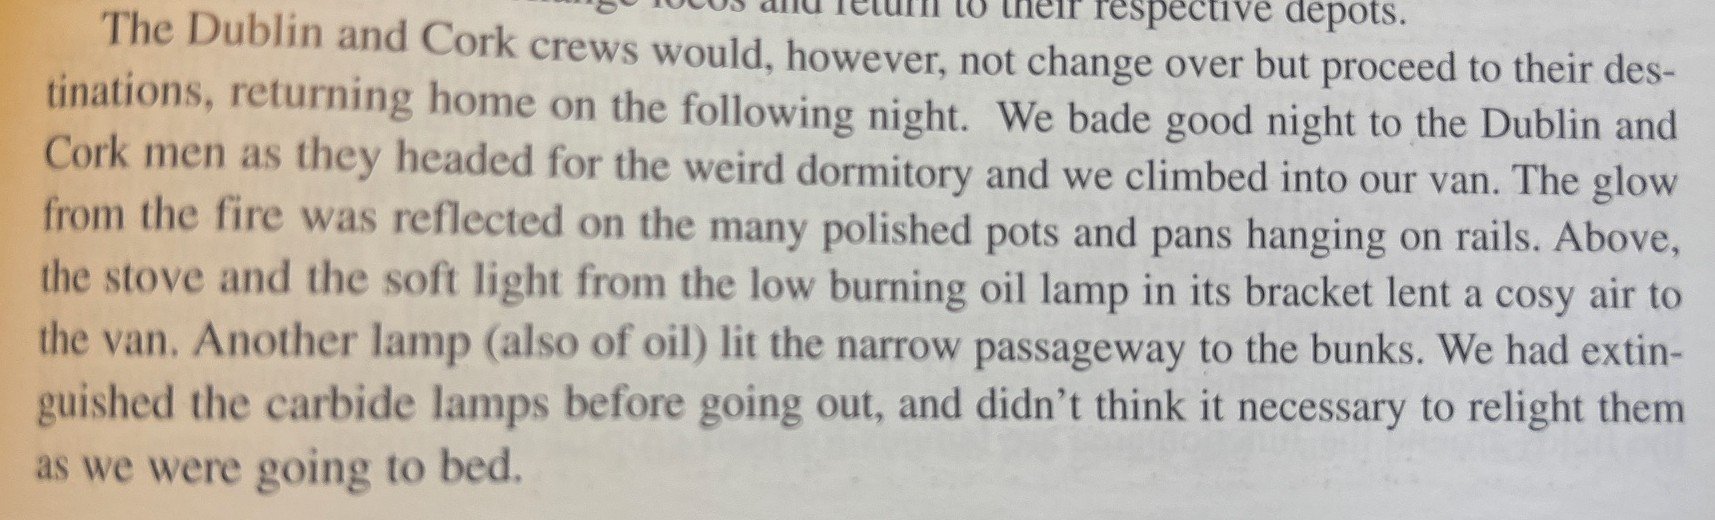
I'm presently reading the book 'Engines and Men - Irish Railways: a View from the Footplate' by Jack O'Neill. Books of steam-age footplate reminiscences are ten-a-penny in GB, but Irish examples are scarce and this one is well written and interesting. It contains a chapter describing the working of fair specials, and from it I got a much better appreciation of how the sleeping cars were used. I've photographed a few of the relevant paragraphs from within this tale as I think they are a useful addition to this thread of sleeping cars. These aren't consecutive paragraphs - if you want to read the full story then you'll need to buy the book! After an evening in the local pub... next morning...
-
"Voiding the Warranty" - Mol's experiments in 21mm gauge
Mol_PMB replied to Mol_PMB's topic in Irish Models
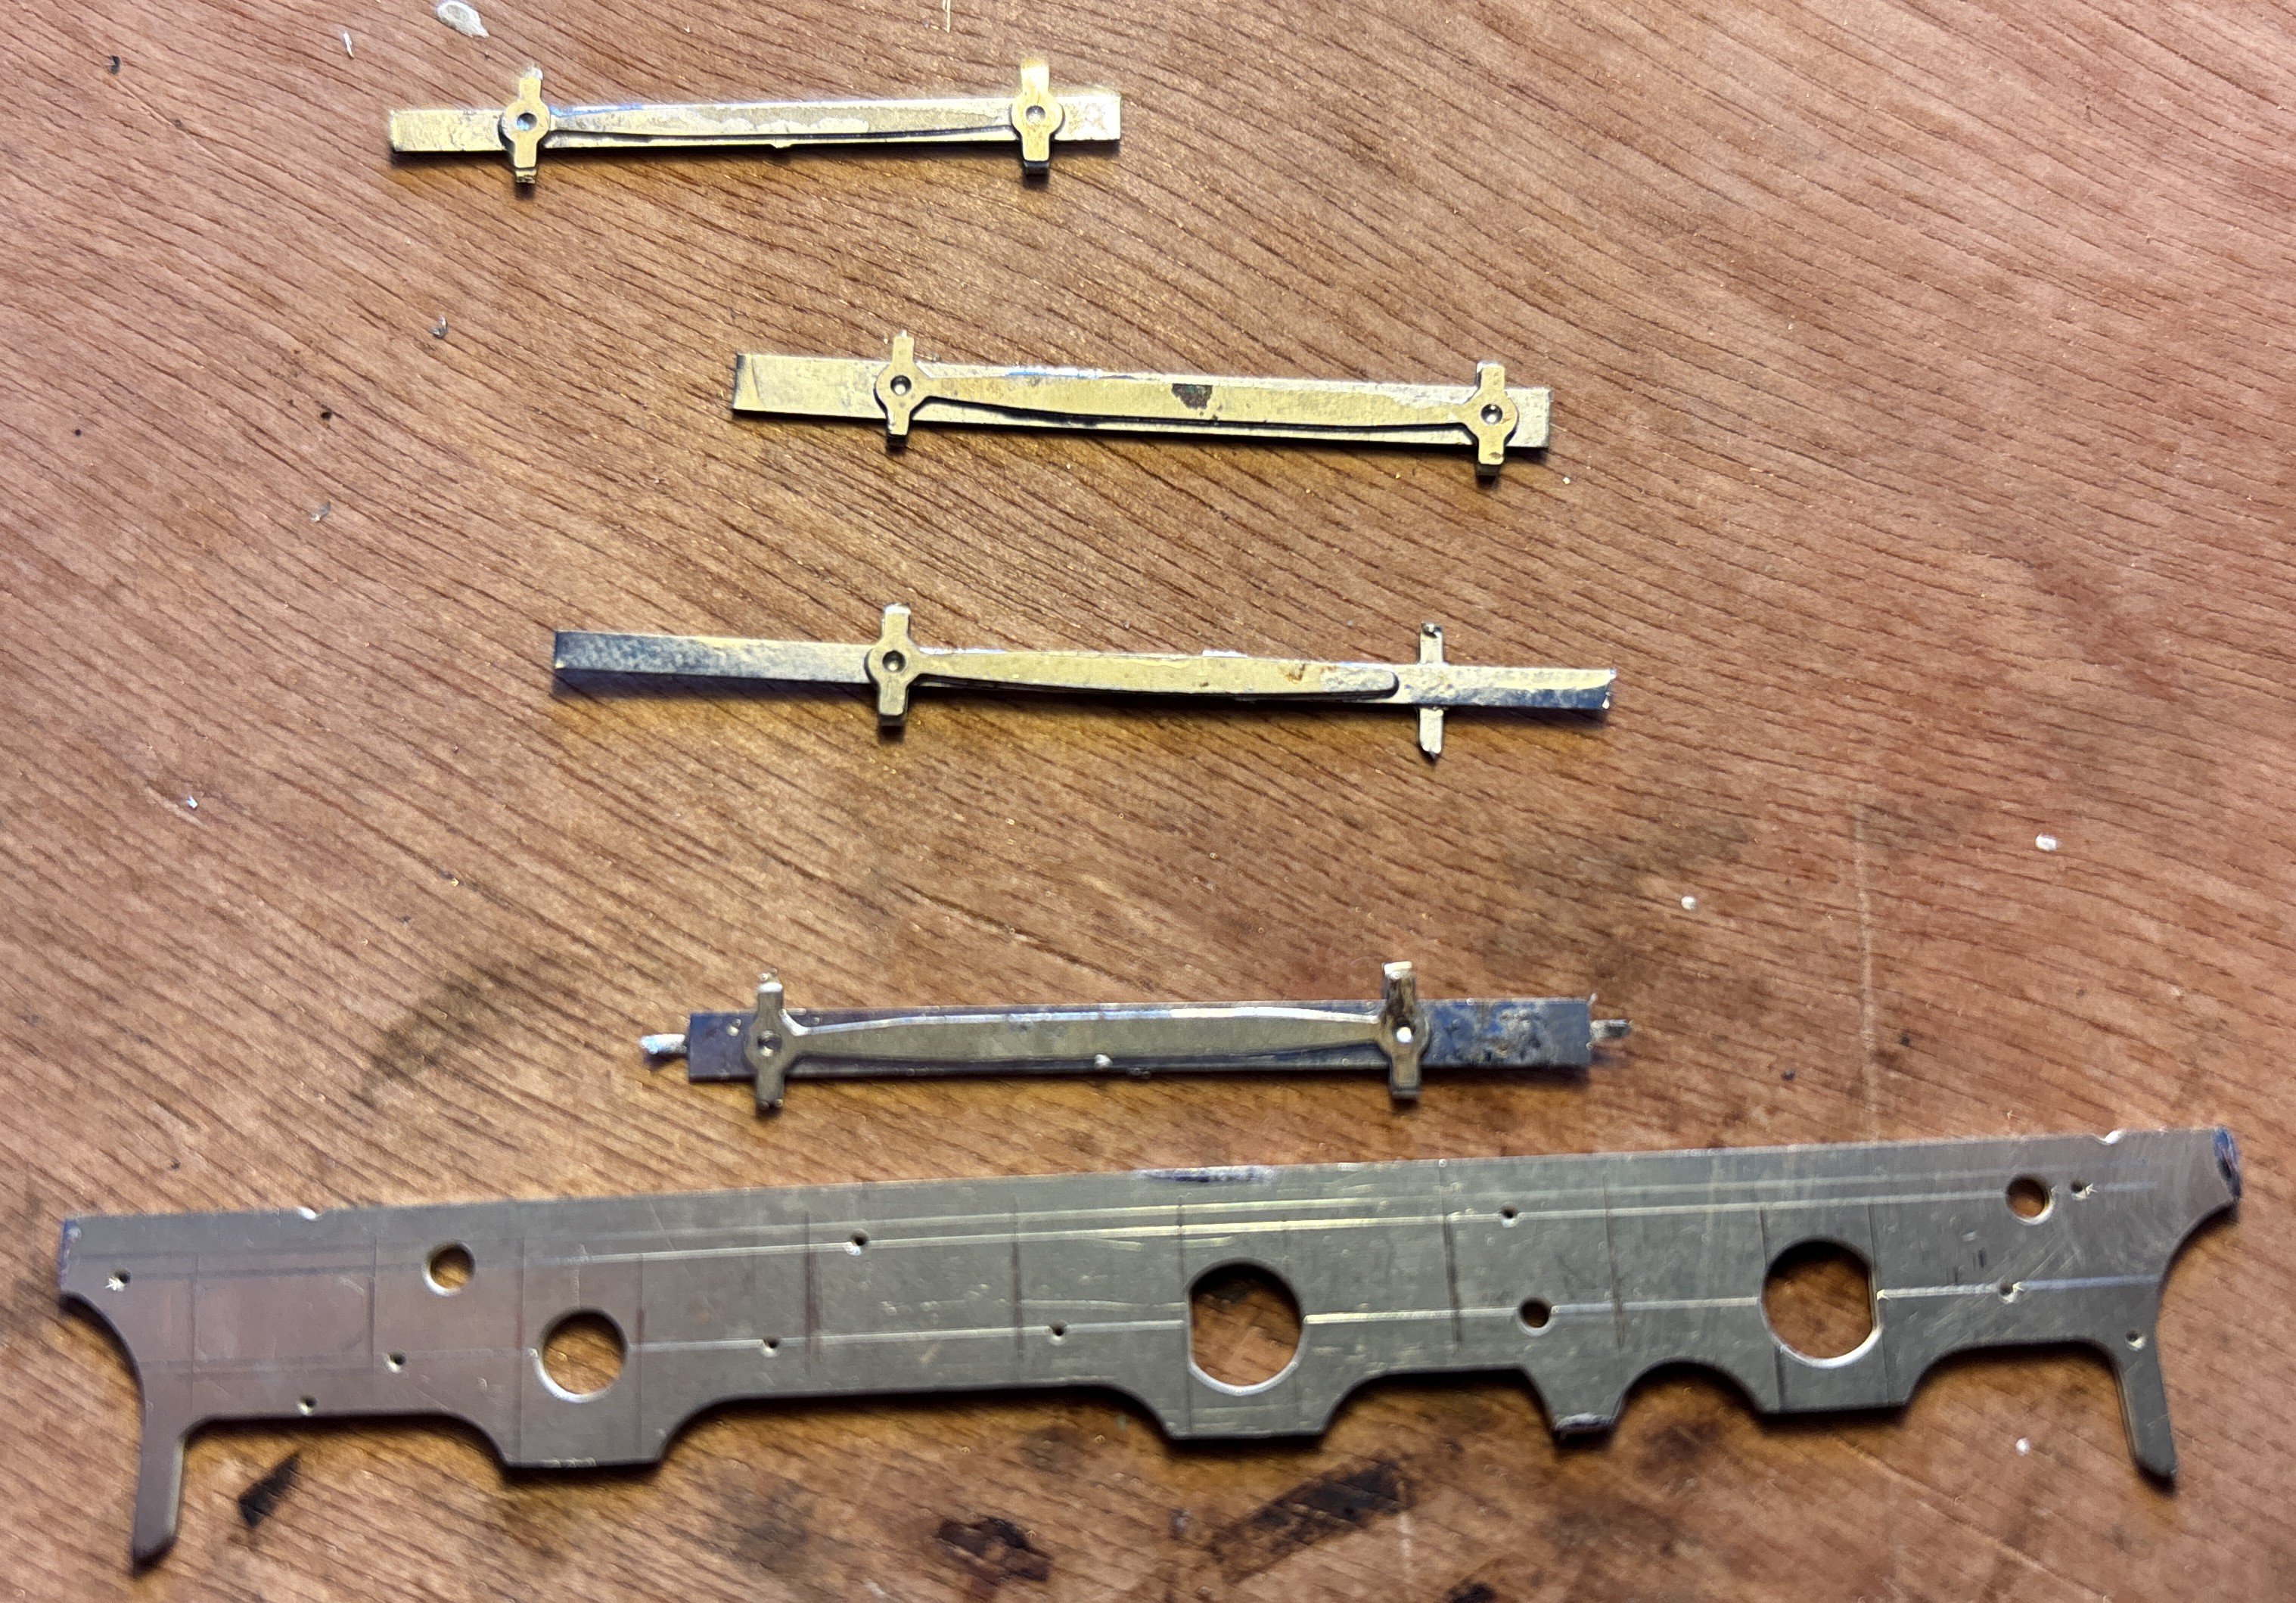
I now have a few hours of work with files, drills and piercing saw ahead of me... I have reinforced the rods with a strip of nickel silver between the two halves, hopefully this will work and not be too thick at the middle crankpin. The sideframes are tacked together ready for some filigree work.
-
That makes my eBay purchases last week (£515 for the pair including postage etc) look like a comparative bargain!
-
You should be able to. I don't think the link has been sent out yet - it's normally a couple of days before. Hopefully @Richard EH will post it here when it's available, if not I'll copy it here once I have it.
-
"Voiding the Warranty" - Mol's experiments in 21mm gauge
Mol_PMB replied to Mol_PMB's topic in Irish Models
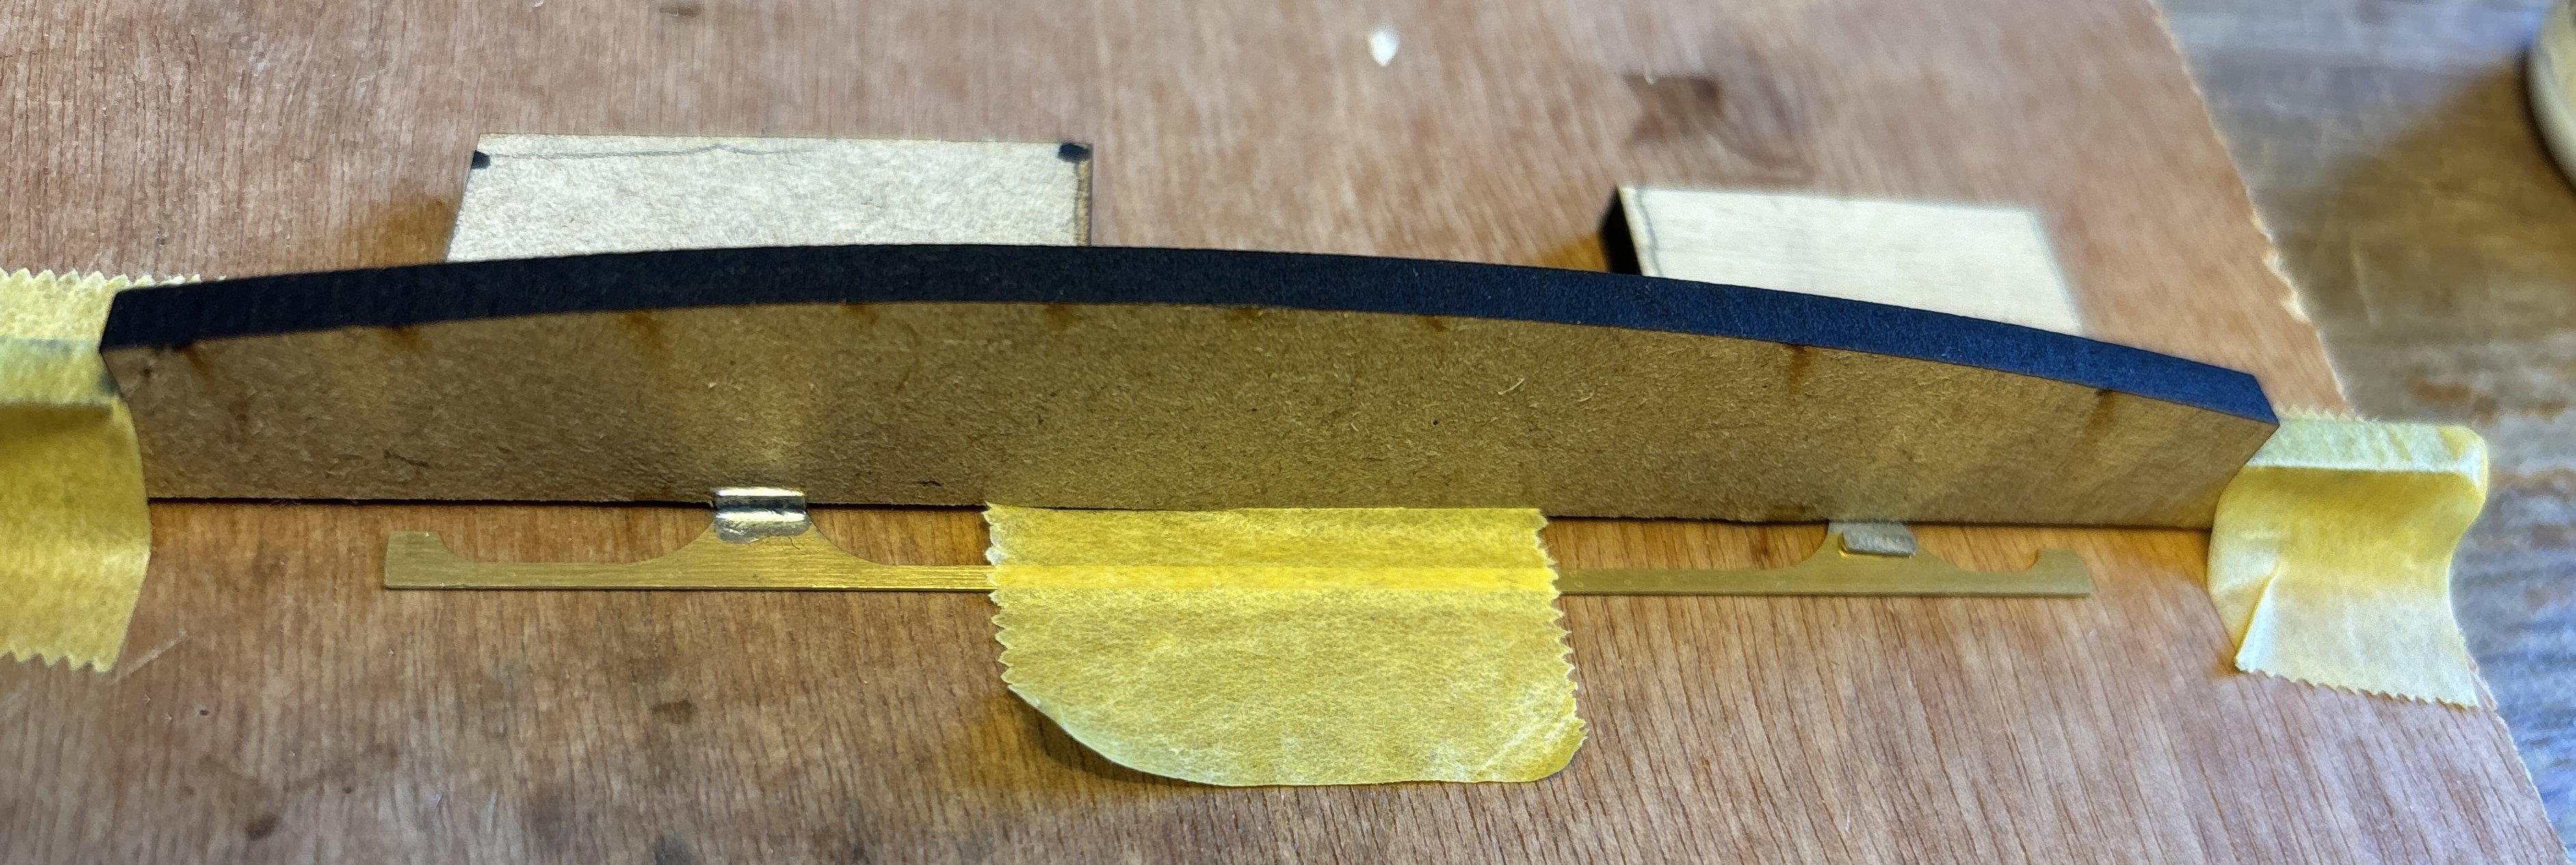
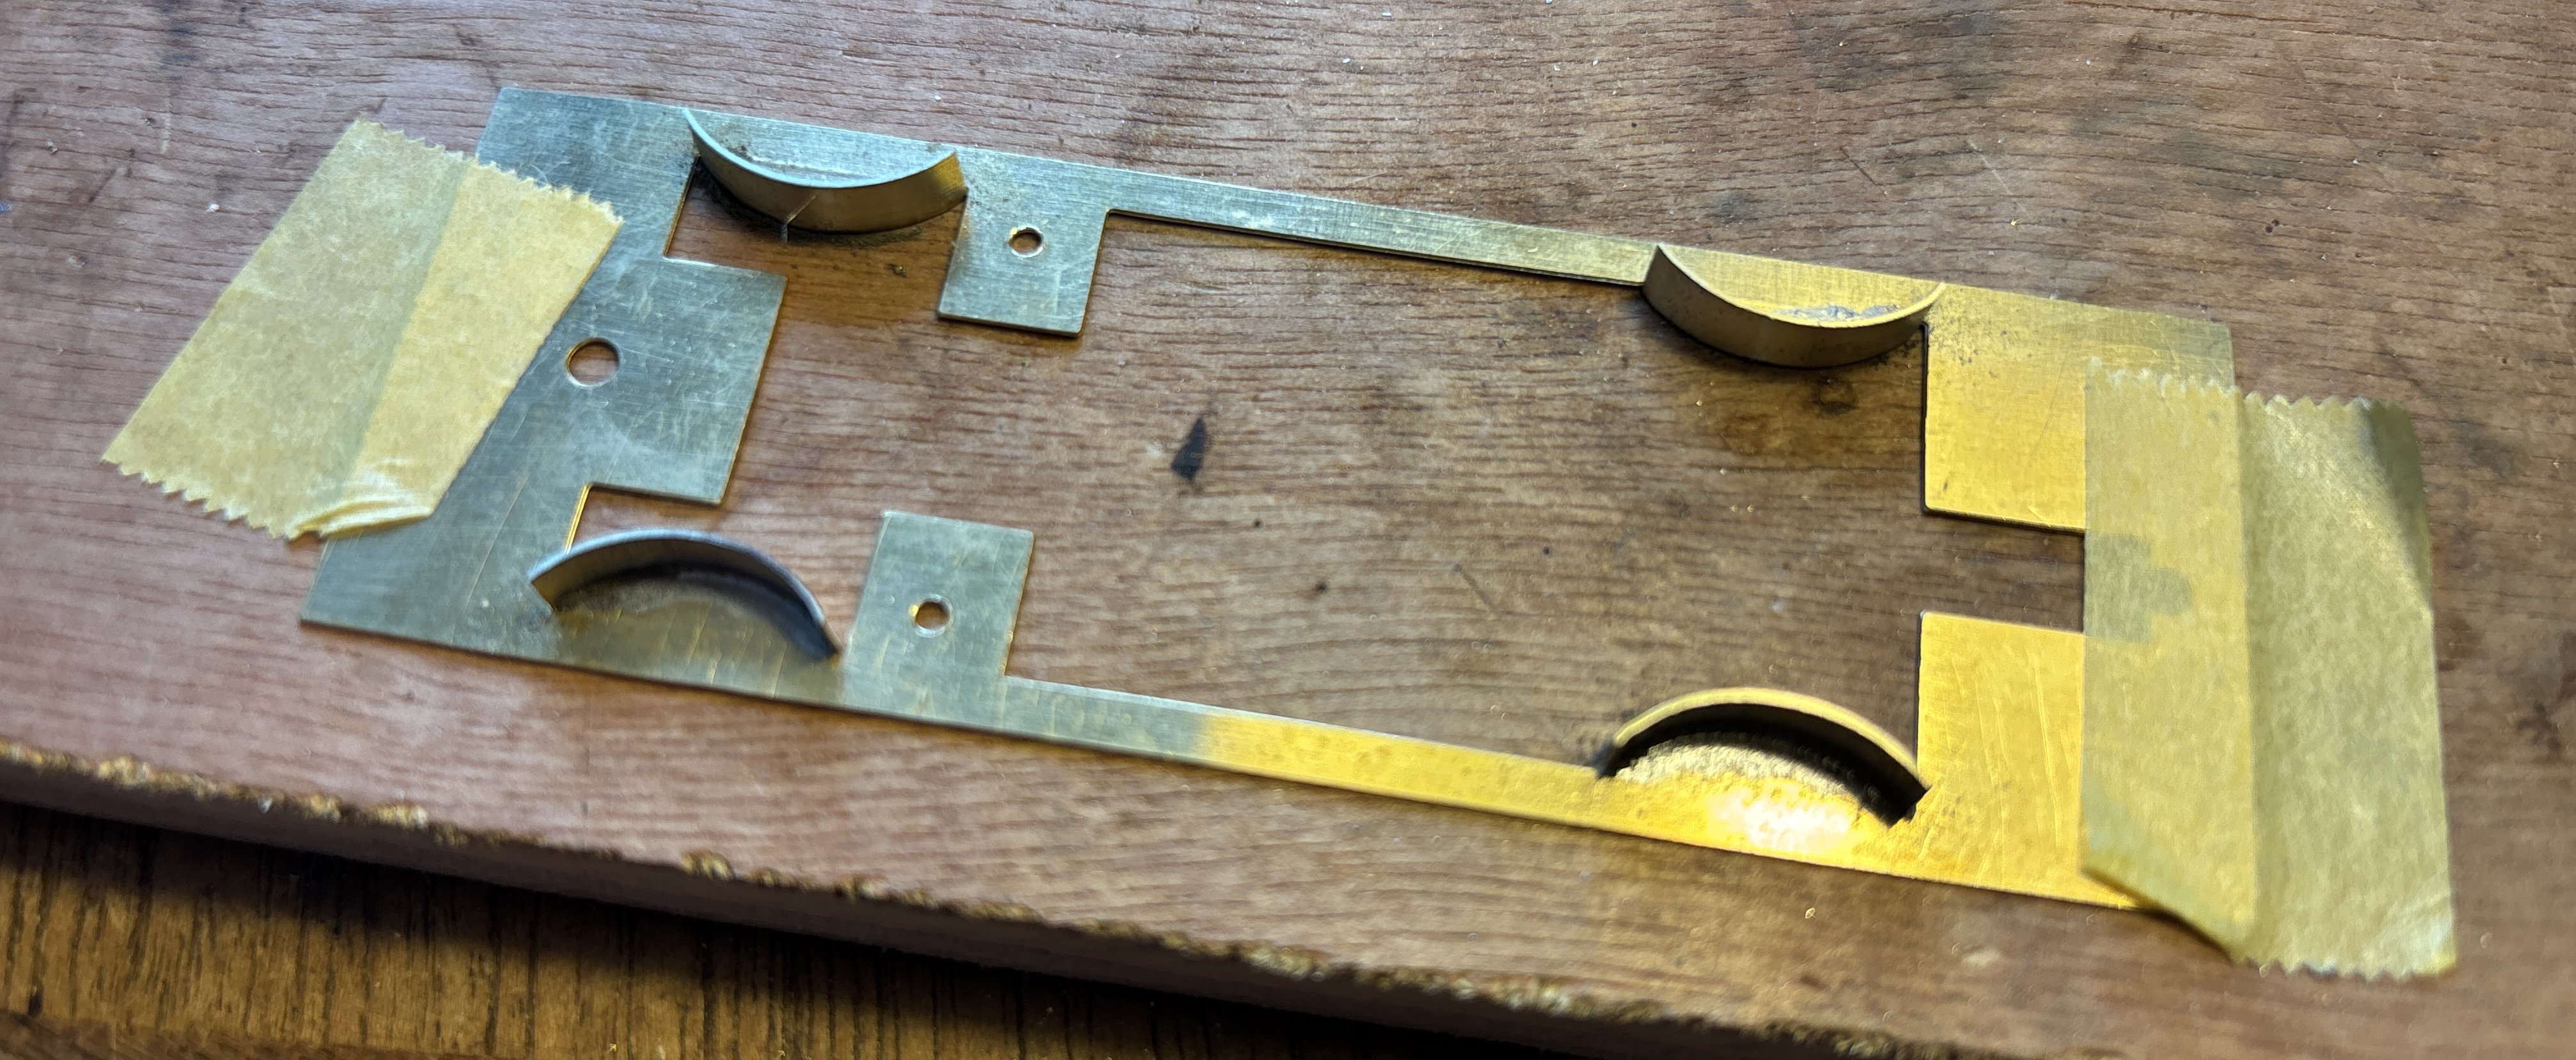
Taking advice and inspiration from Alan's parallel thread (and using a similar mix of masking tape and wood offcuts to make simple jigs), I have now assembled the footplate. Adding the steps to the valances, best done before attaching them to the frames: Adding the splasher tops to the footplate. I made new splasher tops 4.5mm x 17mm from thin brass. The inner edges of the splashers are then 18.5mm apart, i.e. just less than the 19.2mm back-to-back so the wheels should be concealed. My etch is a bit over-etched and the coupling hook surrounds had almost etched away to nothing. I replaced them with better ones from an etch of miscellaneous wagon details available from Wizard. Here's the assembled footplate: And with the body attached with its 3 bolts: There are many more details to go on both sub-assemblies, but it's starting to look like a J26.
-
TMD/SSM MGWR "W" / GSR J26 / CIE "551" 0-6-0T
Mol_PMB replied to Horsetan's topic in Photos of Models
I wonder if the lads at Whitehead would like to get involved? They could make a somewhat bigger one! -
TMD/SSM MGWR "W" / GSR J26 / CIE "551" 0-6-0T
Mol_PMB replied to Horsetan's topic in Photos of Models
Are you going to join Alan and myself and build a trio of them? -
I've trawled through a load of photos of Broadstone and I can't match the location or buildings. I had a look at Grand Canal St which has some buildings in the right sort of style but I can't match it. To me it doesn't look right for Cork, Limerick or Inchicore. A quick look at Sallypark wasn't convincing, nor Mullingar or Thurles. That's not to say it's definitely none of those, but I haven't yet found a match to the buildings. Could it be somewhere at North Wall?
-
"Voiding the Warranty" - Mol's experiments in 21mm gauge
Mol_PMB replied to Mol_PMB's topic in Irish Models
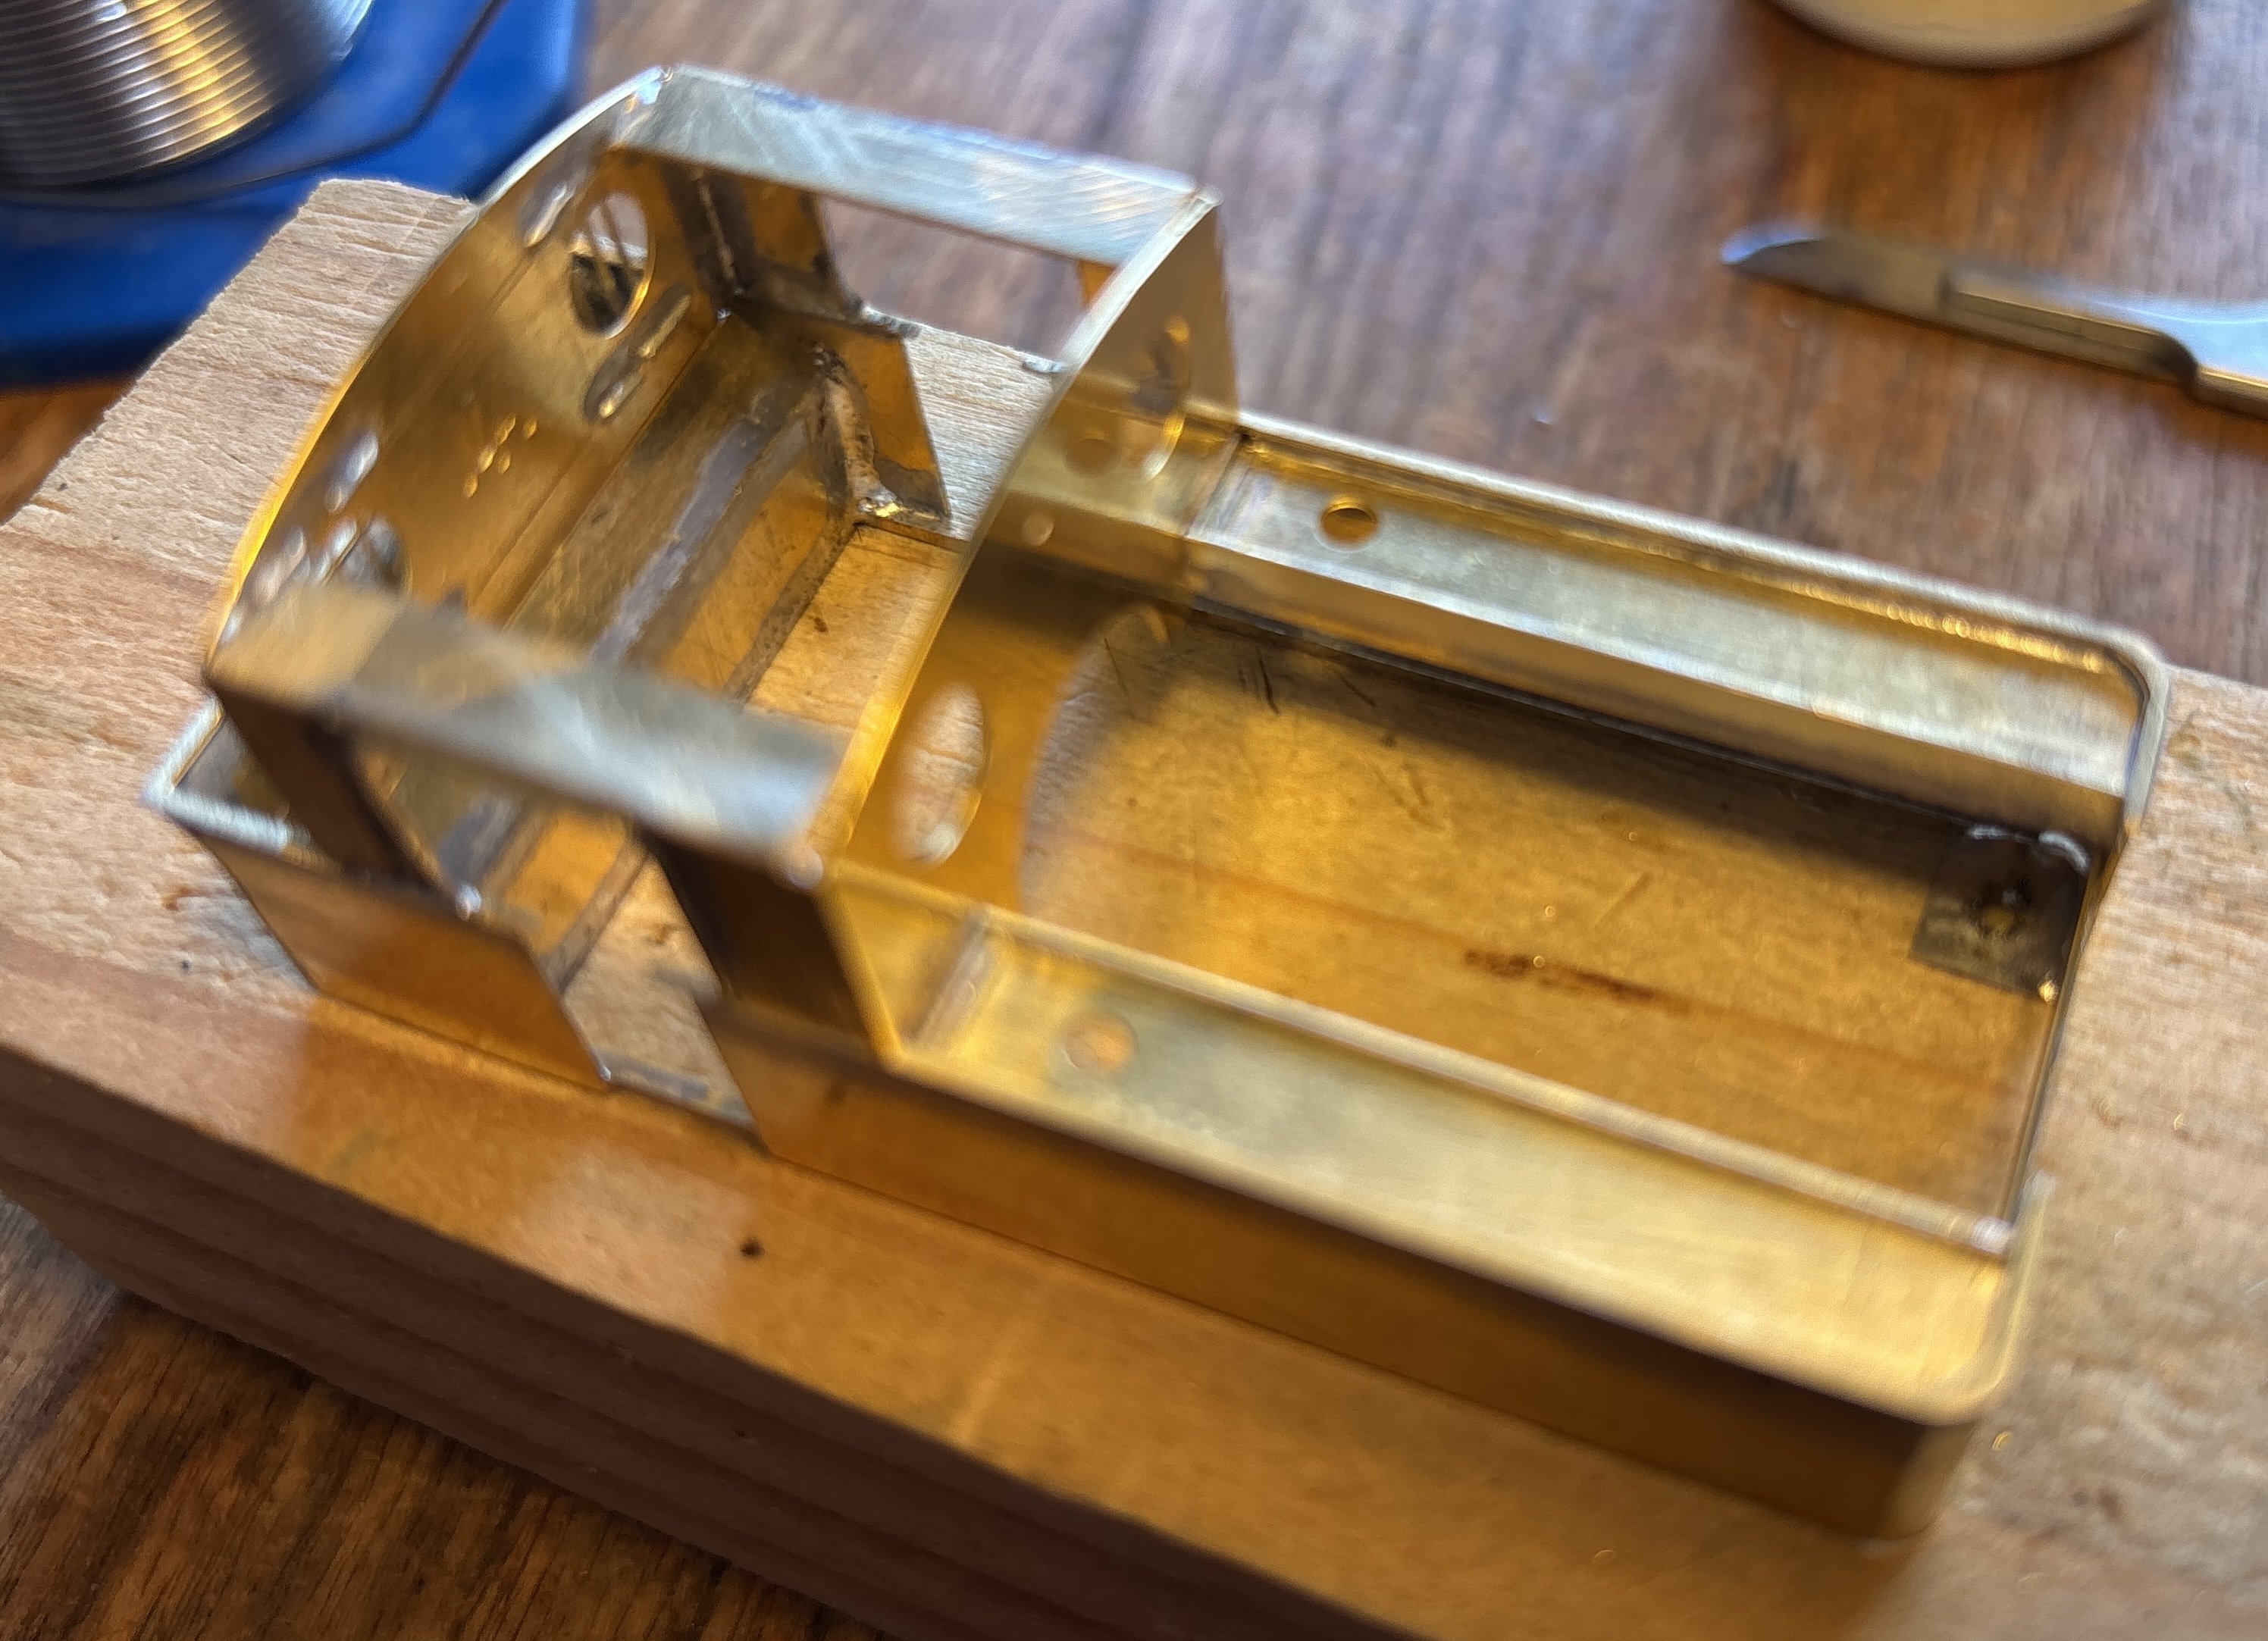
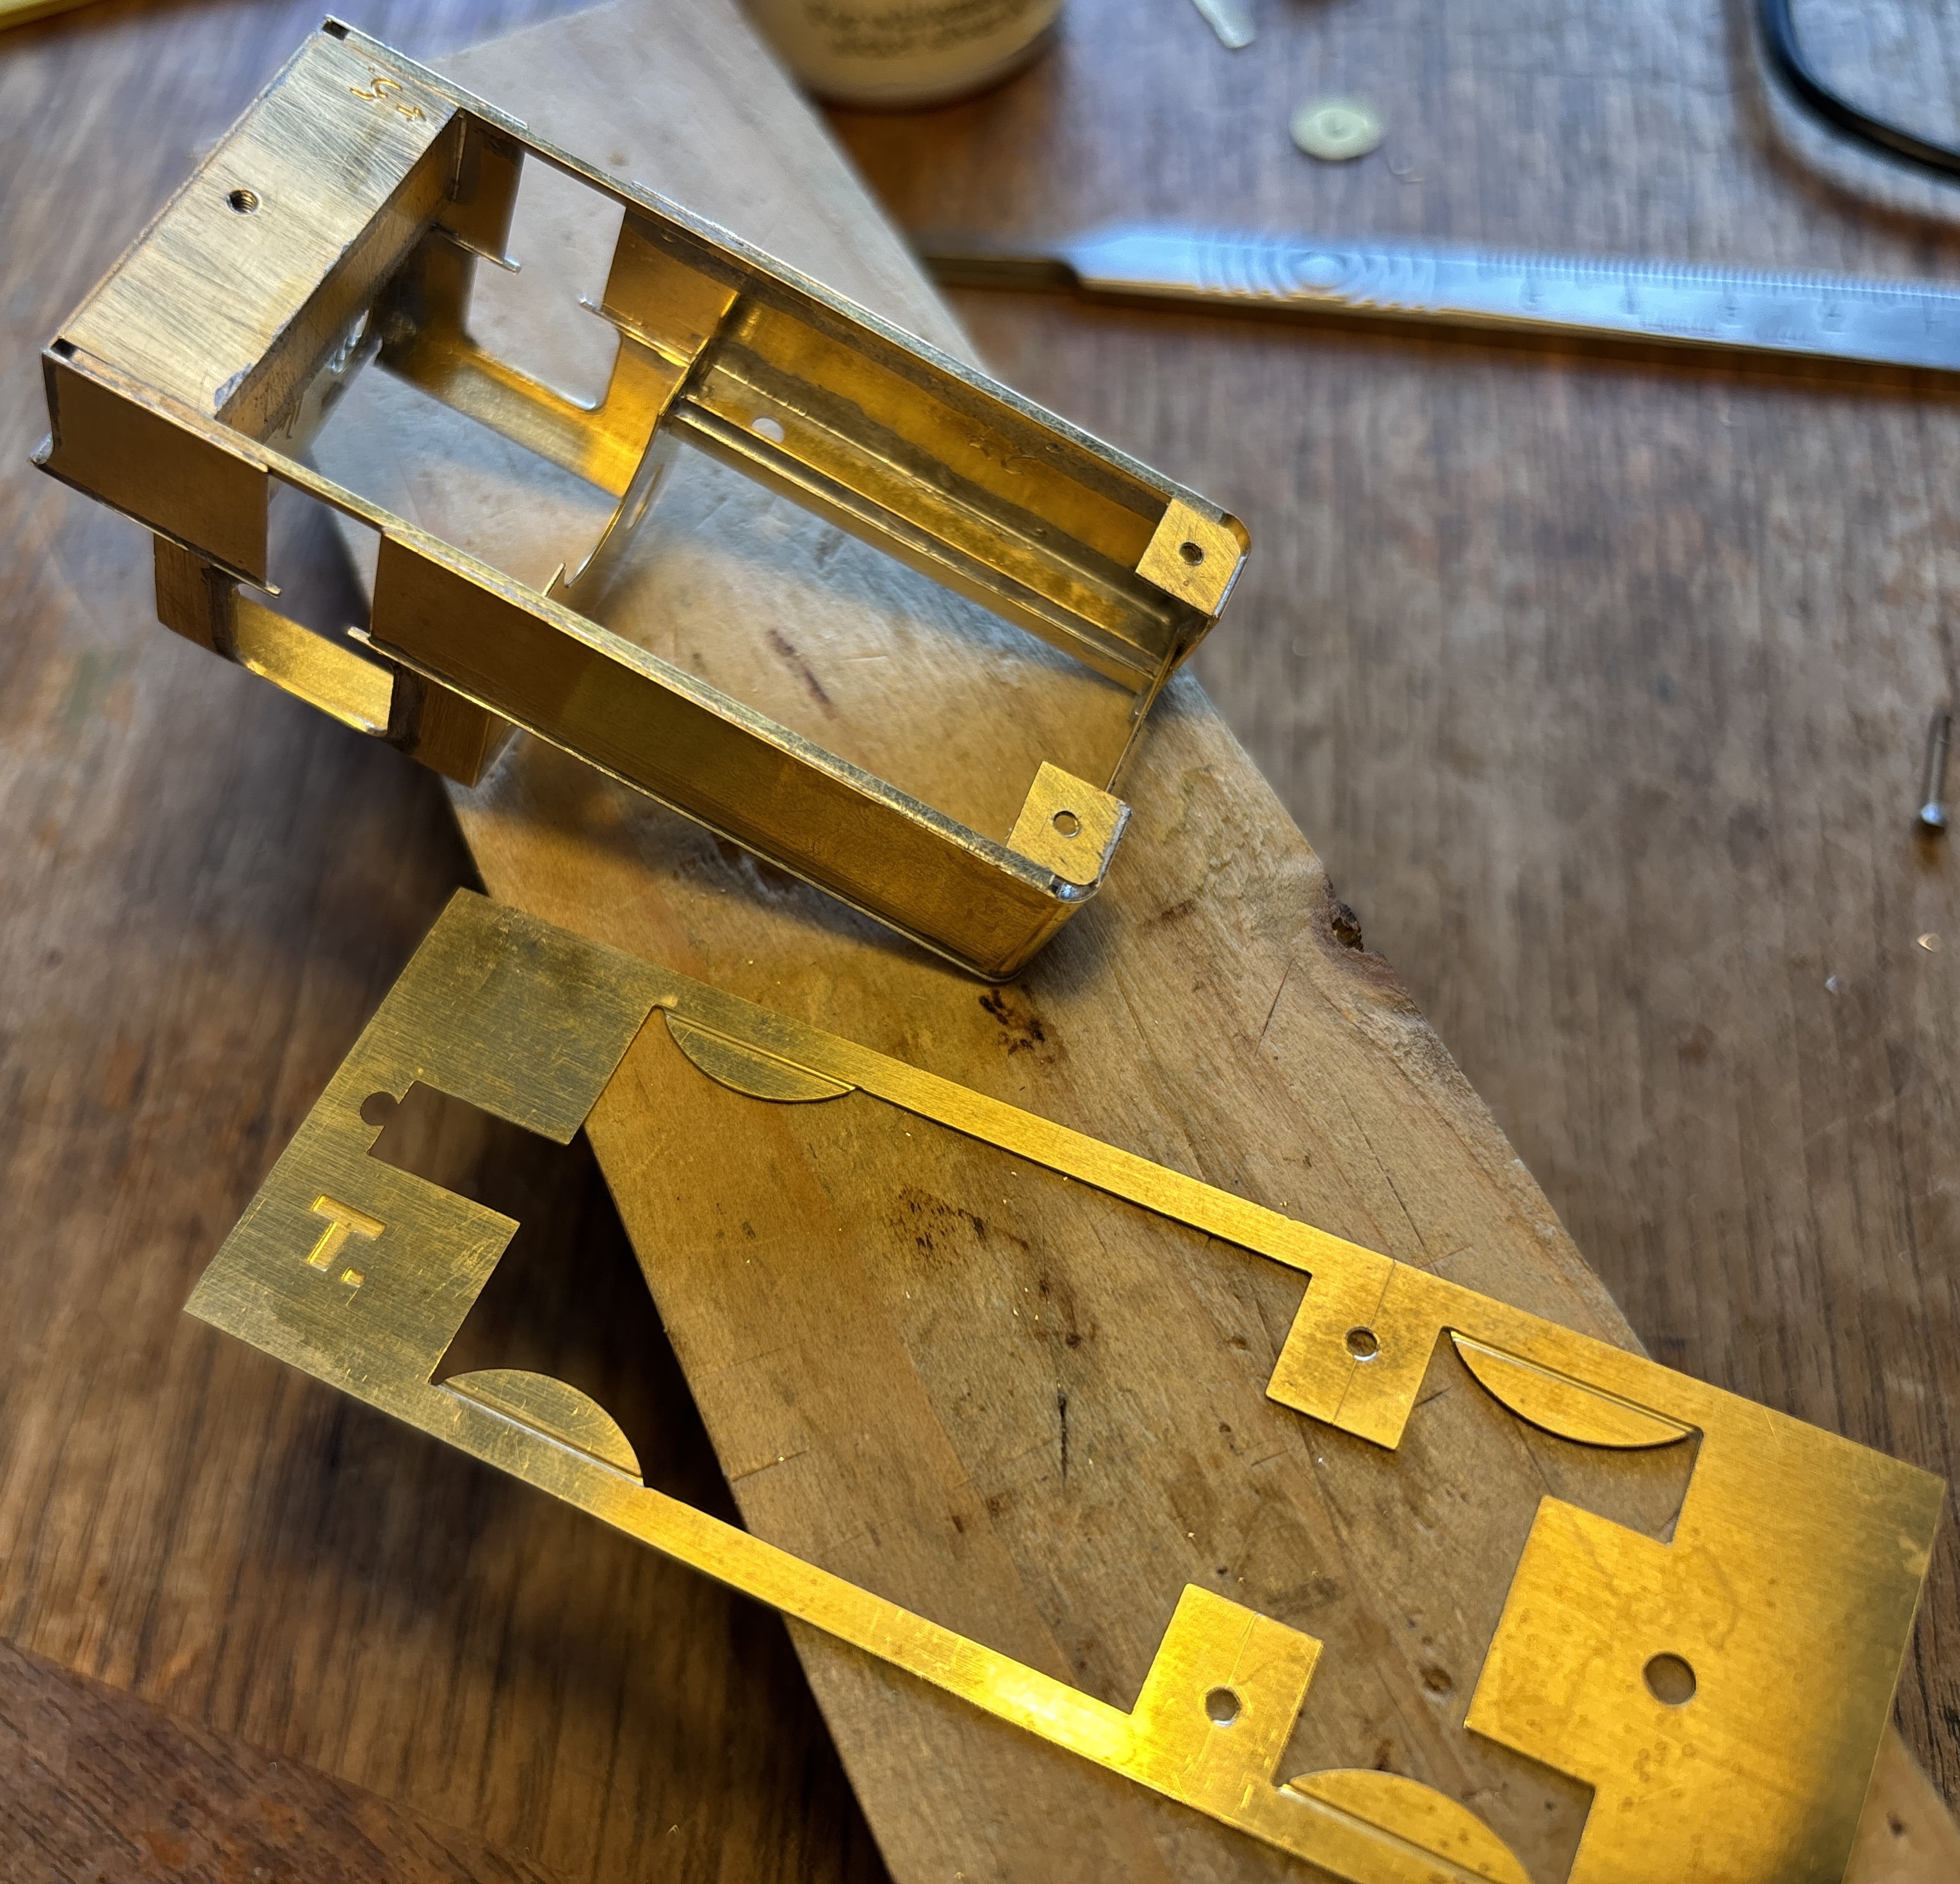
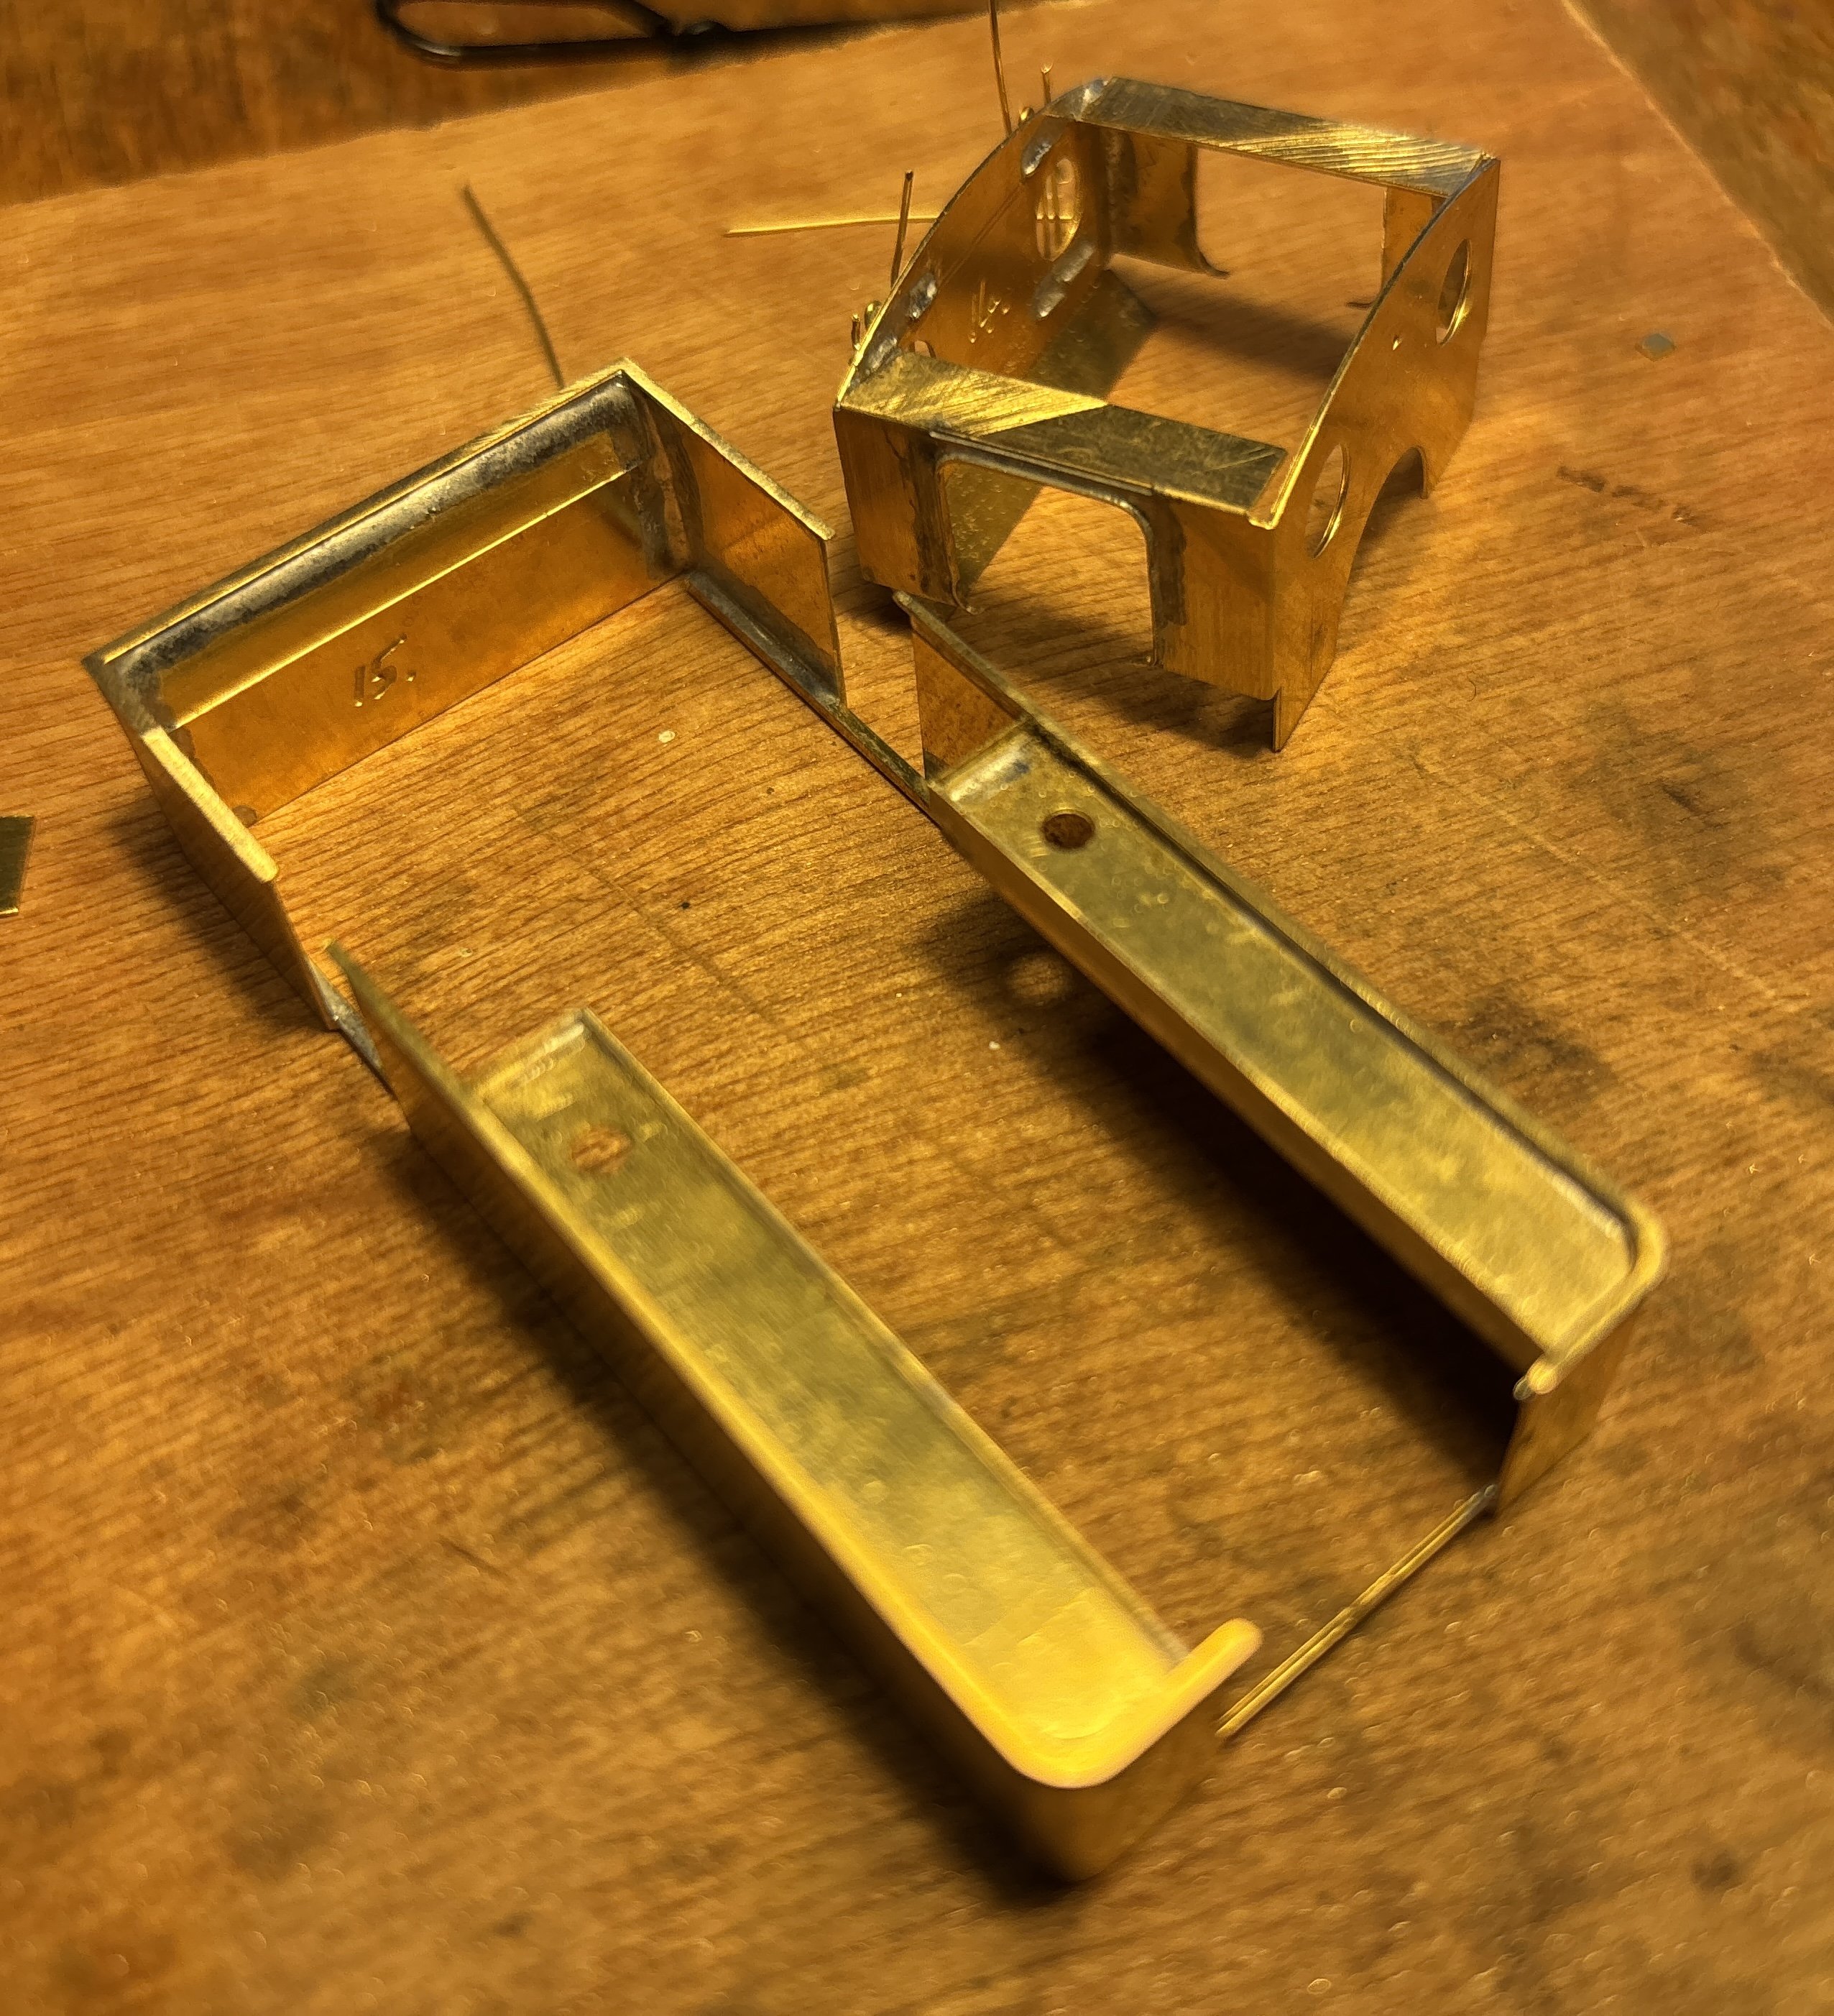
A couple of photos showing the arrangements for bolting the superstructure to the footplate. With a floor and front to the bunker this has now become a very strong and rigid structure. The tiebar between the fronts of the tanks is temporary, it will foul the boiler.
-
I'm looking forward to this!
-
TMD/SSM MGWR "W" / GSR J26 / CIE "551" 0-6-0T
Mol_PMB replied to Horsetan's topic in Photos of Models
I have some of those, which I bought with the wheels. I even have a spare one. But they're still 2.8mm too short, so they need cutting and shutting. -
TMD/SSM MGWR "W" / GSR J26 / CIE "551" 0-6-0T
Mol_PMB replied to Horsetan's topic in Photos of Models
Thanks. I've no problem buying 1/8" steel and cutting to length. But the wheels at present for this loco are to suit square-ended axles with threaded spigots, and they're rather more difficult to make to custom length. I either need to cut and splice them (while maintaining the quartering) or adopt some other approach. Annoyingly the outer, round, part of the hole in the wheels (where the retaining nut goes) is moulded to a diameter slightly more than 1/8". One possibility is to bore out the wheel centres and insert a brass sleeve to fit on a plain round axle. -
TMD/SSM MGWR "W" / GSR J26 / CIE "551" 0-6-0T
Mol_PMB replied to Horsetan's topic in Photos of Models
Thank you! I’m still not sure how I am going to extend the axles for 21mm gauge but I think most options will require a sleeved joint in the middle. Therefore the axles can’t be fed through the frames from the side and I’ll need hornblocks. I have ordered the high level hornblocks and CSB tags, I used them on my E401 class and that worked fairly well. I am also trying to decide which set of frames to use, and considering adding an extra layer to the rods. At present I’m planning to work around the parts supplied in the kit rather than design a new modern etched chassis… -
"Voiding the Warranty" - Mol's experiments in 21mm gauge
Mol_PMB replied to Mol_PMB's topic in Irish Models
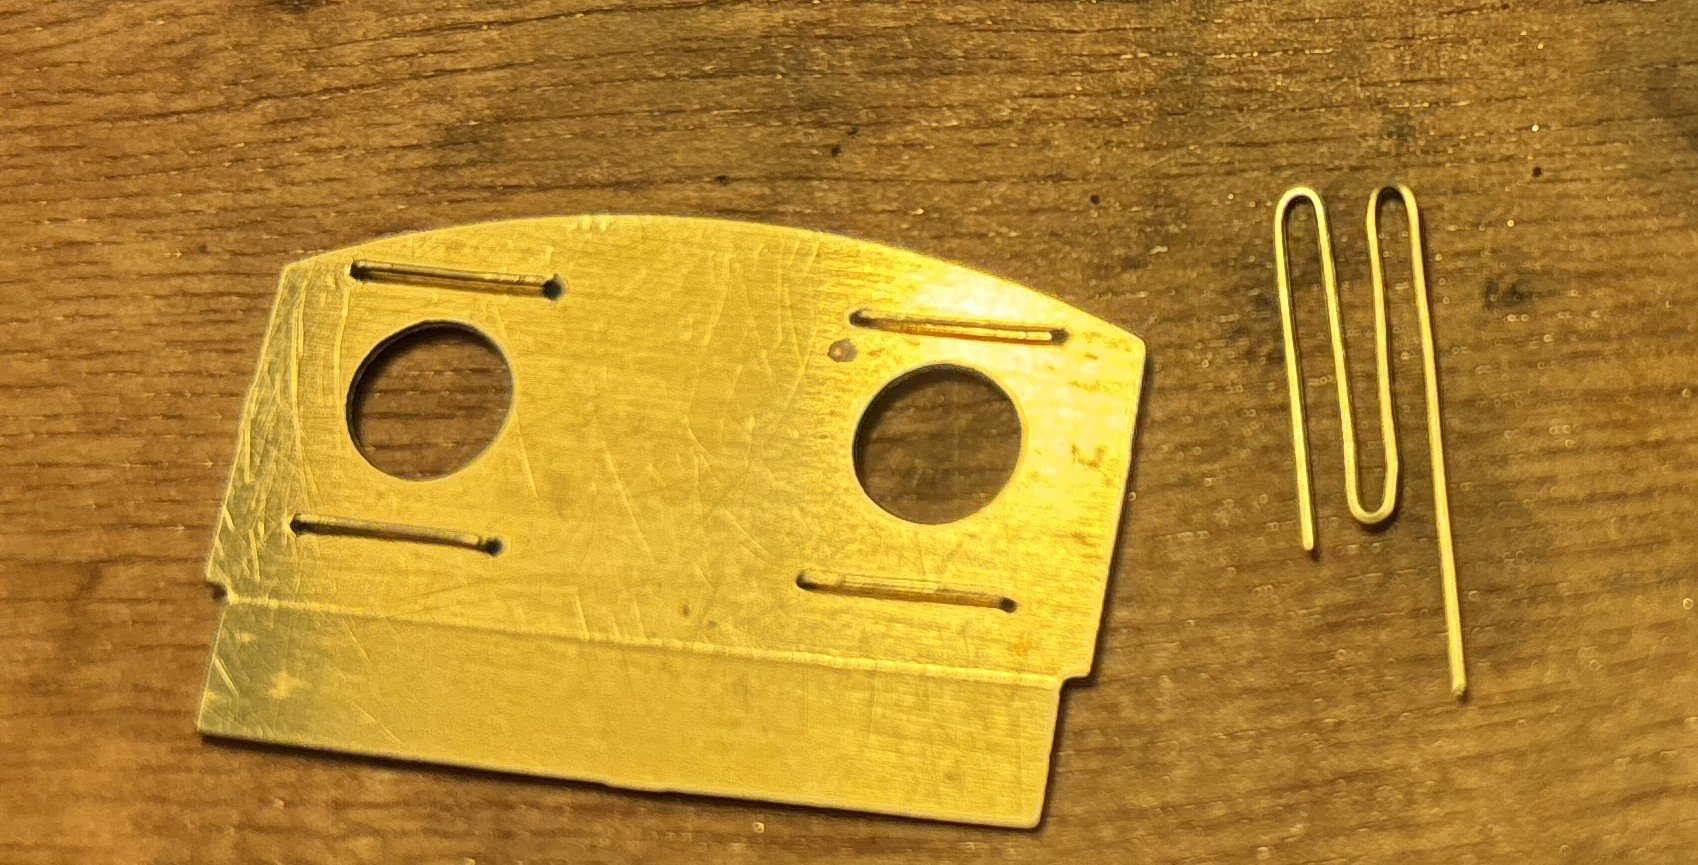
Last bits done for tonight. Firstly, some extra bits for the tanks. When I trial-fitted the cab it looked like there was a small gap between it and the tank tops, if the cab was to be centred on the doorways. So I cut two short lengths of tiny brass T-section to go at the back of the tanks to fill the gap and give the impression of a reinforcing angle. Also, the inner edge of the tank has a lip on it, not quite as tall as the outer beaded edge. You can see it in Ernie's photo below. So I used some offcuts of etch fret (from a different kit, thinner brass). When soldered in place, they looked like this: I then found I had to file away some of the angle to get the cab to seat correctly! I should have used something thinner! Never mind. Here's the cab soldered in place: And from the back, with the window bars now trimmed back: There's one thing I should have done before fitting the cab, which is to solder a floor plate in the bunker bottom. I can add it later, it will just be a bit more awkward to solder. That floor plate will have a hole in it and a nut soldered above, directly above the bolt hole in the footplate. So the same bolt that holds the chassis to the footplate will also hold the bunker. I will also put some brackets inside the front of the tanks, one each side, so that I can hold them down to the footplate.
-
"Voiding the Warranty" - Mol's experiments in 21mm gauge
Mol_PMB replied to Mol_PMB's topic in Irish Models
Yours is looking great too, and it works! Which is a big step ahead of mine. I've decided on 559 and so I've been working on the window bars. The excess will be trimmed off once the cab back is soldered in place. They're not perfectly straight, but no worse than the real thing! 562 is a nice one too, good choice. Seen here at Sligo:
-
Lovely work! I was looking at those steps earlier and wondering why the kid designer hadn't used slots and tabs - would make it a lot easier! I'll be tackling them tomorrow. I think I might make the splasher tops a bit wider, even in 21mm gauge.
-
Is that an SECR 0-6-0 pretending to be 184? Wonderful!