
Dempsey
-
Posts
525 -
Joined
-
Last visited
-
Days Won
8
Content Type
Profiles
Forums
Events
Gallery
Blogs
Everything posted by Dempsey
-
 The closer it gets to the release the harder it is too be patient. Models looks amazing guys well done and looks to just glade across the rails
 -
Overall lessons learnt so far on my first attempt at this kit. 1. Patience - not that I rush it but as I wasn't using the recommended hornby or lima mark 3 coaches because i didnt have one I had to plan around how the coach came after and went back together. I could have given this more time as this forced me to jump some steps or do other sooner then was intended. 2. Milliput - using this for the first time on a project. In some areas i put too much and in others not enough which became apparent when primer was applied after sanding. I think starting in small amounts and slowly building it up would have been better. 3. Glue - too much on some parts not enough on others. In the areas with too much it can be seen through the paint as a raised lump. These are my main take aways for anyone looking at giving it ago. I enjoyed the process and thought the kit very good and this was a good learning experience for the others I will be planning on building in the future. Thanks Chris

- 172 replies
-
- 10
-

-
Going by the photos provided these models are going to be stunning in the flesh. Amazing job IRM.
-
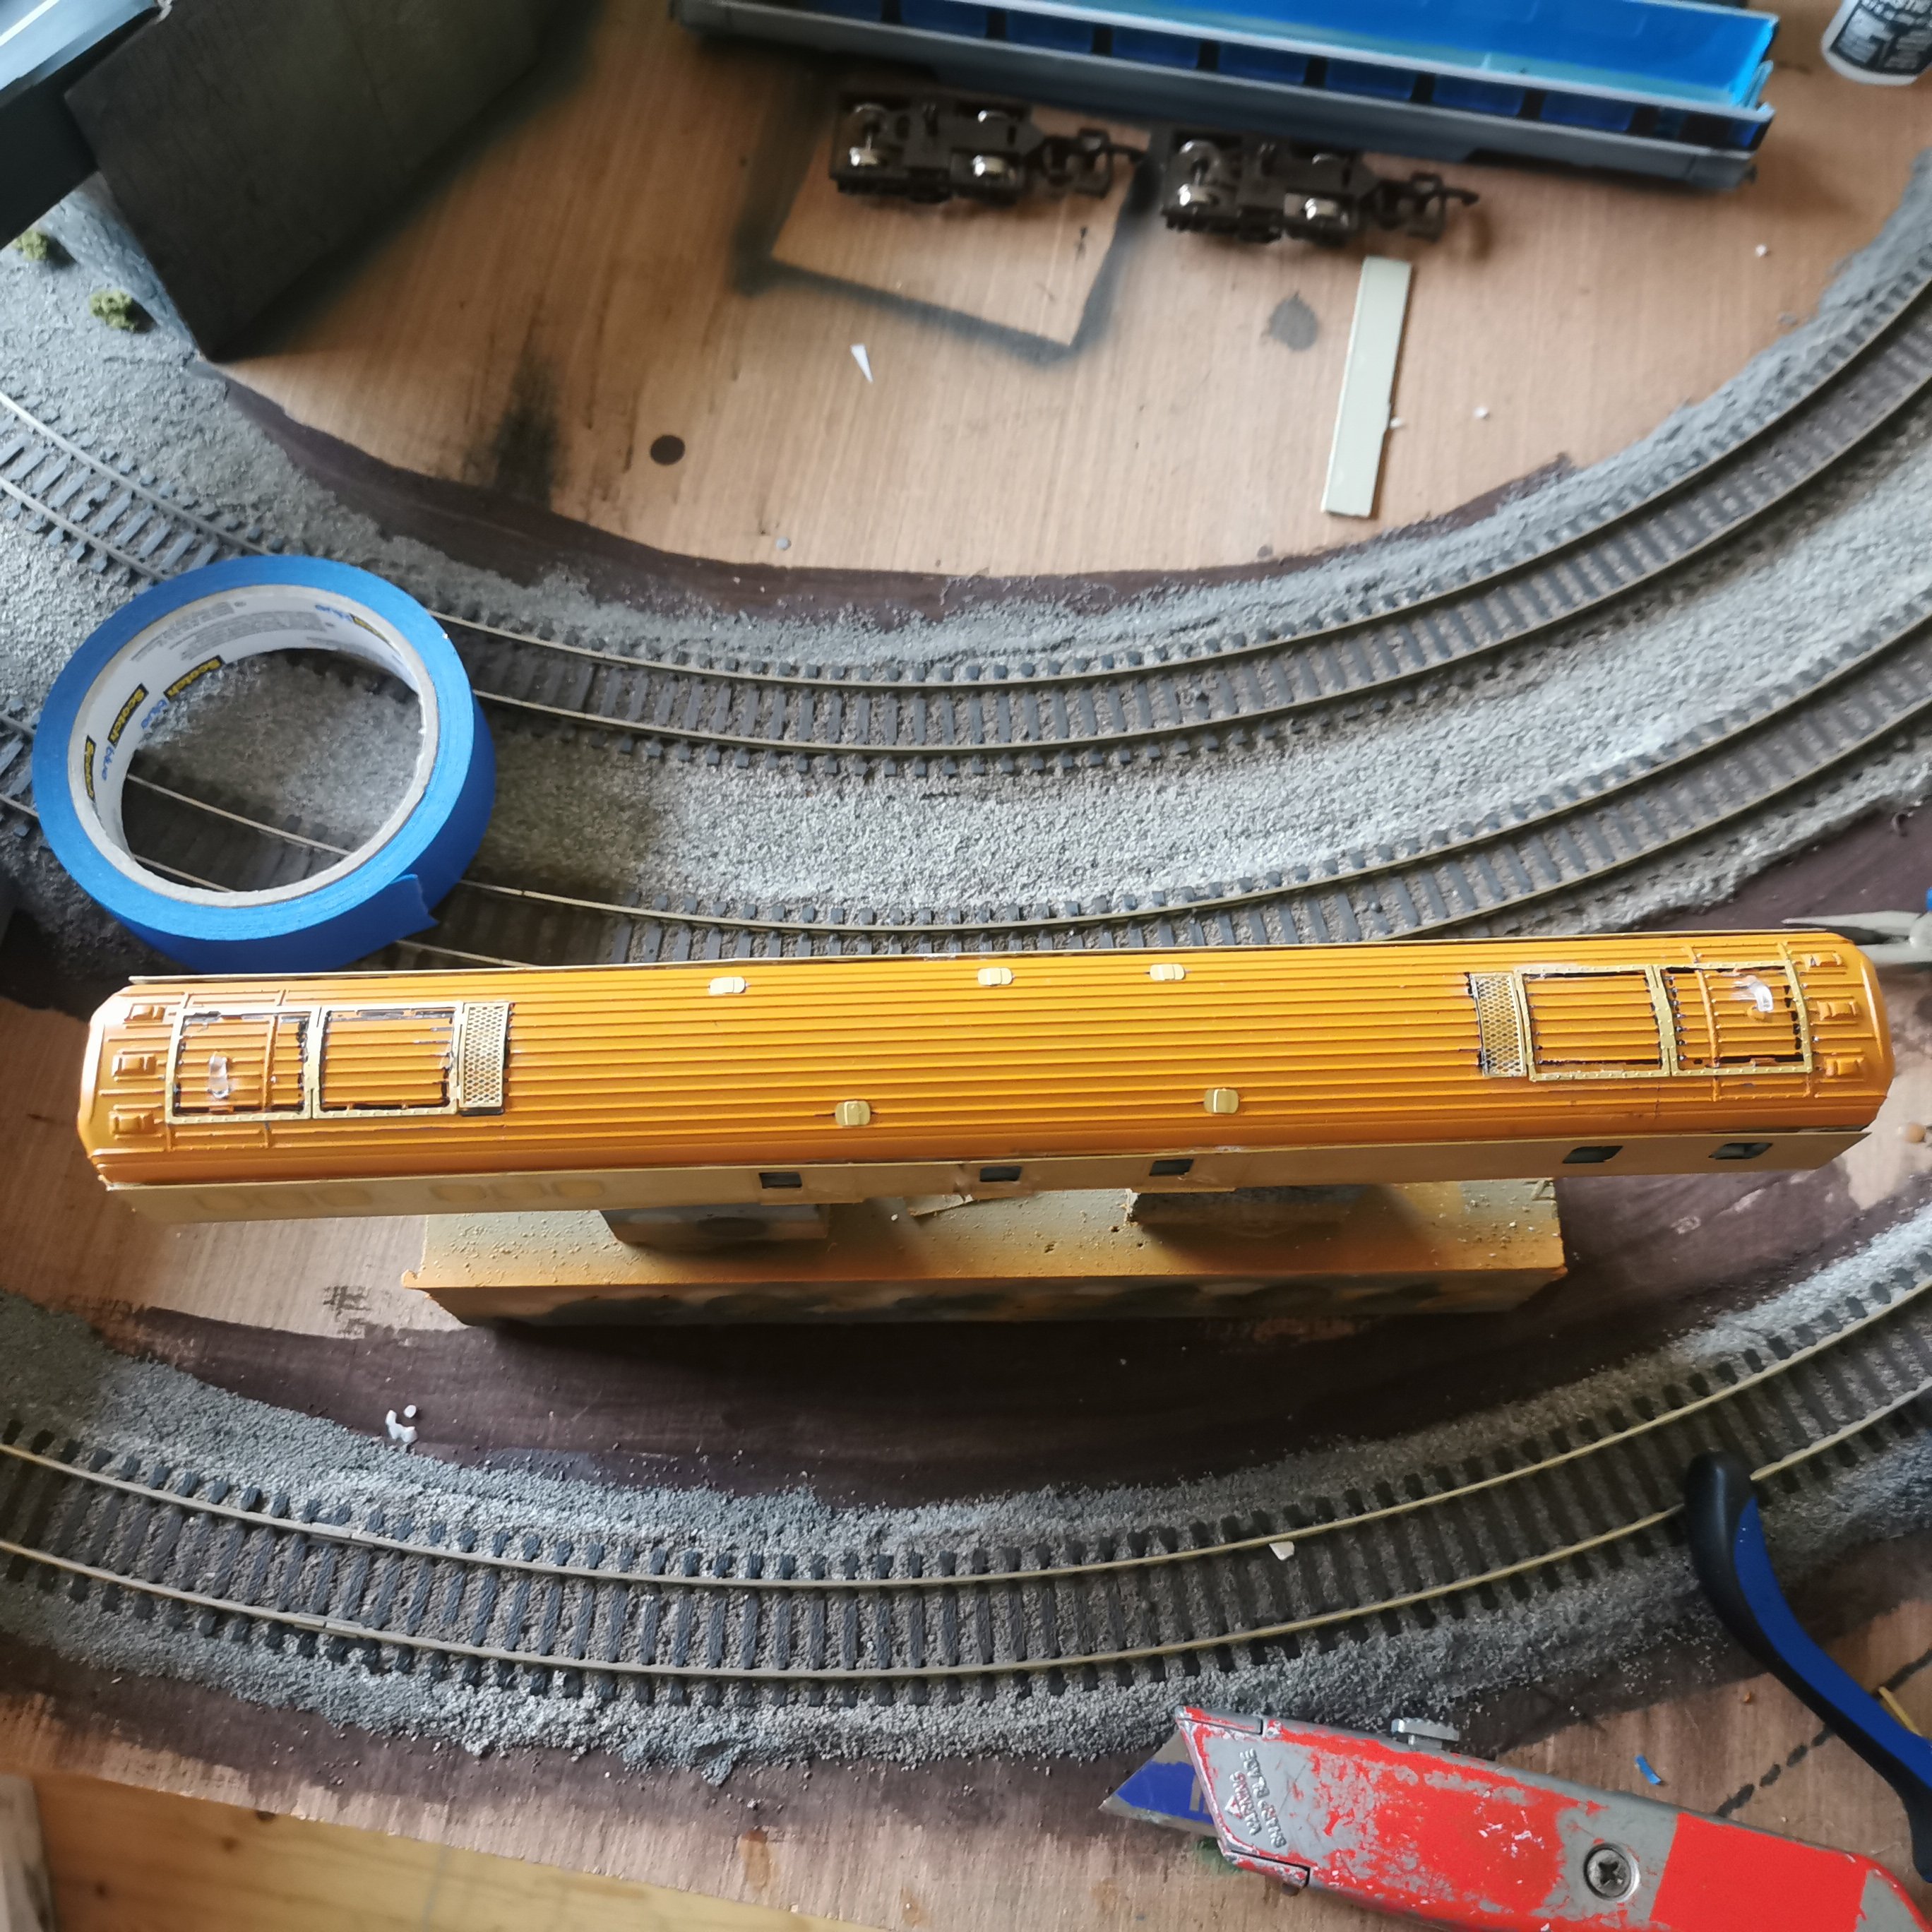
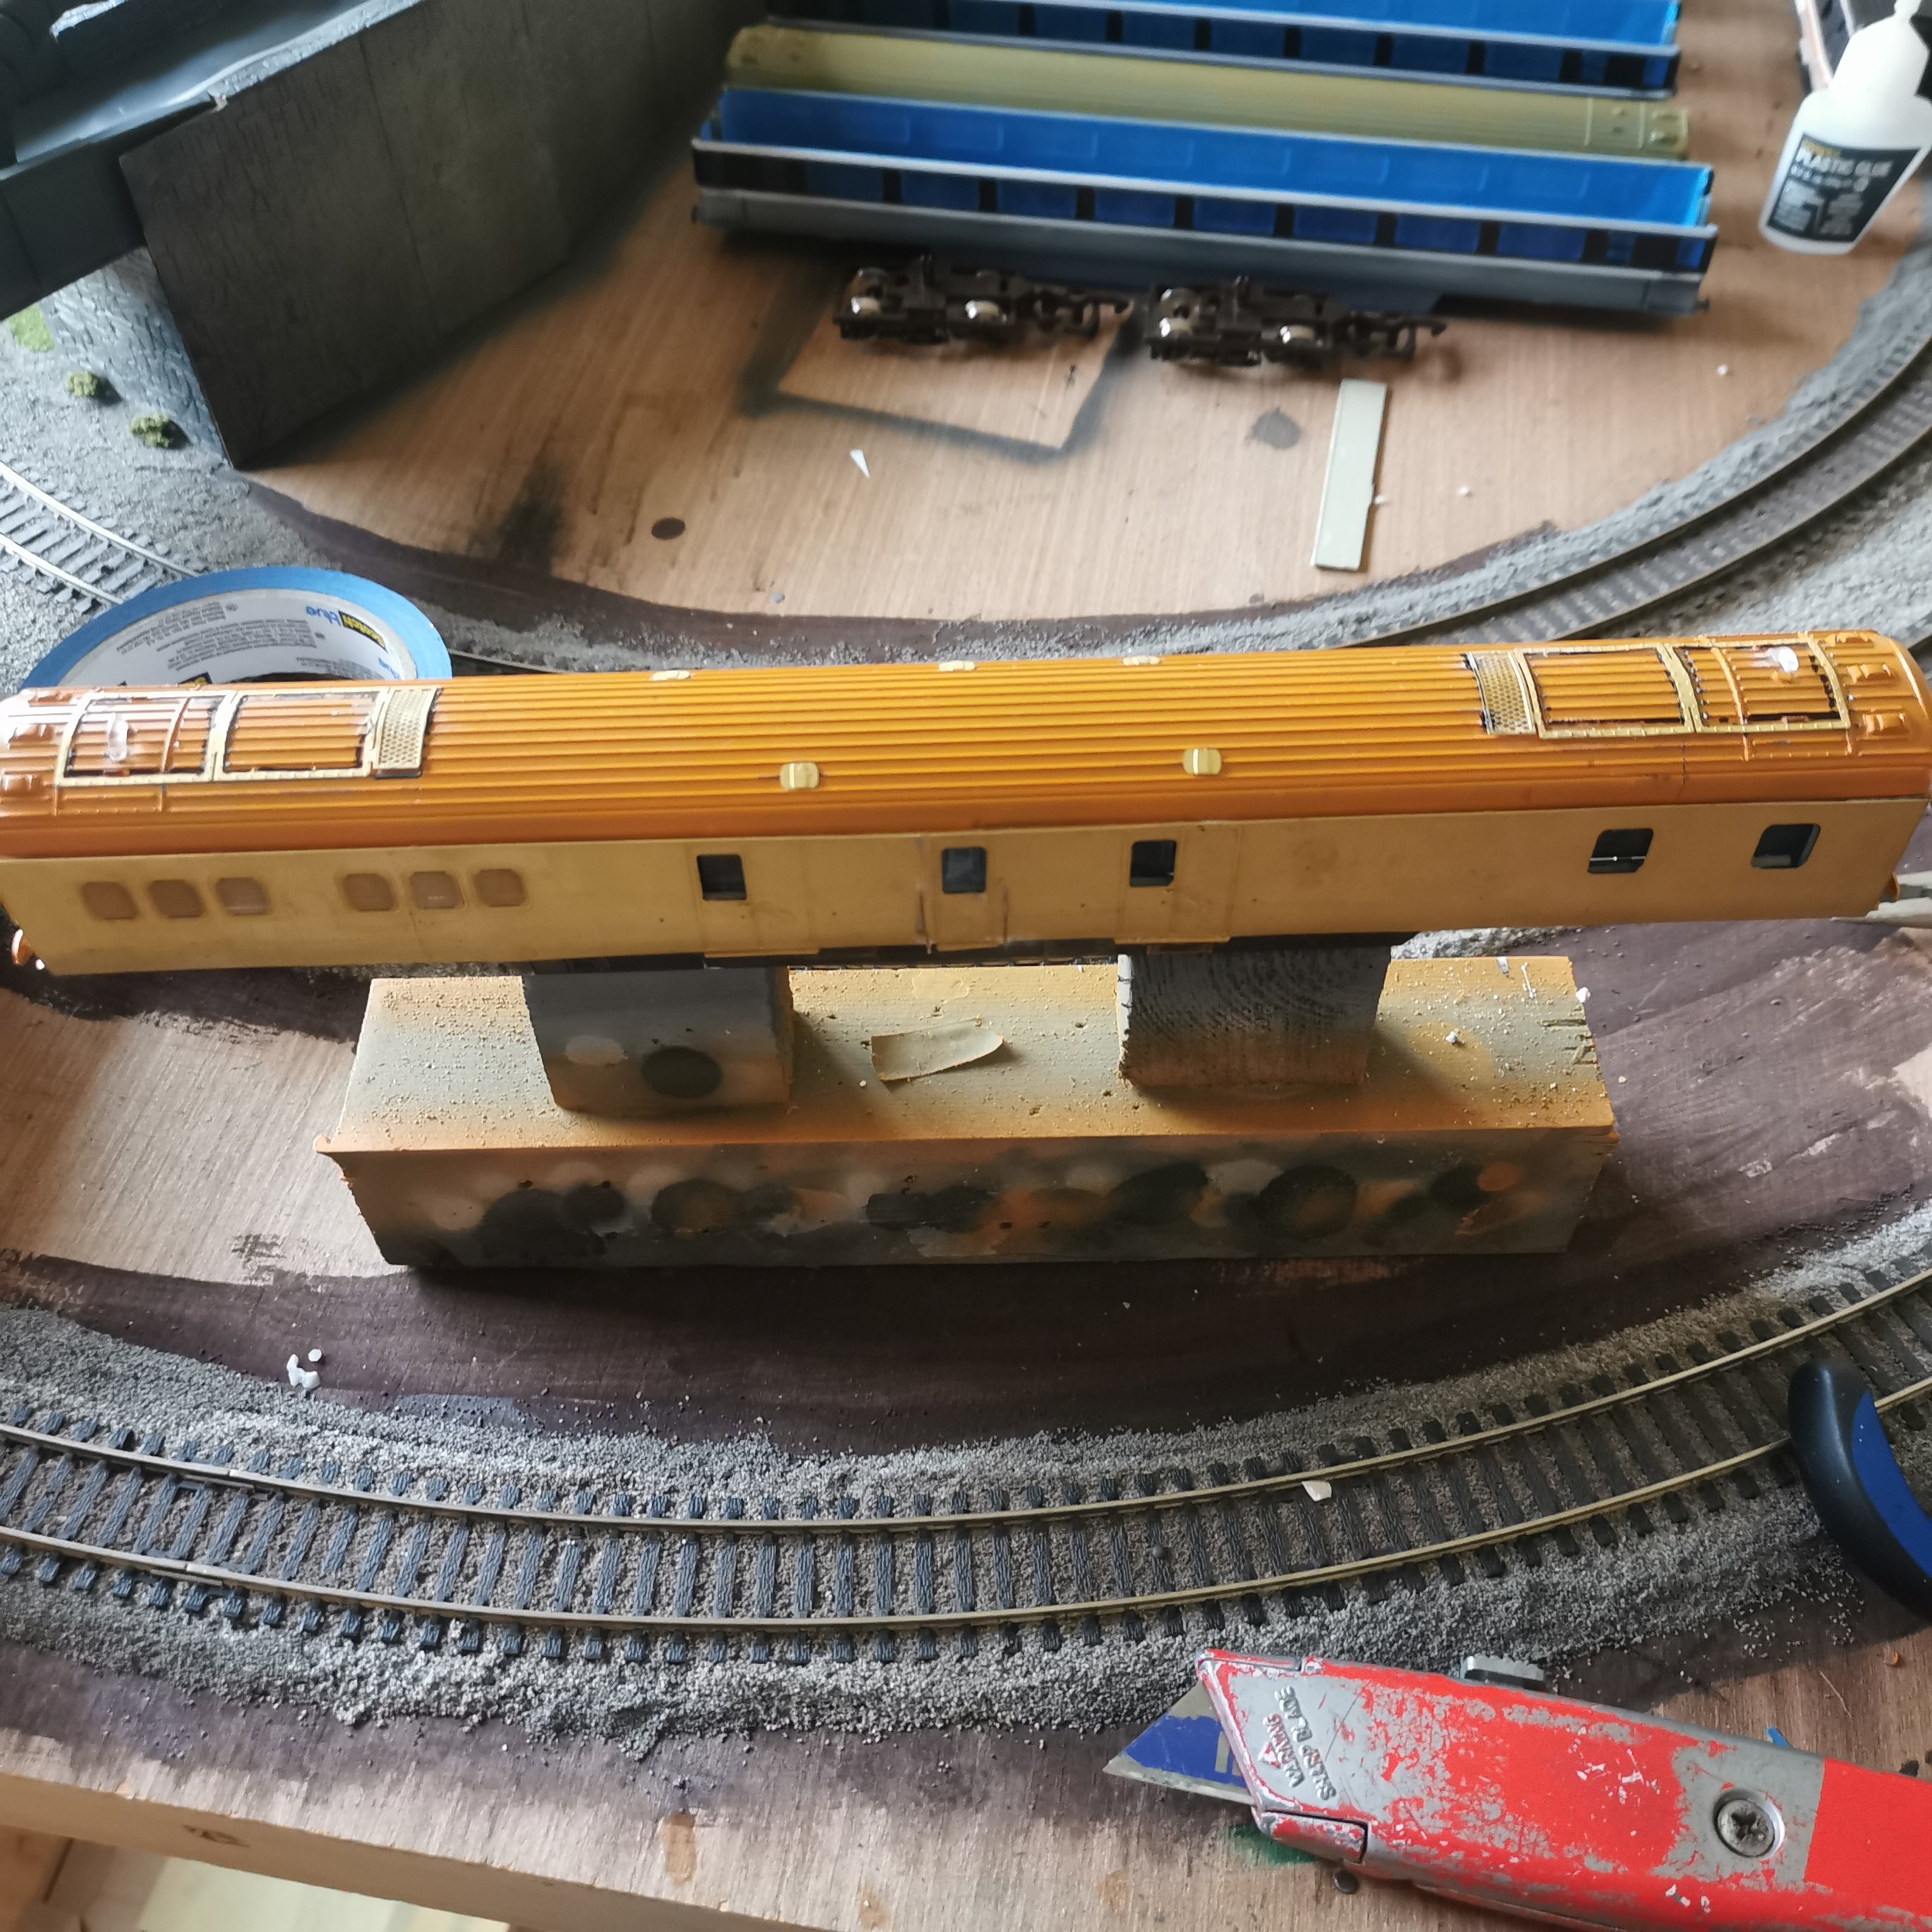
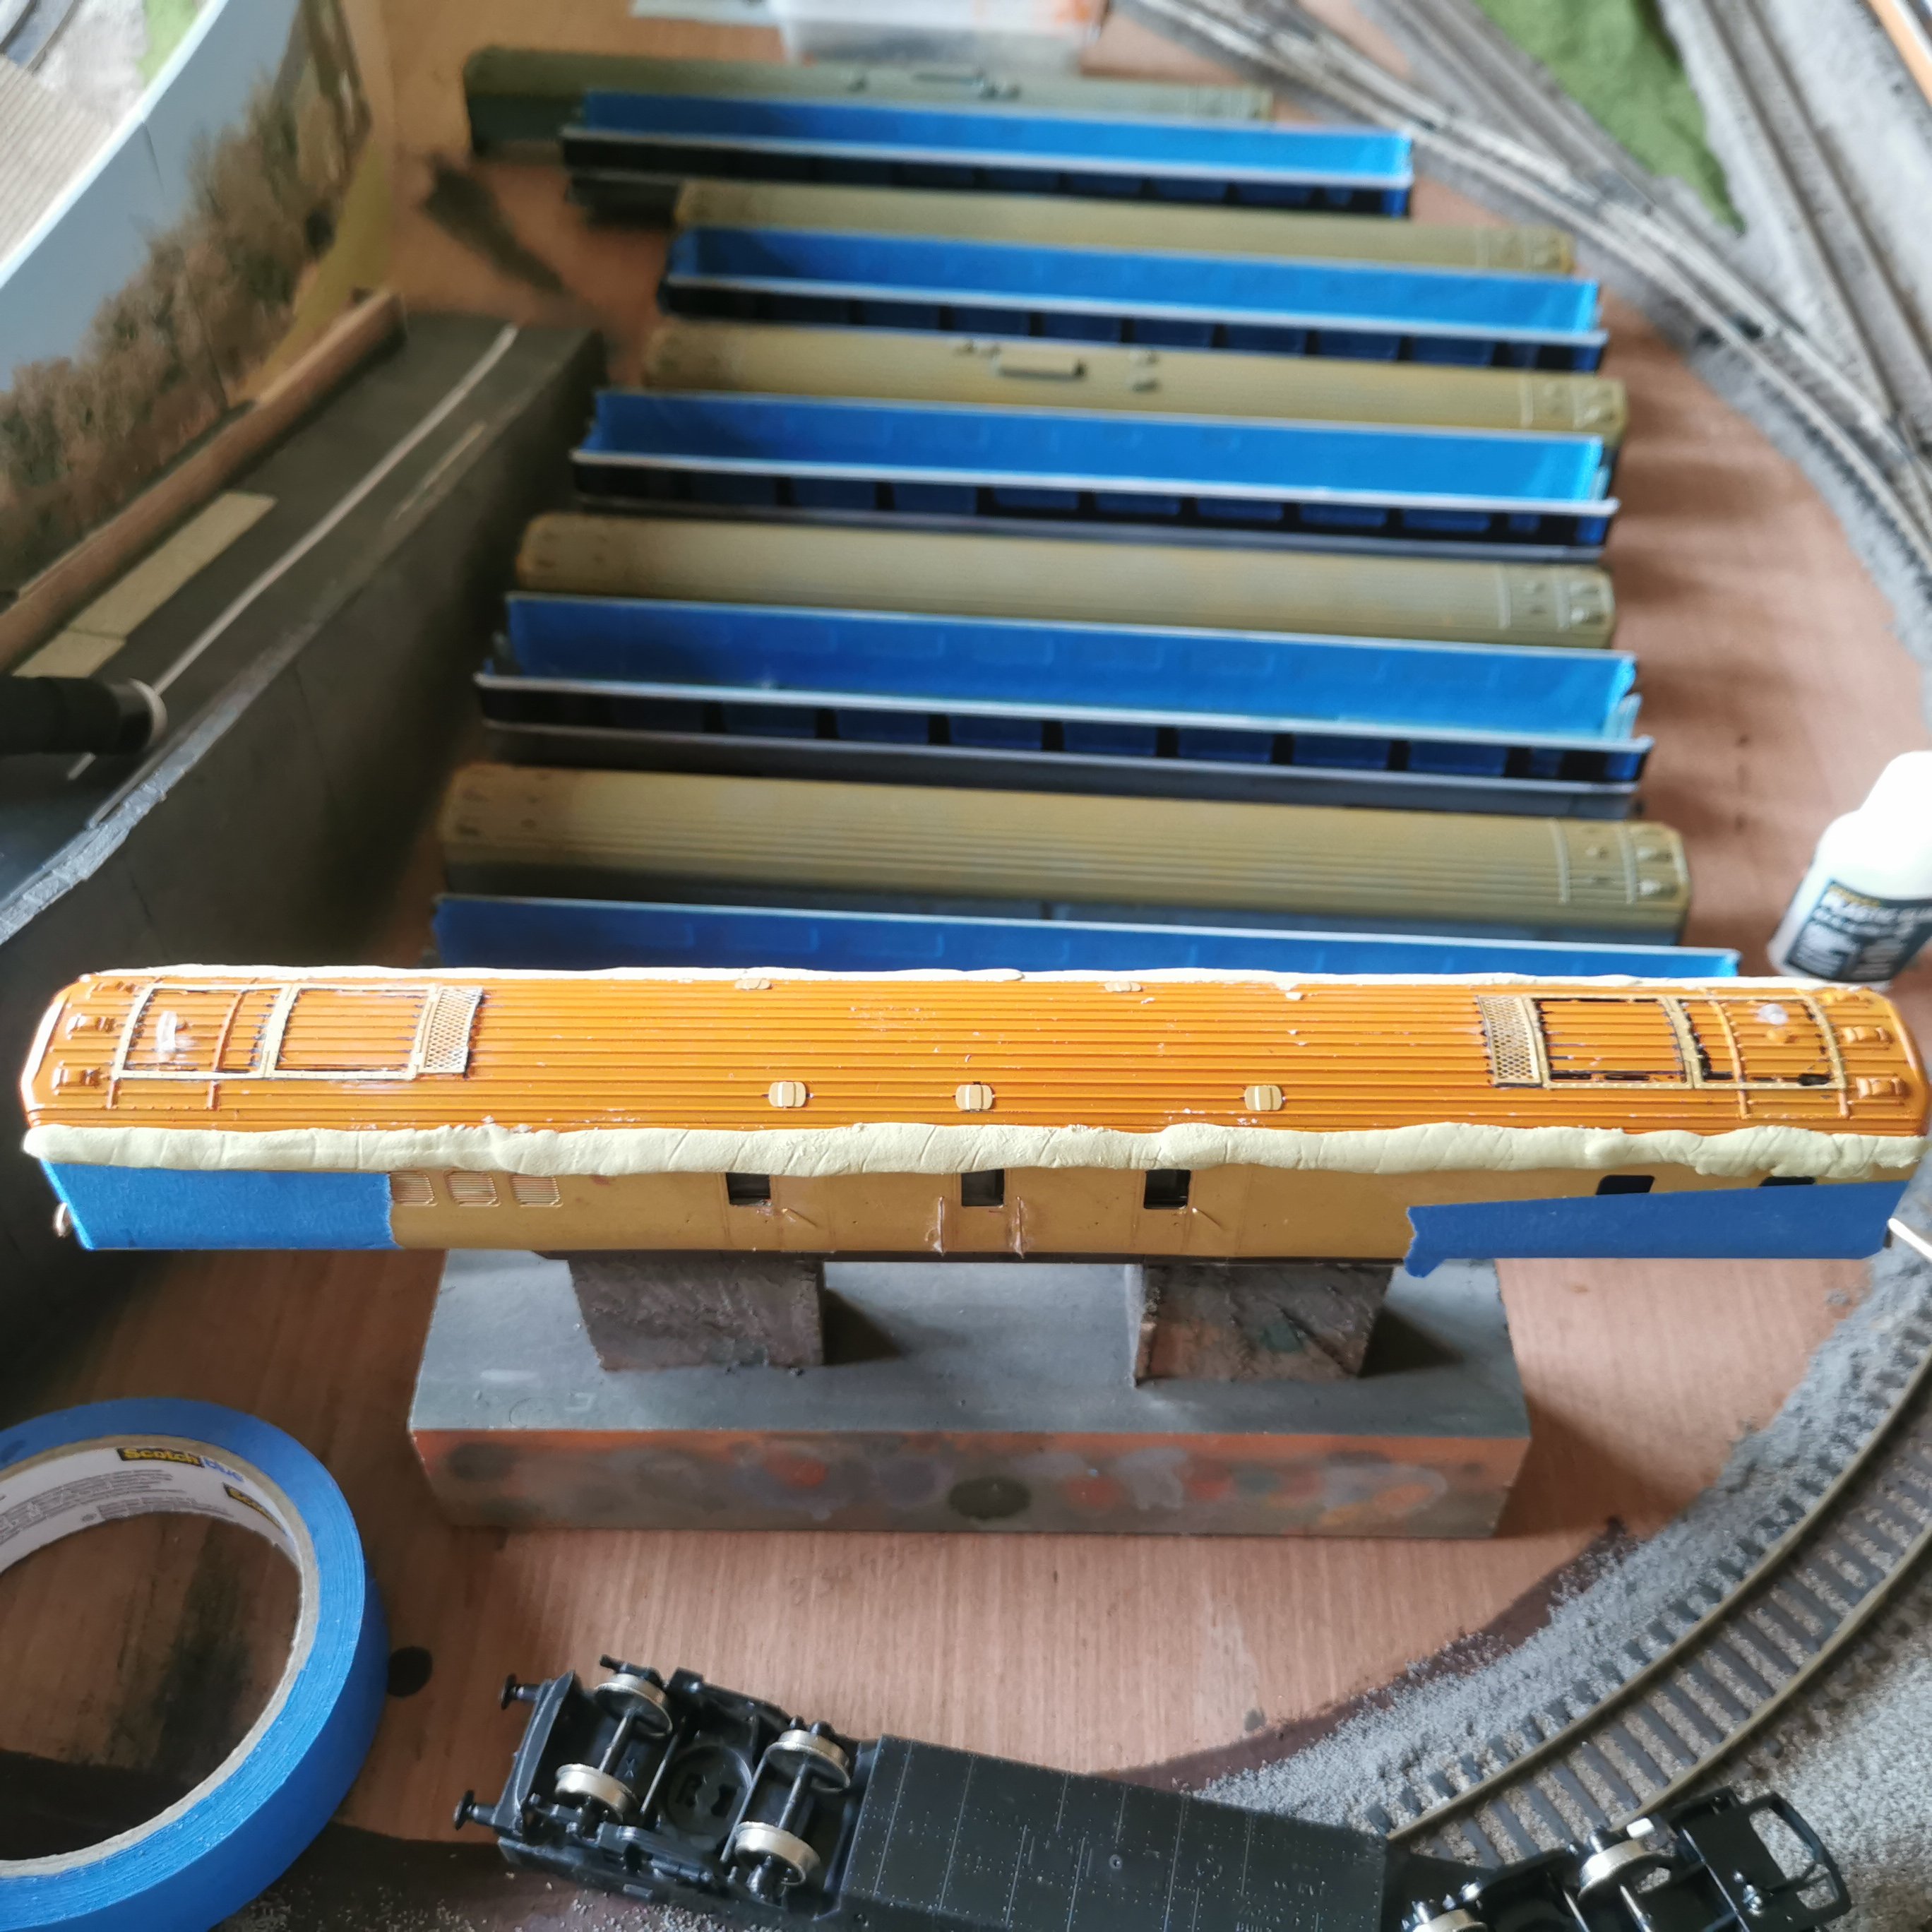
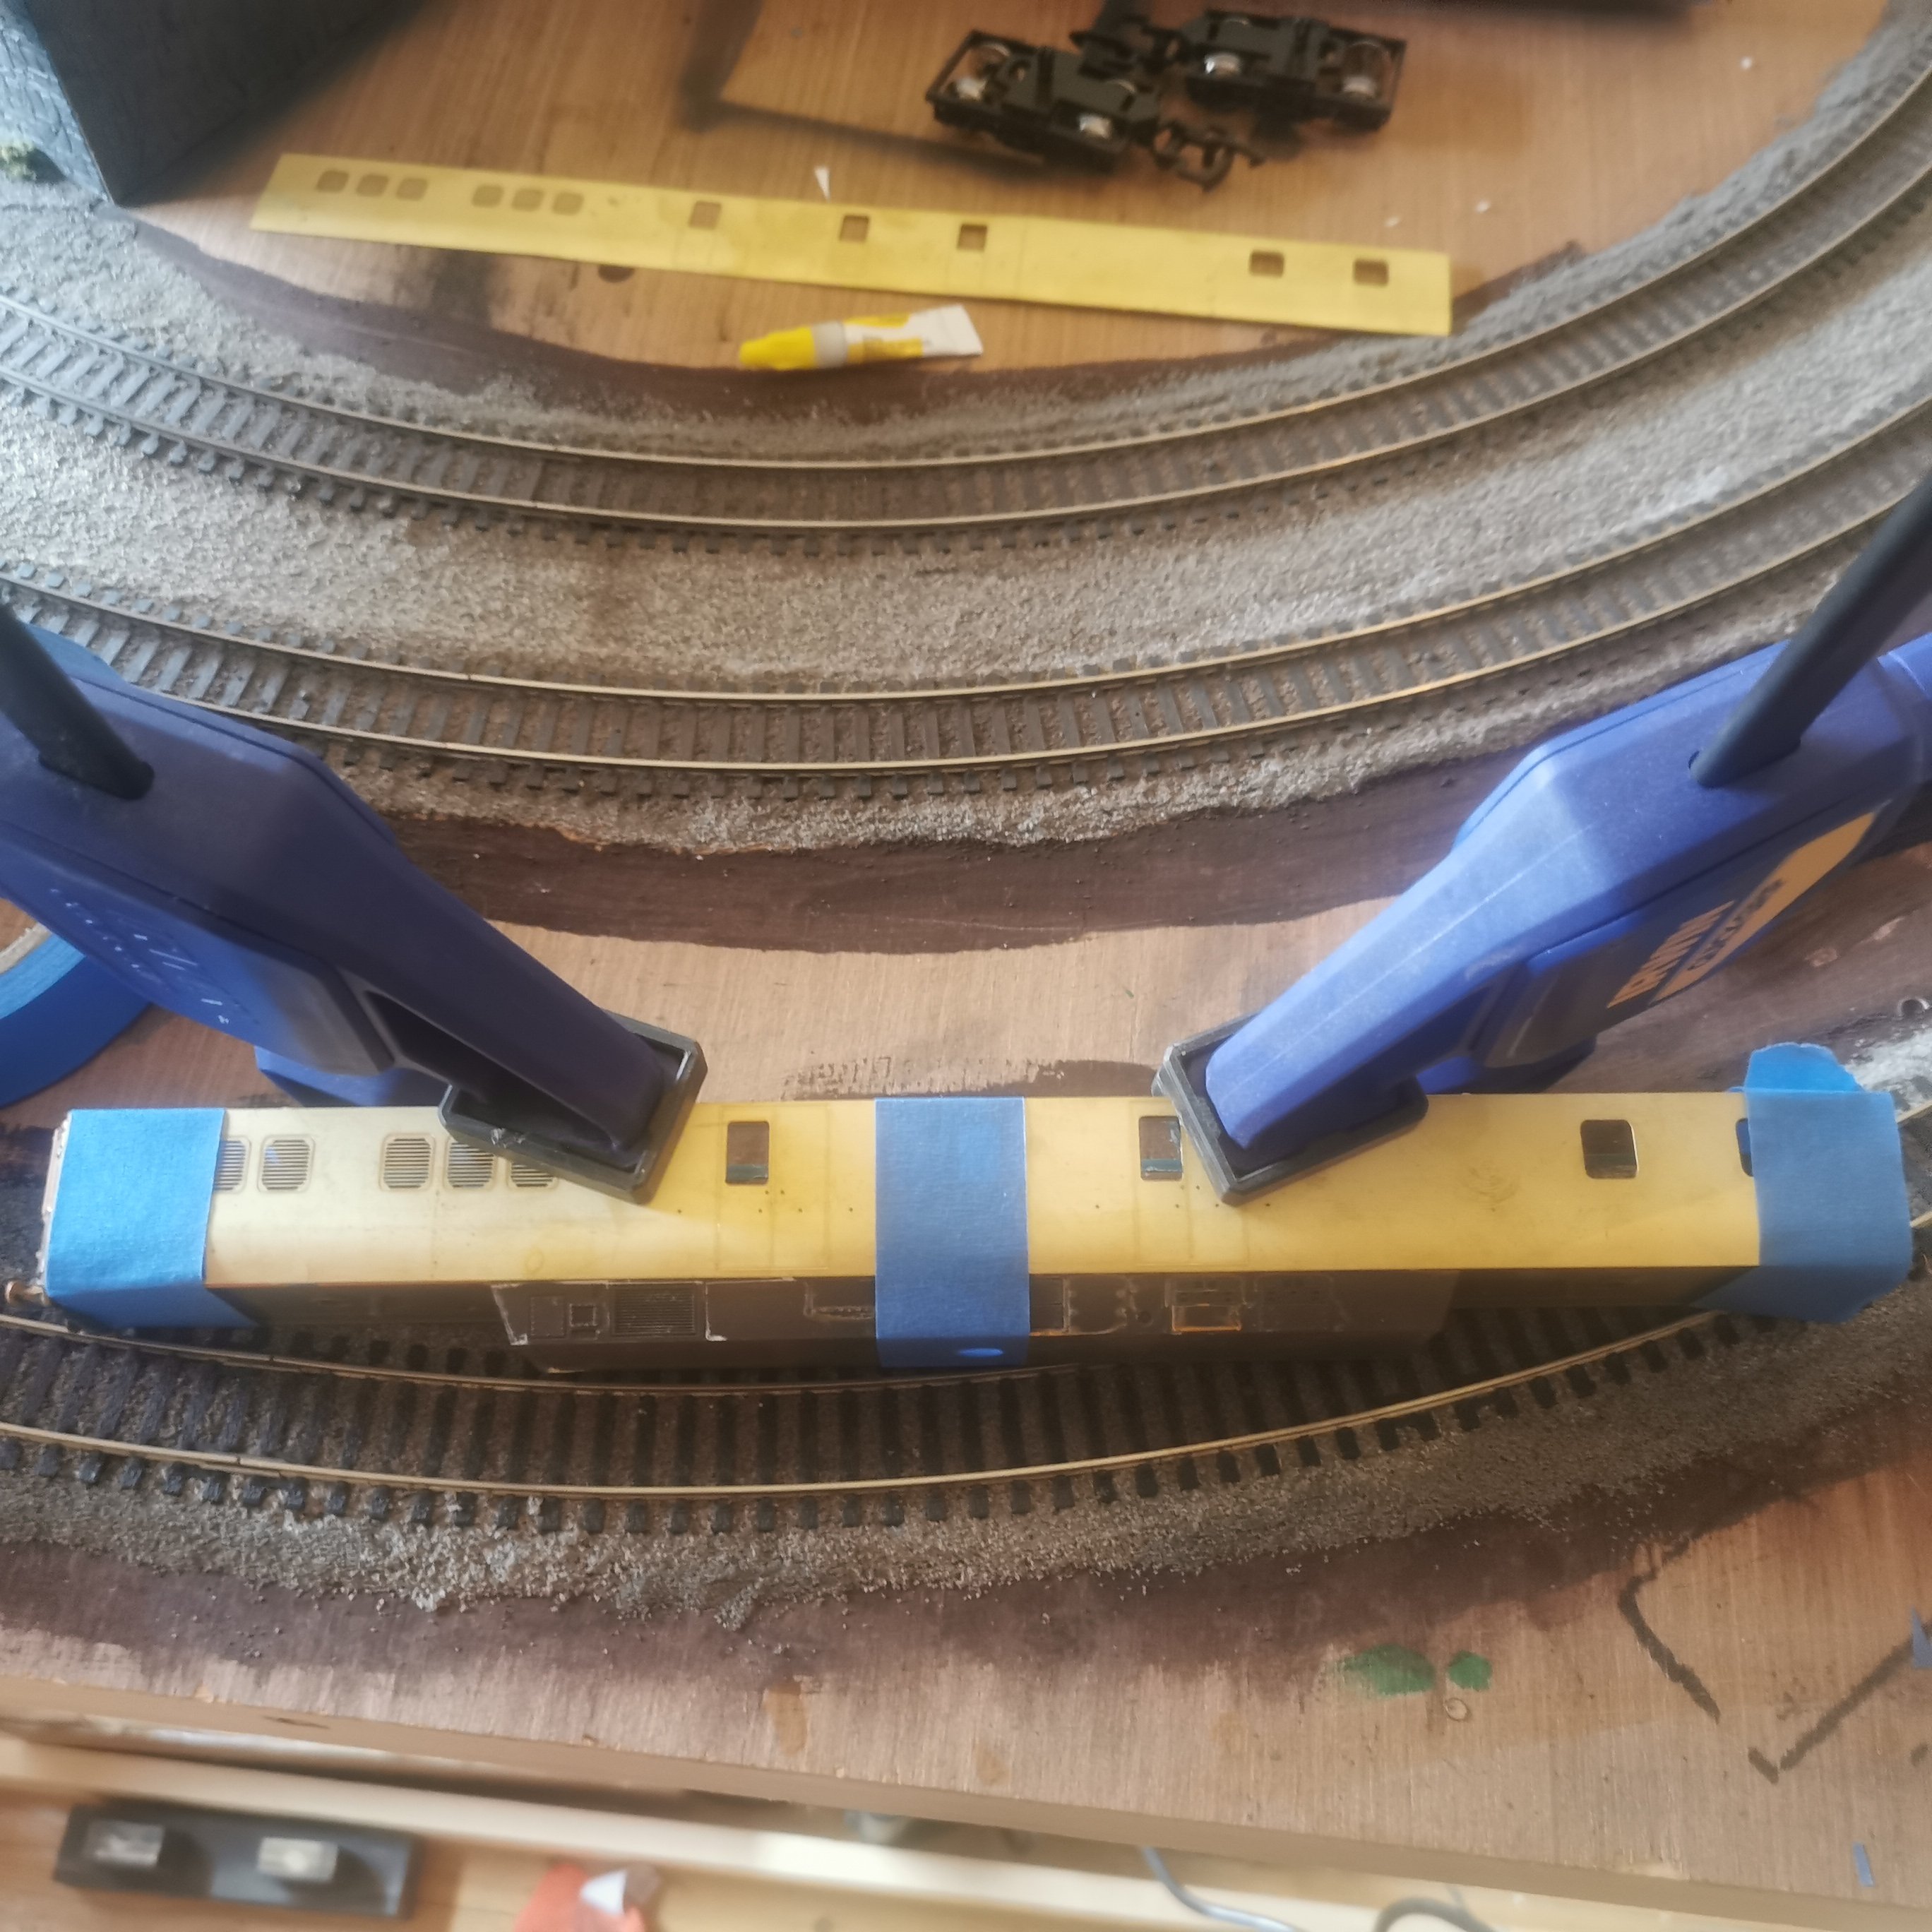
Work has begun on my EGV kit from scale studio models. After cutting away parts on the donor coach which blocked are partly covered the brass overlay windows. The overlays themselves were then glued to the bodyside.
-
Thank you as always
-
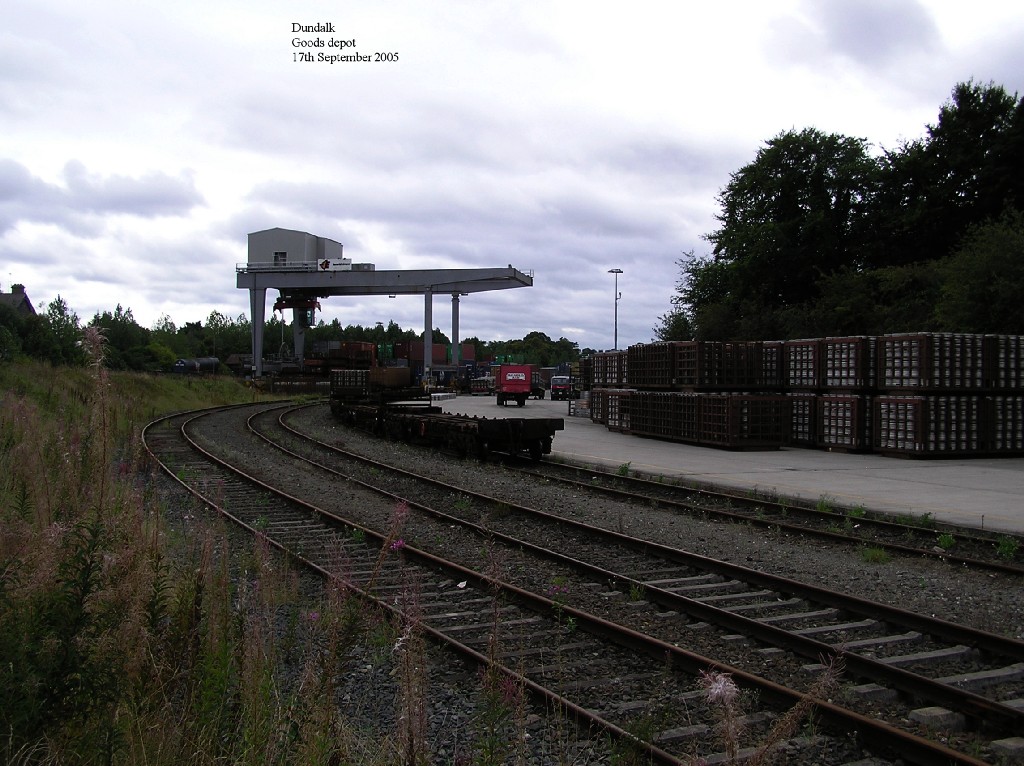
Dundalk yard if that is of any use
-
IR or IE 071s would be ideal
-
Well done, great finish bud
-
Six brand new still with plastic on boxs bachmann/murphy models mk 2 IR coaches up on ebay
-
Many thanks rob
-
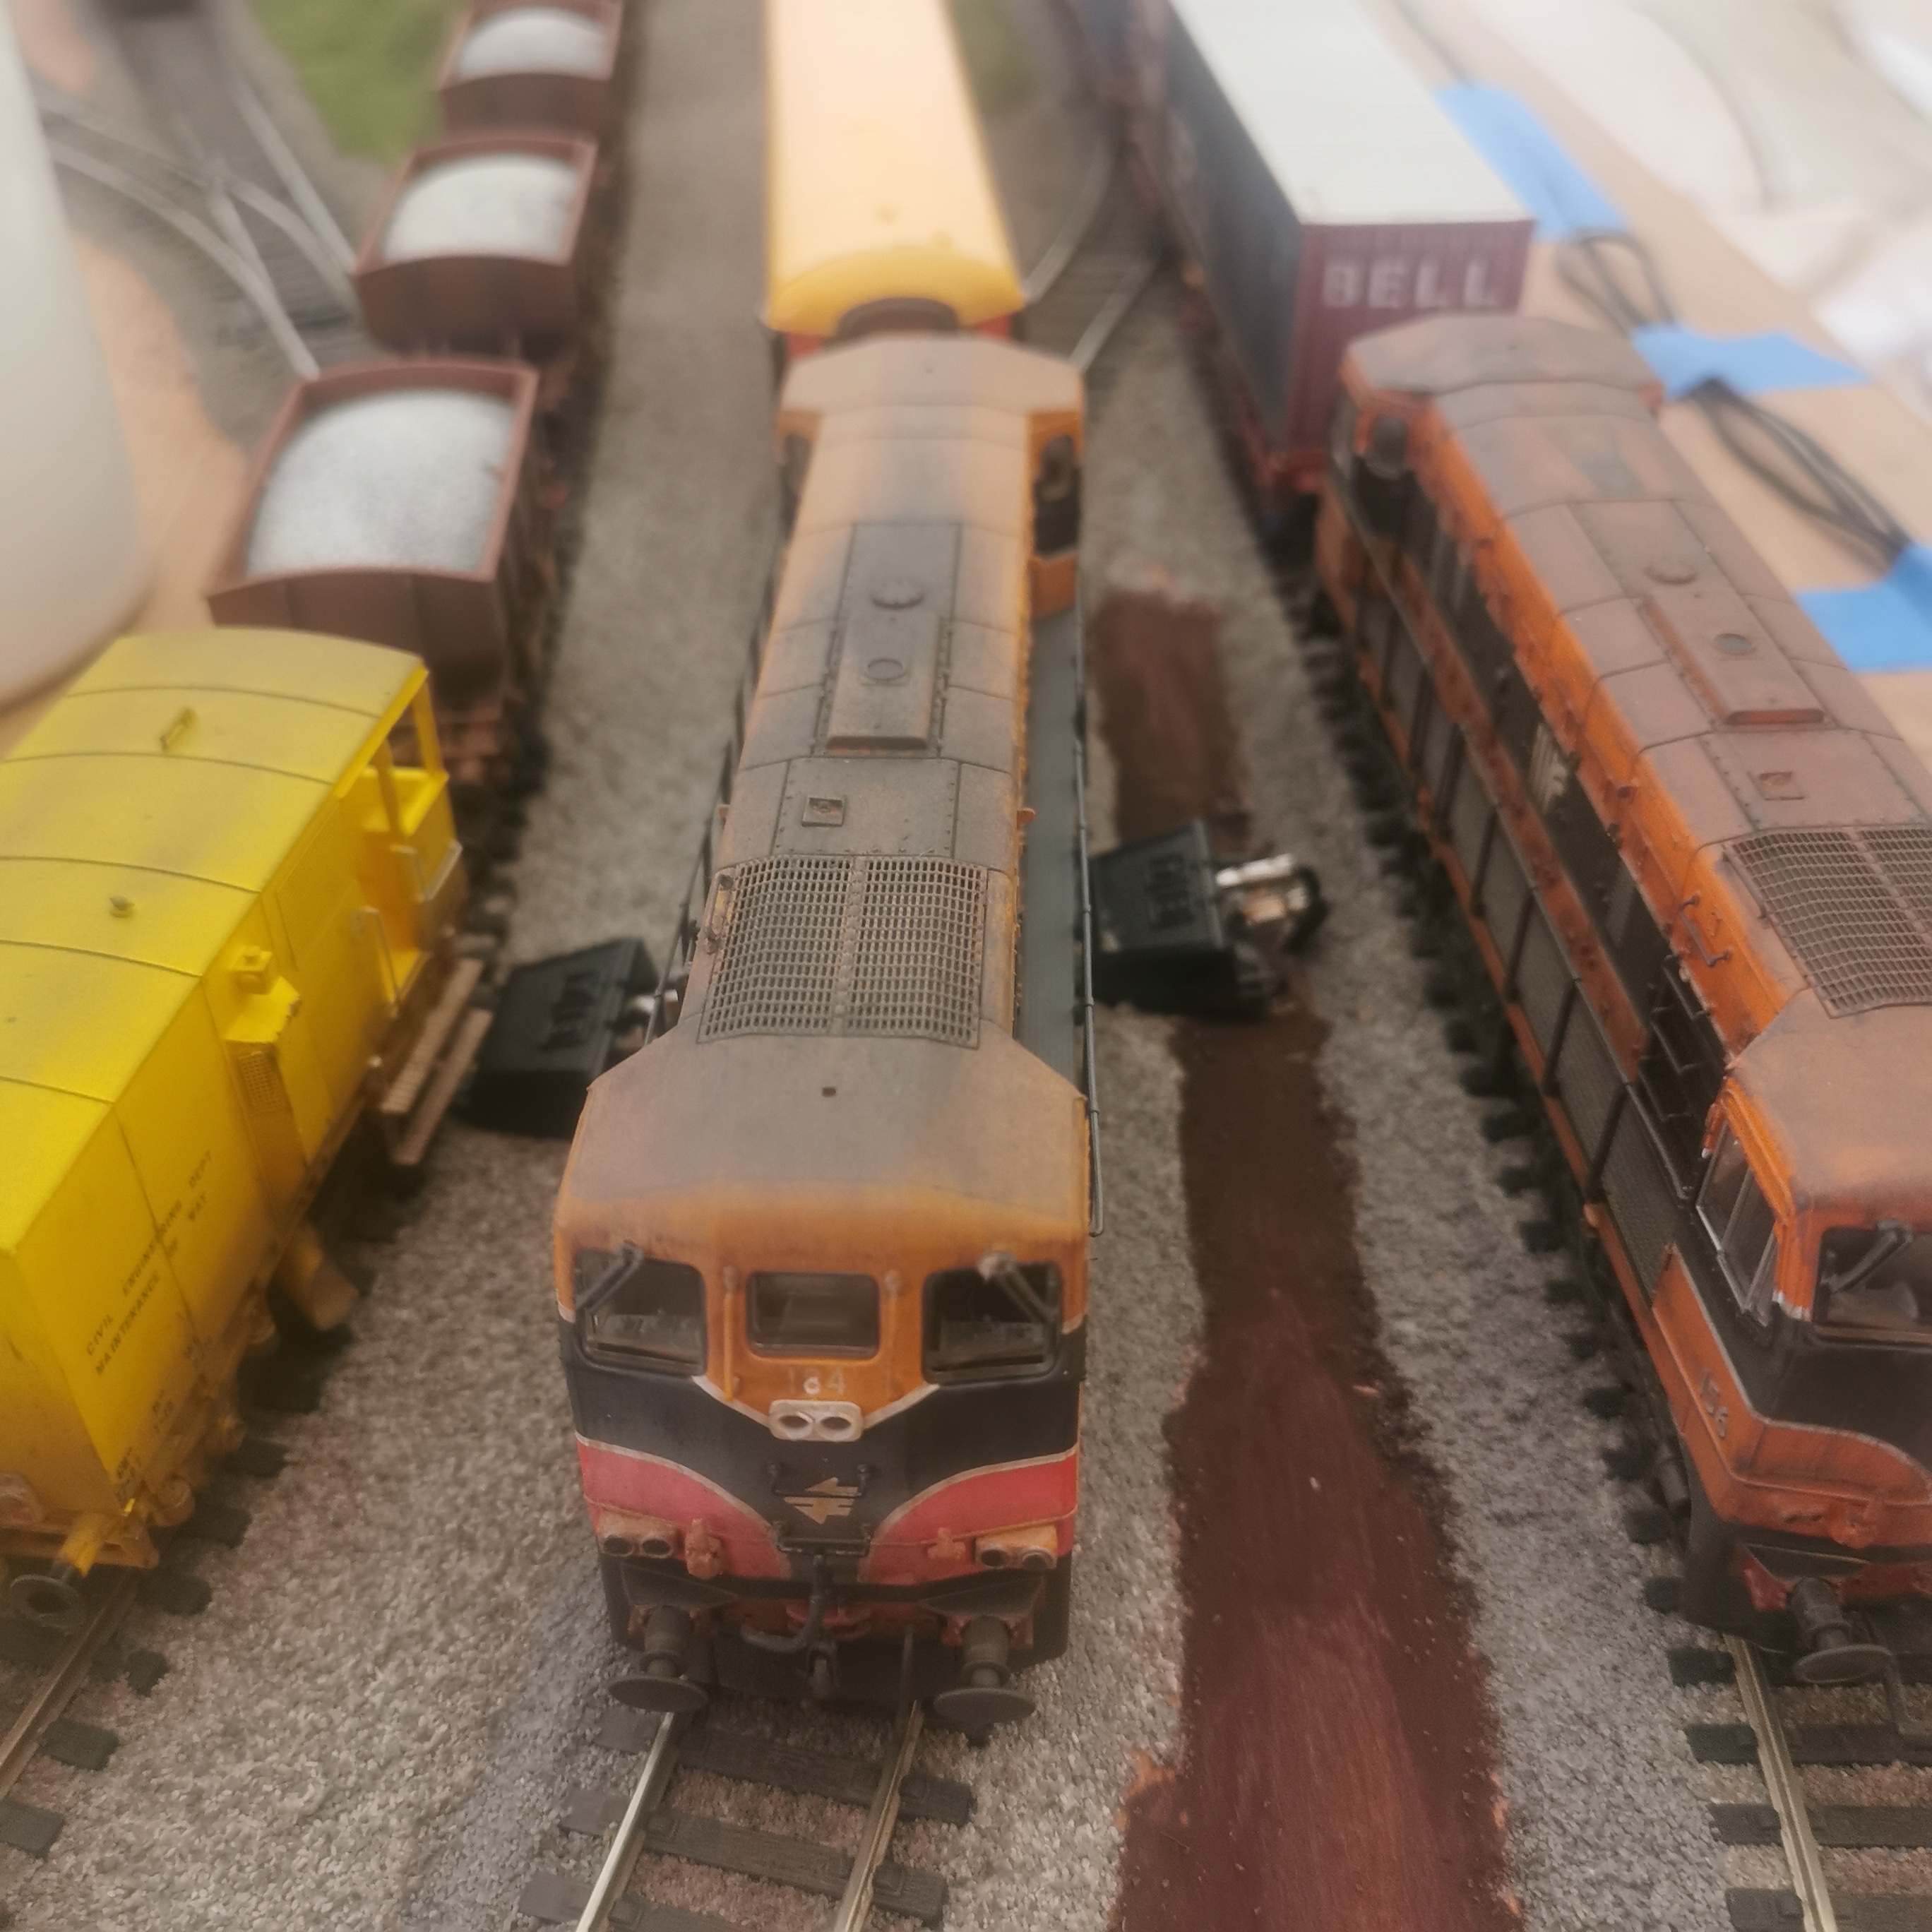
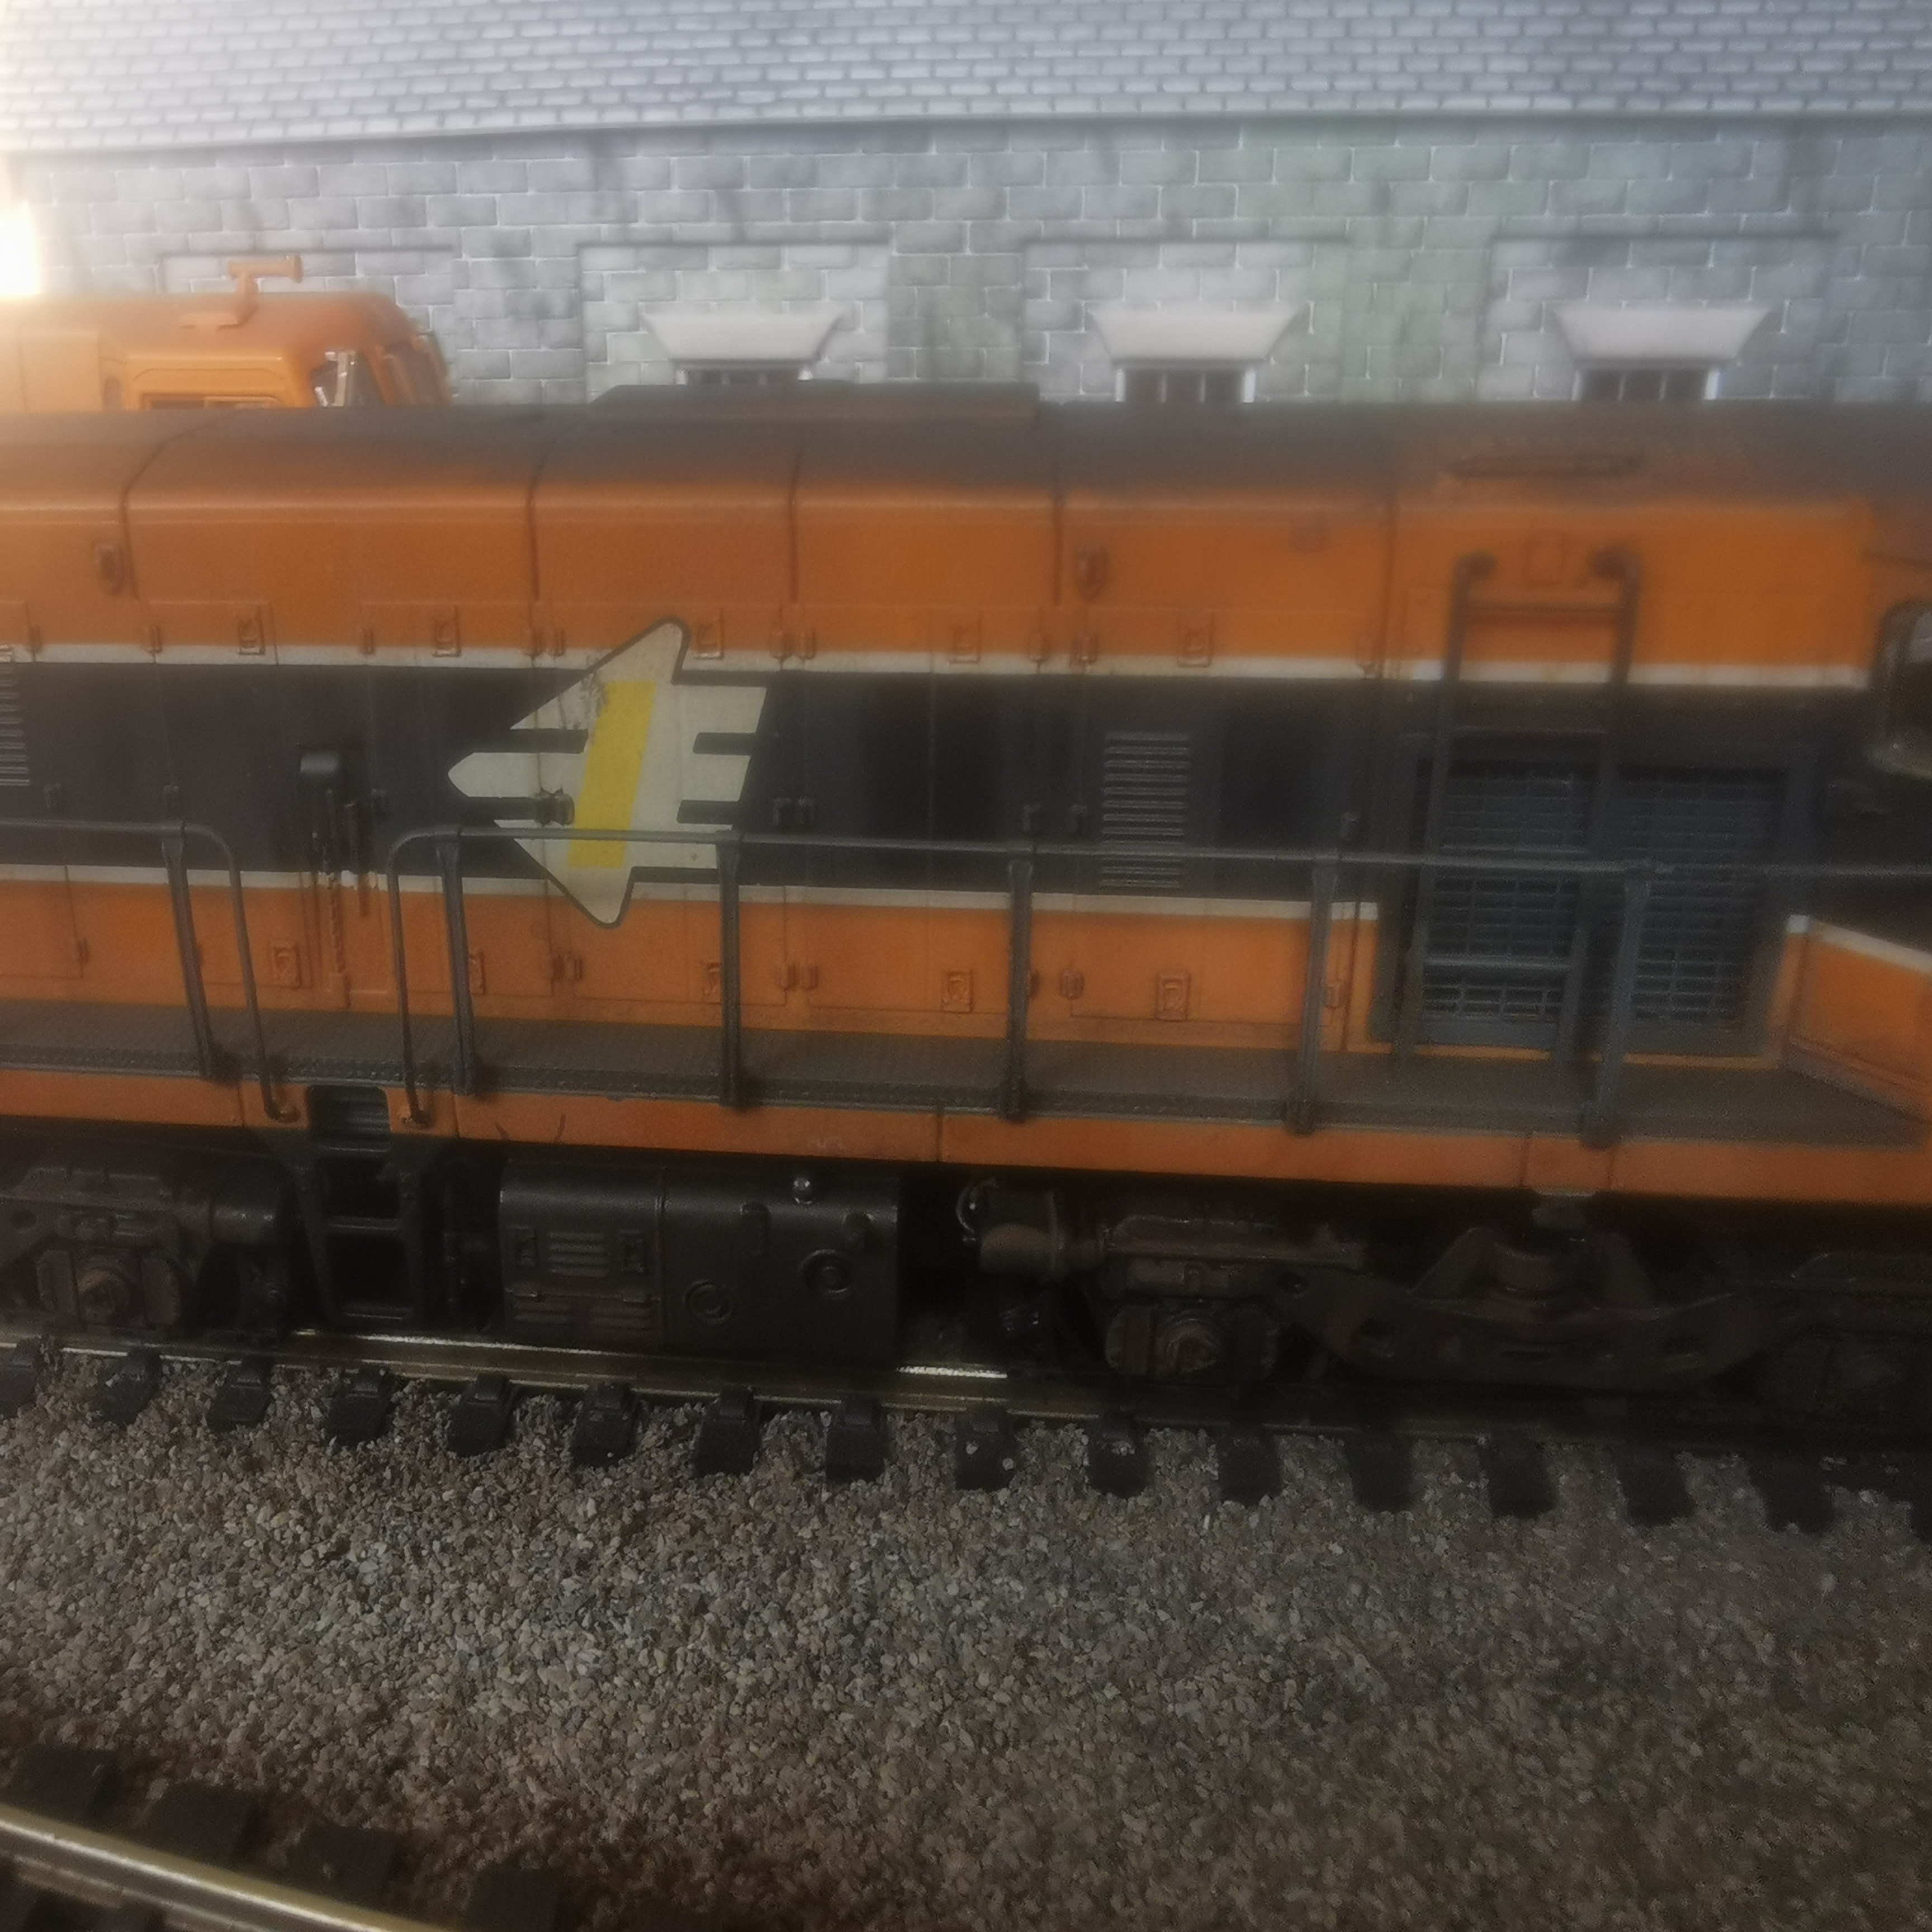
It was an awkward angle to take the pictures from. As requested. I do offer that service if you don't feel comfortable weathering yourself
-
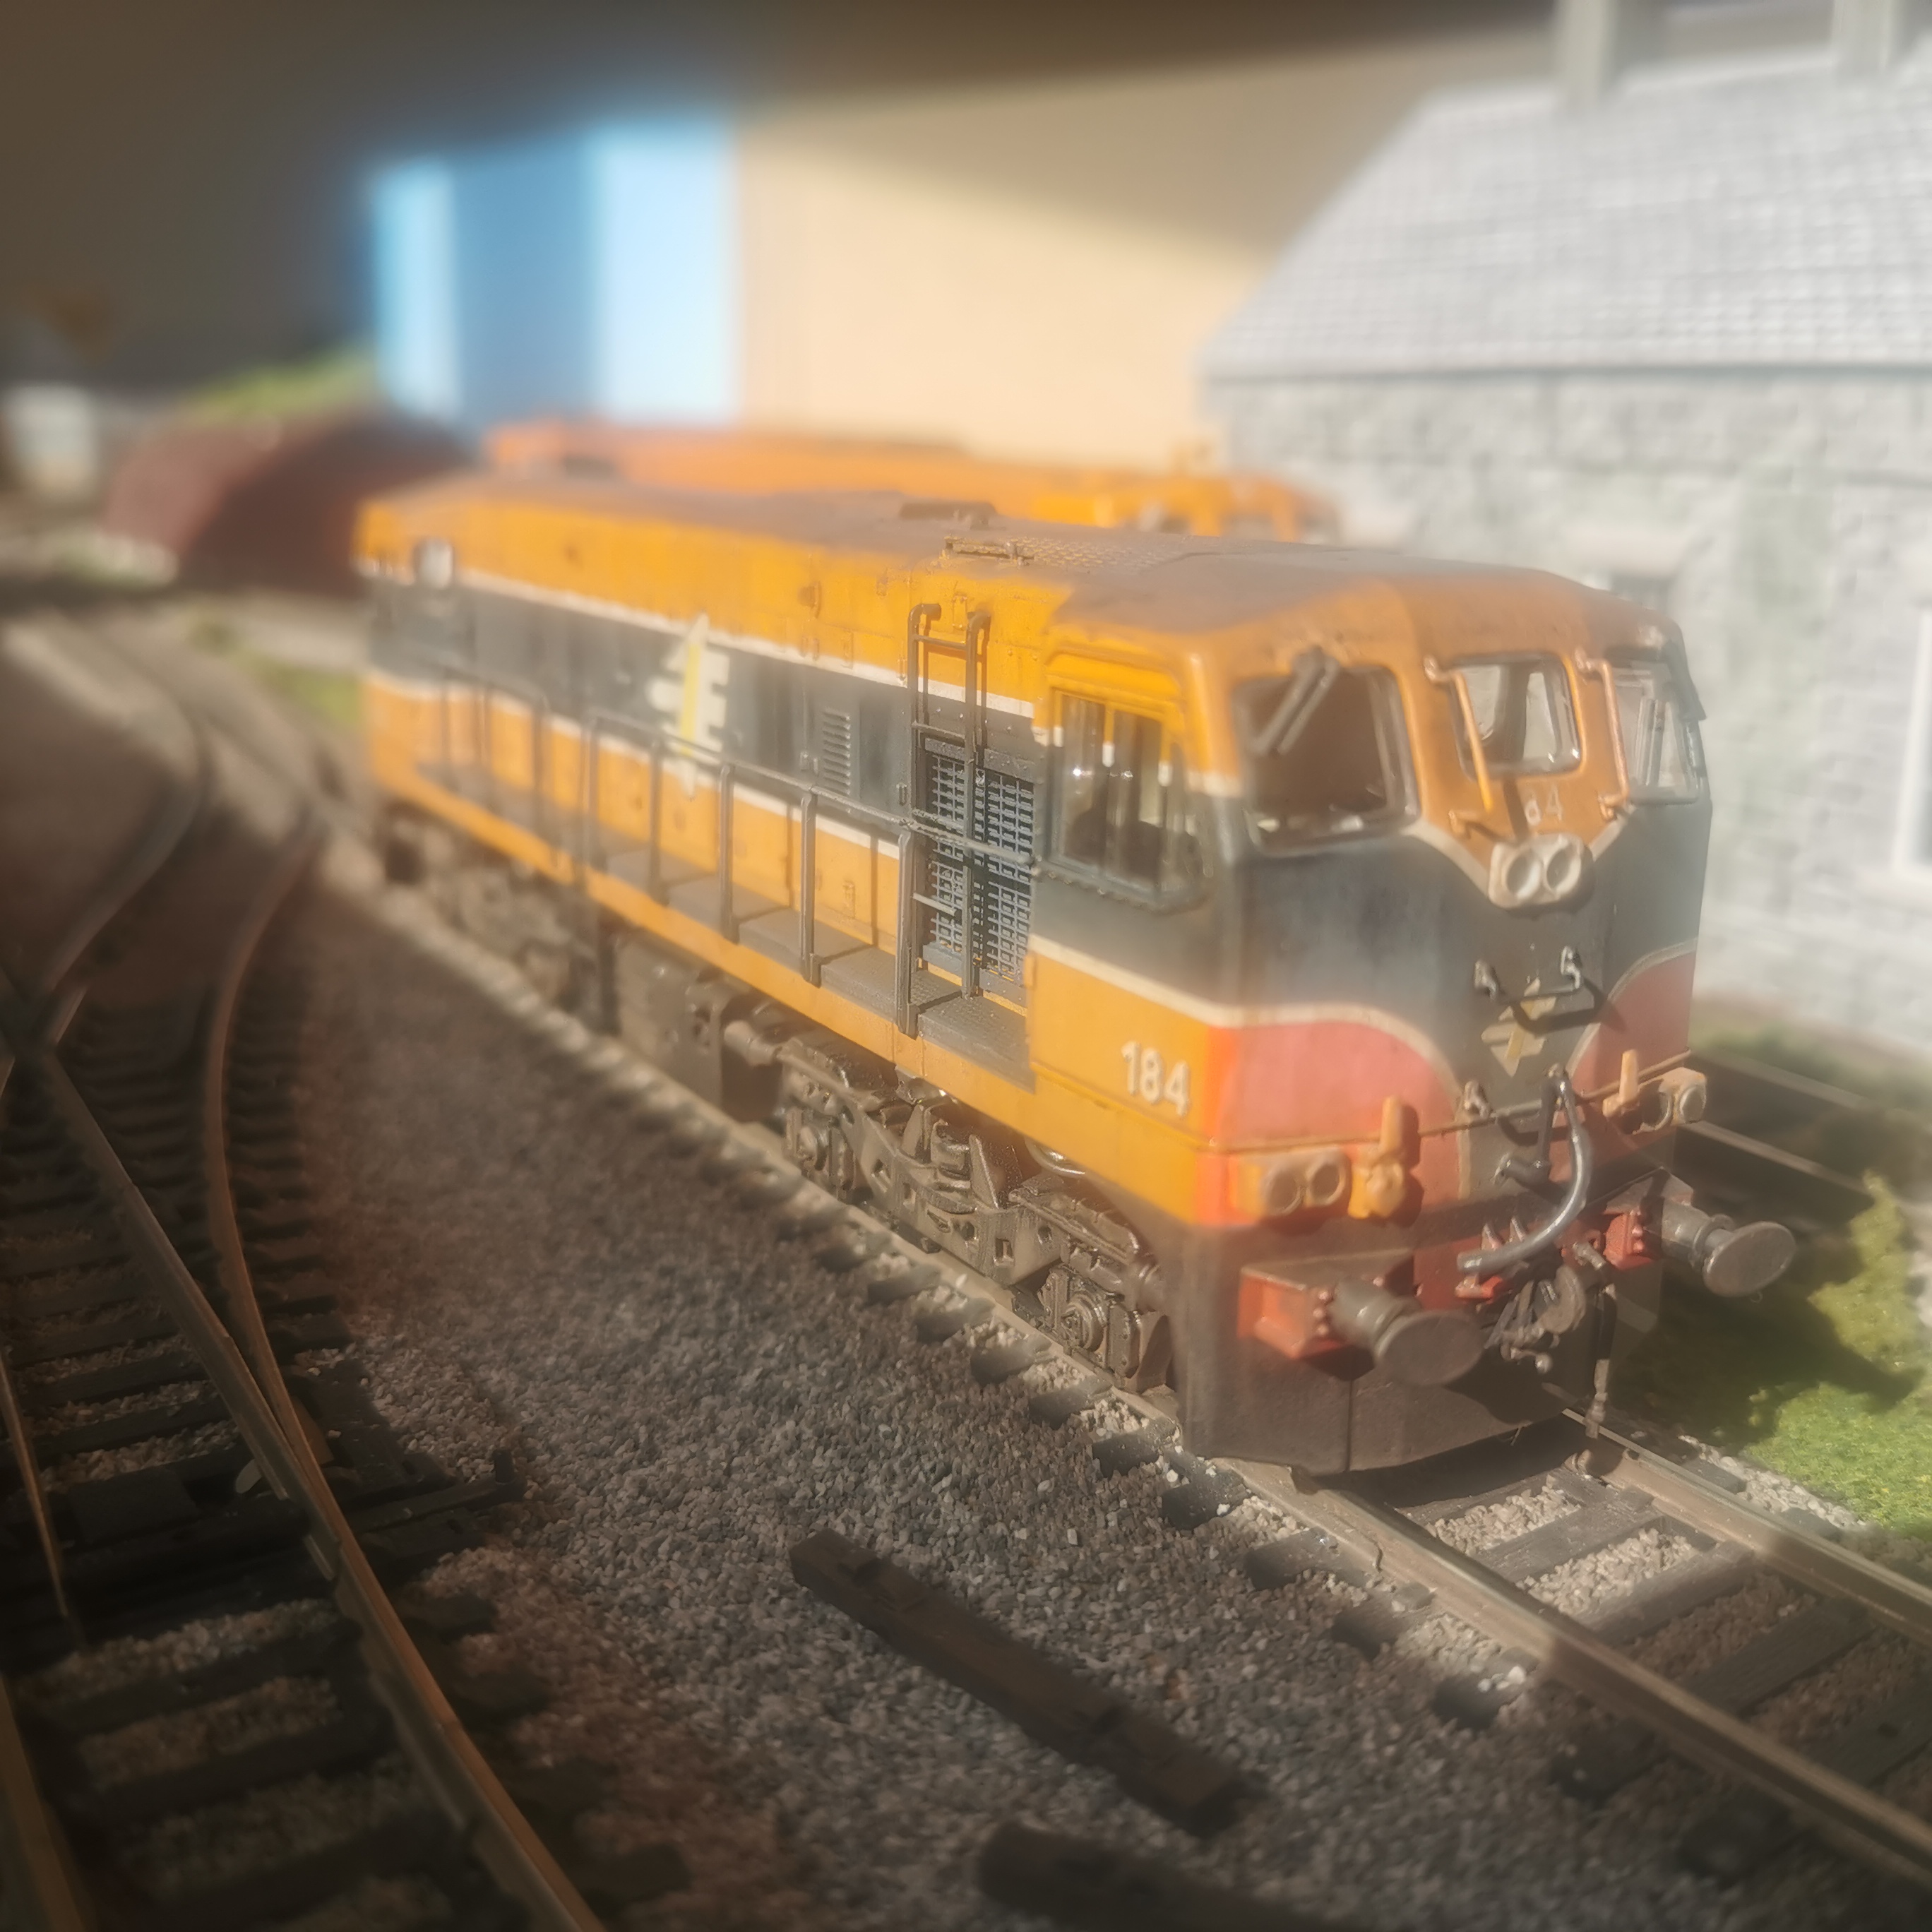
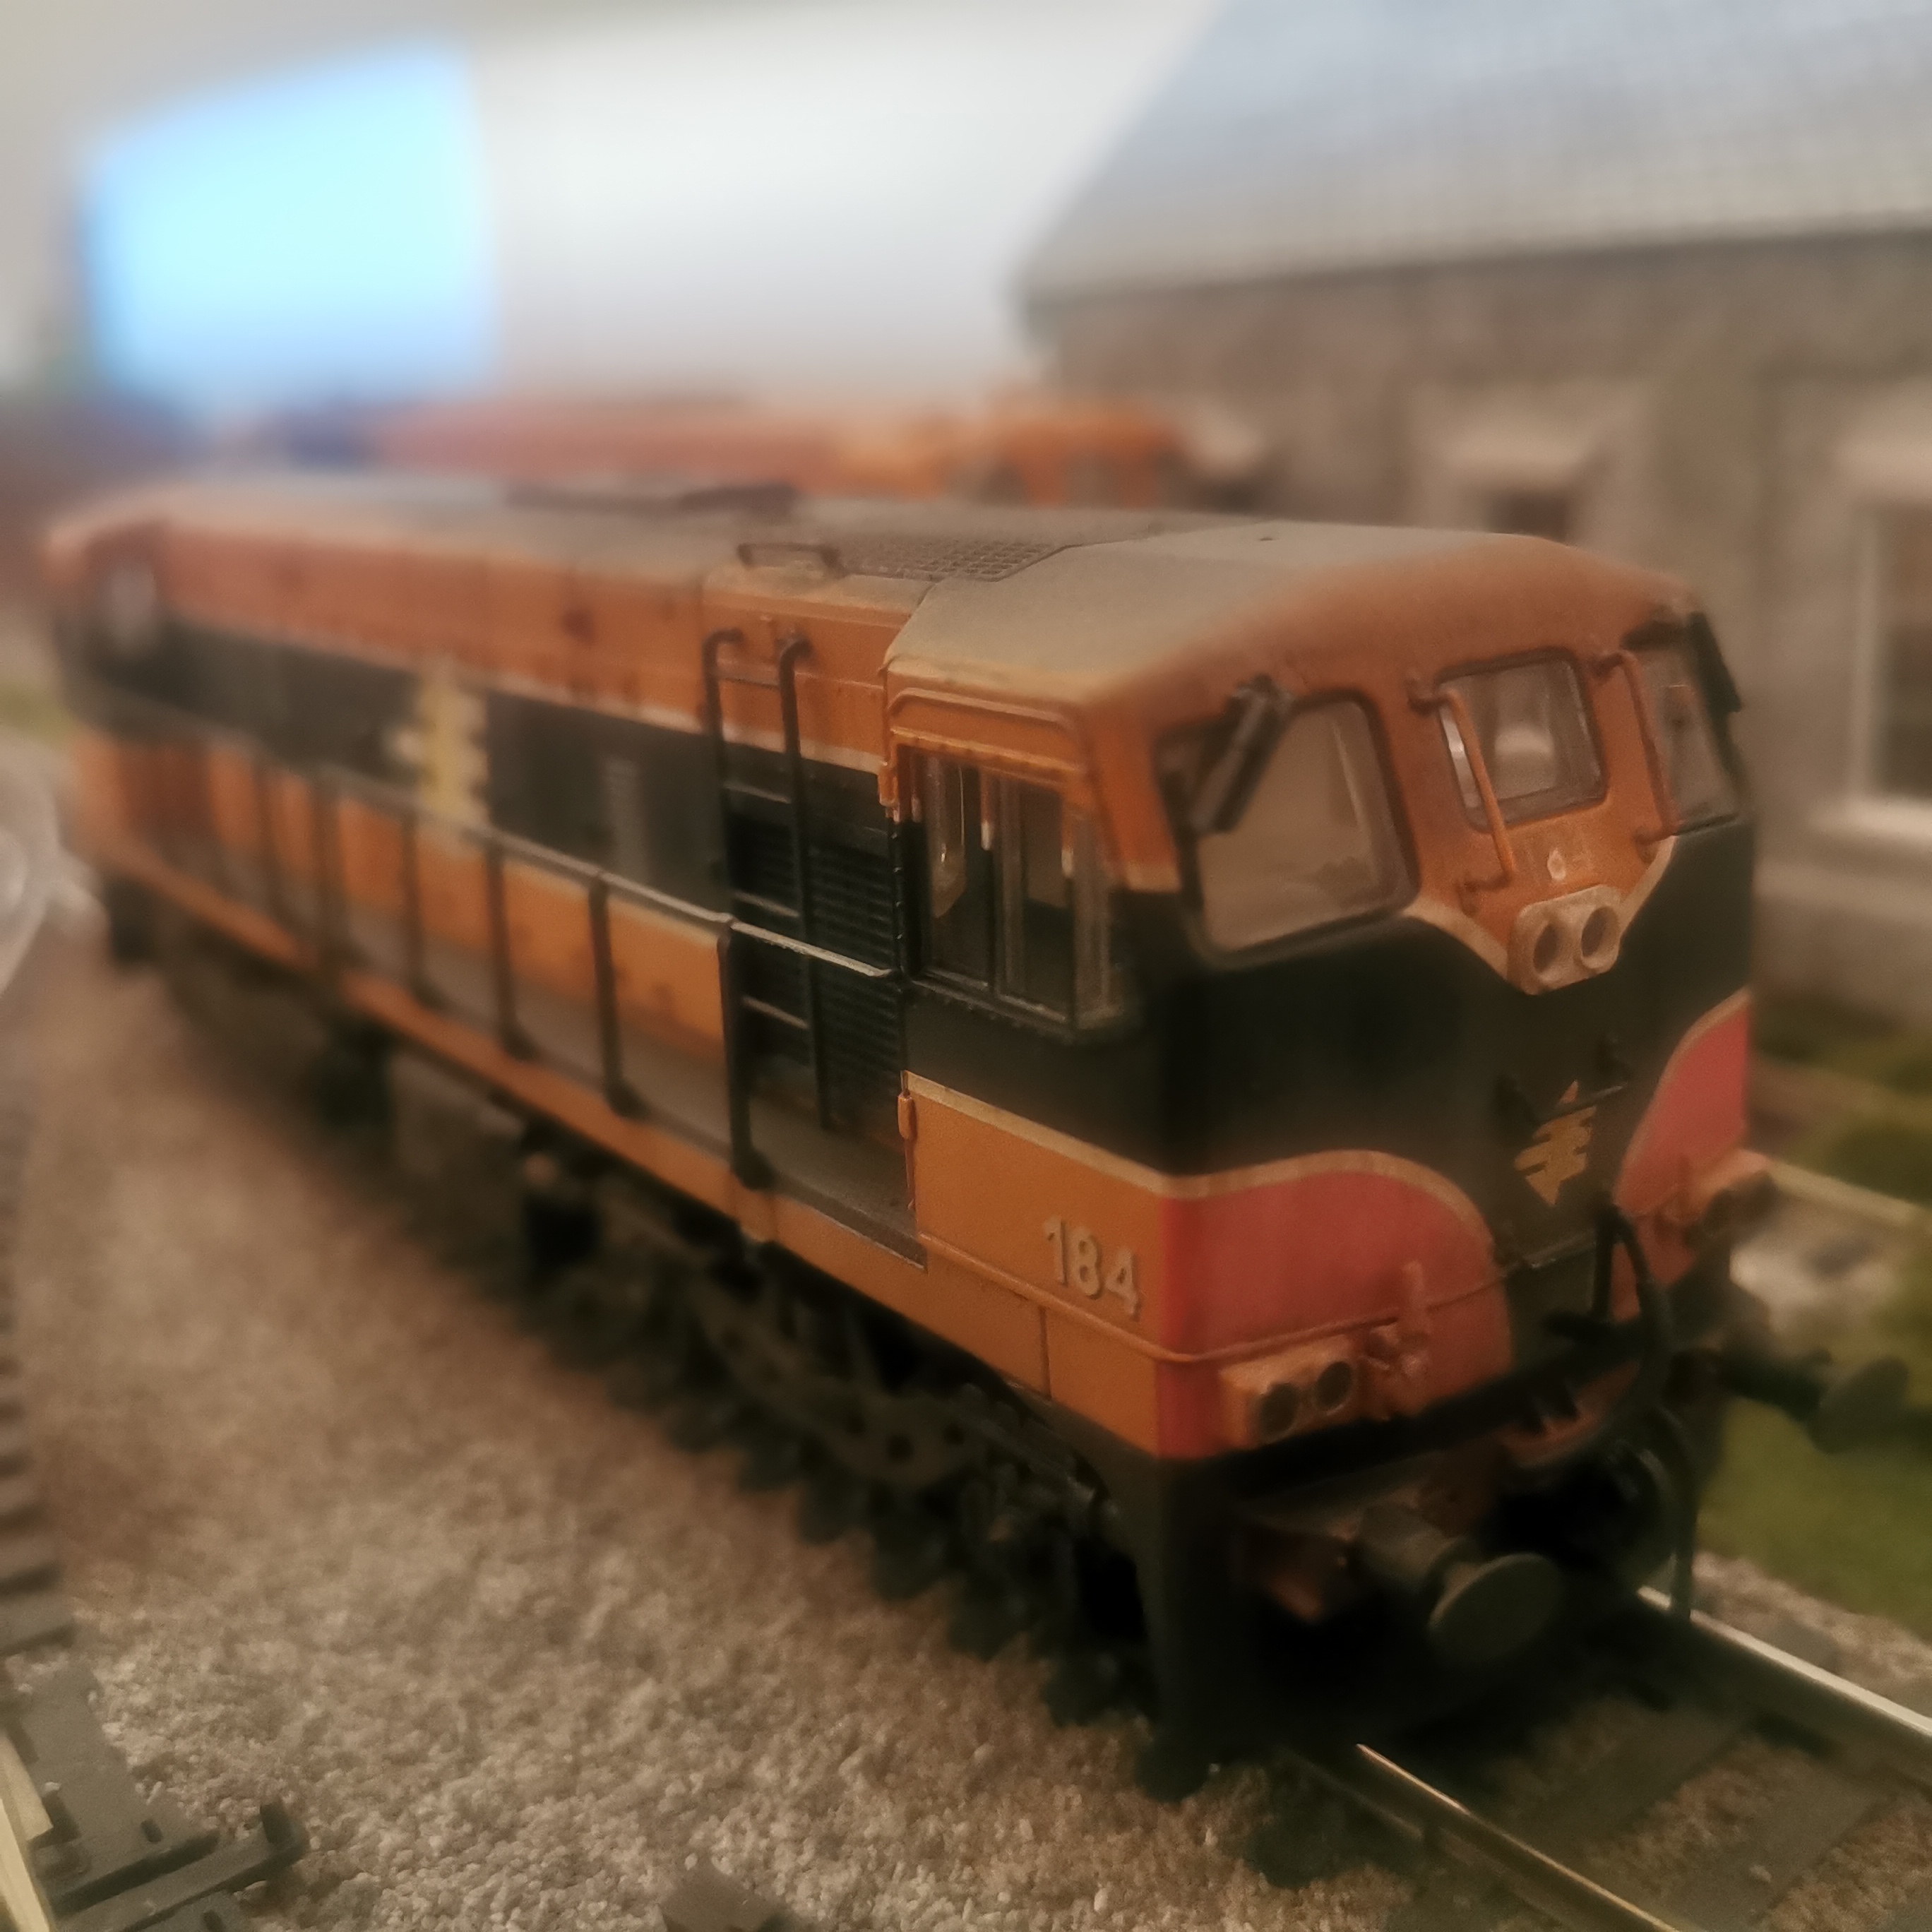
The latest edition to the fleet no.184 found itself in the weathering line. My goal was to give the paint more of distressed look as opposed to a more filthy appearance and to push myself more and more with weathering. Your thoughts and comments as always are appreciated
- 172 replies
-
- 13
-
-
Thanks for the info, I had misunderstood that when they were built for tara mines they were built for them as a costumer rather then built for running from tara mines.
-
I know a guy if you want them weathered
-
I maybe showing my age or lack of knowledge of anything rail related before the early nineties or both, I had no idea that these existed in another colour. Would these be the only examples of privately owned freight stock running on the network?
-
Oh I've been looking at plenty of pictures for inspiration.
-
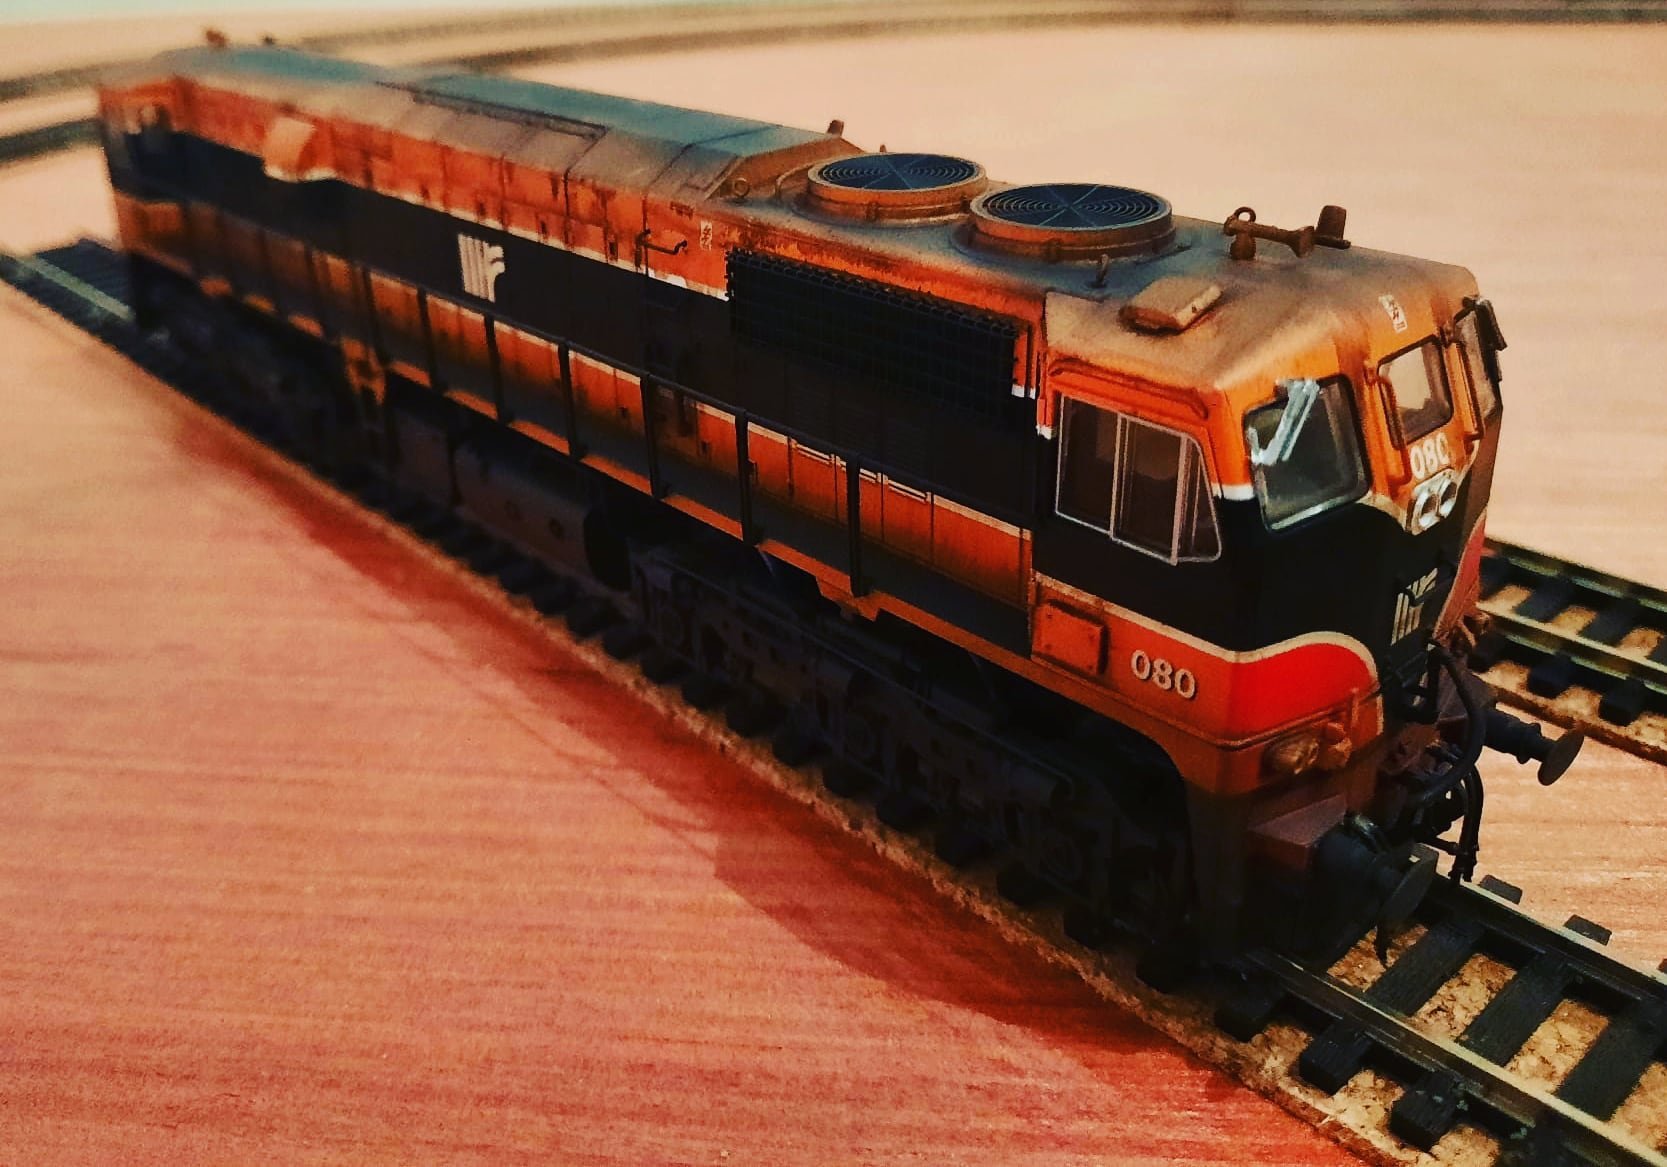
Very clean looking paint job
-
Thanks rob, much appreciated
-
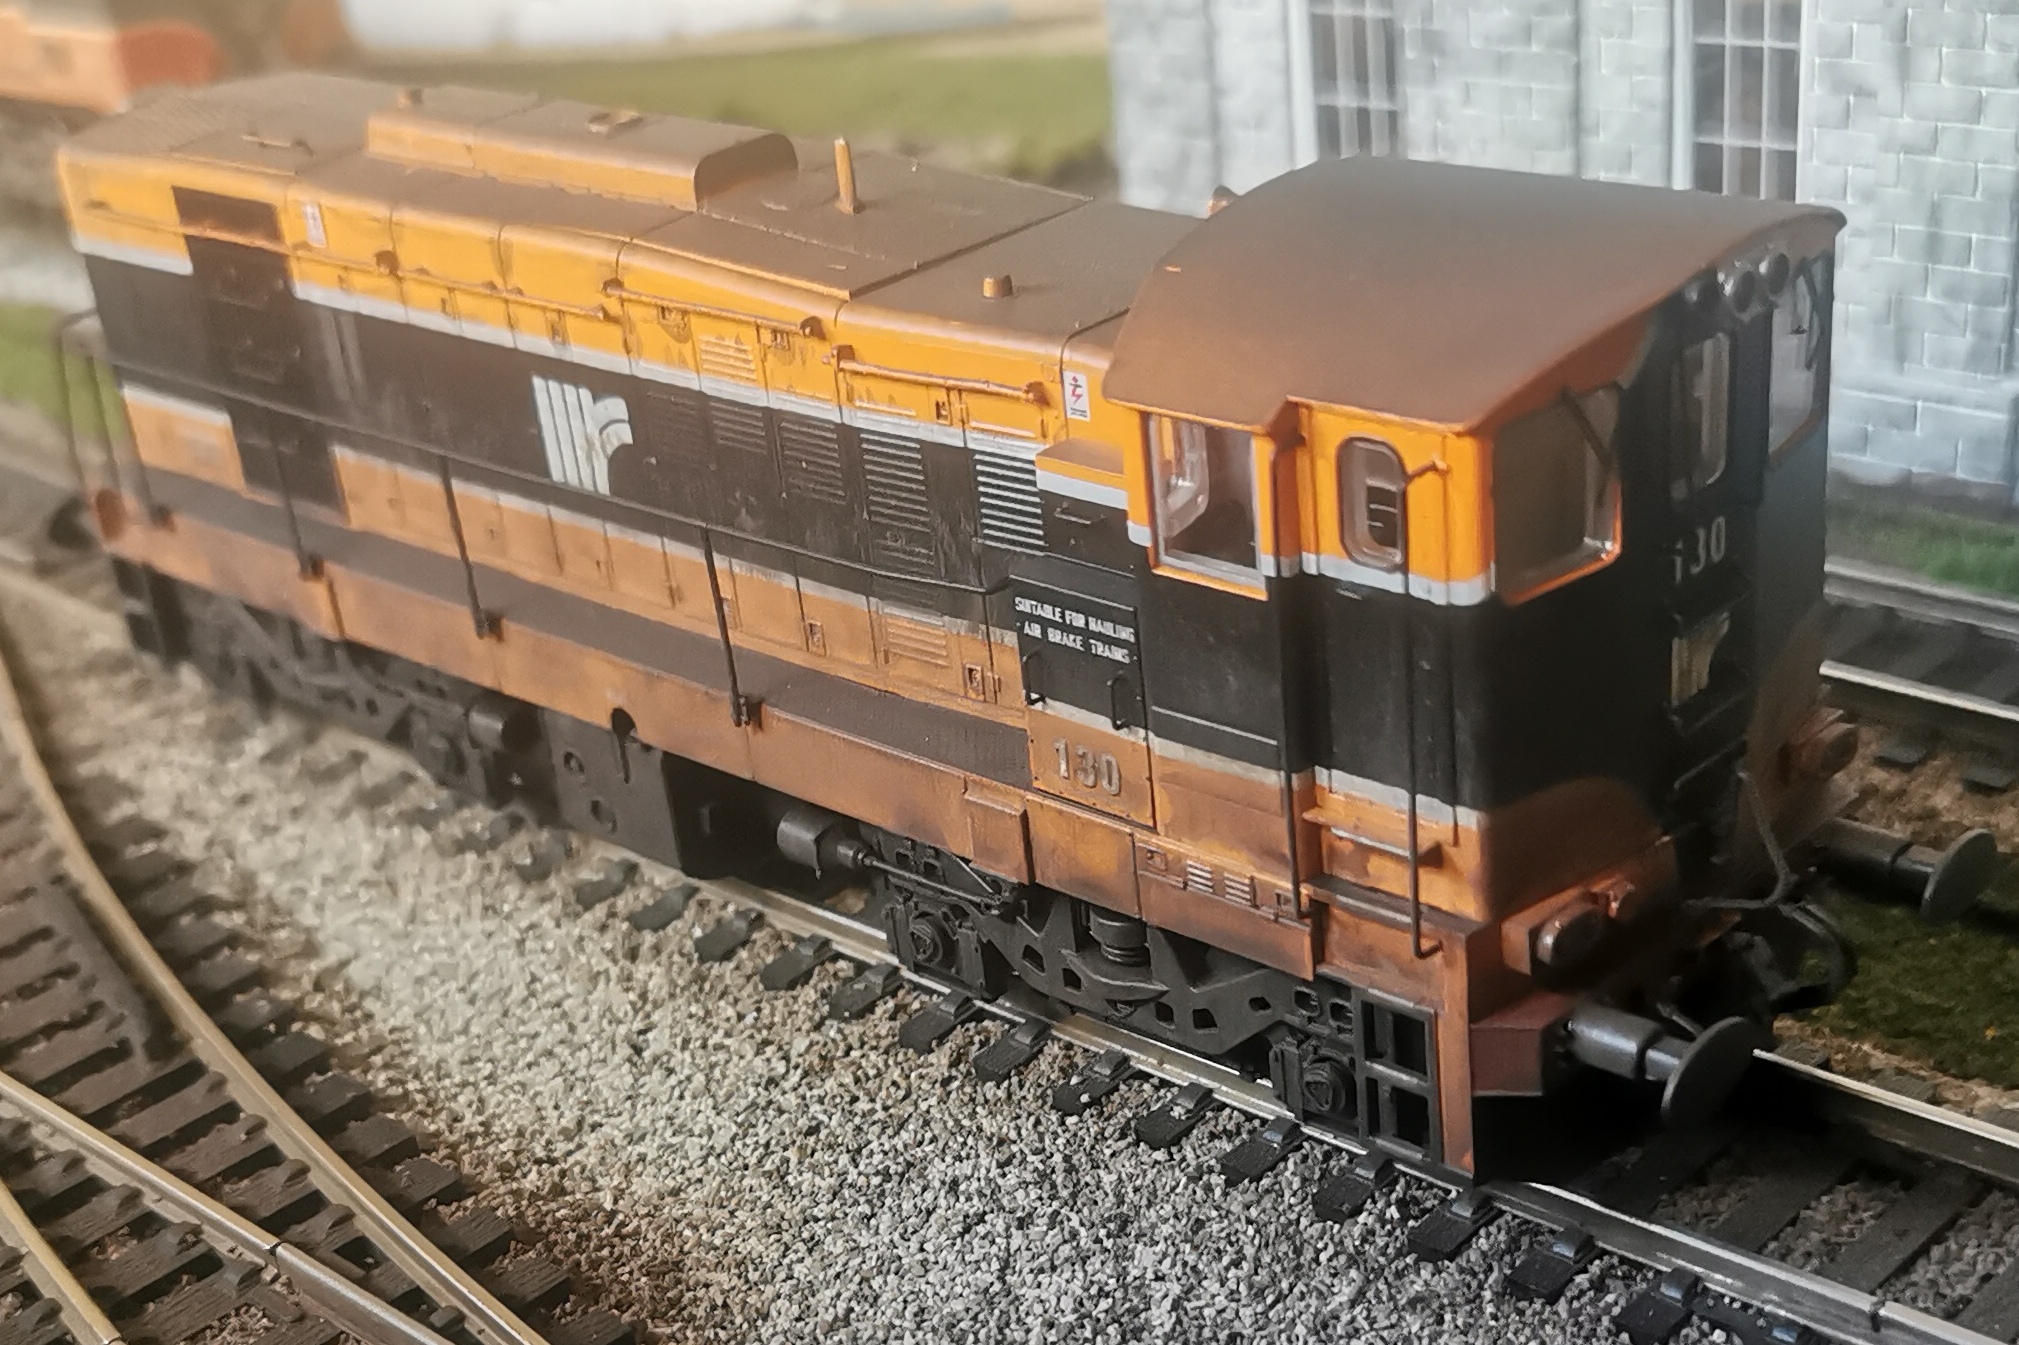
While I do not pretend to be an expert I submit my own attempt for your viewing
- 17 replies
-
- 17
-
-
I've really enjoyed the comparison video between older models and today offerings and the reviews are very well done I think
-
Nice job. What was the base loco?
-
Could we see reopening of any closed lines which would be a potential benefit to the network and rail travel as a by product?
-
That is excellent work. Very informative
-
Which is great as it has allowed the range of detailed irish models to grow. We've seen with MM upcoming re-releases that demand is there so maybe 141/181/071 aren't outside the realm of possibly
-
Good point. It is unfortunate to think that there maybe people who have turned their back on the hobby because they can't afford the stock they want.