.png.c363cdf5c3fb7955cd92a55eb6dbbae0.png)
Tullygrainey
-
Posts
1,175 -
Joined
-
Last visited
-
Days Won
60
Content Type
Profiles
Forums
Events
Gallery
Blogs
Everything posted by Tullygrainey
-
Good luck with this one David. I'll enjoy seeing it go together. I'd love to have a go at one of those Tyrconnel kits but it would have to sit a shelf if I ever did, there being no suitable track hereabouts. Yet
-
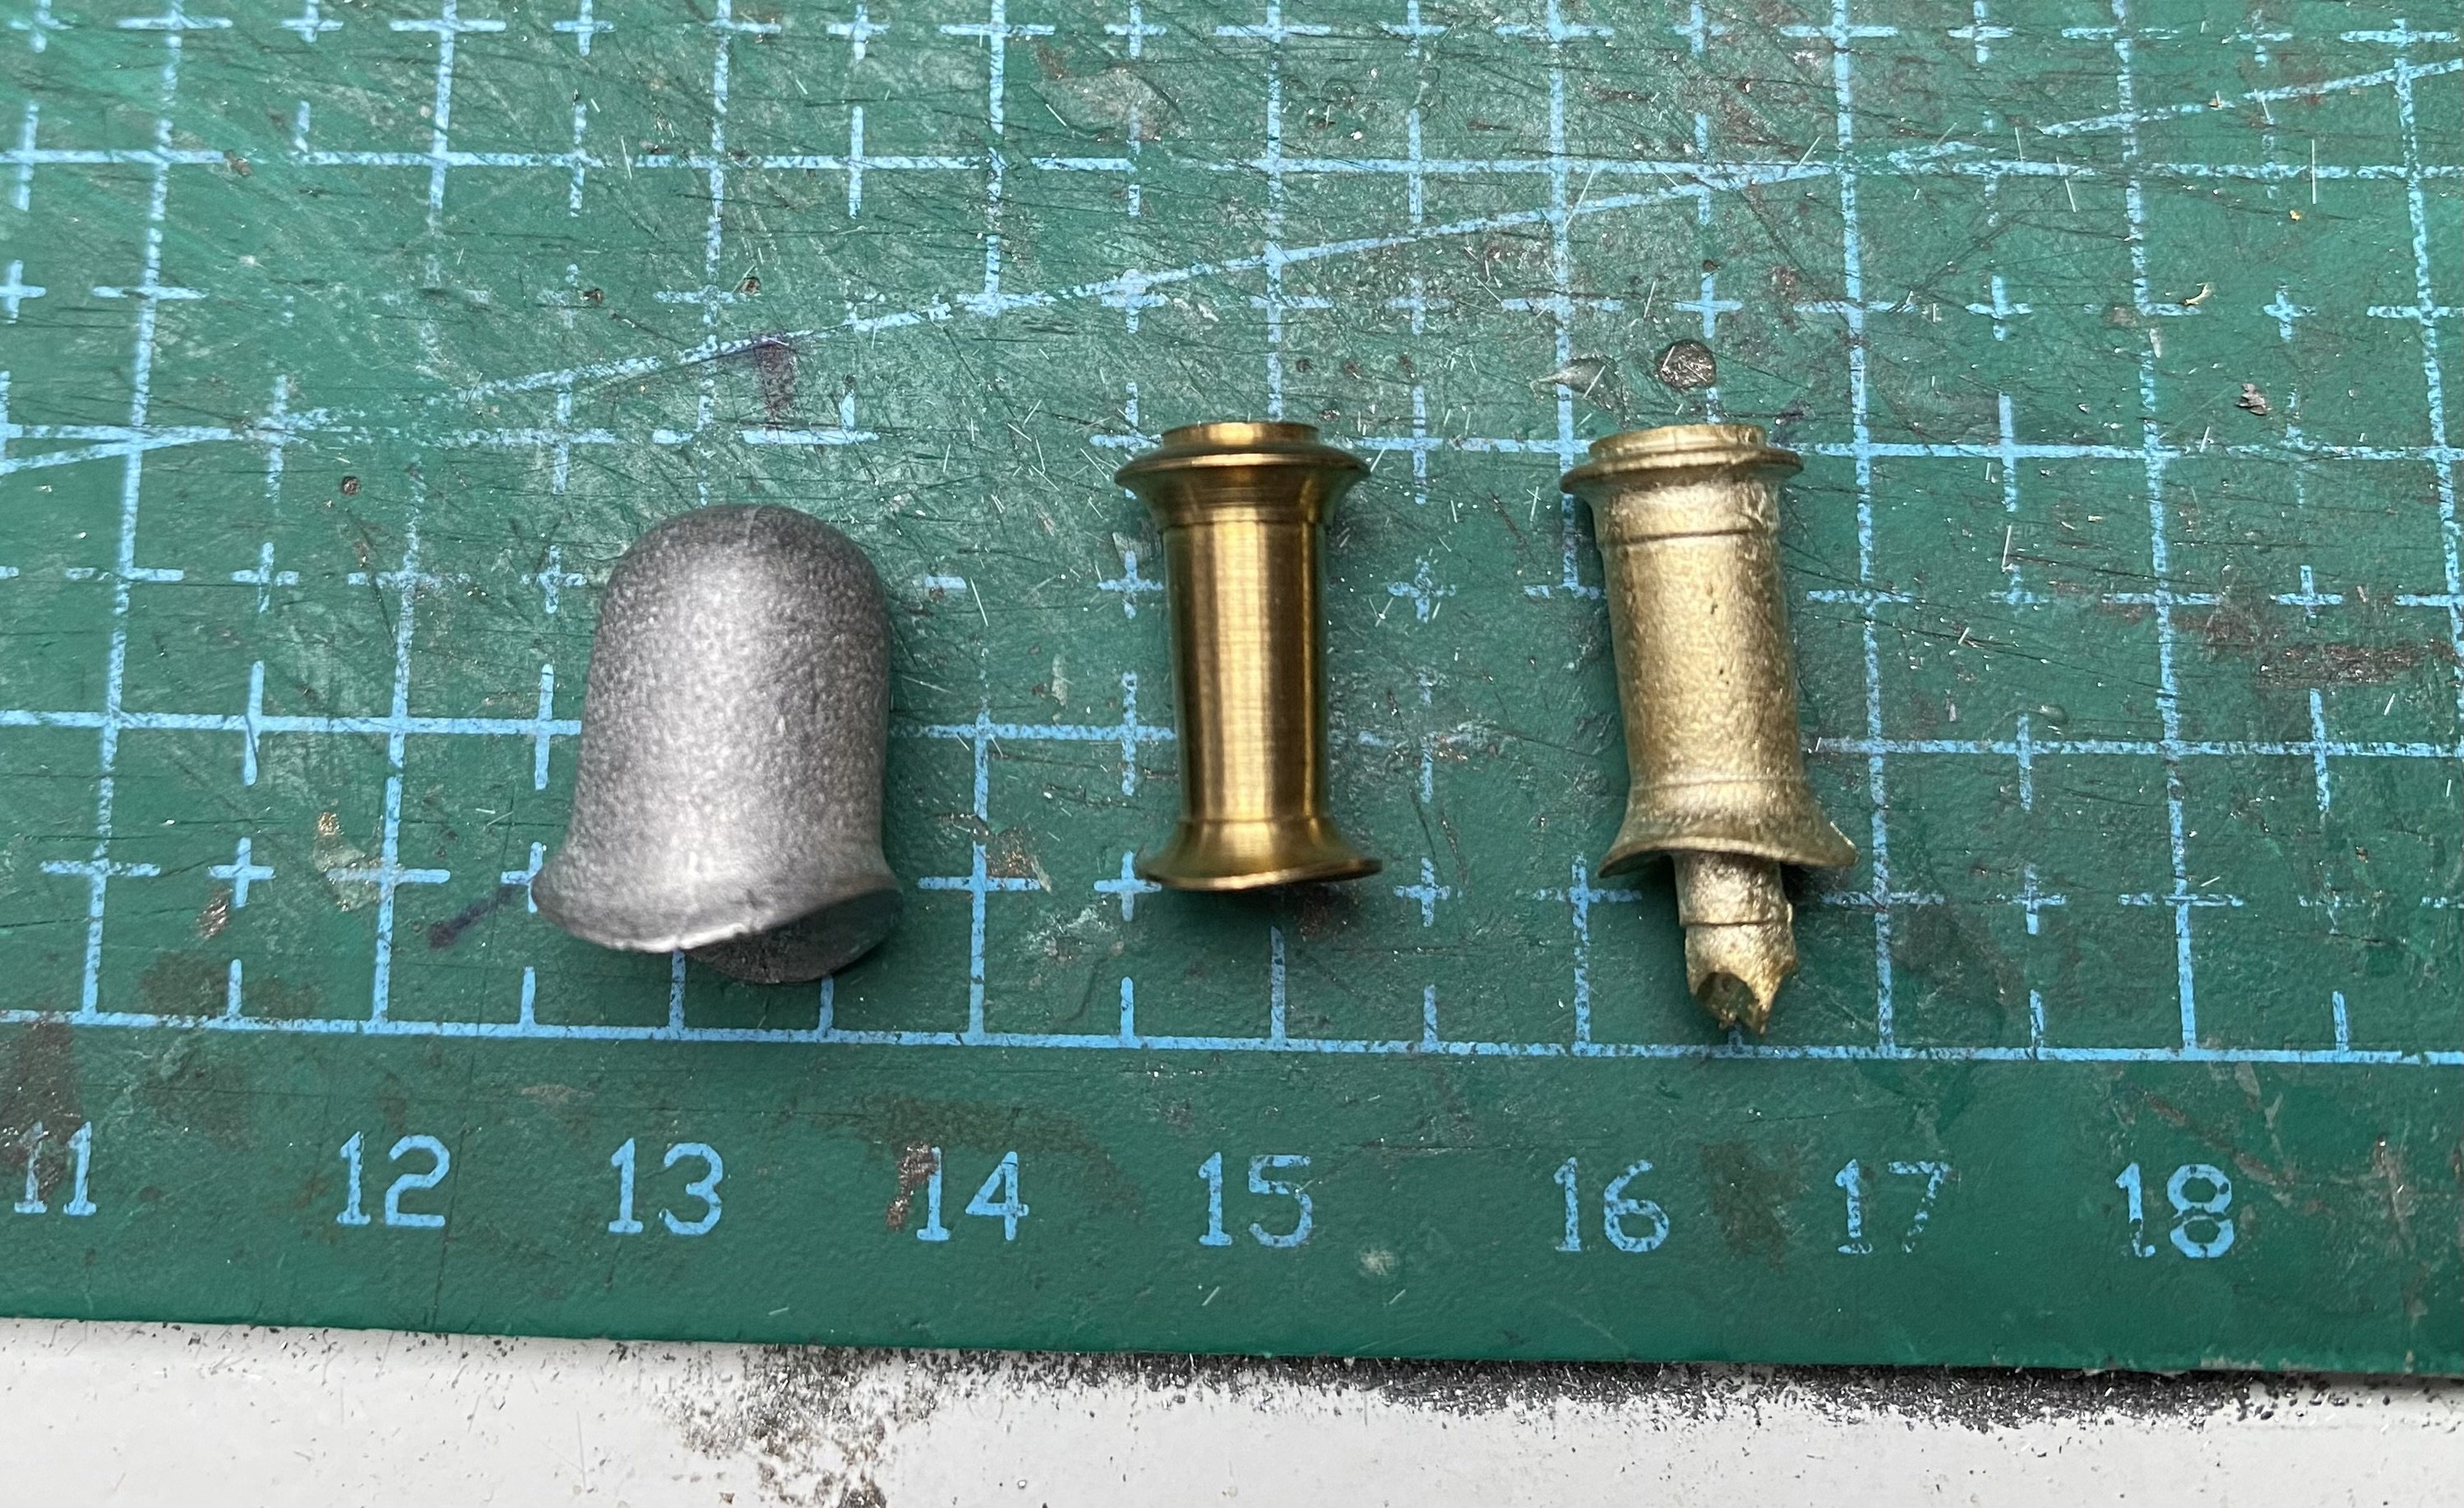
From left to right: Dome from the kit. I would agree it's ok. Turned brass chimney from Kieran's bits box. Origin? Around 14.5mm tall. Cast brass Alan Gibson chimney (4M730). Around 14.3mm tall Not sure yet which is better. Like you, I suspect there were variations across the class and over time so I'm not going to be too doctrinaire about it. I'll use the one that looks best.

-
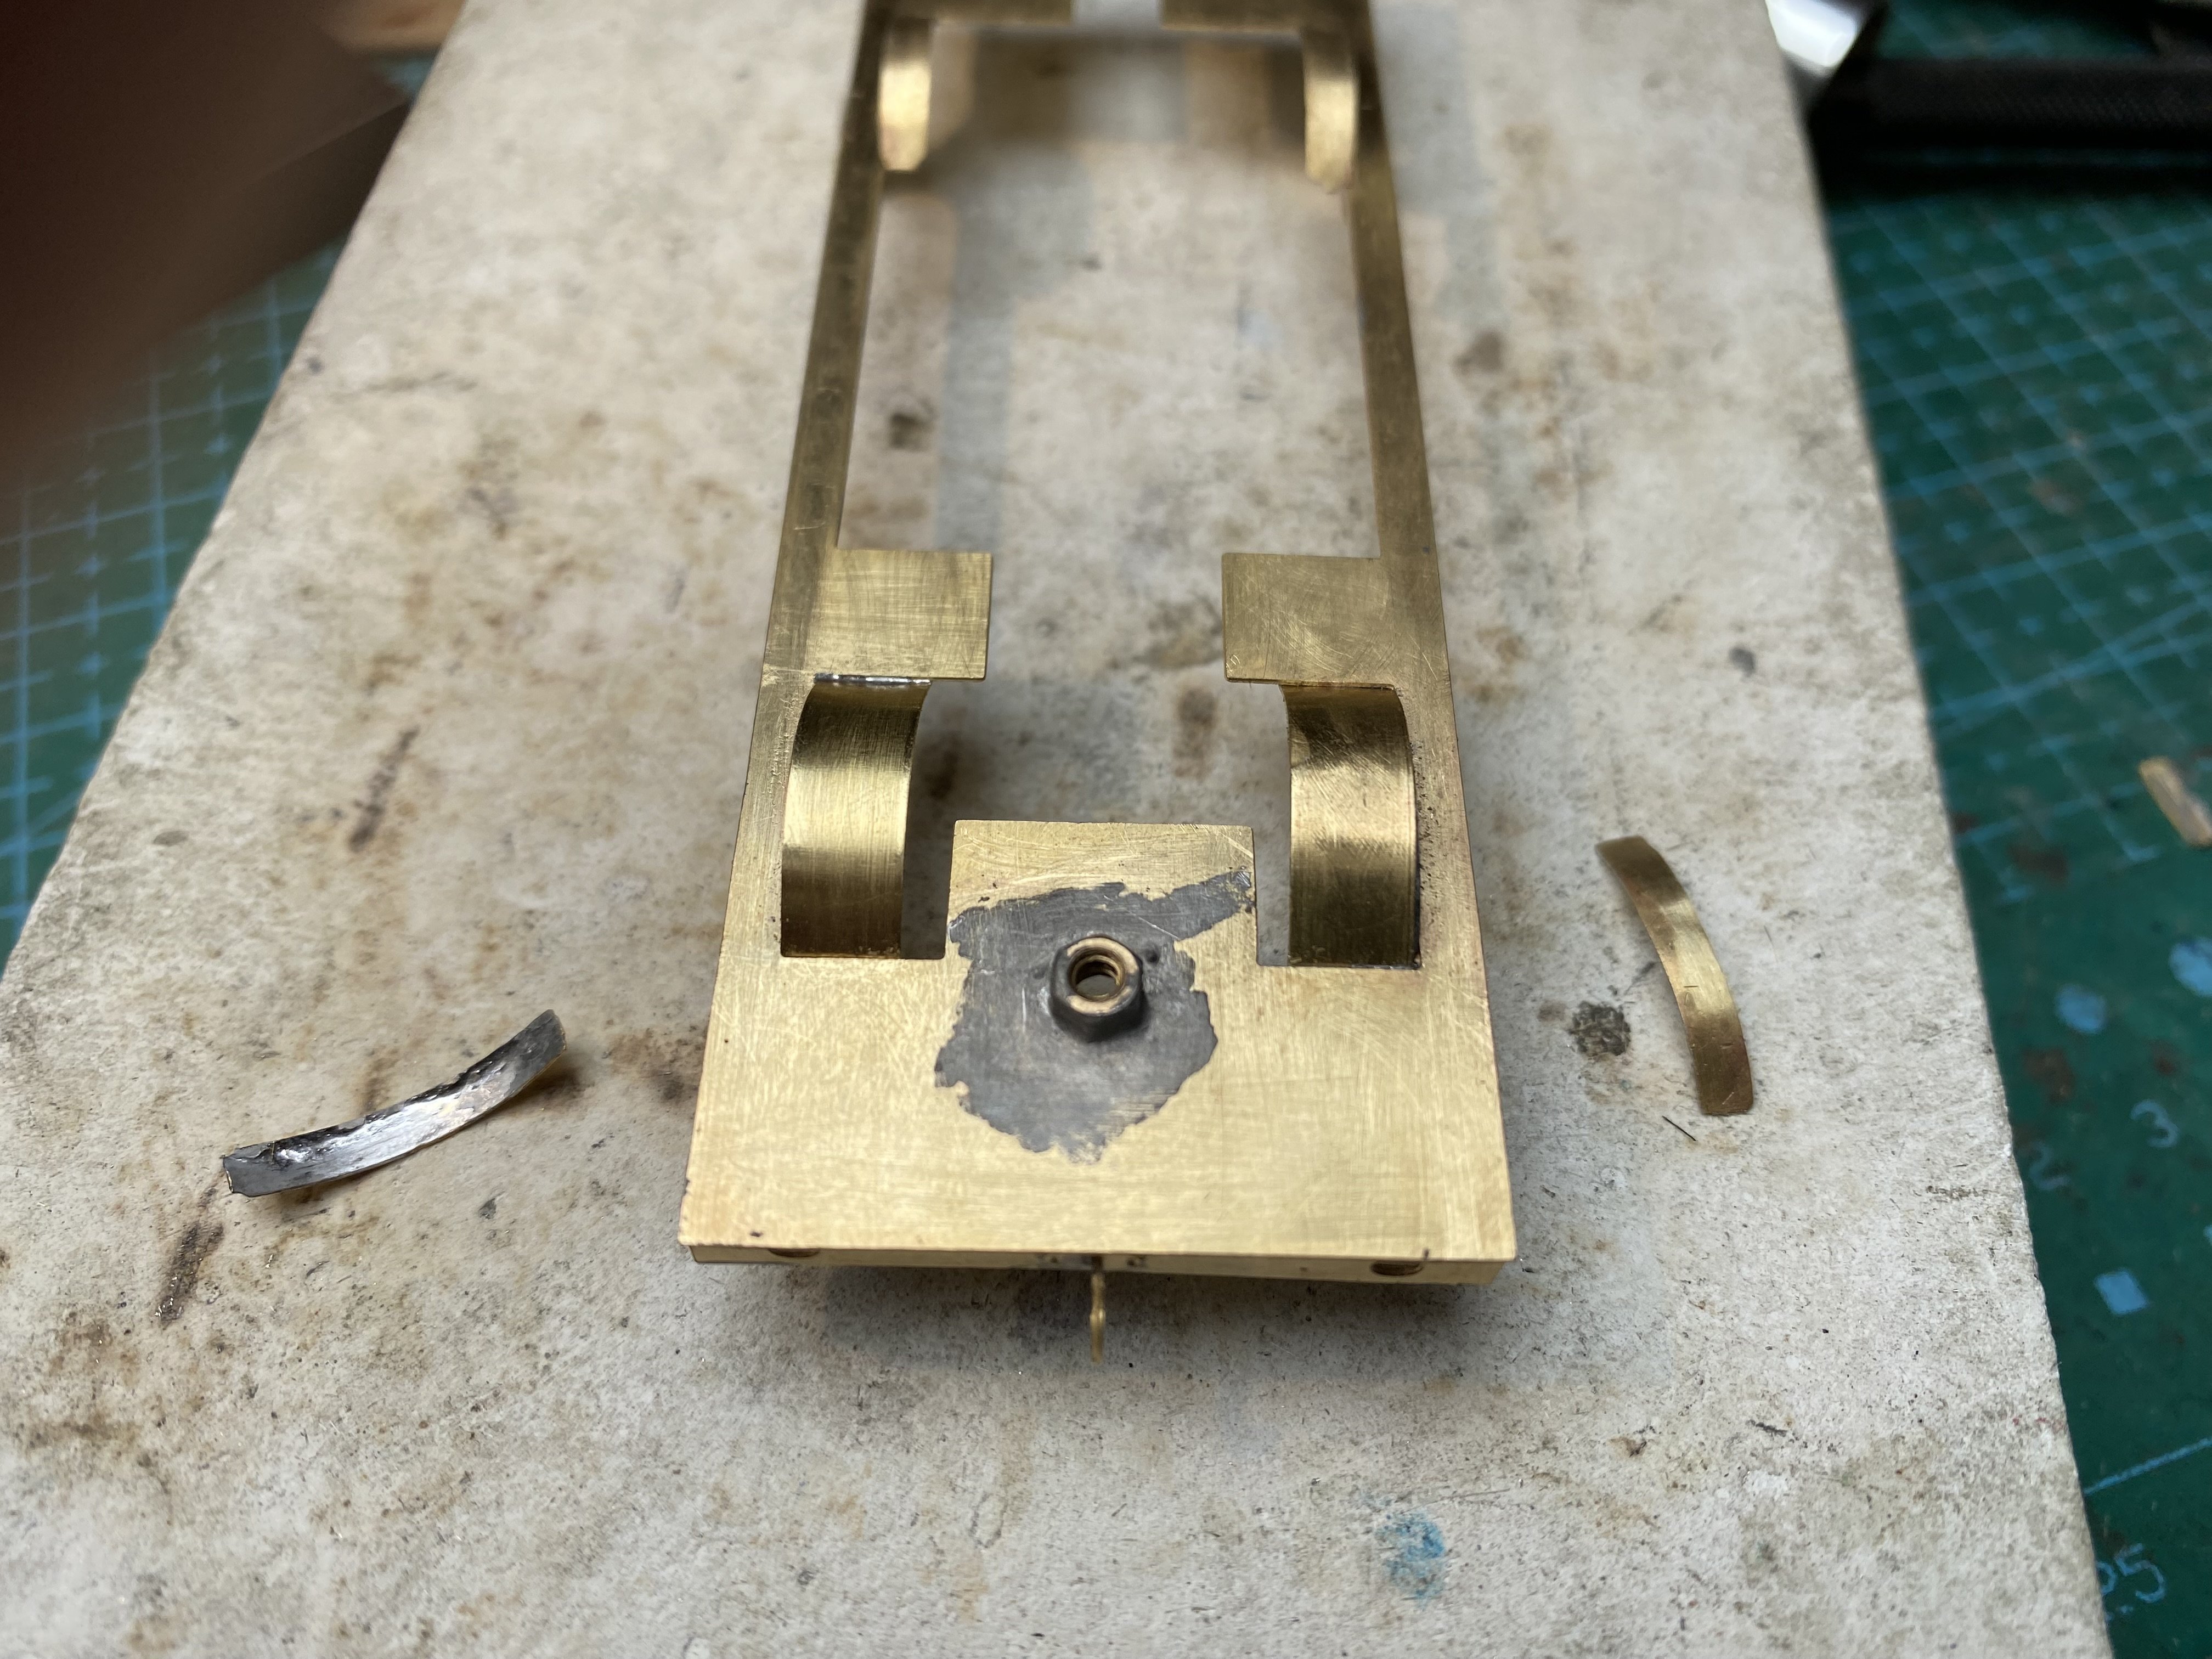
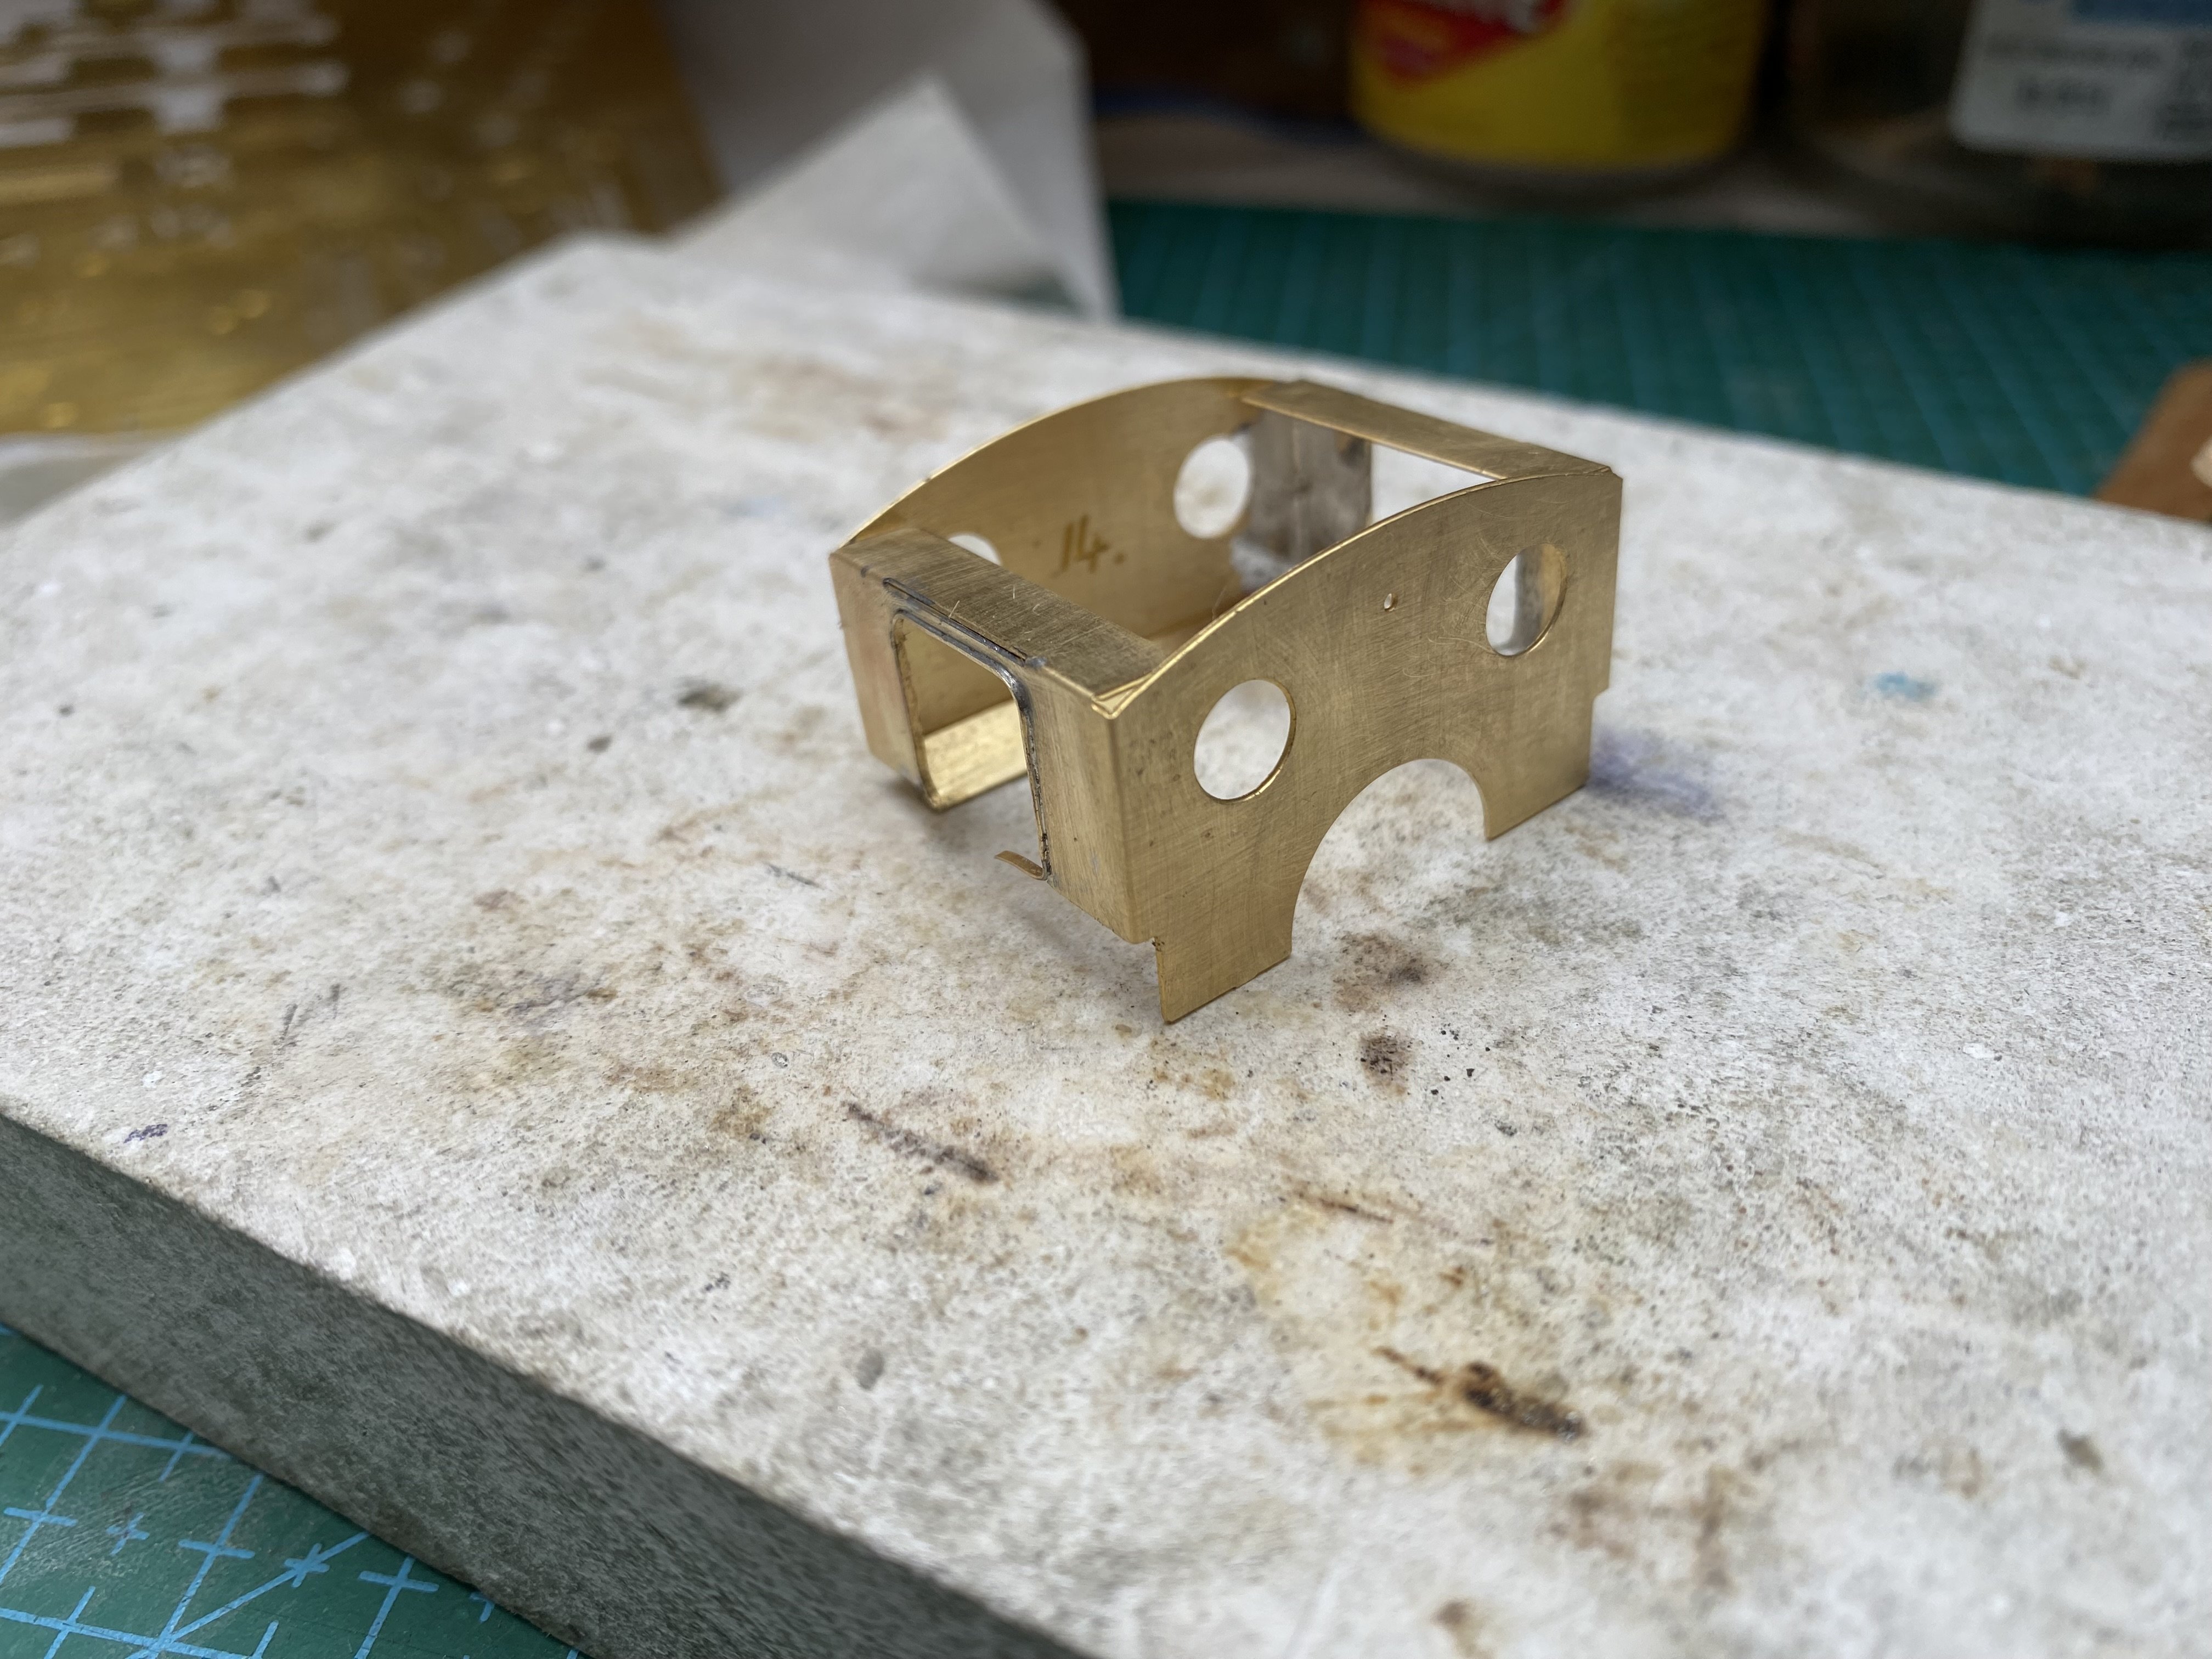
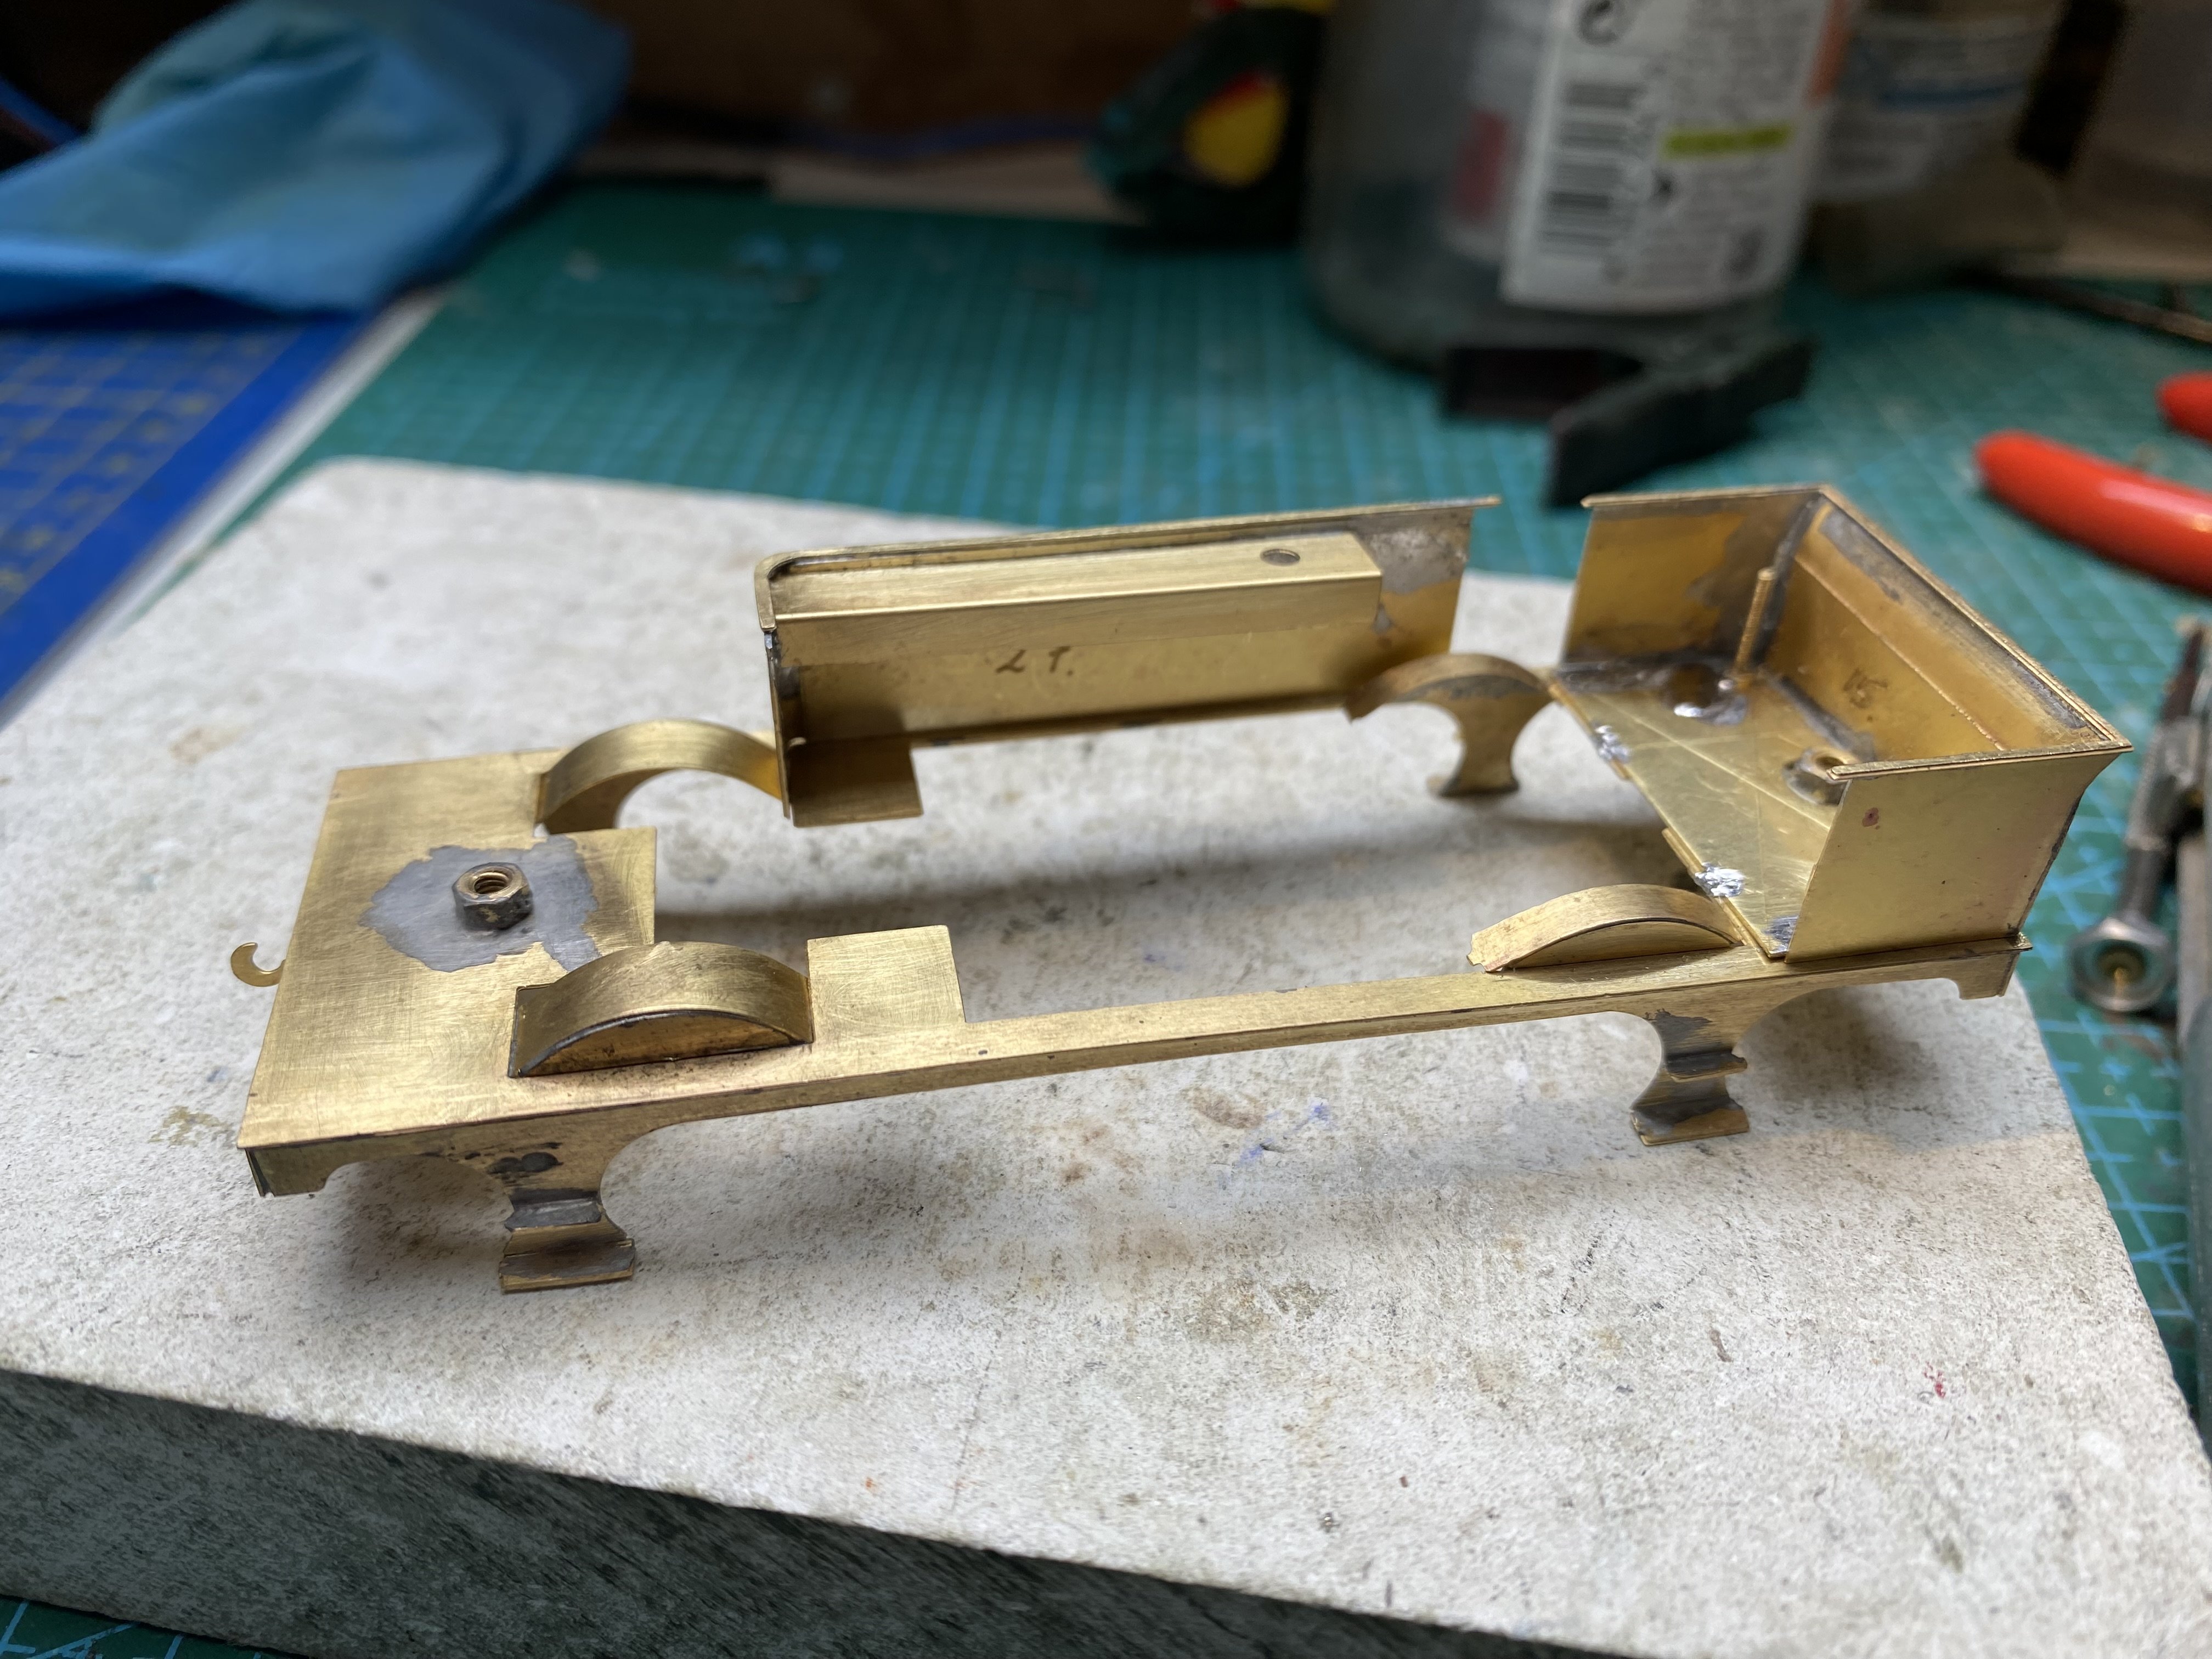
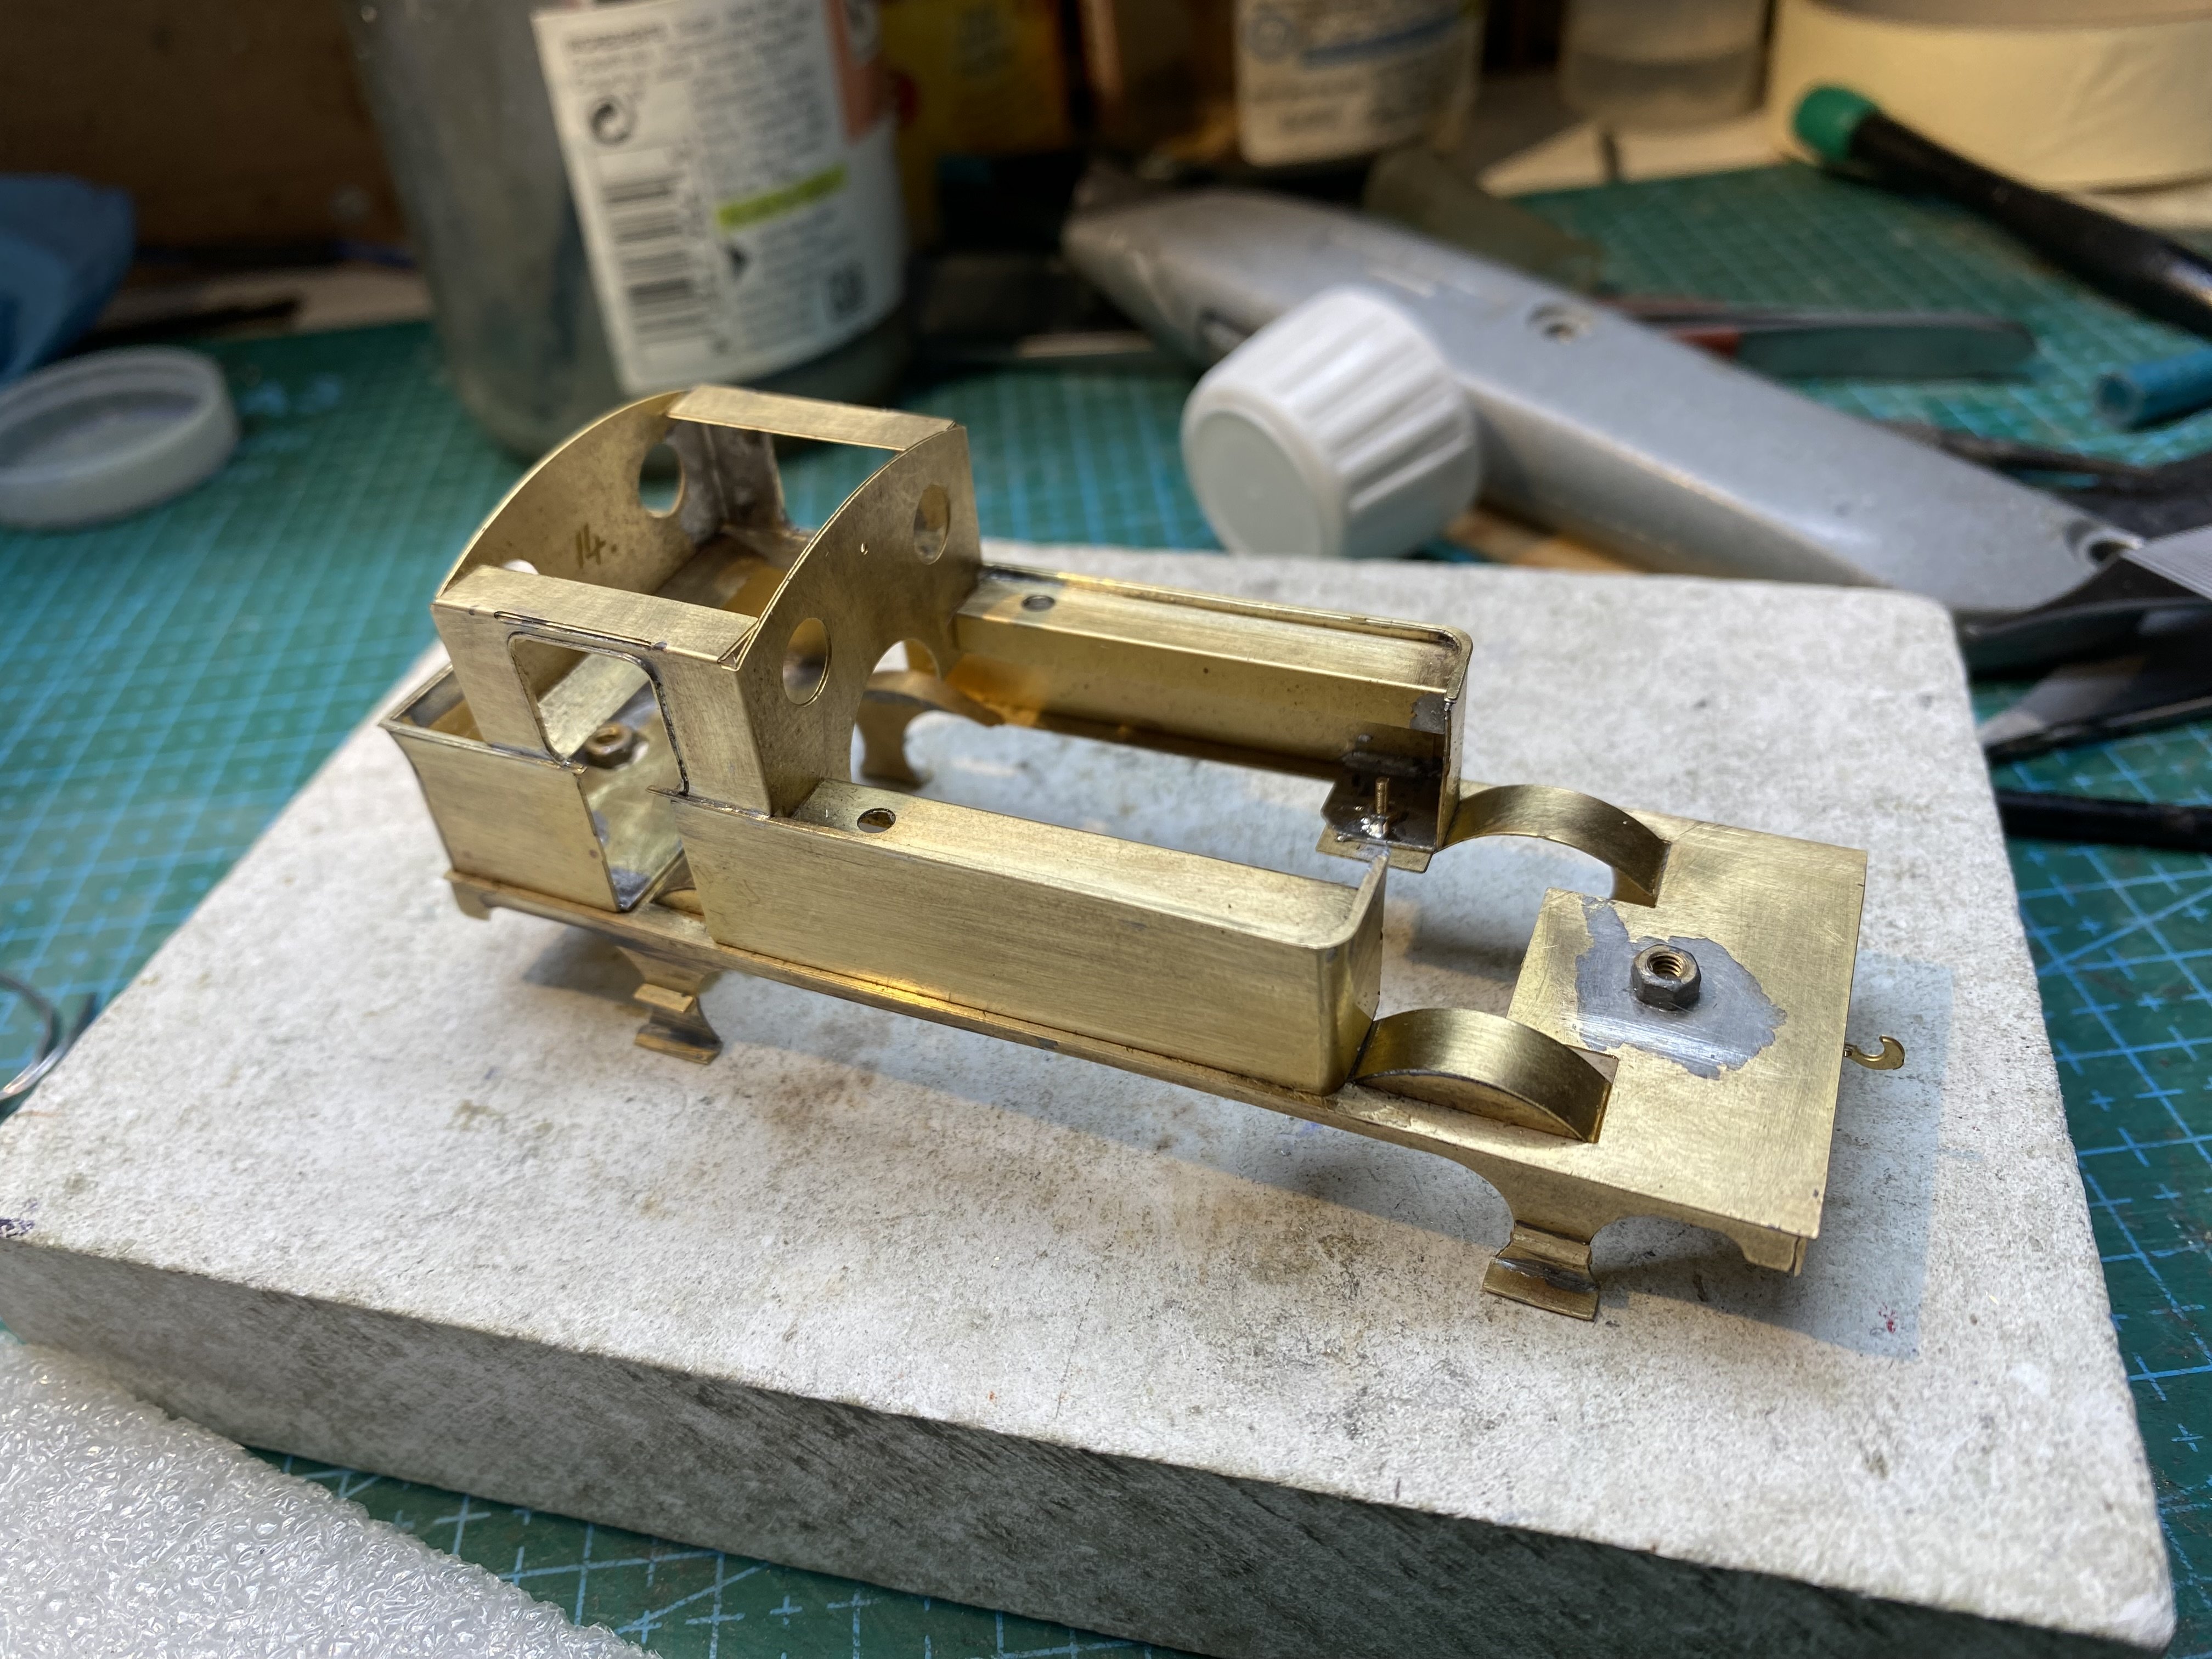
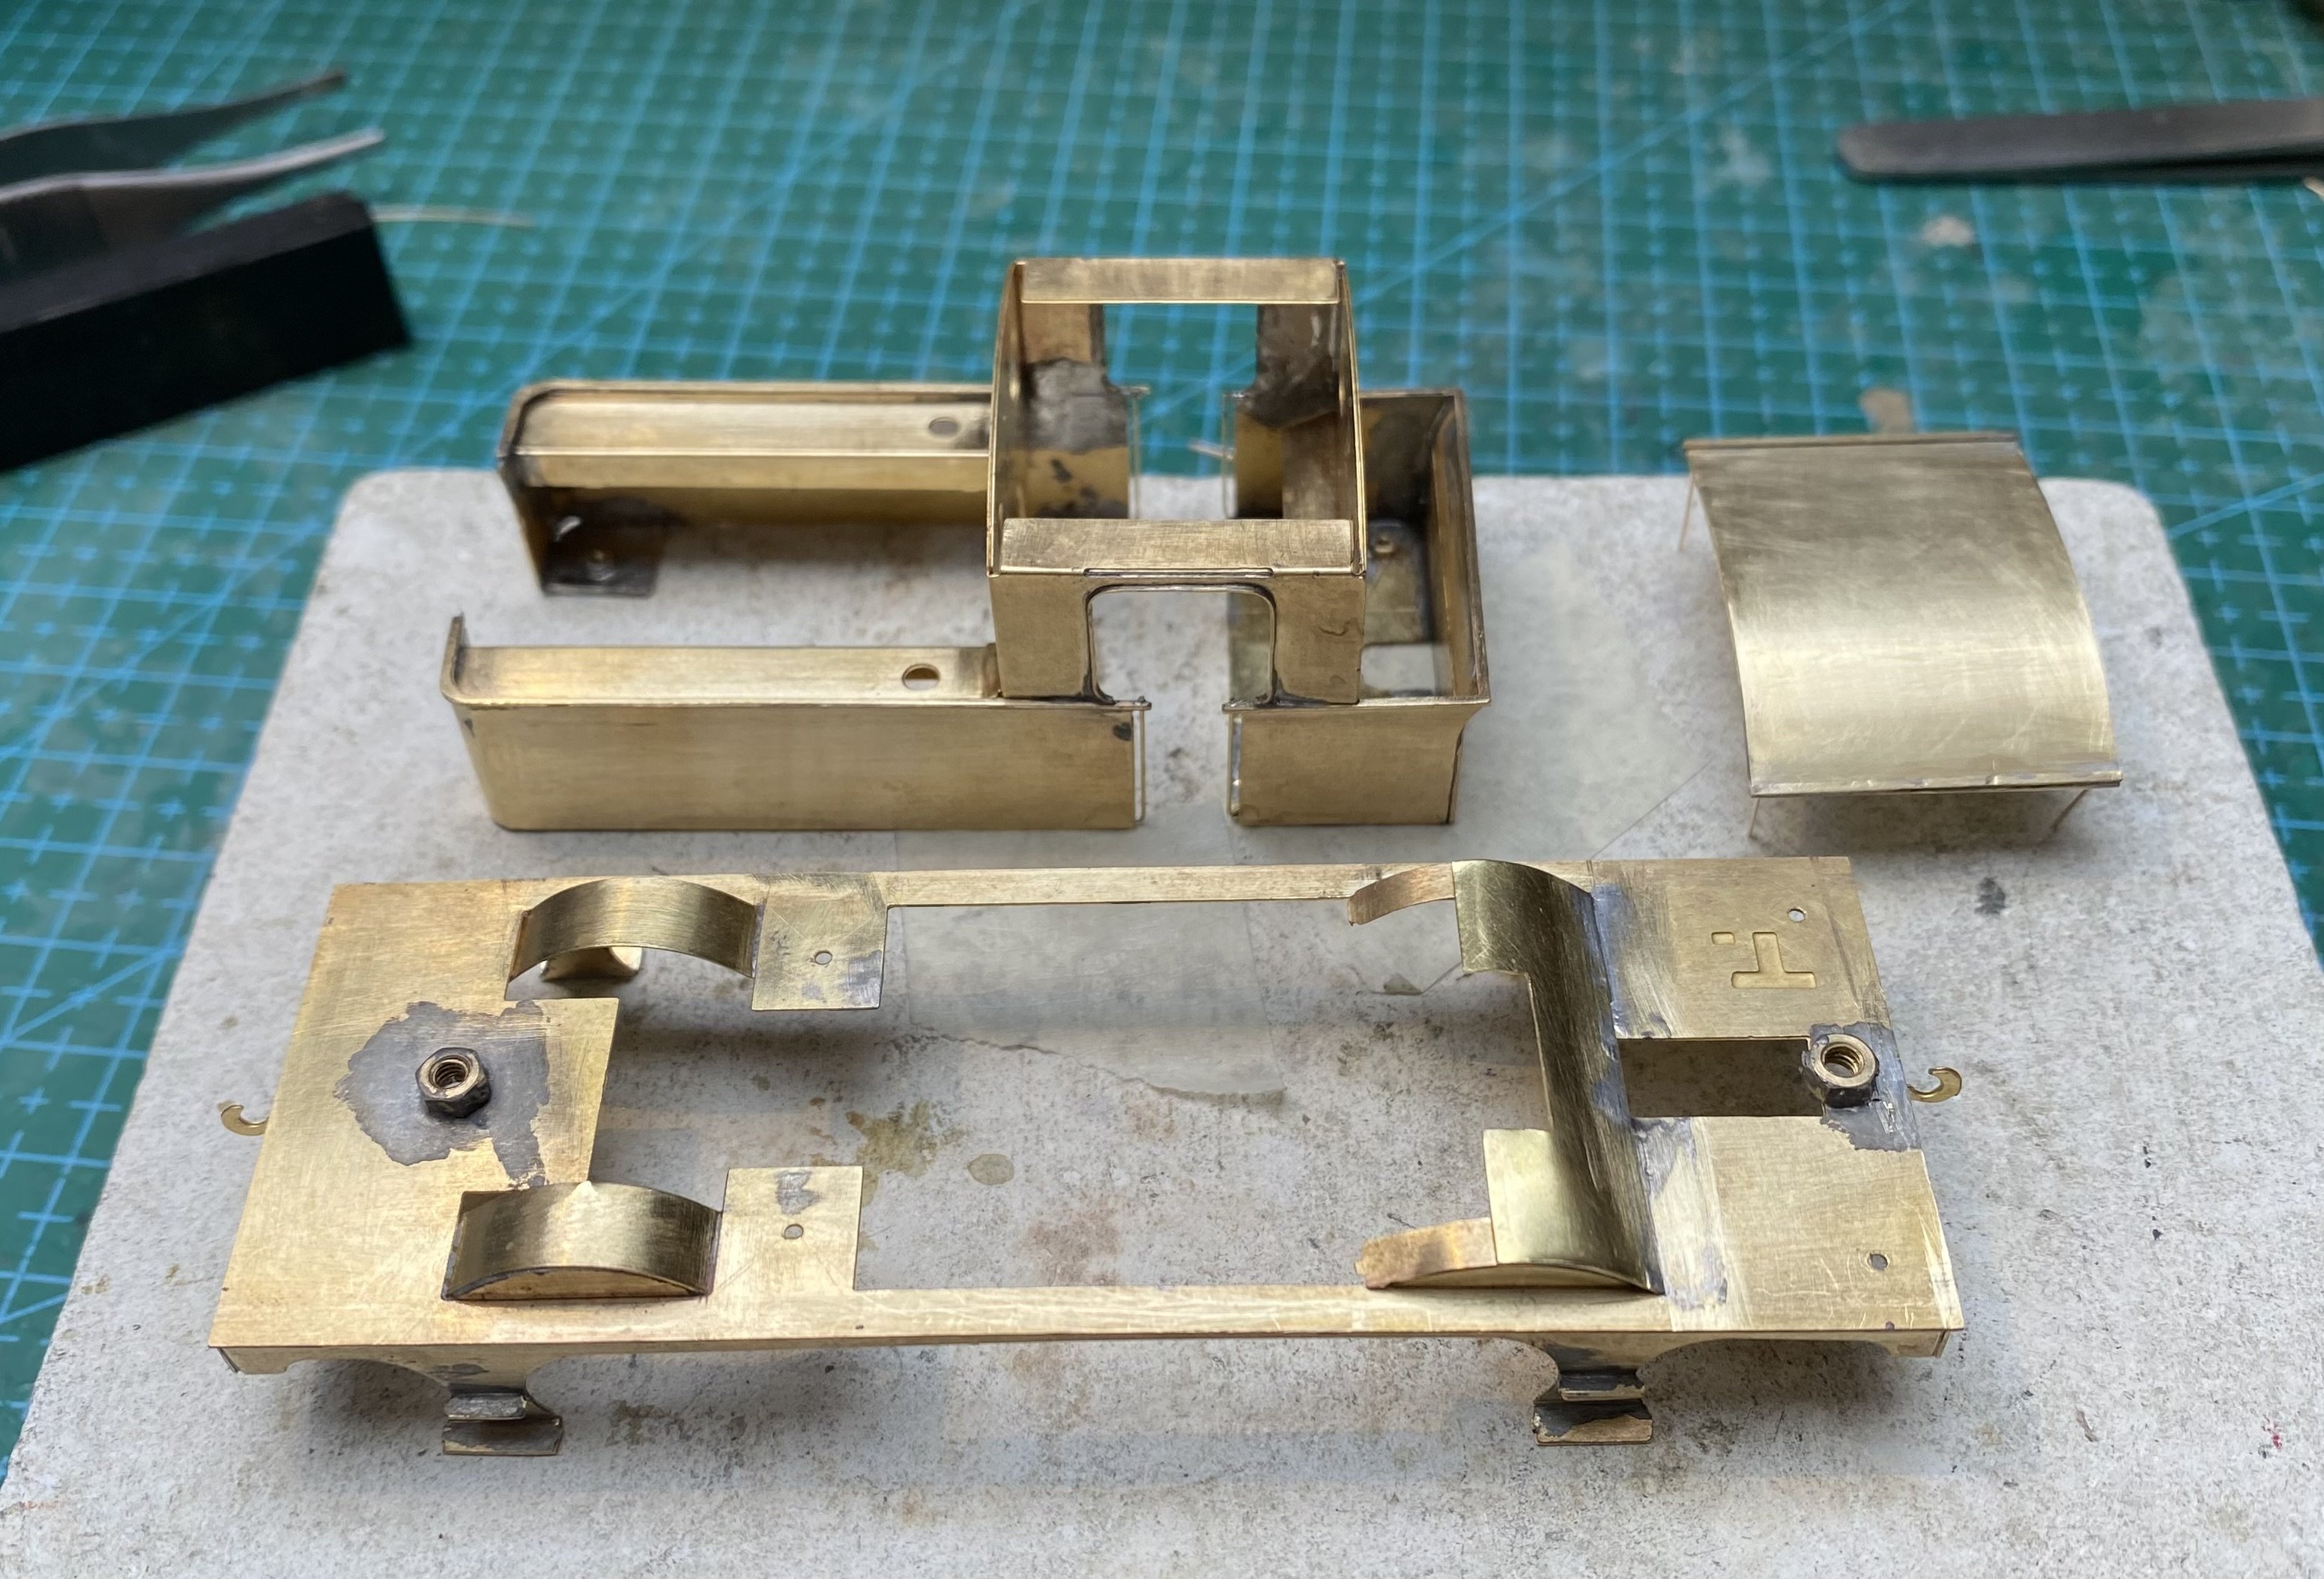
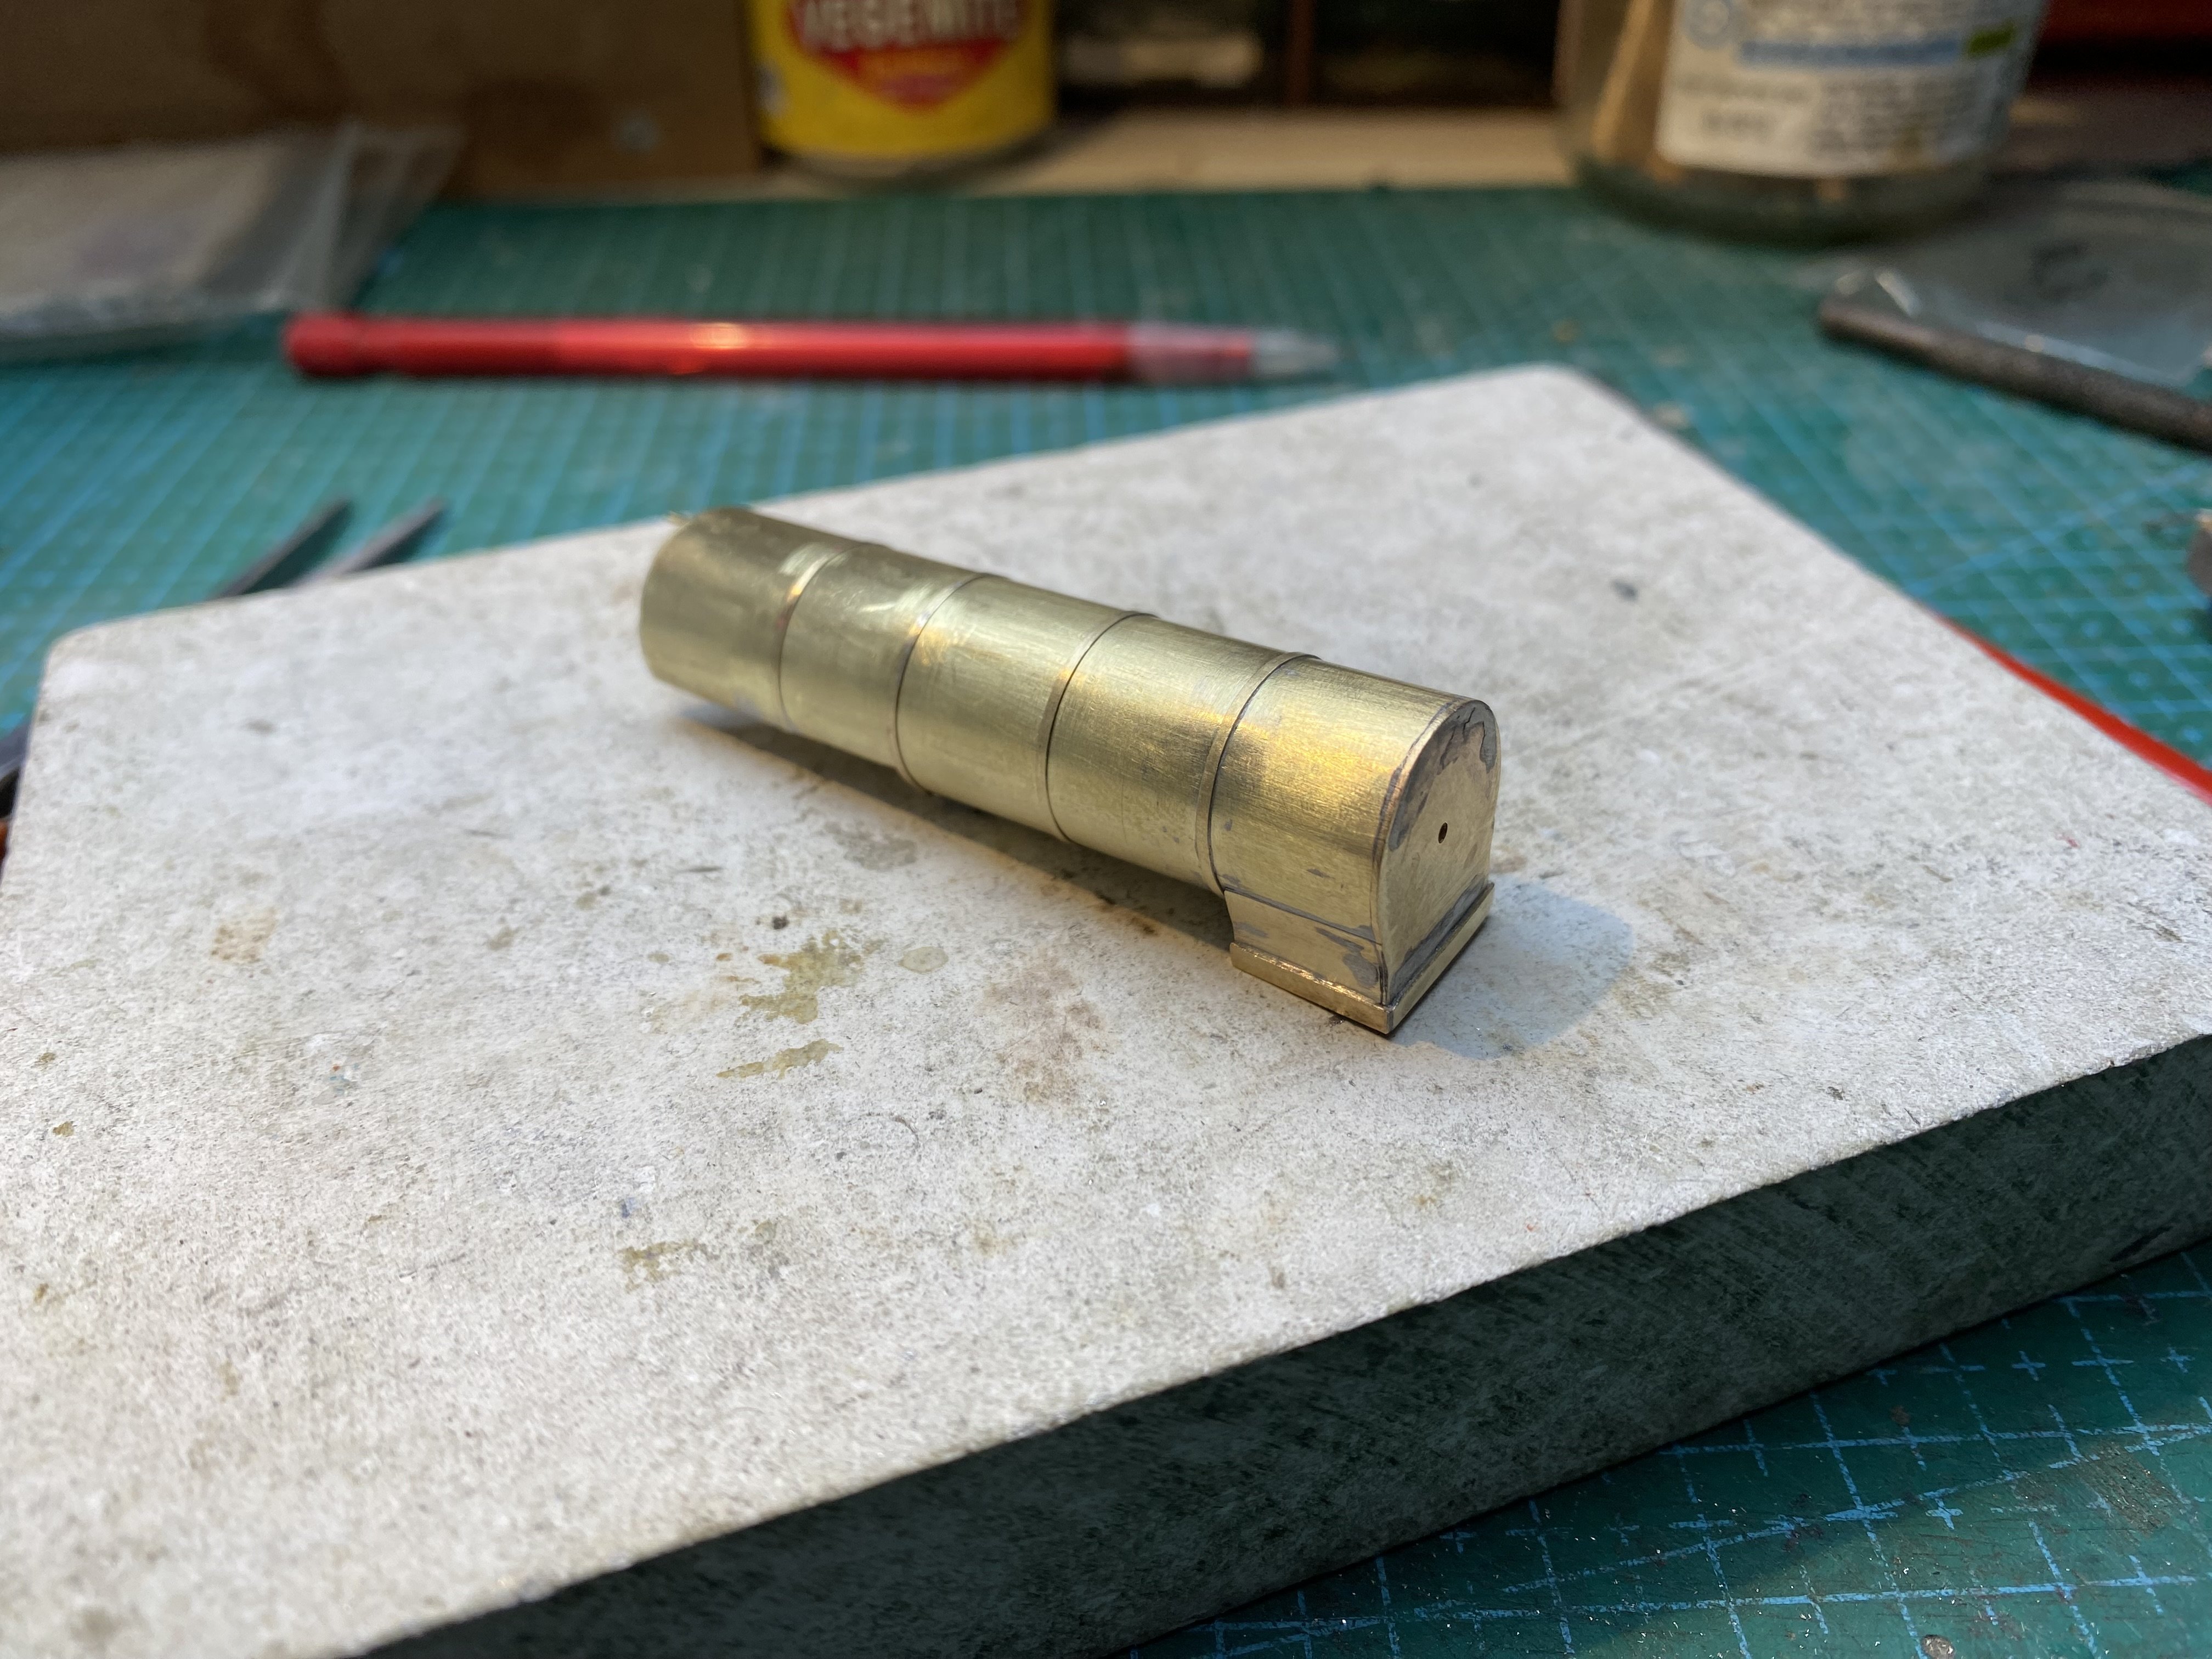
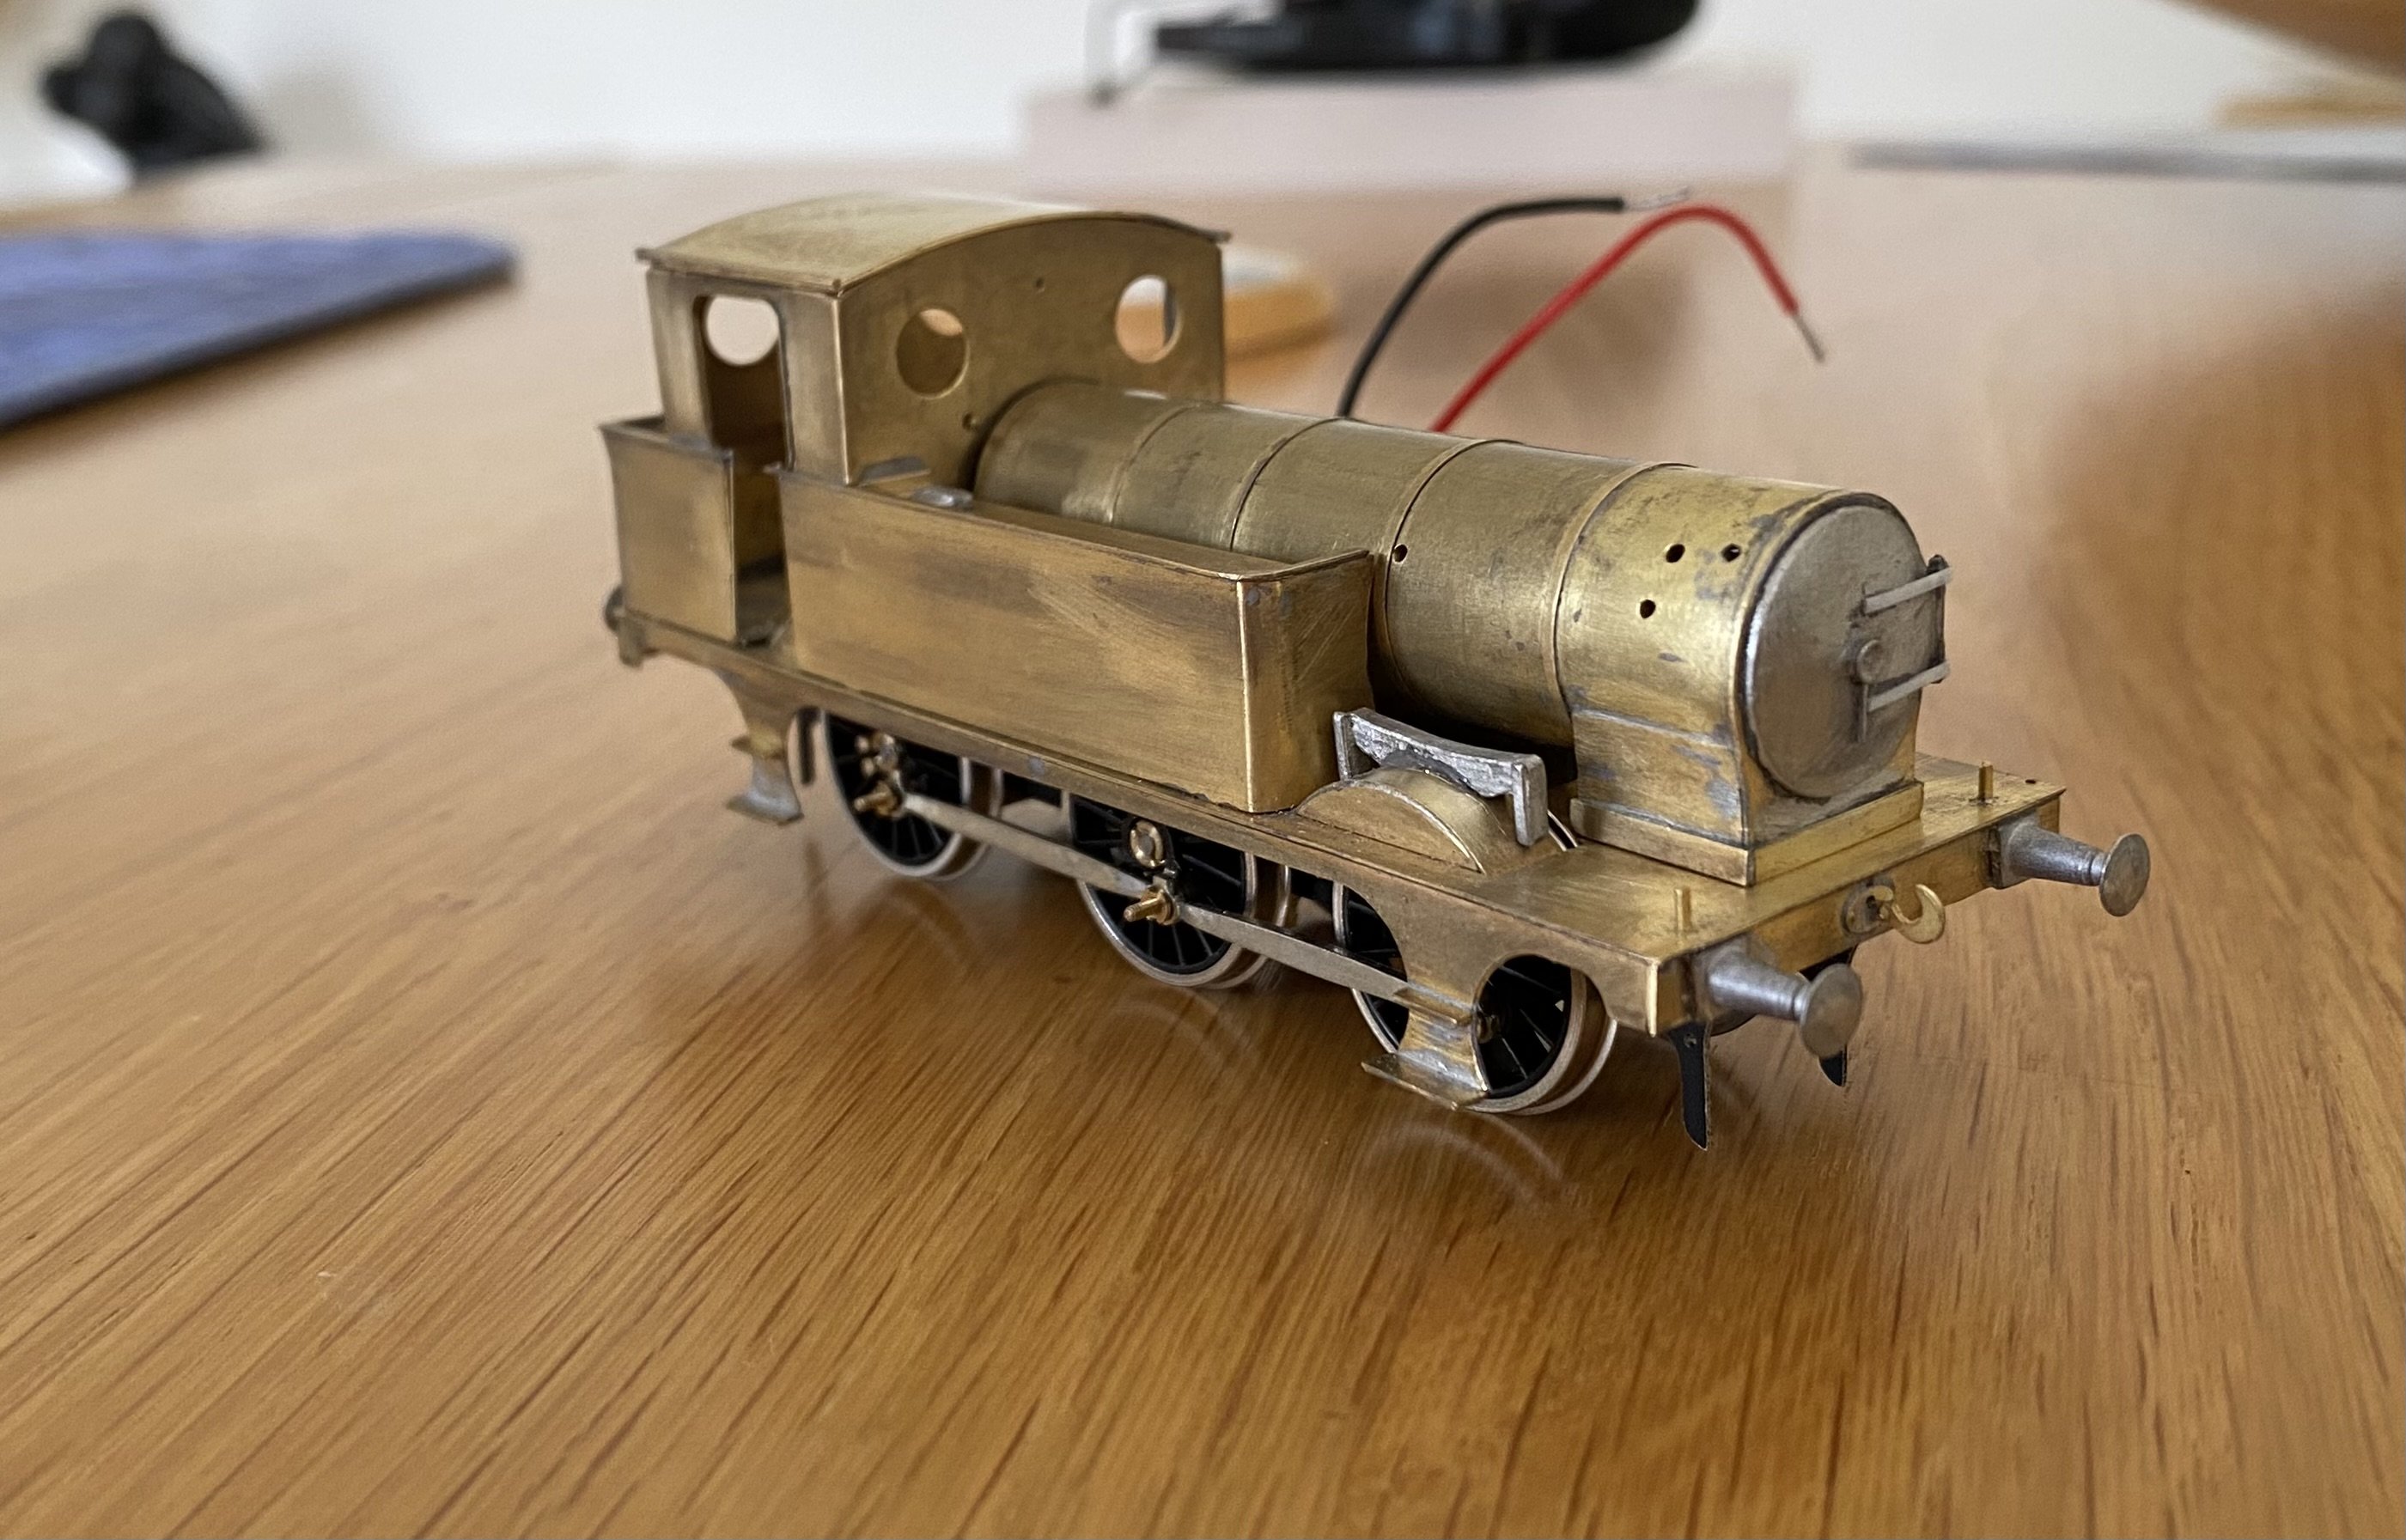
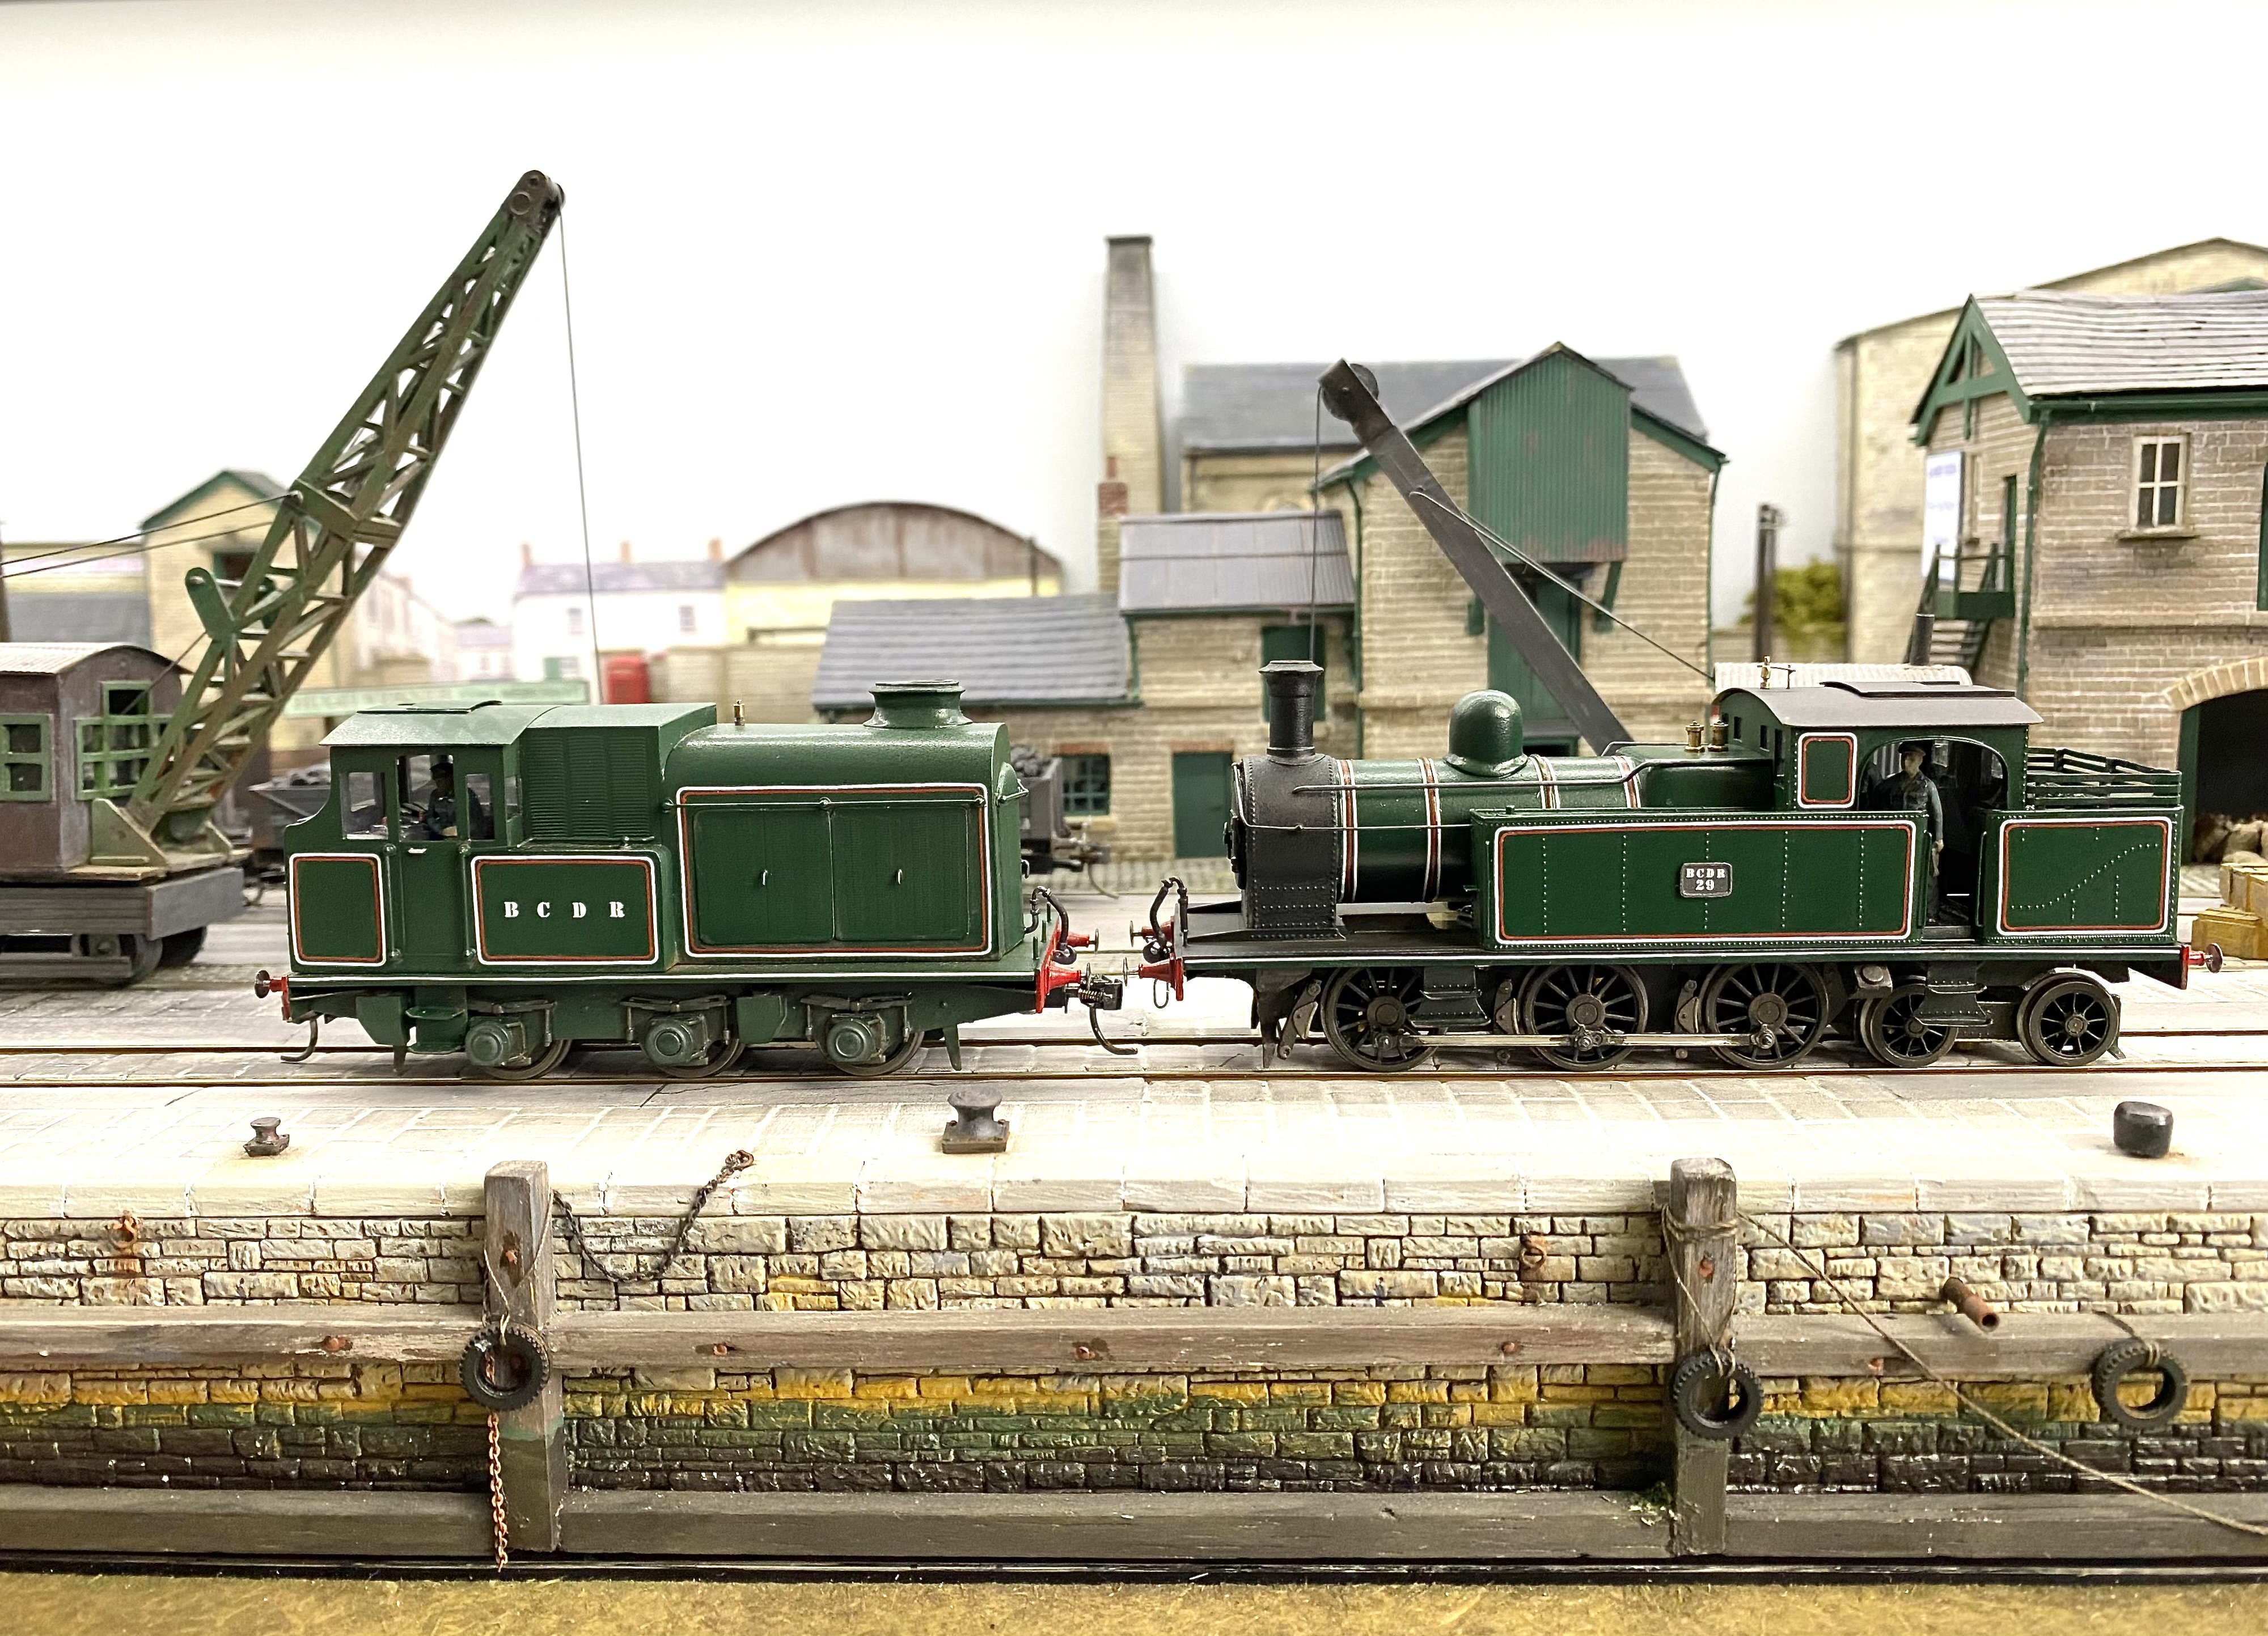
More T26. Taking a lead from Paul, I made wider splasher tops for the front axle in an attempt to disguise the OO gauge wheel spacing. It's certainly helped. A bit. The cab is a fold up design, front and sides, with the rear sheet soldered to this. Attaching the cab beading was a delicate task as was the beading on the bunker and tanks. Cab, bunker and tanks are soldered together into a single unit. This needs a bit of to and fro to get everything lined up and properly spaced. The instructions suggest soldering bunker and tanks to the running plate and there's no real reason not to do this. However, most of my BCDR locos were built as sub-sections which bolt together, which helps with painting and lining later. It's an approach I first came across in building Judith Edge kits and I've done it here too. There are two 14BA captive nuts in the back corners of the bunker and one at the front of each tank. Four 14BA bolts hold the whole structure tightly down onto the running plate. The boiler supplied with the kit is a heavy duty bit of brass tube. I got through 3 piercing saw blades cutting a clearance for the motor and gearbox. Soldering things to it was an even bigger challenge. It needed a lot of heat and plenty of time to get the solder melting and the whole thing was too hot to touch for about a minute after each task. The Resistance Soldering Unit came in handy to effectively tack boiler bands in place. Some detail bits added. The whitemetal castings were attached with 5 minute epoxy. More work needed on the chassis now - brakes and pickups. Always a joy to do Alan
- 860 replies
-
- 10
-

-

-
Looking really well. That's a great combination of industrial buildings in the background. Very convincing
-
Innovative stuff! Well done. And a new use for Polyfilla into the bargain
-
"Voiding the Warranty" - Mol's experiments in 21mm gauge
Tullygrainey replied to Mol_PMB's topic in Irish Models
I notice that ScaleLink, who produce Markit/Romford-type wheels only sell crankpins if you also buy their wheels. https://www.scalelink.co.uk/acatalog/Locomotive_Driving_Wheels_.html -
"Voiding the Warranty" - Mol's experiments in 21mm gauge
Tullygrainey replied to Mol_PMB's topic in Irish Models
Some very fine engineering going on here Paul. Once made, I imagine it will be endlessly useful in the future making all the effort worthwhile. -
Custom 3D printed Aluminium class Peckett “Tyrone”
Tullygrainey replied to Jamie Davis's topic in Irish Models
Great piece of work Jamie.- 5 replies
-
- 1
-

-
- 009
- narrow gauge
- (and 5 more)
-
Clogherhead - A GNR(I) Seaside Terminus
Tullygrainey replied to Patrick Davey's topic in Irish Model Layouts
Amm…. The one with the red engine?… the one with no engines? I think I detect an NCC 12inches/foot model amongst the 4mm/ft models -
"Voiding the Warranty" - Mol's experiments in 21mm gauge
Tullygrainey replied to Mol_PMB's topic in Irish Models
That’s a lot of work! -
"Voiding the Warranty" - Mol's experiments in 21mm gauge
Tullygrainey replied to Mol_PMB's topic in Irish Models
Gibson wheels and some 1/8” steel rod? -
"Voiding the Warranty" - Mol's experiments in 21mm gauge
Tullygrainey replied to Mol_PMB's topic in Irish Models
Probably a sensible precaution. May save heartache later -
Quick question. Can I join this one as a non-member on Zoom and if so, how do I do so or where can I find a link? Alan
-
Clogherhead - A GNR(I) Seaside Terminus
Tullygrainey replied to Patrick Davey's topic in Irish Model Layouts
Fab! The layout looks really well, especially the station building and I love that shot of A3r from below on the beach. -
Good point. Luckily, I only ever hung coupling rods on mine. Possibly even earlier. This on the E Class/J26 etch...
-
"Voiding the Warranty" - Mol's experiments in 21mm gauge
Tullygrainey replied to Mol_PMB's topic in Irish Models
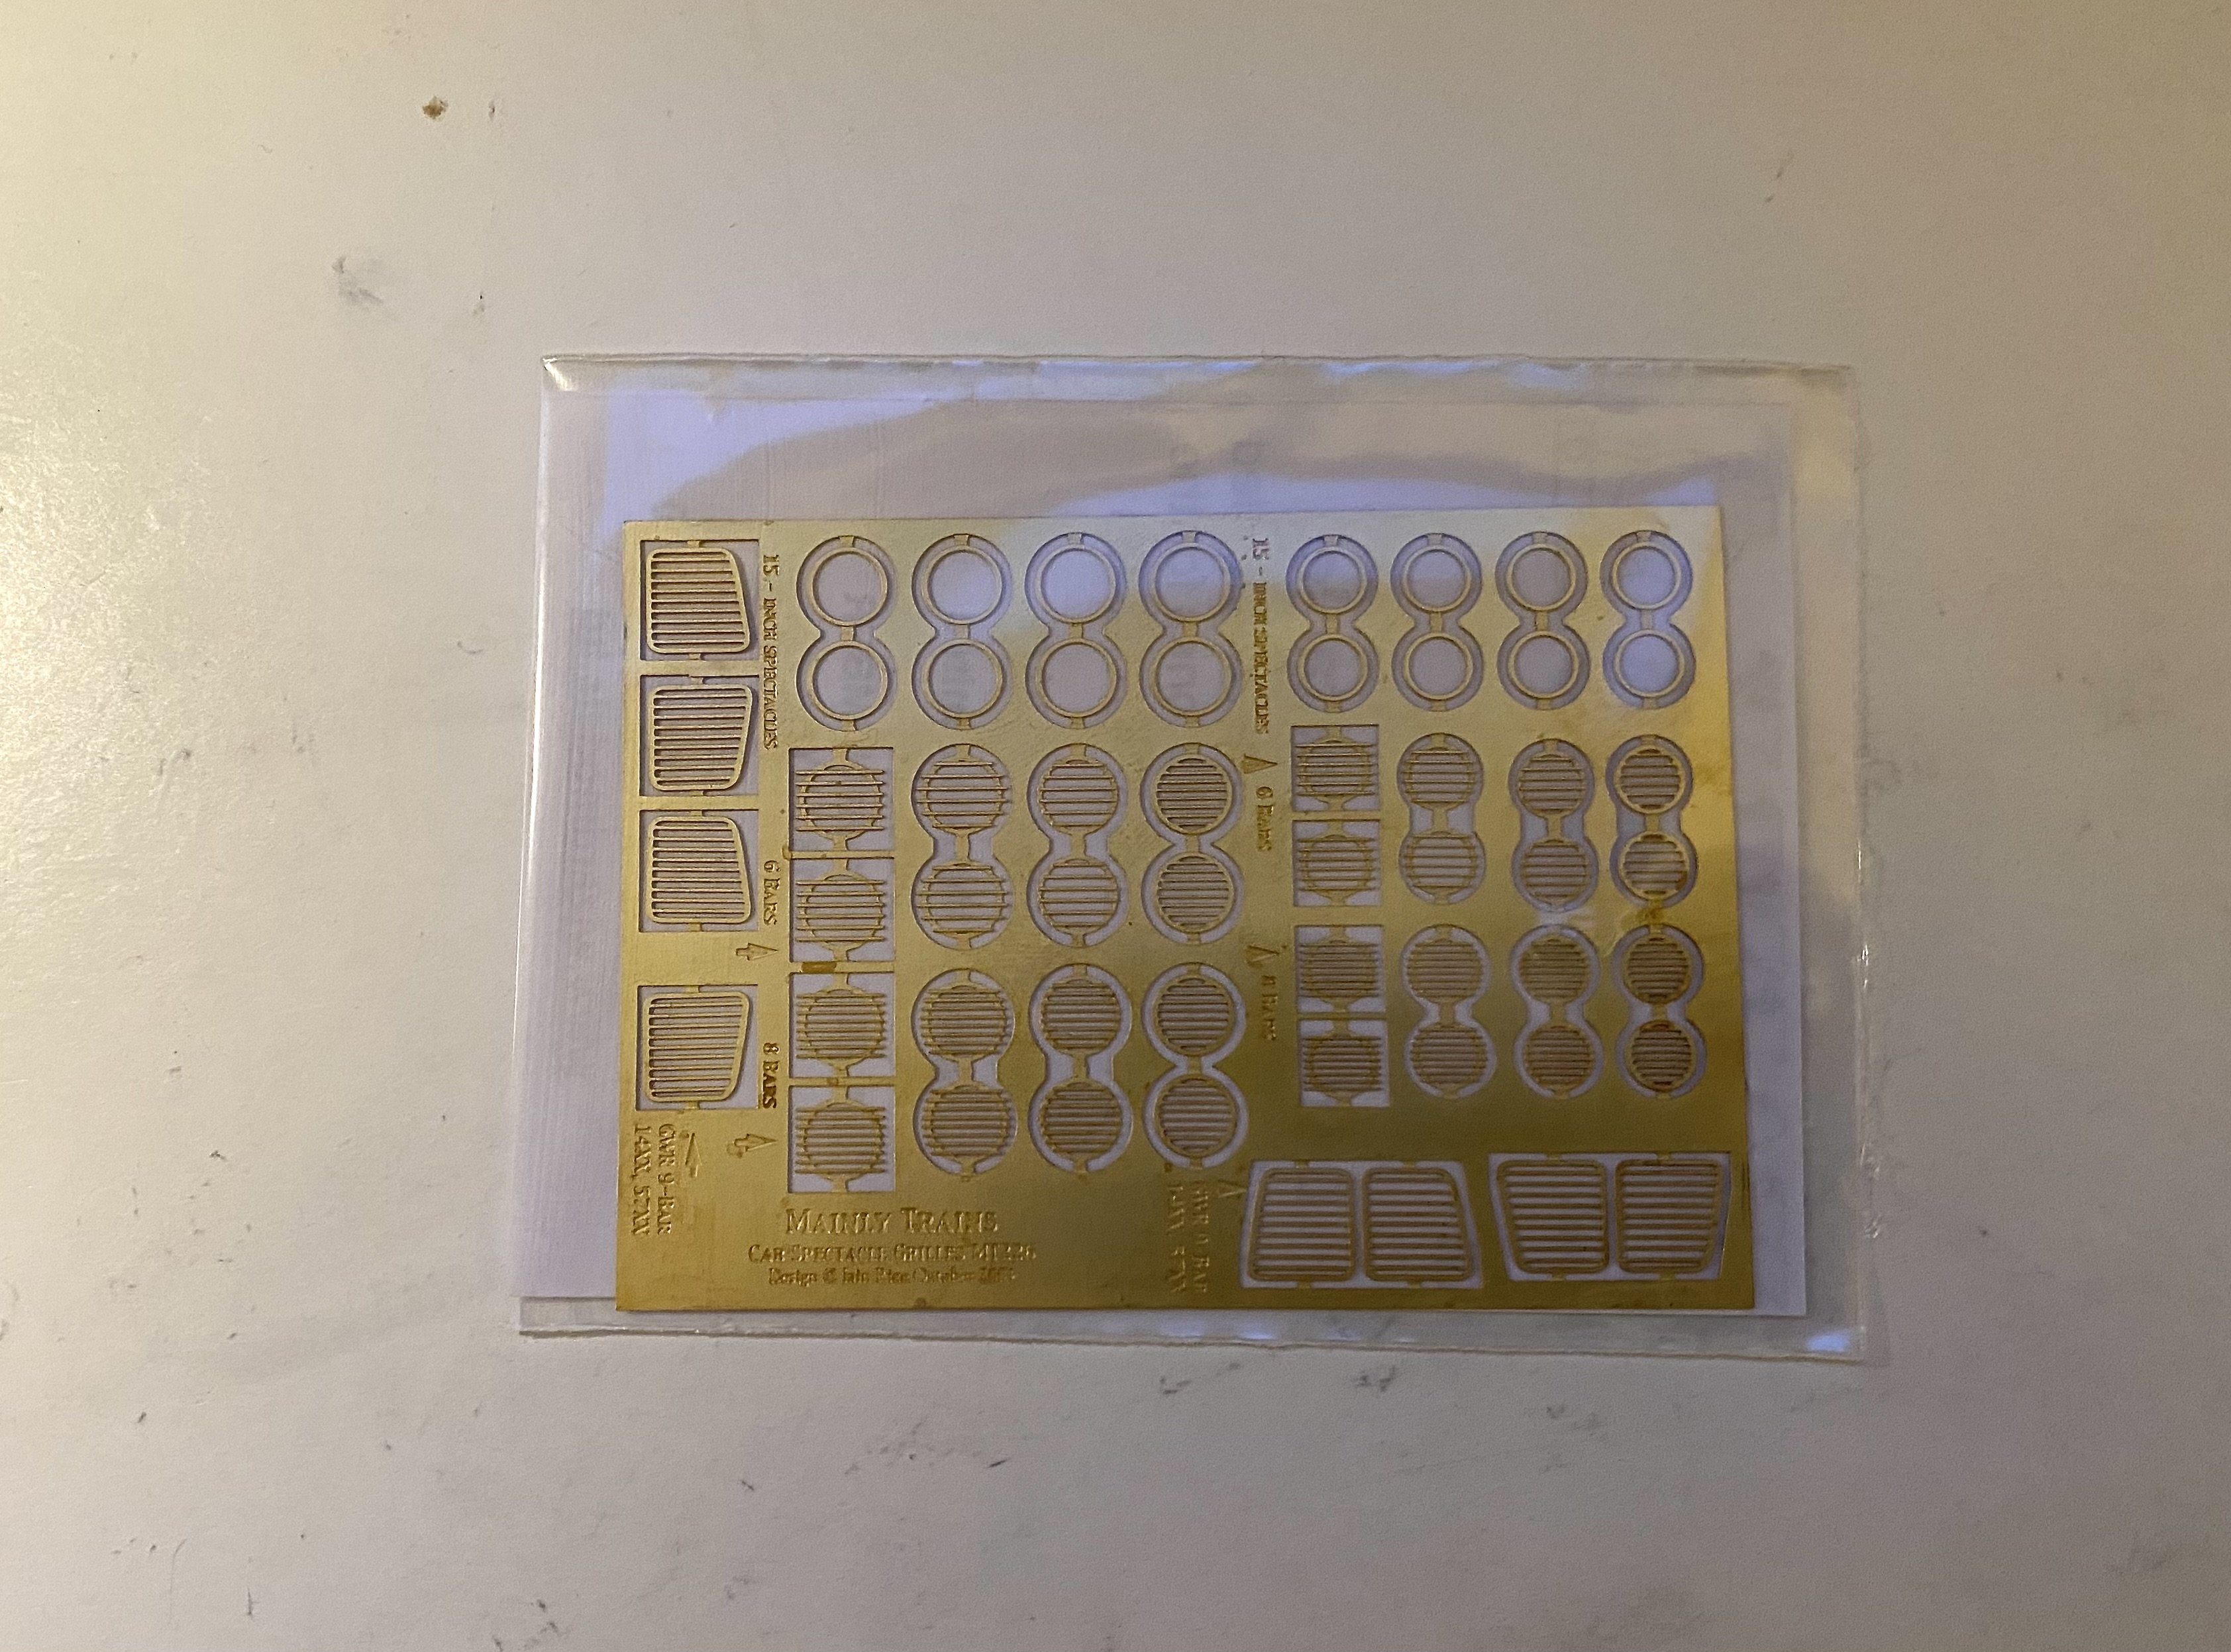
That's an inspired technique for making window bars. Probably unwise to show you this now you've done the job but for future reference... an old Mainly Trains etch, available from Wizard Models It wouldn't cover the type of bars on the J26 anyway
-
Might be wise
-
"Voiding the Warranty" - Mol's experiments in 21mm gauge
Tullygrainey replied to Mol_PMB's topic in Irish Models
That's an immaculate job Paul. Really neat and tidy and obviously built with invisible solder . I haven't done any of this yet so I'm studying form here. Good luck with the build. You've made a flying start. Kieran and I have settled on 562. Alan -
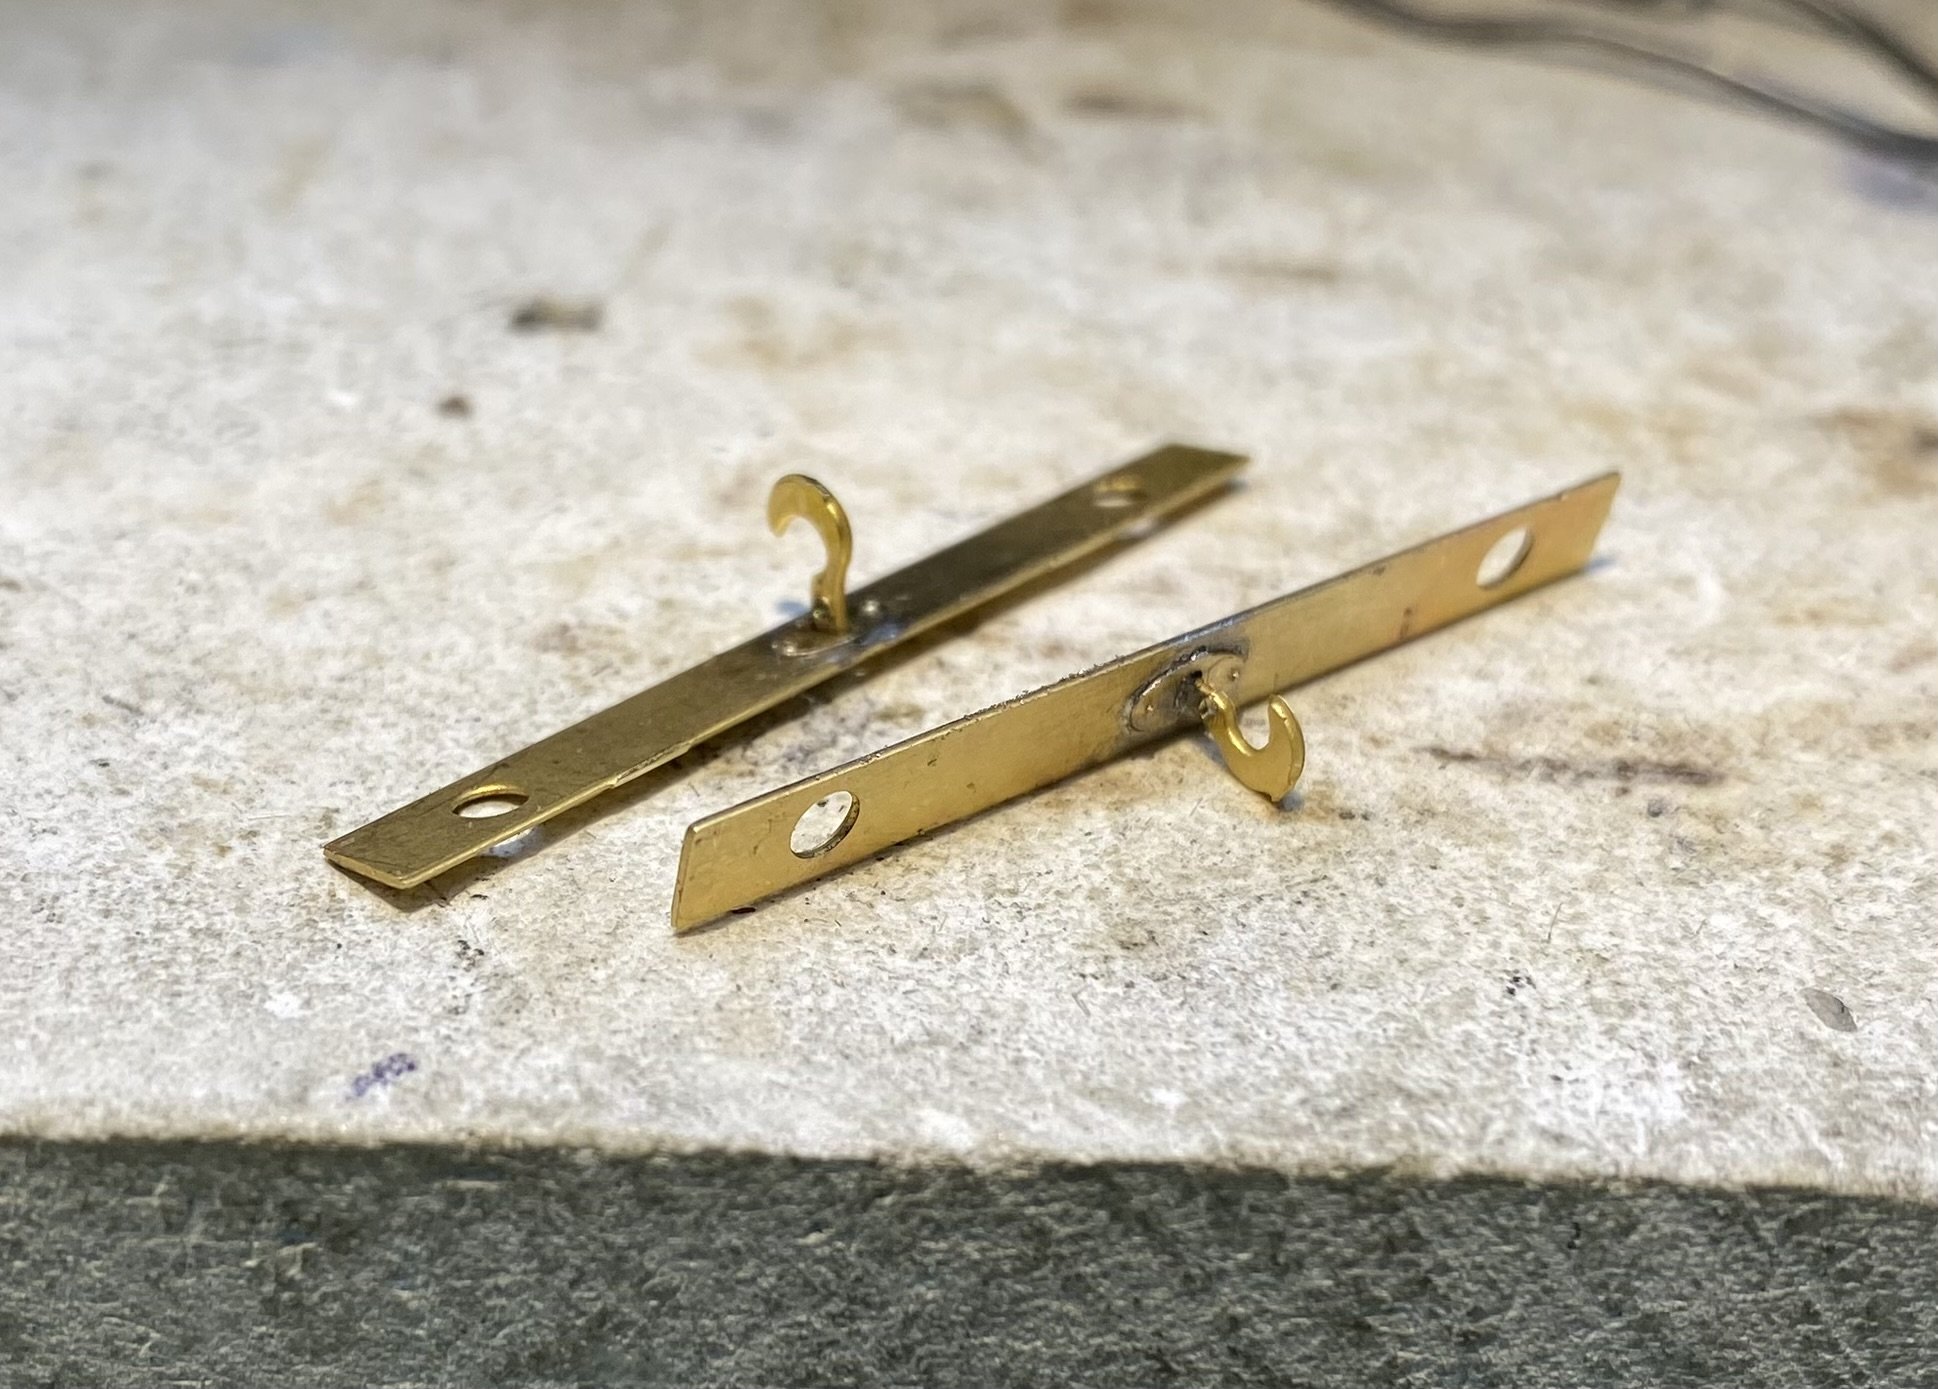
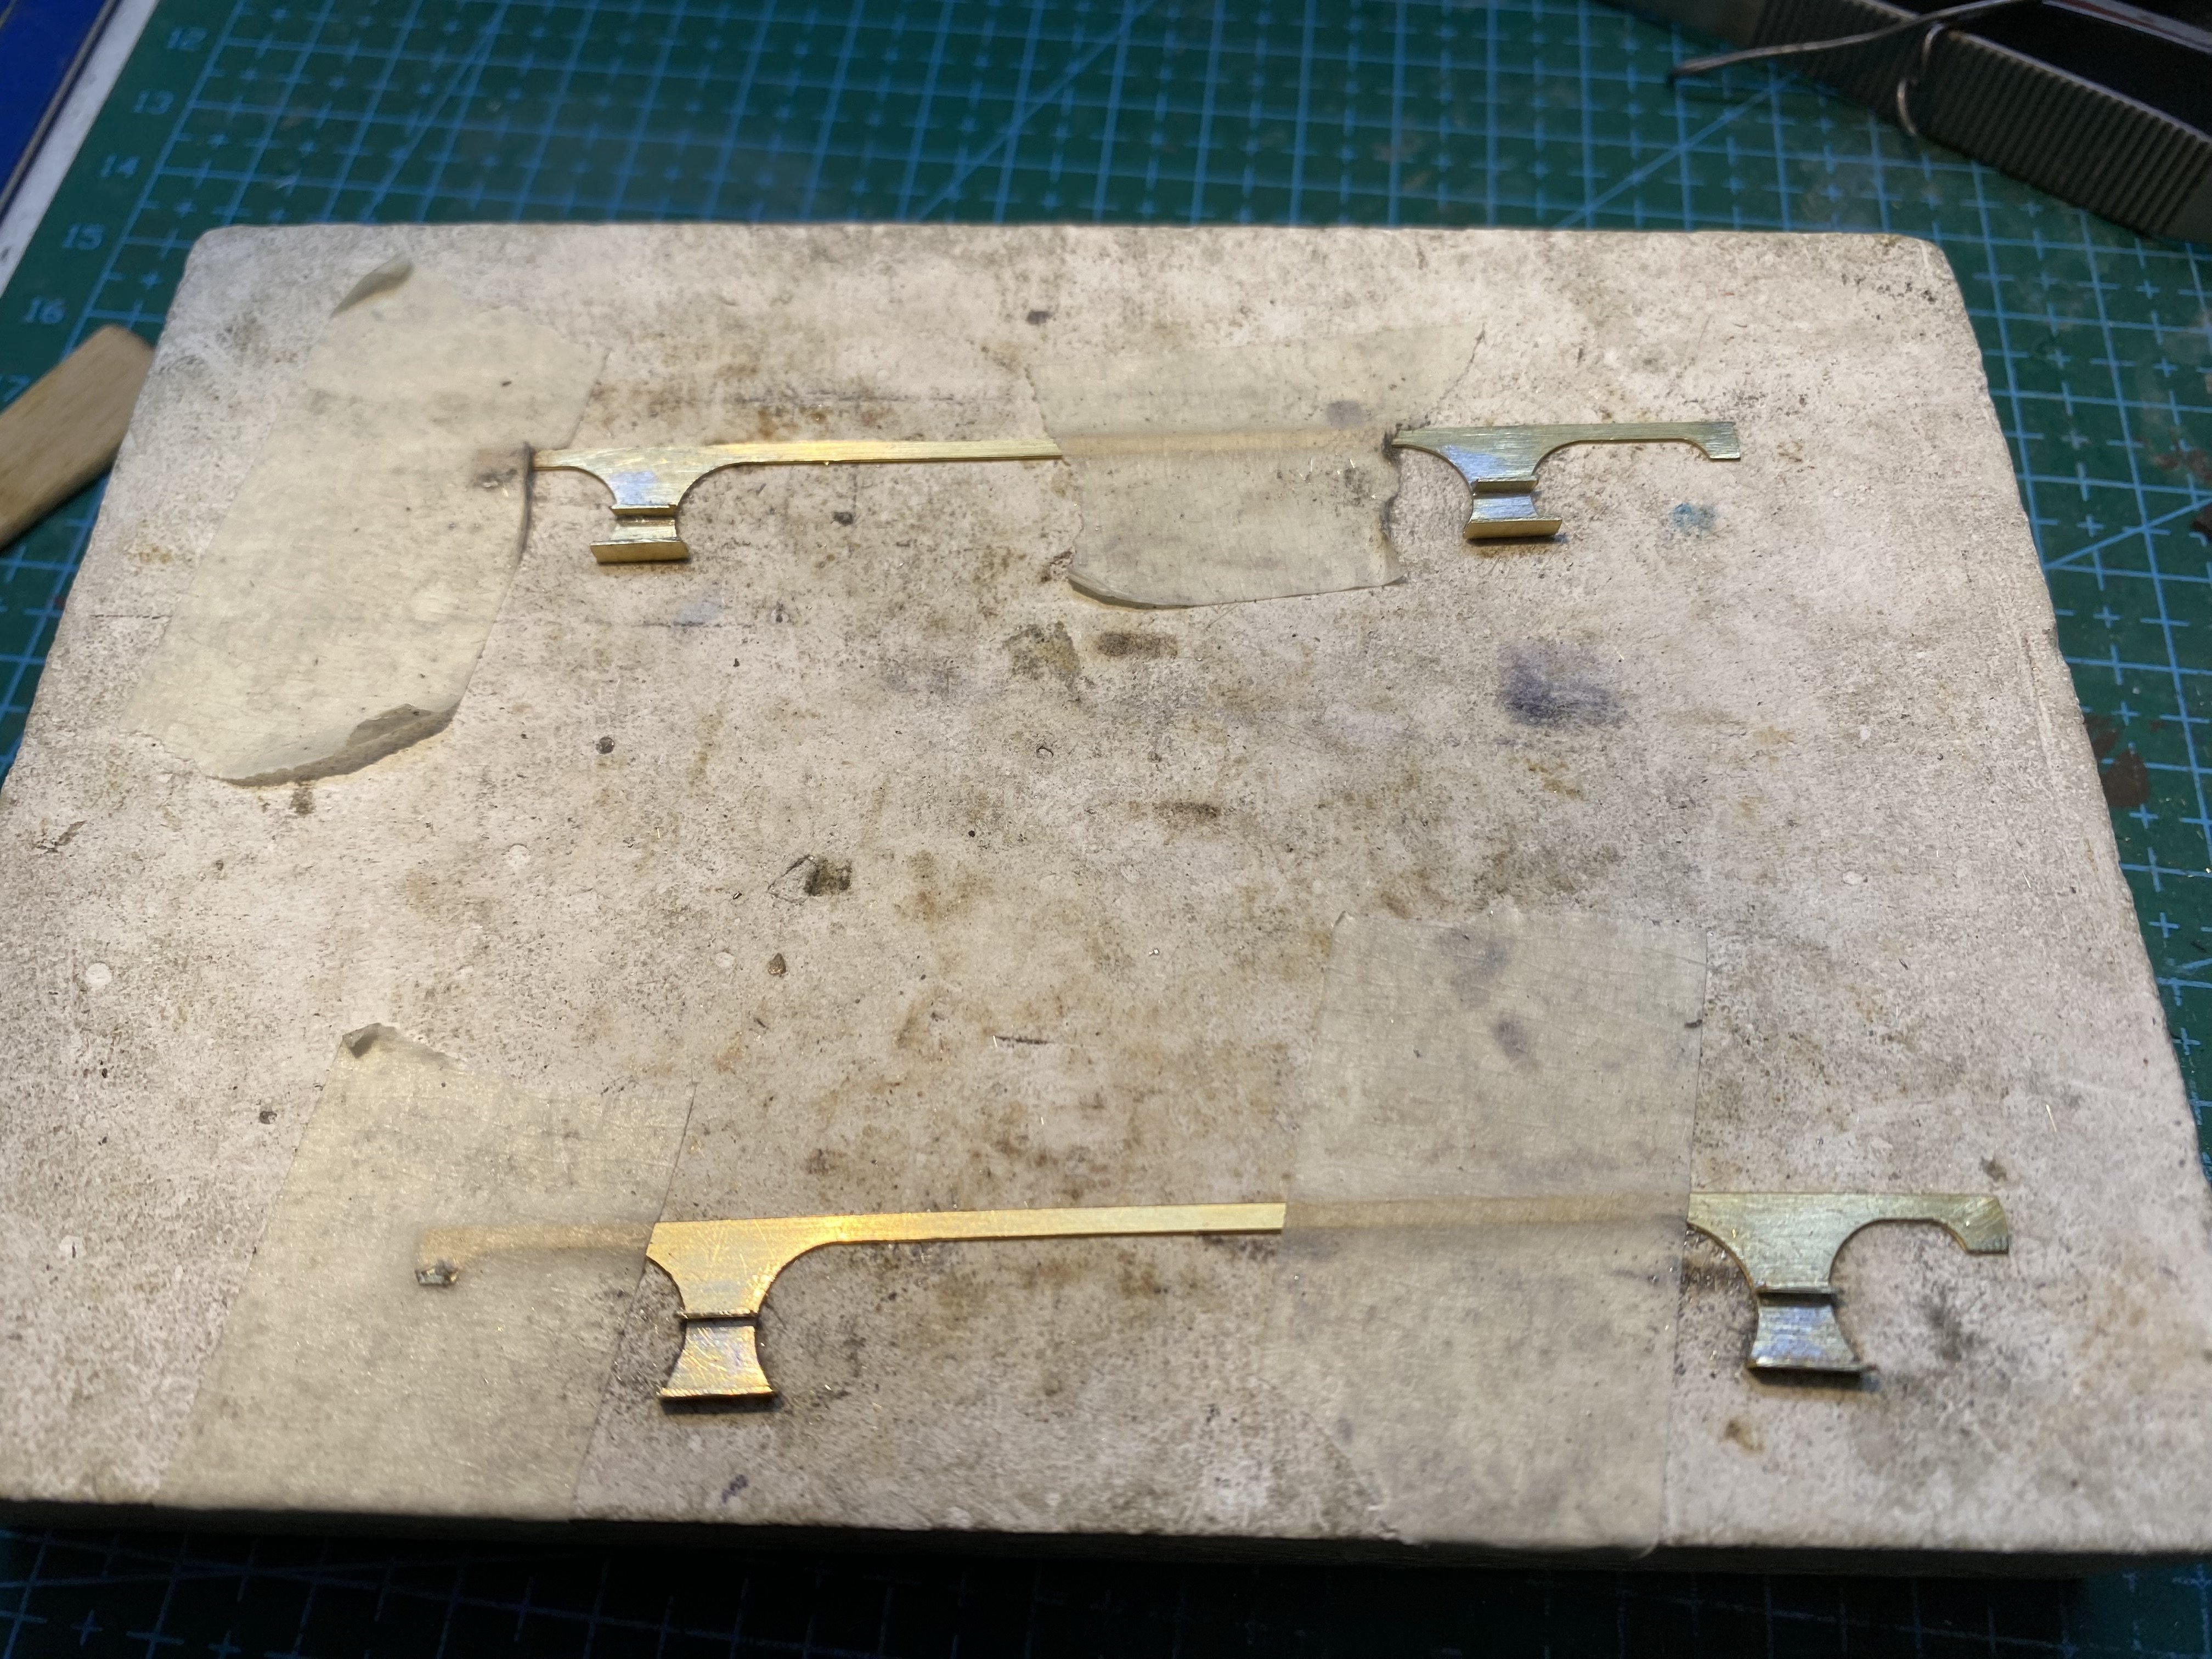
Storm Dave has been banging its coat tails against the windows all afternoon here so there was time for more J26. The instructions suggest soldering the splasher tops to their respective sides on the running plate before bending them up which is definitely the easier way to do a tricky job. Two done, two more to bend up here... OO 16.5mm gauge meets the Irish Locomotive... Maybe we'll just view it from the side. These steps were another fiddly soldering job. Contrary to the instructions this time, it's easier to solder them on before the valances are fitted to the running plate. Coupling hooks and strengthening plates are also easier to add before the buffer beams go on. All the best jigs are made from lollipop sticks and masking tape but spot the deliberate mistake. I didn't. That'll teach me to be blasé. Running plate is a bit less floppy now. Time to knock off. Alan
-
Thanks for this John. Most useful. That's a lovely model. Such a shame that Mike Sharman's wheels aren't available any more. They were beautifully made and the moulded-in crankpins made life so much easier. I have a couple of locos fitted with them. The wheel visibility issue on the J26 will be even more pronounced in 16.5 OO.
-
You may be right about the wheels being taller than the splashers. I had the same thought after I fitted the running plate. The instructions recommend 18 mm diameter Markits. The ScaleLinks are 18.5 mm, compounding the problem. Only the front axle is likely to be a problem. Middle axle will be inside the tanks. The splashers inside the cab can probably be enlarged without it being too noticeable. I'll cross that bridge when I come to it. Soon probably! I tend never to get round to cab detail anyway and most of my County Down locos have the crew placed strategically in the doorways to hide the fact.
-
Clogherhead - A GNR(I) Seaside Terminus
Tullygrainey replied to Patrick Davey's topic in Irish Model Layouts
Nice one Patrick. The nighttime shots suggest a slightly damp autumn/winter evening to me. Platform wet underfoot. A bit of a chill in the air. I can nearly feel the change of temperature walking out of the waiting room onto the platform. -
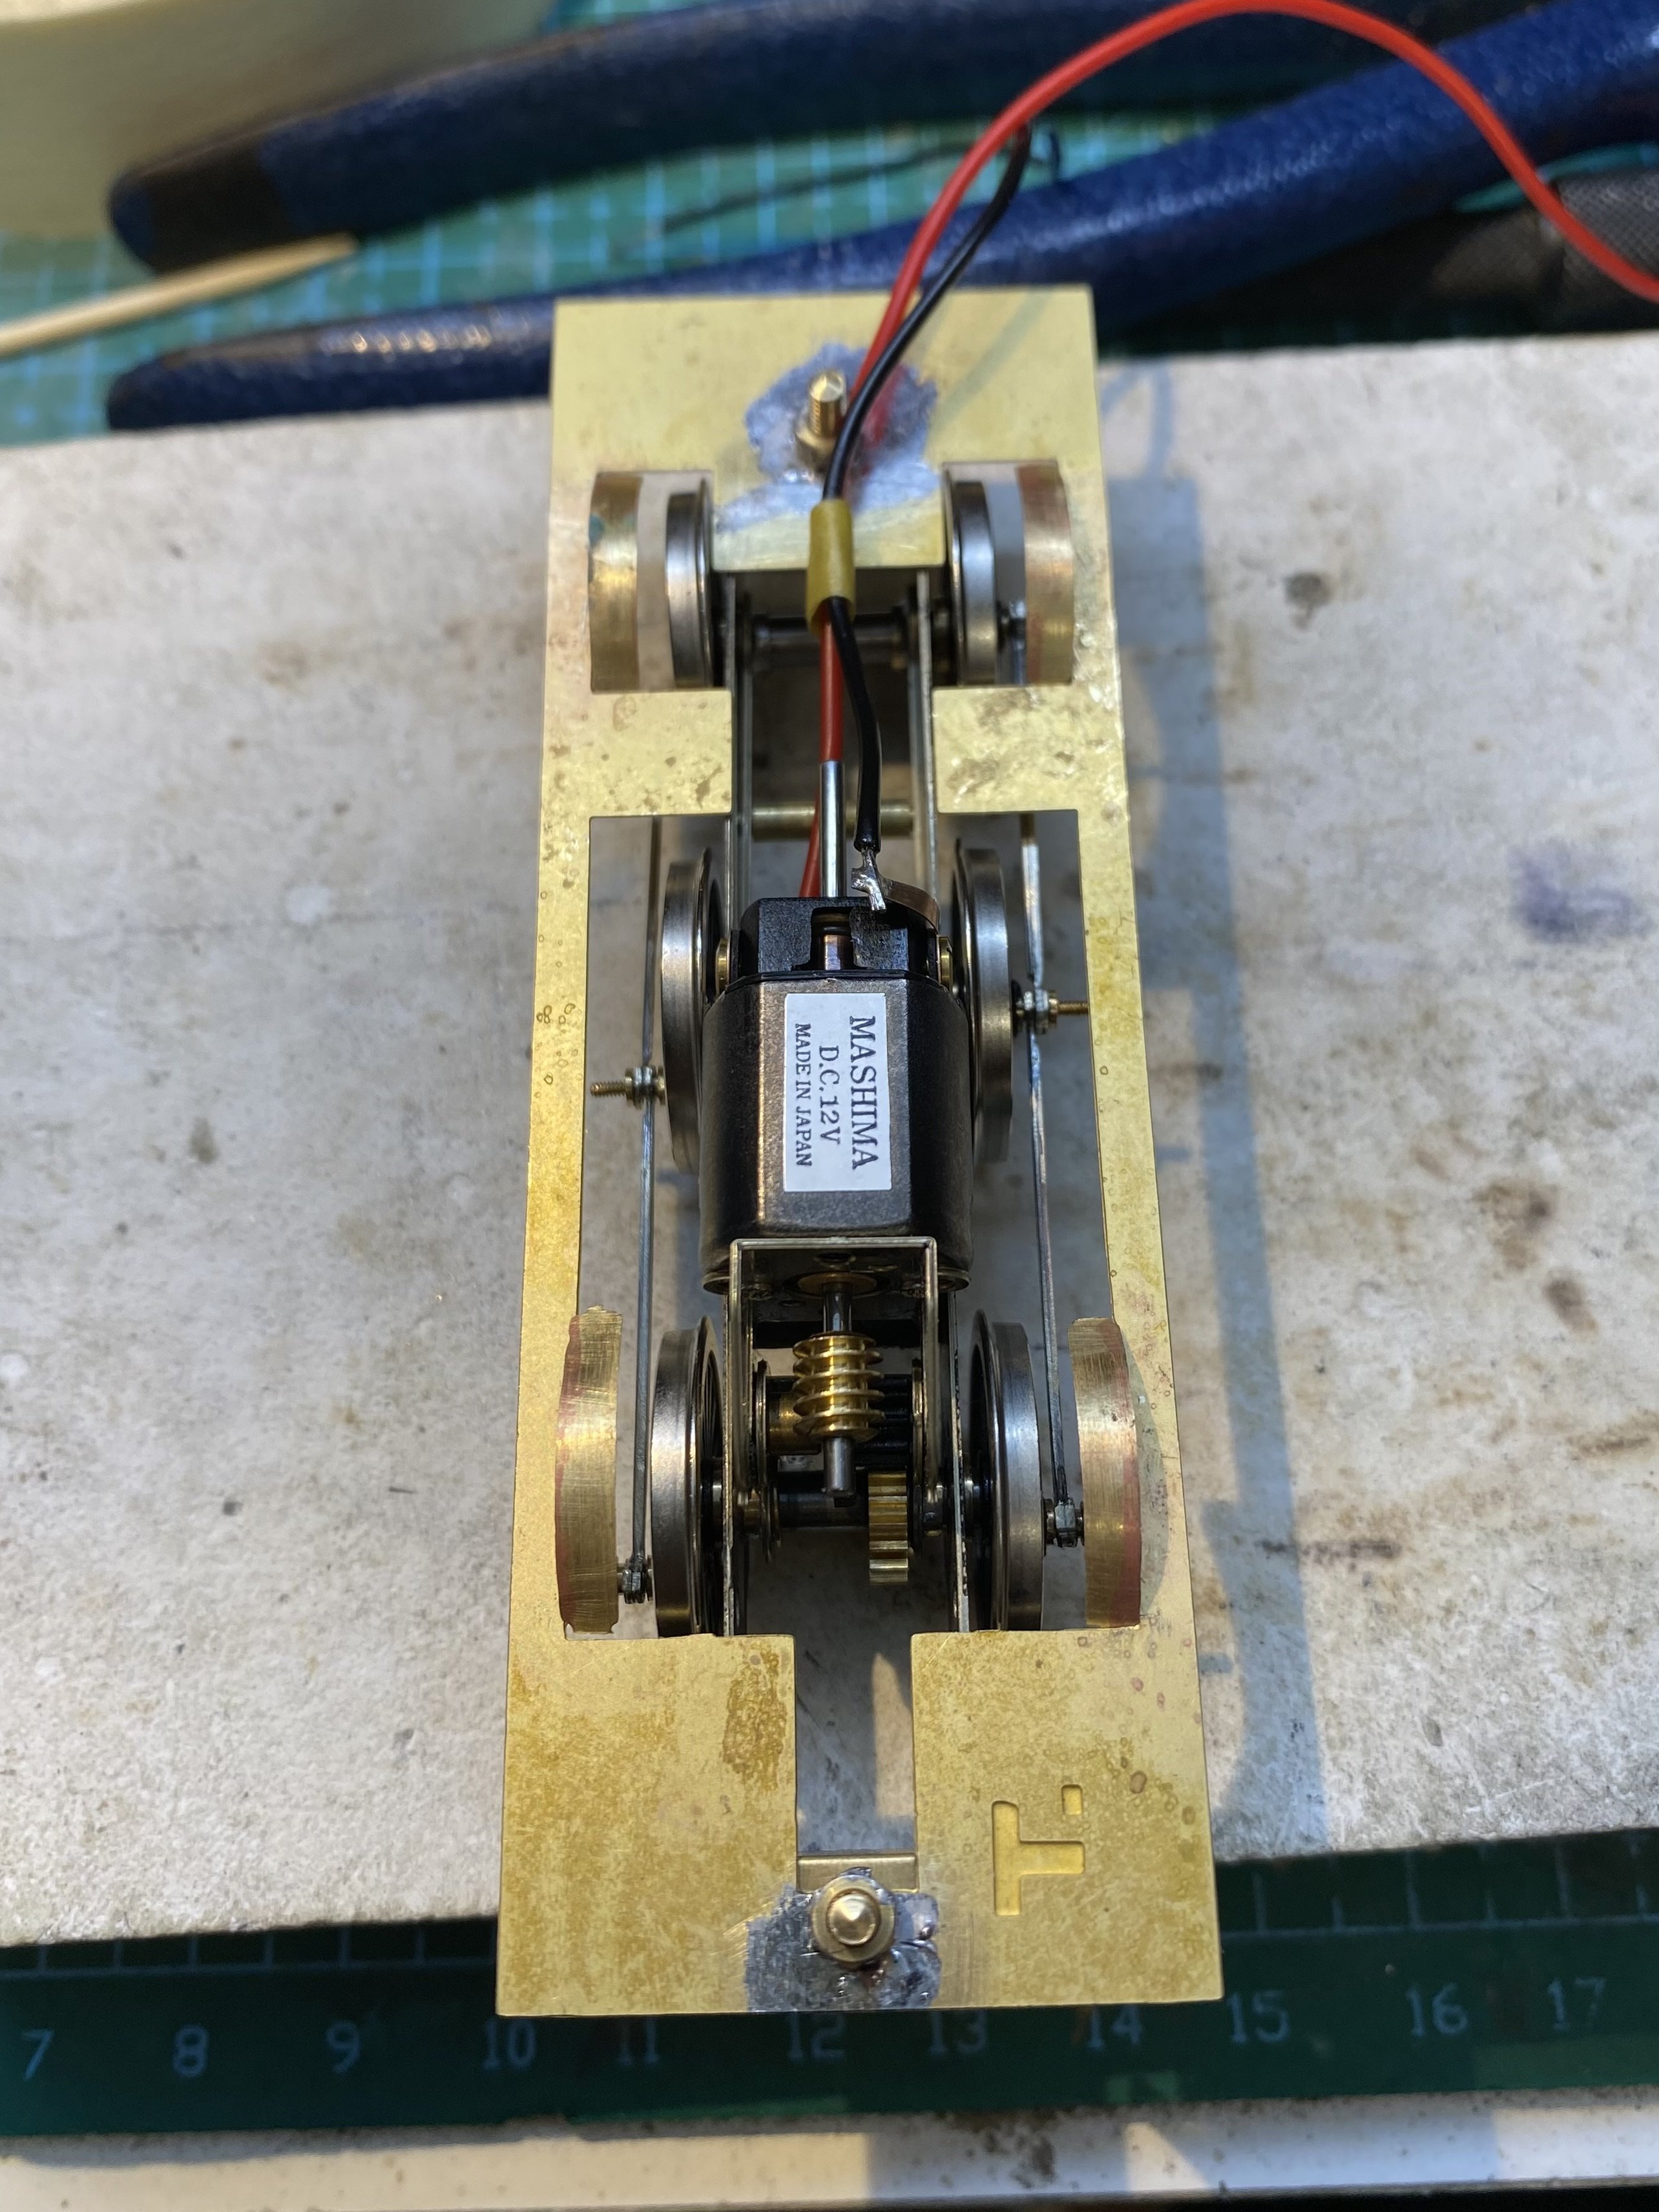
E Class/J26: Making the chassis work... The wheels that came with Kieran's E Class/J26 kit, presumably bought in by whoever originally purchased the kit but never built it, are from ScaleLink. They are similar to Markit wheels, having a square hole to fit onto square ended axles, but unlike Markits they have plastic centres not metal ones. They're consequently more fragile and I struggled to fit them square on the axles, conscious that I could be distorting the square hole as I forced them on. It's recommended that the square axle ends be lightly dressed with a fine file to remove any burrs. I did that and also tried to chamfer the edges of the hole in the wheels. First attempt resembled a clown car with wheels wobbling in all directions. Took them off again, tidied up the holes with a fine needle file and managed to get them on a bit straighter. It just needs care and patience. The wheeling up of the chassis and fitting of the coupling rods was the usual pantomime; two afternoons of fiddling and fettling, chasing tight spots round the chassis. At one point it ran smoothly forward but locked up in reverse. Eh? Eventually got it running reasonably smoothly in both directions. The cobbled up rod seems to have blended with its companions ok so that's a relief. IMG_4703.MOV Paul, Here's the running plate fitted to the chassis. Alan
-
I've been pouring over your photos for ages now David. You've made a lovely job of that. Shame it won't be stretching its legs but it'll be a worthy addition to the display cabinet.
-
Lovely, lovely stuff. Thanks for the nitty gritty photos John. Really useful.