Tullygrainey
-
Posts
1,139 -
Joined
-
Last visited
-
Days Won
60
Content Type
Profiles
Forums
Events
Gallery
Blogs
Everything posted by Tullygrainey
-

"Voiding the Warranty" - Mol's experiments in 21mm gauge
Tullygrainey replied to Mol_PMB's topic in Irish Models
That's an intriguing approach to uncoupling Paul. I use Kadees and installed Kadee's own under track magnets on Kilmore but haven't had a lot of luck with them. I can get them to release the couplings under compression, as they're meant to do, but I can't reliably prevent them from uncoupling under tension. So when trains pull away over them, wagons or coaches tend to come apart when they shouldn't. I've tried adjusting the distance of the magnets below the track and also removing the steel booster plate but I can't seem to find a happy balance. If the train stays coupled under tension, then couplings don't release under compression, and vice versa. I know coupler height and distance of the loop above sleeper height is fairly critical but even after trying to get that right I'm still having problems. I've more or less given up on the magnets now. -
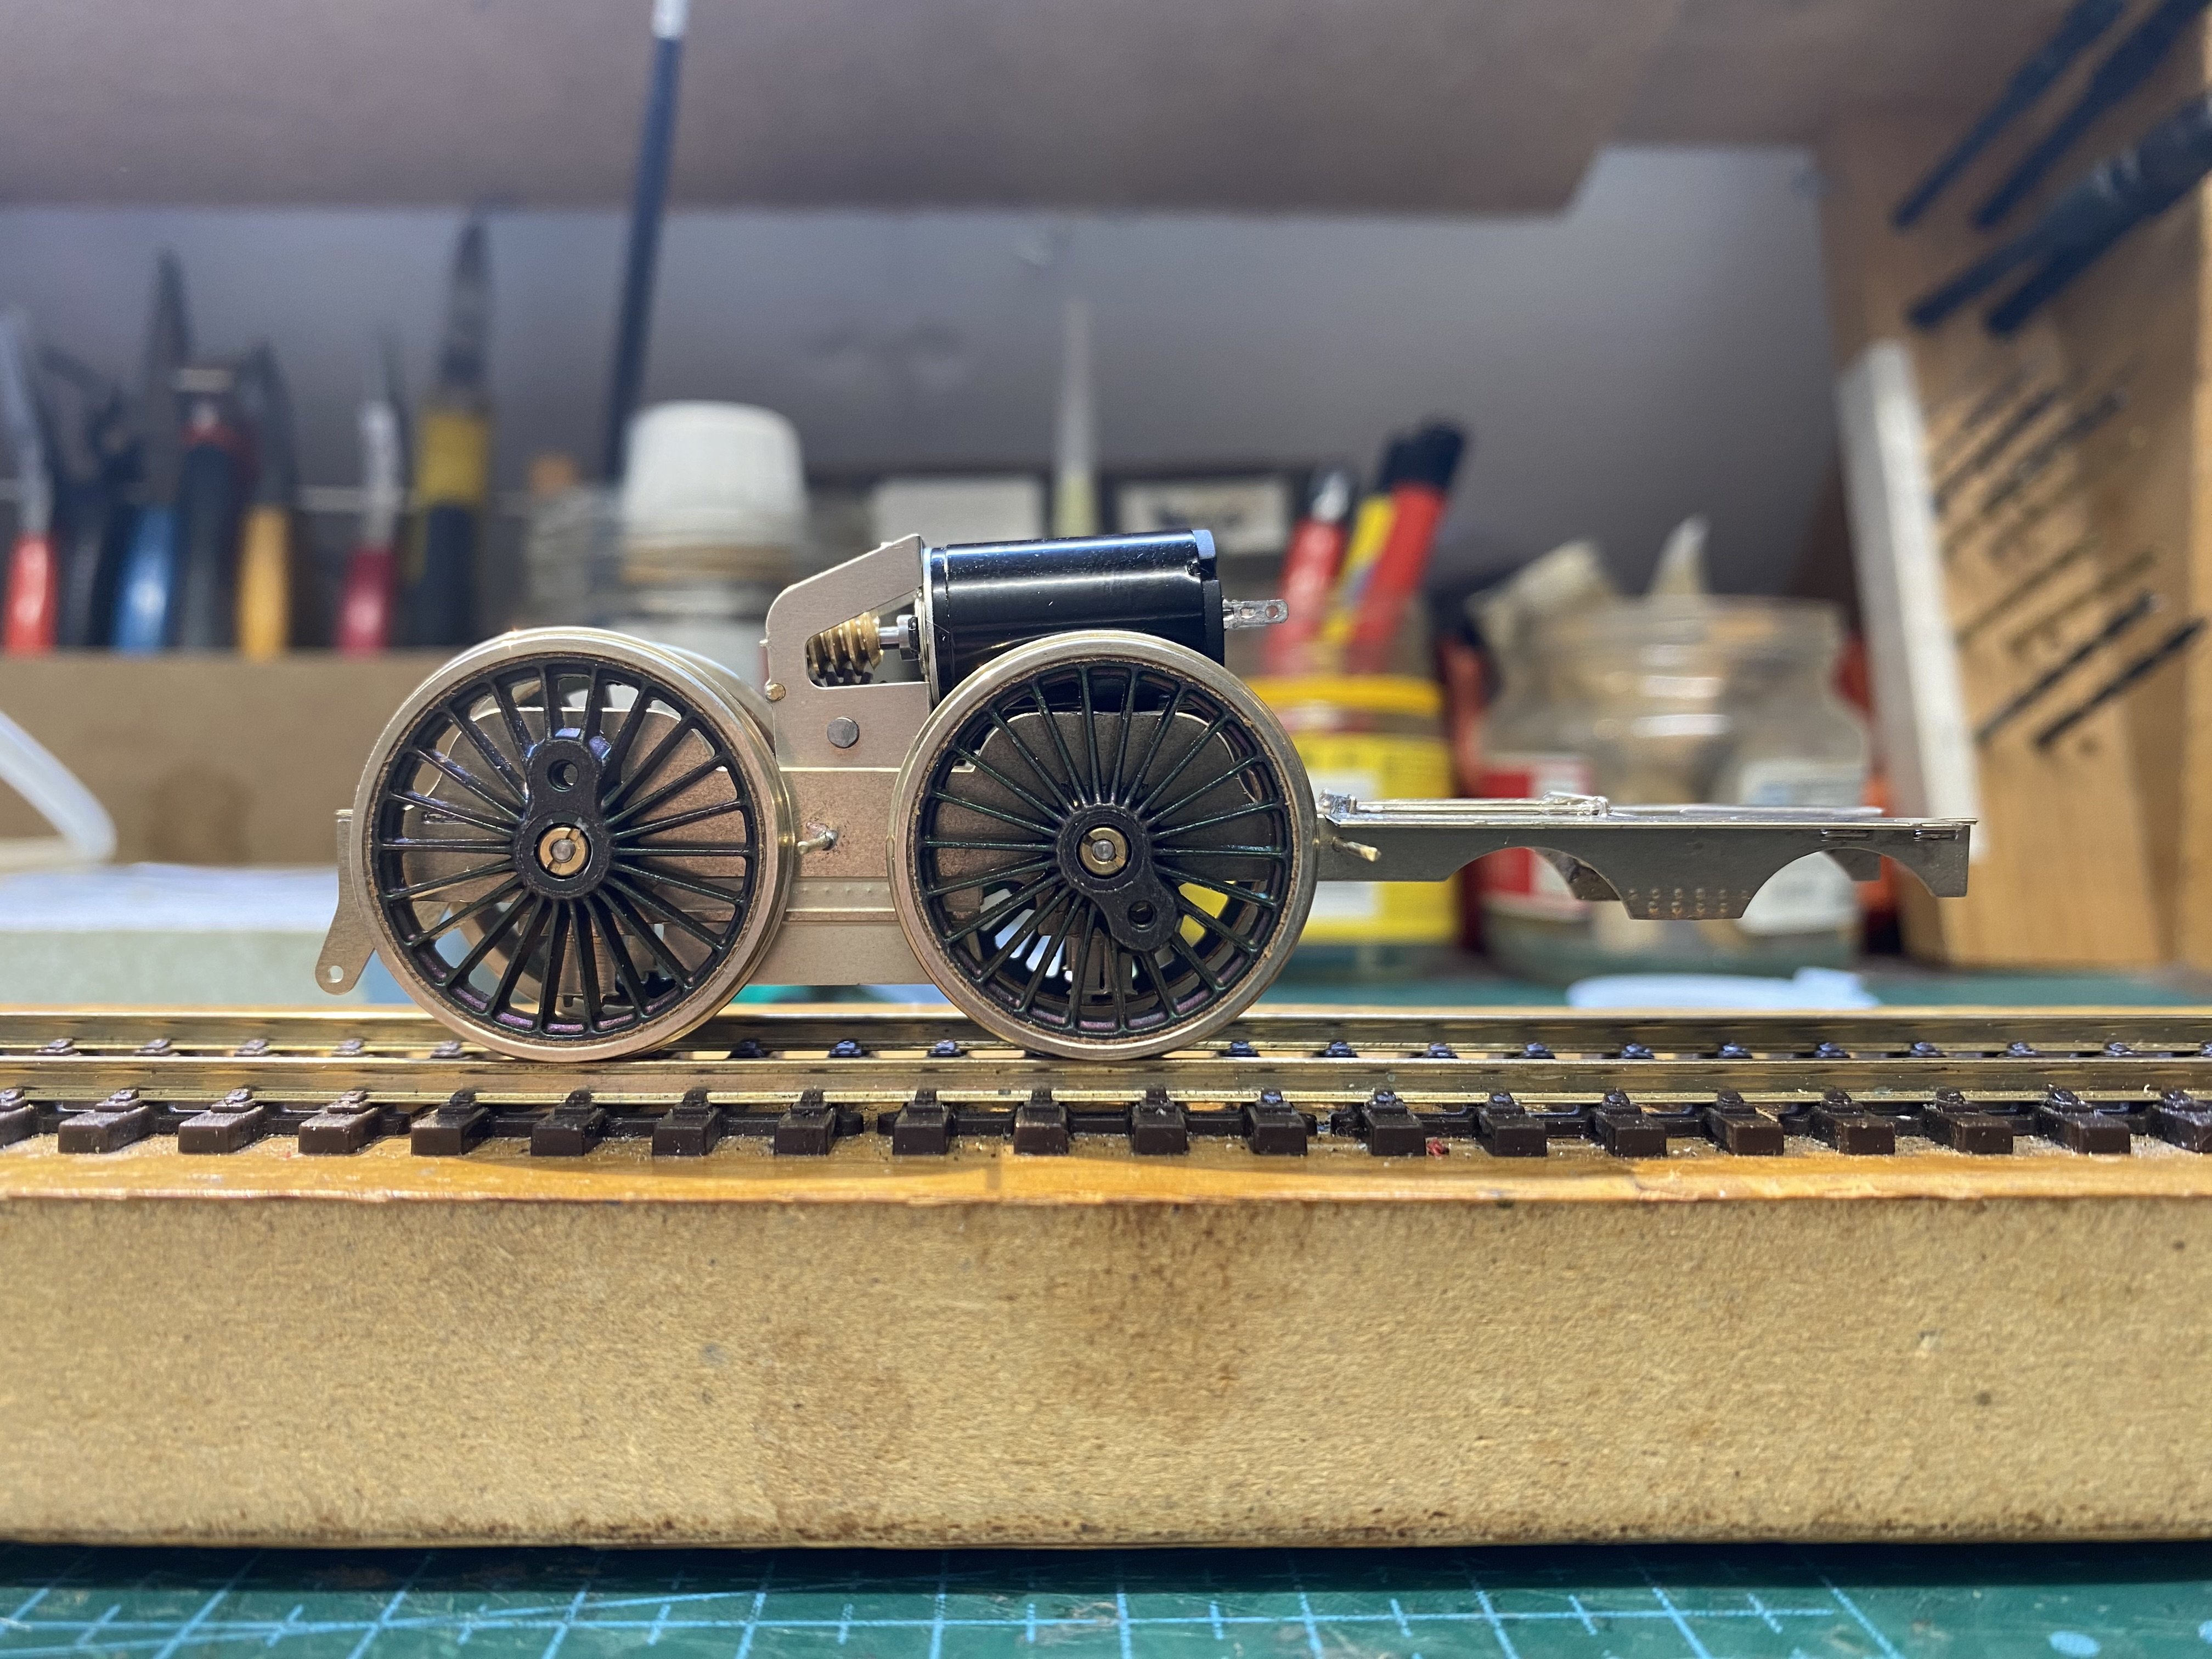
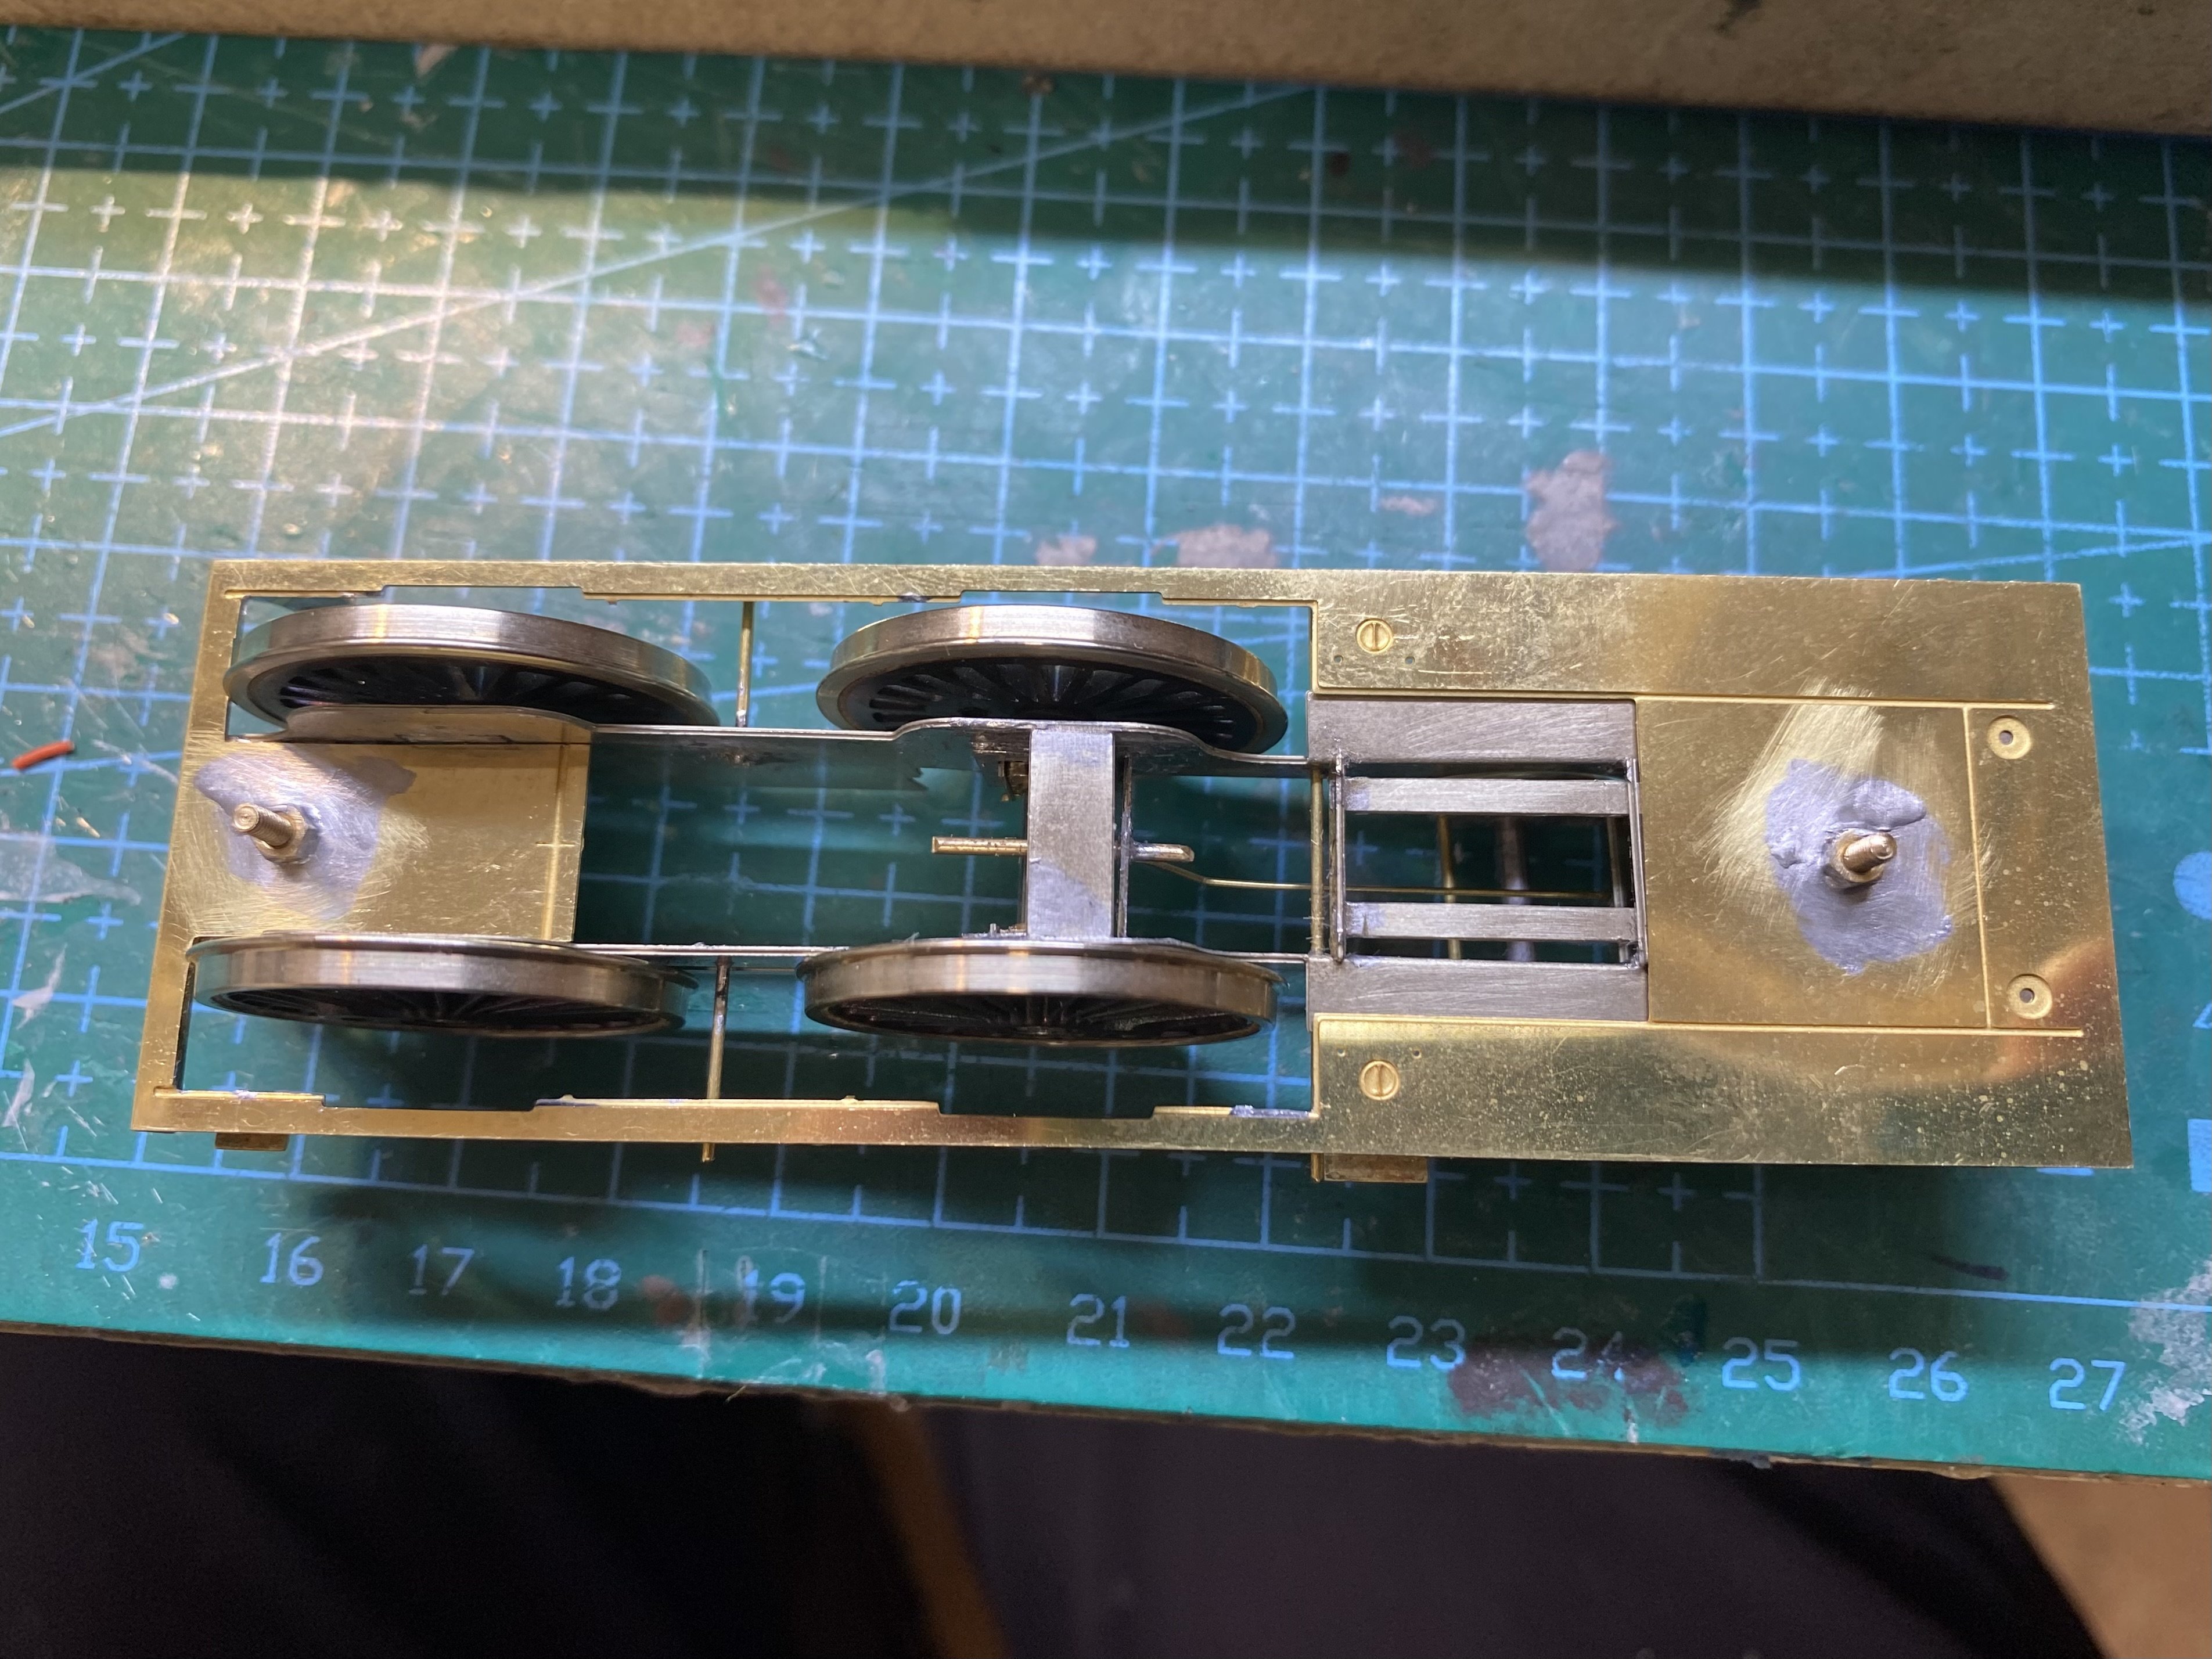
Crankpins fitted to the coupled wheels and thread-locked in. Coupling rods reamed to fit the crankpin bushes. With direct power to the motor, it turns over nicely. IMG_3874.MOV Then a snag reared its ugly head (do snags do that or do they just creep up on you? This one did the latter.) Despite forward planning and adding a drive stretcher to push the motor/gearbox forward and out of the cab (successful), it emerged that the final drive gearwheel on the back axle sits higher than the footplate under the cab, requiring a bit of bodgery. Hooray for piercing saws and Swiss needle files. Thankfully the cab floor is designed to sit proud of the footplate by a couple of mm so it clears the gearwheel and hides it too. Onward and upward to the next challenge - figuring out where and how to fit pickups. I'll have a lie down before I try that. Alan

- 860 replies
-
- 10
-

-
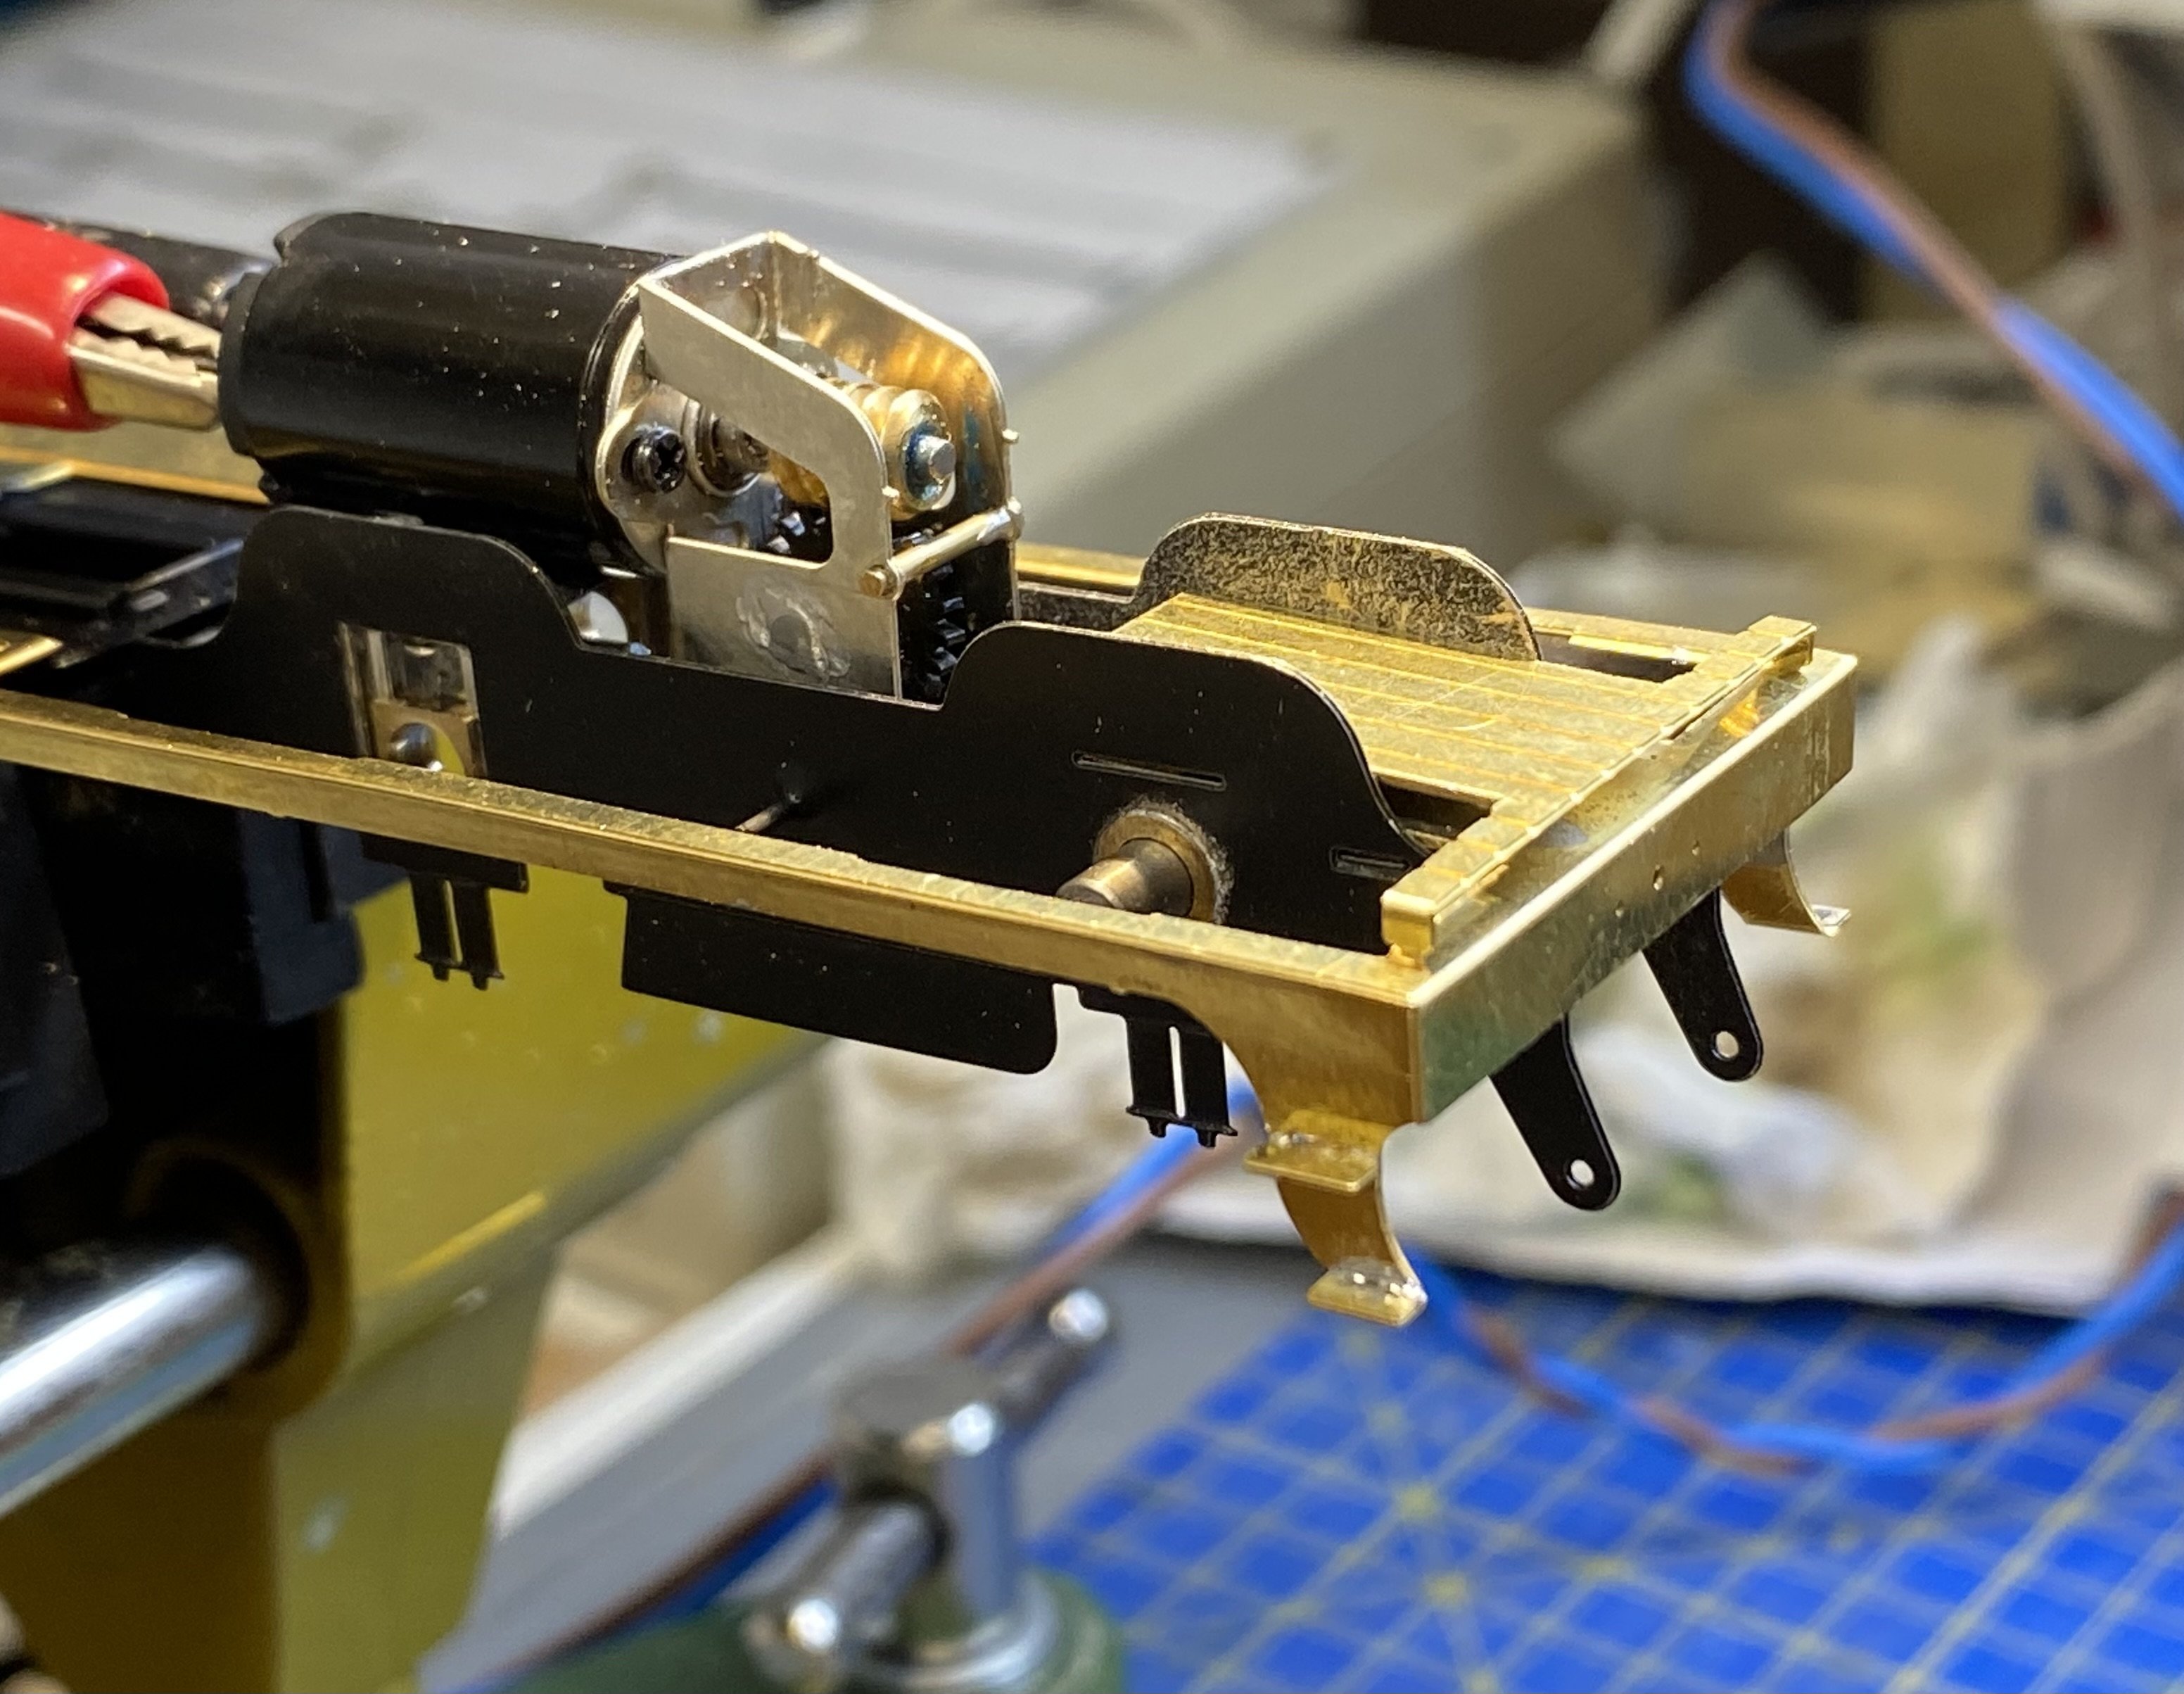
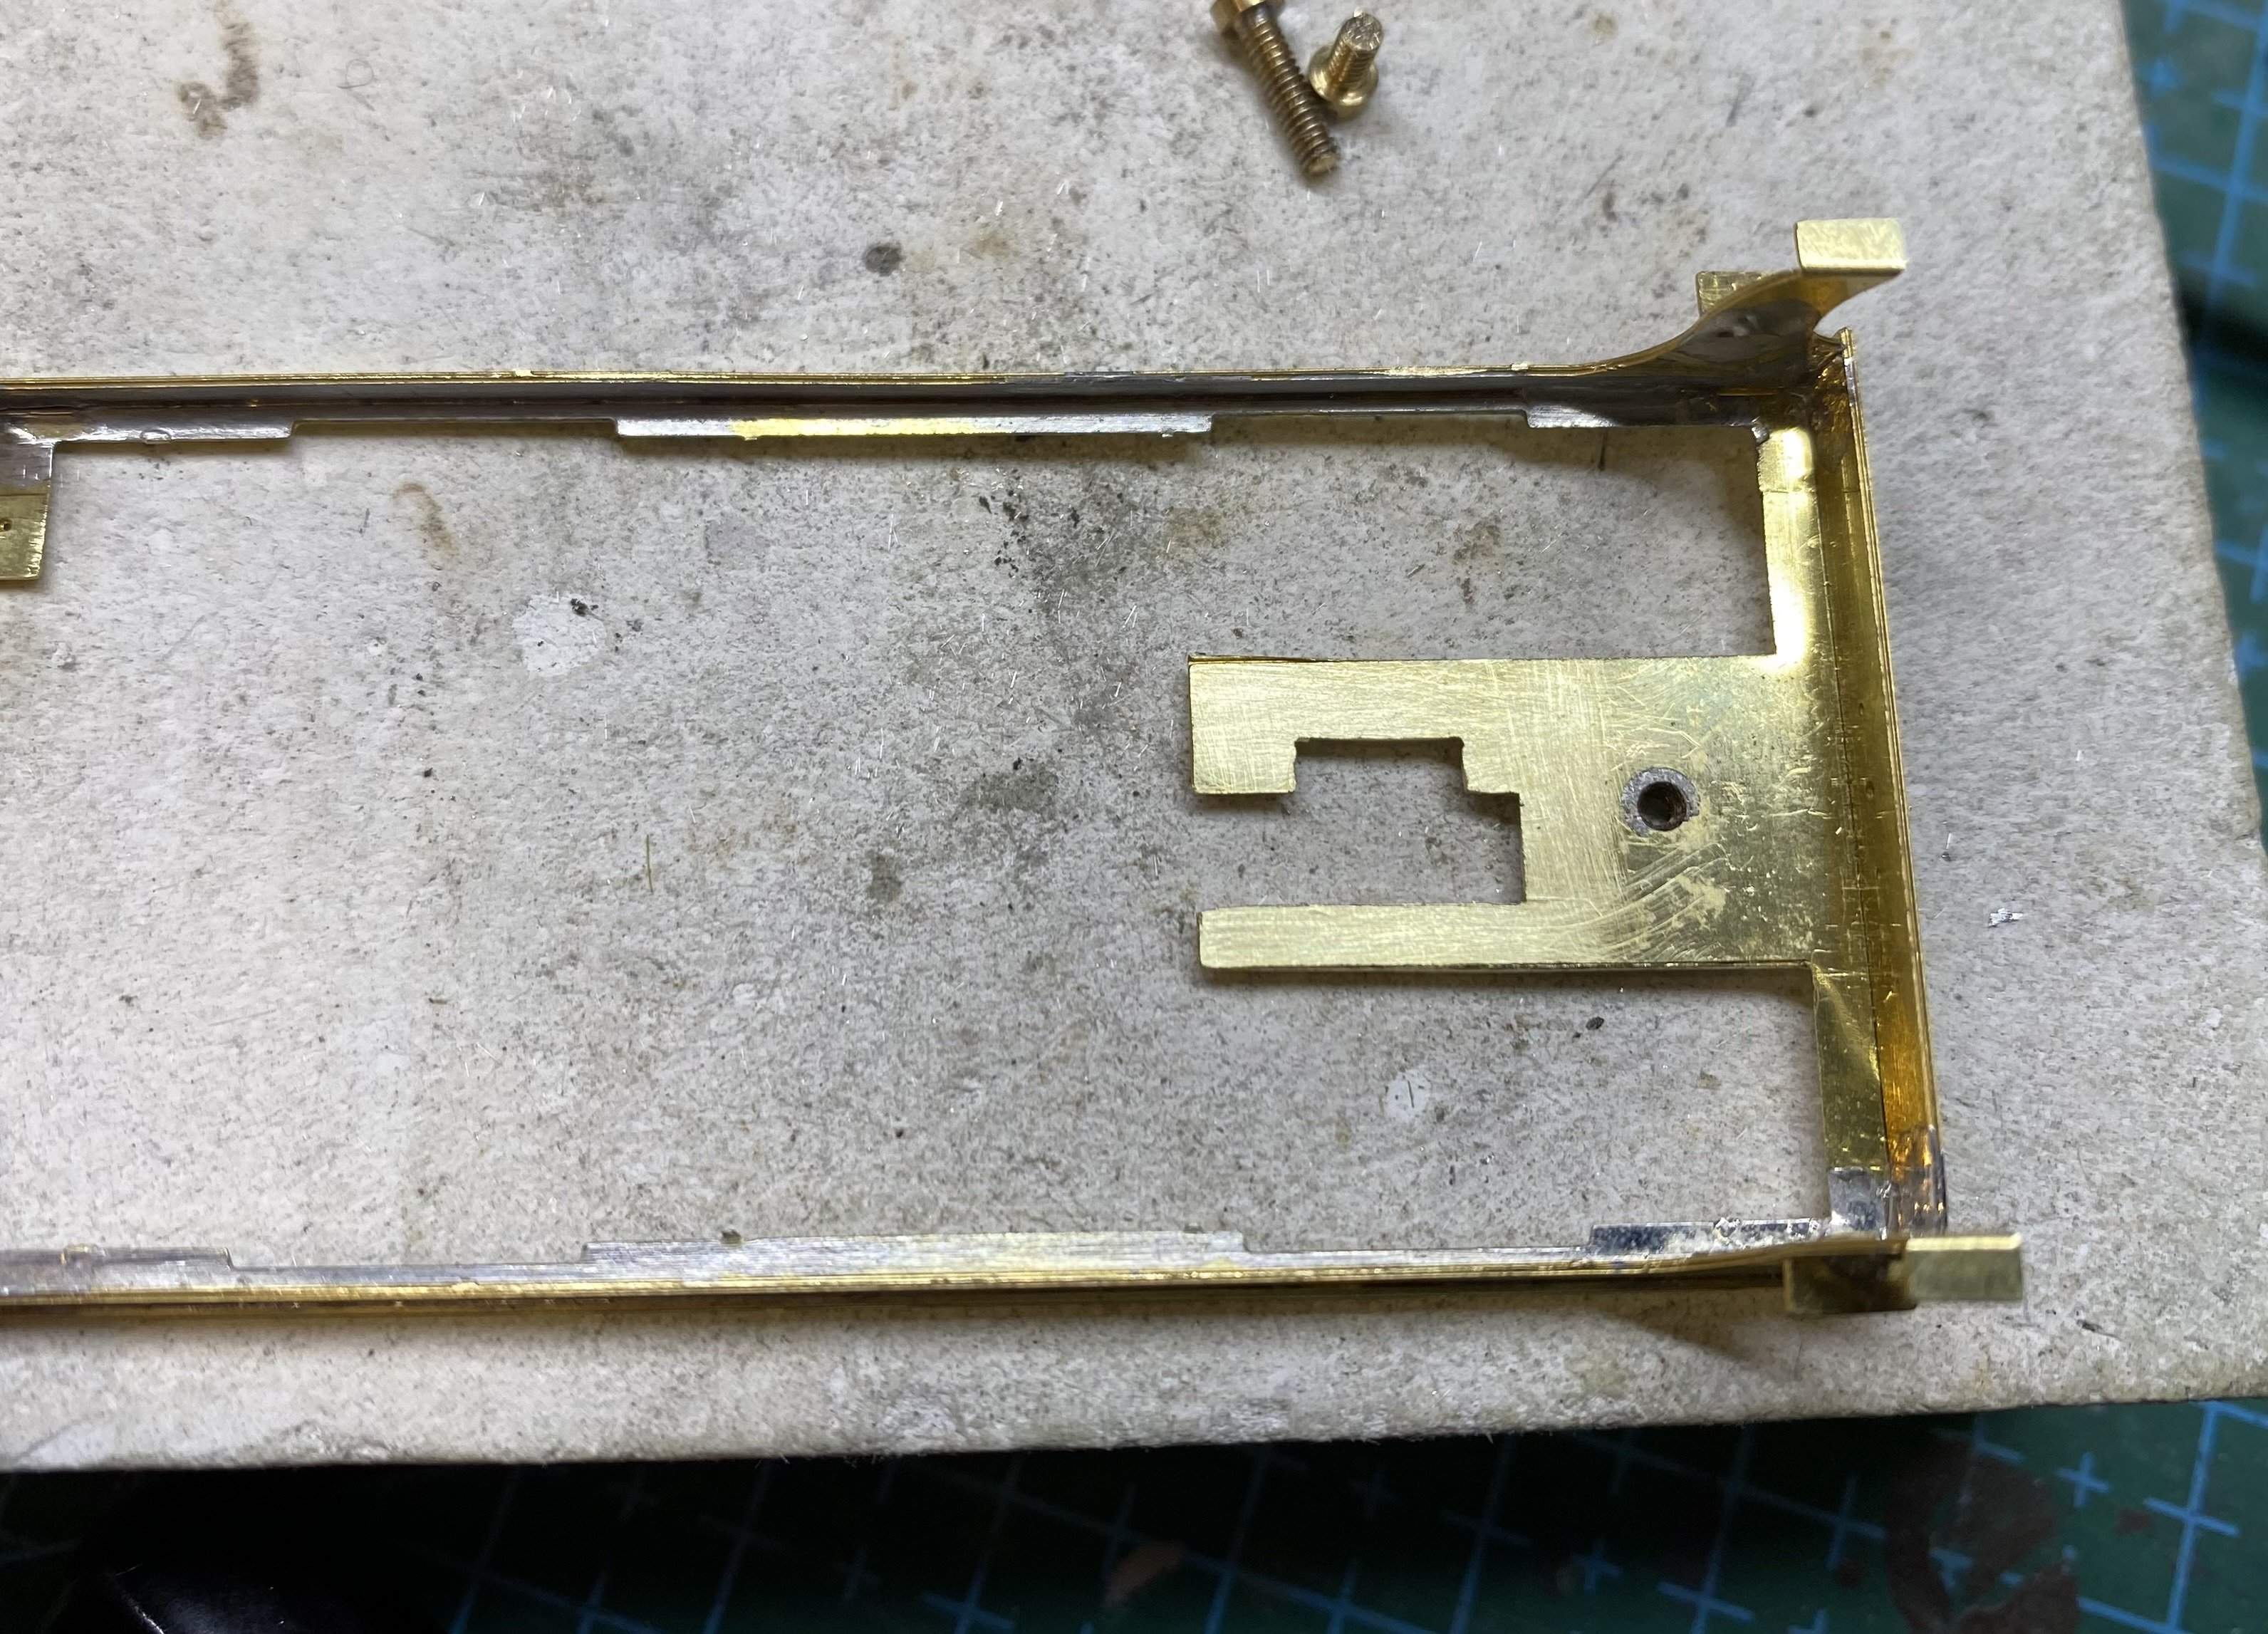
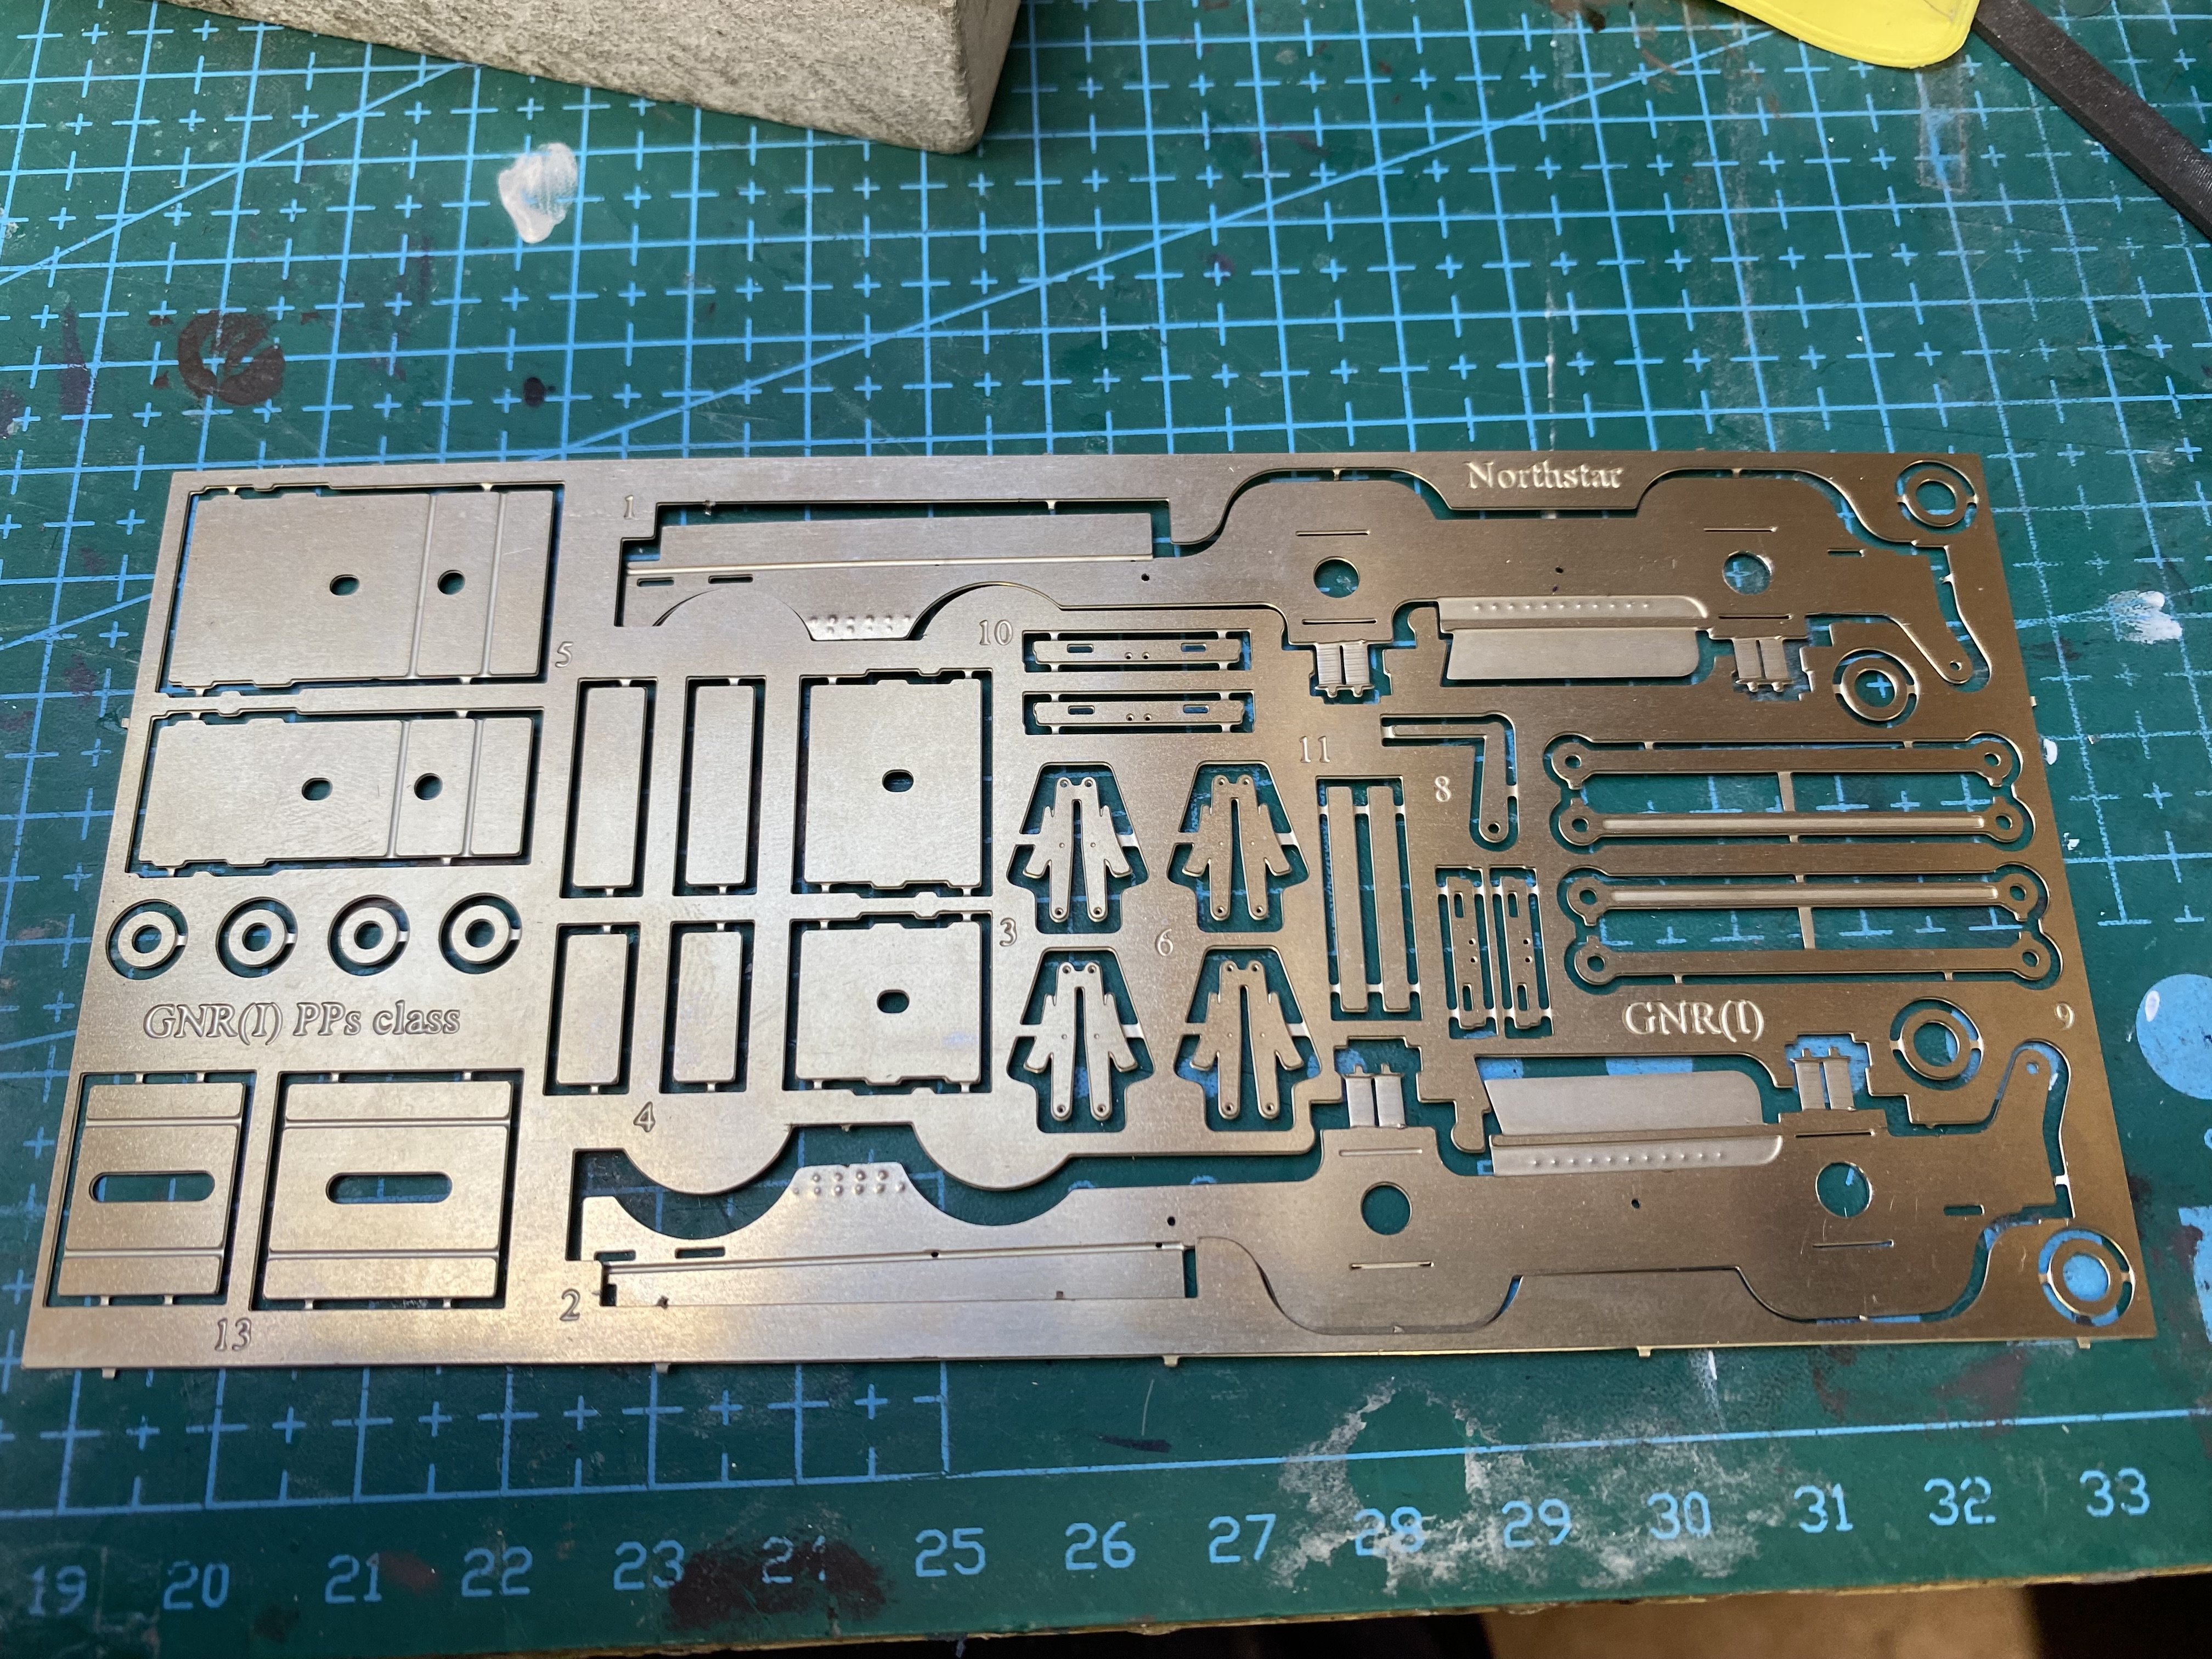
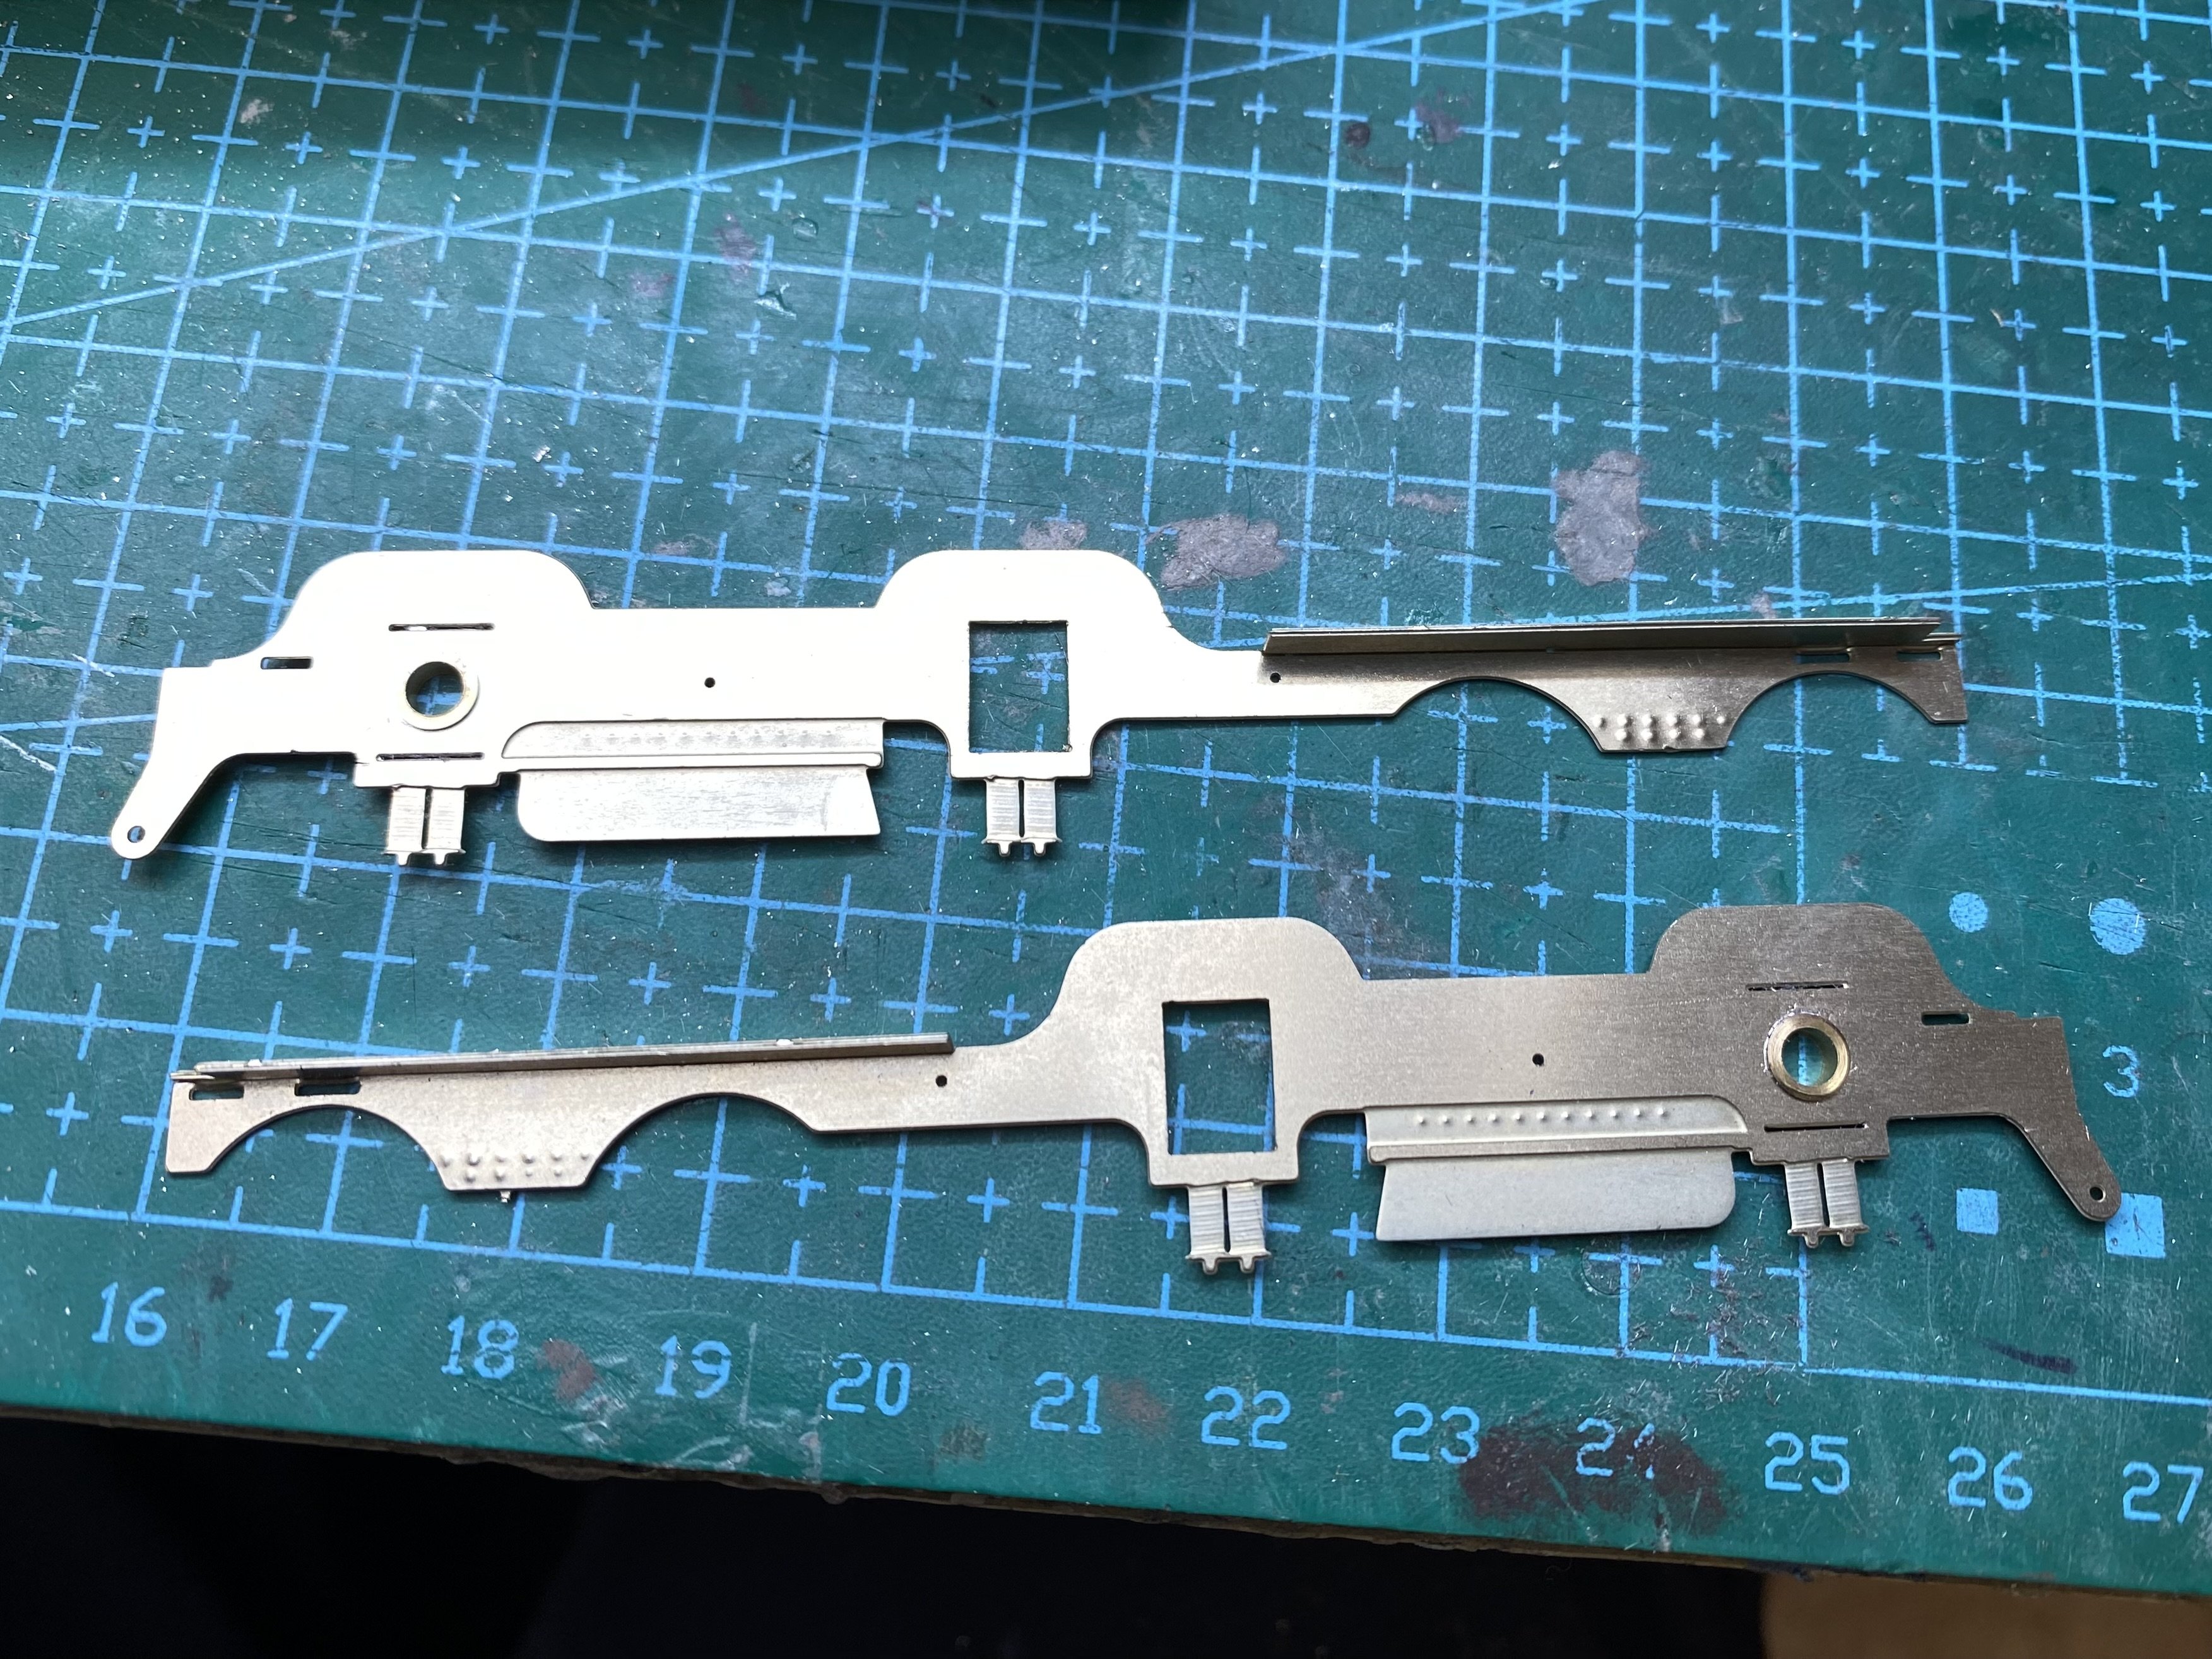
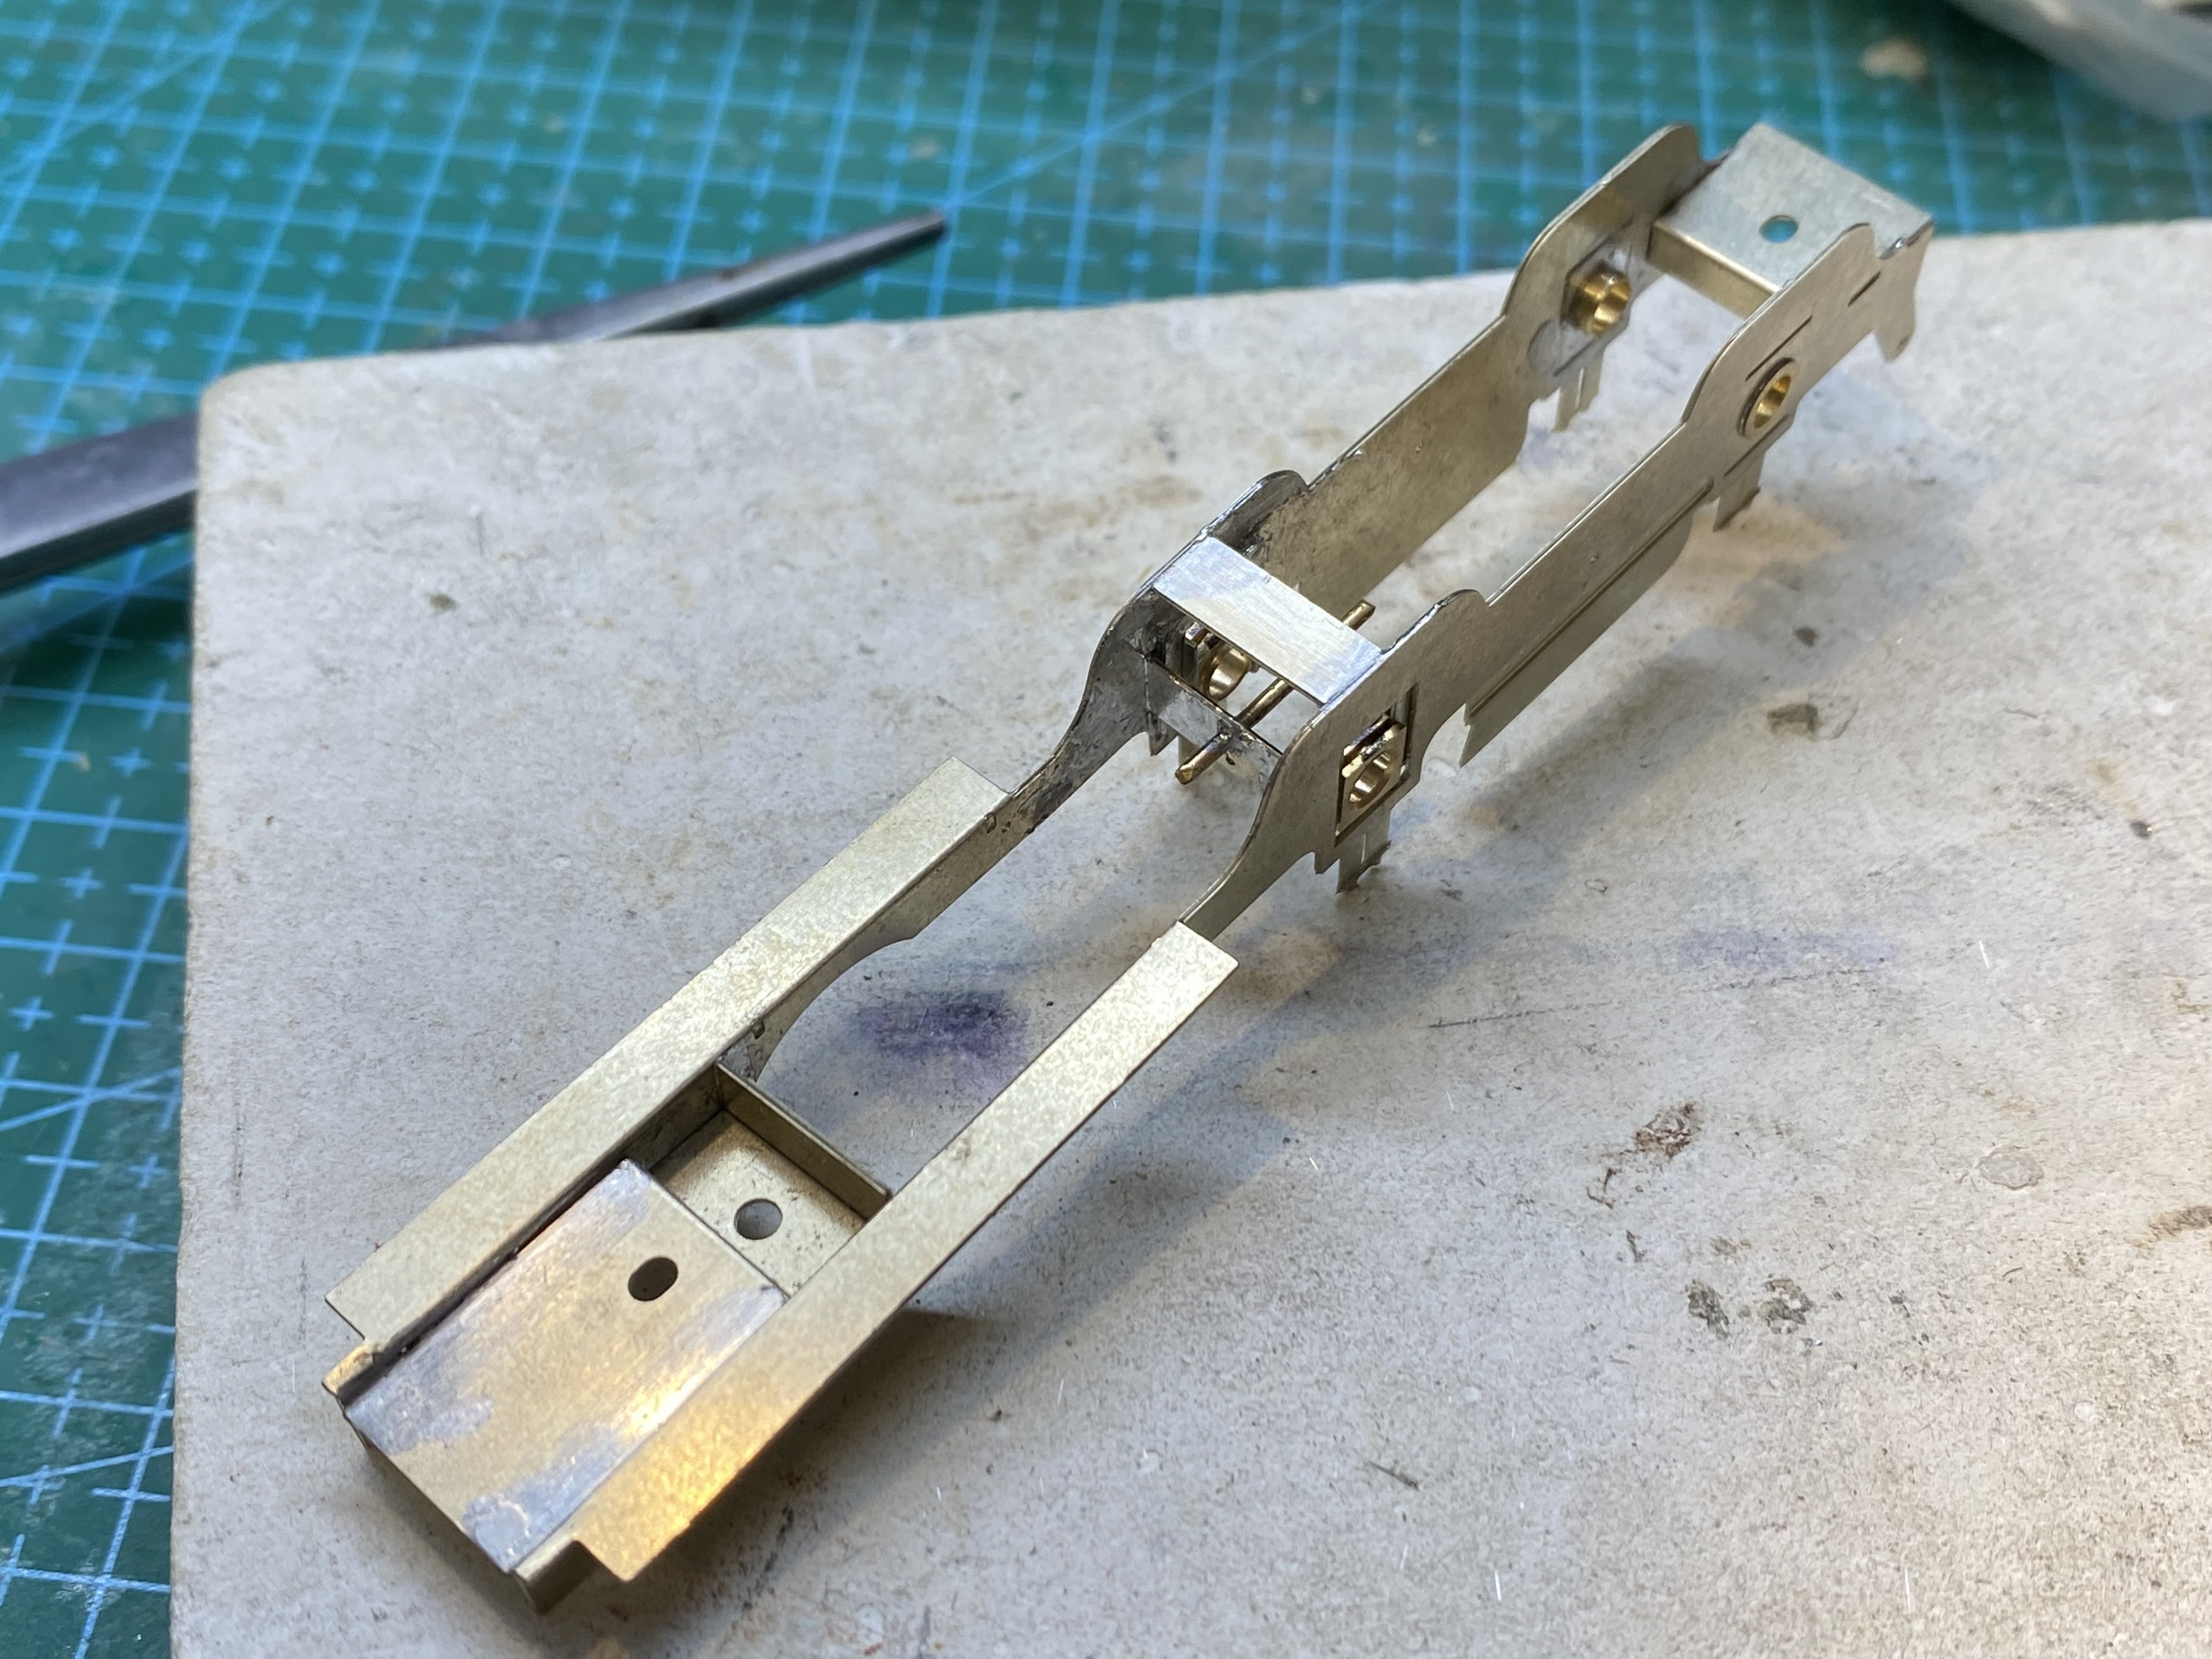
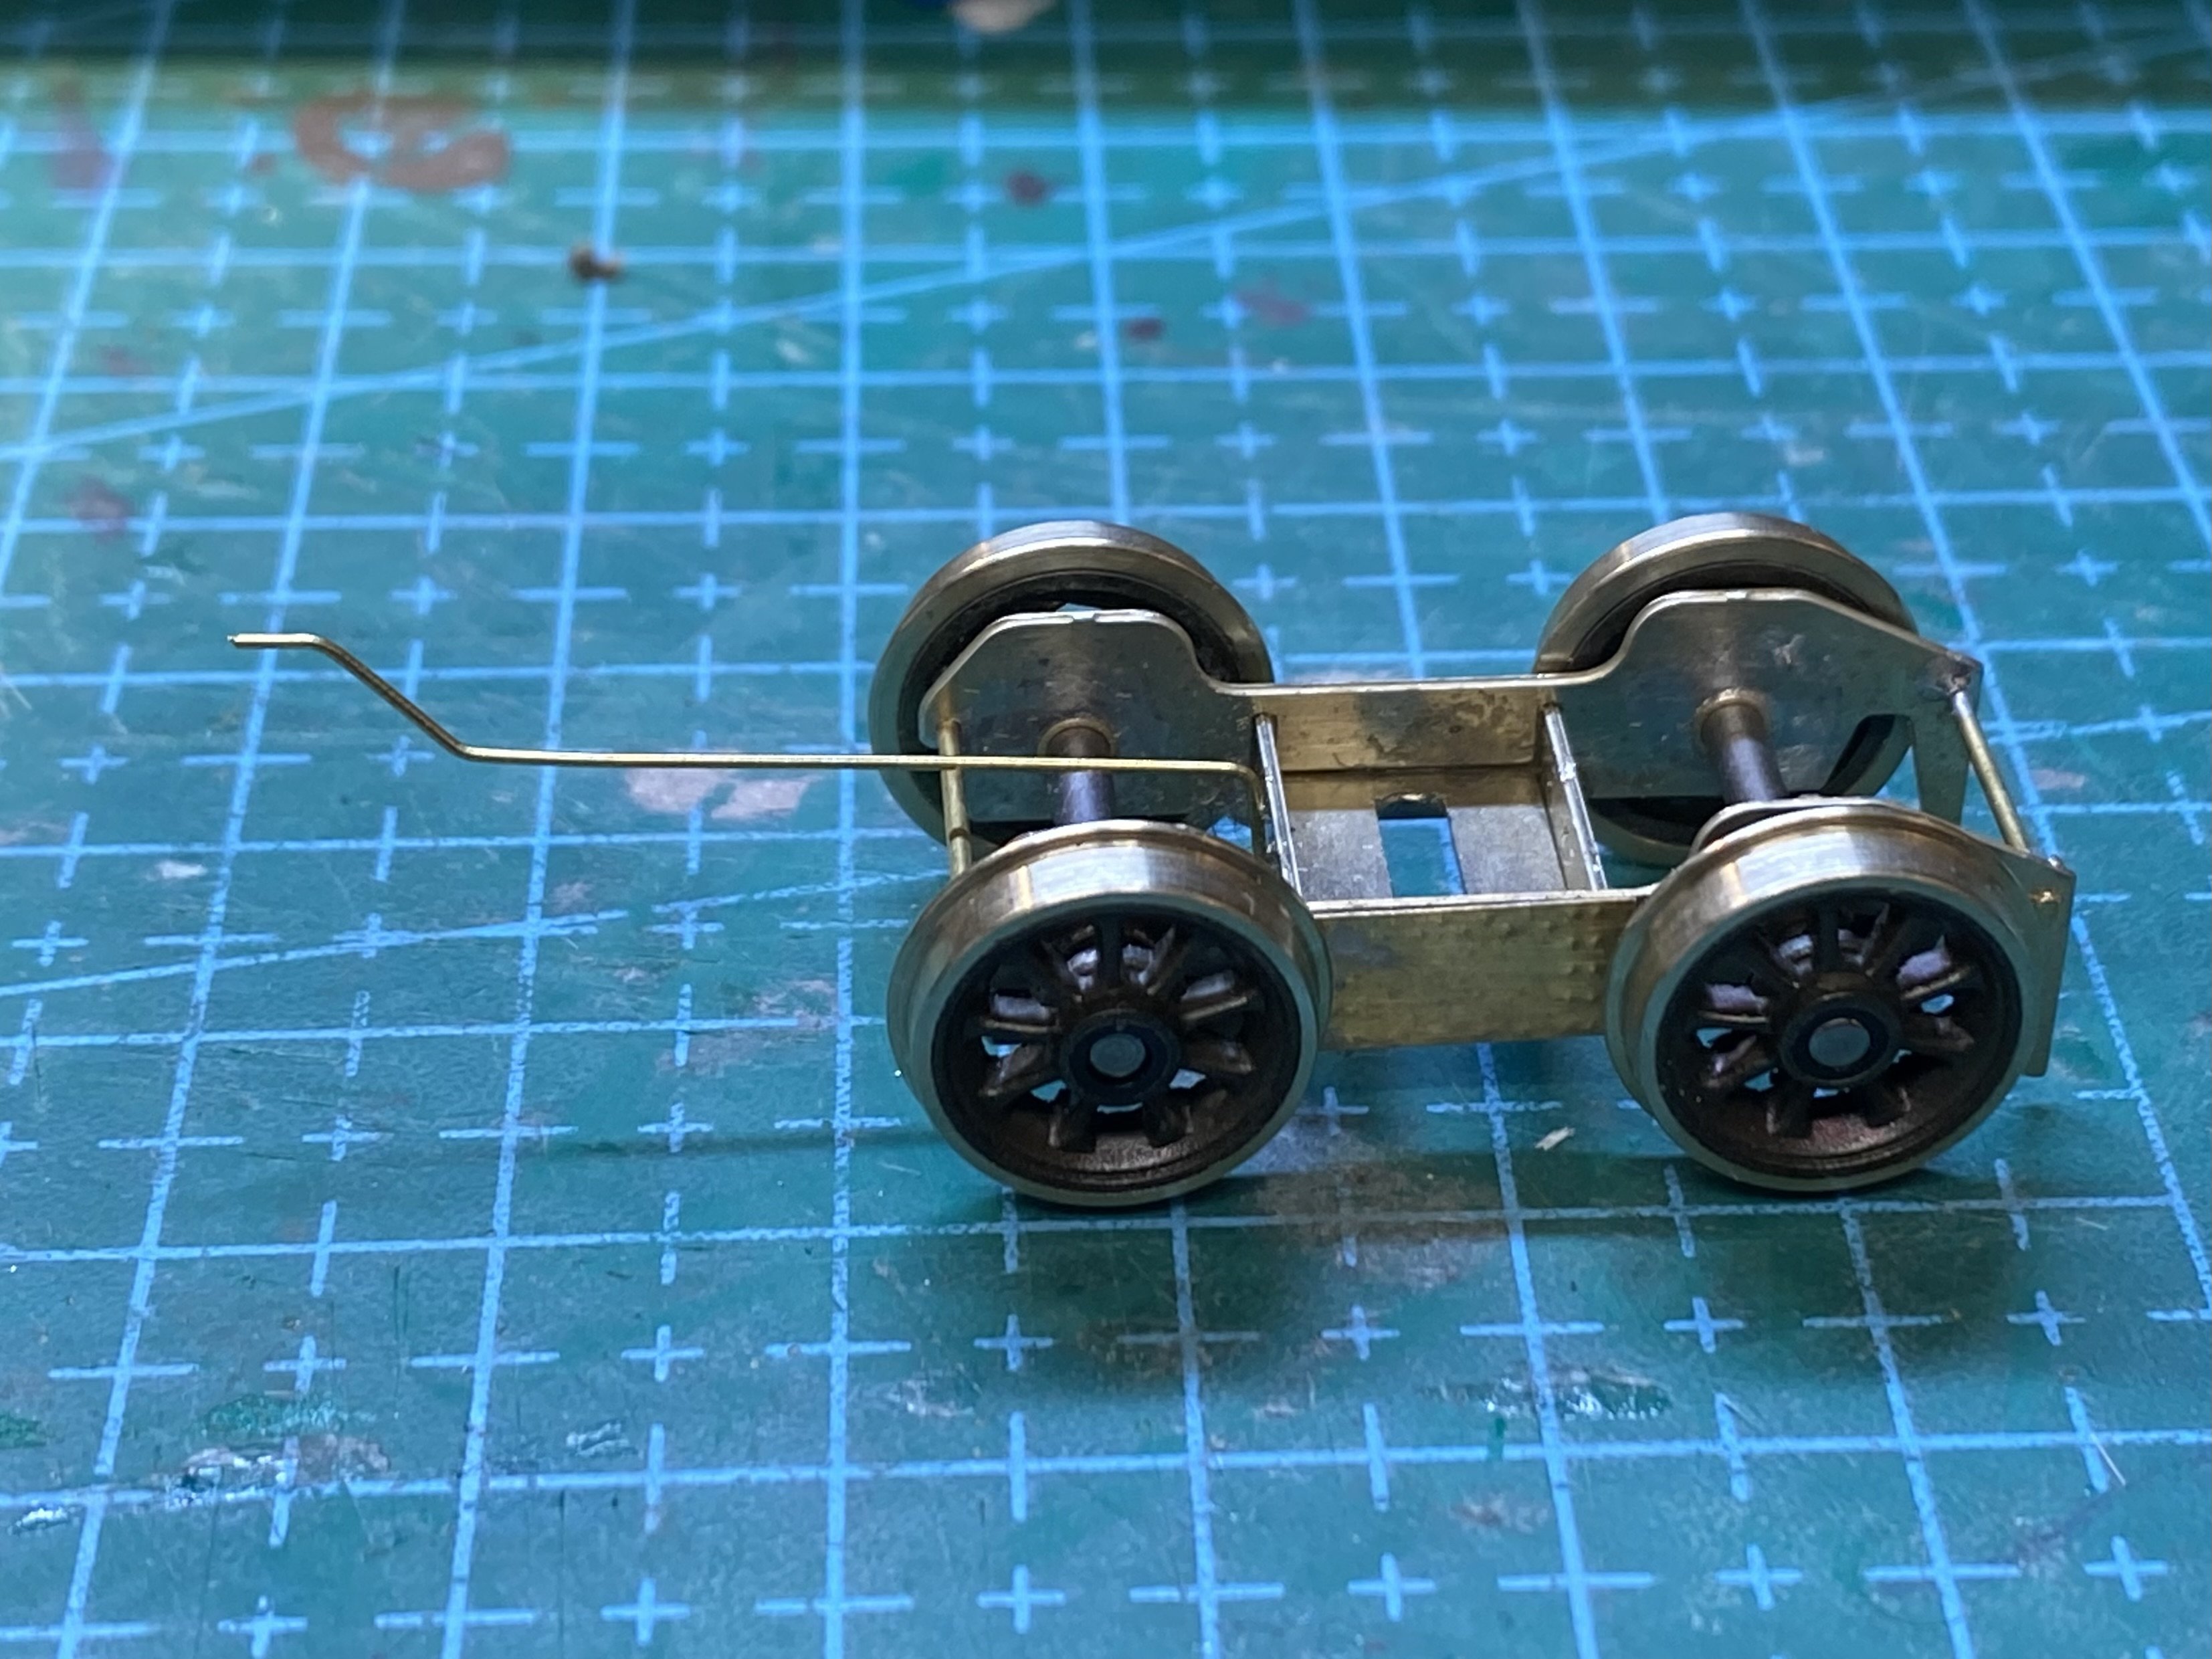
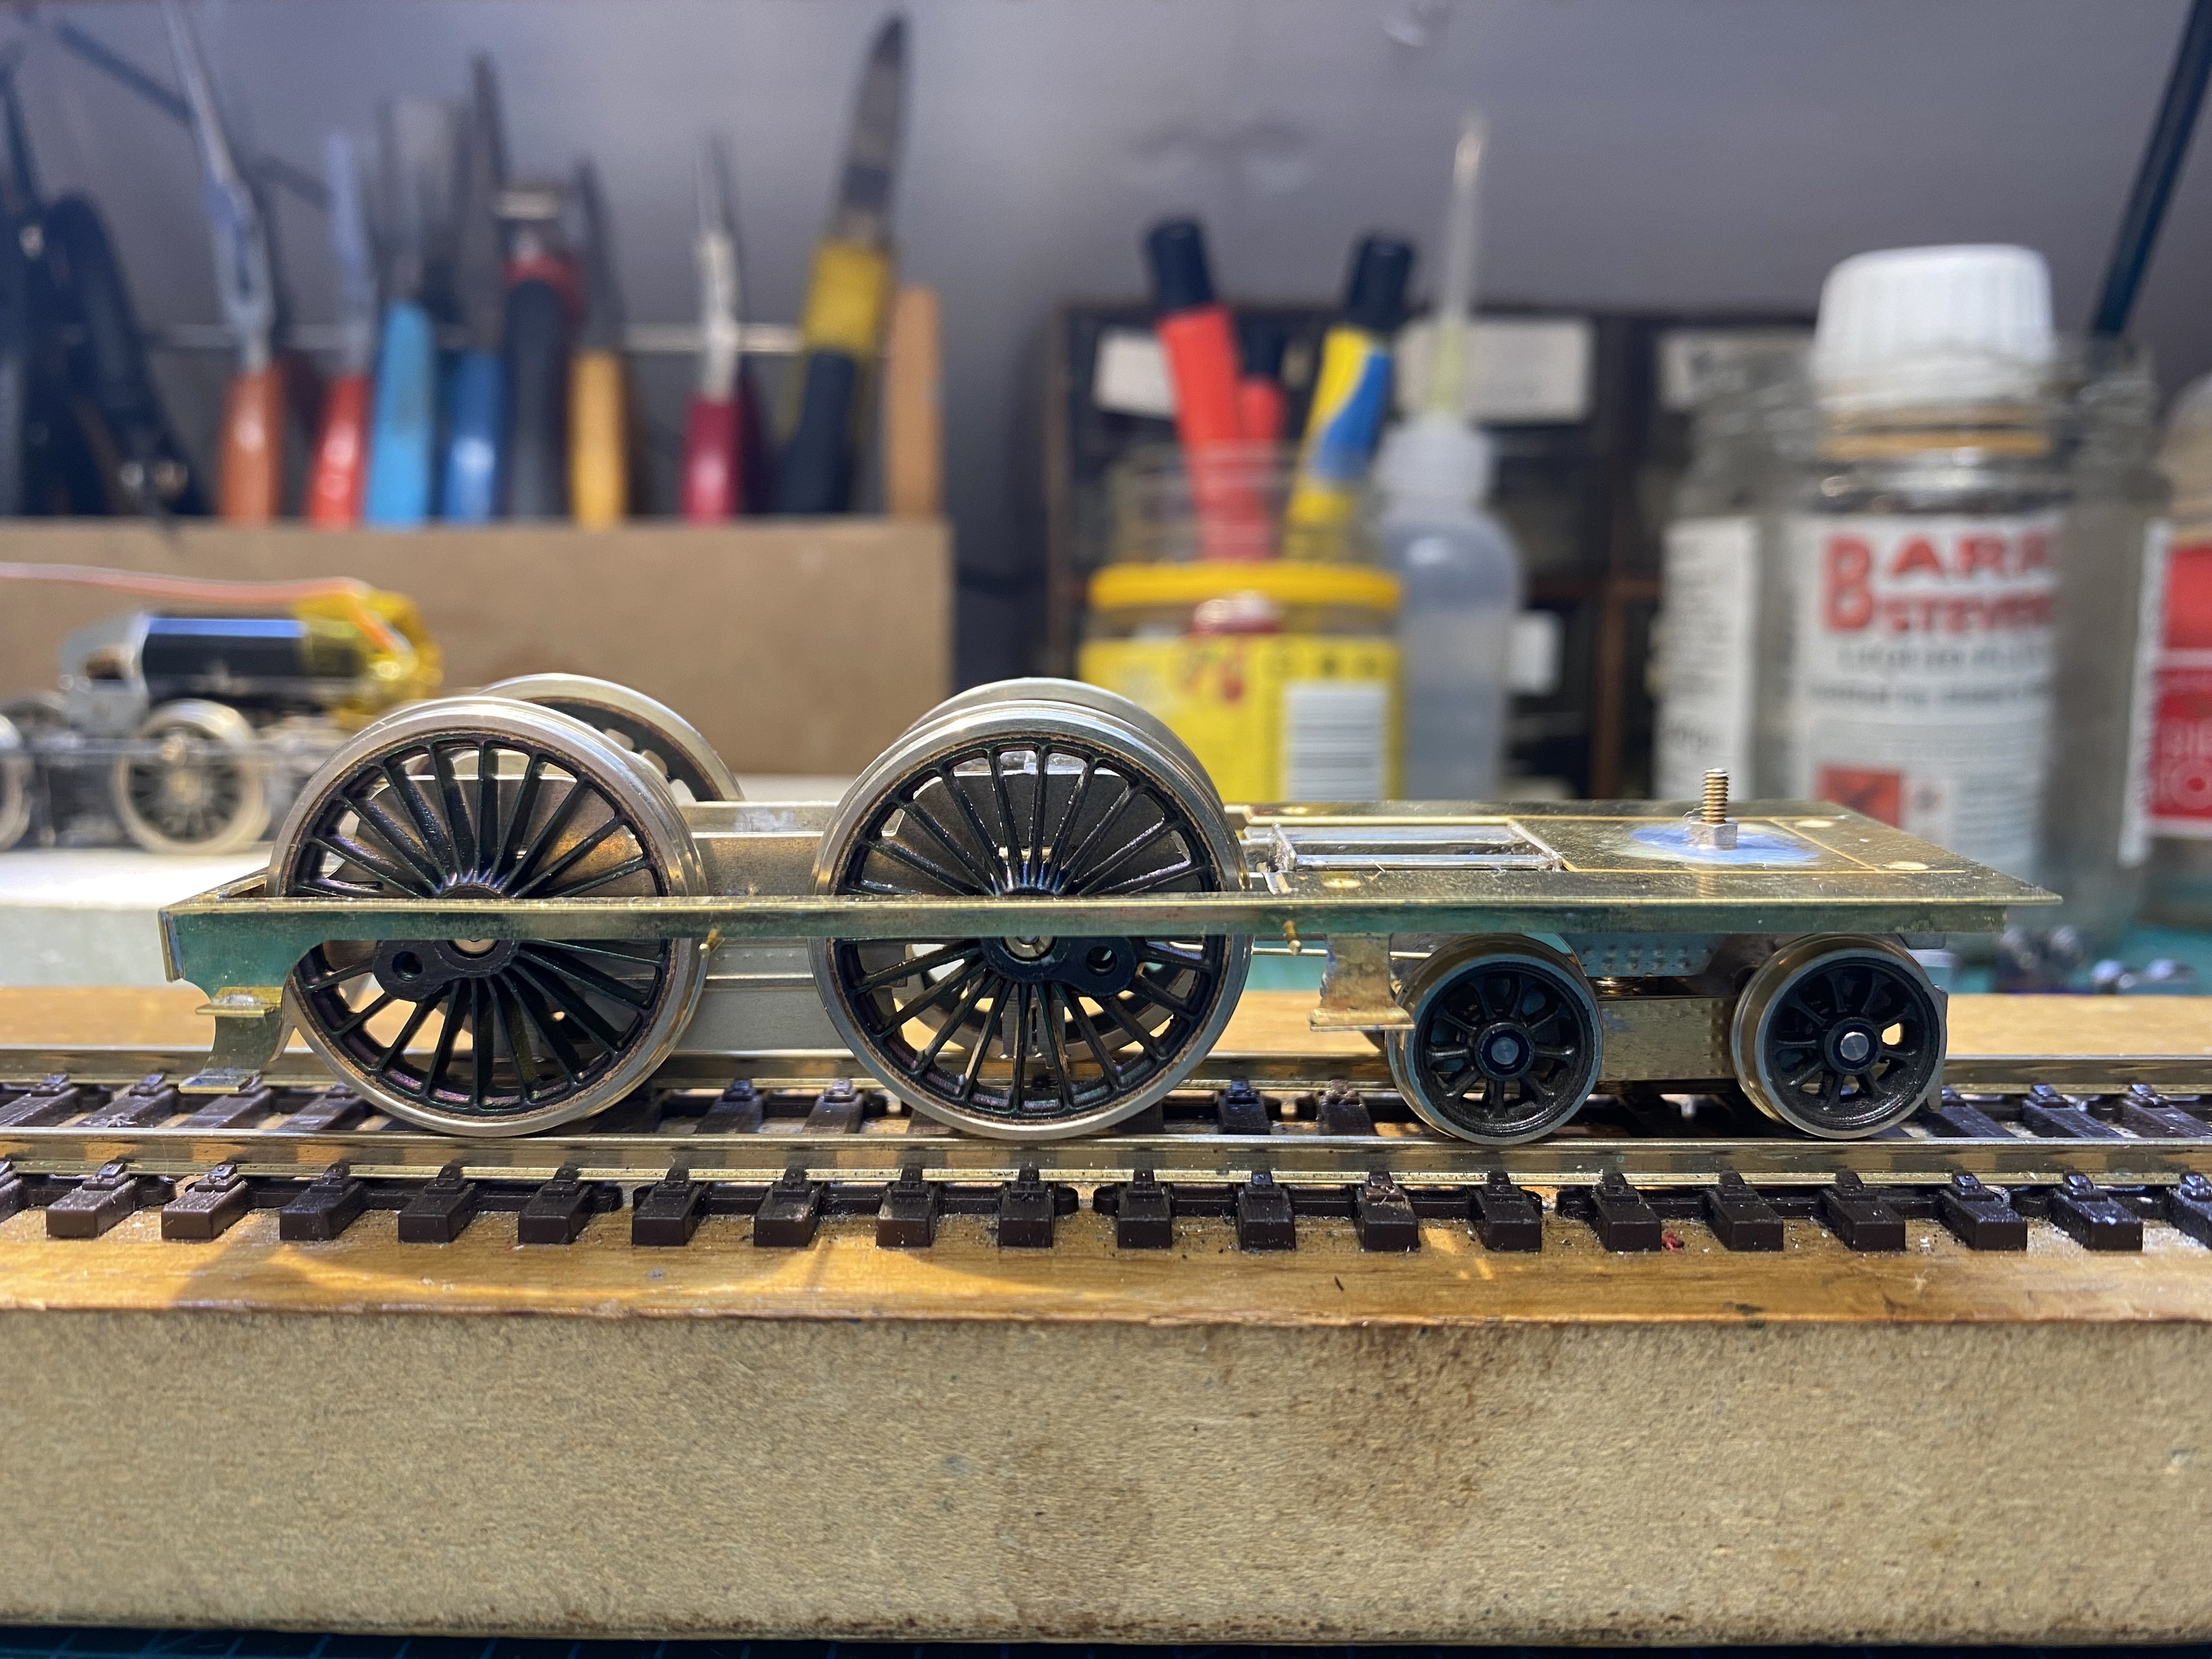
The fitters at Kirley Junction are up to their eyes at the moment so CME Kieran Lagan asked if I'd like to have a go at the chassis of a NorthStar kit of some vintage which he acquired at the Bangor show this year - a GNR(I) PPs in 4mm. Yes please Nice crisp etches and with all the bits needed bar motor and gearbox. Much more than just a shrunk 7mm kit, this has been re-engineered well for the smaller scale. Chassis spacers for 16.5mm and 21mm among other things. In keeping with tradition, we added a High Level Roadrunner+ with a DriveStretcher D1 to help push the motor forward into the boiler and clear of the cab. Rather than gluing the shafts in place as the instructions suggest, I took a risk and soldered them after an unfortunate incident with the gearbox I built for Kieran's other purchase, a GNR(I) AL class kit. An idler gear ended up in the ballast after a layshaft came adrift The frames have no real straight edges which made it tricky to build the chassis straight and square. They're also pretty flimsy and easily bent. I added hornblocks to the front coupled axle and had then to arrange a beam for this to rock on. A chassis spacer with a length of 1mm brass rod soldered into it did the job. The pics below shows the arrangement and the chassis sits nice and level. The bogie is arranged to swivel on a vertical pillar attached to the chassis. I've soldered a long bit of 0.45mm brass wire to it to act as a centring spring. The other end of this fits into a hole in that chassis spacer. We'll see how well it works. Running plate made up and fitted to give some idea of where the pickups might go without fouling the bodywork - always a nightmare. This is another flimsy bit of metal which won't be strong until the bodywork gets built onto it. Next jobs are to fit the crankpins, add the coupling rods (These are already made up and were used as jigs to set up the hornblocks) and see if we've got a free rolling chassis. I could develop a taste for these GNR(I) engines. Don't let on to the folk at Queen's Quay. Alan
-
If all the carpet monsters ever get together to sell all the stuff they've collected, it'll be a brilliant model shop.
-
That calls for a straight eye and a steady hand! Great technique, great result
-
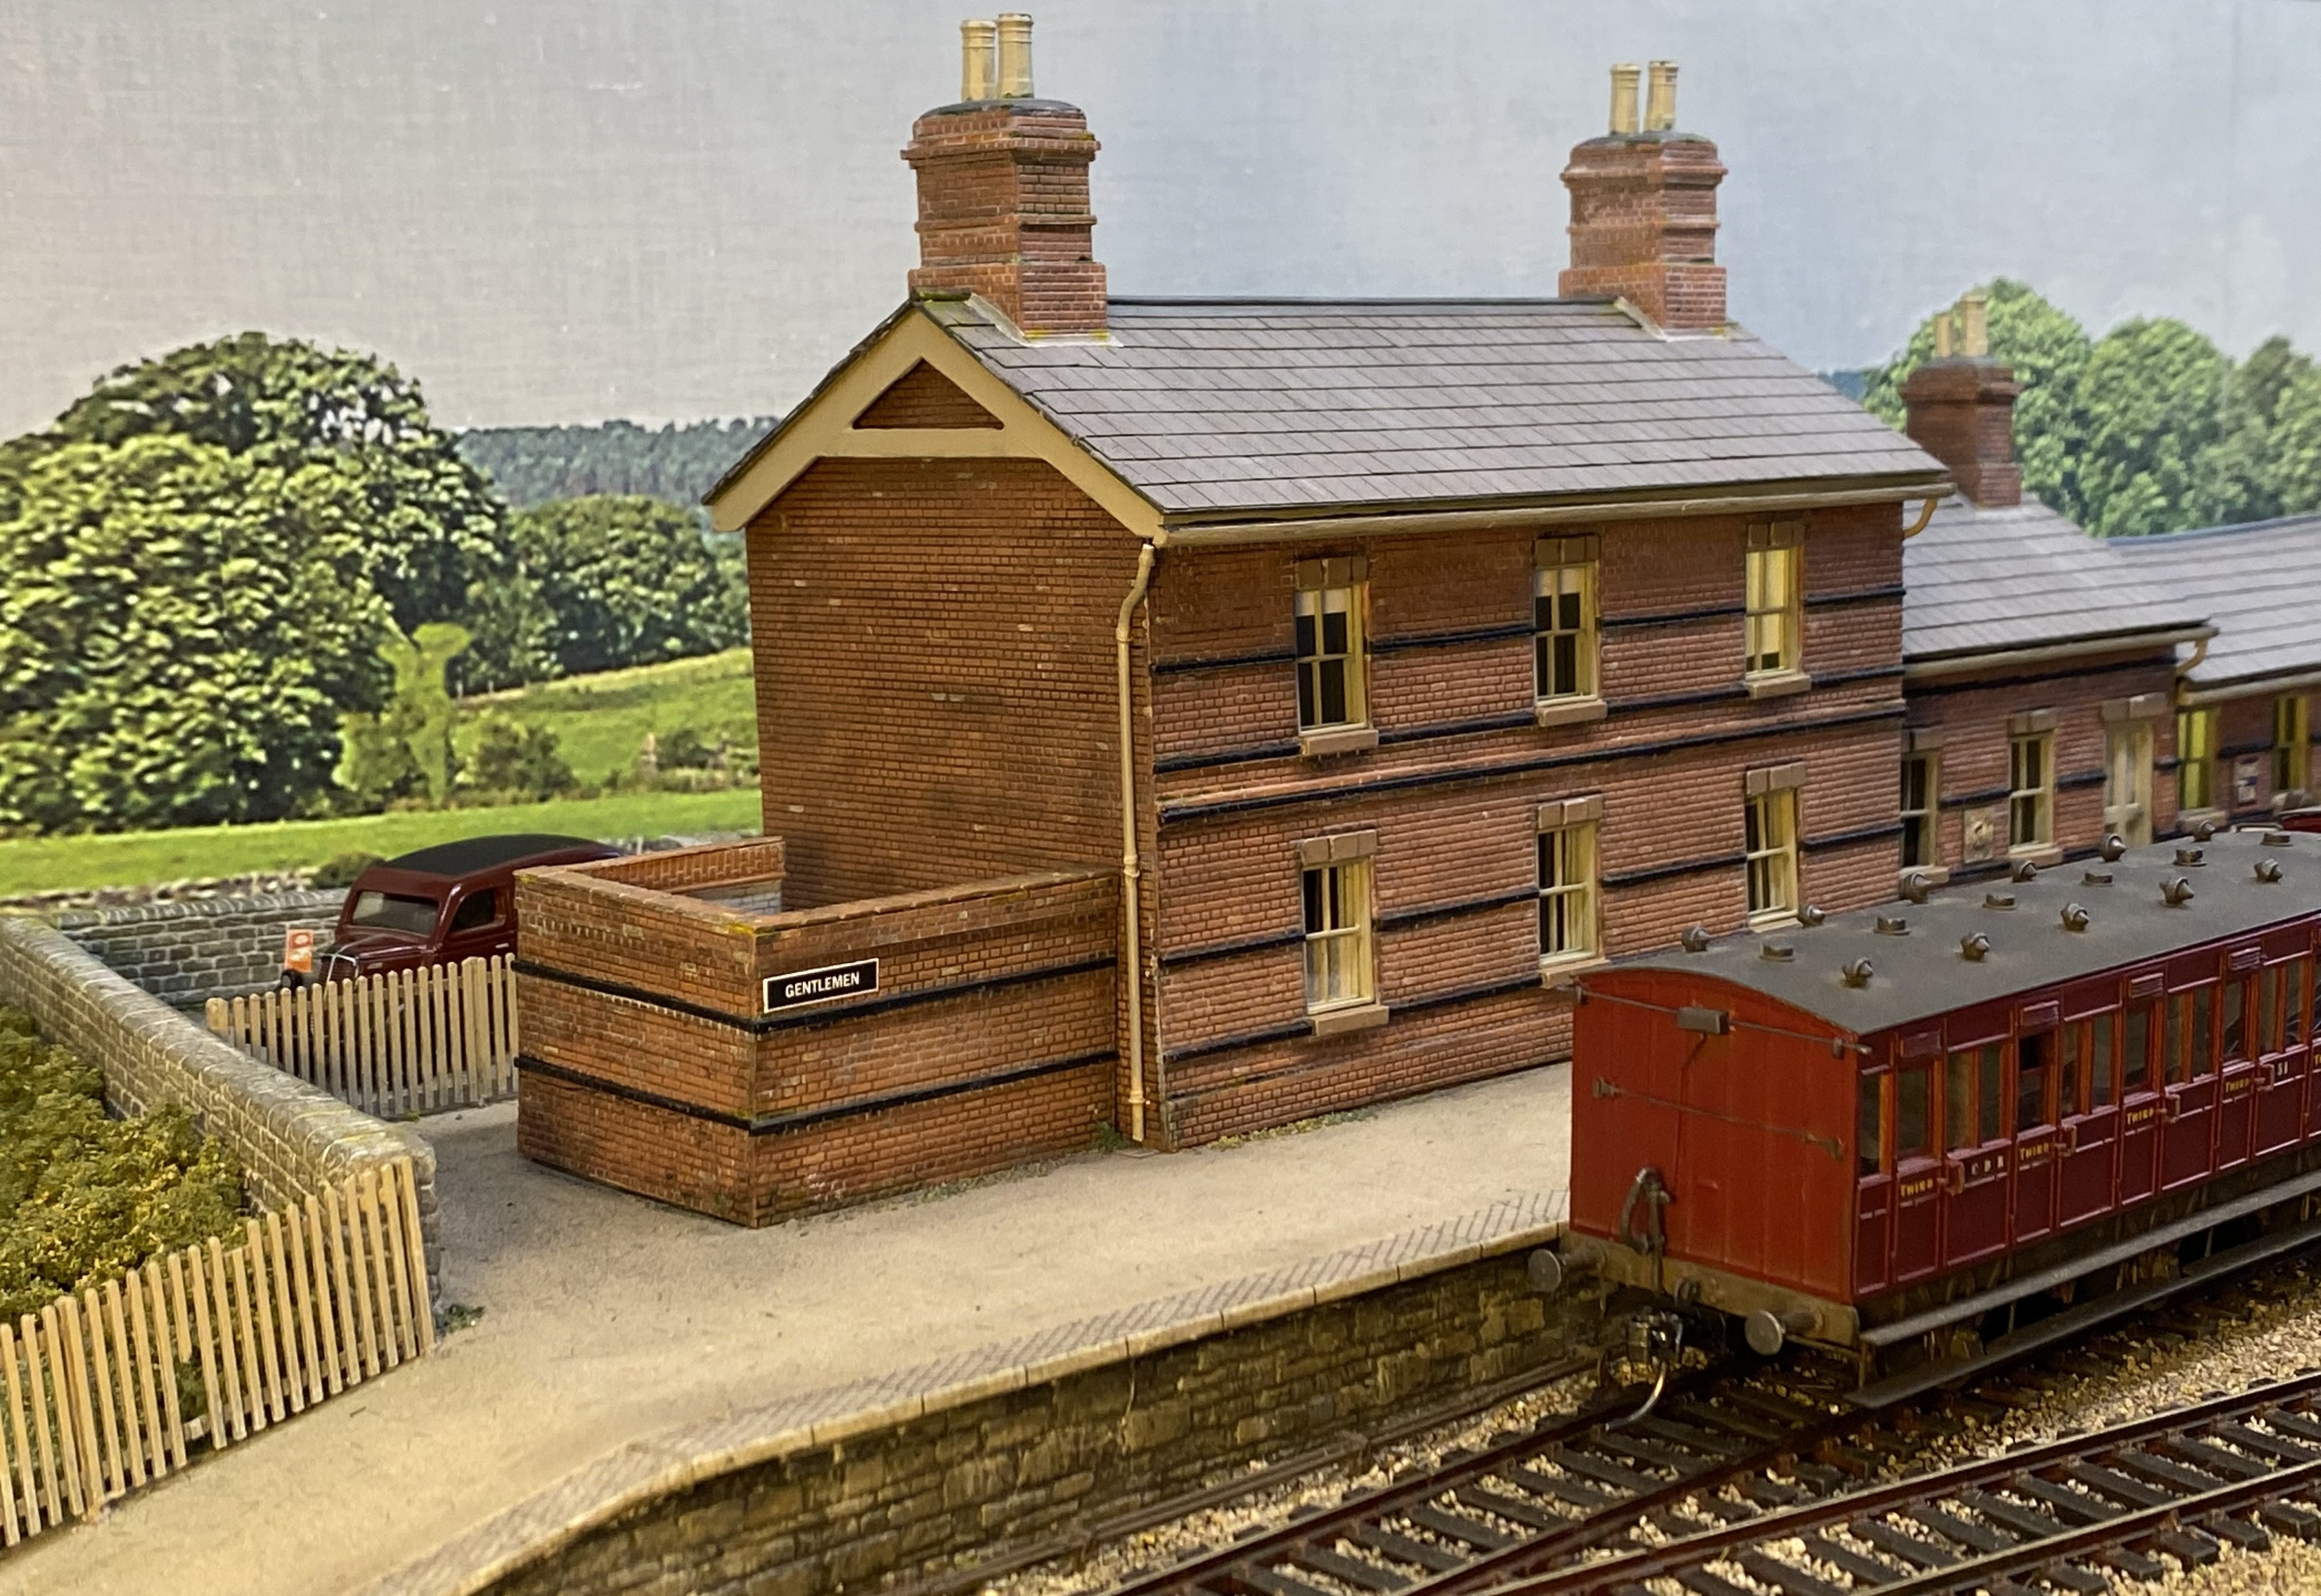
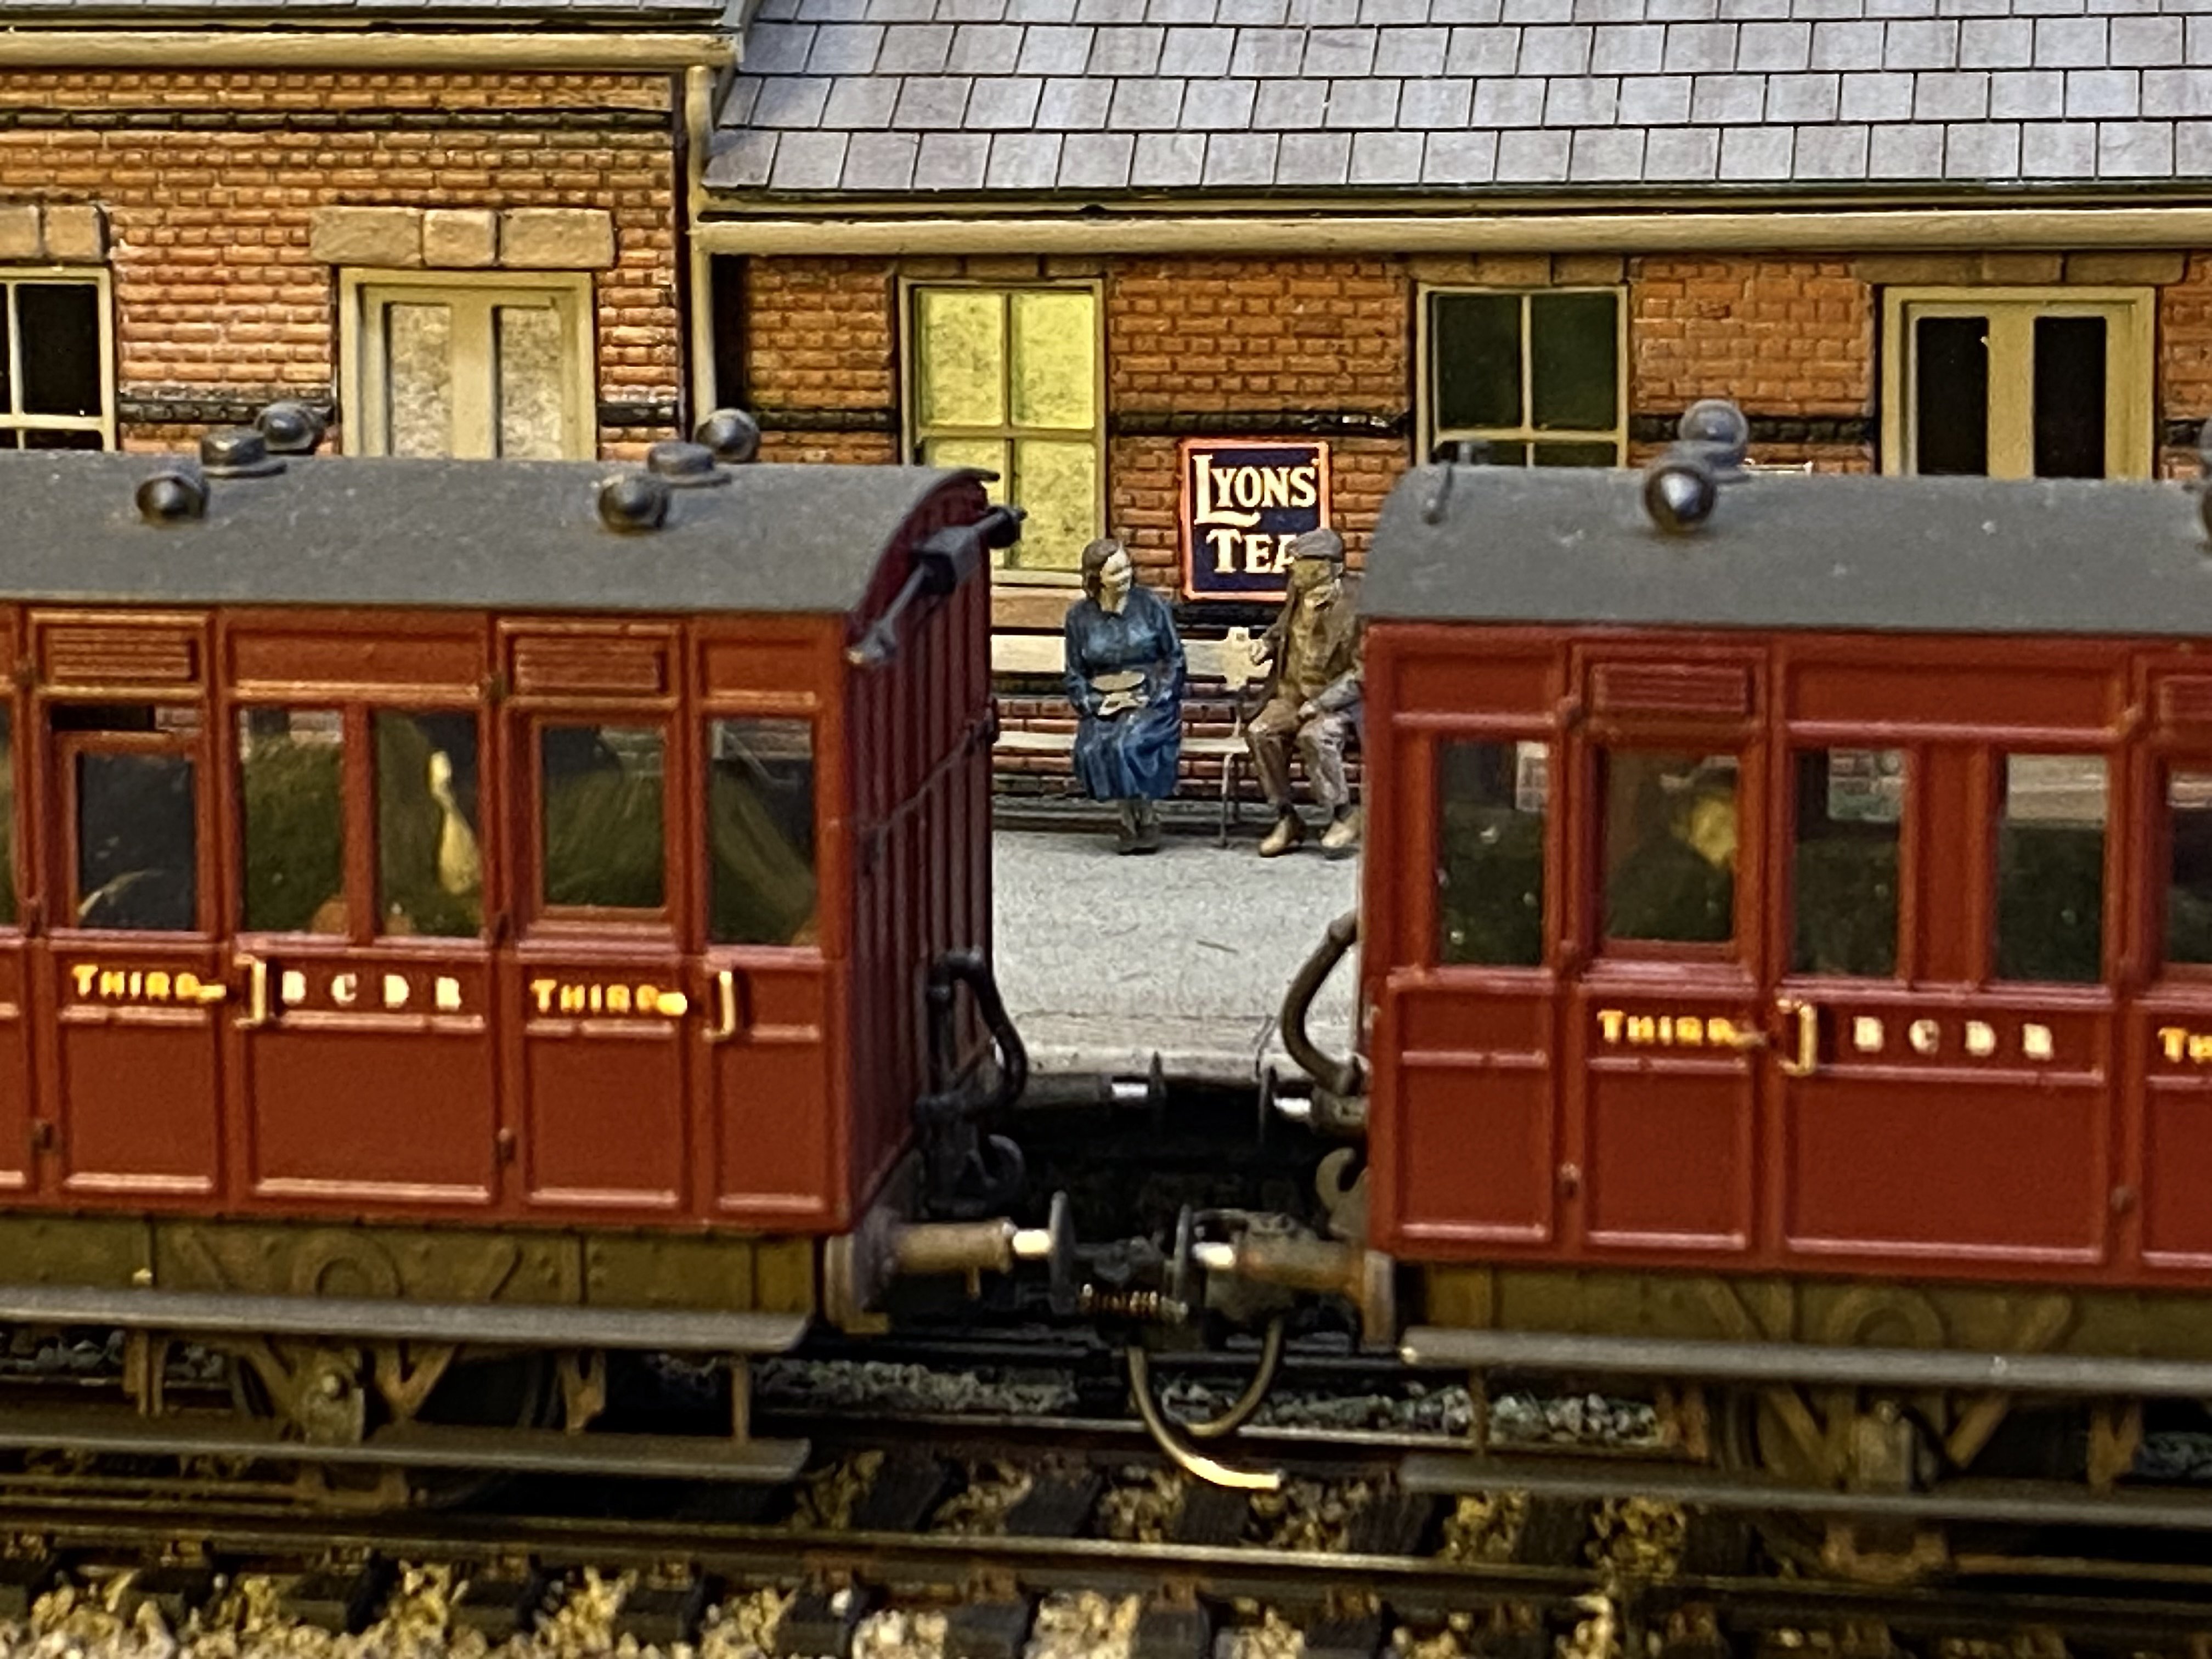
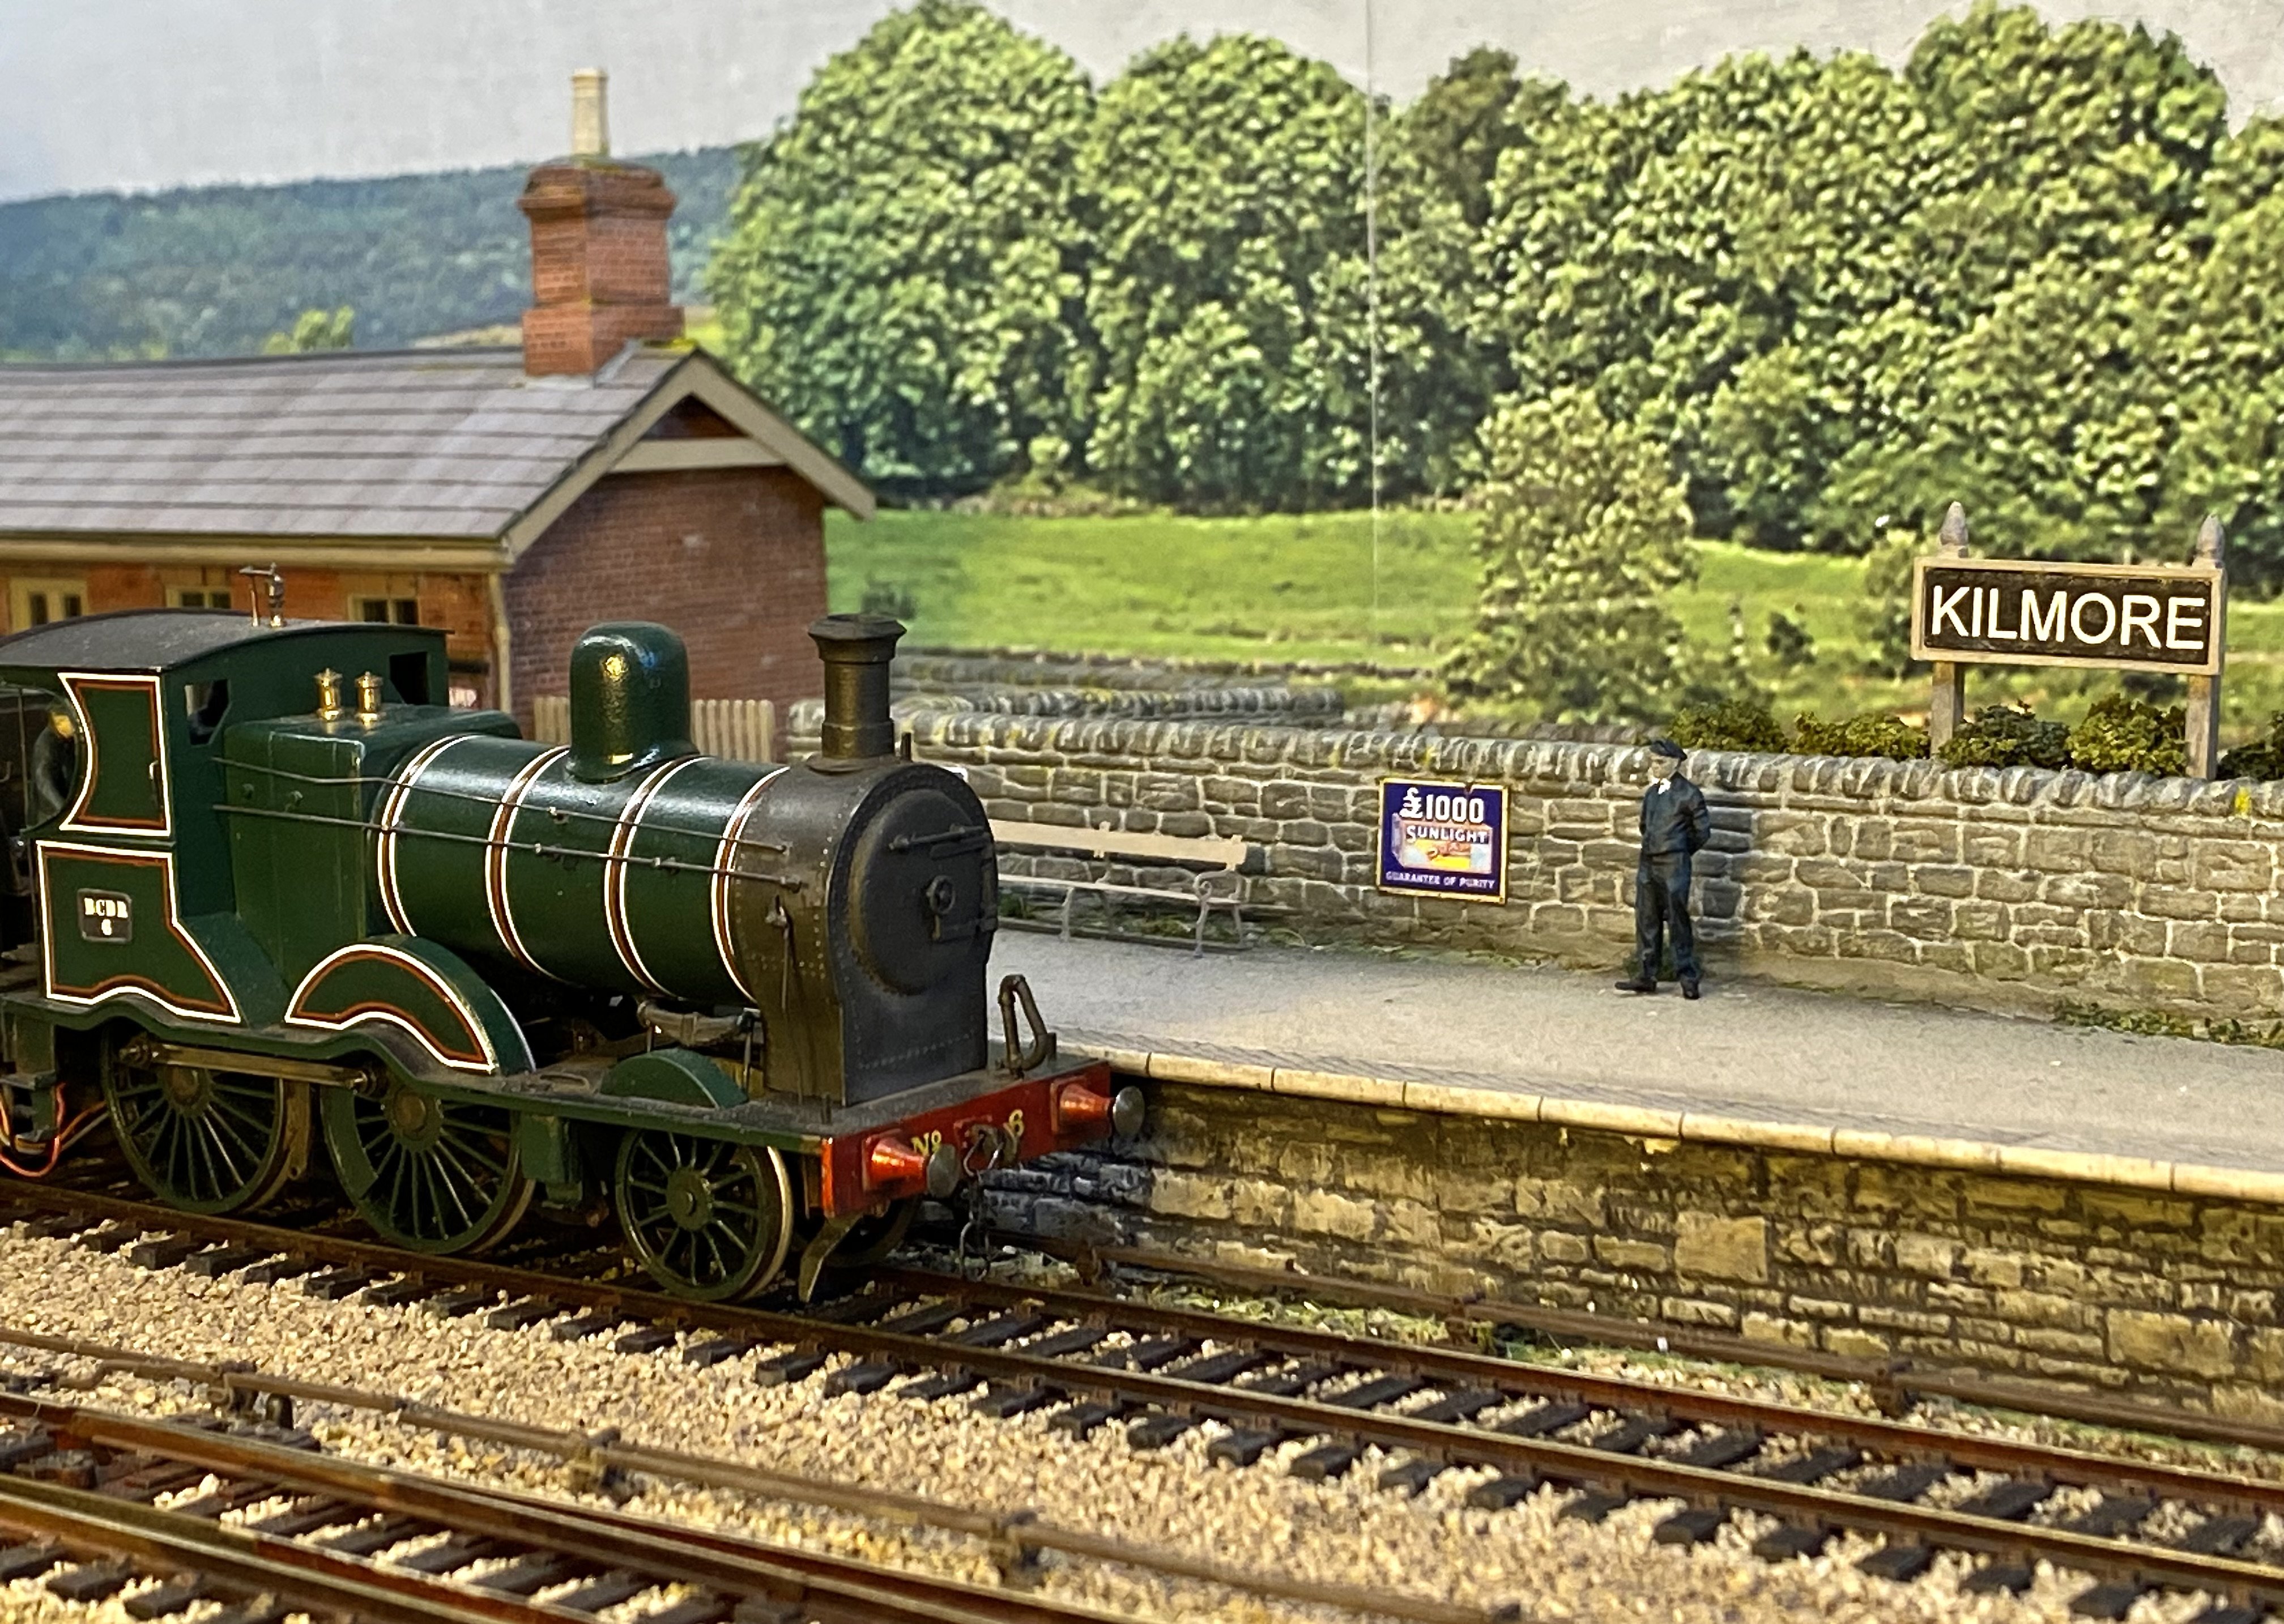
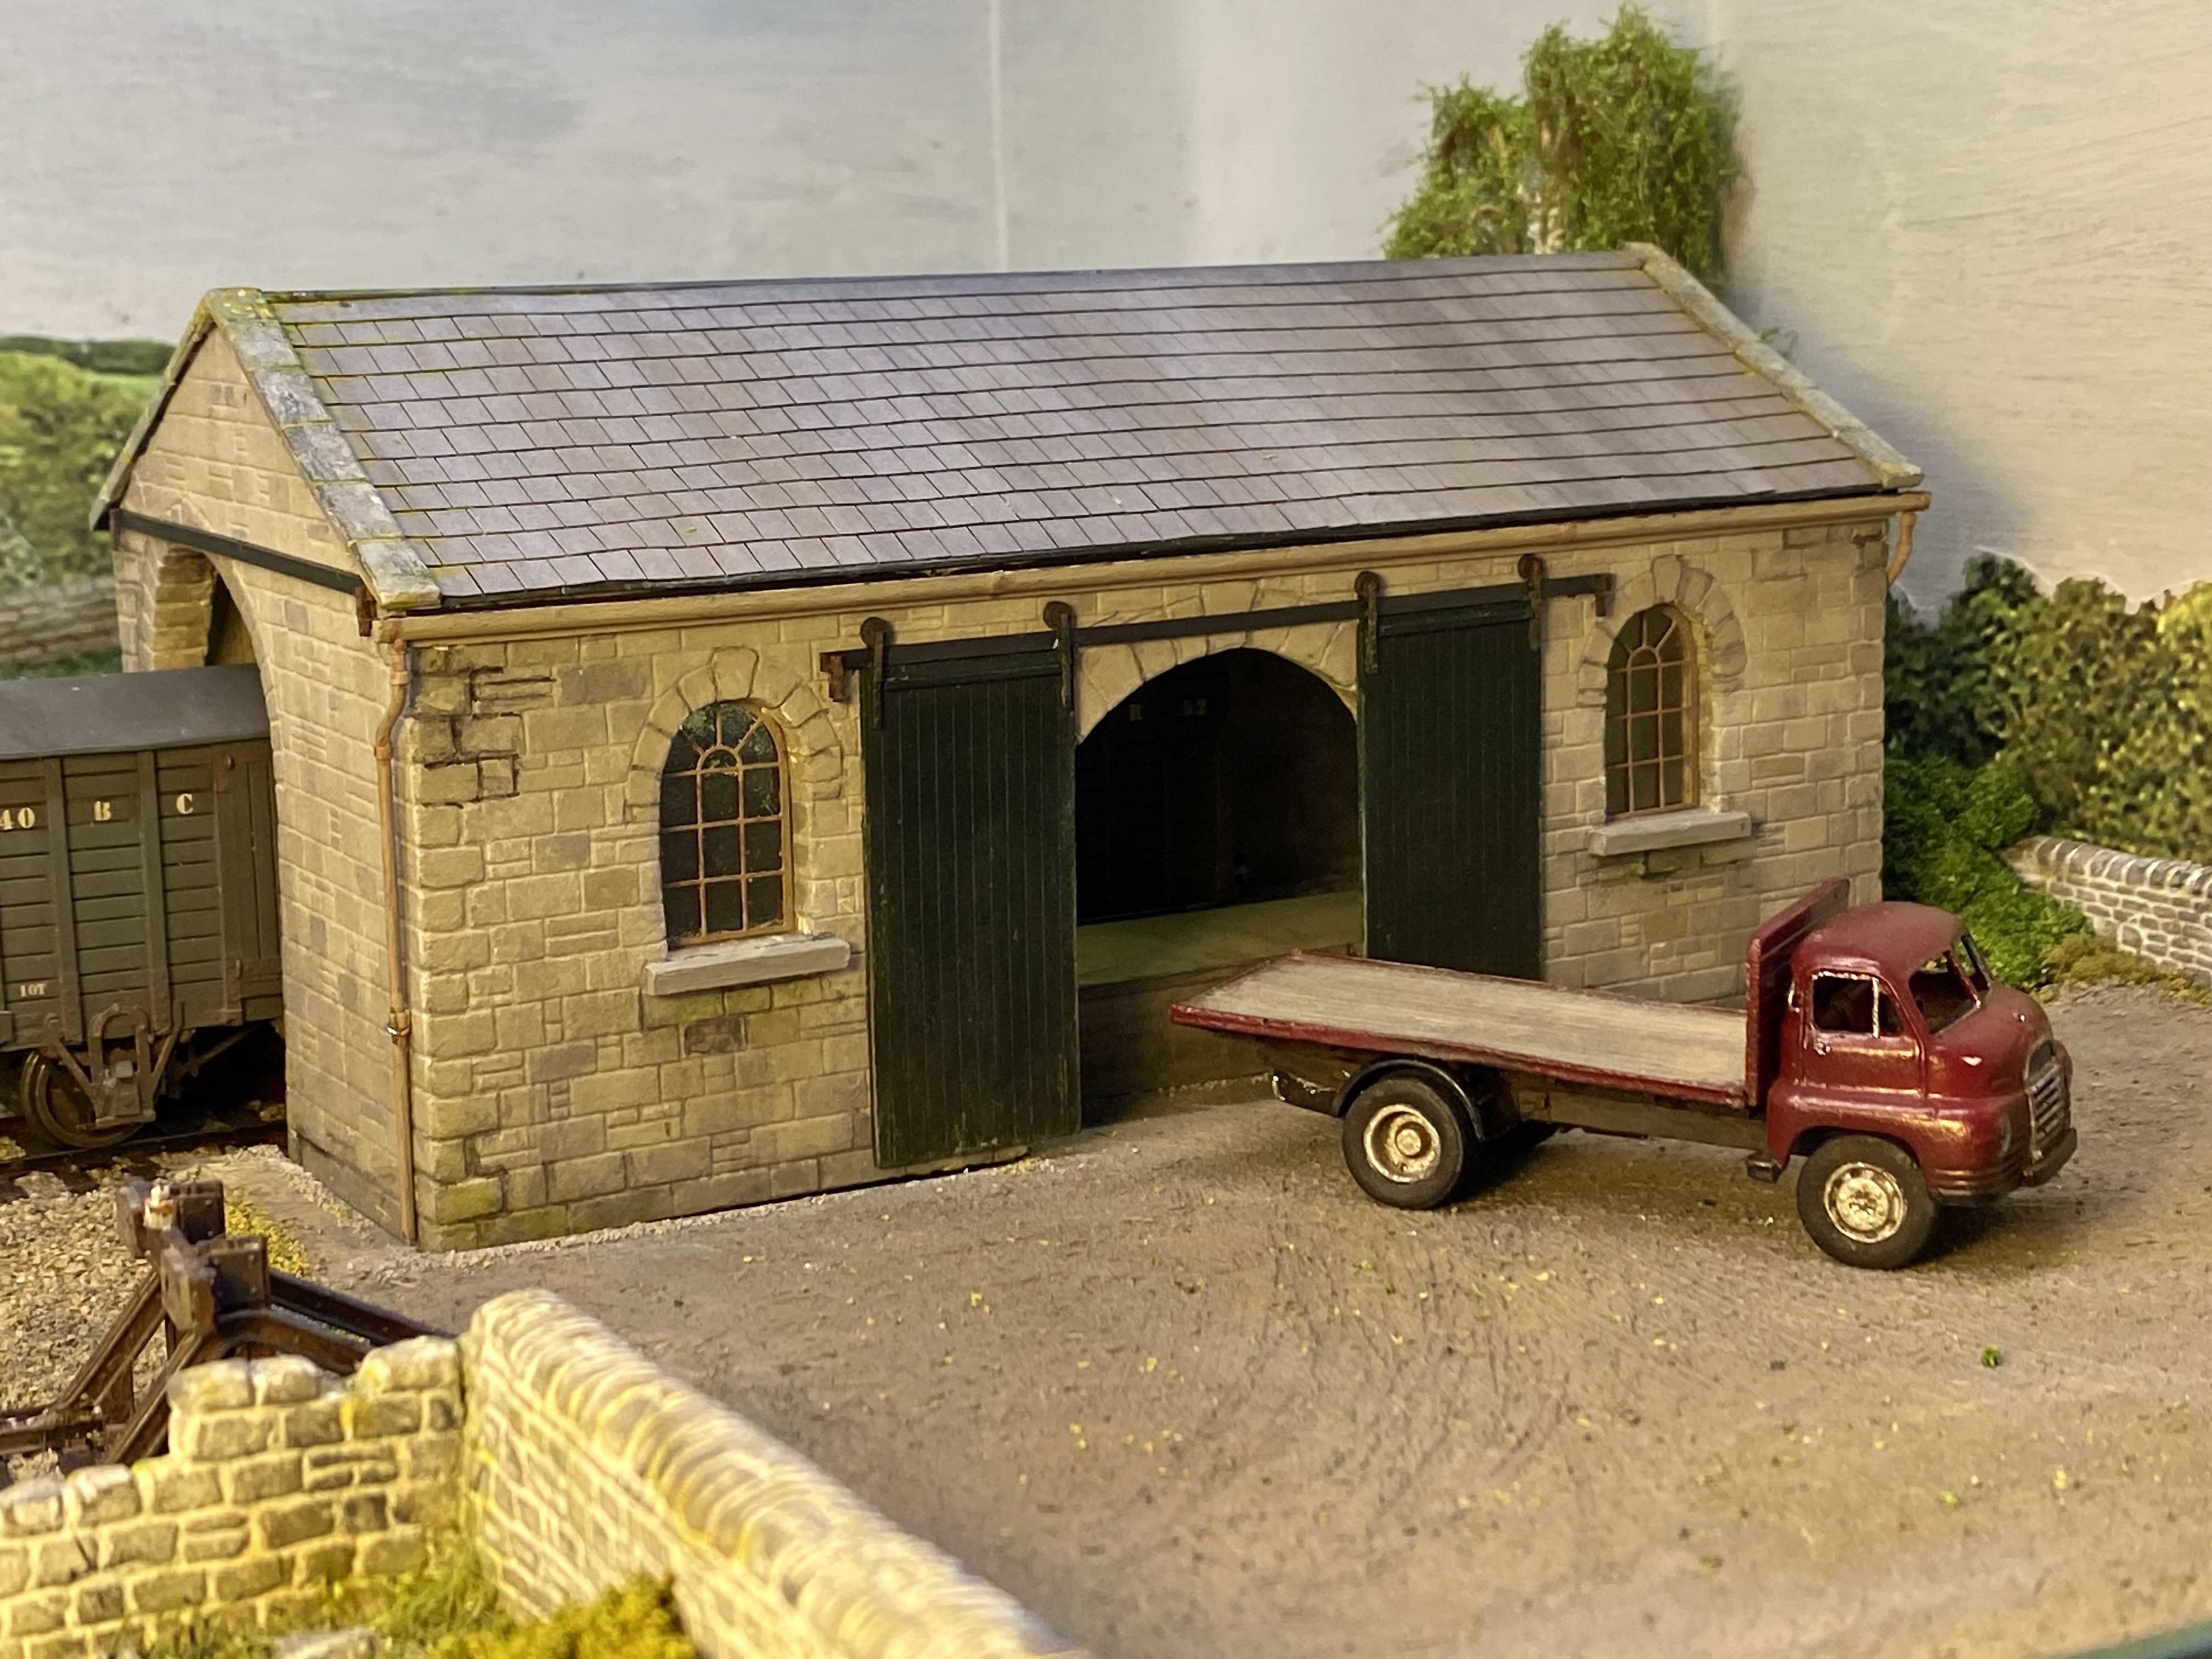
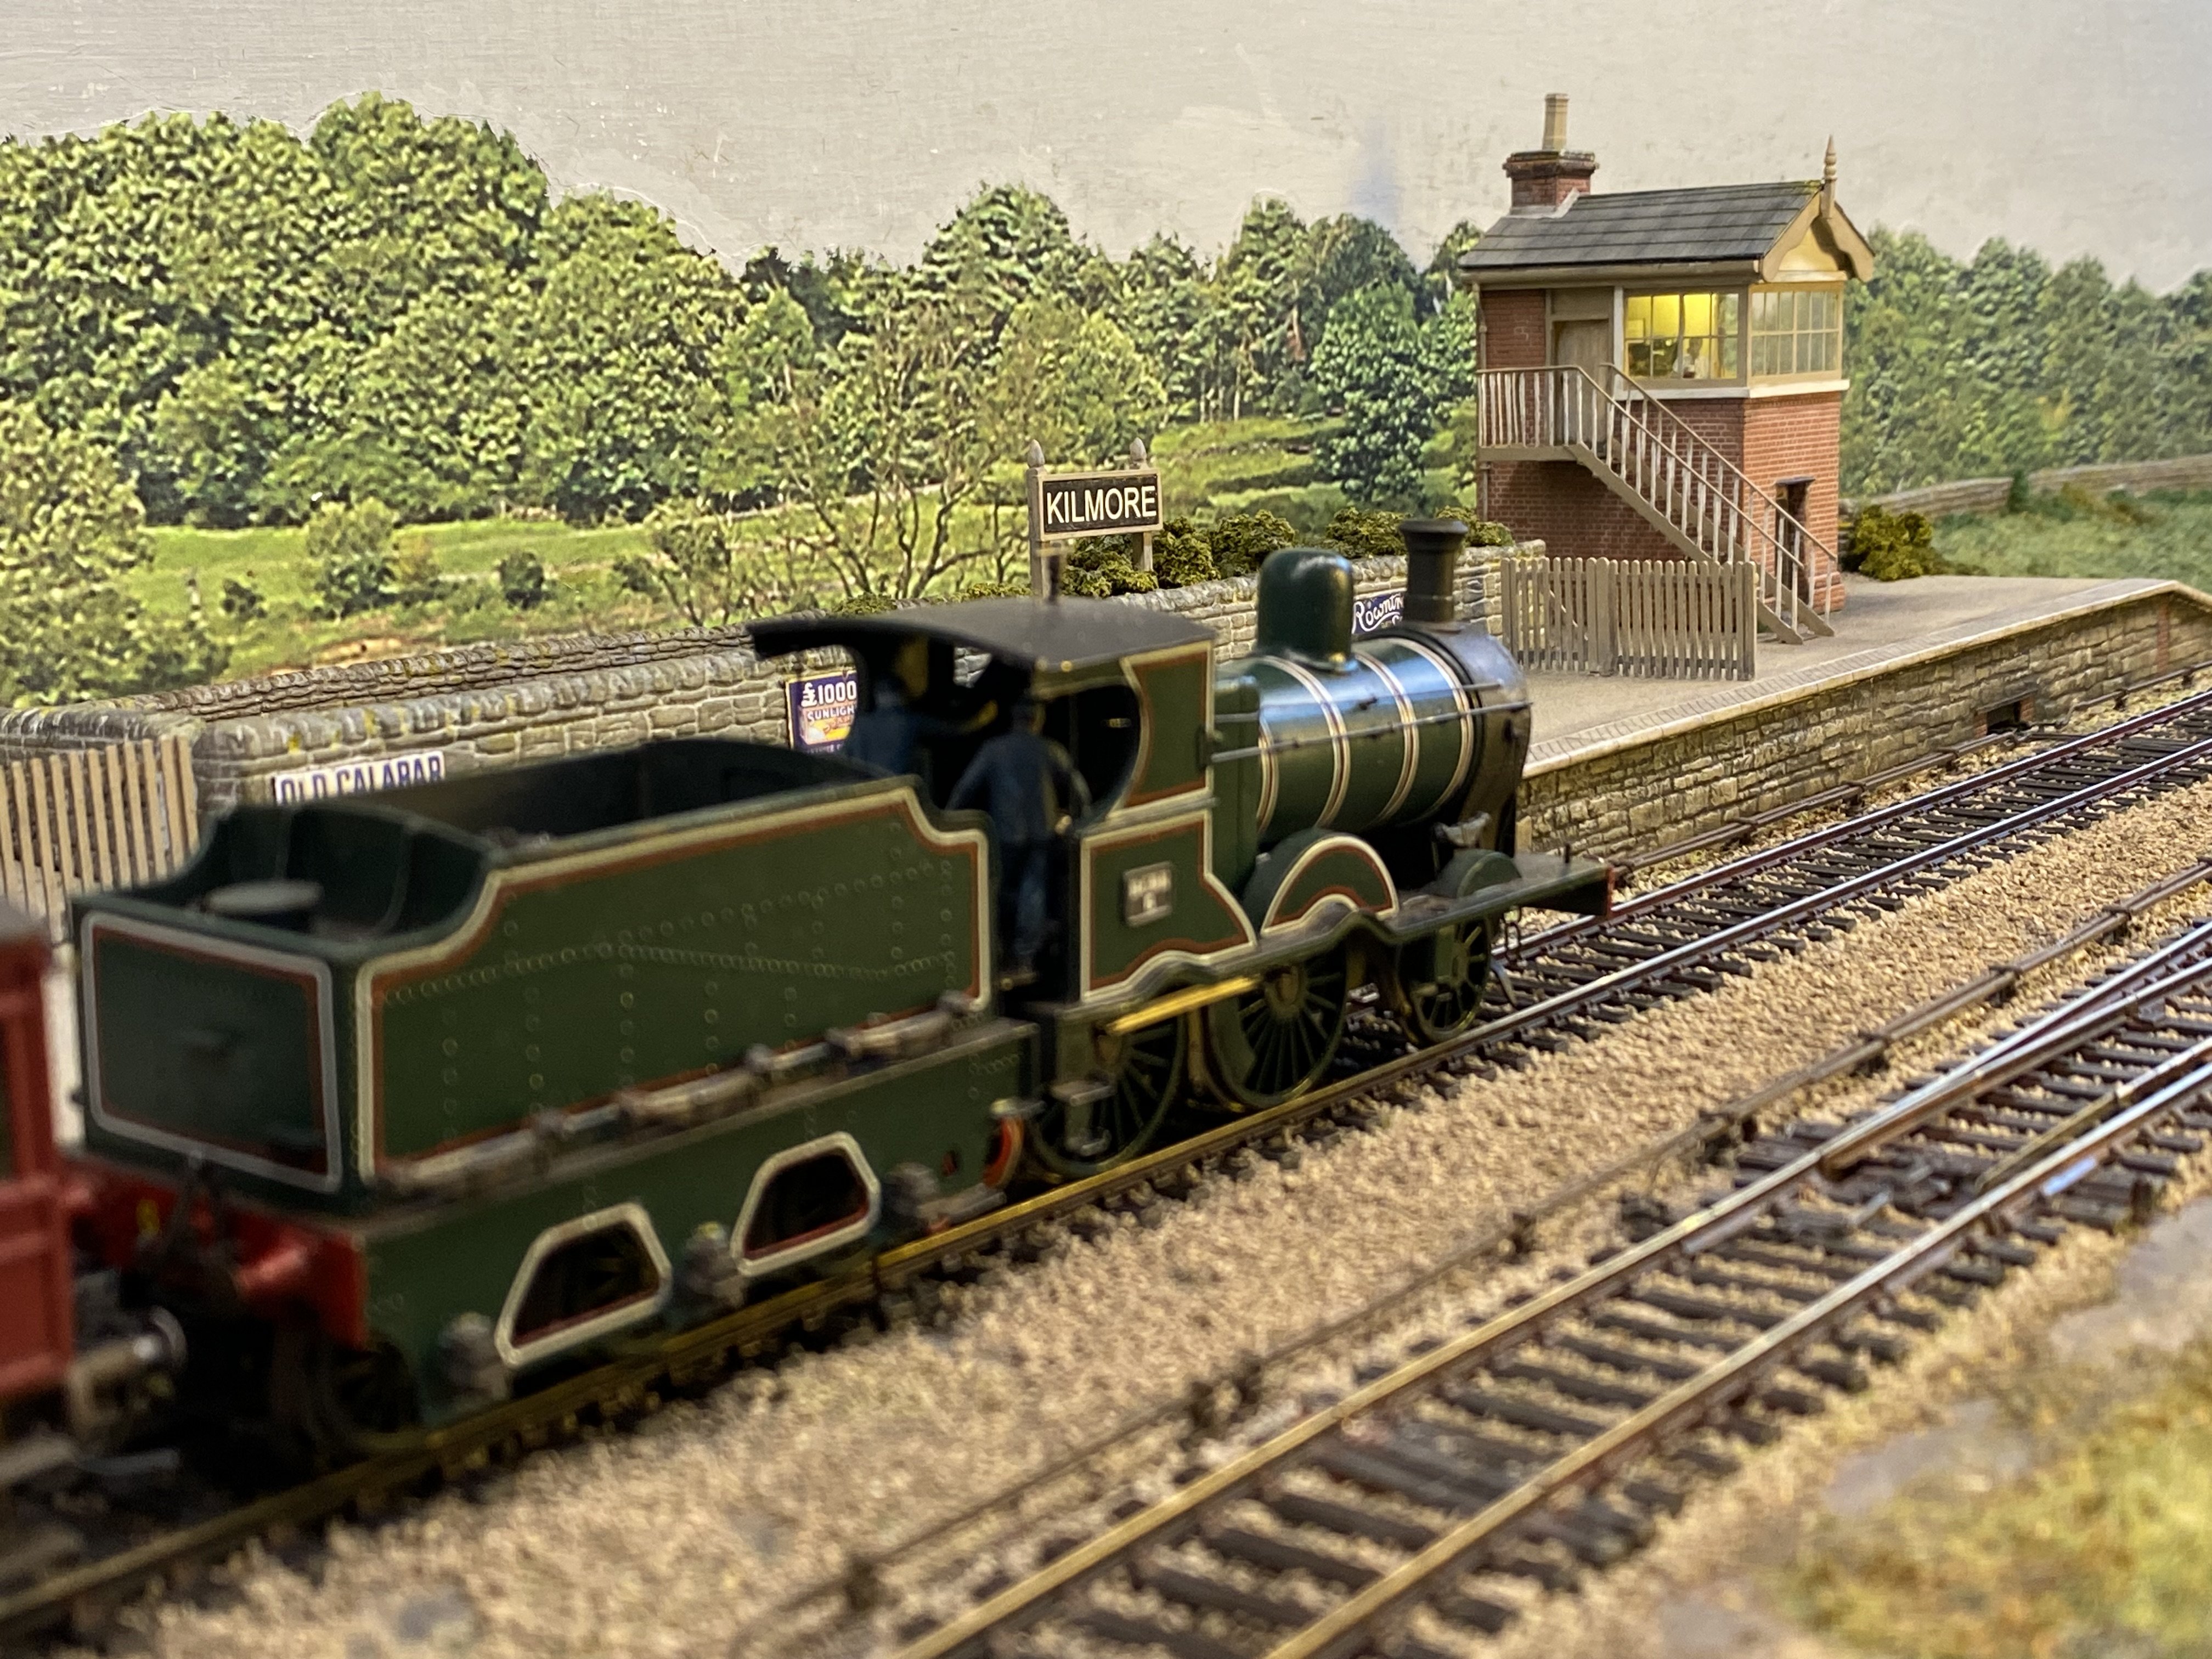
It has been a quiet week at Kilmore...
- 176 replies
-
- 31
-
-

-
"Voiding the Warranty" - Mol's experiments in 21mm gauge
Tullygrainey replied to Mol_PMB's topic in Irish Models
Lovely work Paul. This is going to be good! -
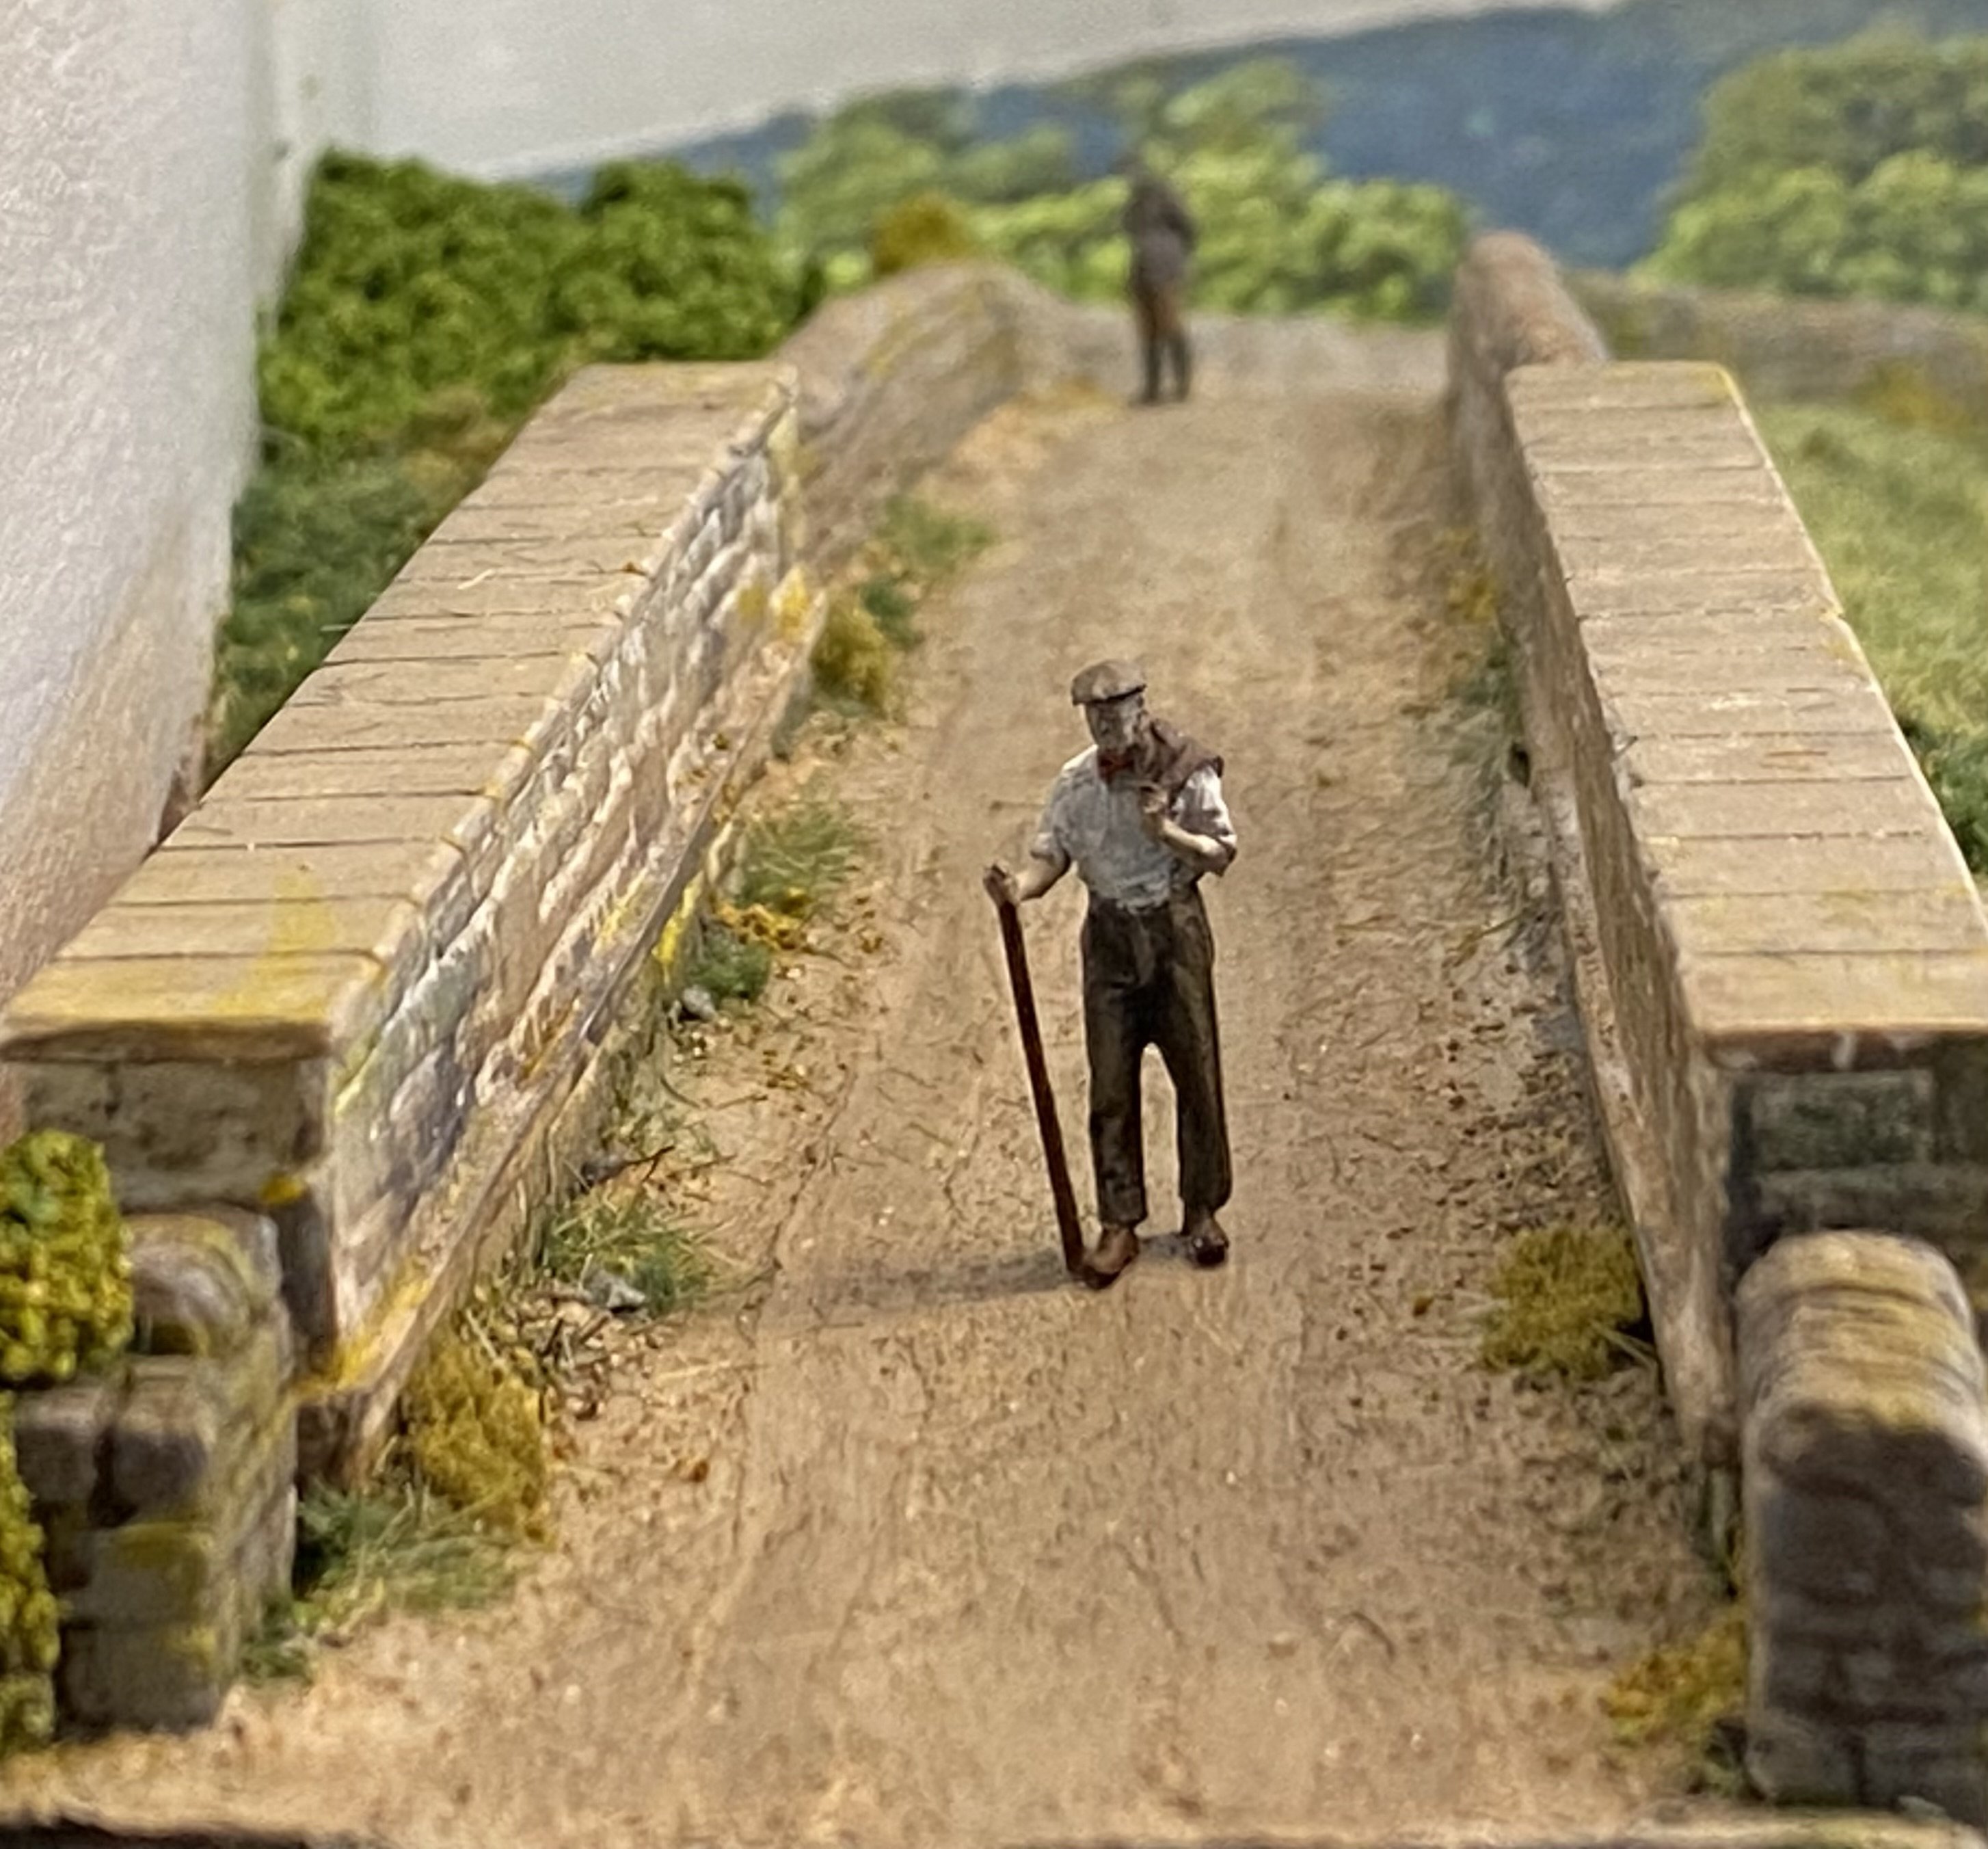
Is that Morecambe and Wise on the bridge?
-
Nice one Patrick
-
Glad to see the Countess behaving herself. Very best of luck with this project Patrick. I'm looking forward to seeing Capecastle 2 develop.
-
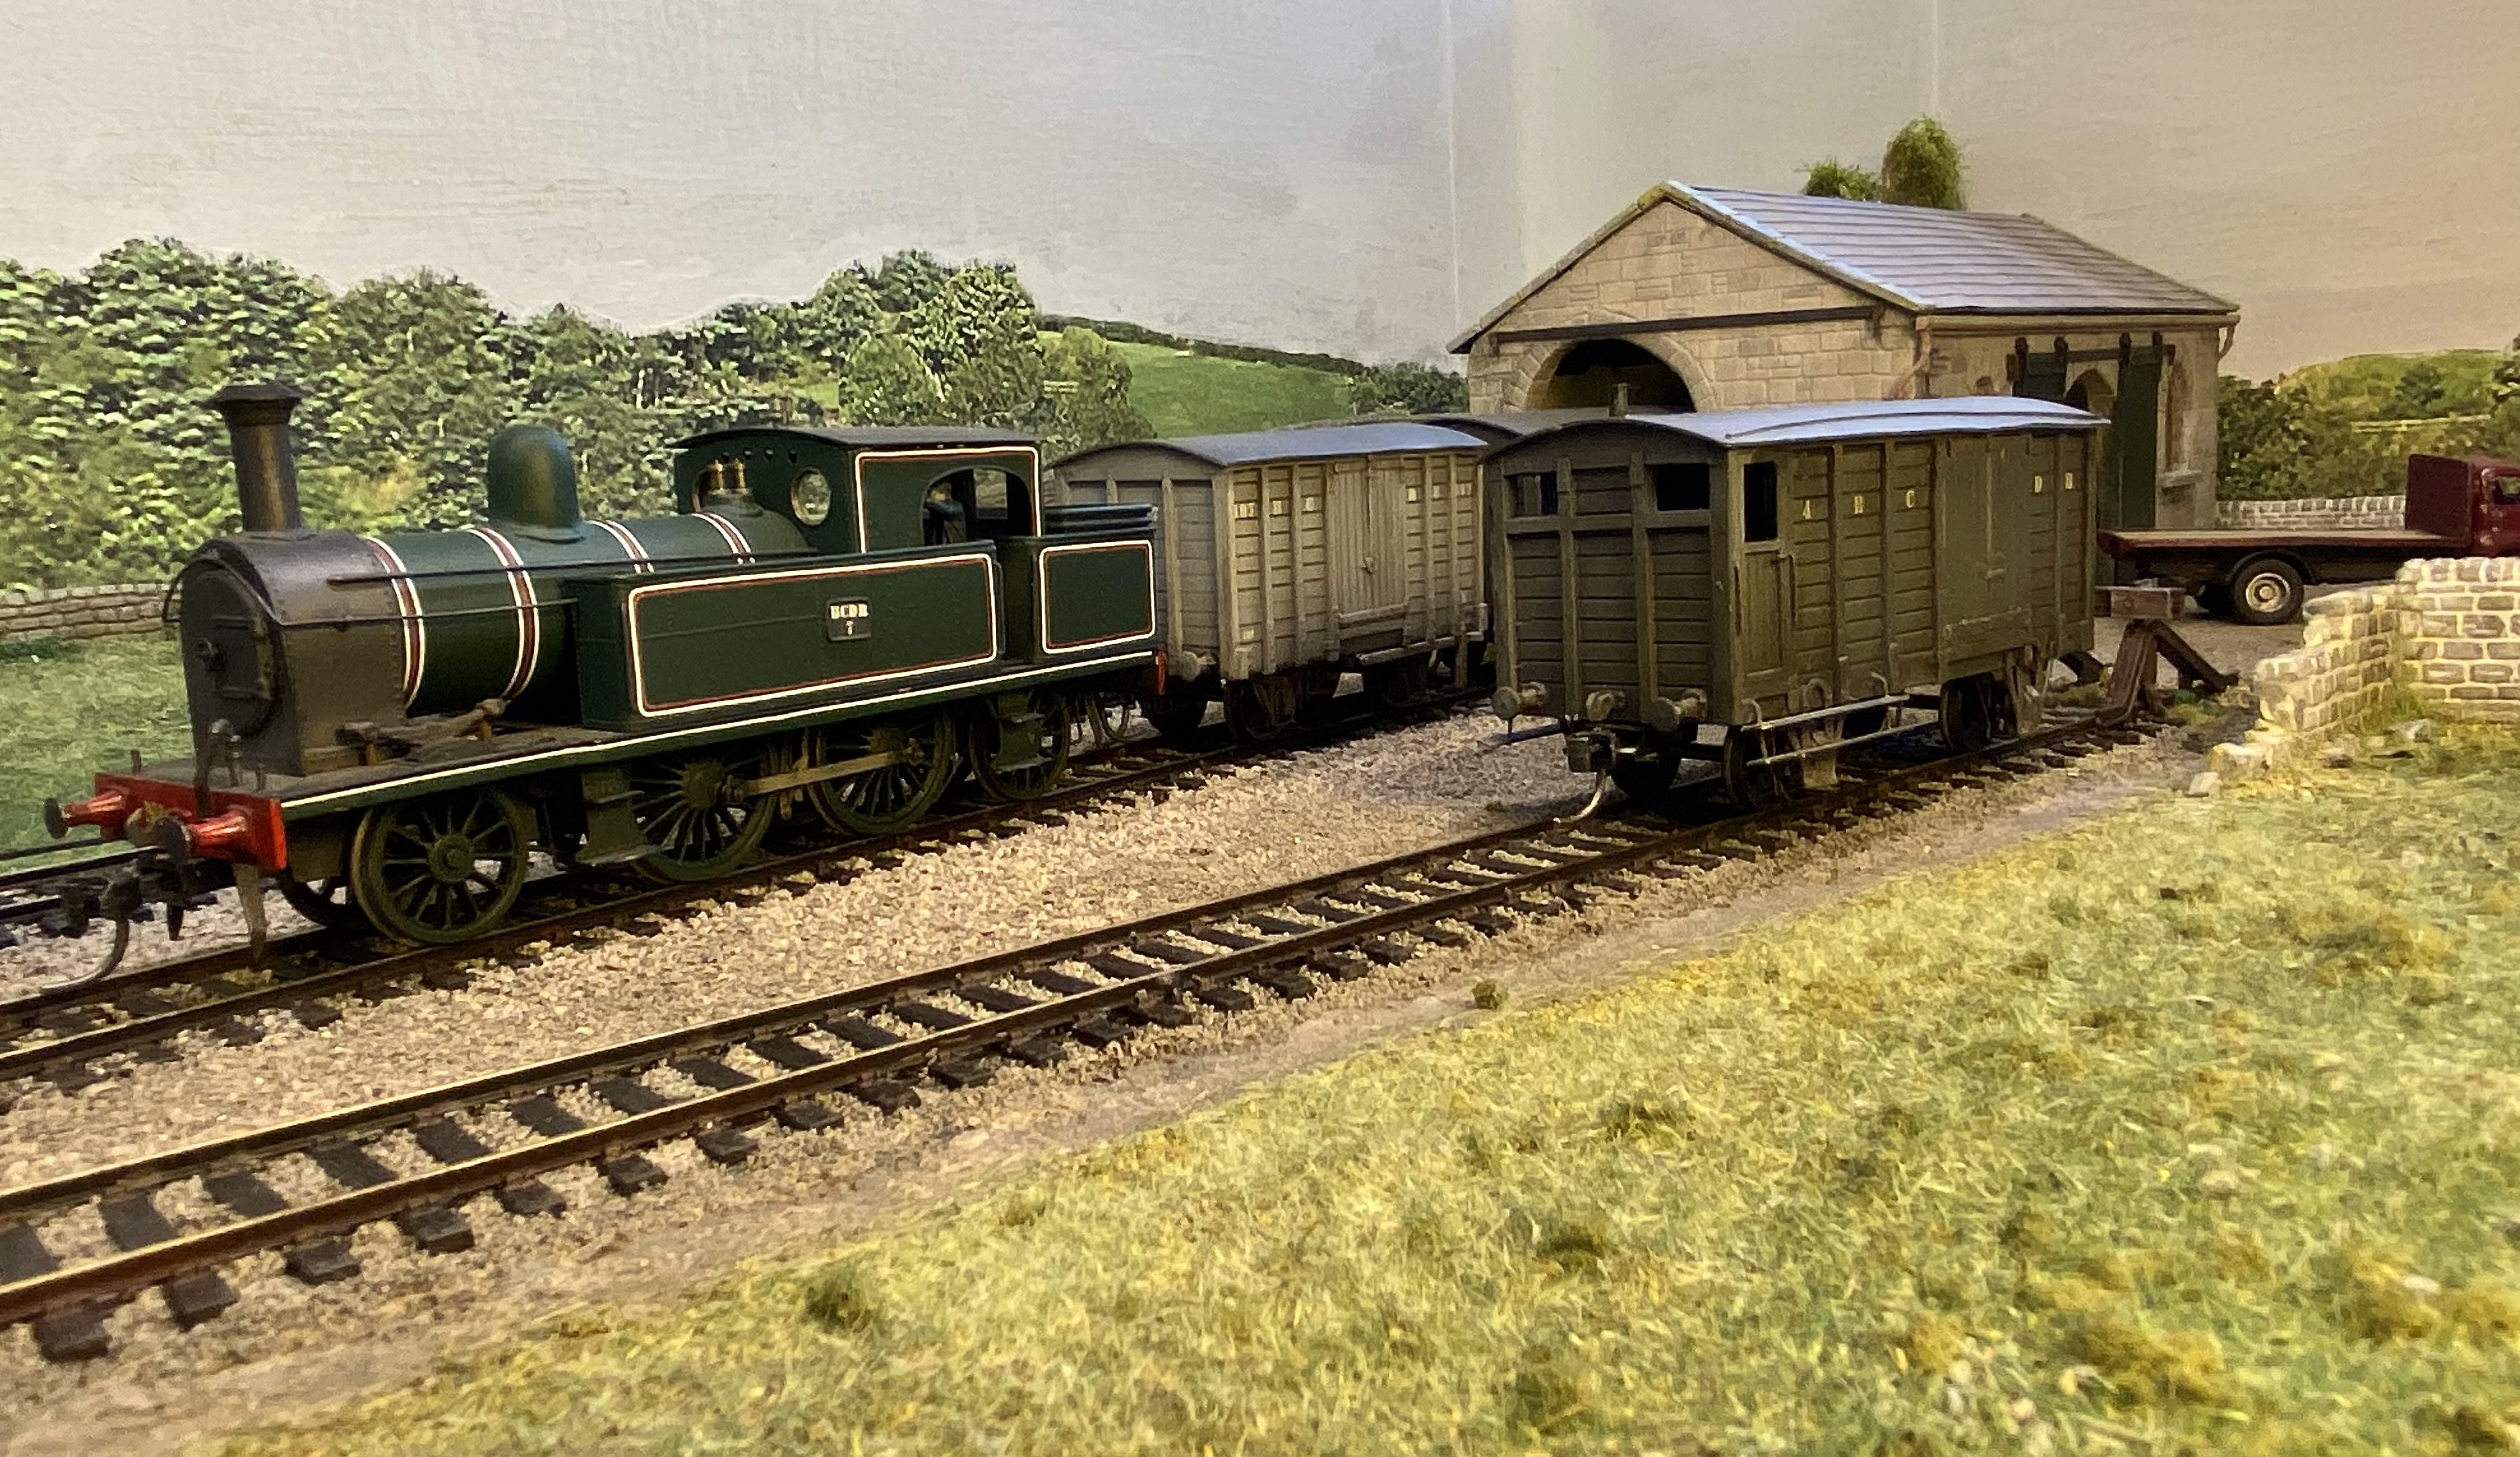
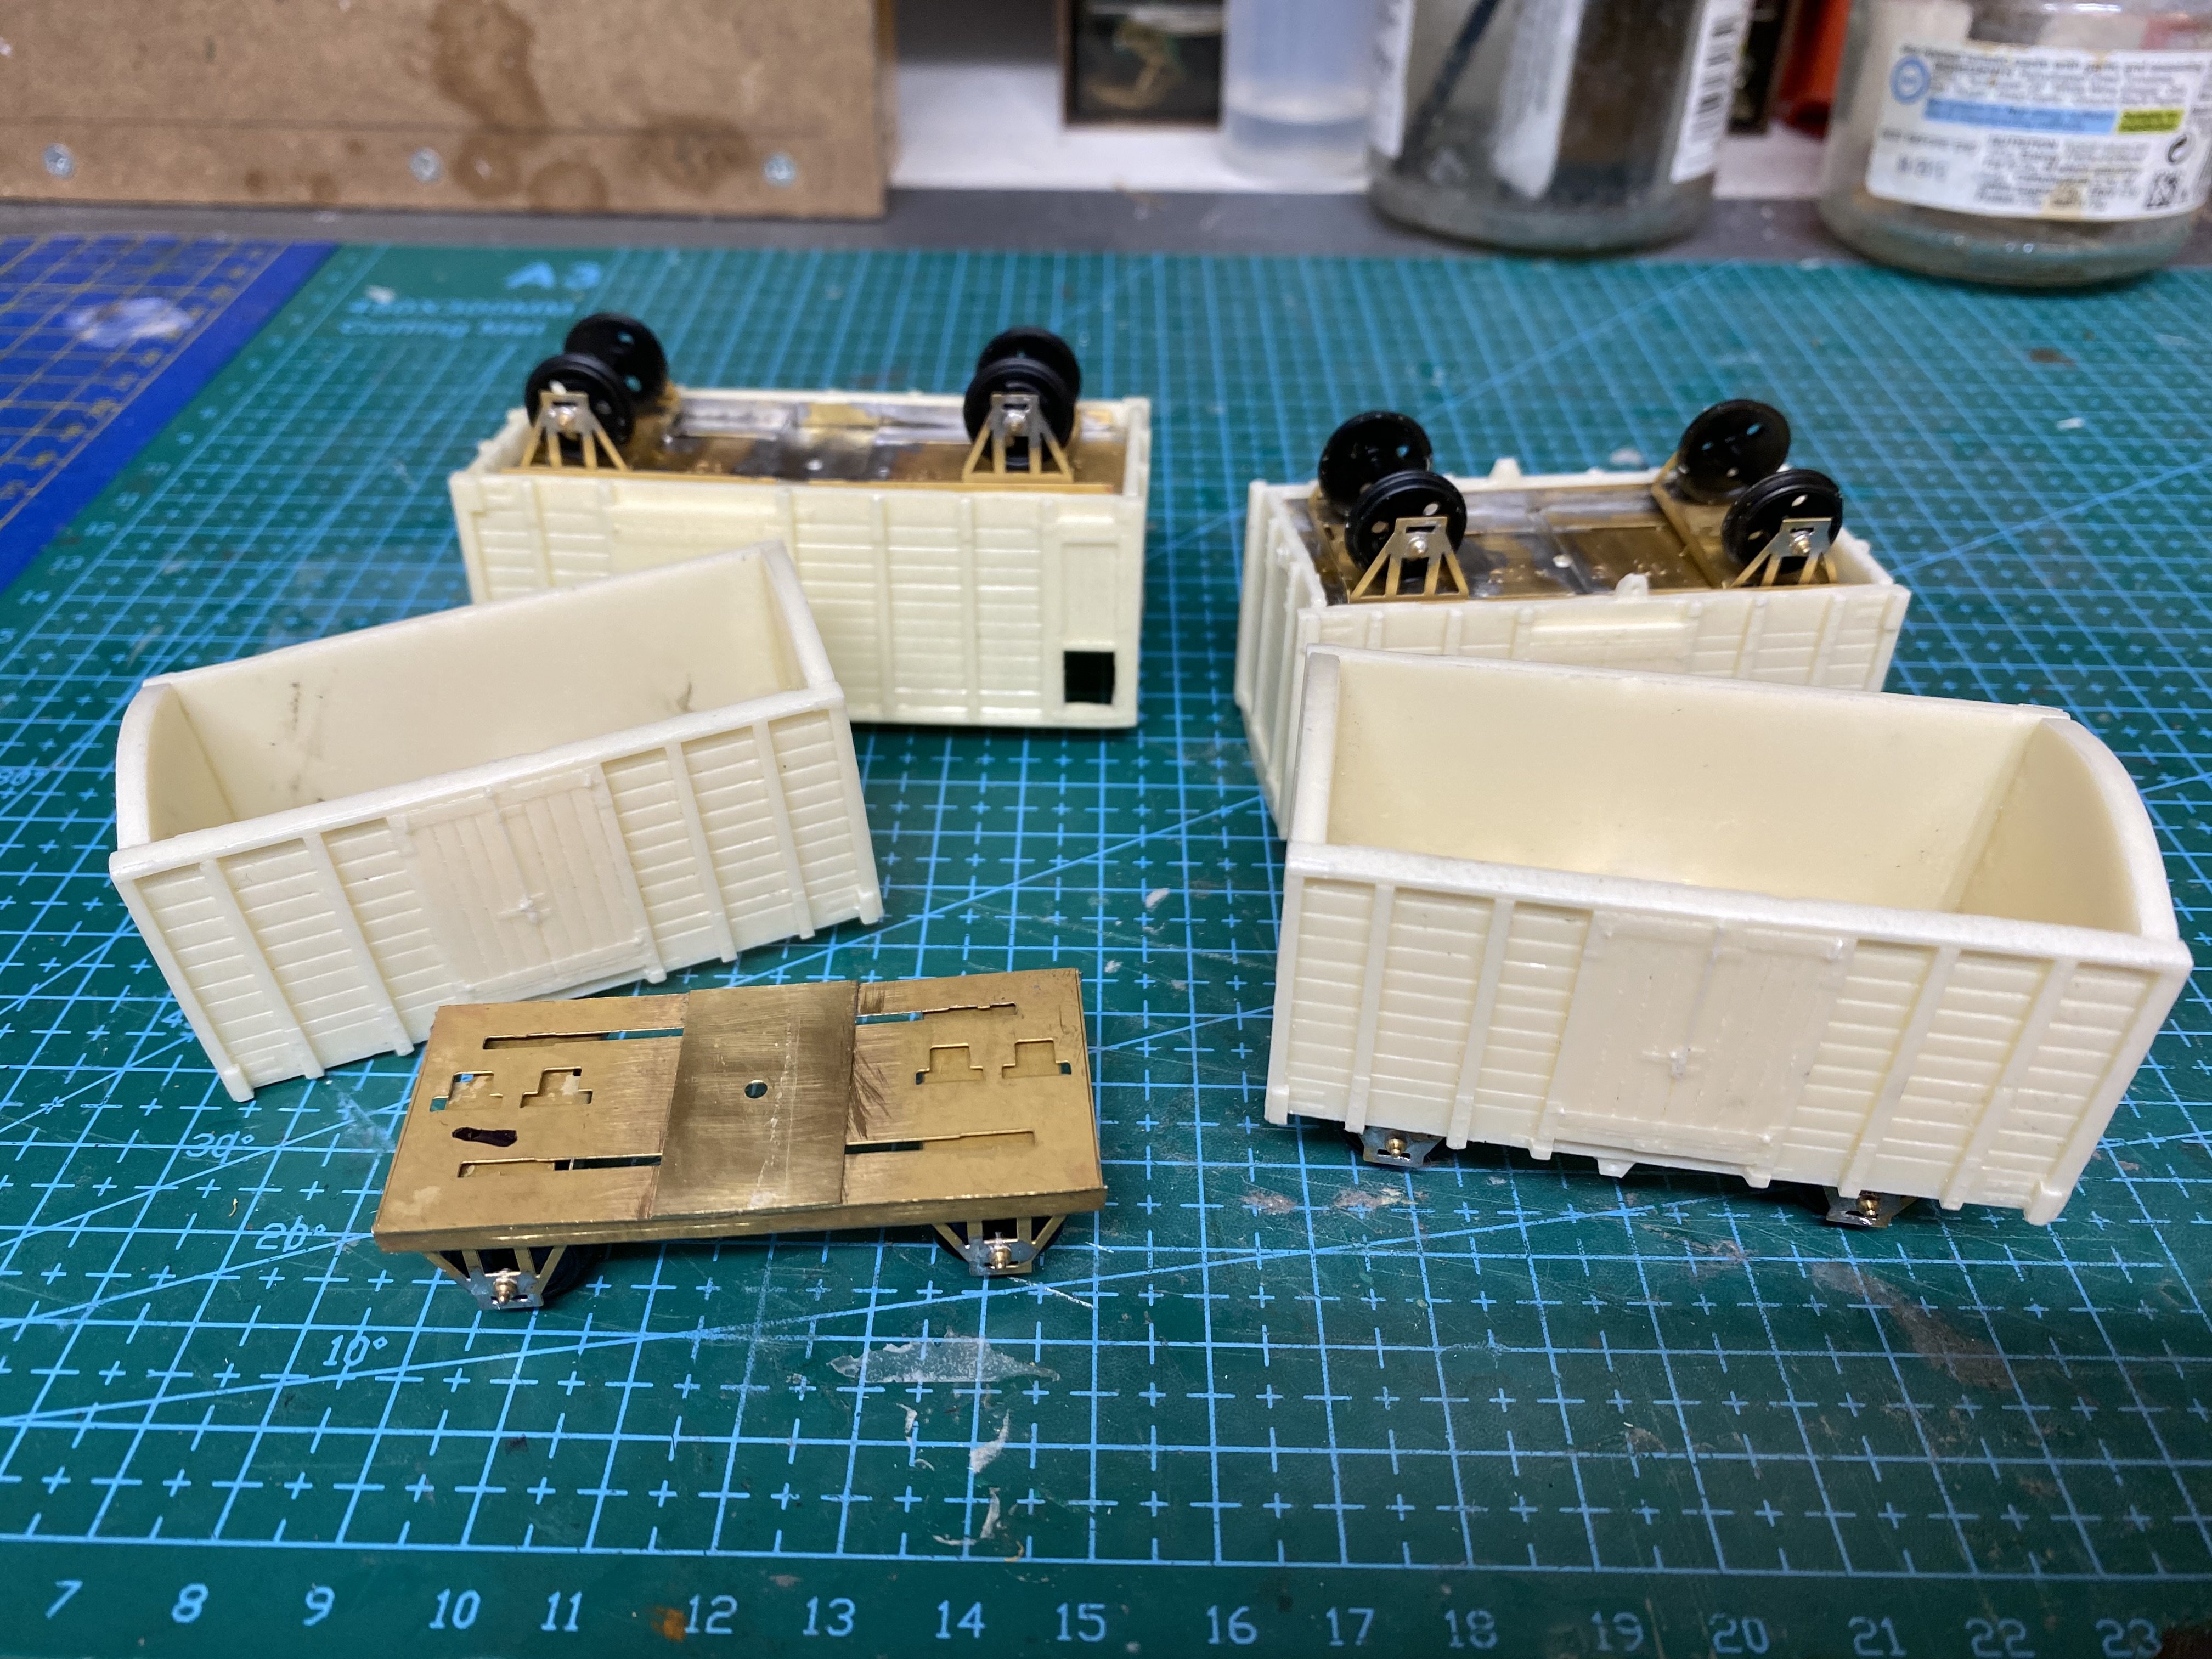
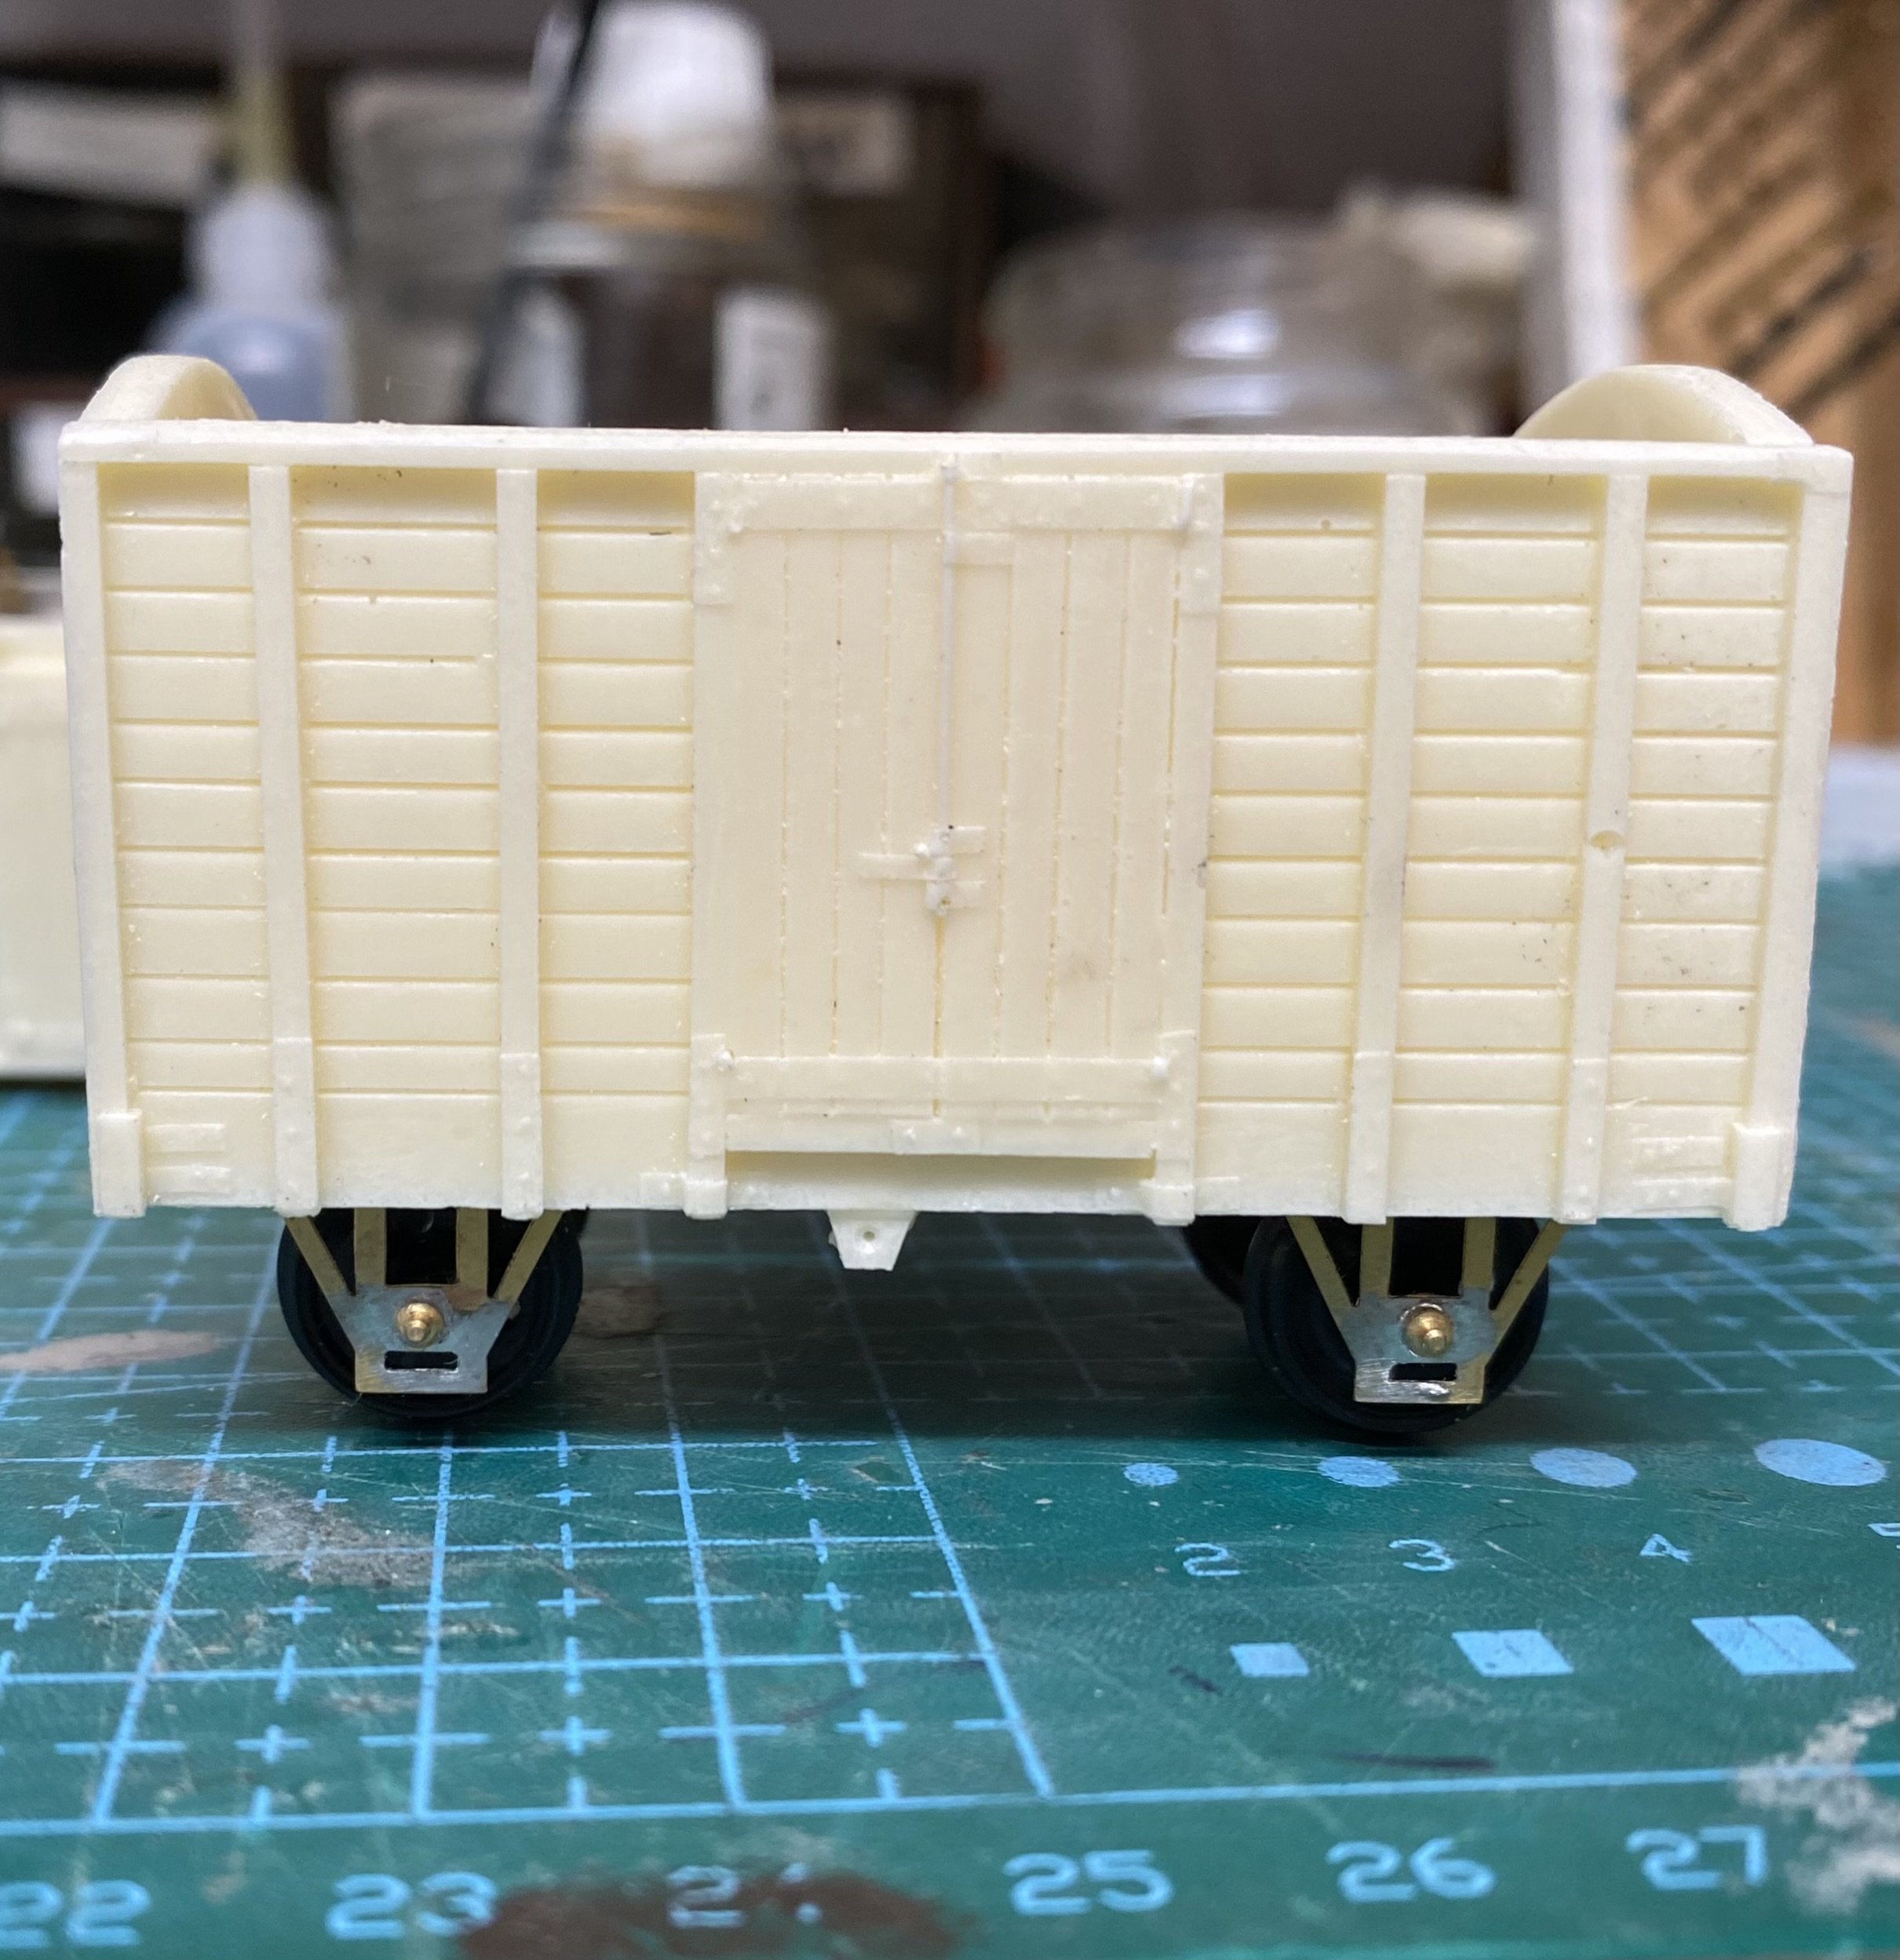
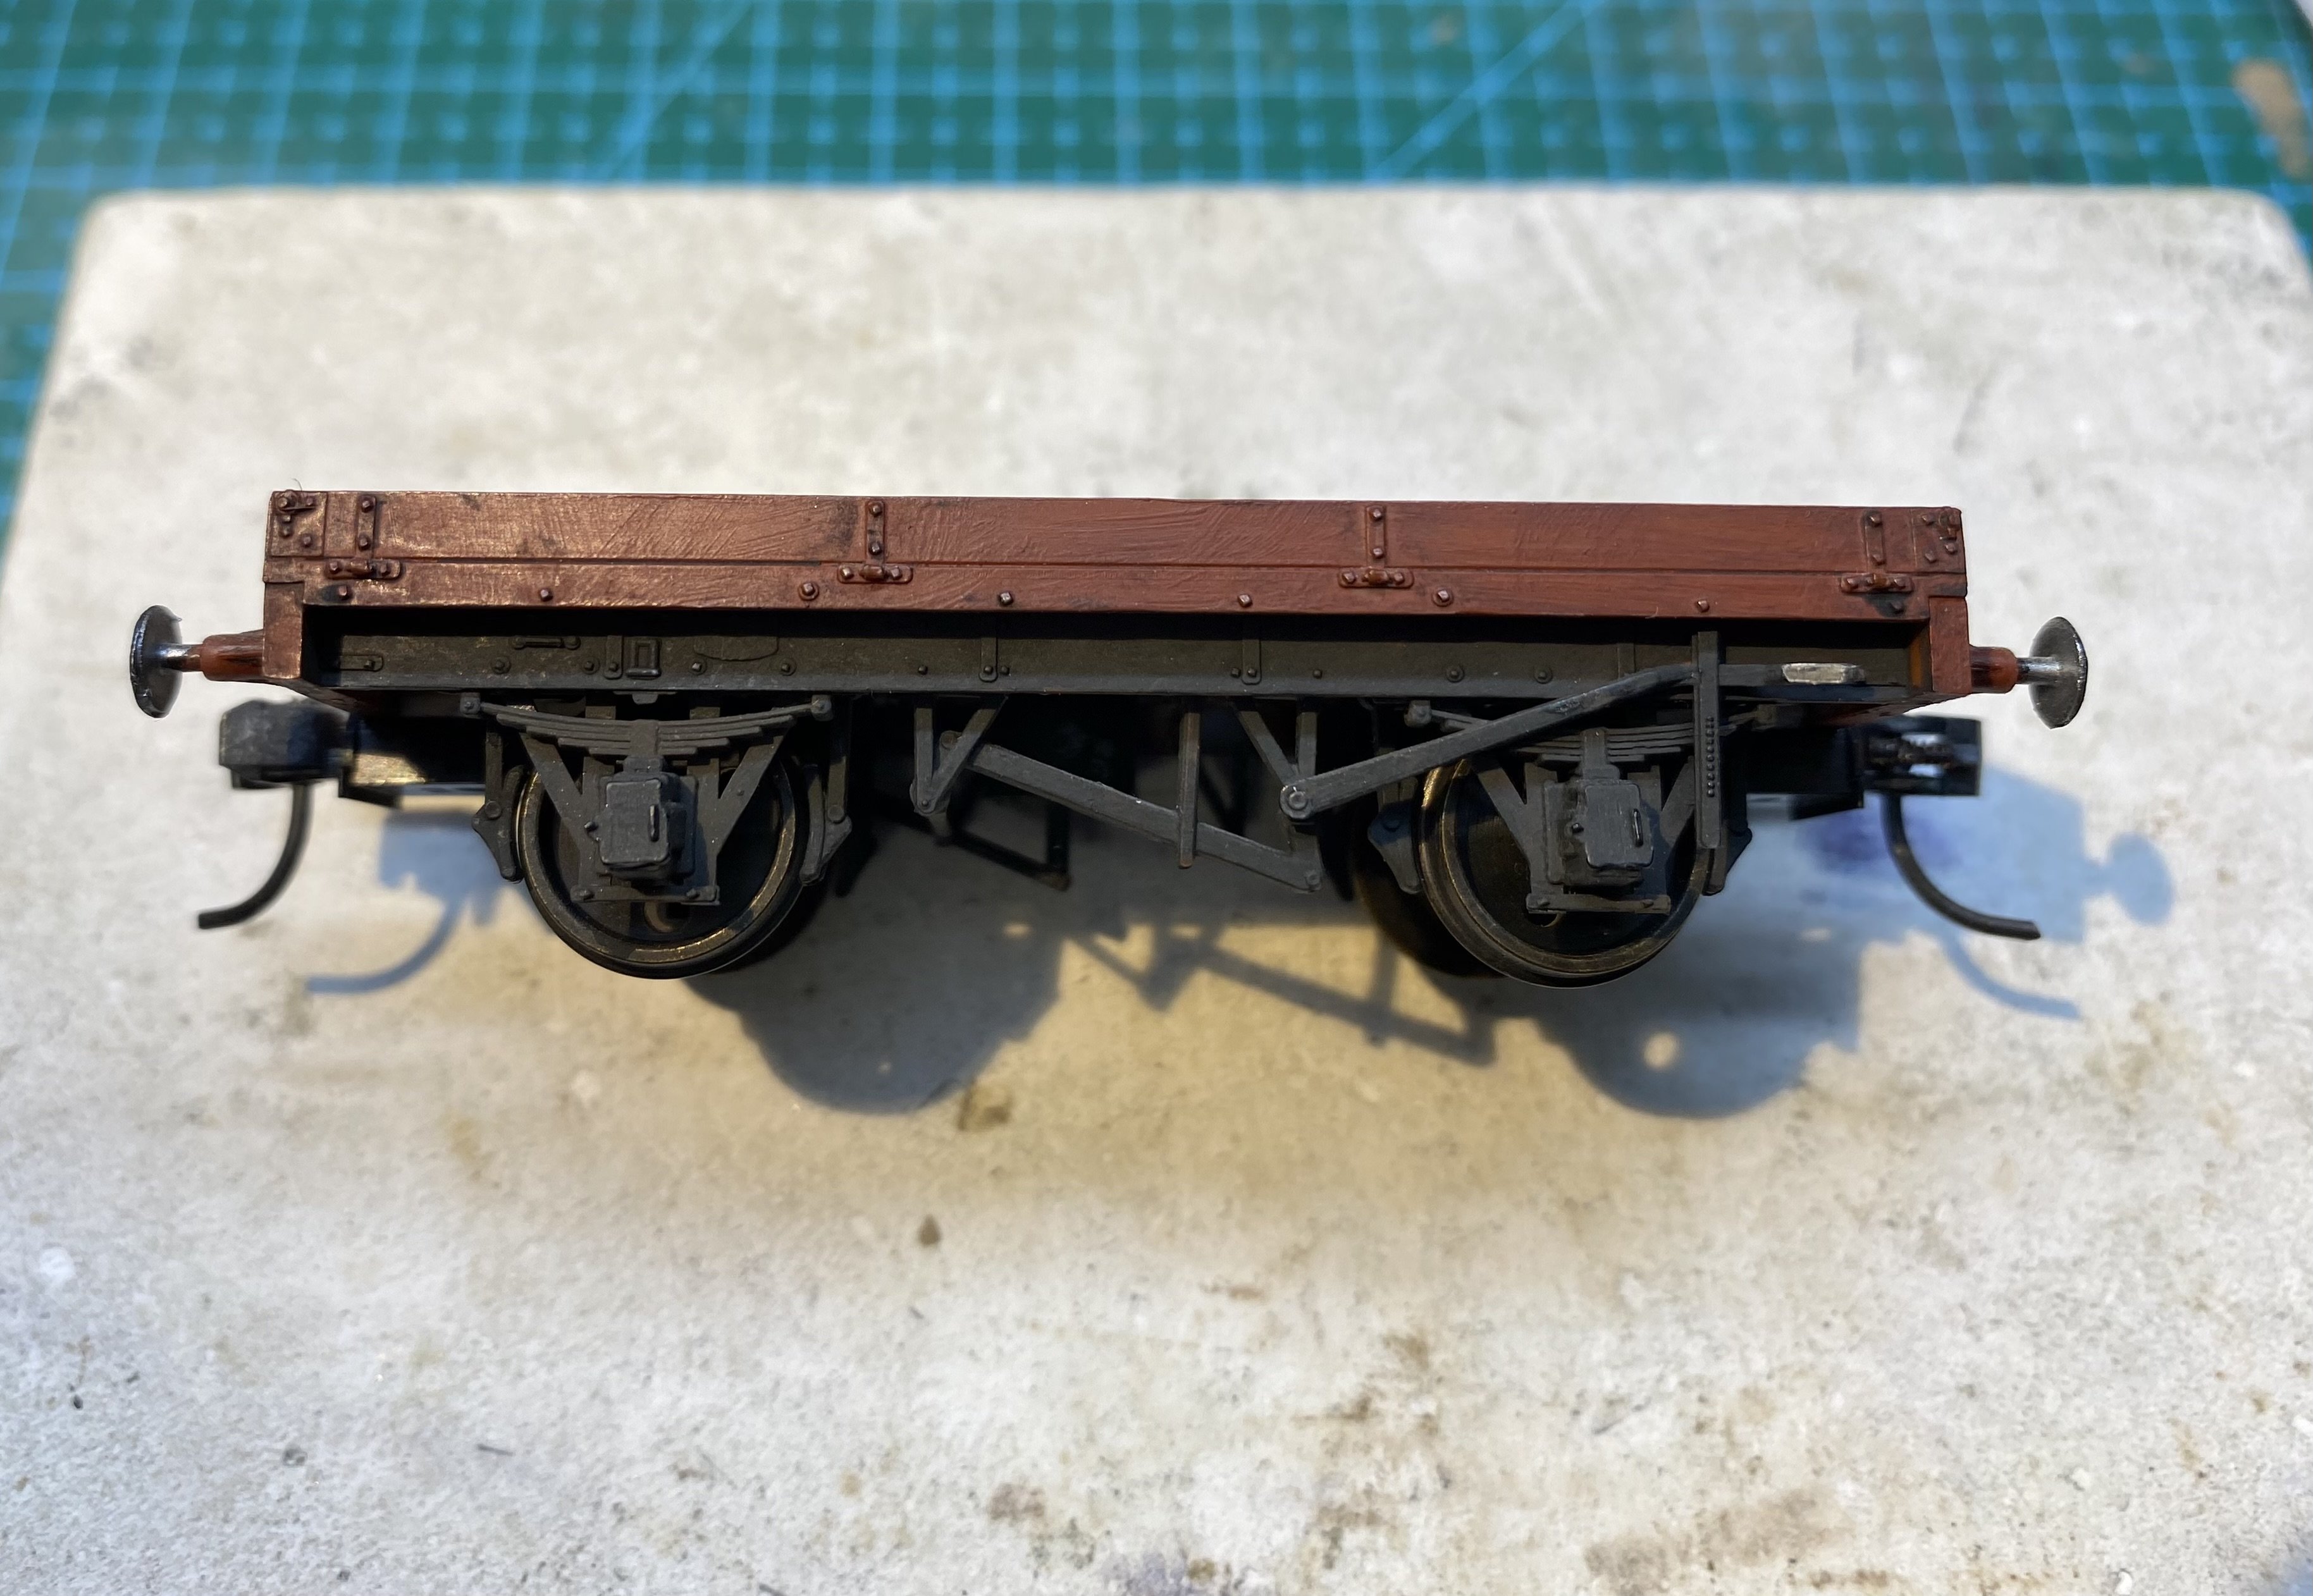
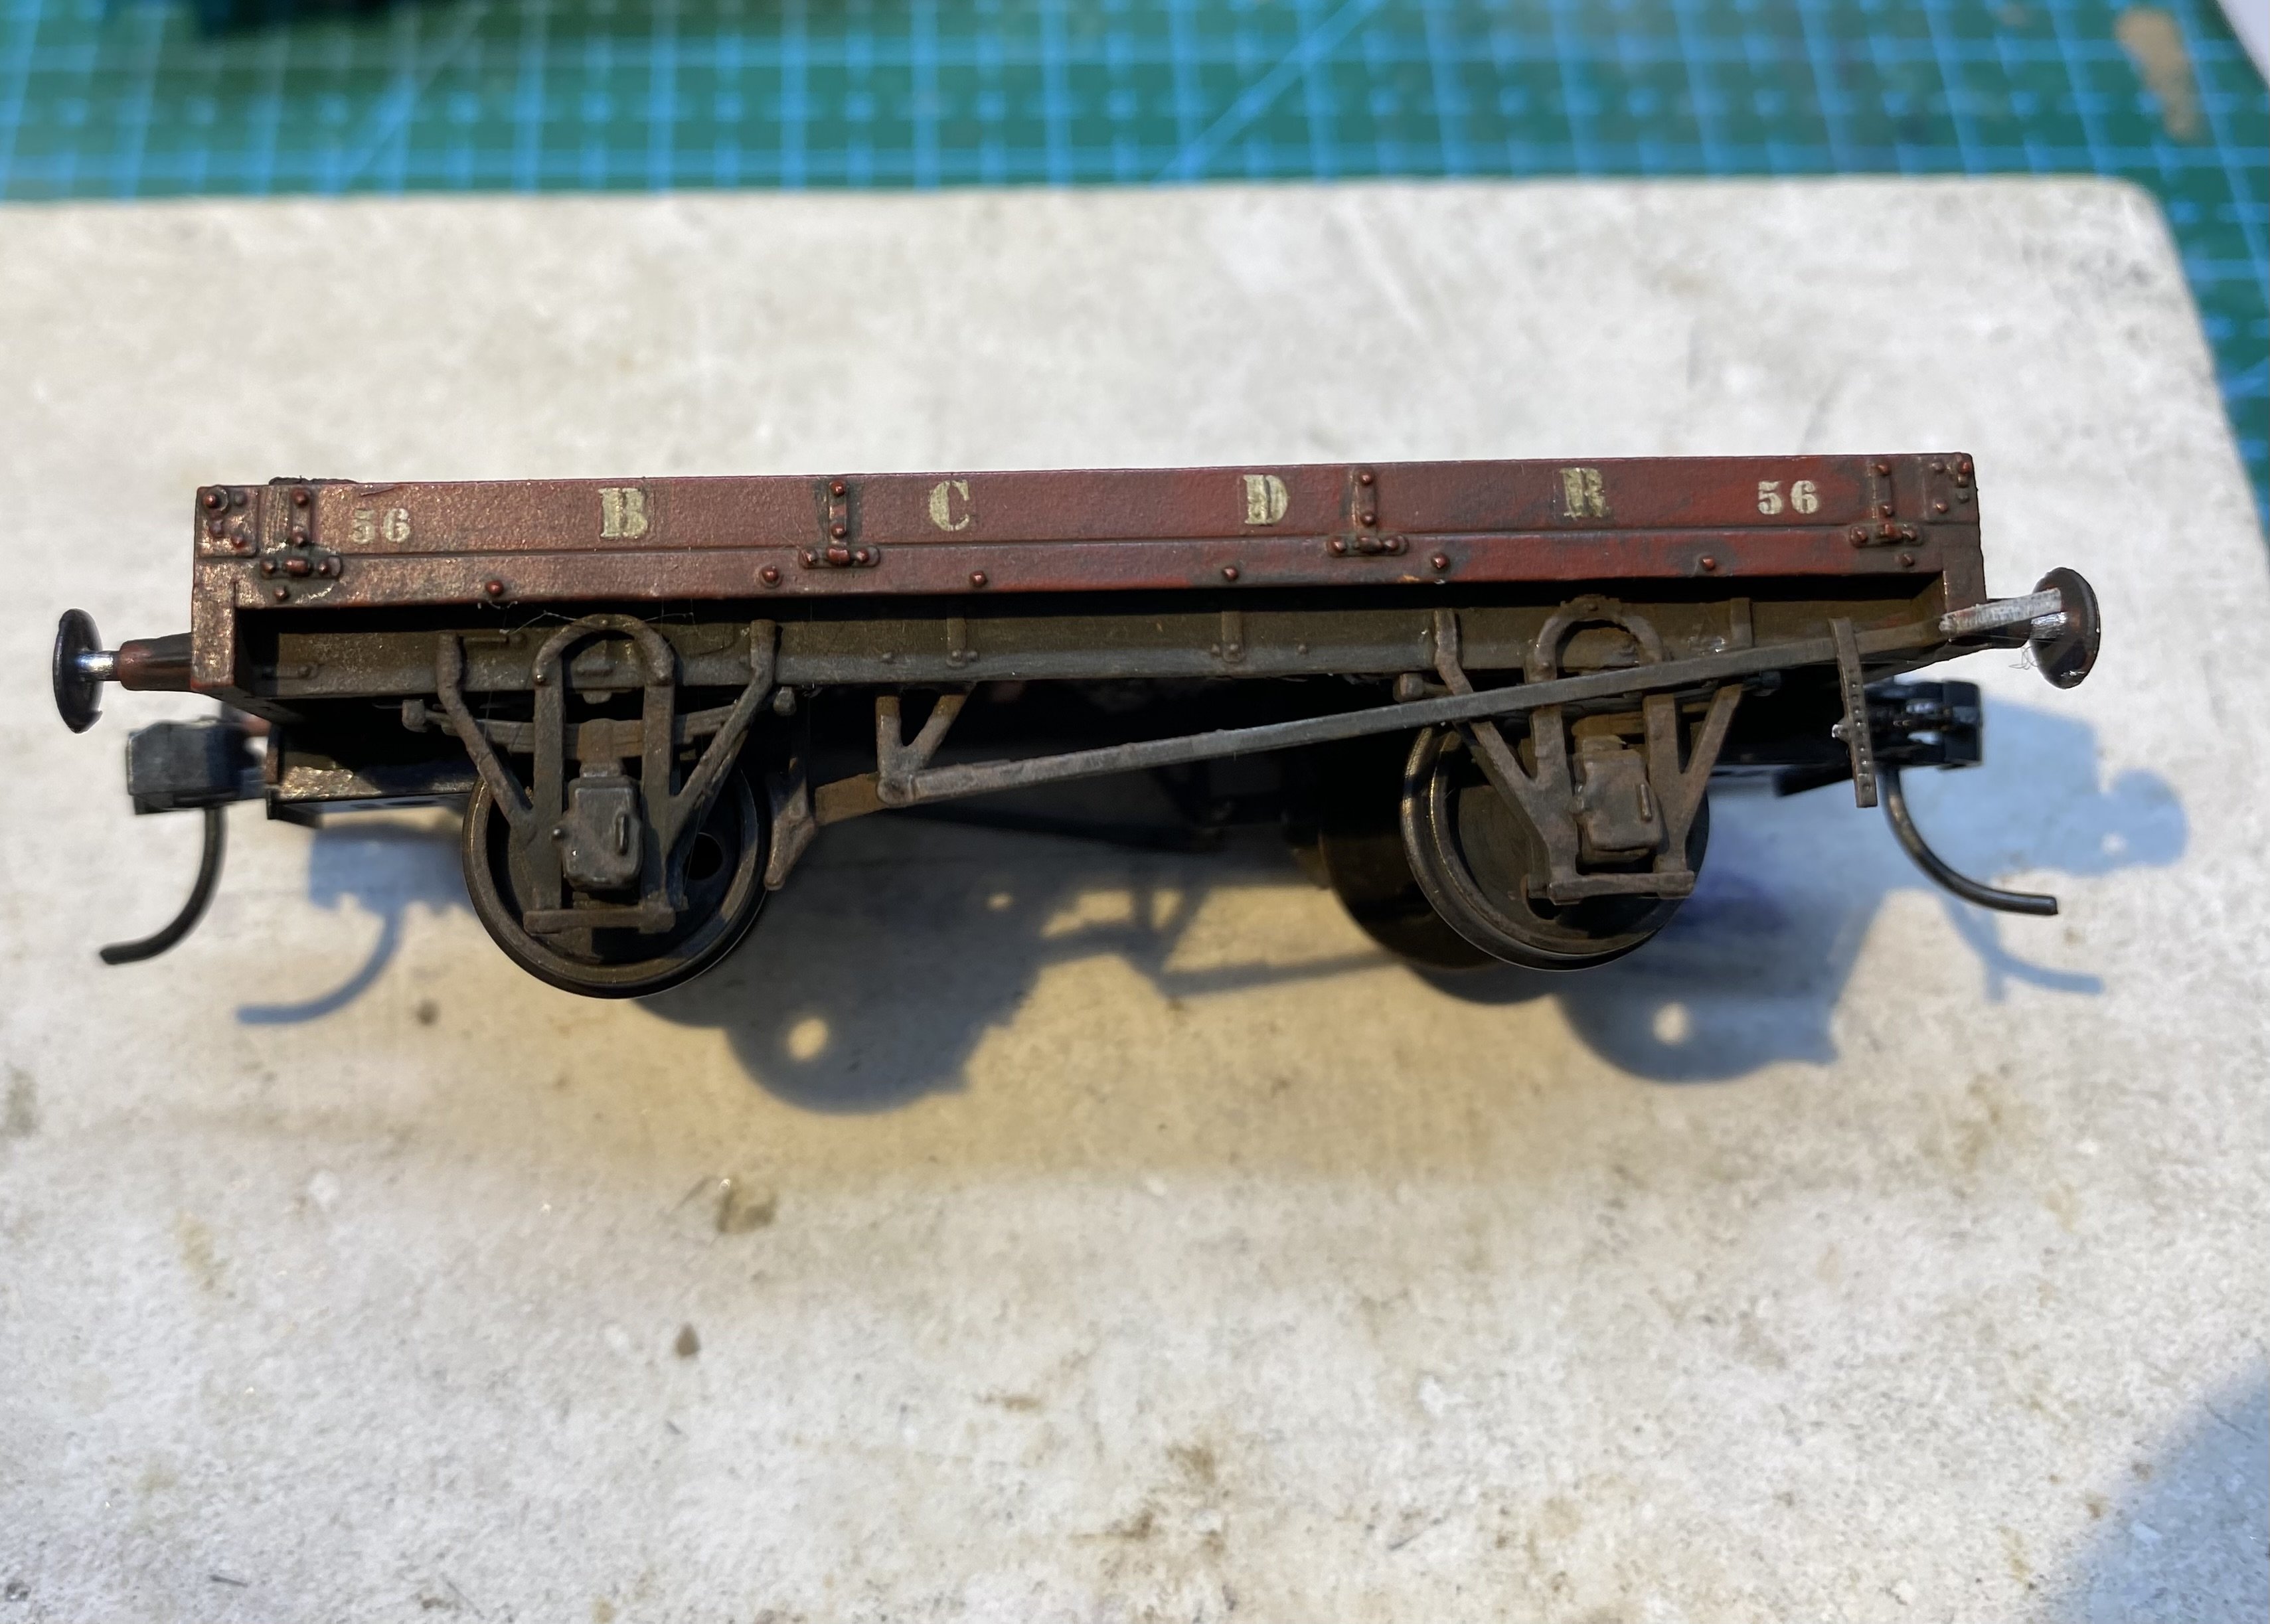
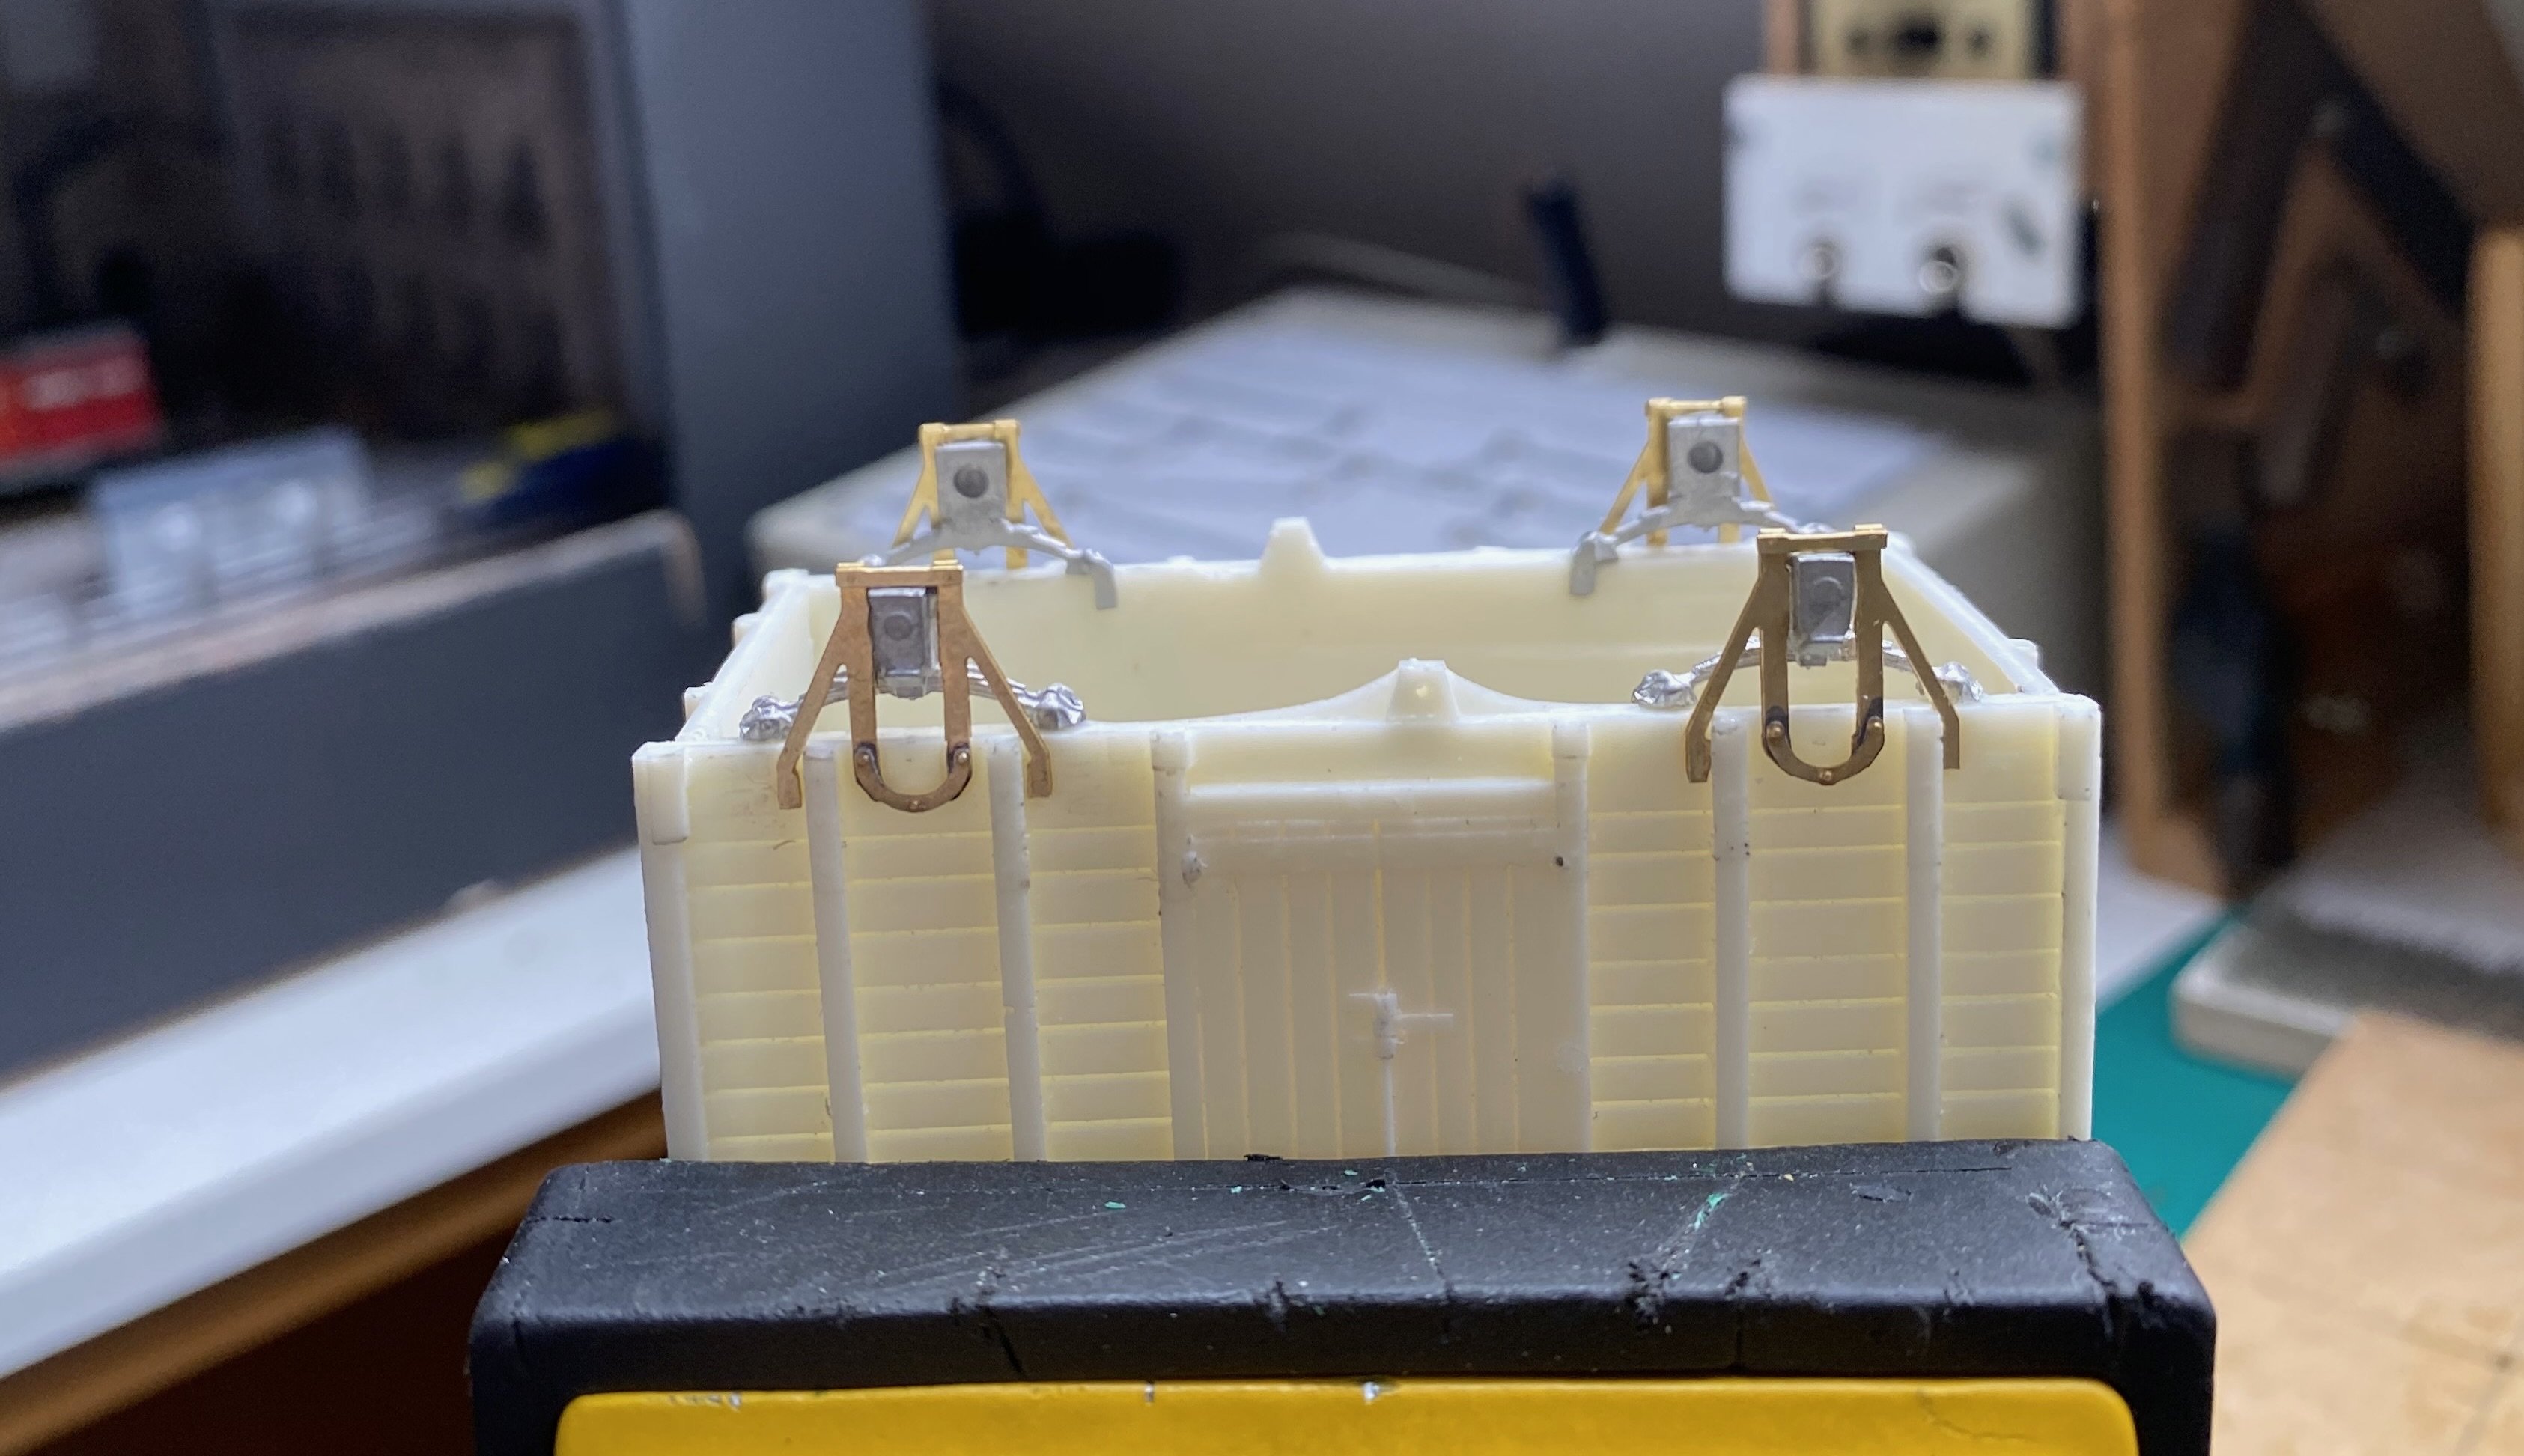
More work on rolling stock for Kilmore - some chassis for my resin cast BCDR vans and brake van. These are made from the core bits of some Alan Gibson etched brass wagon chassis kits adapted to fit inside the bodies. They're compensated with one fixed and one rocking axle. Painted black, they will do the work whilst being all but invisible behind the cosmetic outside W irons to be fitted onto the bodywork (see photo in 13 October post above). It works fine but it's just another of the compromises involved in modelling Irish stock in OO gauge. 4 wheels on my wagon(s)
-
Clogherhead - A GNR(I) Seaside Terminus
Tullygrainey replied to Patrick Davey's topic in Irish Model Layouts
Some press reactions to the "Nuns on the Run" incident... "Nuns' Fun Stuns Some!" The Sun "Holy Smoke! Nuns conduct the 4.45 service at Clogherhead" The Louth Examiner "Potential rail disaster averted by quick thinking, underpaid rail workers at Drogheda" National Railworkers' Union Bulletin "In the inadequate tuition given to these two courageous women, we see yet again the complacency, corruption and incompetence endemic to all male-dominated professions" Feminism Today "A riveting account of a convent's plucky determination to compete in the Belfast Marathon" Athletics Weekly (What? Of course I read it!) -
I got it half right then
-
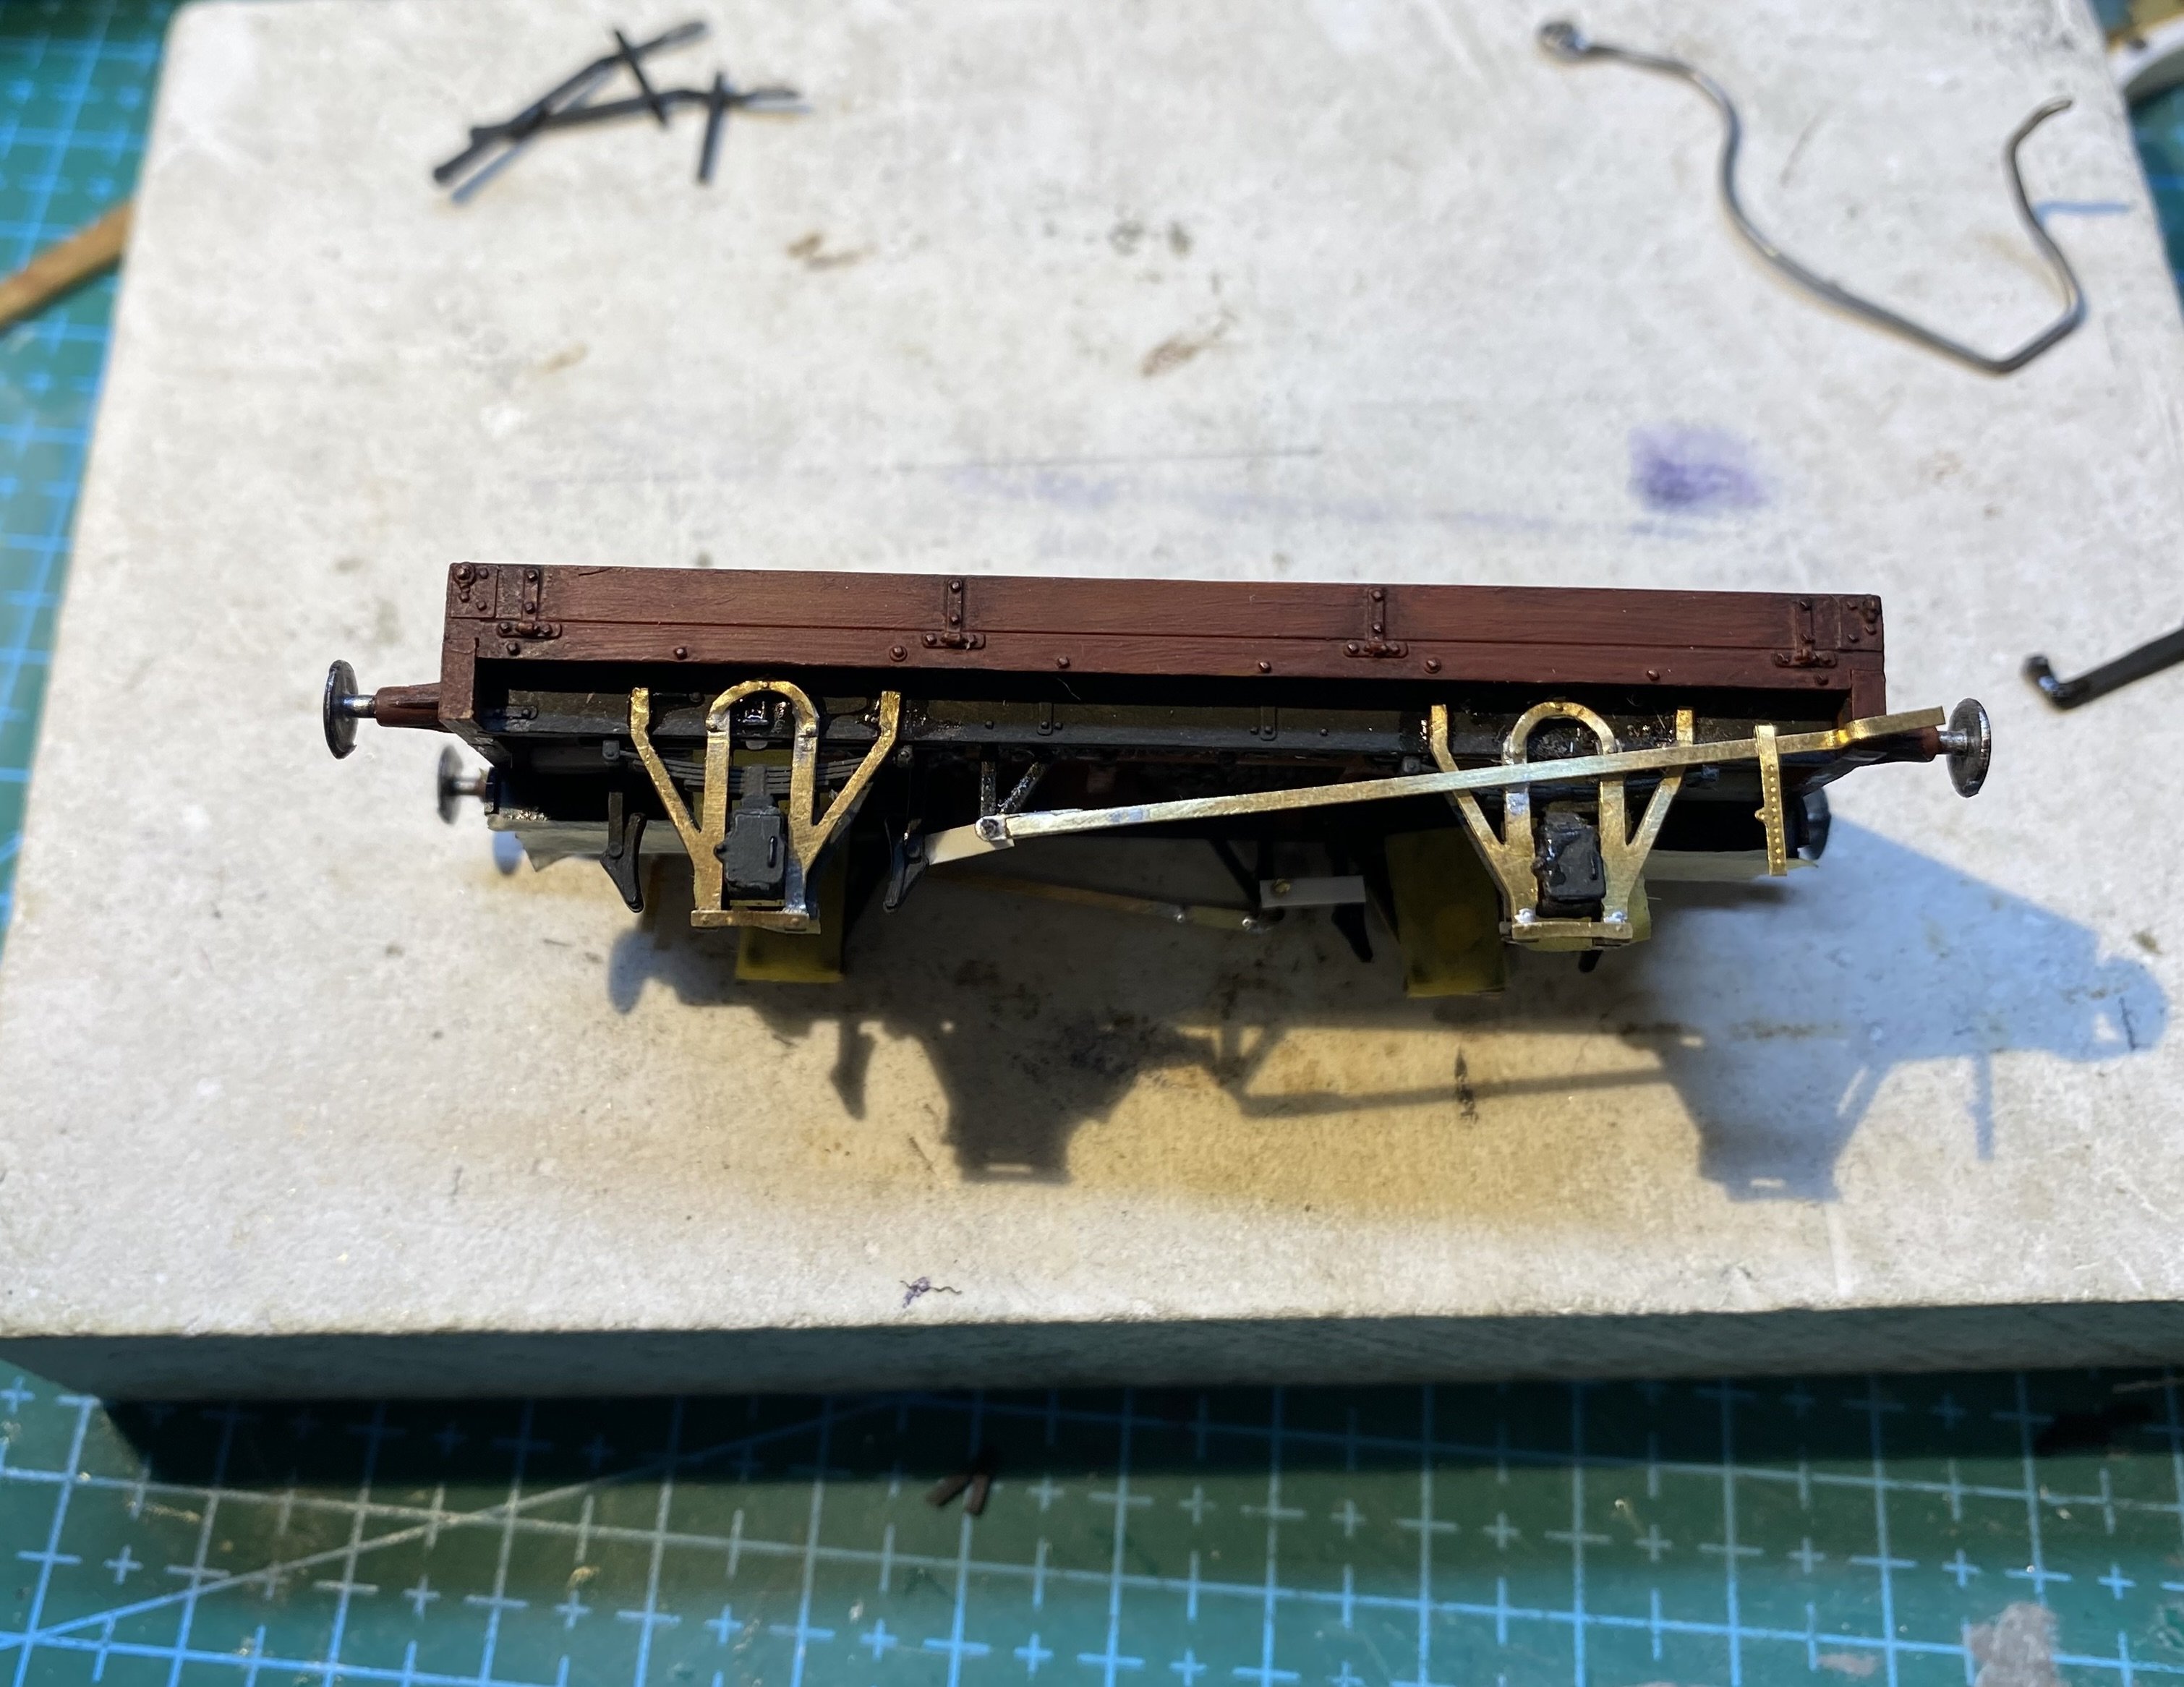
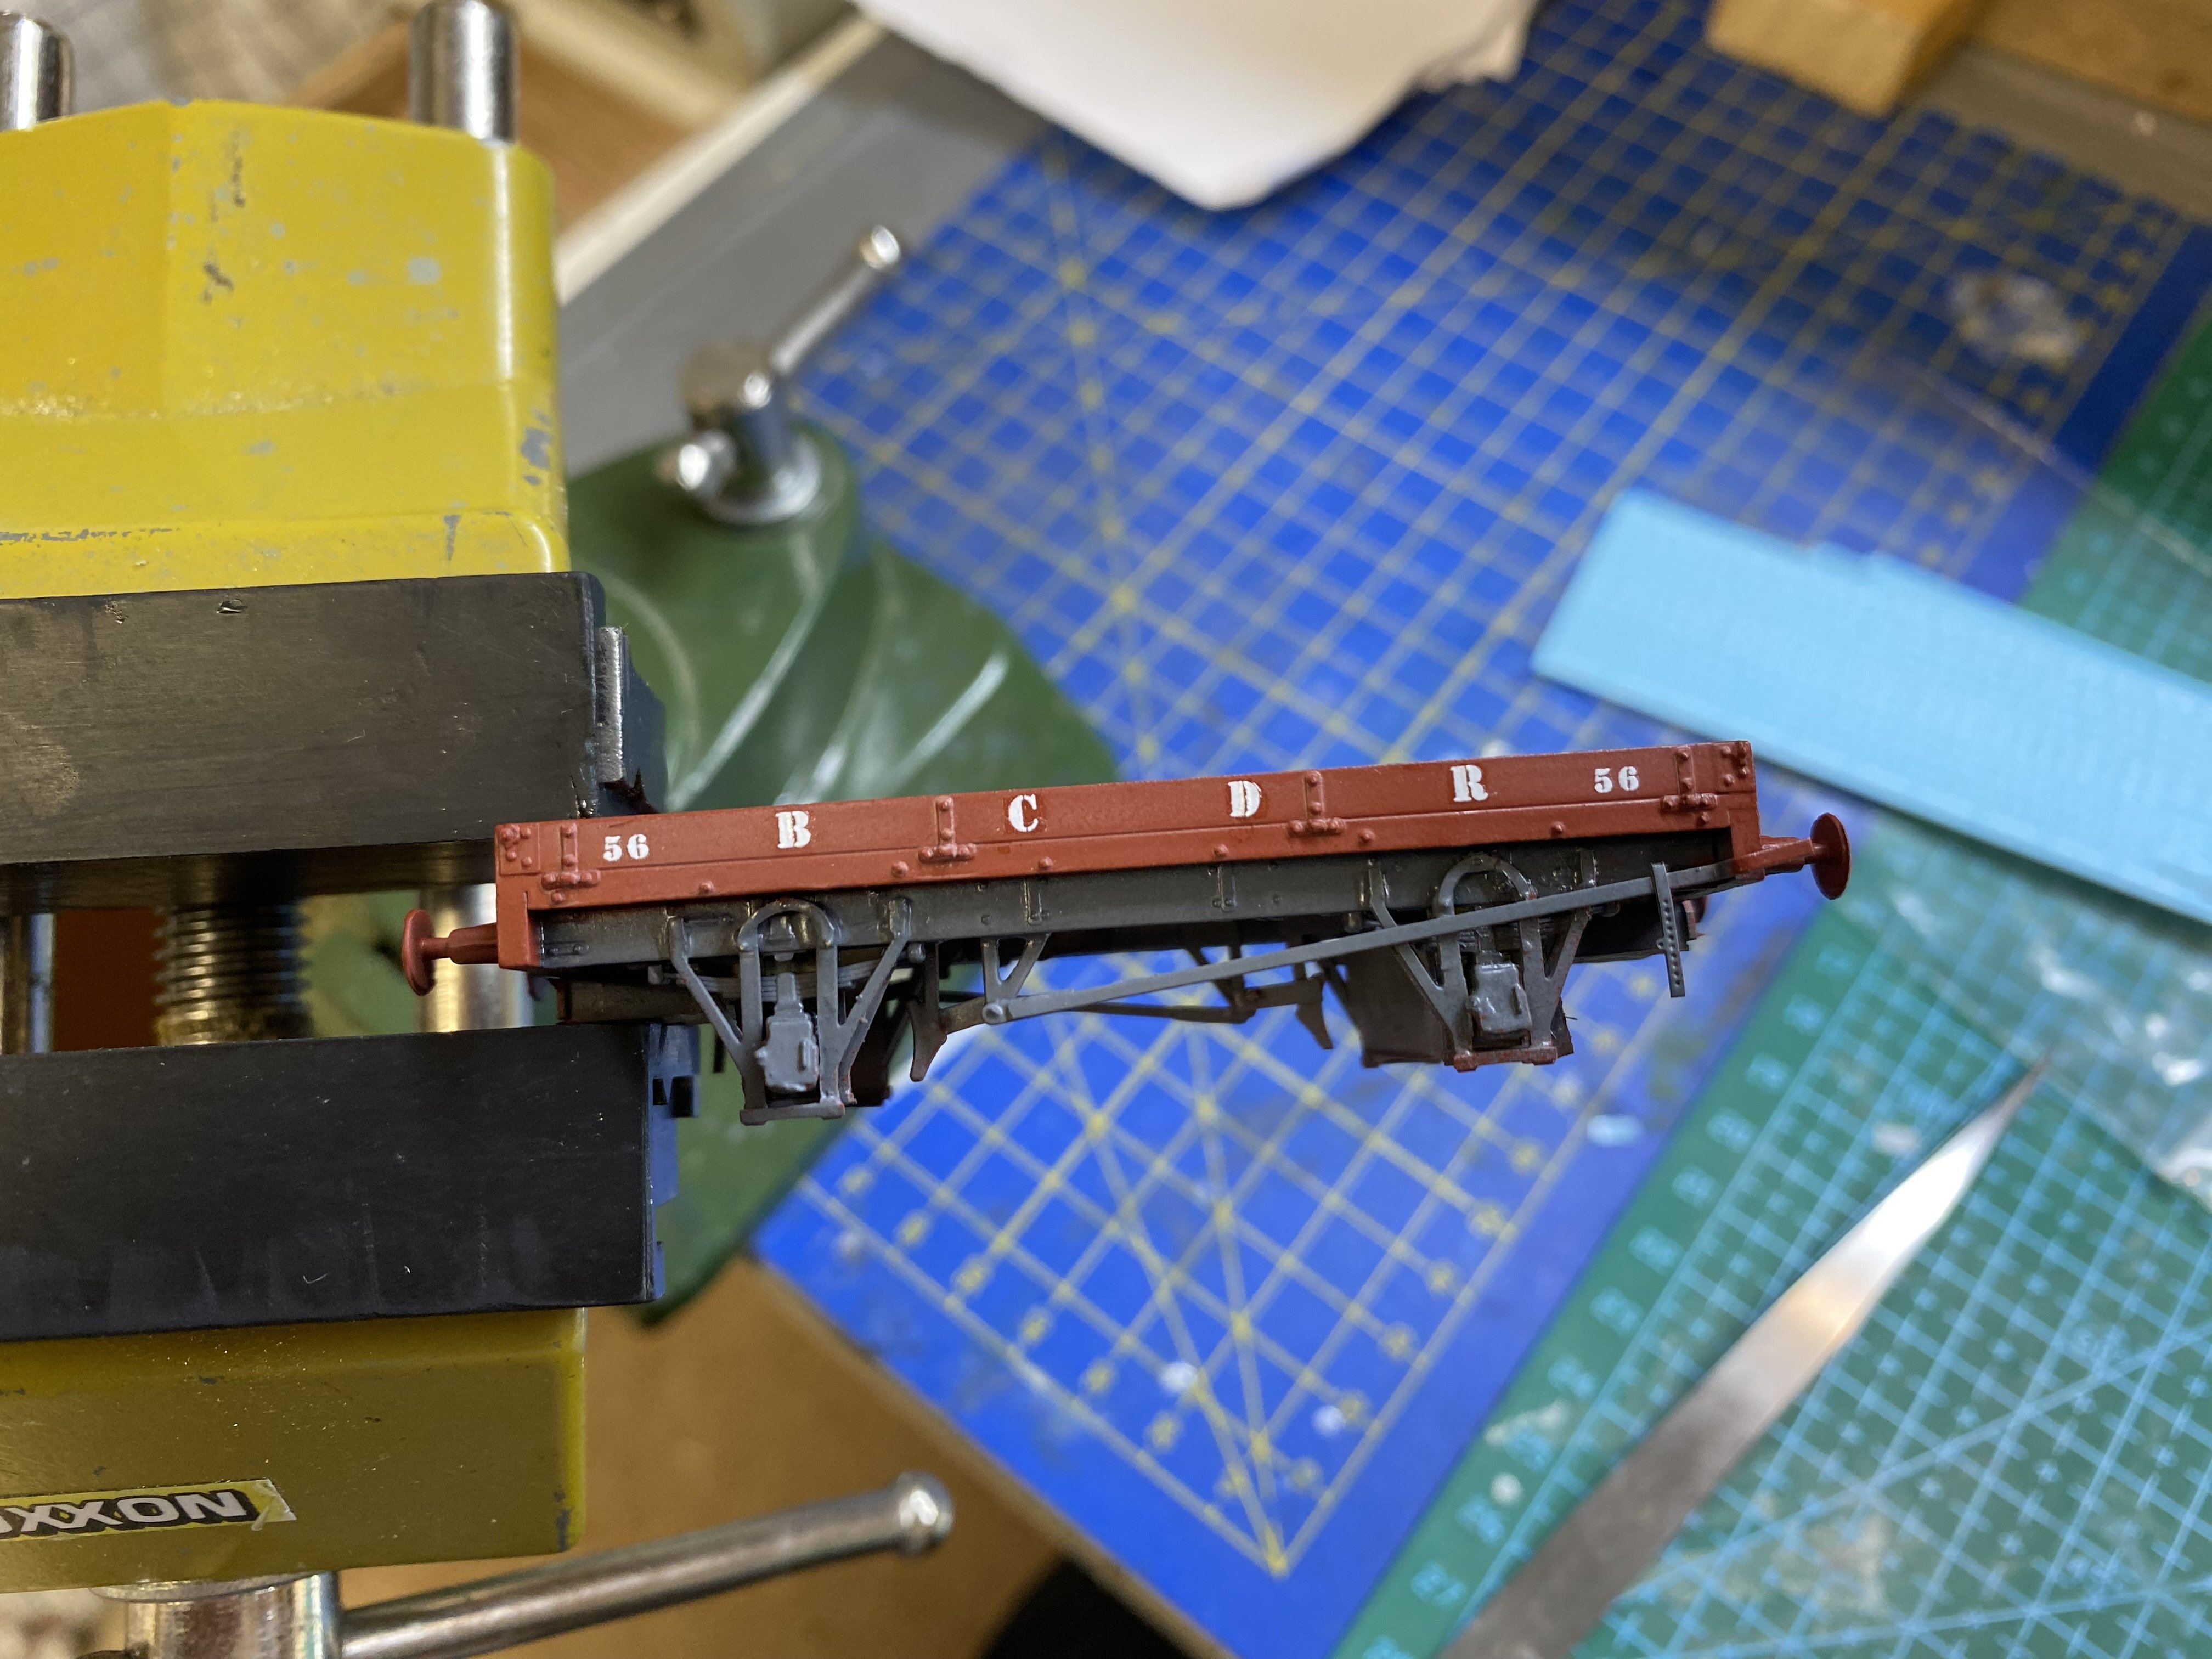
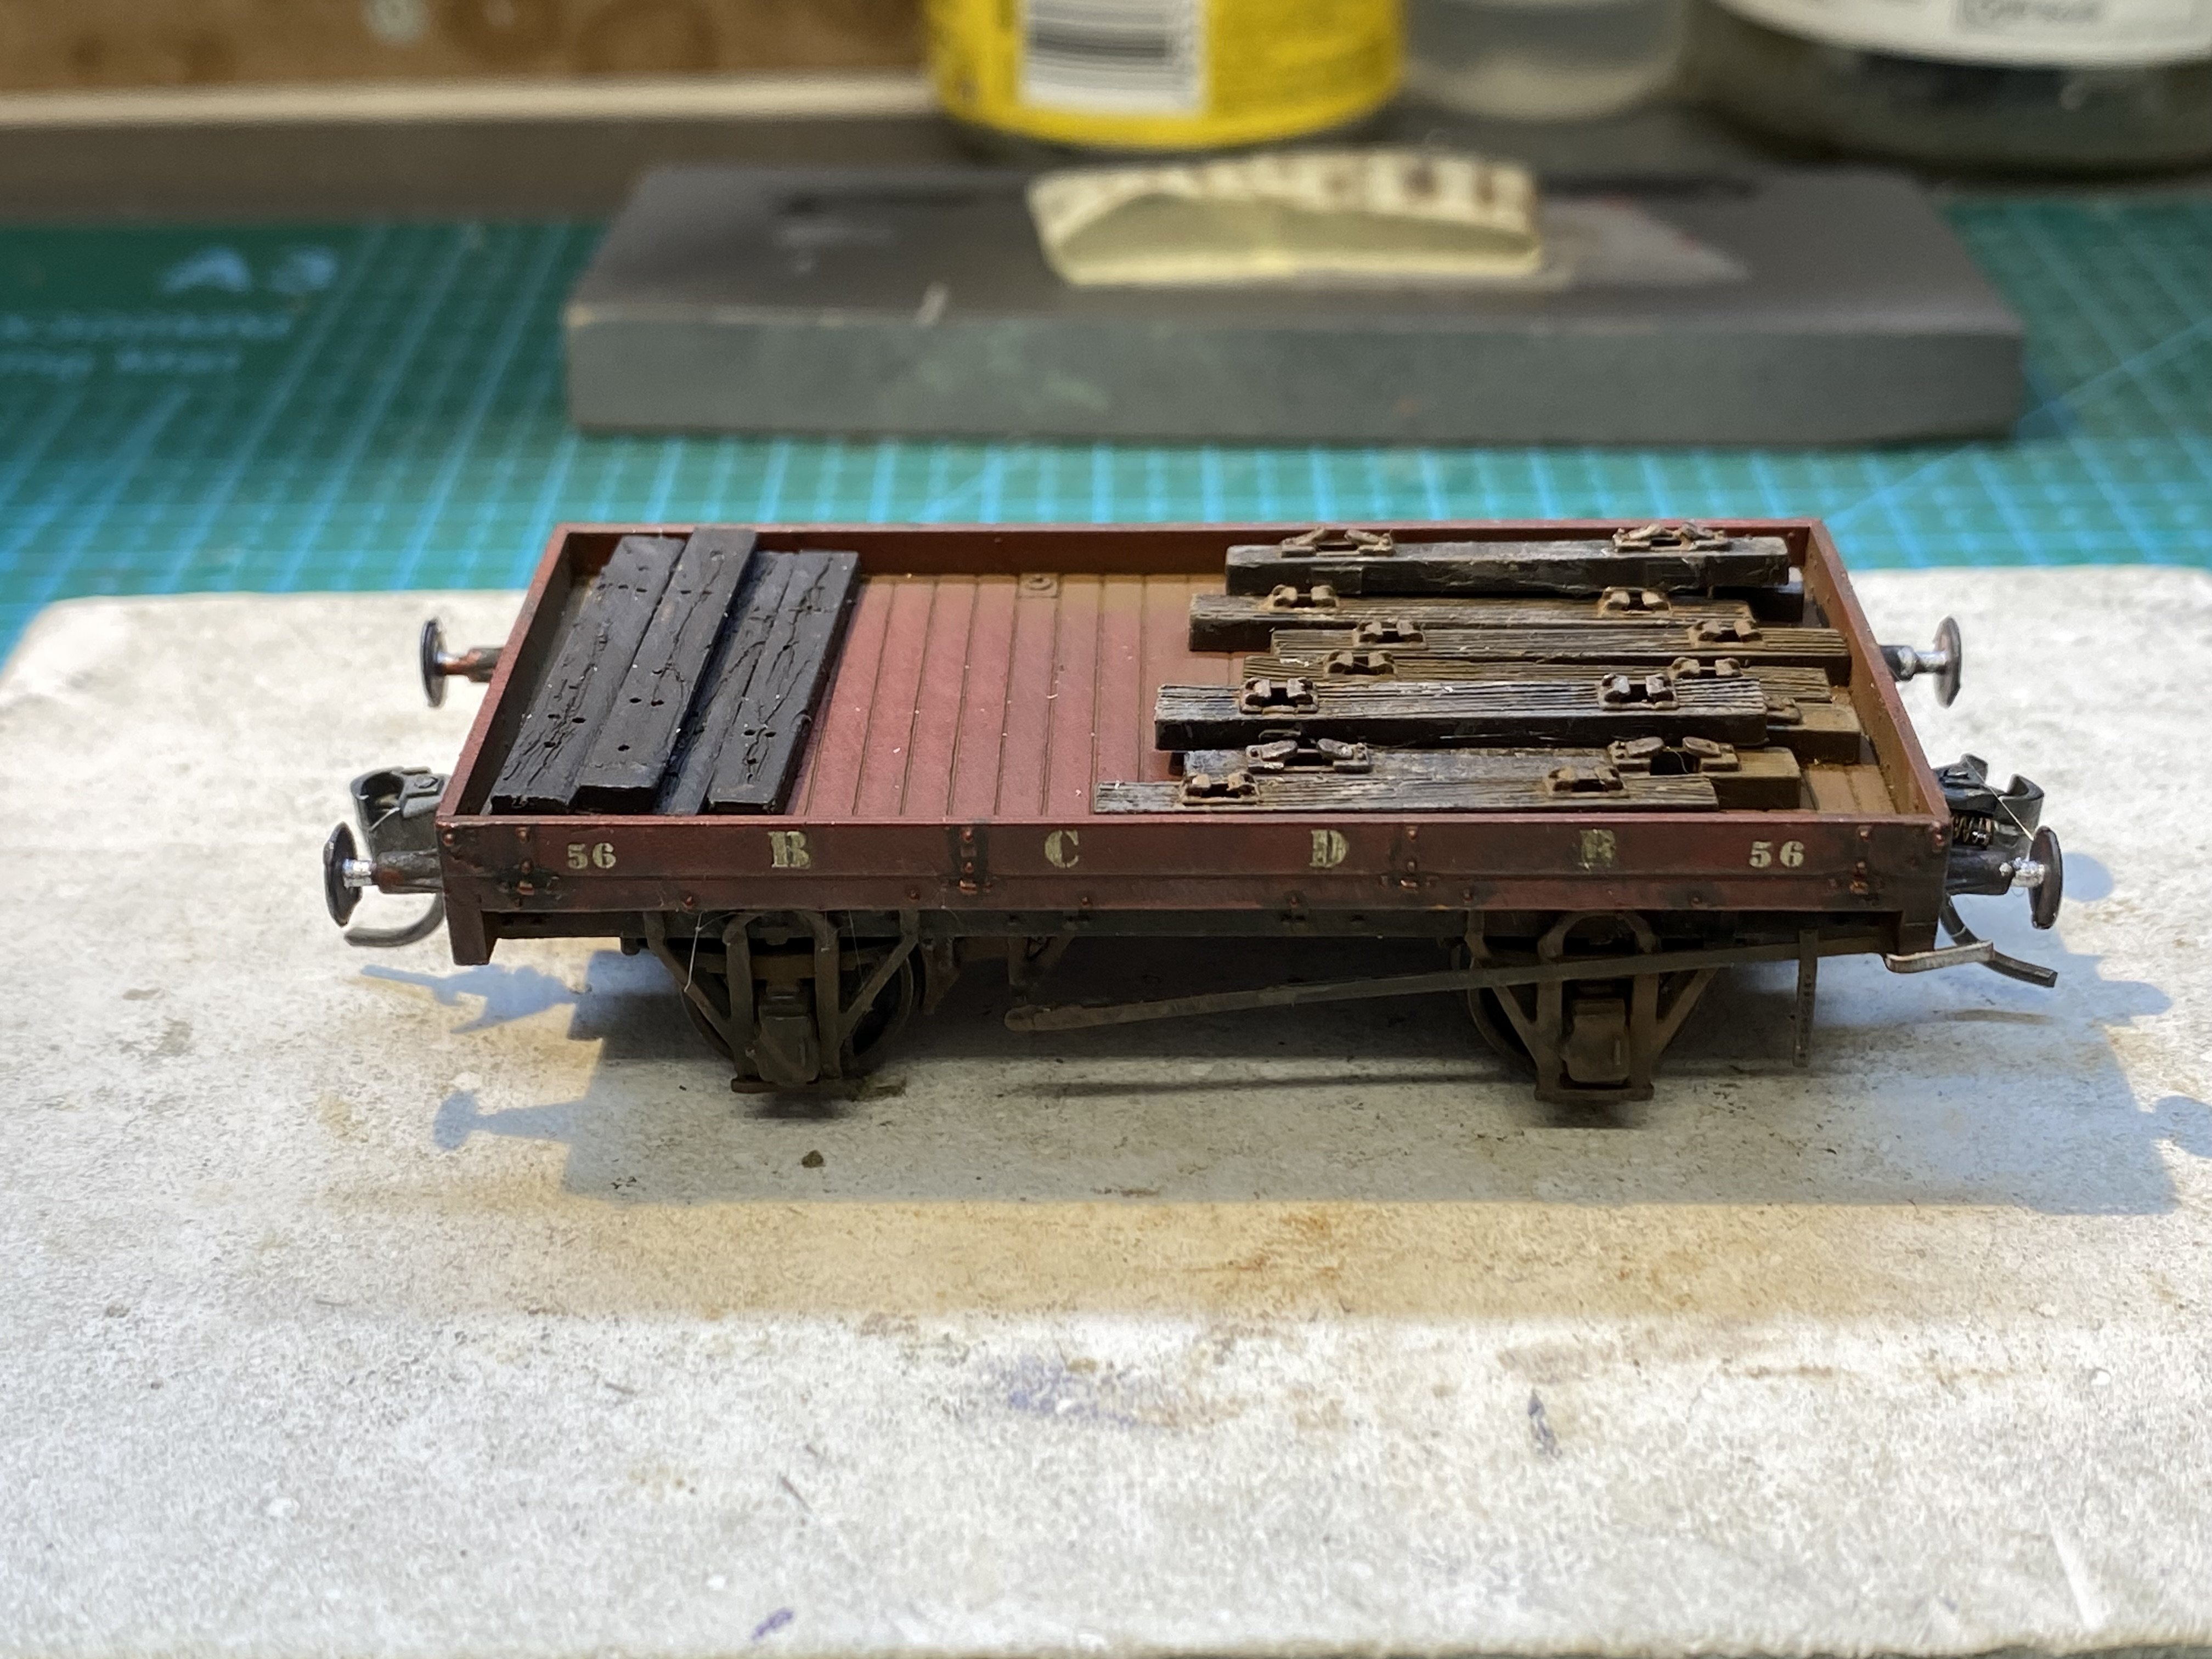
I want to create a Permanent Way formation for Kilmore so an unsuspecting Parkside kits LNER 12T LowFit wagon (Parkside PC66) which I built a few years ago was selected for butchery... Original brake gear and levers removed, then some fabricated W irons and bits of scrap brass etch added... Transfers from Railtec... Then some weathering and a suitable load.
- 860 replies
-
- 14
-
-
-
Wonderful modelling all round. Beautifully neat work on the rodding too. Having wrestled with those Wills kits recently, I know what's involved. I'm still trying to get all the ends to stay joined up!
-
I know they survived the flight. Did they survive that thing?
-
Simple, practical and effective. Brilliant! I have dabbled with cassettes and never made anything I was entirely happy with. Could never decide how best to effect electrical continuity. Crocodile clips, bulldog clips, plugs and sockets, blah blah blah. Doing it through those protruding screws is genius!
-
I'll need to get a log on for flickr in order to see those pics Paul. I'll have a look tomorrow. As regards material, either brass or n/s would be fine. Thickness would need to be sufficient for half etched rivets. I think the average for etched kits is around 15thou, in old money.
-
Ditching a layout, or any model you've spent time and effort building, is never easy David. I'm exceptionally bad at it. But I know that for you, like me, the pleasure is in the making and a new project will help ease the pain so best of luck with yours. I'll look forward to following its development.
-
That’s a very generous offer Paul. Will be in touch.
-
Me too Nelson!
-
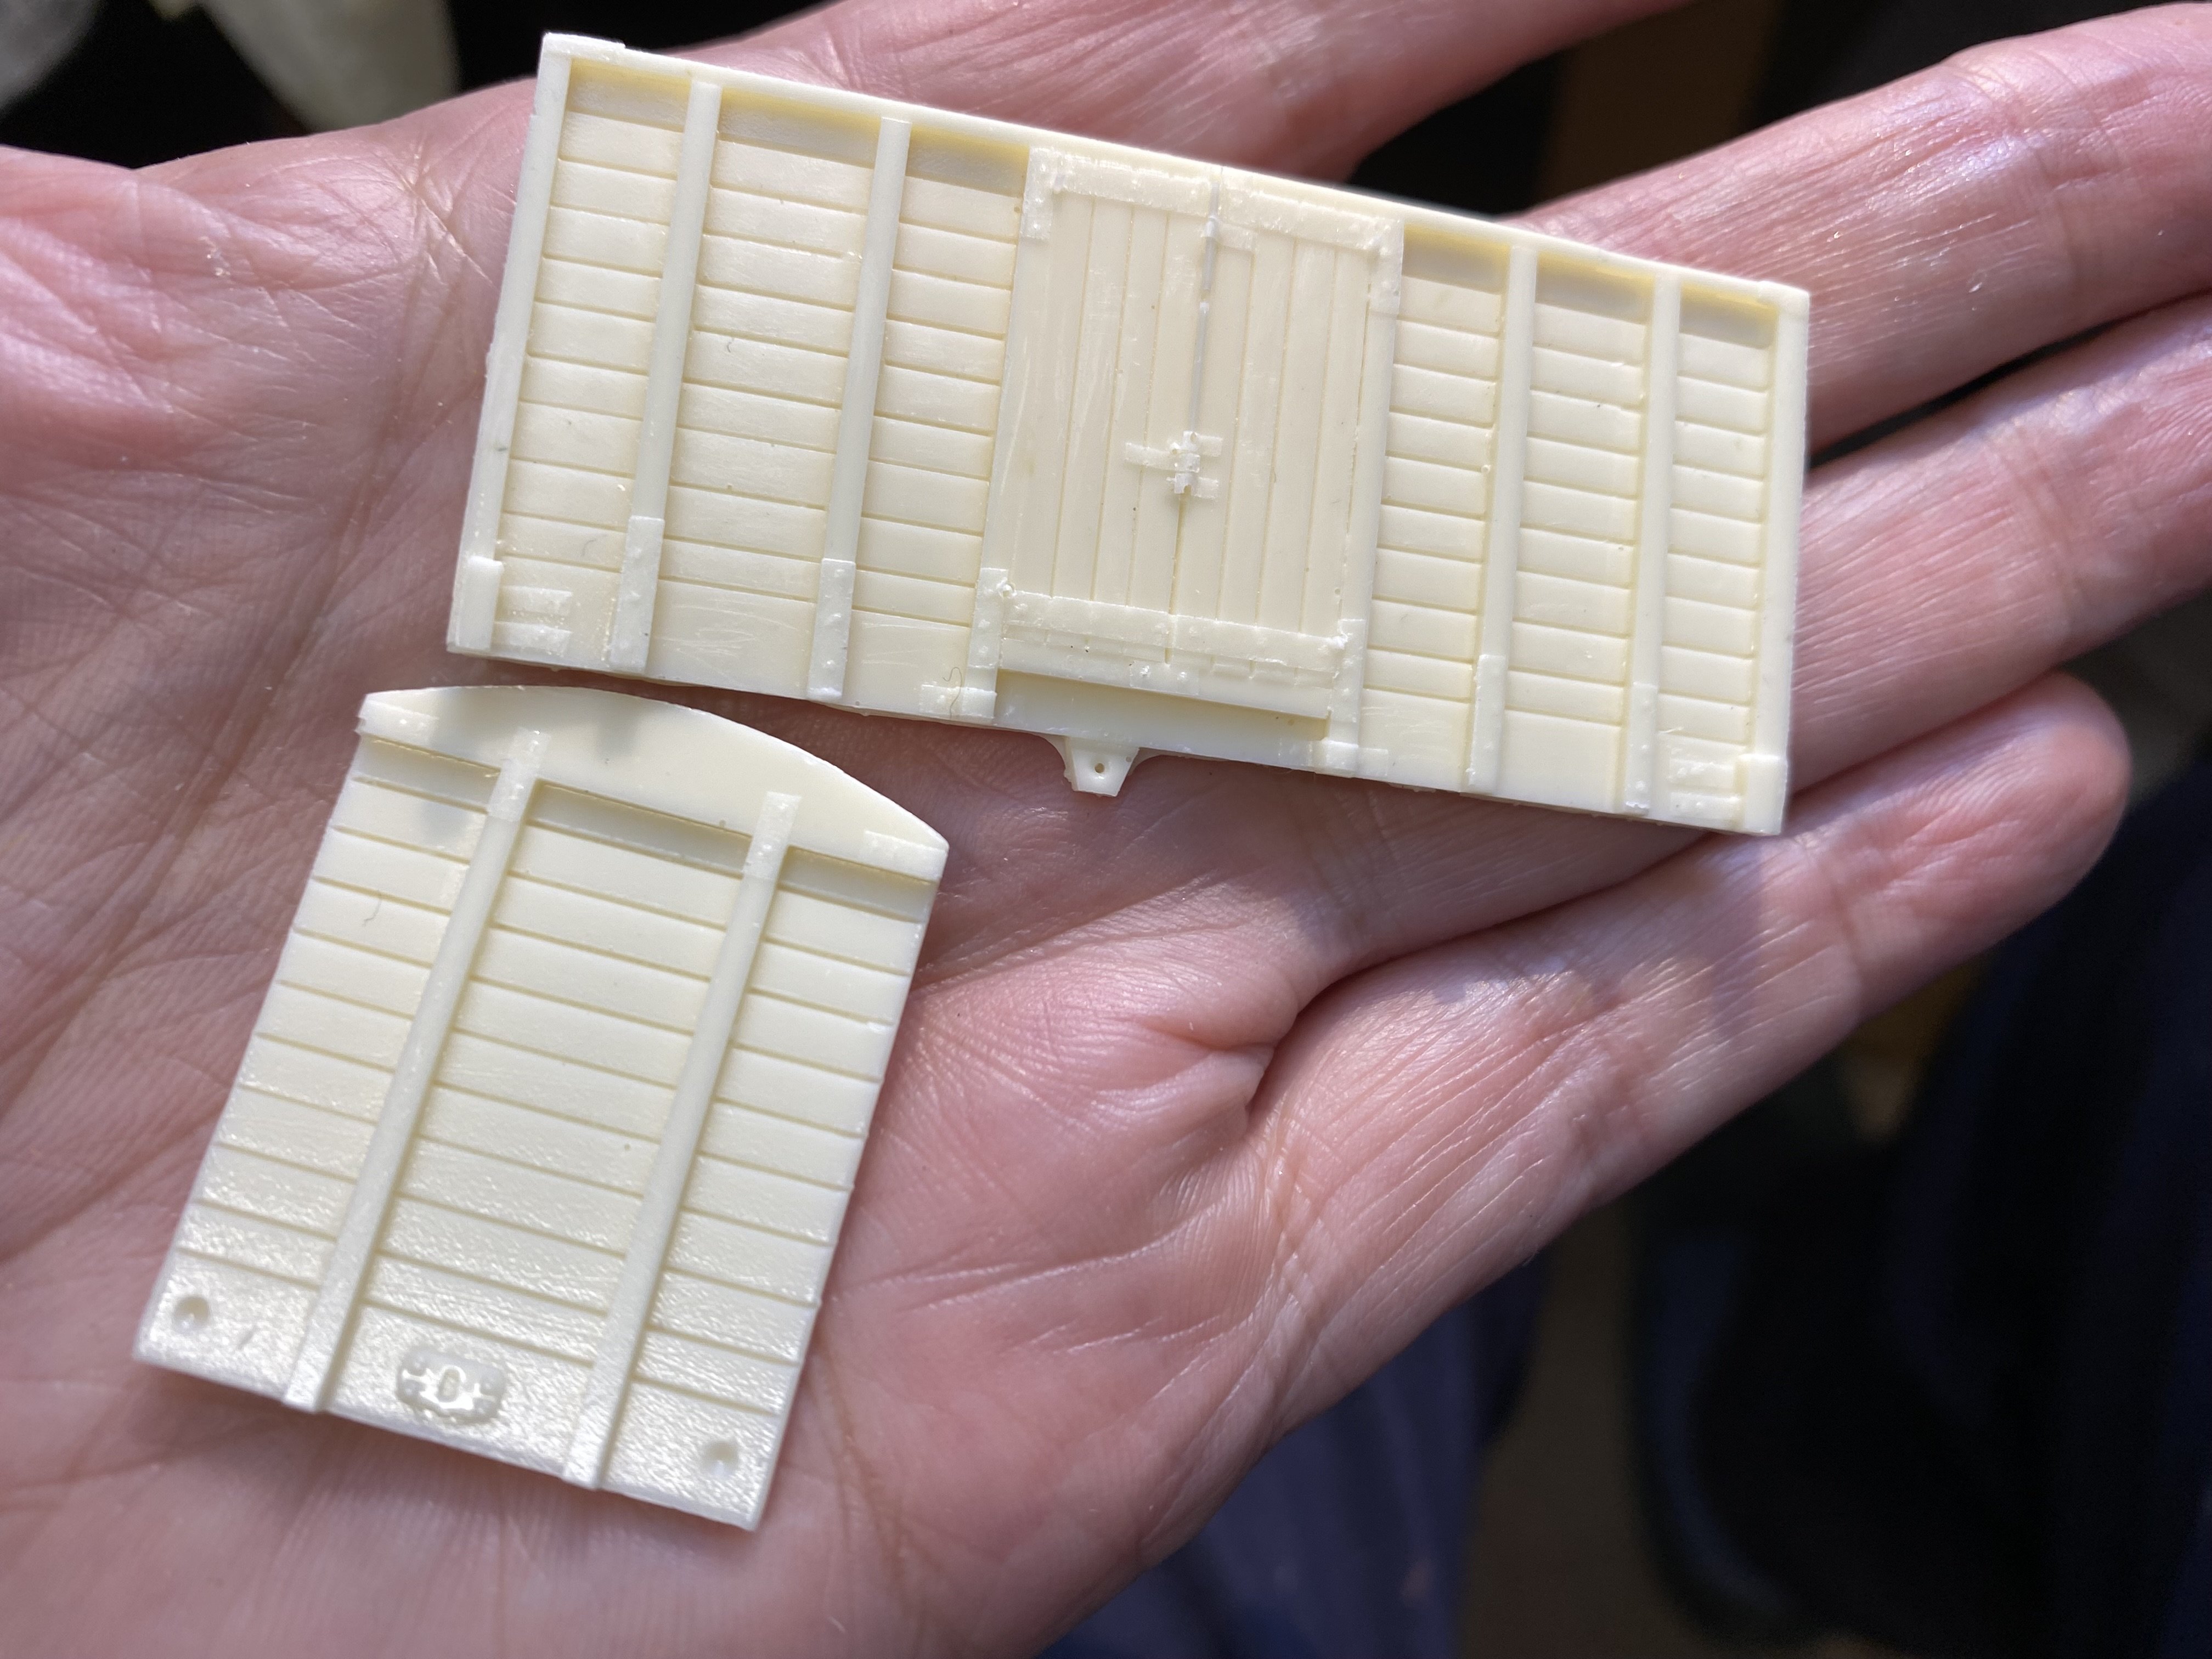
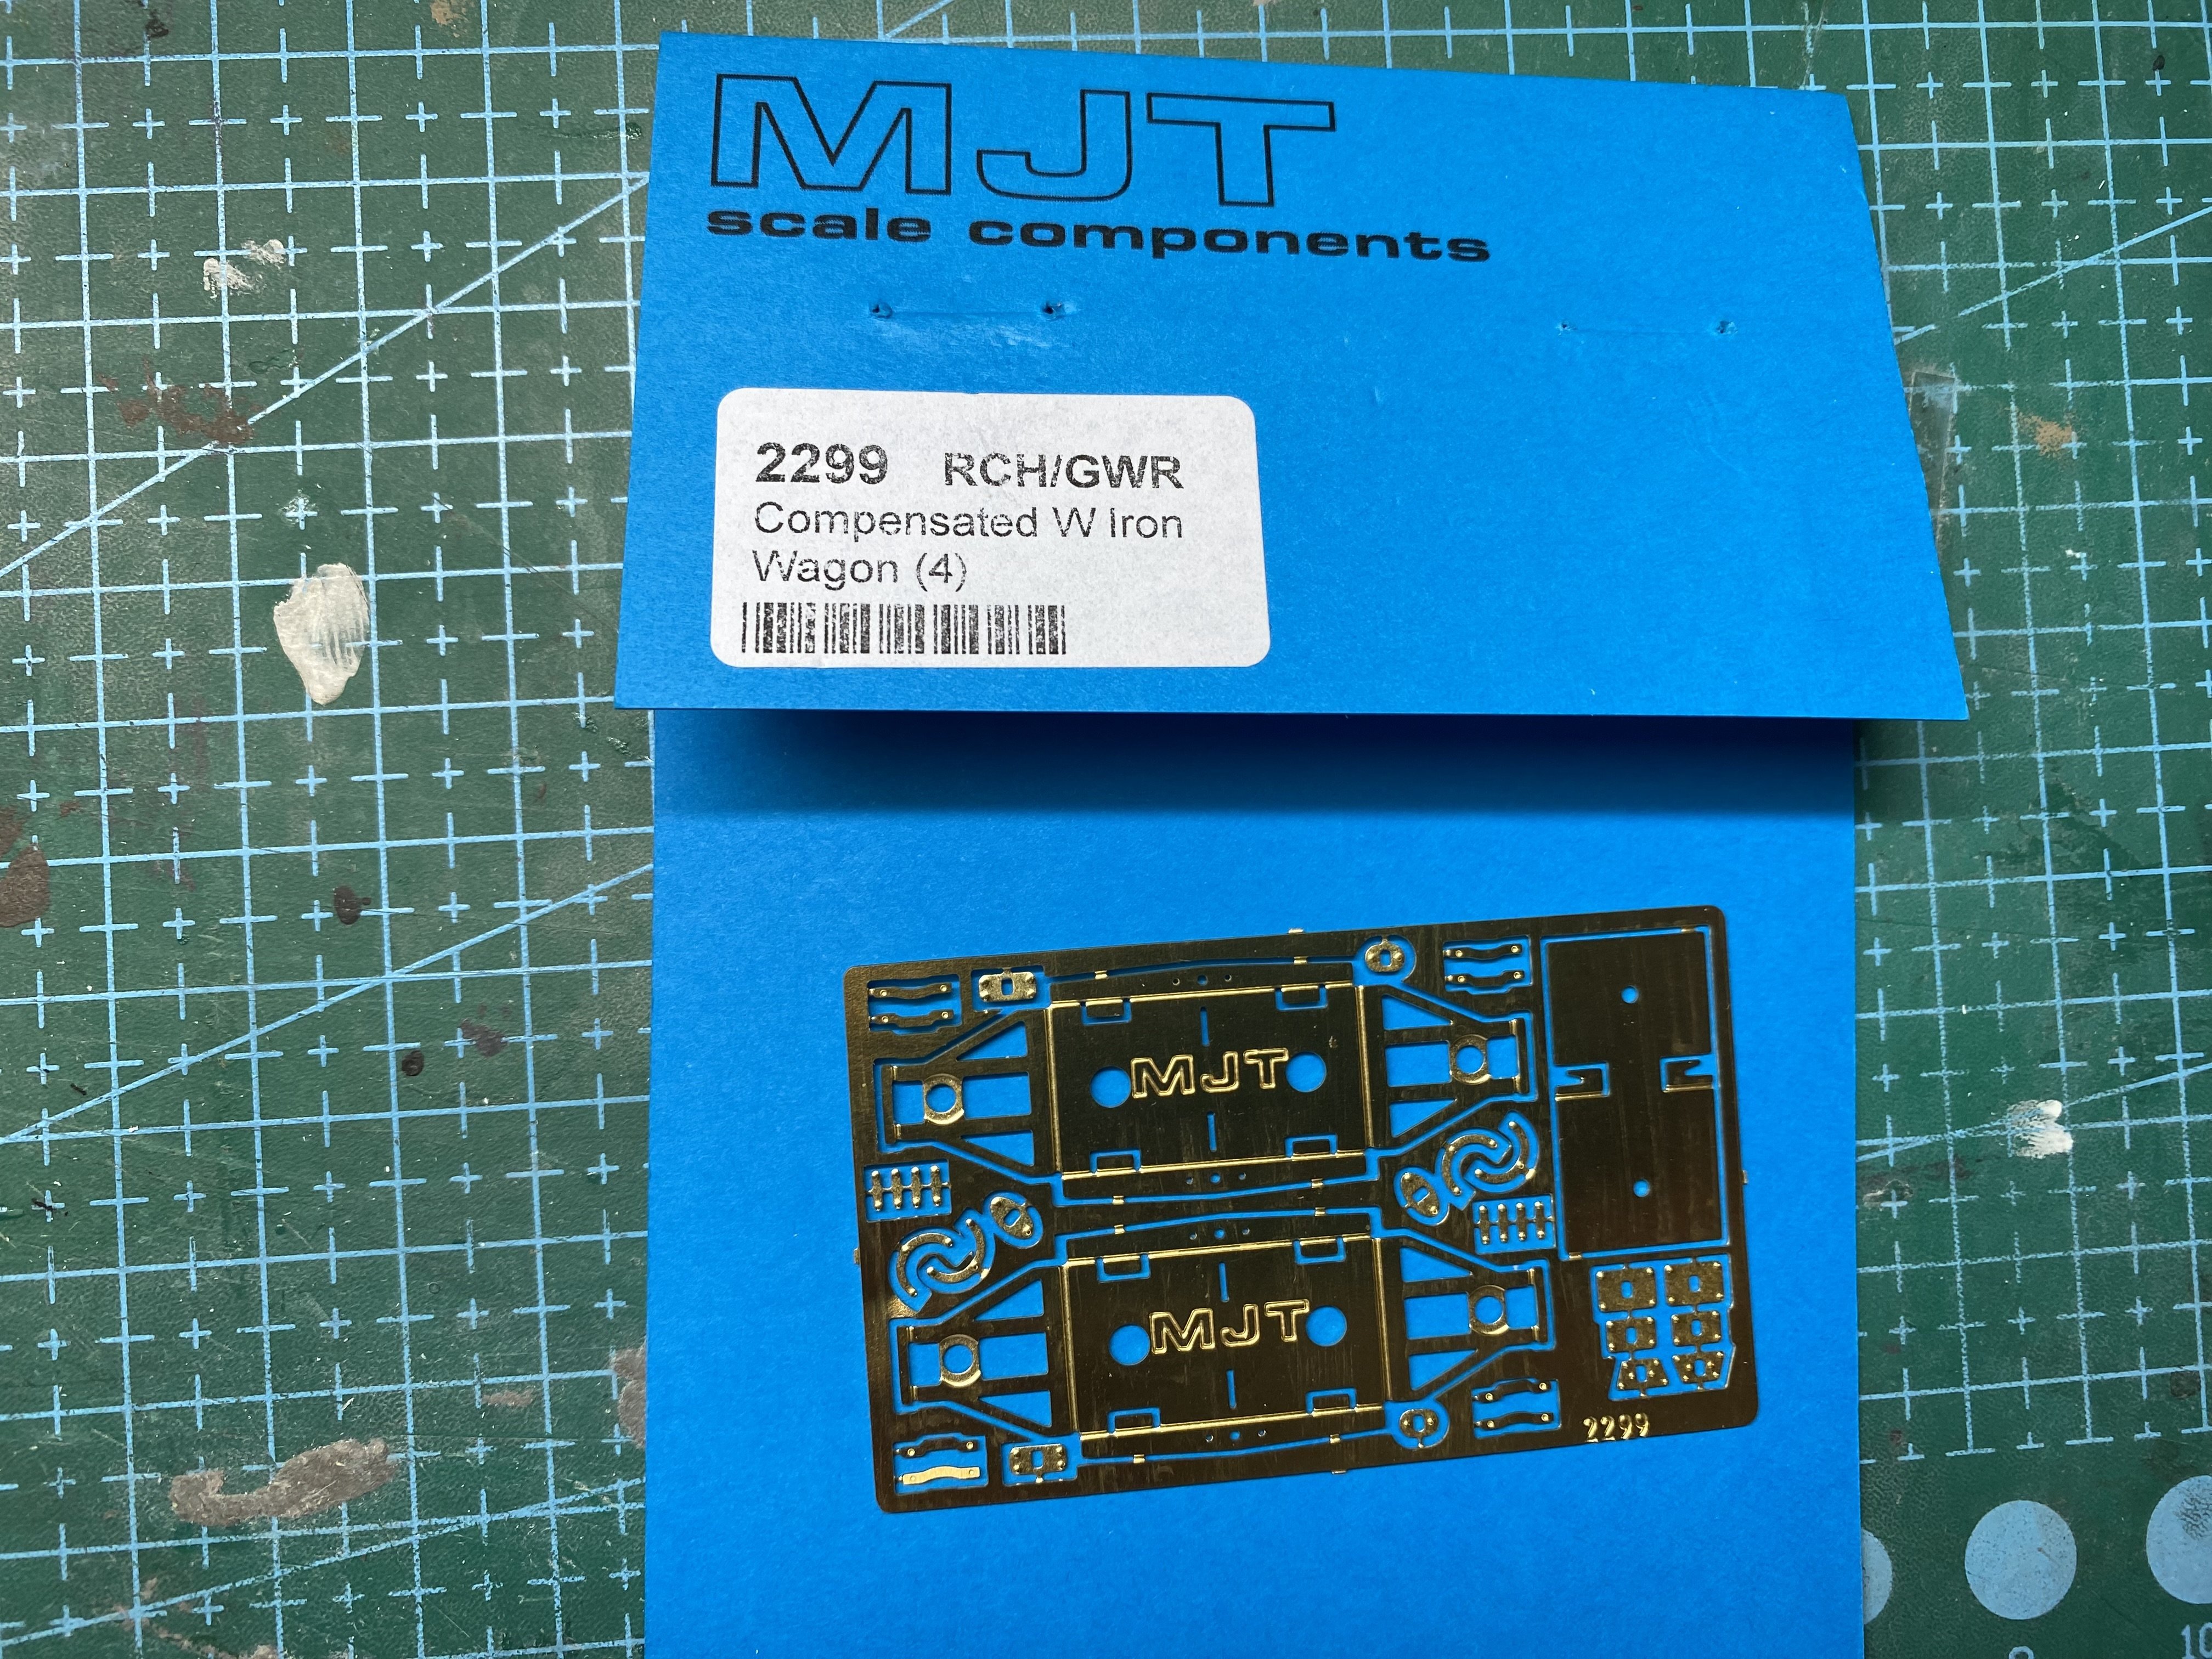
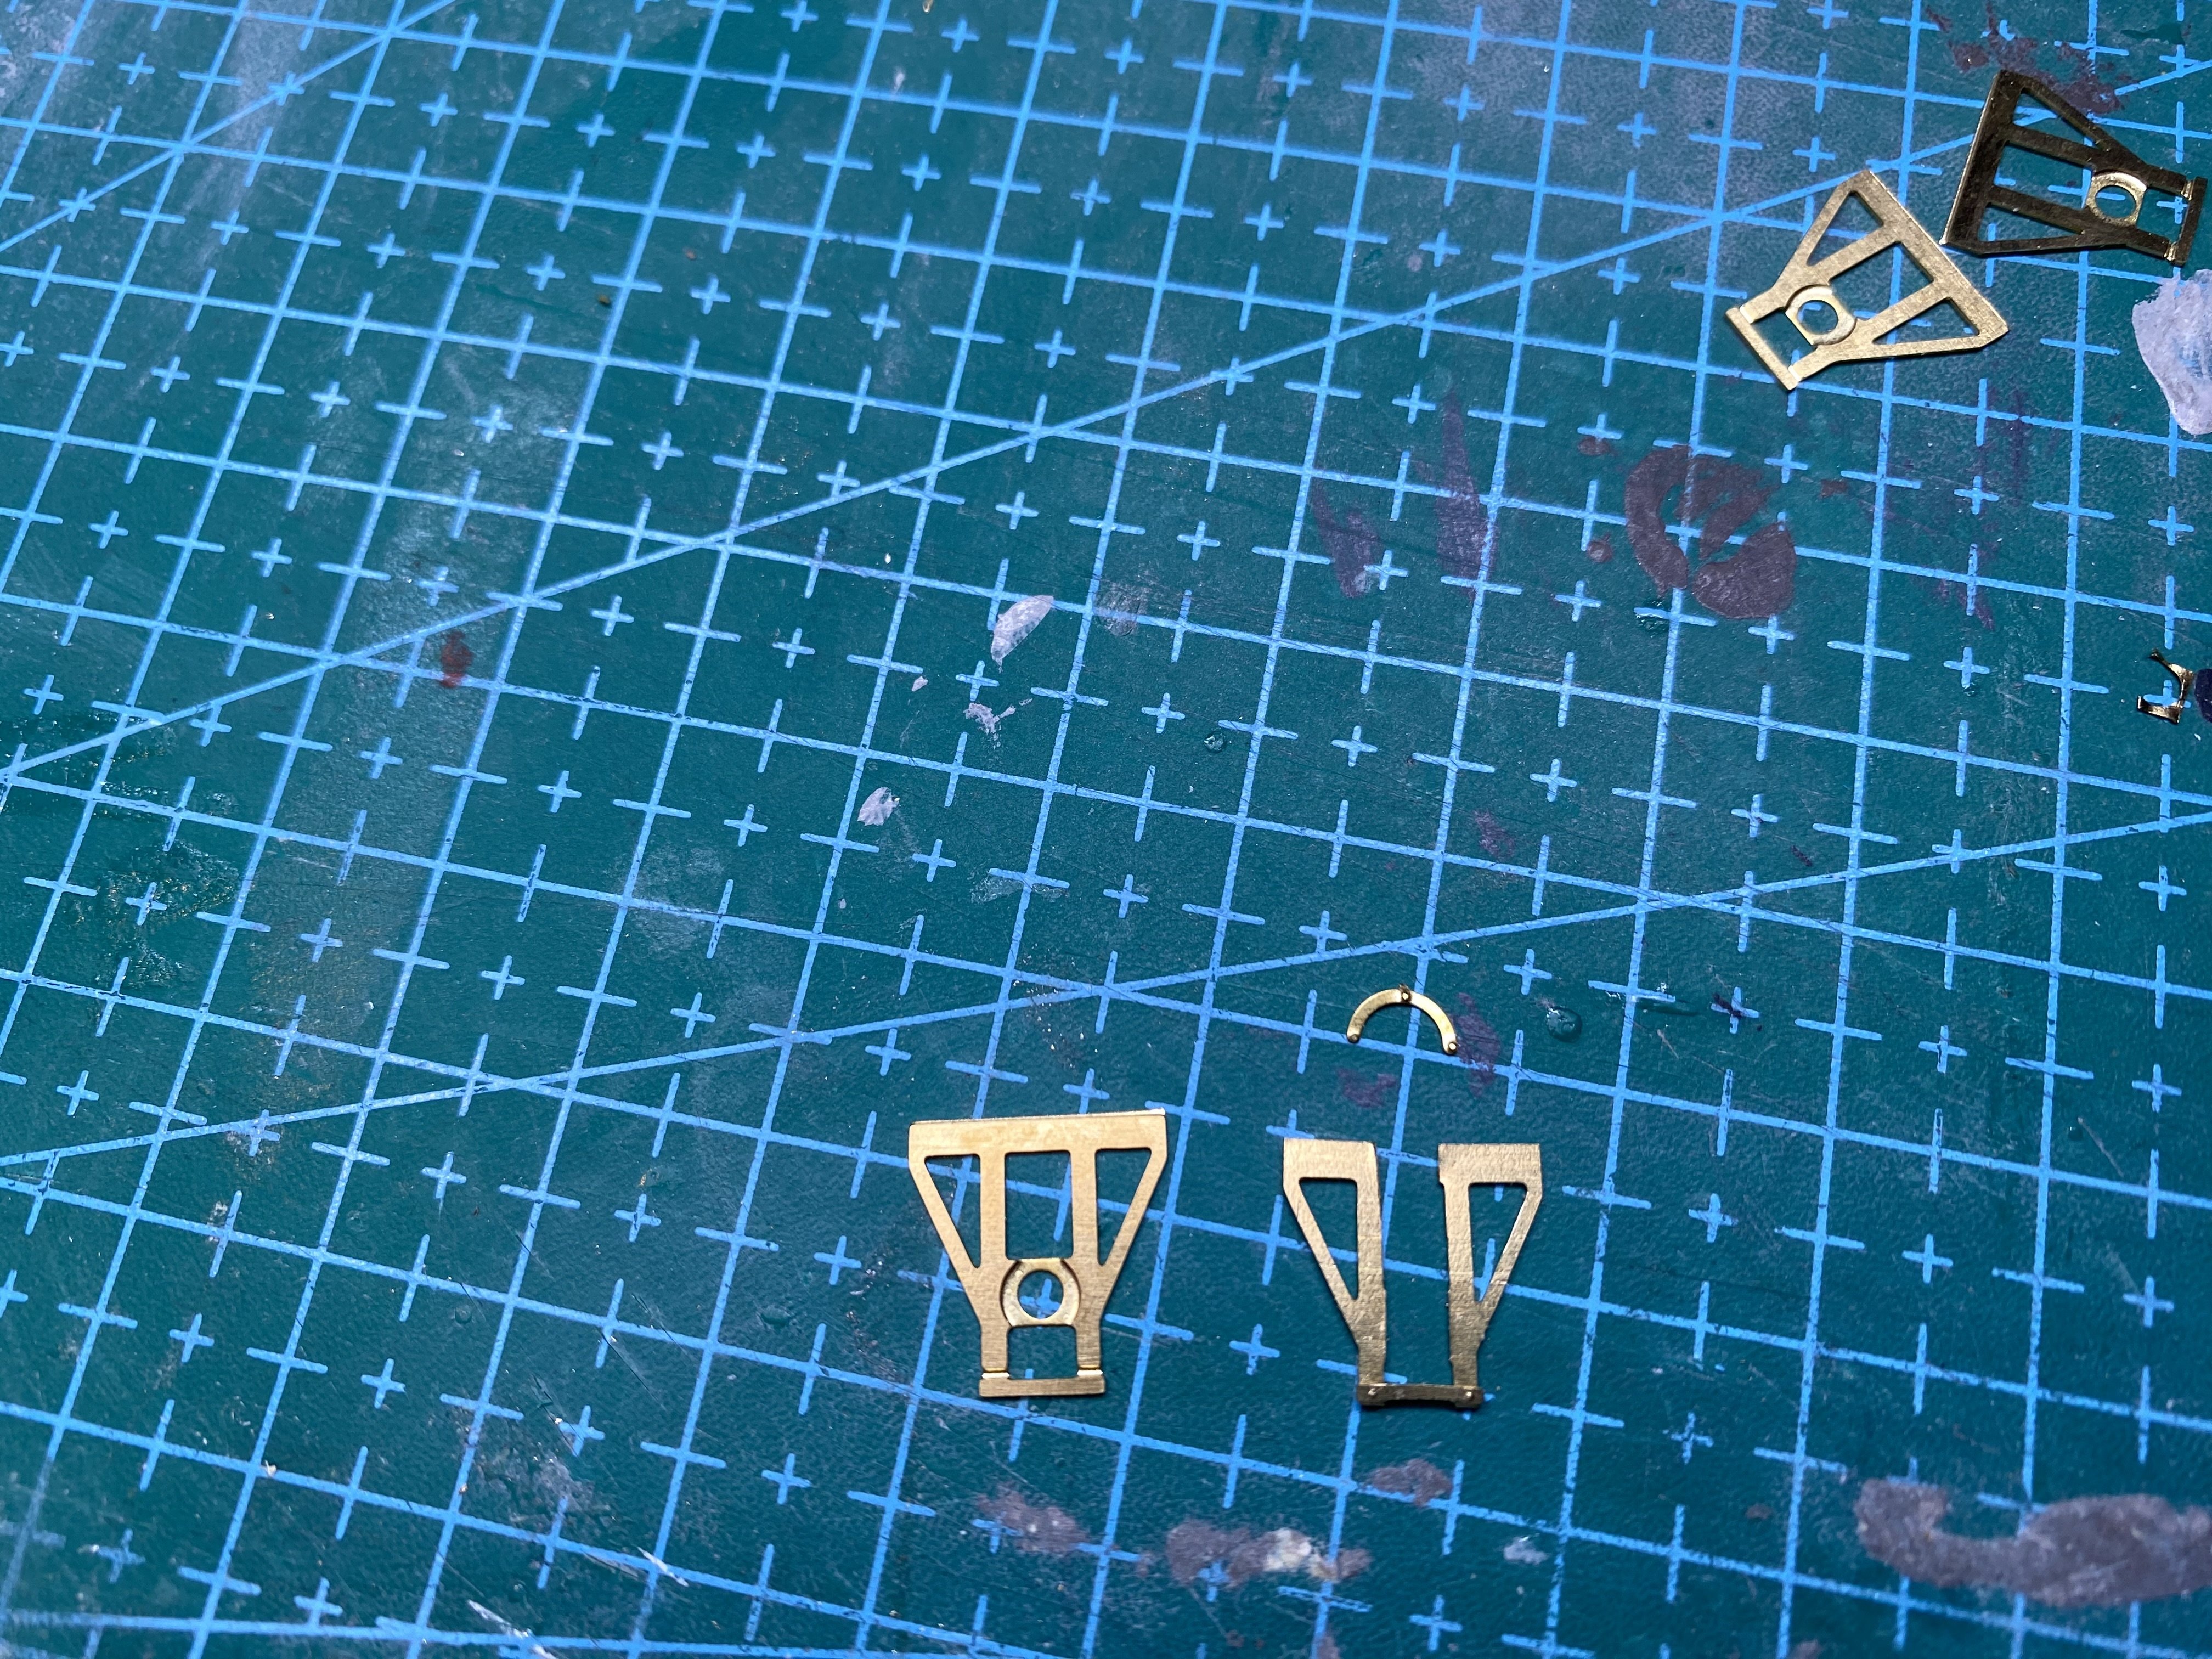
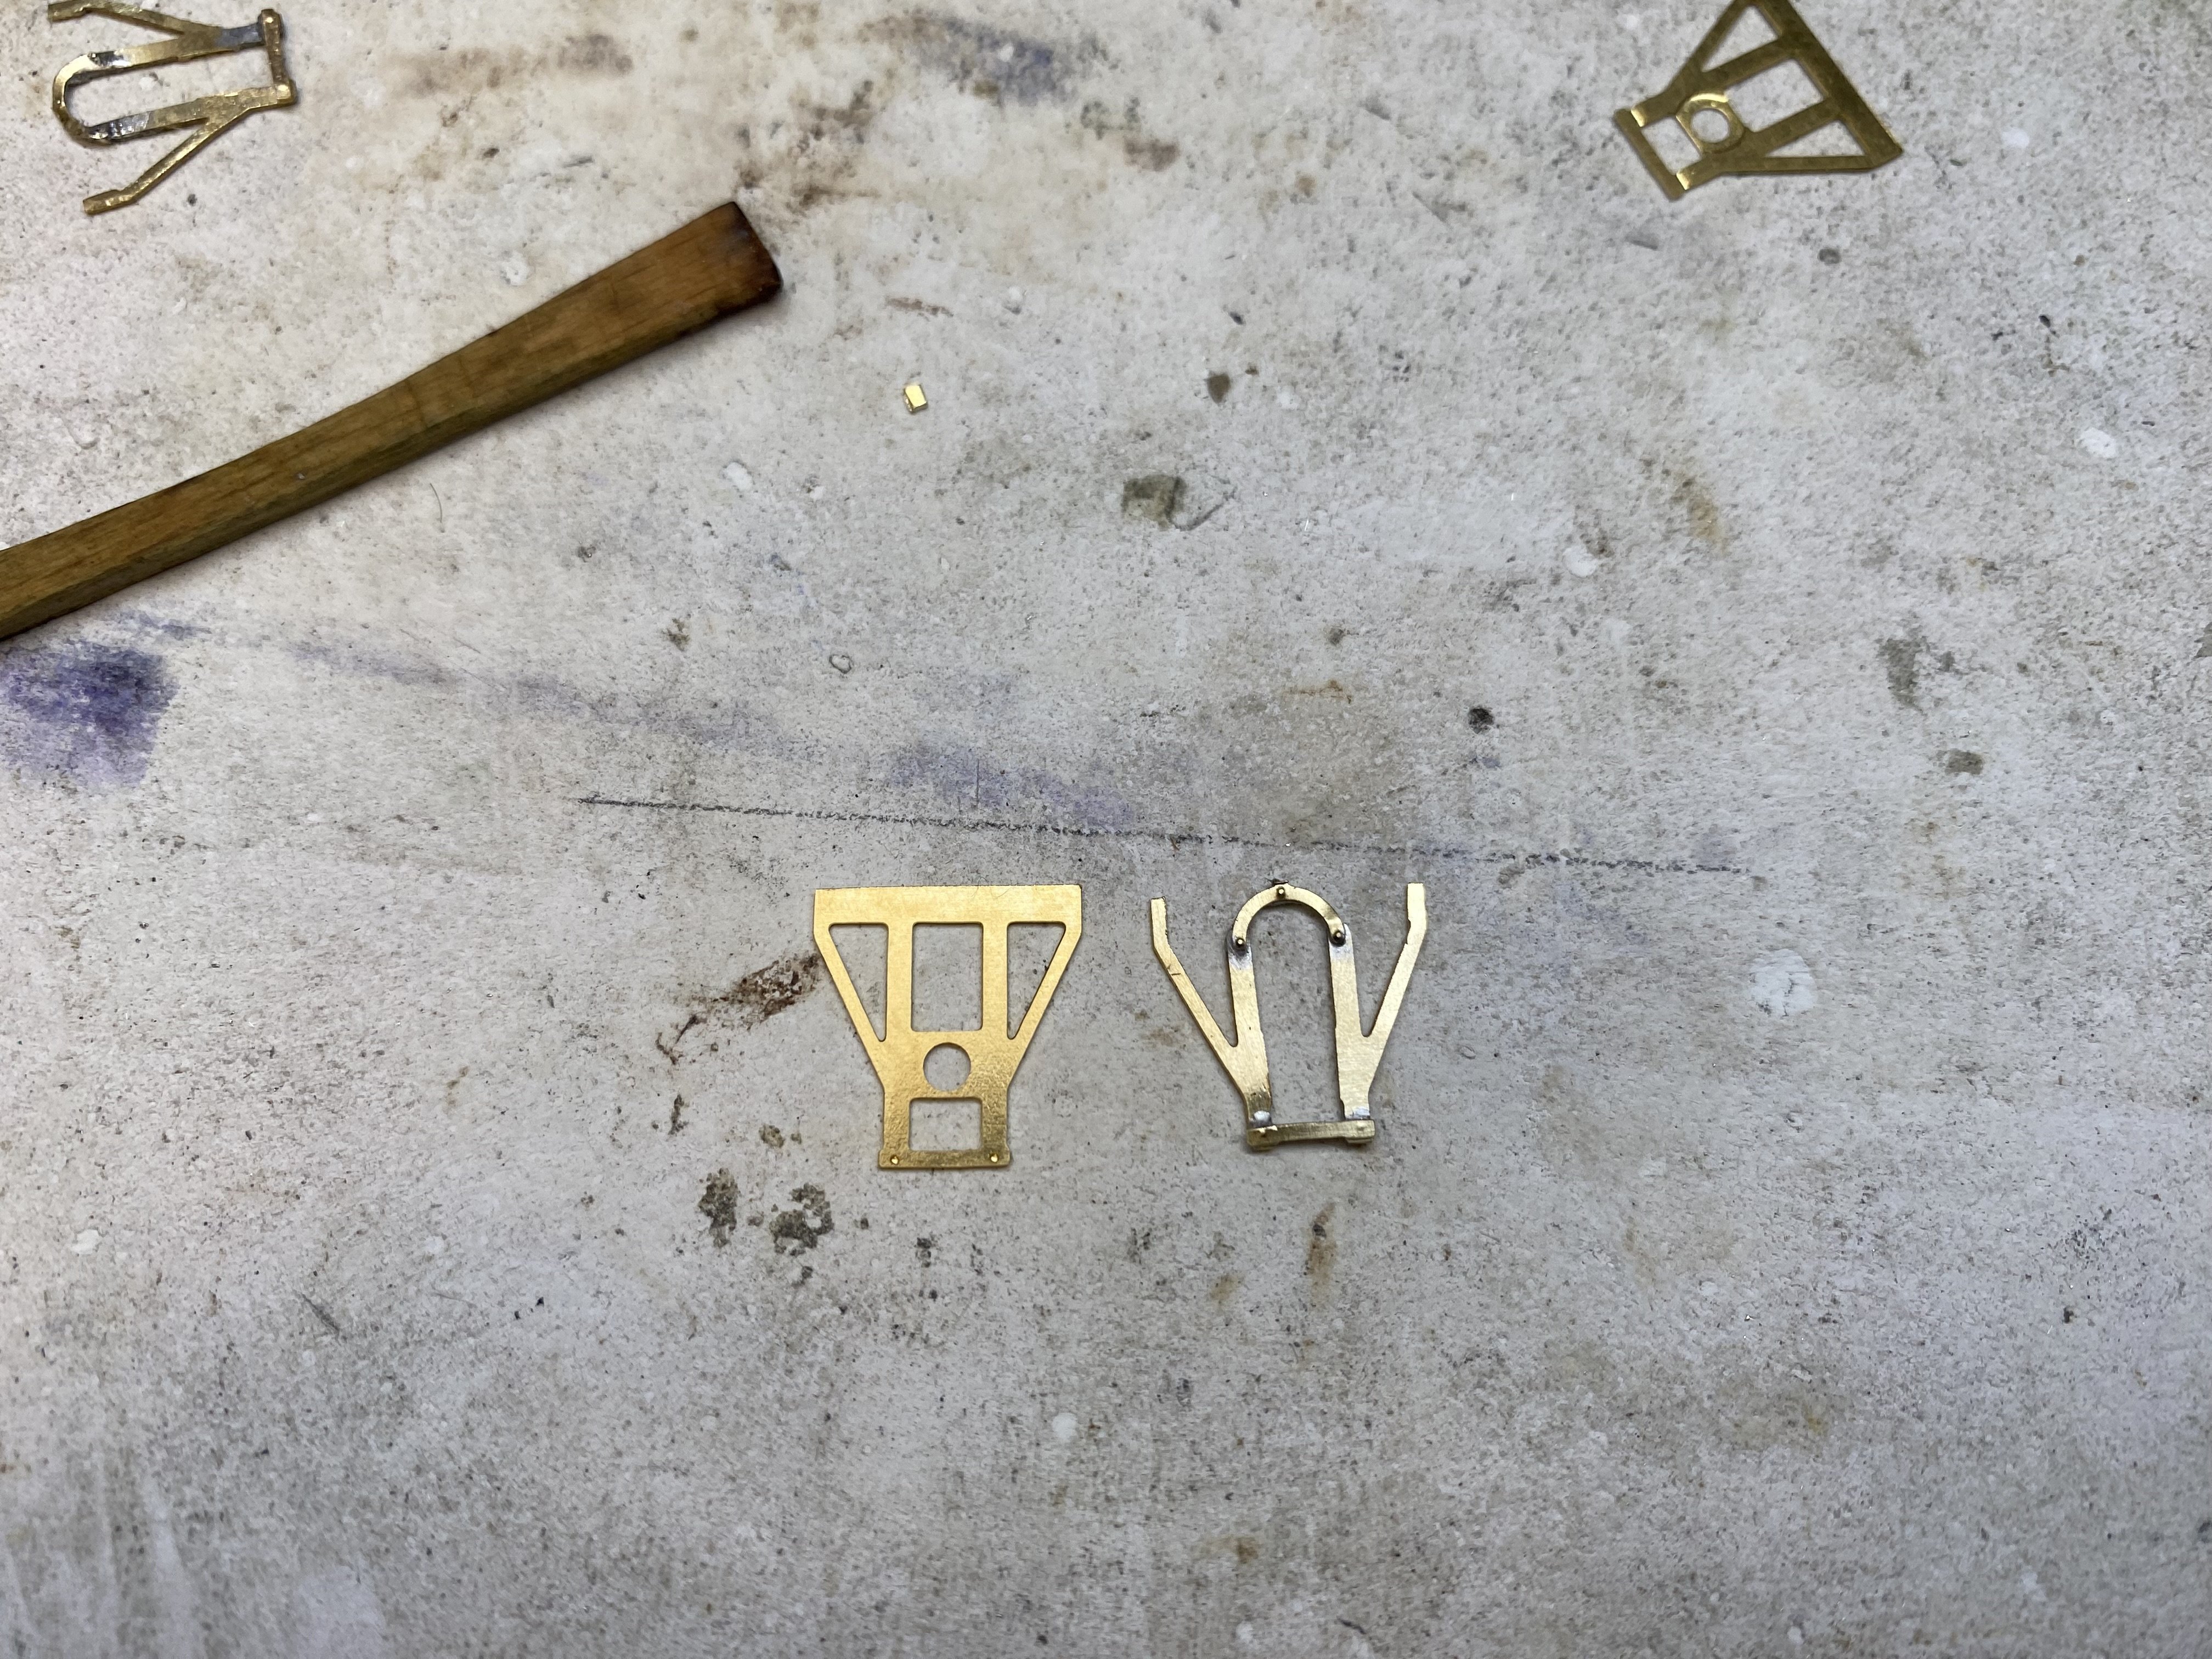
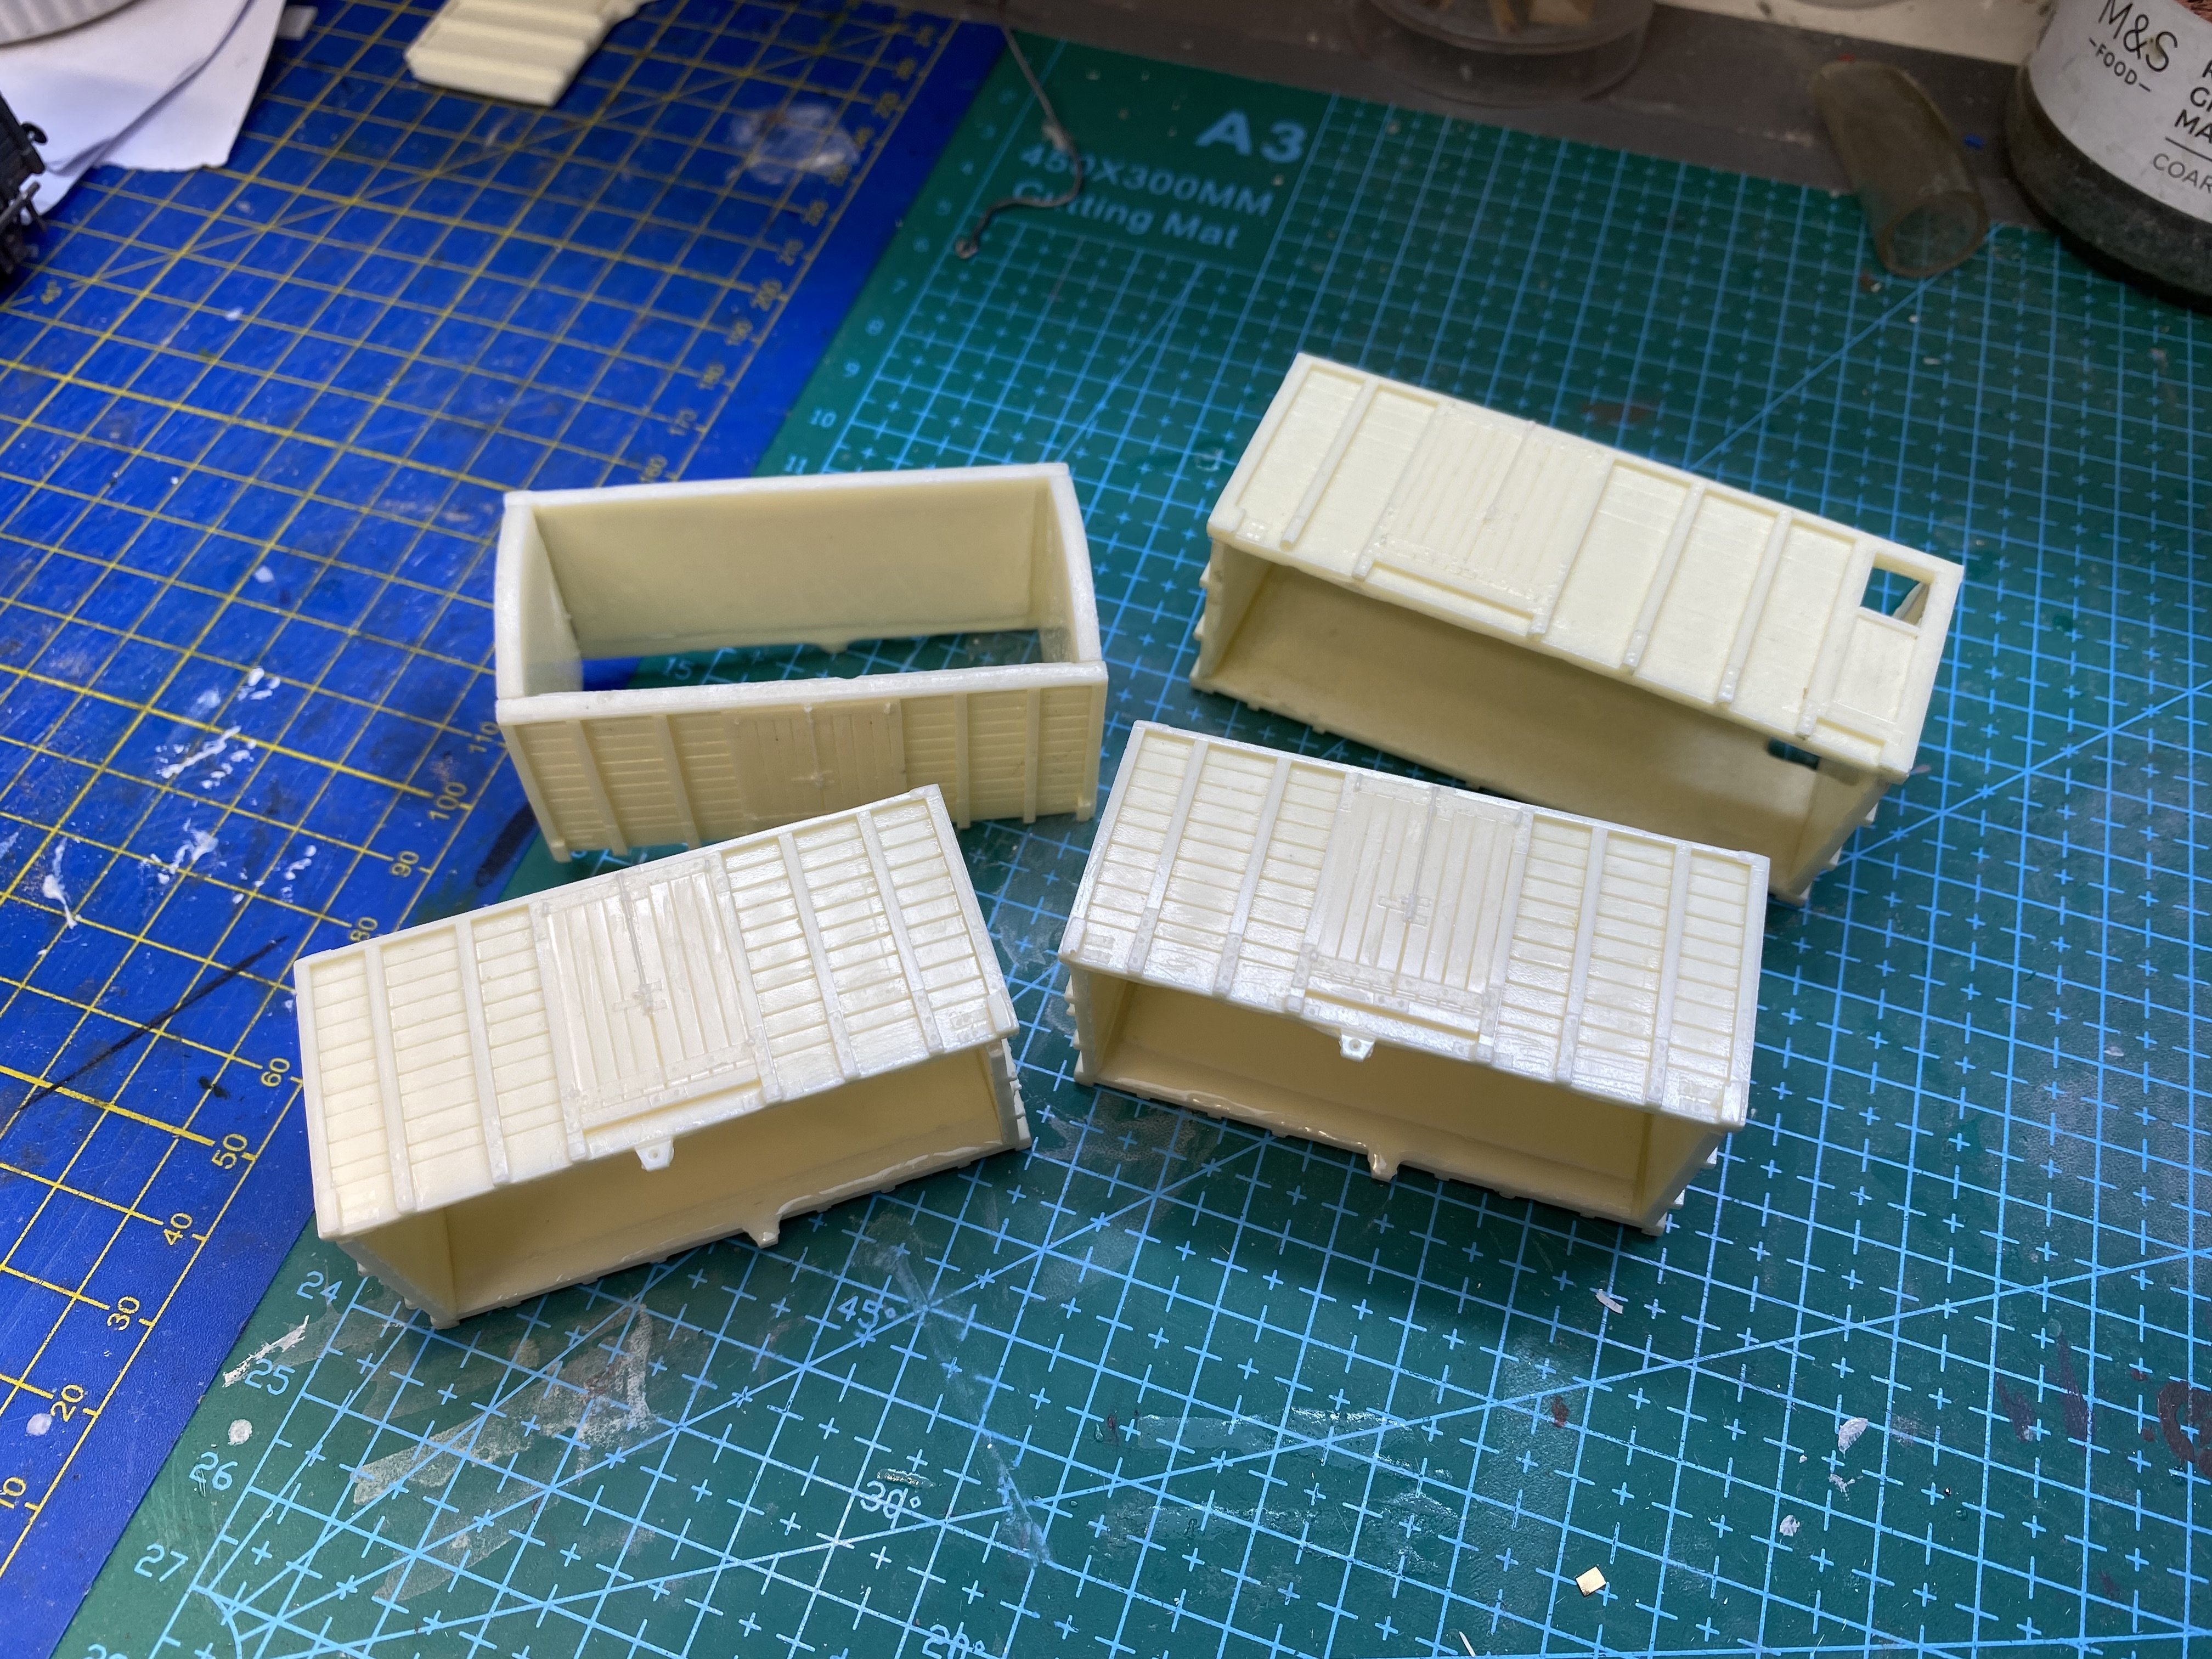
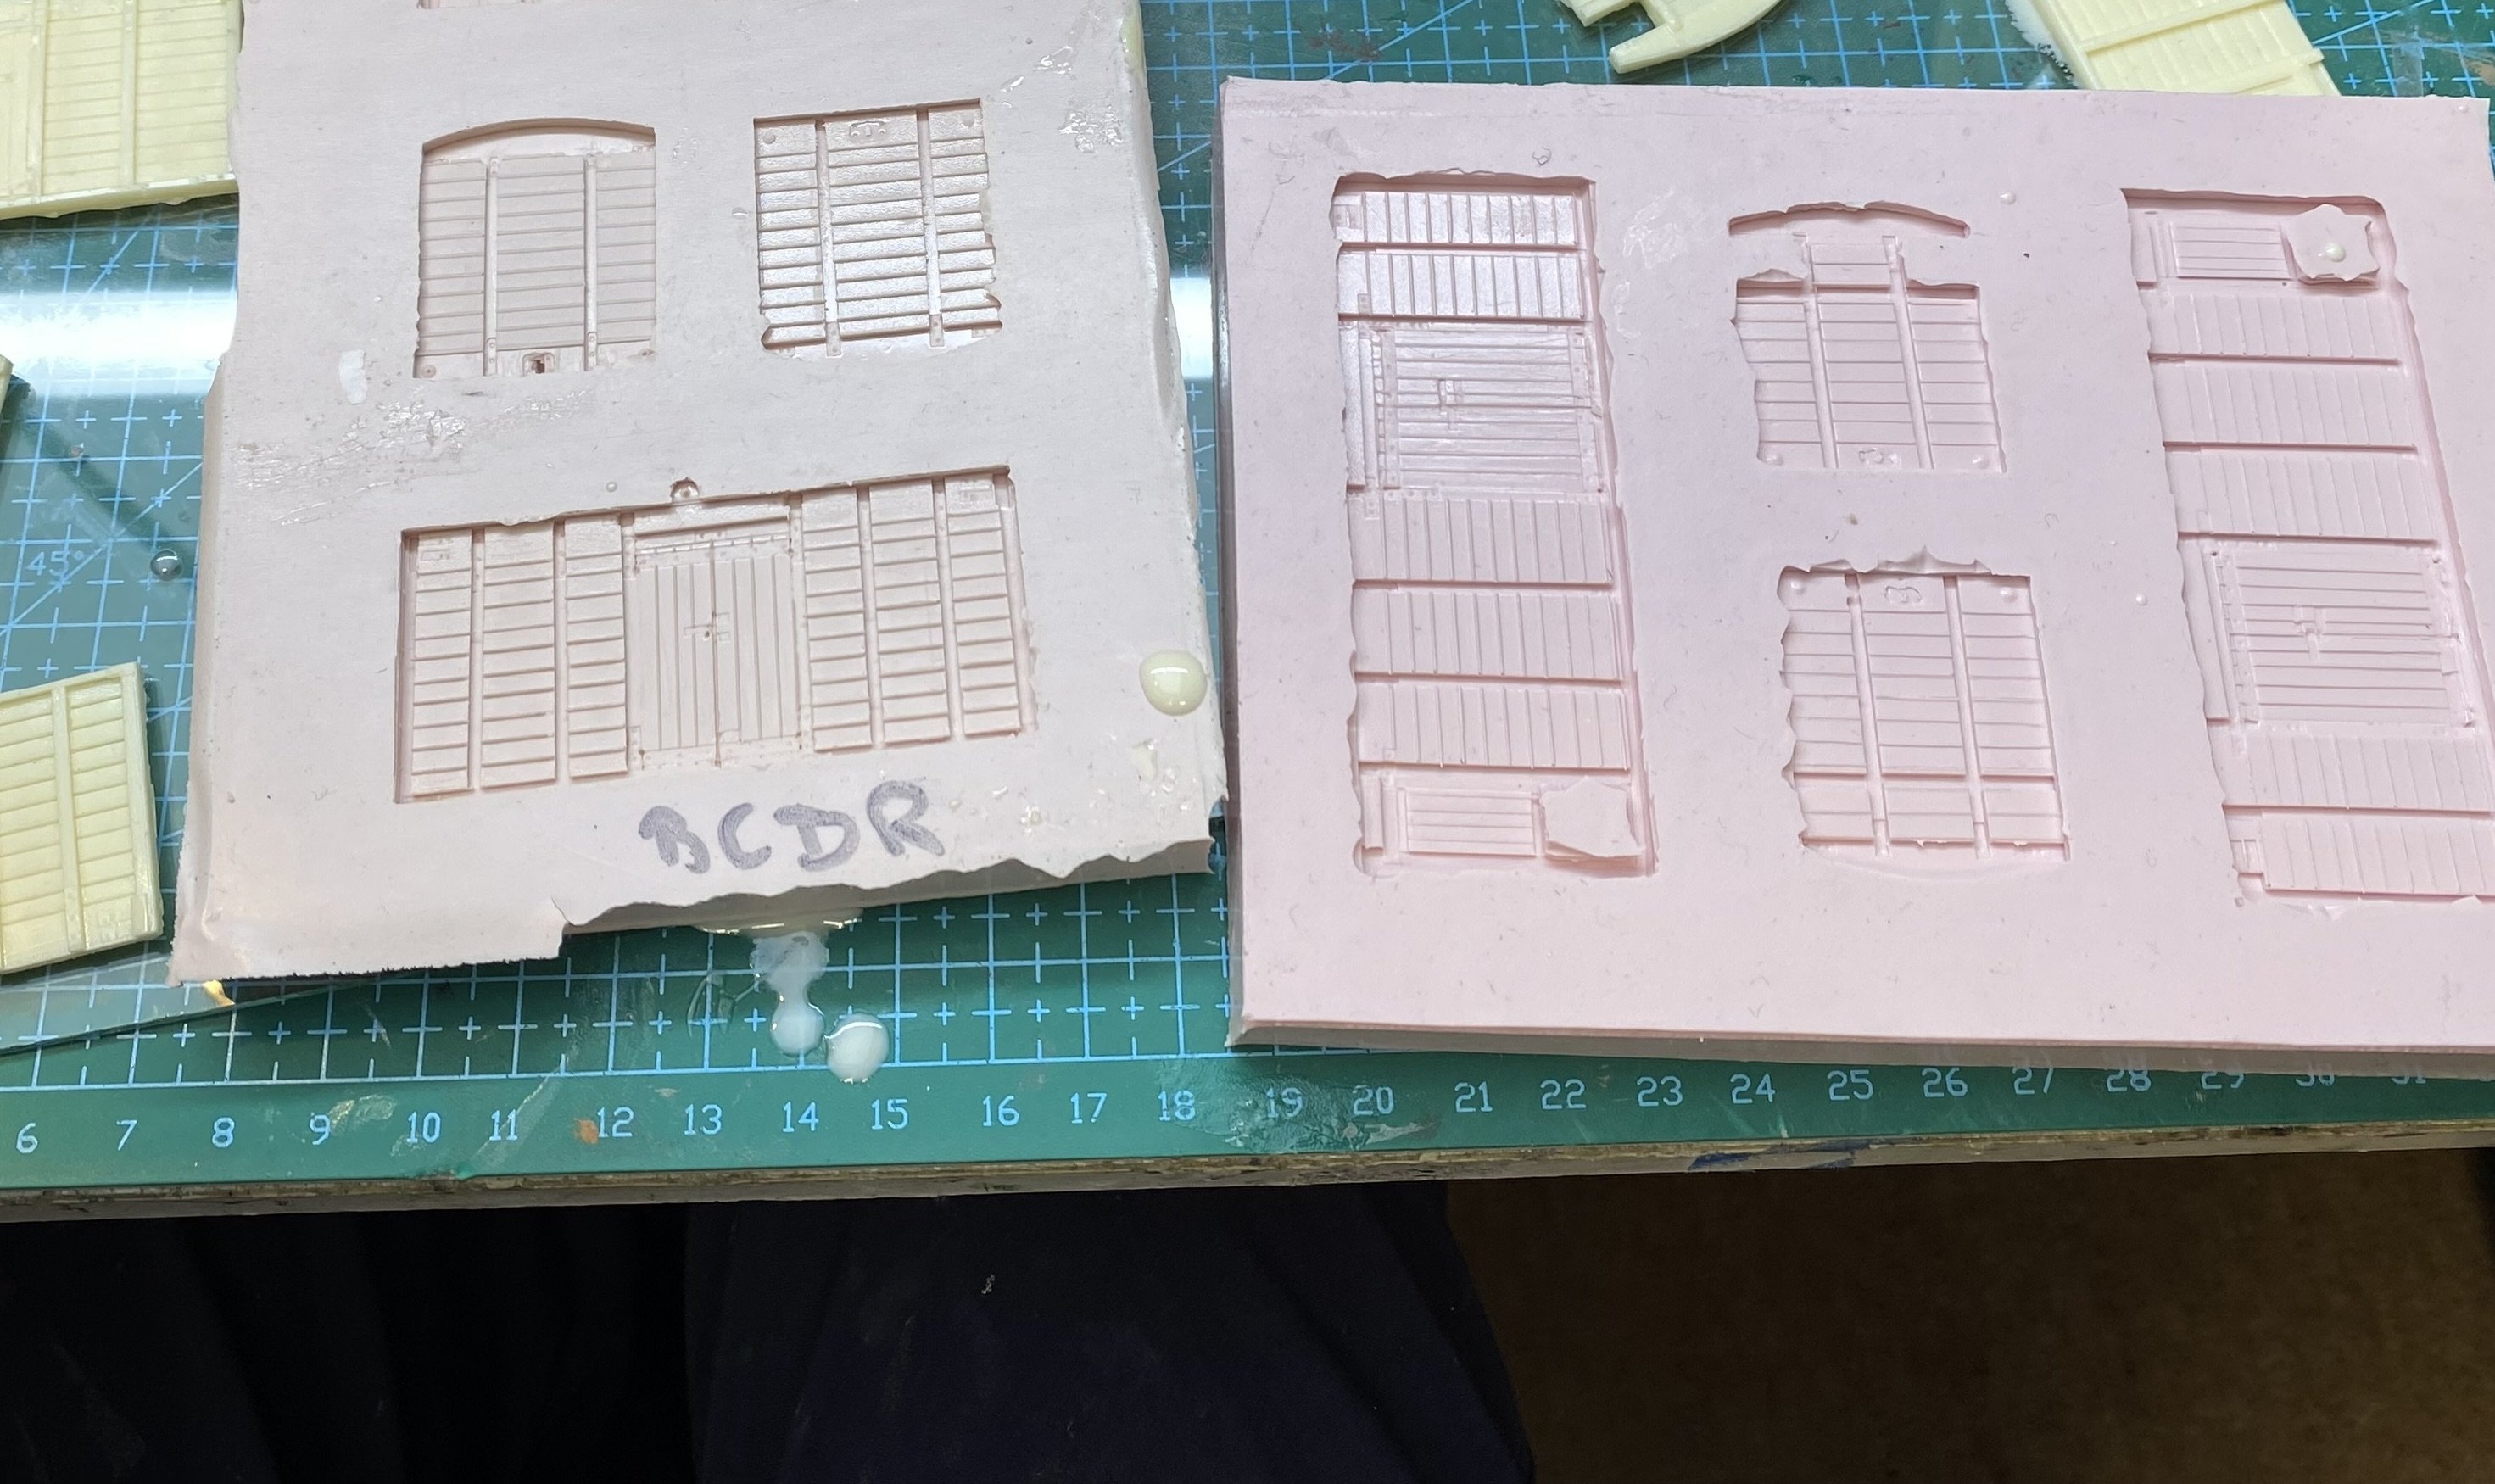
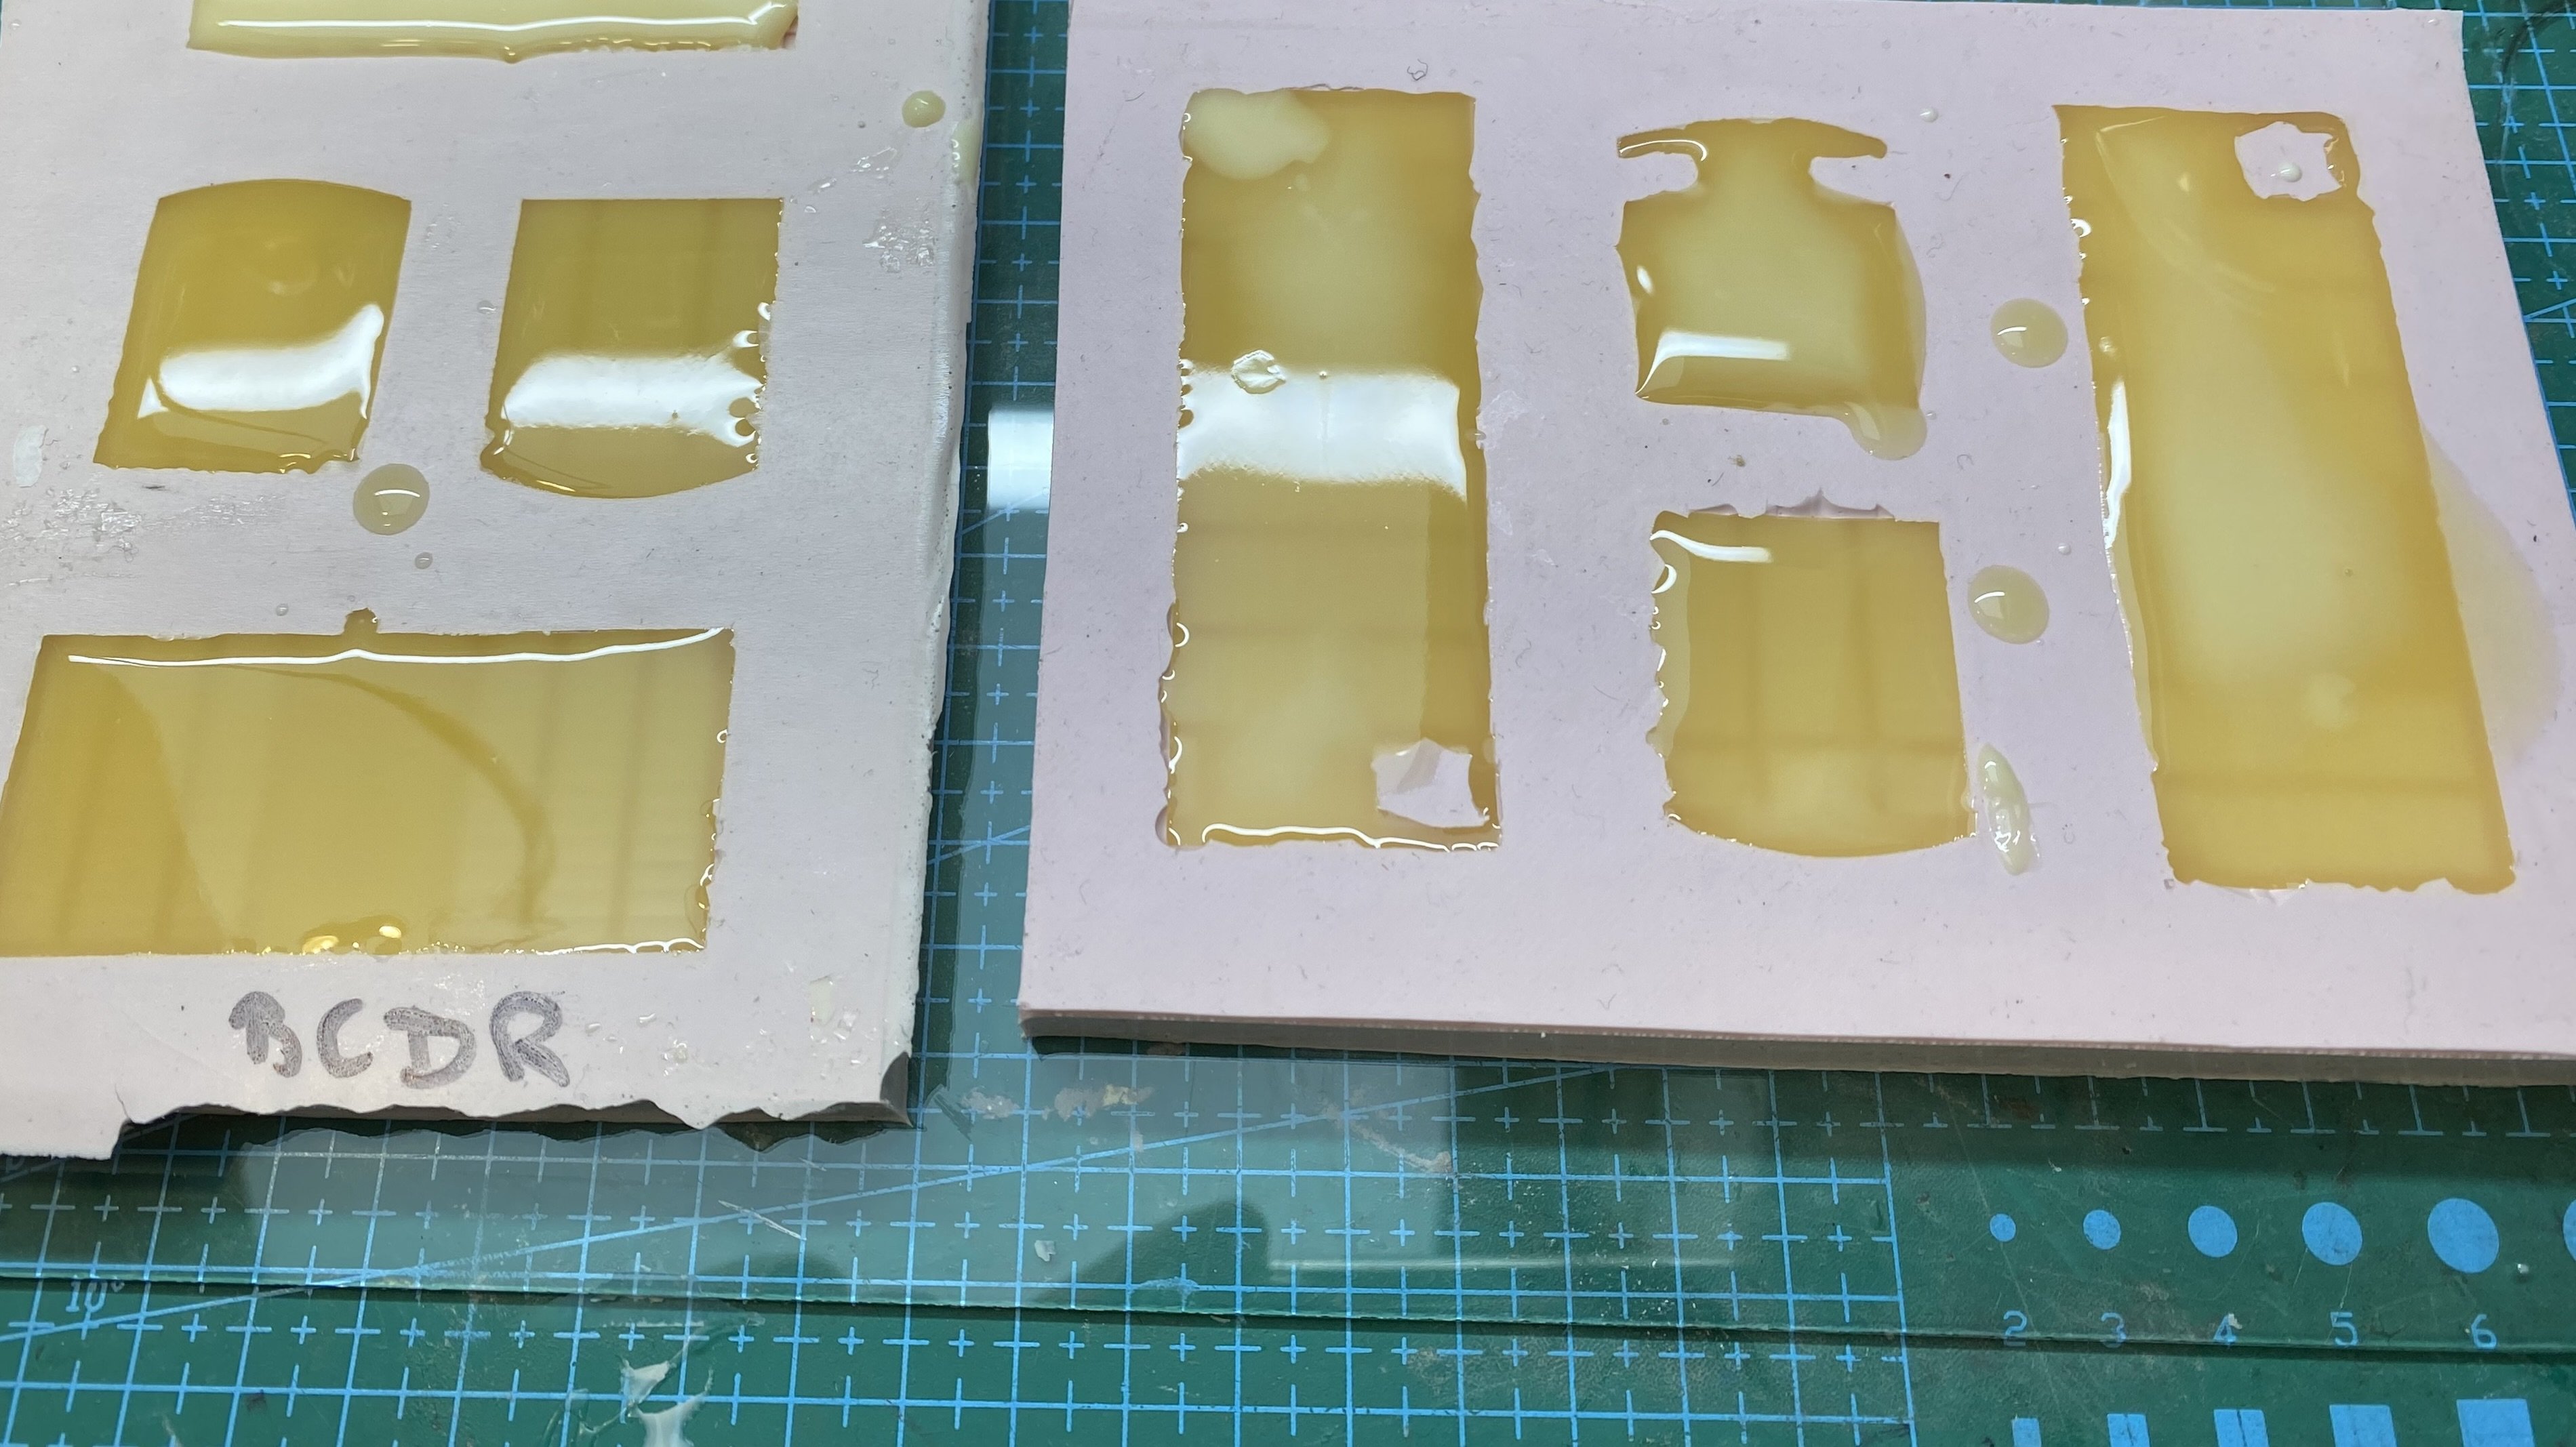
Casting around for something to do at the weekend. I'll need a few more bits of rolling stock for Kilmore. I made these moulds from plasticard and brass masters a few years ago. The trick is to pour just the right amount of resin into the mould so it's fully filled but doesn't rise above the level of the top of the mould. I haven't mastered that yet so these castings need a lot of work with files before they can even be glued together to make a reasonably square wagon body. Provincial Wagons this ain't! Making the body is just the start. Chassis are the next challenge. In the past I've used hacked Dapol kit chassis and sprung etched brass kits from Brassmasters. In the case of the BCDR stock, outside W irons are an added hurdle. Currently, I'm using bits from MJT wagon compensation etches to make these but it's challenging, very time consuming and uses only a few modified bits of the etch and not in the way intended. Also, what's left of the etch isn't much use for anything. There must be an easier way! Alan
- 860 replies
-
- 15
-
-
-

-
Brilliant stuff! Layout and stock all looking magnificent. Wish I could've been there.
-
Kilmore up.mov