David Holman
Members-
Posts
4,359 -
Joined
-
Last visited
-
Days Won
117
Content Type
Profiles
Forums
Events
Gallery
Everything posted by David Holman
-
Question - were there bilingual signs before independence? Belmullet is shown on my current AA road atlas as being in a Gaelic speaking area, so would a station nameboard have been in both languages in the early 1900s?
-
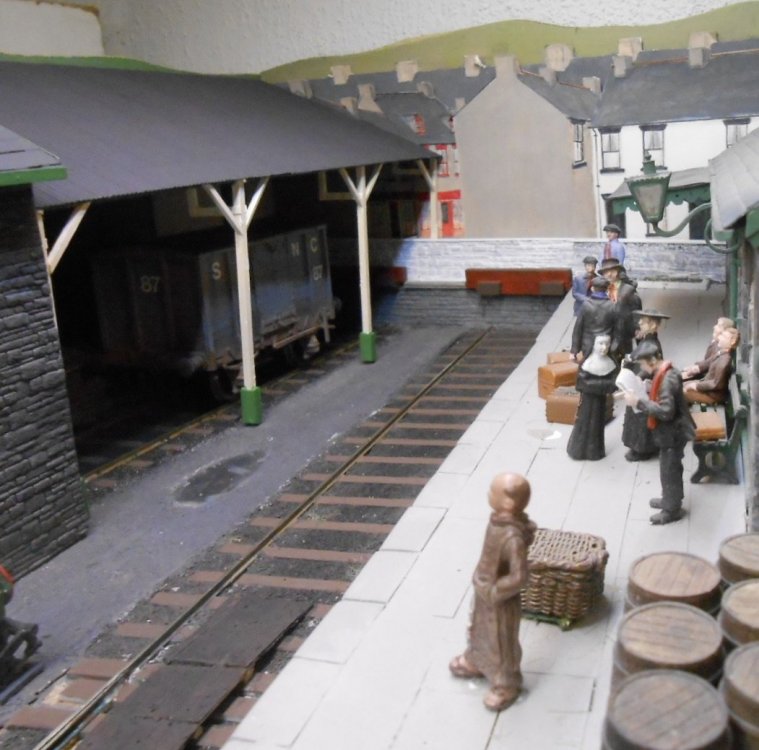
He comes from a pack of five, sold by Woodlands Scenics. Ready painted, 7mm scale figures are usually £5 or more each, but I only paid this for the whole pack. Bought them at the same time as the family group you can see on the platform at Fintonagh, though they needed altering as their dress was too modern for that 1930s scene. Belmullet will depict two periods, early 1900s and mid 1950s (avoiding the battleship grey years). Fashions changed quite a bit in that time, which is why the cluster of passengers will be partially out of sight and other figures are a minimum of railway staff. How much monk's habits changed, I have no idea, but when I researched nuns' habits to paint those figures, the internet search took me to some very interesting and unusual places.
-
Superb information here JB, even the MGWR history isn't clear about liveries. Especially like the comparisons with Isle of Man and LNER - now stored away for when I get round to building Wolf Dog. Hoping to make a start once Belmullet is properly up and running, so it can head a MGW mails. Will only have room for three six wheelers, but should make a nice train.
-
Looking good!
-
Now that's what I call a paint shop! Models look rather good too...
-
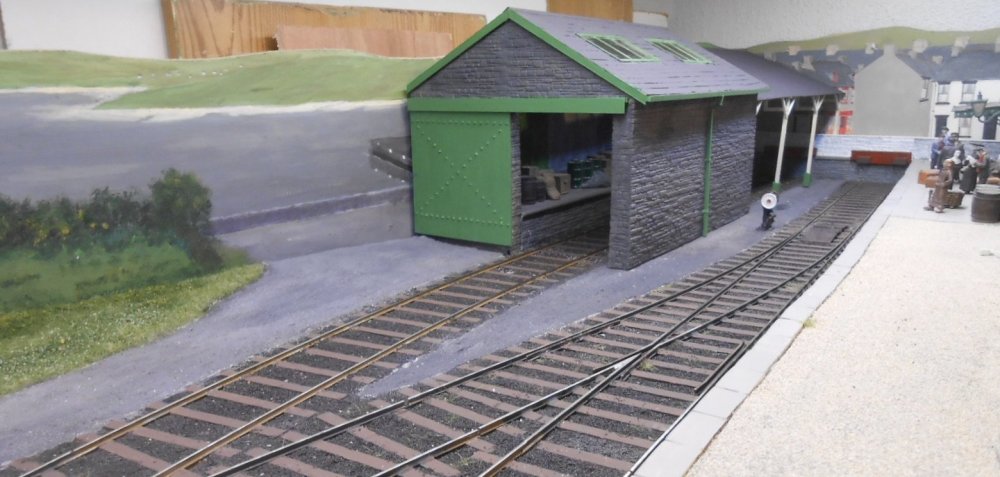
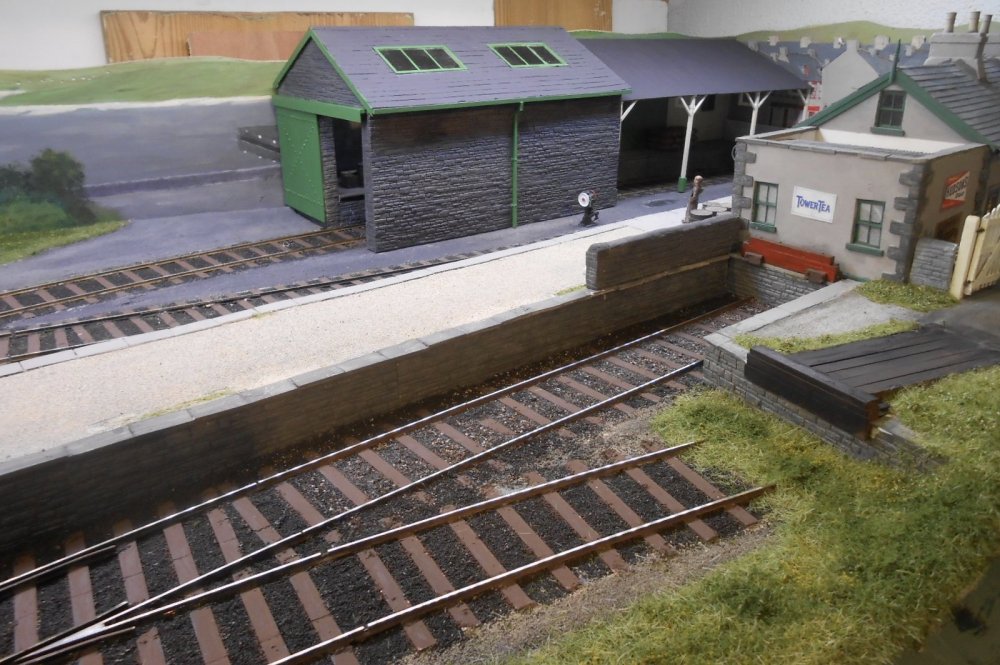
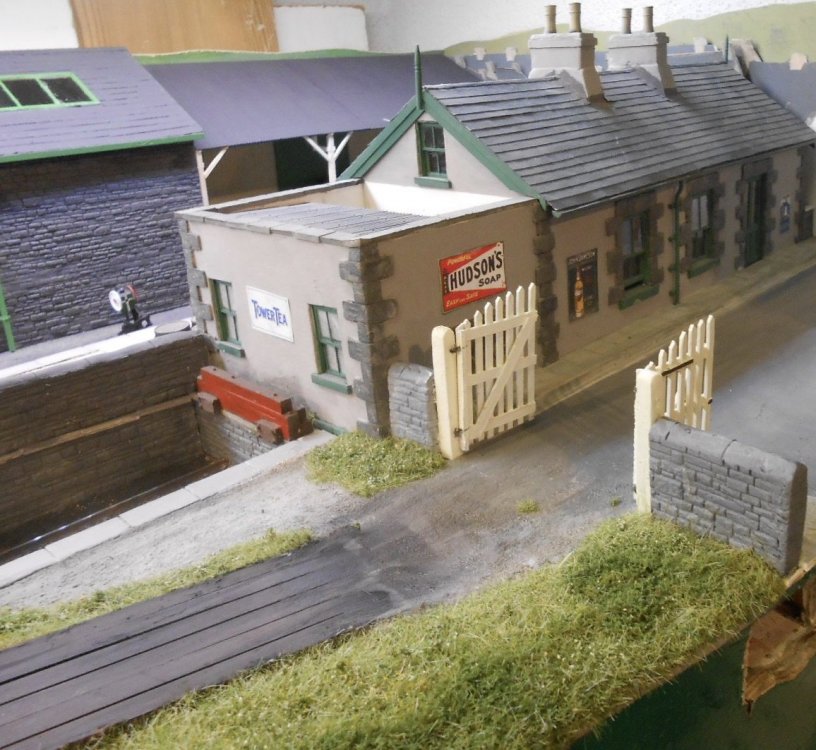
Can't believe it is a month since I last posted here. It's not that I haven't been busy, just that much of it doesn't seem to have got things finished. Plus we did have a nice holiday in Mojacar [just before the virus hit], while have also been having problems with the laptop... Anyway, work has been focussing on Baseboard 1, the terminus end of the layout. This has involved finishing and painting the goods shed and co-op, much faffing around with track colours [still needs more], likewise the back scenes [ditto]. The pictures below really don't tell half the story, with many alterations to colours and tones, not completely to my liking yet either. However, with no reference points whatsoever due to covid19 lockdown, at least I can escape to the workshop a couple of times a day in between doing the garden, going for a walk, household chores etc. At least it helps avoid too much TV.
- 179 replies
-
- 10
-

-

-
Considering the lengths folk have gone to bash other models to shape, am guessing that would be a breeze. Note to self: instead of watching endless repeats on TV, must fire up the laptop and have a good scroll through recent posts. There have been some absolute gems recently.
-
In the recent reprint of the Swilly history, seems that not only did their single line token system not work, but their vacuum brakes were often suspect too. There again, two trains a day reduced the chances of a collision between Burtonport and Letterkenny somewhat. Would love to do the Swilly. In my dreams it would be 10mm scale, as per Killybegs, to do justice to the big locos. Space, time, money just three of the problems!
-
Fabulous, as usual. The fountains of knowledge on this forum continue to amaze and delight. When I saw the picture from the top deck of the horse tram, my initial thought was to wonder what on earth they had been feeding Dick on! Did a holiday to Sri Lanka some years ago and we went on an elephant safari - riding the back of, not shooting I hasten to add. We were given bunches of small bananas, gratefully received every few minutes by the trunk which wafted back over the elephant's head. Speaking of wafting, the similarly fueled beast ahead of us kept up a fairly continuous exhaust from its rear end throughout the adventure, while afterwards we had the chance to help in the 'car wash' too. Great memories.
-
I've done the same on Arigna/Belmullet, but with the signal wire posts. Unless you look really closely, you see the posts and don't missed the wires.
-
Interesting! There is no doubt that Kadees look good, especially with modern stock. I've used 7mm scale ones in the past on corridor coaches, with screw links each end. On Fintonagh, I use No 5s. However, despite rigorous checking, including height and alignment, non- magnetic axles, reasonable weight (so the magnets don't tip up the wagons), I still have wagons that refuse to work with each other, either uncoupling when being pulled or not uncoupling despite being set up the same as the others! Many rude works have been vented... Mixing and matching can work well, eg three links on a rake of wagons that are always going to run as a set, with something easier to use each end and on the loco and brake van. The issue with three links is buffer locking on tight curves, so if you are propelling stock, the one metre radius is about the limit in 4mm scale and 1.8m in 7mm. Which is why tension locks are so popular because they avoid this. Compromise rules!
-
Tempted to say don't get me started, but with the experience of over 100 exhibitions with my own layouts and looking at many of the options, here goes. All couplings are a compromise. The ones that work don't look right, unless the prototype uses Buckeyes as well. Most are a pain to set up and use, requiring all sorts of strange between/under track devices, or the hand of God, as it were. It's all about what you can live with. My own feelings are as follows: 1. In 7mm scale, three links are perfectly workable, though screw links are the spawn of Satan especially between vans and coaches. 2. Dinghams aren't bad, but are 'handed', so create issues if you use turntables. Easy to set up, fairly unobtrusive and very forgiving if they get bent. 3. Kadees. Though I do use them on Fintonagh, I am still not convinced, mainly because I don't like the 'shuffle' and the fact that tolerances are so minimal. Not happy on curves either in my experience. 4. Spray and Winkle. Too much like a tension lock. See below. 5. Alex Jackson's. Mr Gravett makes them work, but again, they don't like curves, he says. Model Railway Journal once did a five page article on getting them 95% efficient. Haven't managed to read it all yet as my eyes keep glazing over... 6. Lincs. Galteemore is using them on Rosses Point, so will be interested to hear how he gets on, as look promising As for other scales, three links can be ok in 4mm, provided you use the slightly larger Smith's hooks and links. Personally can't stand the look of tension locks, though they do tend to disappear on bigger layouts. Kadees, as above. N gauge couplings a bit like tension locks for me, the smaller the engine, the worse it gets. The Terriers and 03 shunters in particular have couplings that are almost as long as the models themselves! 2FS modellers use some very discreet etched couplings that seem to work beautifully. Having had a go on Ballyconnell Road last summer, must say I was very impressed with the 3mm version. To sum up, it is all a compromise, but if operation is your thing, then tension locks and Kadees have stood the test of time it seems. However, if appearances are more important, suggest experimenting or investigating first, while if your hand is steady, three links are the only thing that looks right in the pre buckeye period.
-
Not sure how I've missed this thread, but glad I've found it now. Lots of good stuff here and especially like that signal.
-
Looks good. Presumably 12mm track and fine section rail. It looks pretty lightweight in the photo.
-
Wow, what's the opposite of opening a can of worms? Am I seem to have opened a treasure chest! Thank you all. As Patrick says, could easily spend a few weeks checking those aerial photos and it's not as if we don't have any spare time now that all social opportunities are off.
-
Railway modelling is a great way to keep sane in these challenging times, while forums like this will be ever more important in sharing what we do andenabling a degree of communication denied elsewhere. We have closed down my local model club now, so with no pub, cafe, sport, club, church etc, alternatives need to be found. Indeed, read today that a few restaurants in Ireland are already getting creative in supplying their wares. Good on them!
-
Have often wondered about this line, which wandered from Macfin Junction to Magherafelt, seemingly passing little on the way. Wiki suggests it to have been the haunt of 4-4-0s and two coach trains, but information seems scarce. Apart from the Swilly's line to Burtonport, was there a more isolated stretch in Ireland?
-
Beet campaign, 1950; a little light reading
David Holman replied to jhb171achill's topic in General Chat
More riches! Keep 'em coming JB and thank you. -
Gold dust! Pure gold dust - all of it!
-
Probably nothing at all now. Allypally show definitely off and others dropping like flies. RMweb have a thread in their exhibition section.
-
Fabulous stories. Thank you all. Can't match them, but when I joined the Chatham club, there was a much respected elder statesman, who was not averse to sharing a drawing one week and turning up with the finished loco the next. Tinplate was his favoured medium, chopped up Castrol GTX oil cans as the source. Am sure they weren't state of the art, fine detail, but they always ran well and certainly looked the part, which was what really mattered then.
-
While the models look great, it's a bit disappointing to read there is some stratification evident, as with recent equipment my impression is that should no longer be an issue. One of our club members is one of those very clever/talented people who not only understands how most mechanical and electronic things work, he can take them apart and put them back together again, so they work better. Anyway, he has self taught 3D printing over the last couple of years and worked his way through a number of machines, mostly bought as kits on line. His latest one prints with no visible layering at all, so maybe Shapeways are not using the latest technology? However, as the model looks great, hopefully the technology will soon catch up and enable your excellent CAD work to fulfill its potential. No idea what machines he uses. Am afraid I am sticking to what I know, which is kit and scratch building, with a bit of resin casting where appropriate.
-
Seems that, both sides of the water, gatherings of more than 500 are in jeopardy. If so, that will include most medium to large shows. Happily, toilet rolls seem to be back on the shelves(!), but more importantly do you have enough glue, solvent, solder and paint to build all those kits stashed away, in the event of having to self isolate?
.png.c363cdf5c3fb7955cd92a55eb6dbbae0.png)


