David Holman
-
Posts
4,359 -
Joined
-
Last visited
-
Days Won
117
Content Type
Profiles
Forums
Events
Gallery
Blogs
Everything posted by David Holman
-
Two ways to avoid magnets attracting wagons. First change to non-magnetic wheels/axles. I use 2mm brass wire for axles on Fintonagh, with Kadees. Second, consider using servos with under baseboard magnets, so that they can be lowered out of the way when not used.
-
I wondered about that too. The gauge is still nearly nine inches too narrow, but the profiles will be good and sorting wheels/axles should be a lot simpler. Should improve running too and the point crossings will be tighter and hence smoother.
-
Nearly finished reading the book and can only say what a tour de force it is. The amount of research it required must have been incredible! Another thought is that while the S class 4-4-0s deserve their place at the top of the handsome loco lists, alongside the SECR D class, some of the earlier 4-4-0s with their flush rivetted smokeboxes, one piece handrails and twin smokebox handles, as opposed to the wheel and handle, really are very pretty too. Doubt they will make it on to my wishlist though.
-
Indeed it was, though if he built it all himself, then I stand corrected.
-
There have been various articles and threads recently over the craft v off the shelf theme. Even in the late 1980s, when I built my first layout, there was little of real quality in terms of RTR, while the range of products was narrow too. On top of that, apart from a few card and plastic kits, there were few buildings on offer, so you pretty much had to make your own. These days, it is possible to build a complete layout, apart from scenic ground cover 'straight out of a box'. Buy it, plant it. Ok, for those interested in just playing trains, or even serious operation, this is a fine short cut to having a decent background for your trains to run in, because there are some very nice models out there. However, many of those buildings ain't cheap, whereas a scratch built one will cost a few pounds at most. Starting with buildings soon leads you to realise that making other things is just as easy and so the skill levels build up. Yes it takes time, but you also build up a useful range of tools that then come in handy for other modelling projects. If I am starting to sound like a grumpy old git, well my wife says I have been since I was thirty, but expectations now seem to be for perfection out of the box, with no effort required other that opening it. A while ago, I was talking to a trader about this and he showed me a nice model of a greenhouse. A customer had earlier rejected it because 'it had no plants in it'. He used it to illustrate the way his sales were going. There again, I guess we must remember that much of the Fry collection was cheque book modelling too. It's a hobby and therefore to be enjoyed in any way we want. I'm happy making things and rarely play trains away from exhibitions, others like operation, electronics, 3D printing etc. Nobody is wrong as long as they enjoy it, it's what makes our hobby so great.
-
Excellent! Anyone who hasn't seen it yet should. Regardless of the Irish scene, Courtmacsherry was the quintessential branch terminus.
-
Exhibitors are all being asked to sign Wuflu declaration forms. Maybe masks should reflect the period of the exhibits - so Fintonagh might have WW2 gas masks, while any Victorian era operators should sport the big brass diving helmets(. ❛ ᴗ ❛.)
-
Gonna need a big display case!
-
That is a splendid artefact and deserves pride of place somewhere. Can't be many such things, though didn't the Swilly have something similar?
-
Fintonagh is appearing at Alexandra Palace in a couple of weeks. Come and say hello if you are going.
-
I thought he was an England spin bowler...
- 45 replies
-
- 1
-

-
- gsr class 551
- j26
- (and 1 more)
-
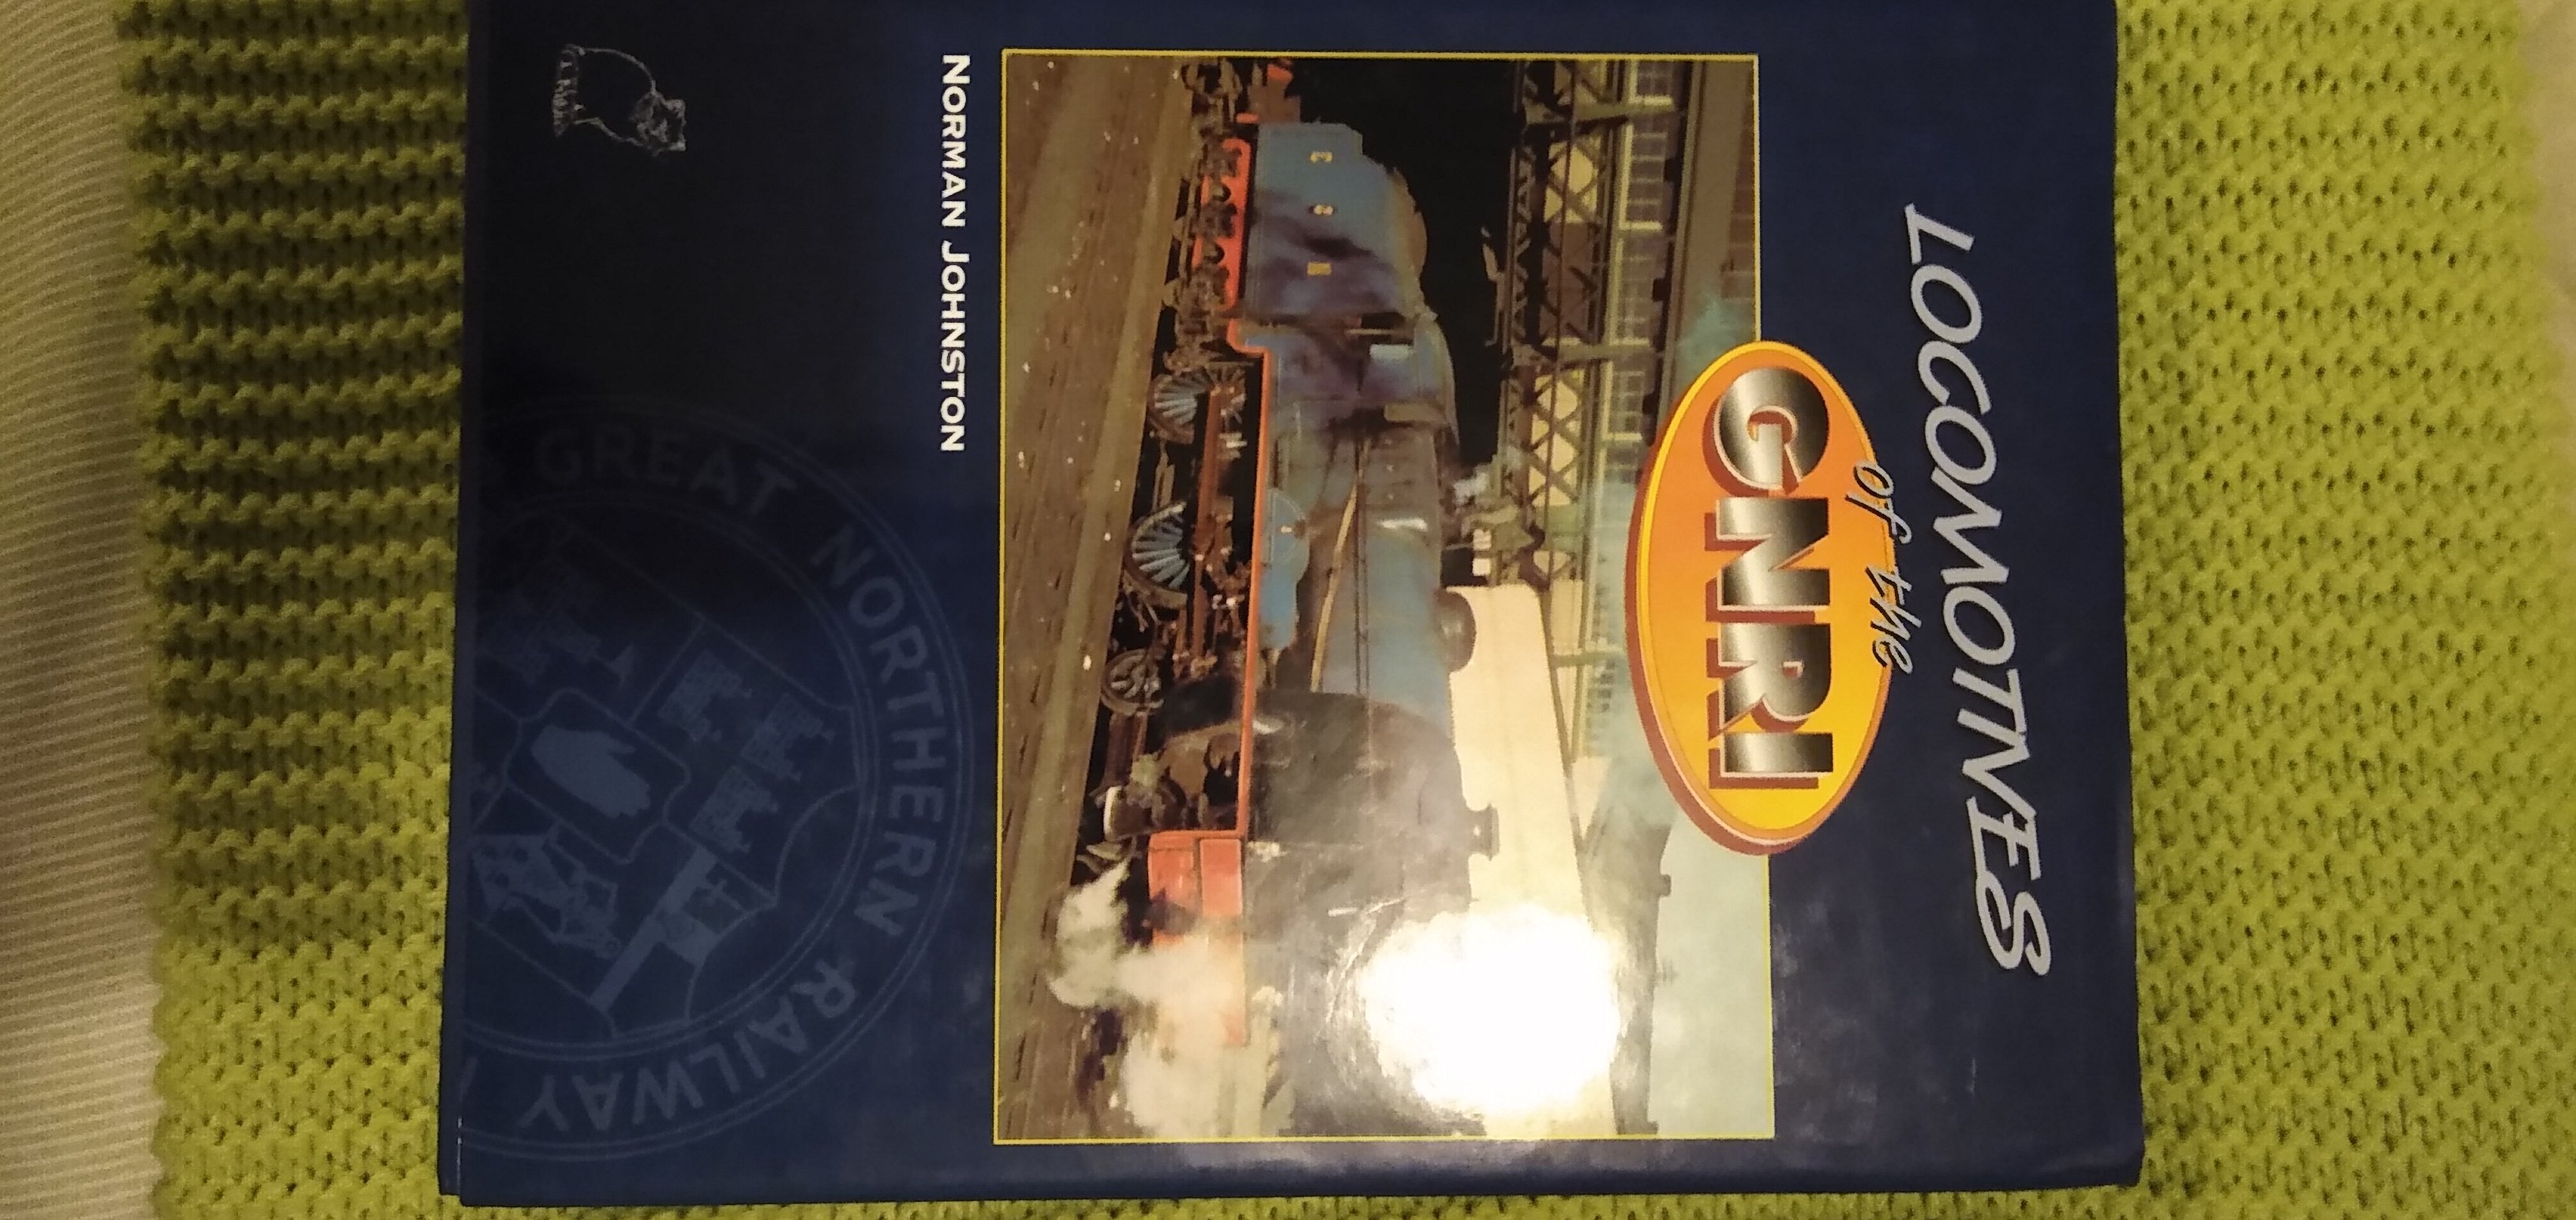
A friend at the model club found this in a charity shop recently. Cost him two quid, as he thought I might like it. Is the Pope a Catholic???

-
A 12" to the foot Peco point motor, with a bell?
-
Looks like a fine start.
-
Can only ageee with JB. Indeed, nosebleed level for me! Very impressive.
-
Nice article and fine pictures of Chris Romain's 10mm scale model of Killybegs in the new edition of Model Railway Journal. Not sure if MRJ makes it over the water, but for those of you in GB, you can get a copy from WH Smiths. As a modelling magazine, it's a bit niche to say the least (eg a 3 page article on scratch building a SR yard lamp), but there is always something interesting - though guess I would say that, having every edition since issue 0...
-
Lovely stuff. Thanks JB.
-
For appearance, 21mm is best. However, for running trains, much depends on your stock and if there is older stuff then Code 100 may be the only option, otherwise stuff could be bumping along the rail fixings. Peco Code 75 the likely compromise, I guess if your stock is all from this century.
-
Modern image modelling at its very best. Probably said it before, but ugly buildings somehow look really good when done as well as this.
-
Splendid.
-
For those with the knowledge, 3D printing is coming on leaps and bounds as this fantastic work shows. A different type of modelling to conventional scratch building, but still requires a lot of skill and patience. Those complex front ends are a work of art as much as anything. Top job.
-
Lovely work! The proportions look great and everything is 'square', as it were. This all brings out the character these locos had. All black locos can look a little underwhelming compared to the gleam of etched brass or nickel silver, though they soon come to life once highlighted with a little light weathering, or even just the addition of red buffer beams, number plate etc
-
Already looking effective - will be good to see how this project develops.
-
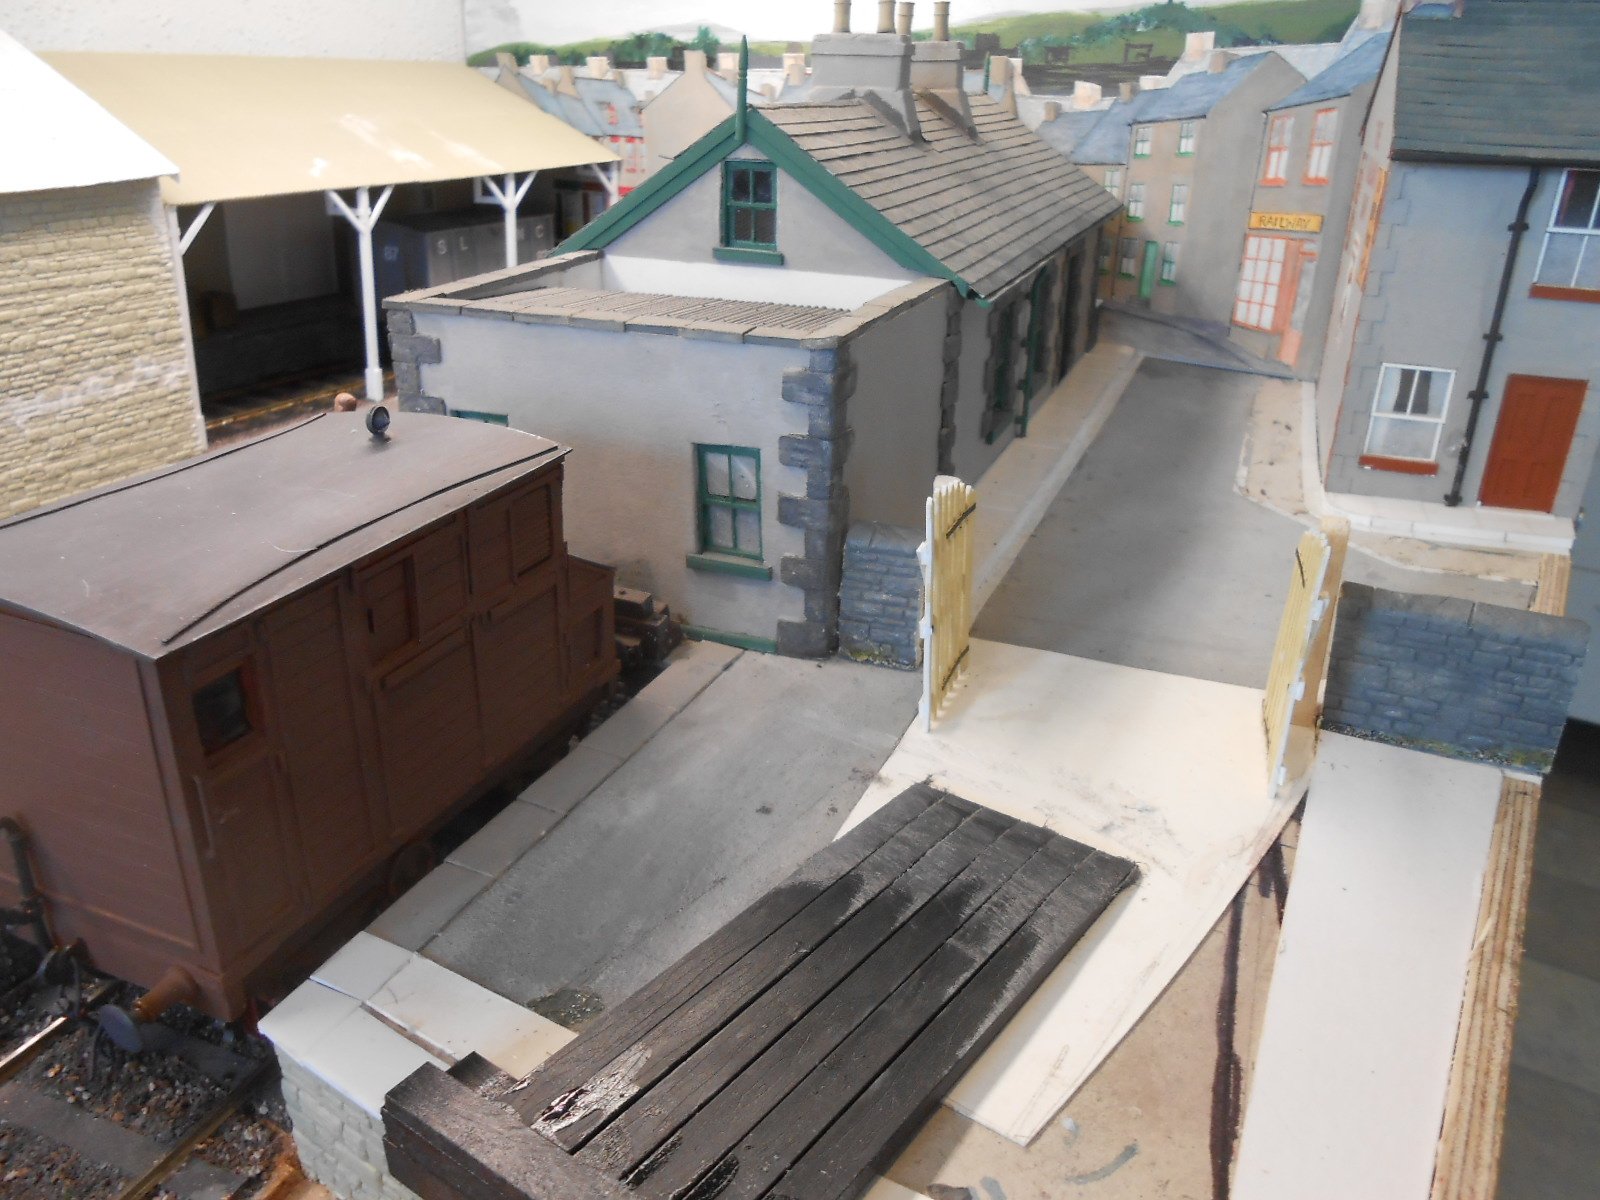
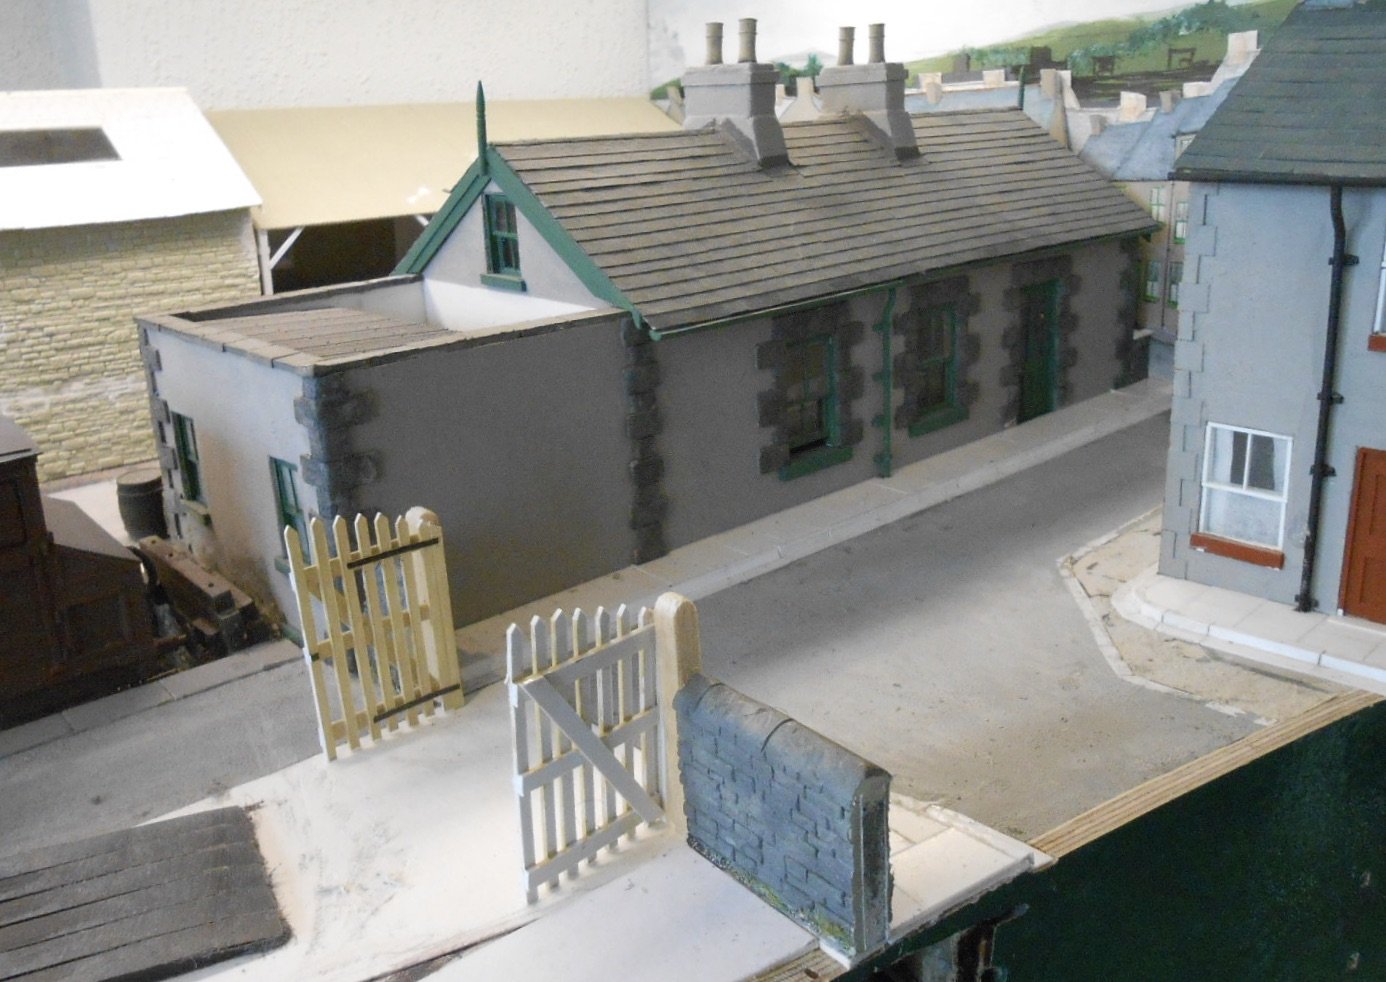
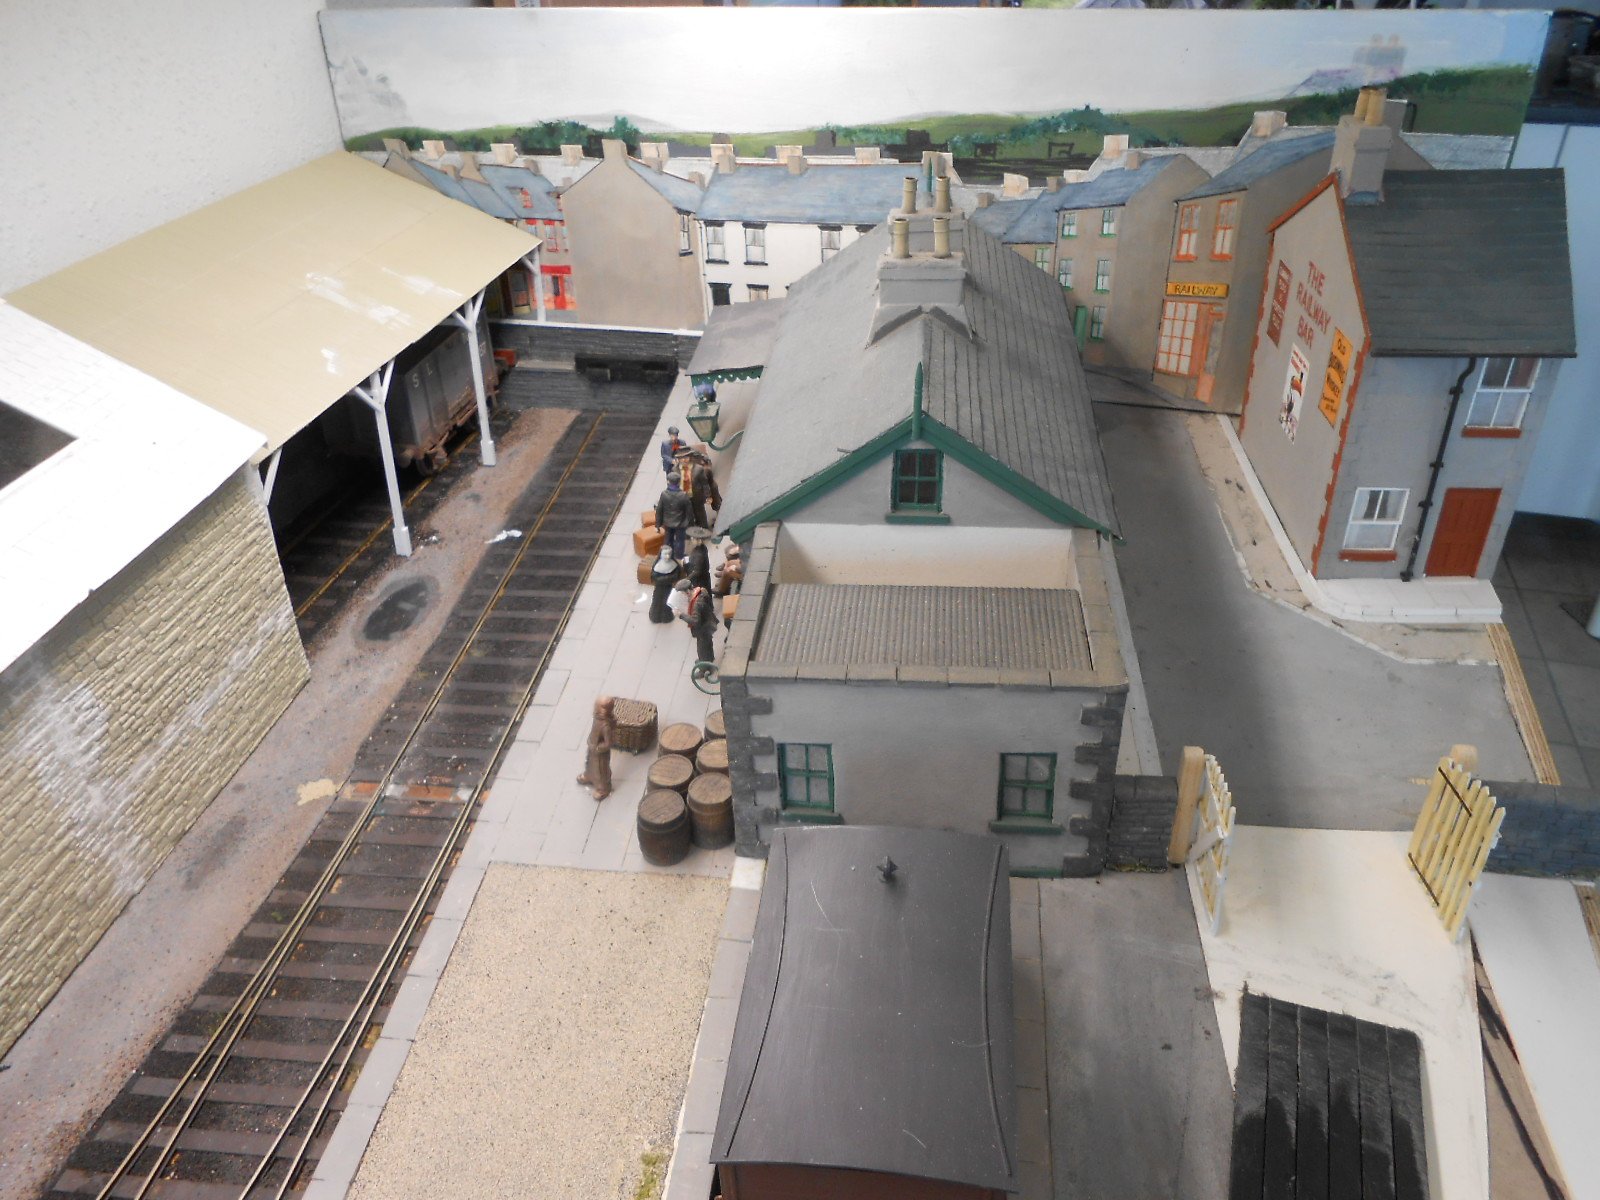
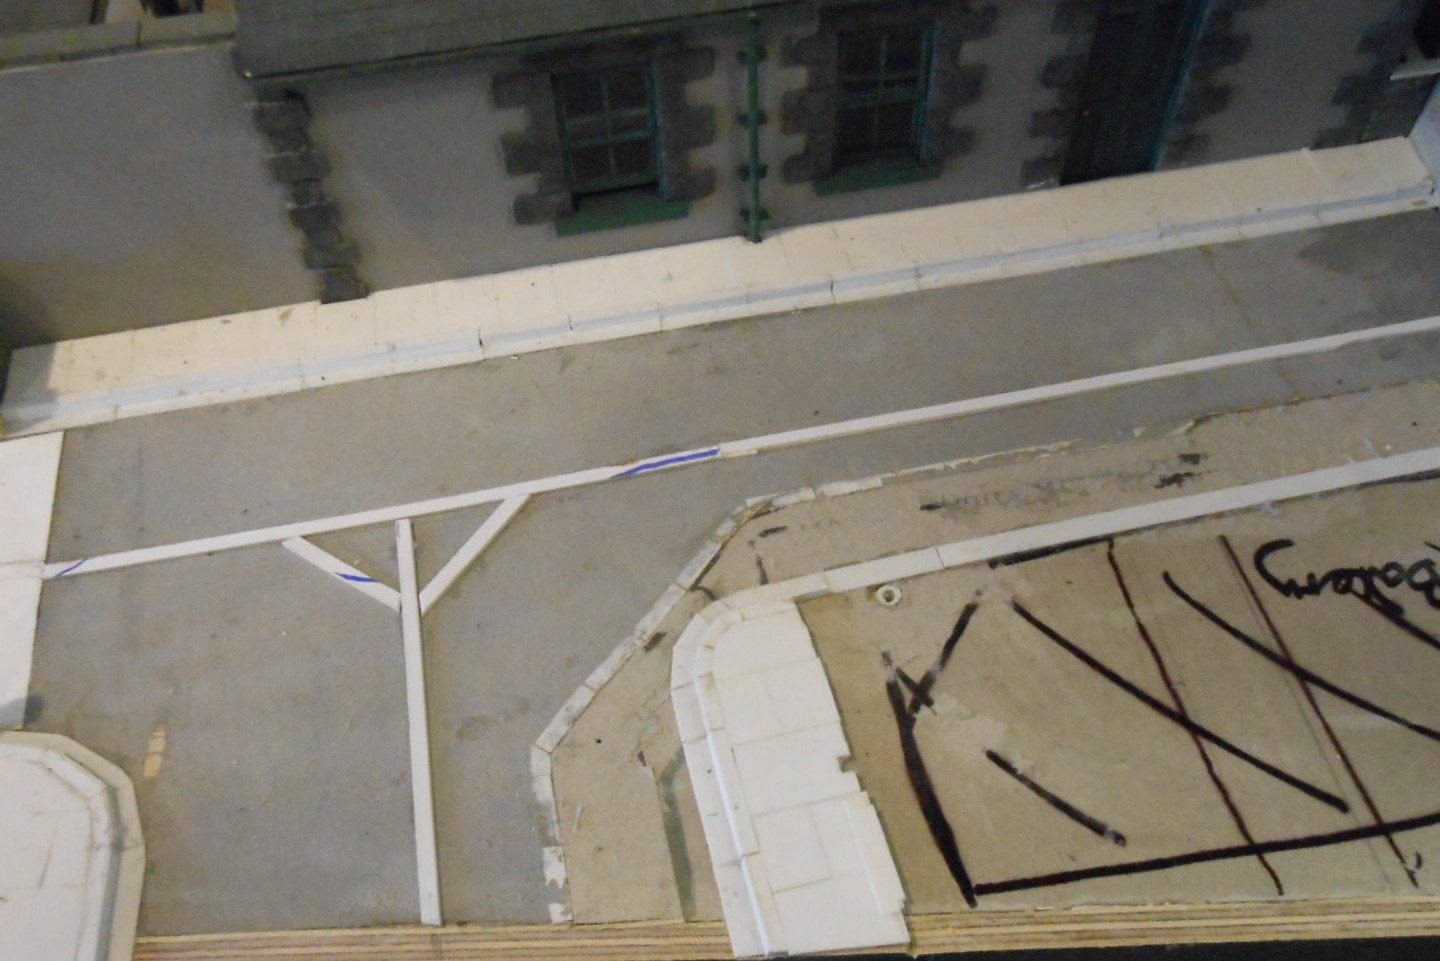
Loading docks and street scene This is the last area to be blocked in after the destruction wrought on the Arigna Town scenery. The idea is that there is a short loading dock for a horse box, with an end loading dock alongside for carriage truck traffic. This means certain trains will be able to drop off/pick up individual wagons, adding to operational interest. In addition the road surface, pavements and loading dock area itself all needed a fair bit of attention, meaning this took a lot more time than just doing ground cover. And a pleasant change it's made too. The walls are all made from Wills random stone plastic sheet, sometimes double siding 5mm foam board for extra depth. Where necessary, the walls are then capped with DAS clay, before painting with acrylics. The road surface was first prepared by putting 2mm thick strips of card down the centre, to eventually create the cambers with more 2mm card to raise the pavements. 20 thou [0.5mm] plasticard was then used to create gutters, curb stones and paving slabs. Fiddly, but worth it as this area is nearest to anybody looking, so merits extra detail. A mix of filler, PVA and black acrylic was then put down for the road surface, carefully sculpting it to create a camber, while in the loading dock yard chinchilla dust was sprinkled on the wet plaster to give a more gravelly surface. The yard gates are recycled from an earlier layout [never throw things like this away!], while the slope up to the end loading is made from C&L point timbers. The end terraced house is actually the Railway Inn from Arigna - a bit of a shame as the decorative front is now hidden against the back scene. Have decided this building won't be fixed down as it will foul the hawthorn trees on baseboard 2 when the boards are paired up for transport. You might also be able to see where I've added another layer of decoupage to the back scene, though, it must be said that like the rest of this area, there remains much to do. However, I find it encouraging to get areas visually complete, so I know things are starting to look right before adding the details.
- 179 replies
-
- 13
-
-

-
What we need is a few more 7mm scale modellers to make worthwhile for Mayner to do some of his excellent kits in the larger scale. There's a certain 4-4-0 I could covert!