David Holman
-
Posts
4,359 -
Joined
-
Last visited
-
Days Won
117
Content Type
Profiles
Forums
Events
Gallery
Blogs
Store
Community Map
Everything posted by David Holman
-
British locos and stock that can be disguised as Irish
David Holman replied to Westcorkrailway's topic in Irish Models
Given the high cost of new rtr locos, it may be worth looking back at earlier incarnations, where the second hand market will have a decent supply of doners and/or chassis. Current models are both stunning and expensive: they also tend to have very bespoke chassis, not suitable for anything else. Back in the day it was much easier to adapt a chassis to run under something else and old Hornby, Dapol, Lima, etc models could be the starting point. -
As far as crests are concerned, I wouldn't worry about accuracy. A general shape and colour is all that is needed, so have a look on Fox Transfers website. The chassis will need thought though. Gibson or Markits will do a 5' driver, but whether there will be the right number of spokes may be a problem, though the curious balance weights should be easy enough with 10thou plasticard over lay. If it is going to be a static model, why not have a go at printing a chassis and bogie, or make them from plastic sheet? A working chassis need not be too difficult - four coupled wheels are a lot easier to do than six. Keep an eye on Tullygrainy's latest build for a 4-4-0, which will point the way.
-
Interesting Early Irish Railway photos
David Holman replied to Westcorkrailway's topic in General Chat
A splendid scene that would make a fine, working diorama. Dual gauge, inset, track anyone??? -
As we've come to expect, lovely neat work!
-
Interesting and thank you both. Looking at the instructions again, they suggest a curved, rather than an angled bend to the dropper might work better. Further experimenting certainly required though, including: Building a test rig so stock can be pushed back and forth on the work bench Try altering the height of the magnet. I use the Dingham ones and on 15v, instead of 12v, as this works better with AJs, so maybe there is an issue there. Vary the length of the dropper as the shorter it is, the greater chance for the loop to fall back down on its own weight Find some way of ensuring the loops don't go beyond the vertical, as once they do, then there is no way they can fall back again. As for loops just at one end, am doing that with some of my trains as it works well with fixed rakes. However, as soon as haunting is involved, it all goes to pot because having a turntable means you soon get a loopless loco with a loopless wagon. Overall, I'd happily use three links and the hand from the sky, but for front operated exhibition layouts that is not practical for the paying public.
-
The dreaded parallel - though I'm sure you can get some cream for that. For many years now, I've been using the knives with snap off blades. As it is only the tip that goes blunt, every snap gives you a new sharp one.
-
"Voiding the Warranty" - Mol's experiments in 21mm gauge
David Holman replied to Mol_PMB's topic in Irish Models
A very tasty prototype, begging to be modelled. There is a fair bit of similarity with the quayside at Rathmelton, near Letterkenny. Based my warehouse on Northport Quay from here. One of those places that should have had a railway, but didn't. -
The things we do for our hobby....
-
Neat. Have used the reverse of this, where tape becomes the glazing bars, but can see this being more effective long term.
-
LEDs, Leslie. One strip just inside the helmet and another centrally. Northport Quay has the same.
-
Not surprised and continually amazed at how things could change, but as JB says, still looks good!
-
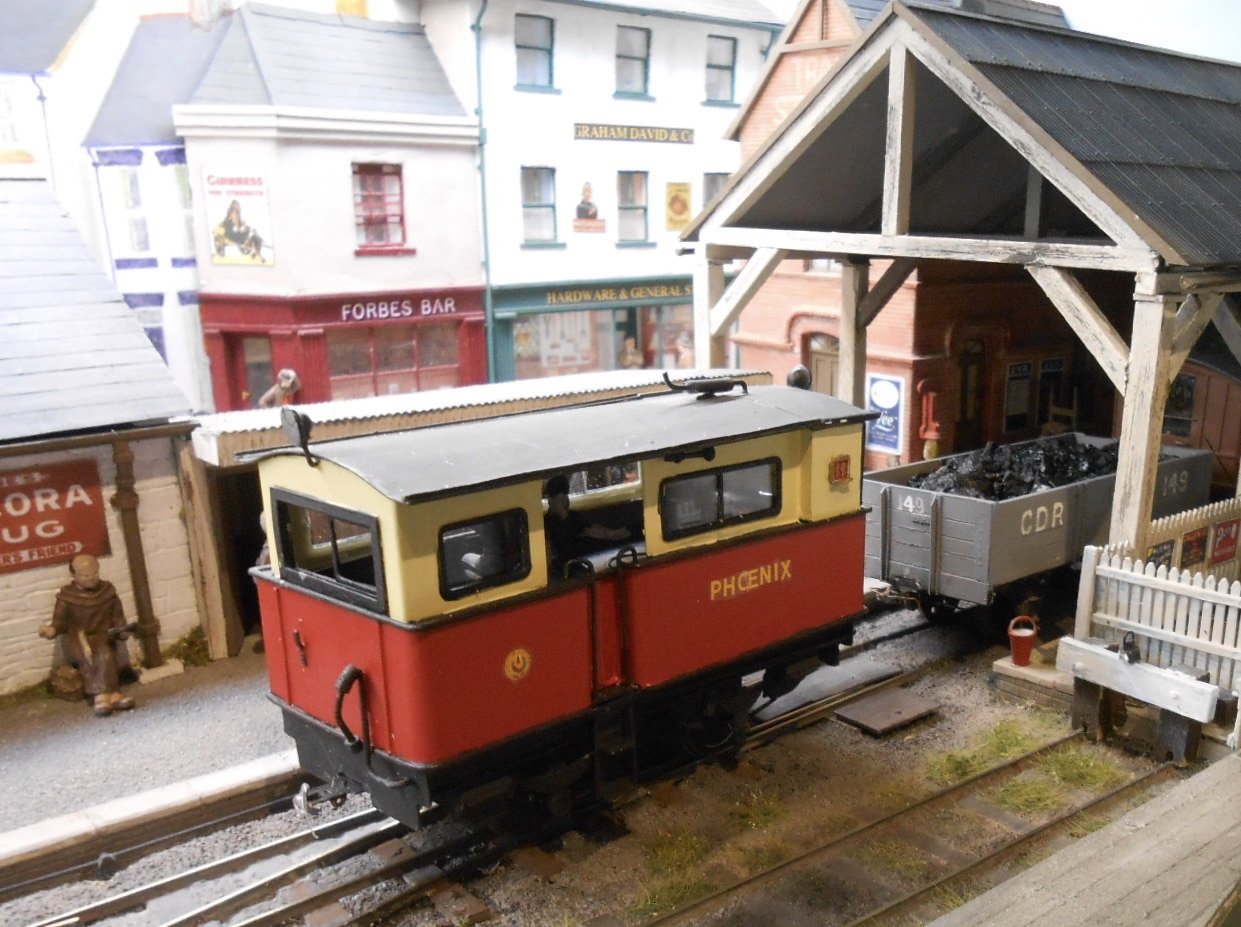
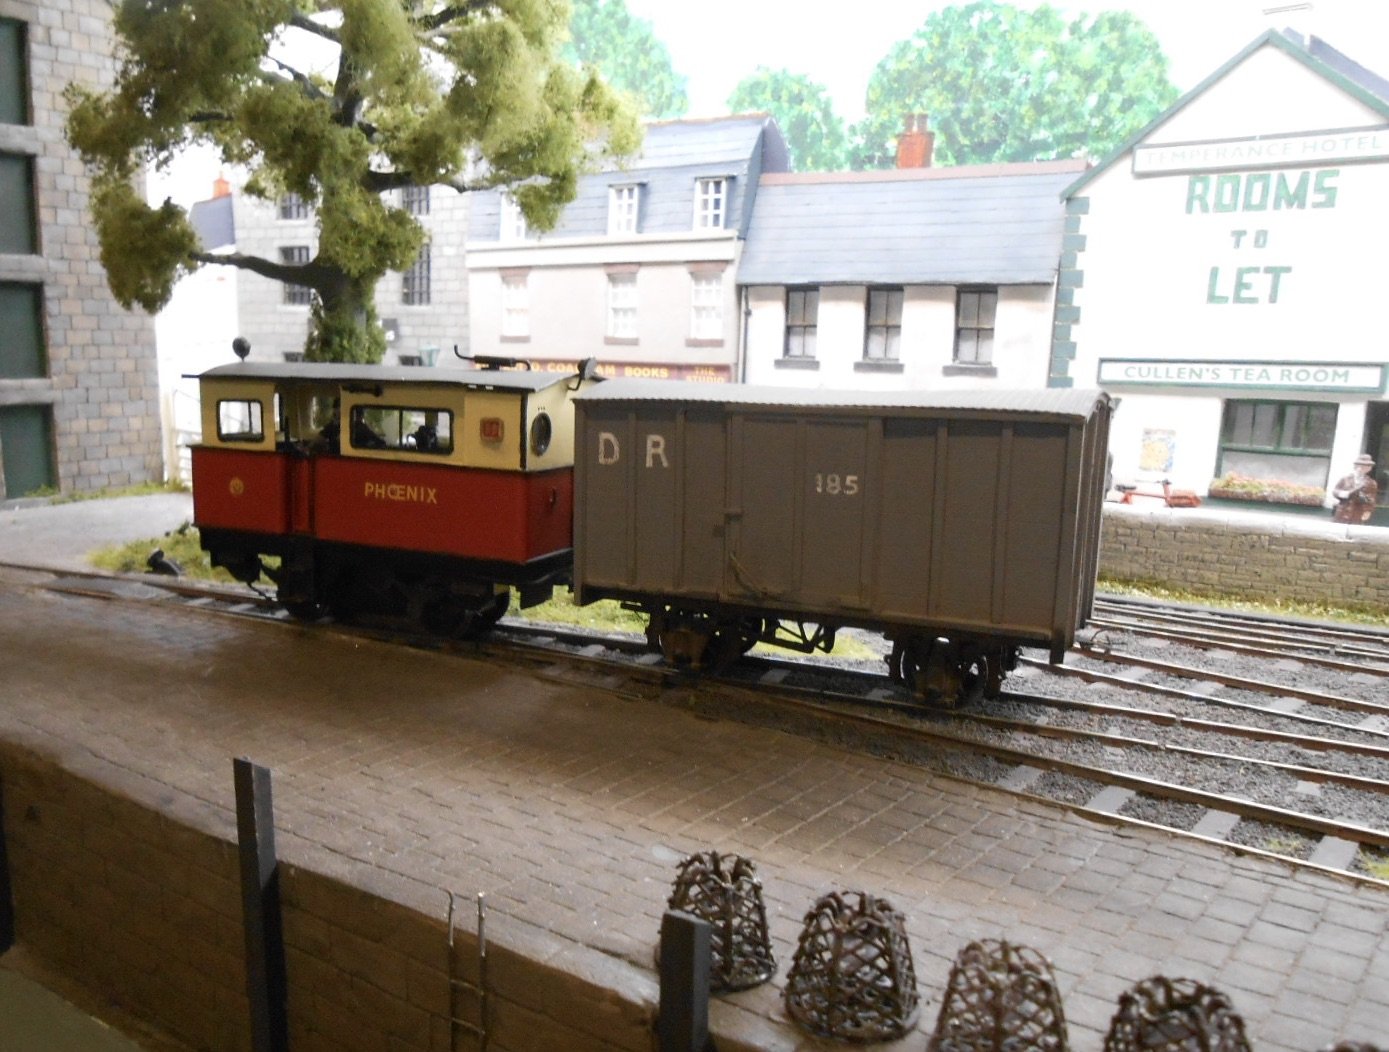
Thankyou kind sir! And you are right about the composition - one of my better efforts, with much down to John Ahern's 'Model Building Construction' which must be over 70 years old now. That said, rules about perspective don't change... Tolworth was a useful learning experience. Not 100% good by any means, but one that helped me with a range of issues which only come up with two days of intense operating in the public glare. Given it is over three years since the layout was last exhibited, it stood up very well. The two scenic boards are only 6" shorter than NPQ's but it is amazing how much extra space that allows in the car, while it has always been an easy layout to transport, set up & so on. The main issues were with stock, much of which hadn't turned a wheel in all that time - apart from practicing at home of course. The former Clogher Valley stuff was generally ok, though looks like Phoenix needs new pick ups. However, the two Swilly locos continued to have teething problems - this time with the front bogies, though after some more fettling on Sunday morning, they worked well for the rest of the day. The other area was with the DG couplings, where a few more adjustments are needed, hence the request in the Information thread on the Forum, but they are certainly worth persevering with.
-
Had my first experience exhibiting with these at Tolworth over the weekend and nothing like 13 hours continuous operation to shed light on things. Mostly, they work well, but (as my school reports often said) could be better. So interested to hear about the following: The coupling loops can sometimes get in each others' way. Is just having a loop at one end best, or are there ways round this? Found that the loops can stay up after uncoupling, because the iron wire dropper has stayed down after the magnet is switched off. I have not fitted loops to any of my locos, so this caused problems at times. Plus see above. Should I try shortening the dropper wire, make the front the loop heavier, or even mount the coupling so it sticks out less and the loop can't go beyond vertical? Other things I found were: Though nice and discreet, the etches are a bit lightweight, so a thump from a half kilo loco can upset alignment - especially if there is a buffer stop at the other end... Several times, a loop came partially out of the etch. Ideas on preventing that welcome. 2mm and 3mm versions clearly work very well from what I've seen at shows, so it would be good to learn how I might refine my 7mm ones - including how best to set up and test them.
-
Lovely stuff. Well done Alan.
-
The 3D print big has certainly bitten! And well done you. Just comparing the photos with your CAD and: Are the side tanks on your drawing a bit too low? Or should the boiler be a bit higher pitched? Is the chimney a bit slender and maybe the wrong tapering? Sandboxed too big? Whatever, hats off for doing such an interesting prototype and definitely a project to follow.
-
"Voiding the Warranty" - Mol's experiments in 21mm gauge
David Holman replied to Mol_PMB's topic in Irish Models
Thorough planning and execution. Deserves to work really well. -
Riches beyond belief!
-
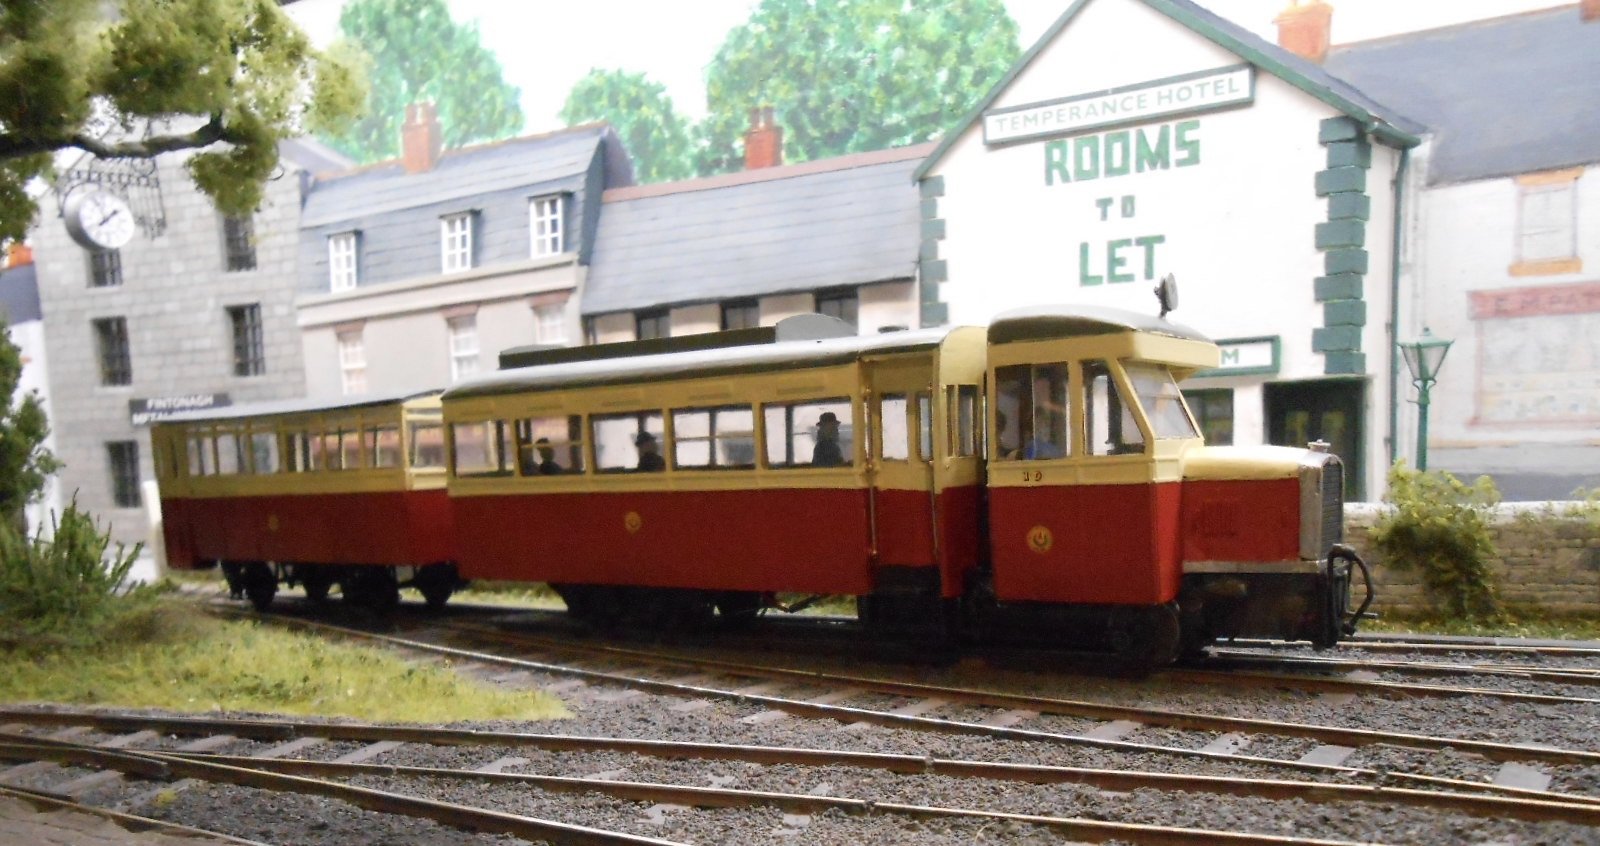
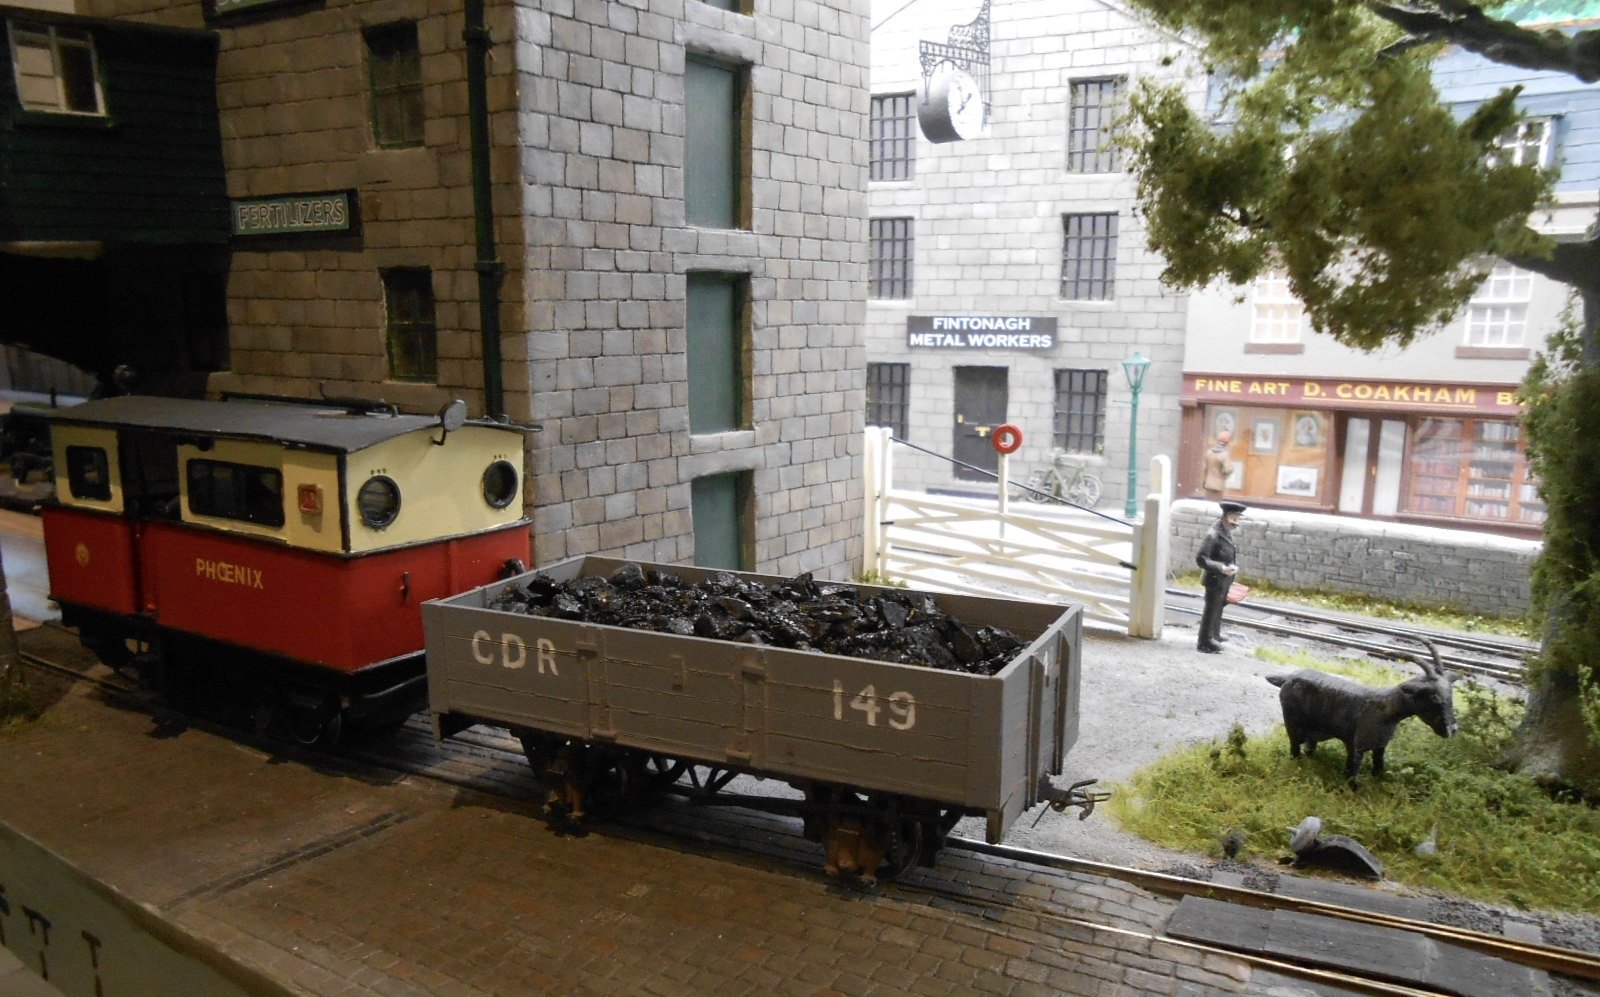
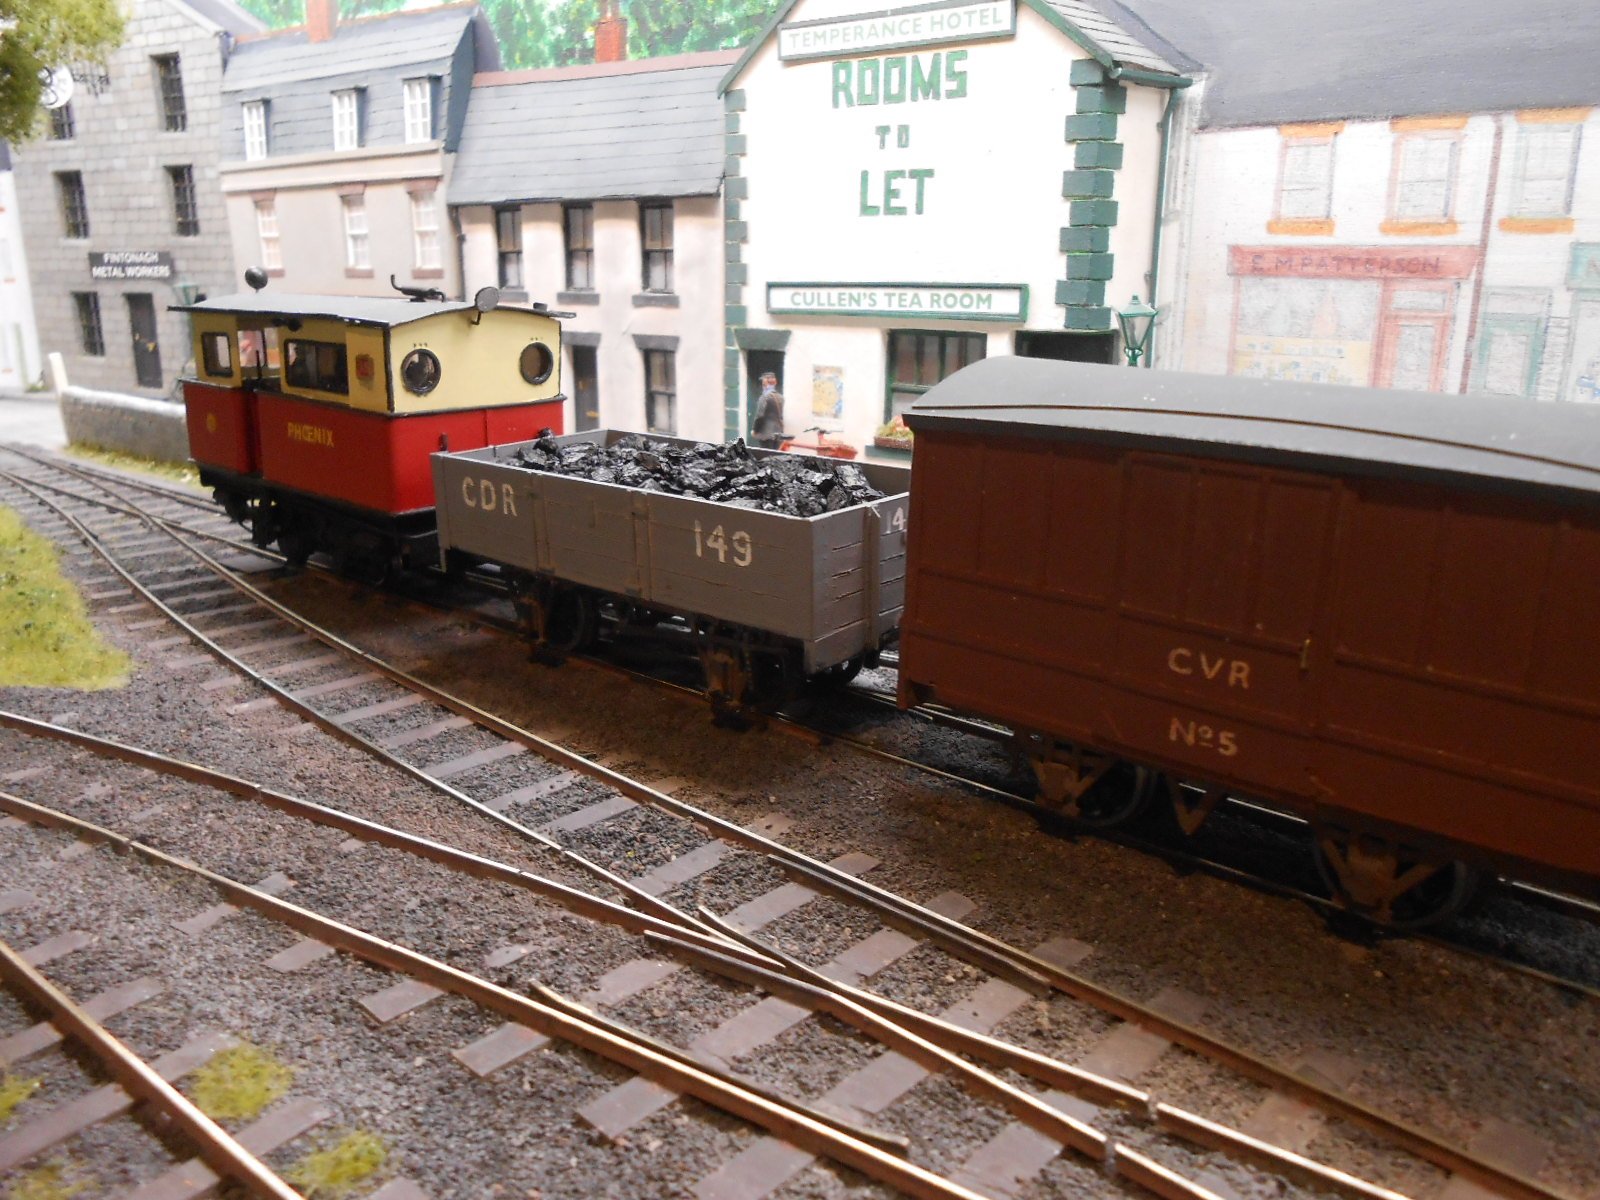
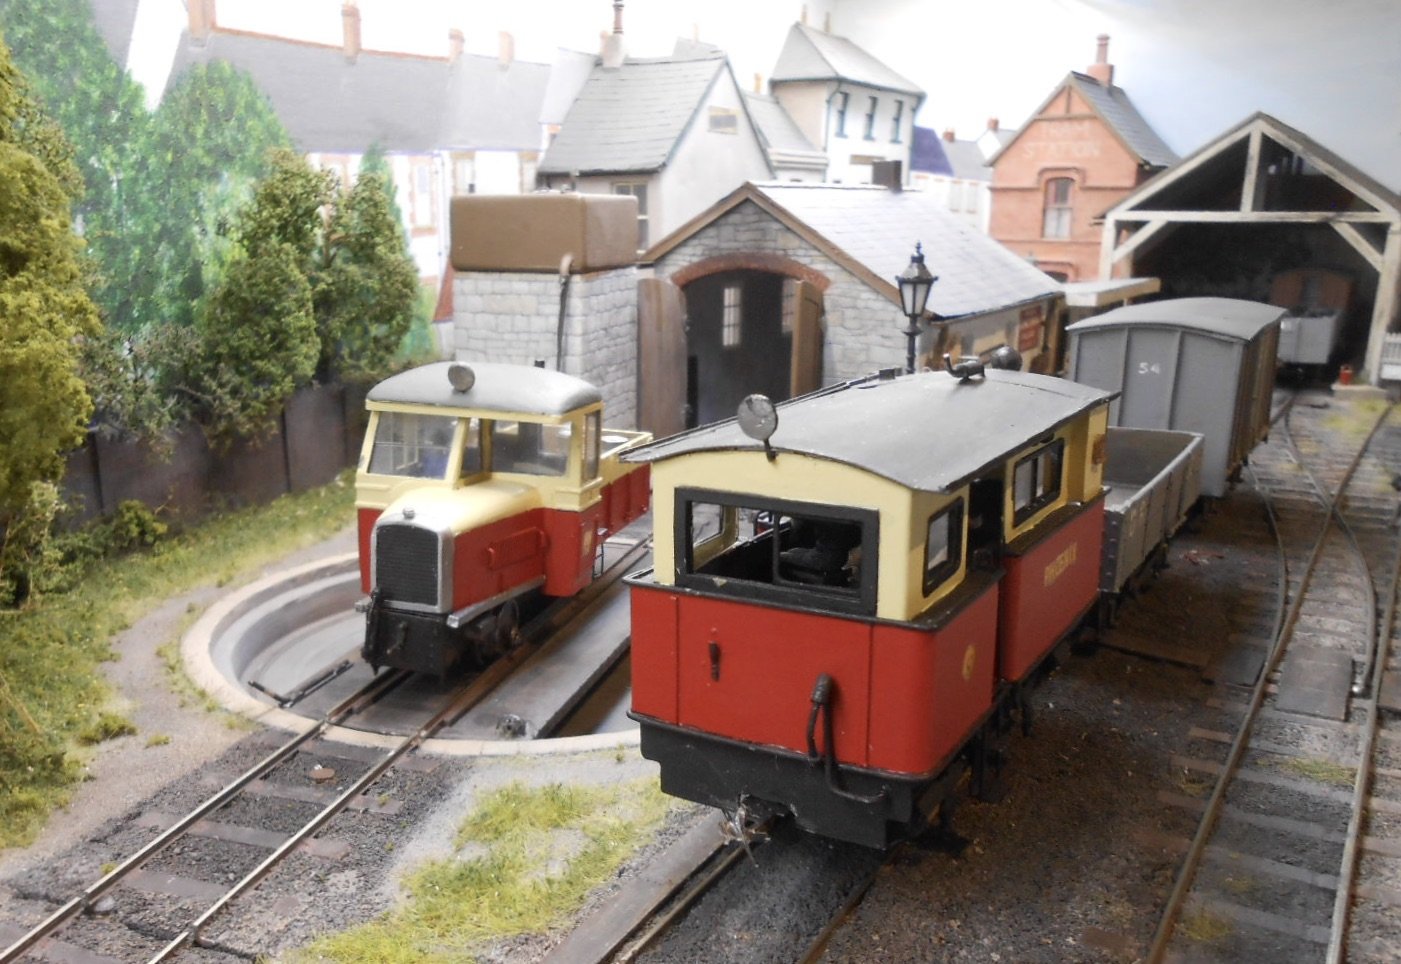
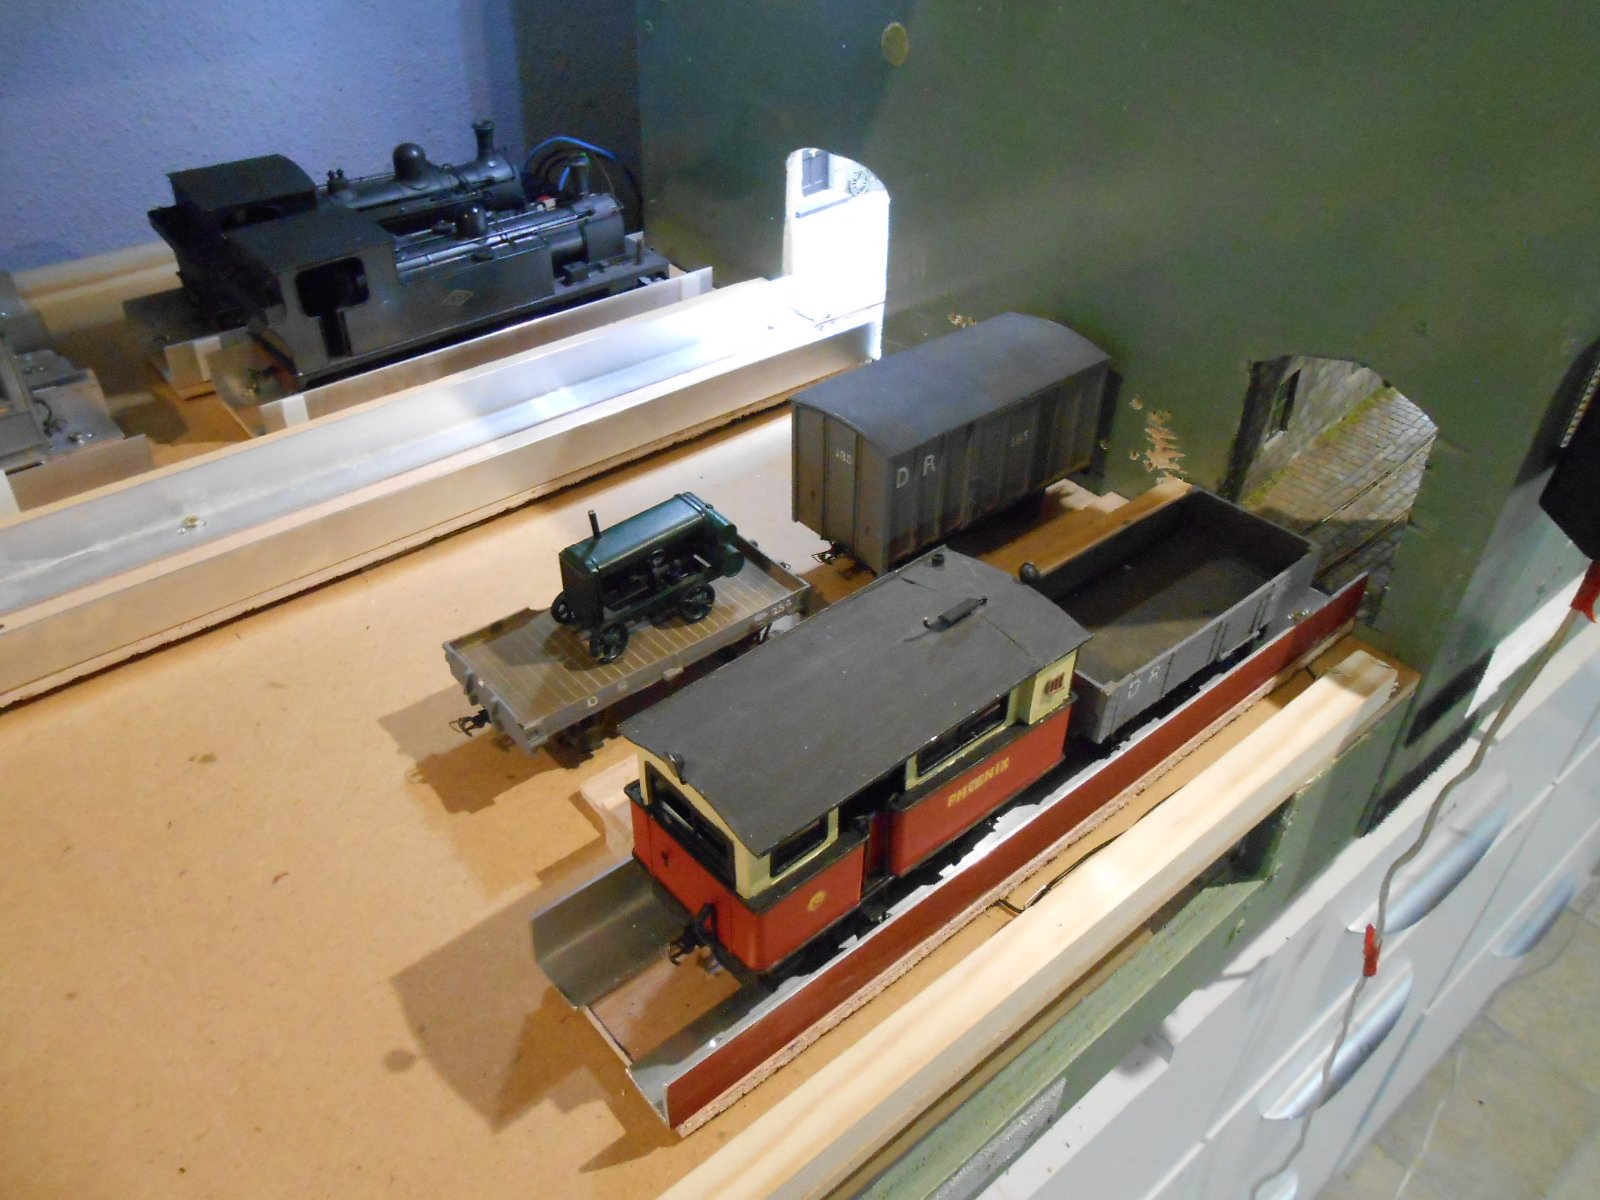
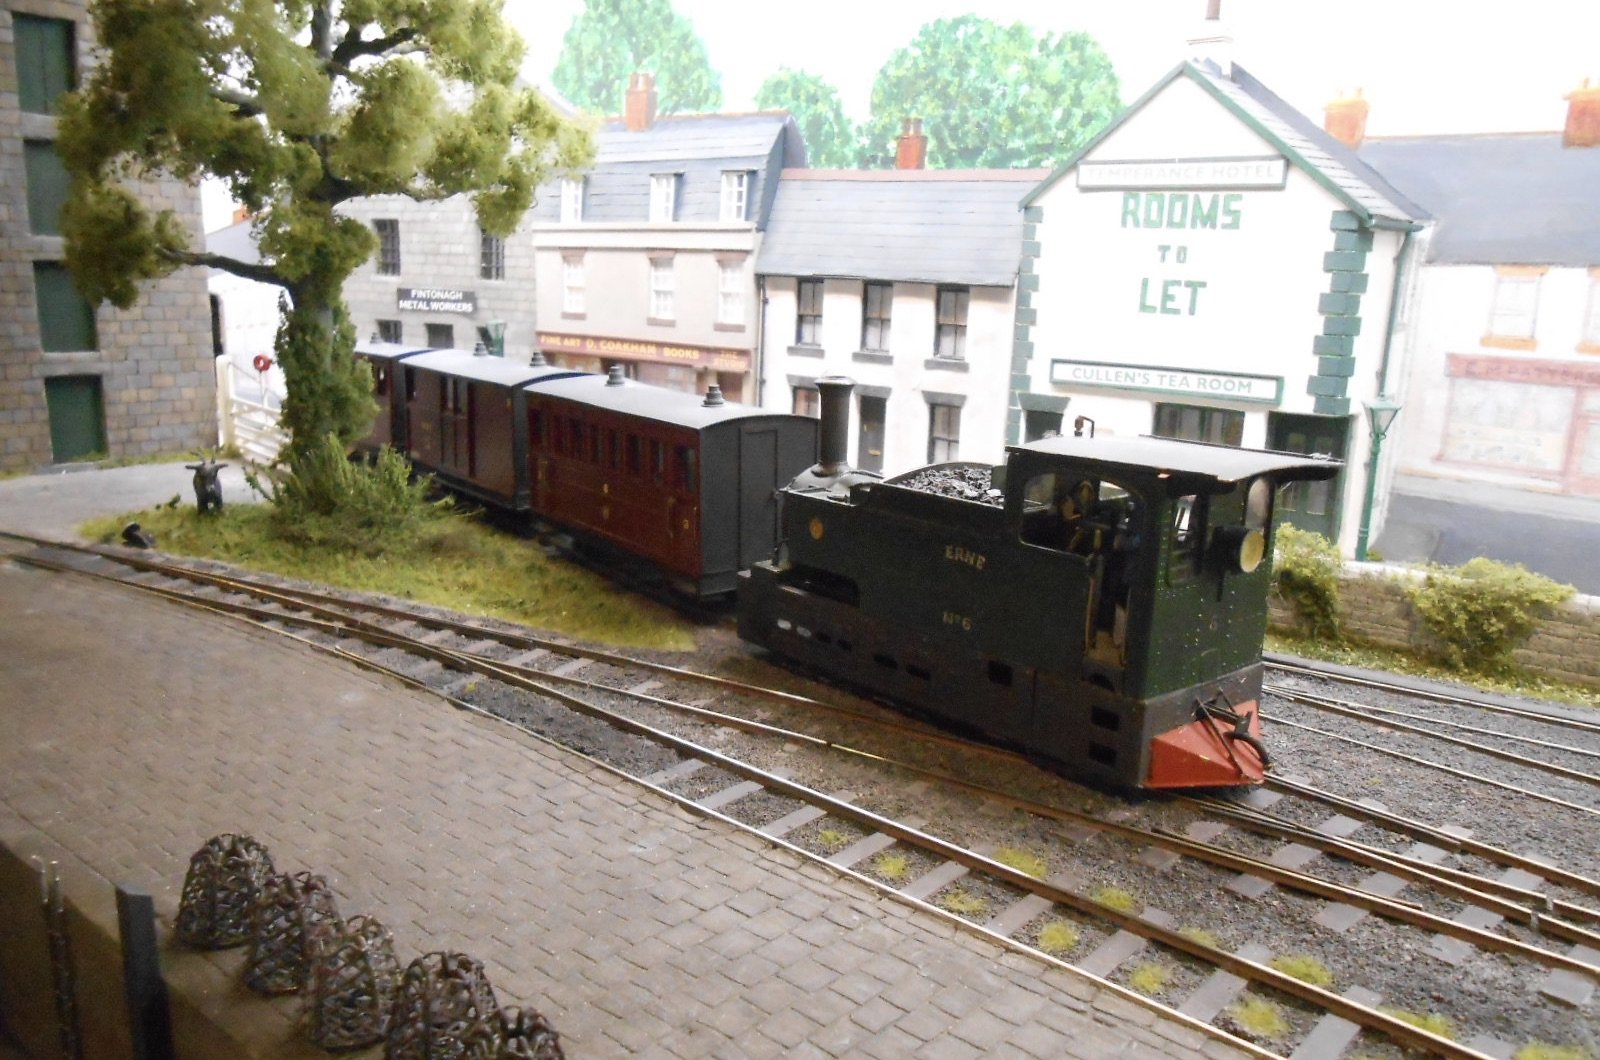
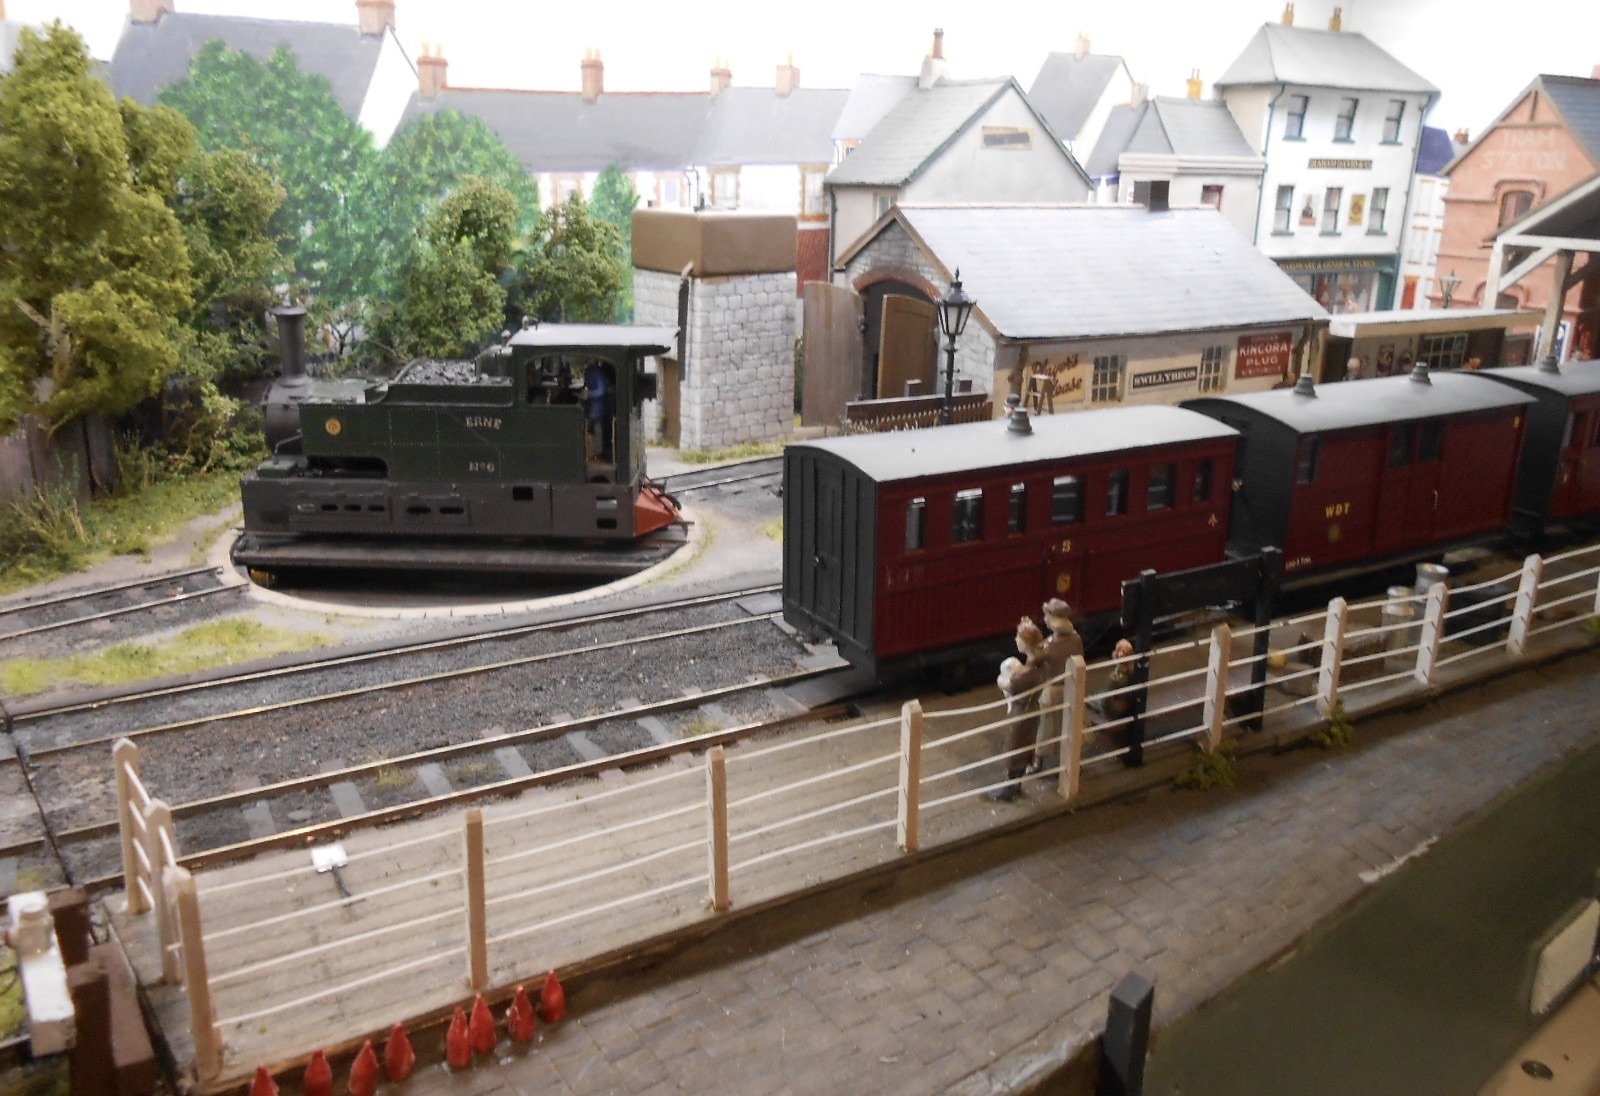
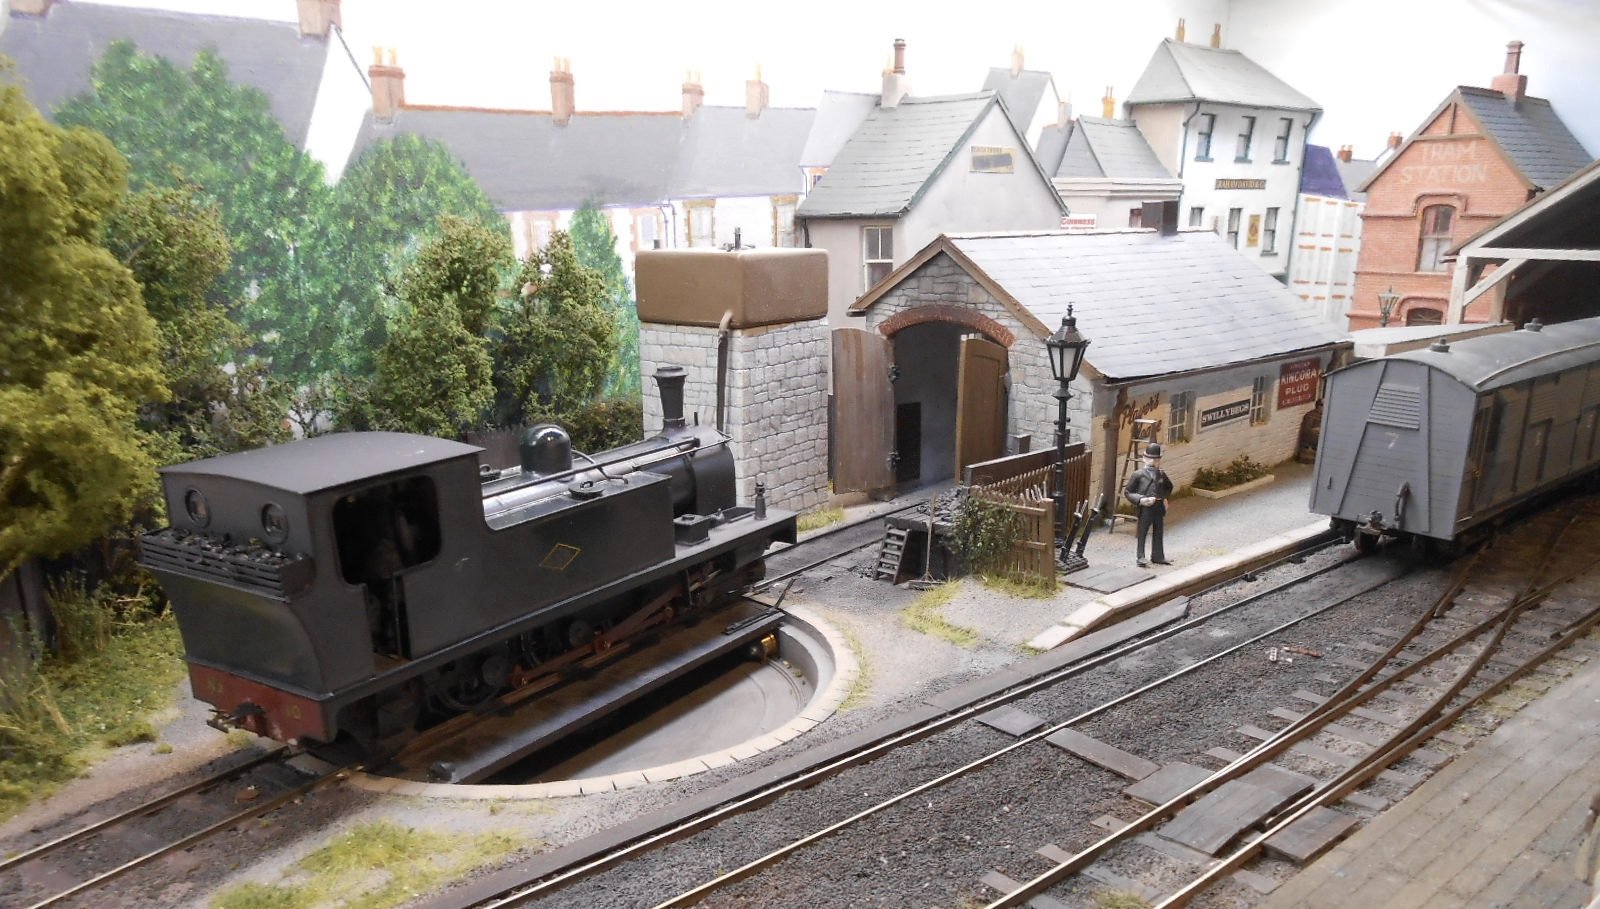
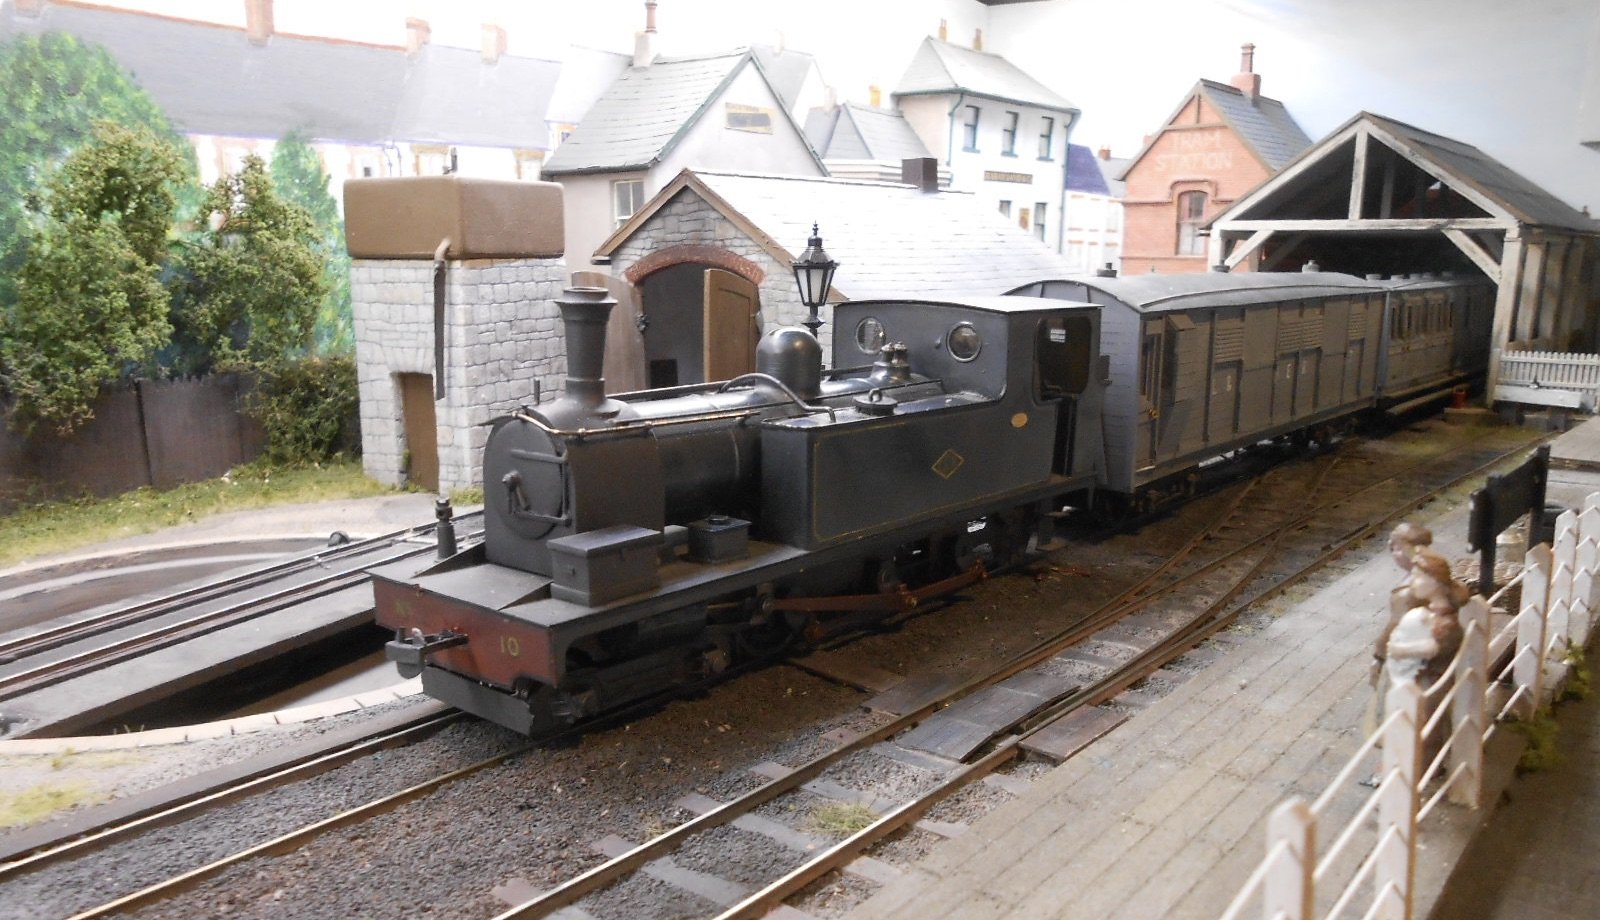
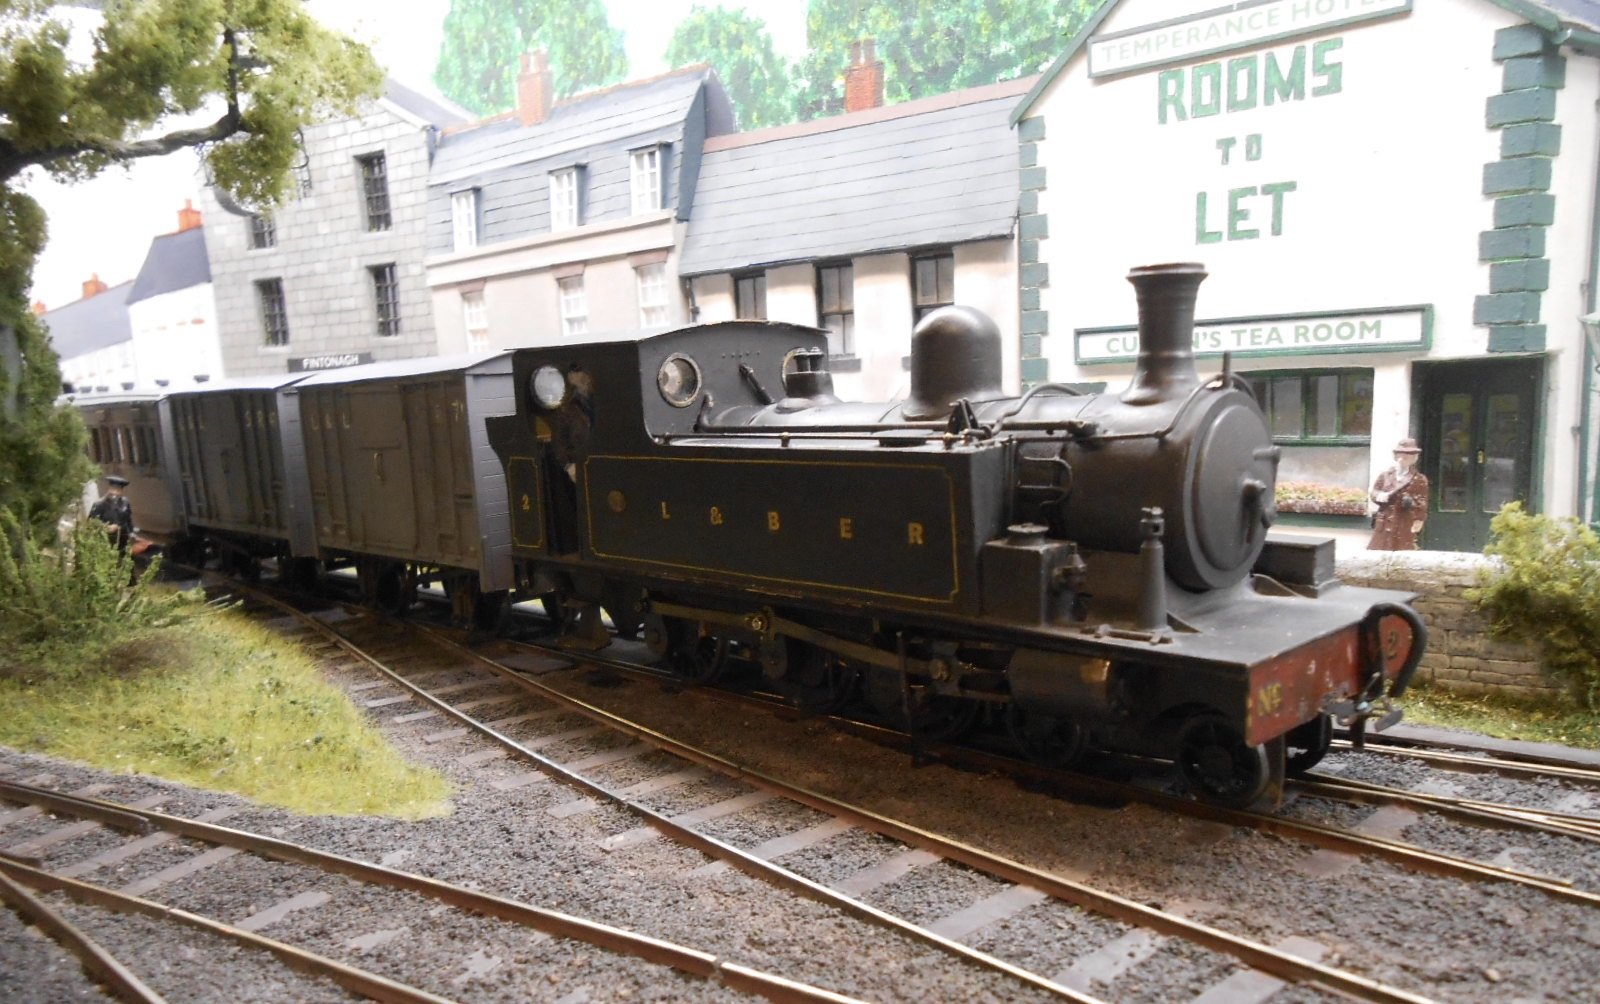
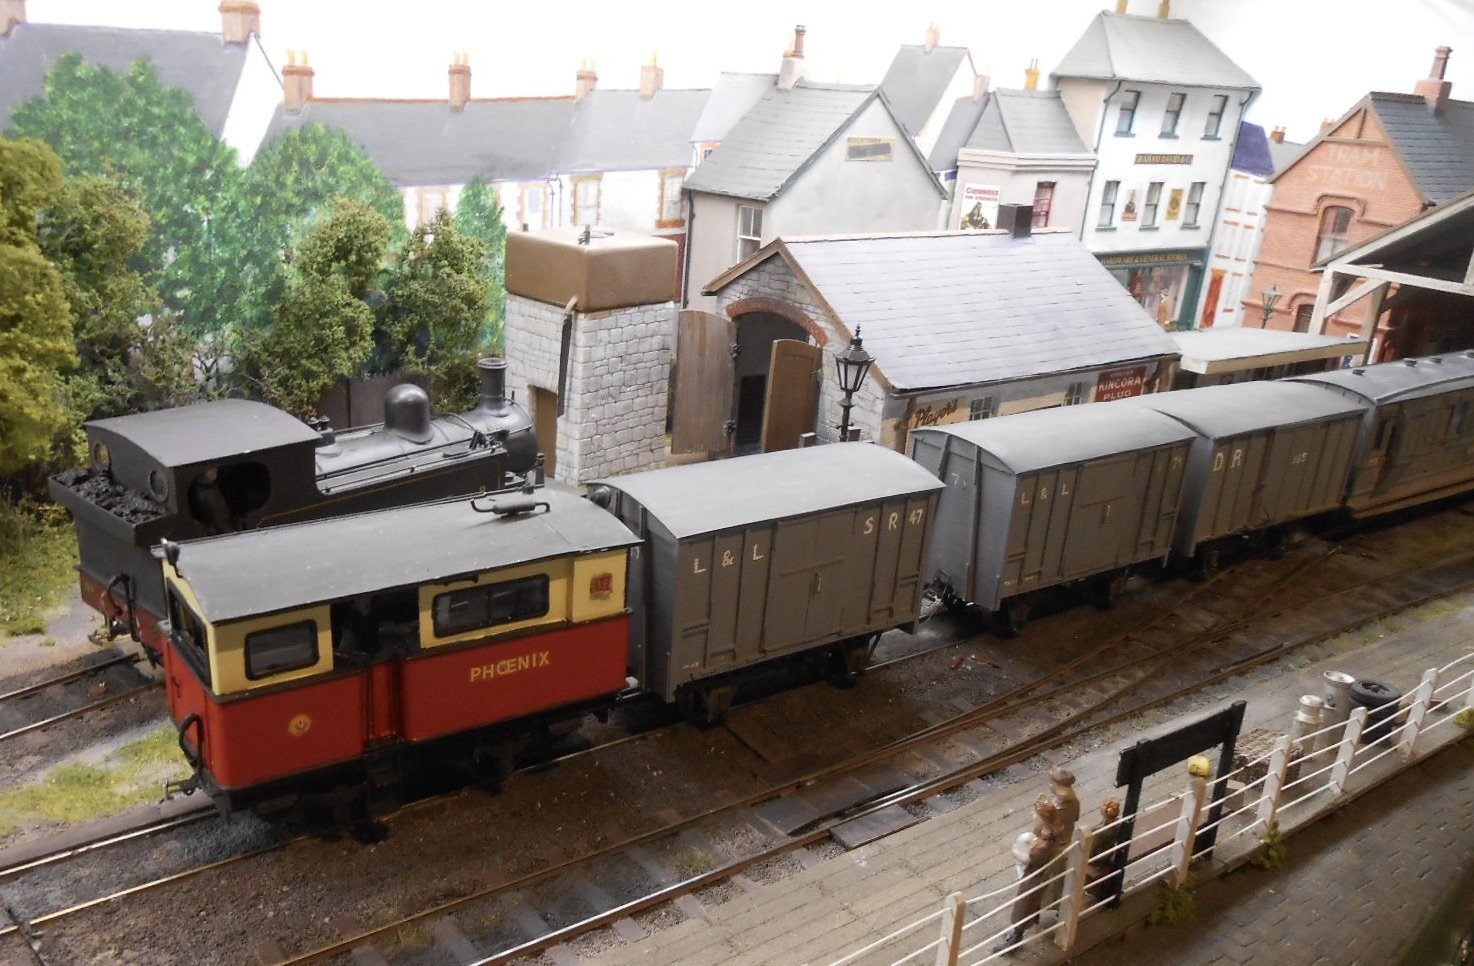
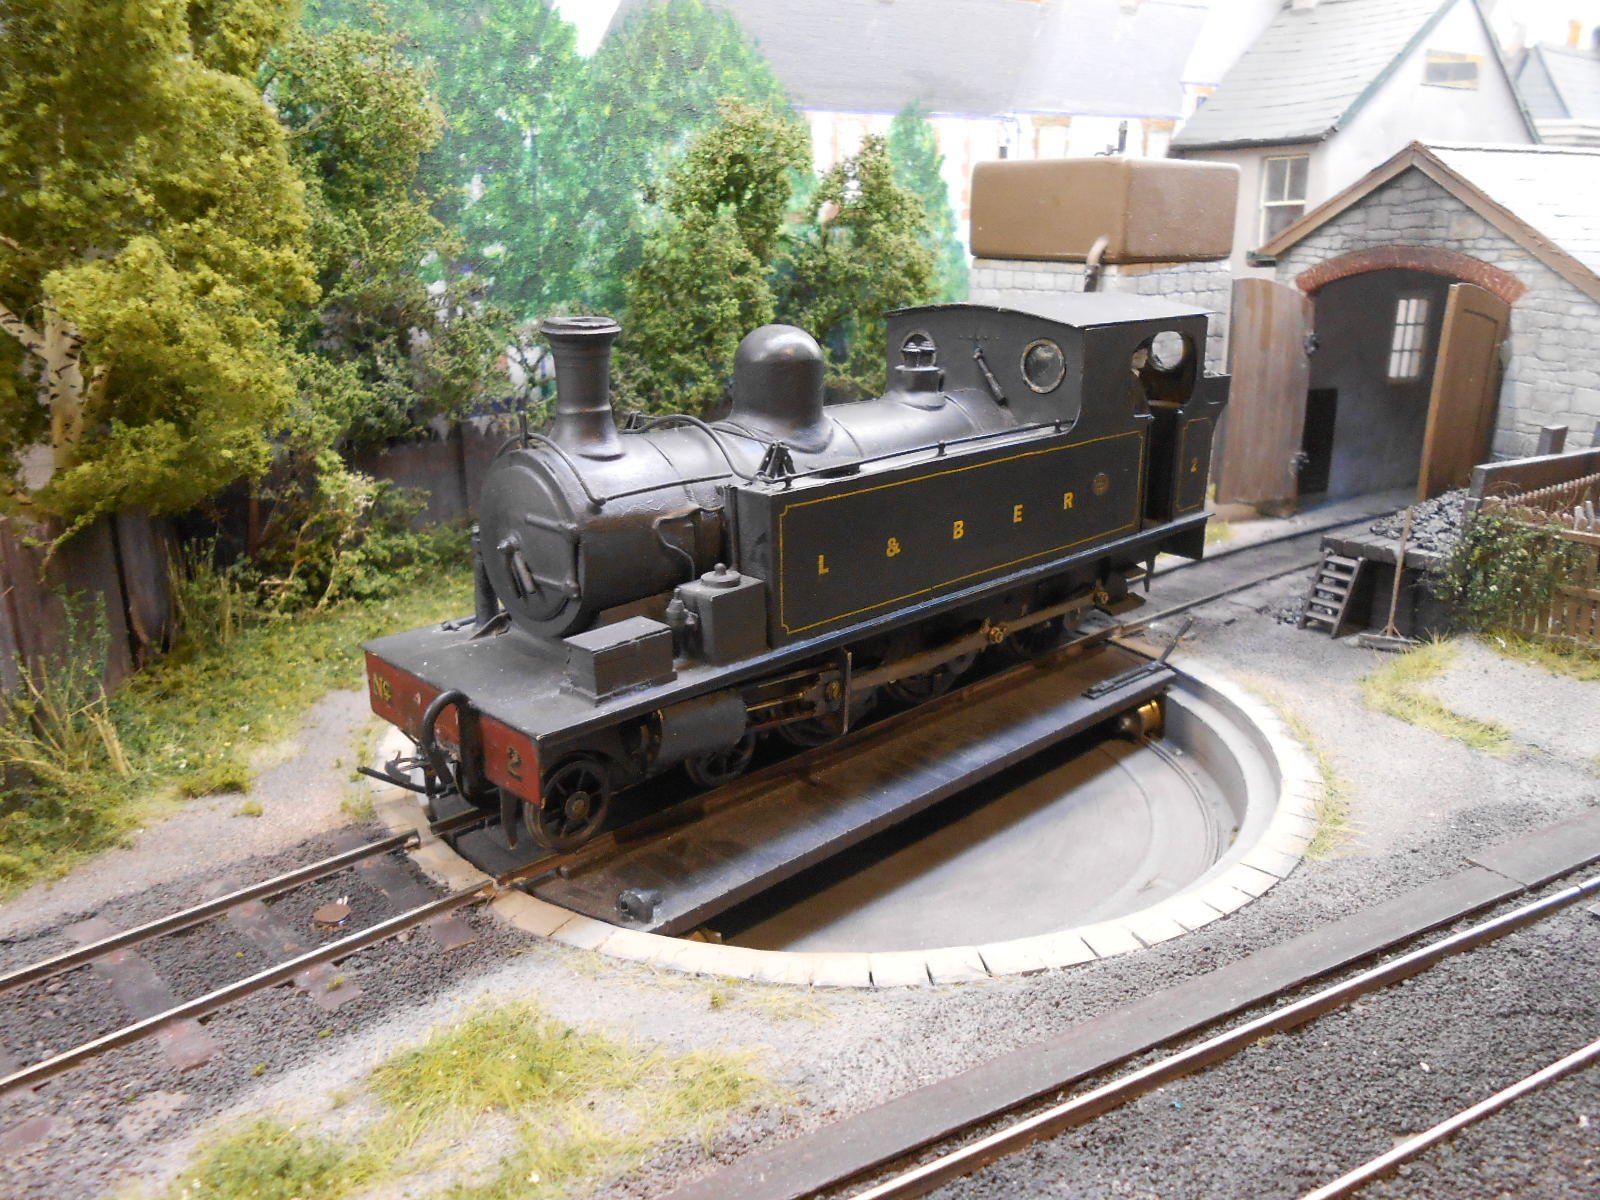
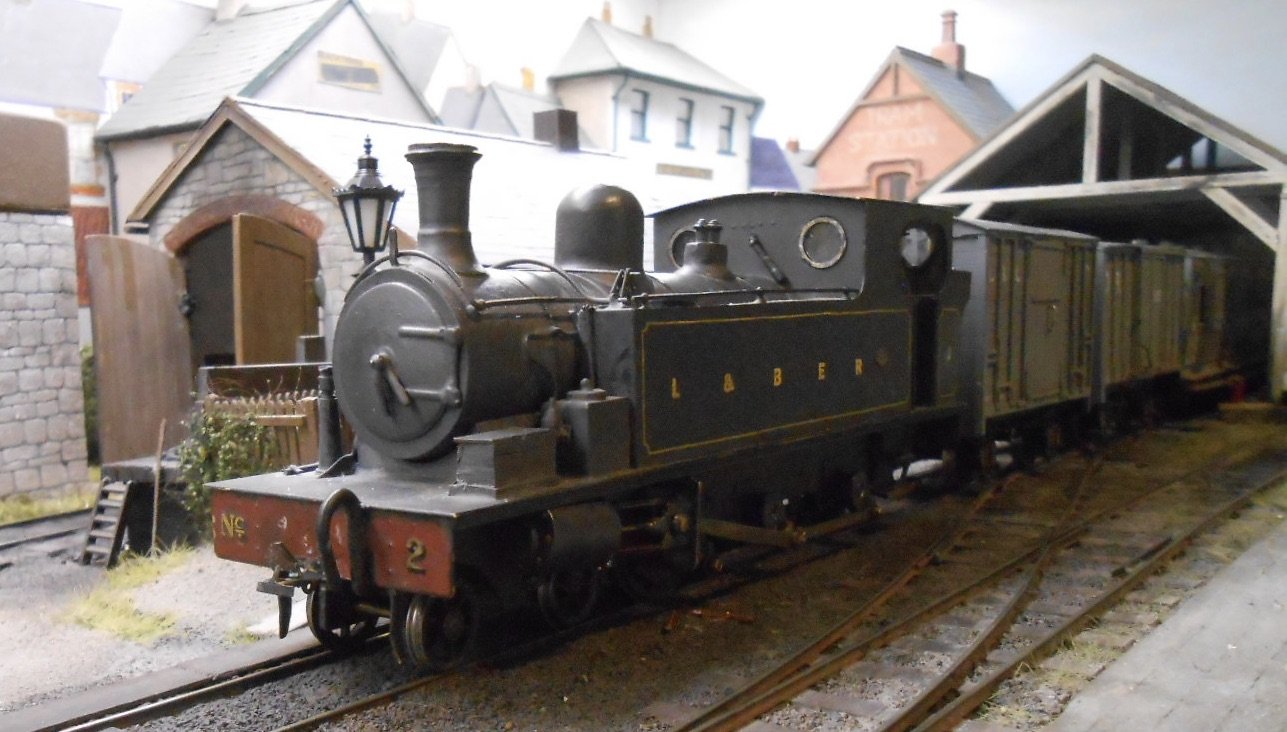
With Swillybegs rehearsals proceeding a pace, thought it time to review the stock and trains that make up the 'new' layout. Fintonagh's last show was over three years ago, so perhaps not surprising that some of the locos needed a bit of attention. Railcar 10 - seemed decidedly sticky and had needed a new [High Level] motor gearbox after its Mashima failed. However, a general clean up and adjustment of pick ups soon had it running smoothly again and it copes well with its new trailer. The Unit - leads the goods train. One wagon shorter than Fintonagh as the new Donegal wagons are longer and bigger that the Clogher ones. Phoenix - has two shunting jobs, the first sorting out the goods, while the Unit rests on the turntable. Phoenix arrives with a single wagon from the front siding, pushes this up to the brake van of the goods and then moves both of them to the train shed. It then runs round and collects a wagon from the front of the out going train, before retiring off scene. In this way Donegal wagons are rotated on successive moves. After turning, the Unit returns to its train, ready for departure. West Donegal Tram - my repurposing of the Clogher Valley 0-4-2Ts. One works the tram, while the other acts as a spare loco, though both are decent runners. The tram comprises three 4 wheel coaches based on Schull & Skibbereen ones. It runs into the front tram platform. After the loco runs round and is turned, it returns whence it came. The Swilly trains The two new locos have caused me a fair amount of grief, but at long last I think I might be getting there. Both have what appeared to be free running chassis, but both stubbornly refused to run well on the track. Thought I'd solved the Barclay 4-6-0Ts problems when I found that two of the outside cranks had worked loose, destroying the quartering in the process. So, the motion was once again dismantled and Loctite 635 used to [hopefully] secure everything. Again. However, running was still erratic and likewise the Kerr Stuart 4-6-2T. The latter is currently running as a 4-6-0T after I removed the rear pony because it kept derailing. This improved things, but still not enough. Salvation came when I realised that both locos were actually not balanced and had too much weight at the cab end, despite both having their tanks packed with lead. Removing the bodies [yet again] and putting heavy brass weights on each end of the chassis suddenly made running much smoother. So, adding a fair bit of weight inside both boilers has made for well balanced locos which now run well. Sigh... Swilly Fish - the 4-6-2T heads this. Just a bogie brake third and a bogie fish van. A simple move: train arrives, loco runs round, turns on the 'table and departs. Swilly Mixed - this move is more involved and suggests that, with their Joint line to Swillybegs, the Donegal and Lough Swilly are co-operating a bit more. The Barclay 4-6-0T arrives with its brake third and two vans, then retires to the turntable. Phoenix now does the shunting, bringing in a new van and removing one from the incoming train. These vans are a mixture of Swilly and Donegal, with the shunting moves similar to the ones on the goods. So, there we are & hopefully ready for Tolworth next weekend. Wish me luck!

- 29 replies
-
- 17
-

-

-
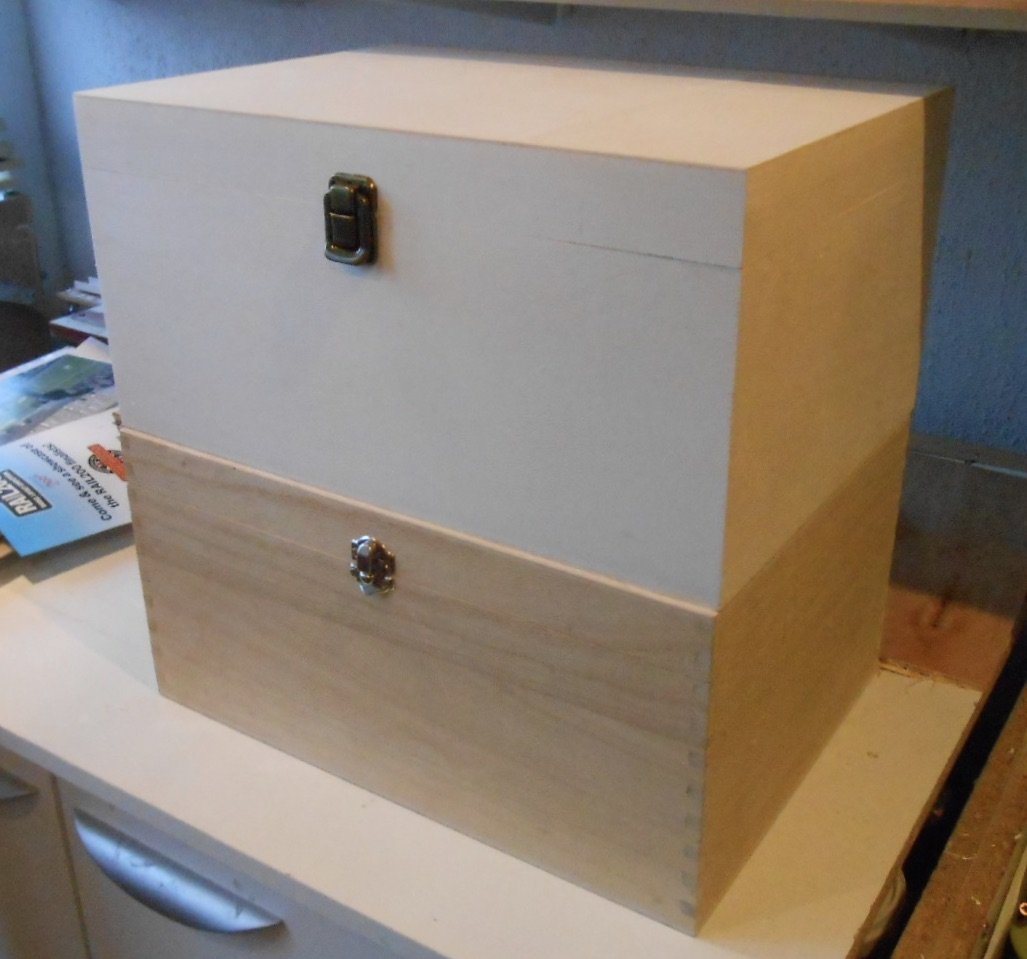
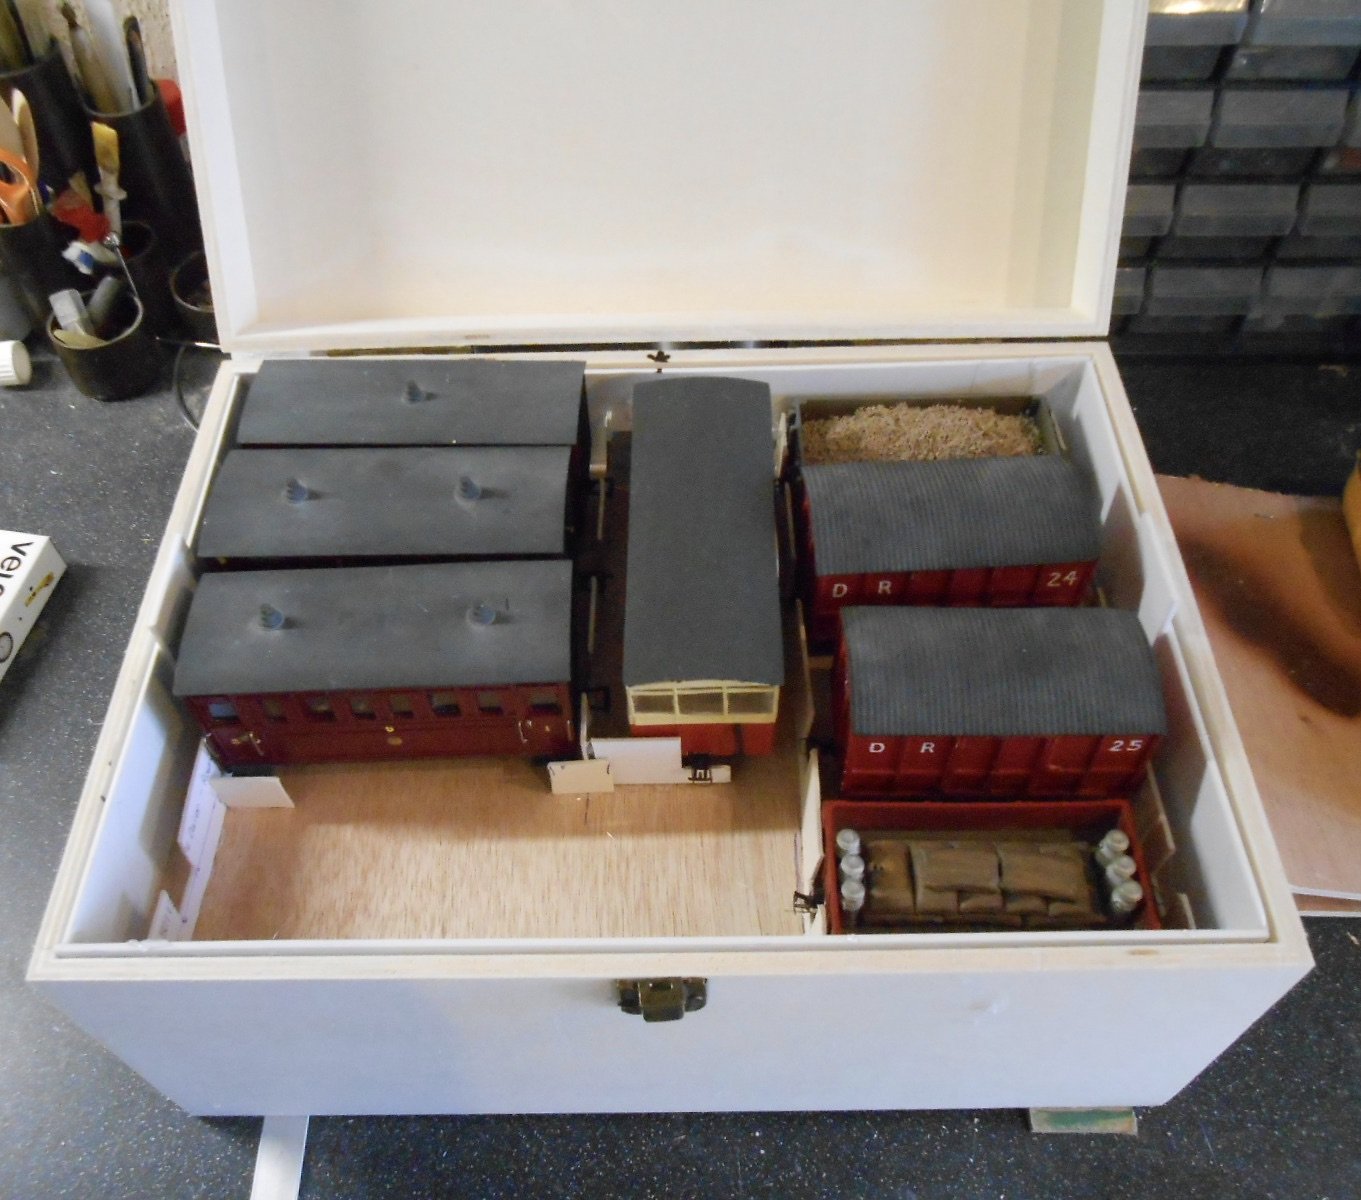
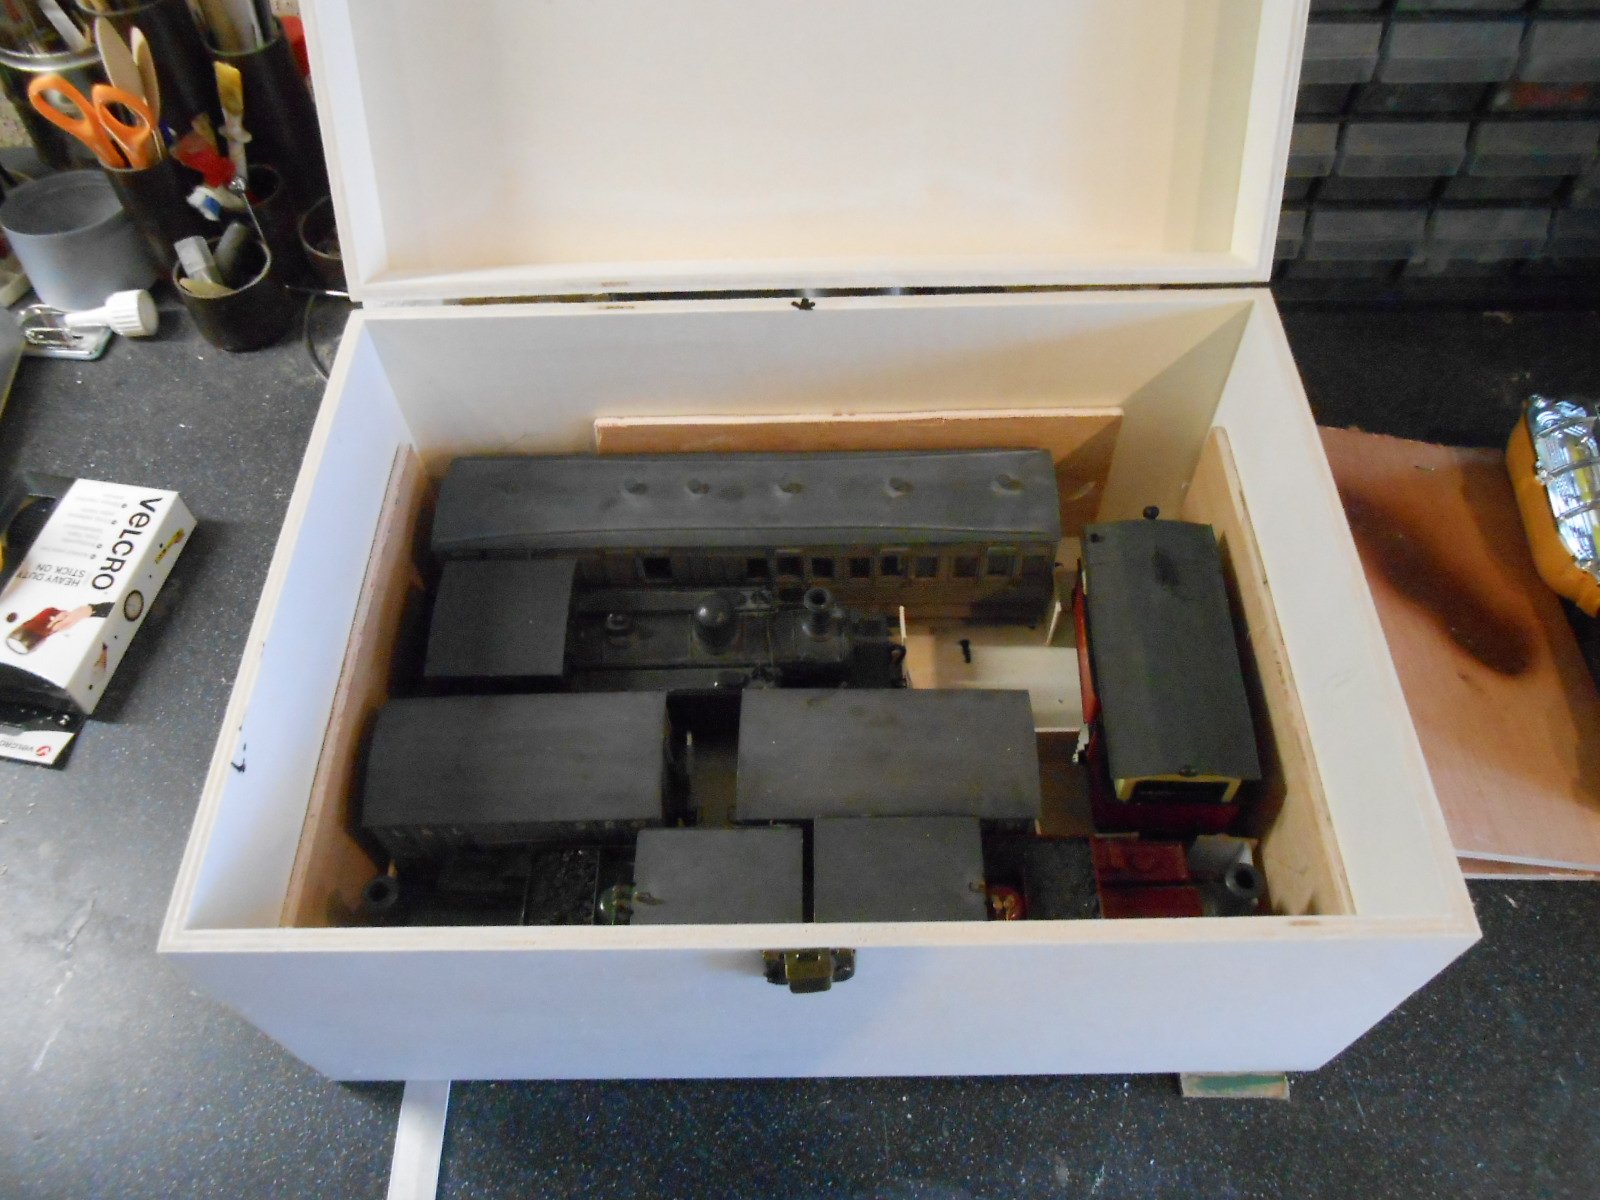
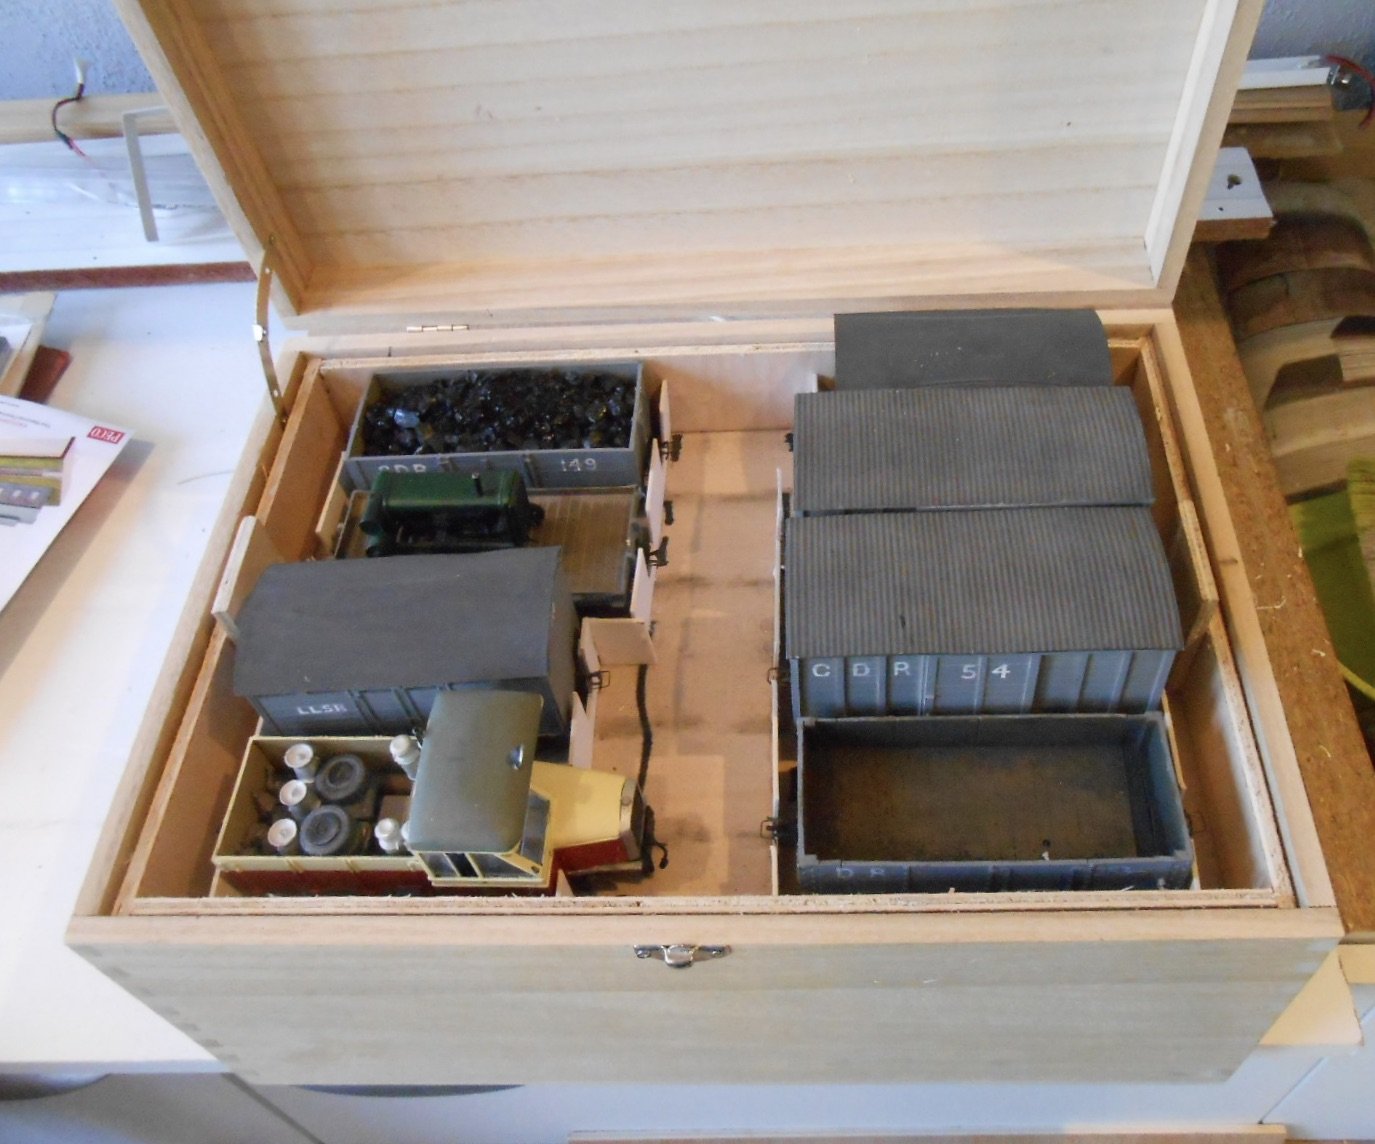
Tolworth next weekend, so essential I made up new stock boxes for all my Swillybegs stuff. Already had one of these [below], from Hobbycraft, so bought another. The new DG couplings require protection during transport, while both boxes have been given an inner extra layer. You should be able to see the strips of card that have been hot glued inside the boxes and top trays to both separate the stock and [hopefully], keep the couplings safe. just two boxes for all the stock, which will go in just a single large carrier bag - a big saving in terms of space compared to Northport Quay, where four bags are needed.
-
The scratch builders amongst us must hope that Societies and/or individuals can take on what Allen has created. Worsley is a vast portfolio of drawings for etching and it would be sad to lose it. I would think that some sort of archive, to preserve the drawings, is the minimum. The 3D print community seems to be building up a range of files that anyone, either for a fee, or even free, can download and then either print themselves, or send to one of the commercial printers to have done for them. So it could be with Worsley files, because there are firms who will do one off etches if you provide the artwork. The plethora of high quality, ready to run models, is one thing (albeit it at significant cost), but it worries me that the hobby is in danger of becoming de-skilled if we continue to lose providers of detail parts, kits and so on. 3D prints should be seen as just another tool, to expand our creativity, likewise the computer keyboard/mouse. It would be sad to see the use of physical modelling skills like marking, cutting, turning, etc decline in the face of ever more tech - however welcome the latter may seem.
-
I've had one Mashima go in 20+ years. Now use High Level and because I use a feedback controller, keep to their open frame motors, which seem perfectly happy with the controller
-
CIE Tar Bitumen Tanks – the 1950s/60s wagons
David Holman replied to Mol_PMB's topic in General Chat
Splendid research! -
There is a 1:400 model railway in the latest MRJ.
-
Given the time of year, reminds me that, likewise back in the day, lighting a banger and putting it in a glass bottle was quite dangerous too. Bangers, for our younger brethren were simple fireworks that did what it said on the packet. Small ones were an old penny, larger (louder) ones tuppence. The real nut jobs were jumping jacks, essentially a firework of multiple bangers that would explode and jump around in a highly random and dangerous fashion. For many reasons, don't think you can get them now!