David Holman
-
Posts
4,359 -
Joined
-
Last visited
-
Days Won
117
Content Type
Profiles
Forums
Events
Gallery
Blogs
Everything posted by David Holman
-
Coming on well, Patrick. Final details are what make a model and very few in my experience are completed without a bit of filler and a lot of sanding. Make haste slowly!
-
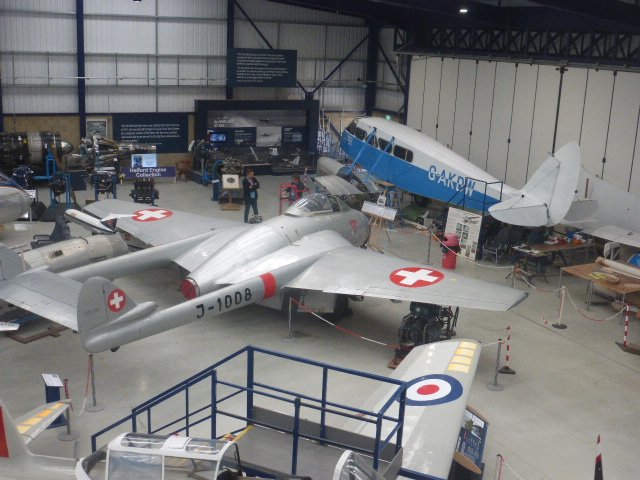
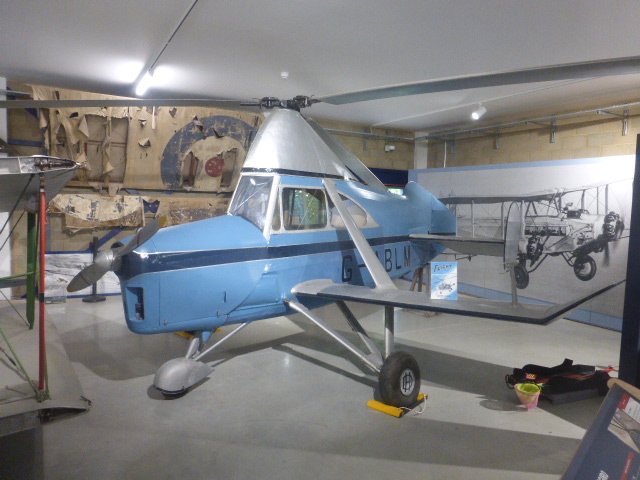
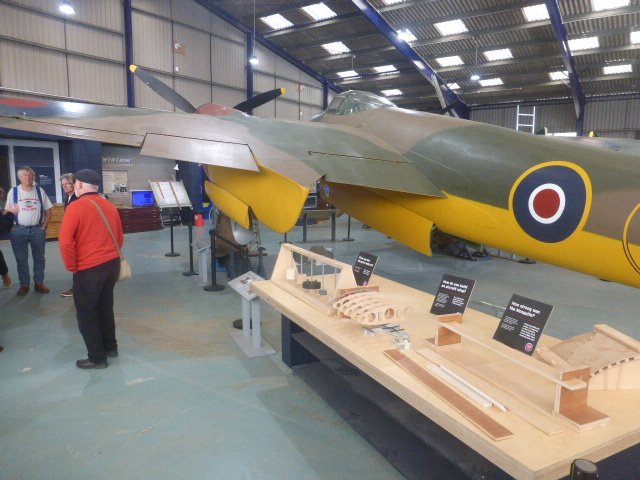
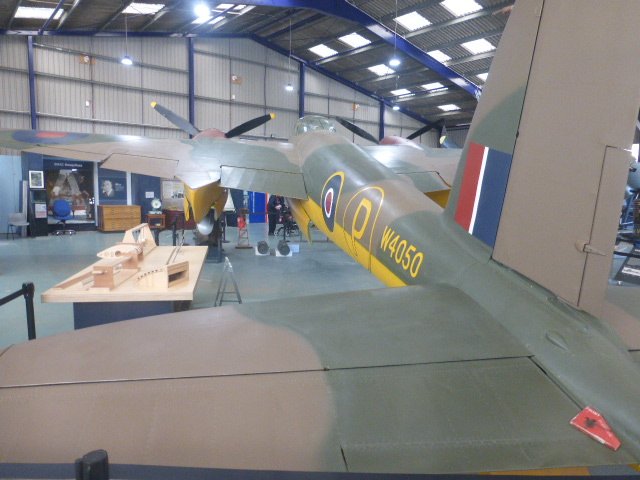
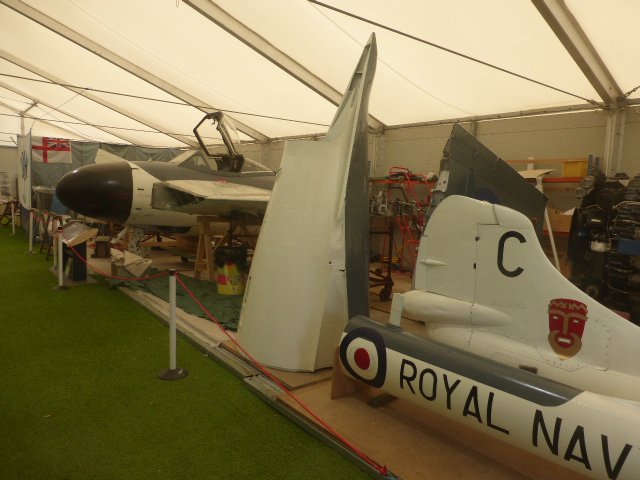
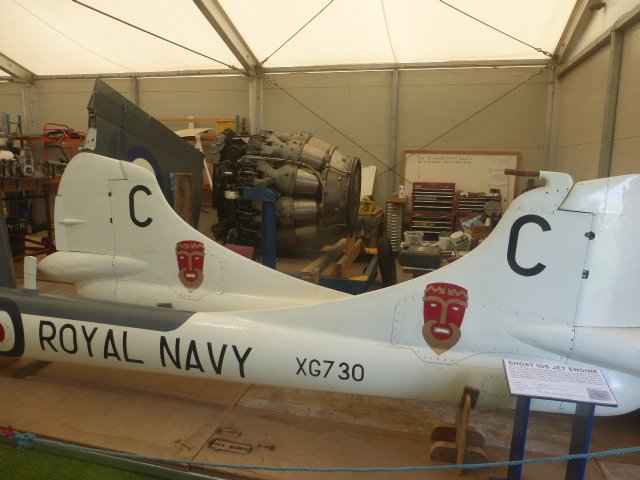
De Havilland Musem, St Albans
David Holman replied to David Holman's topic in Aviation & Maritime Modelling
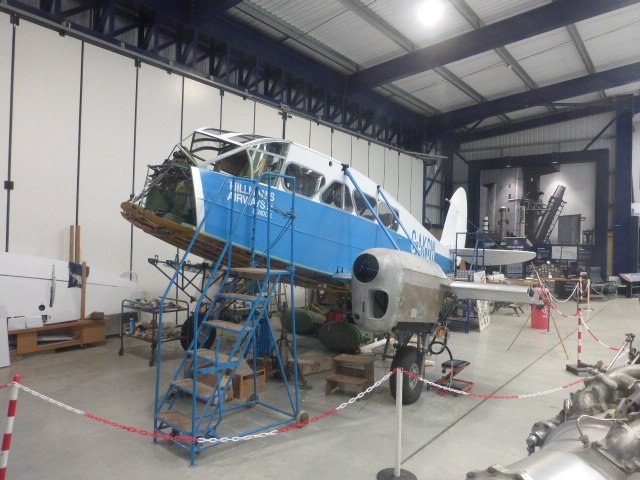
Indeed. Thanks for the Venom correction George. The pictures don't really show that it is now a nearly finished kit of parts, just waiting to be assembled. A truly remarkable solo project -
Been there, done that. Well, almost. 61666, BR (exLNER) B17/6 4-6-0 Nottingham Forest. Twelve sixes in all with the smokebox number plate!
-
Good job nobody ever decided to give a loco the number pi...
-
NorthStar. Now there's a name you don't hear very often these days. Fine kits in their day and no doubt still compare well.
-
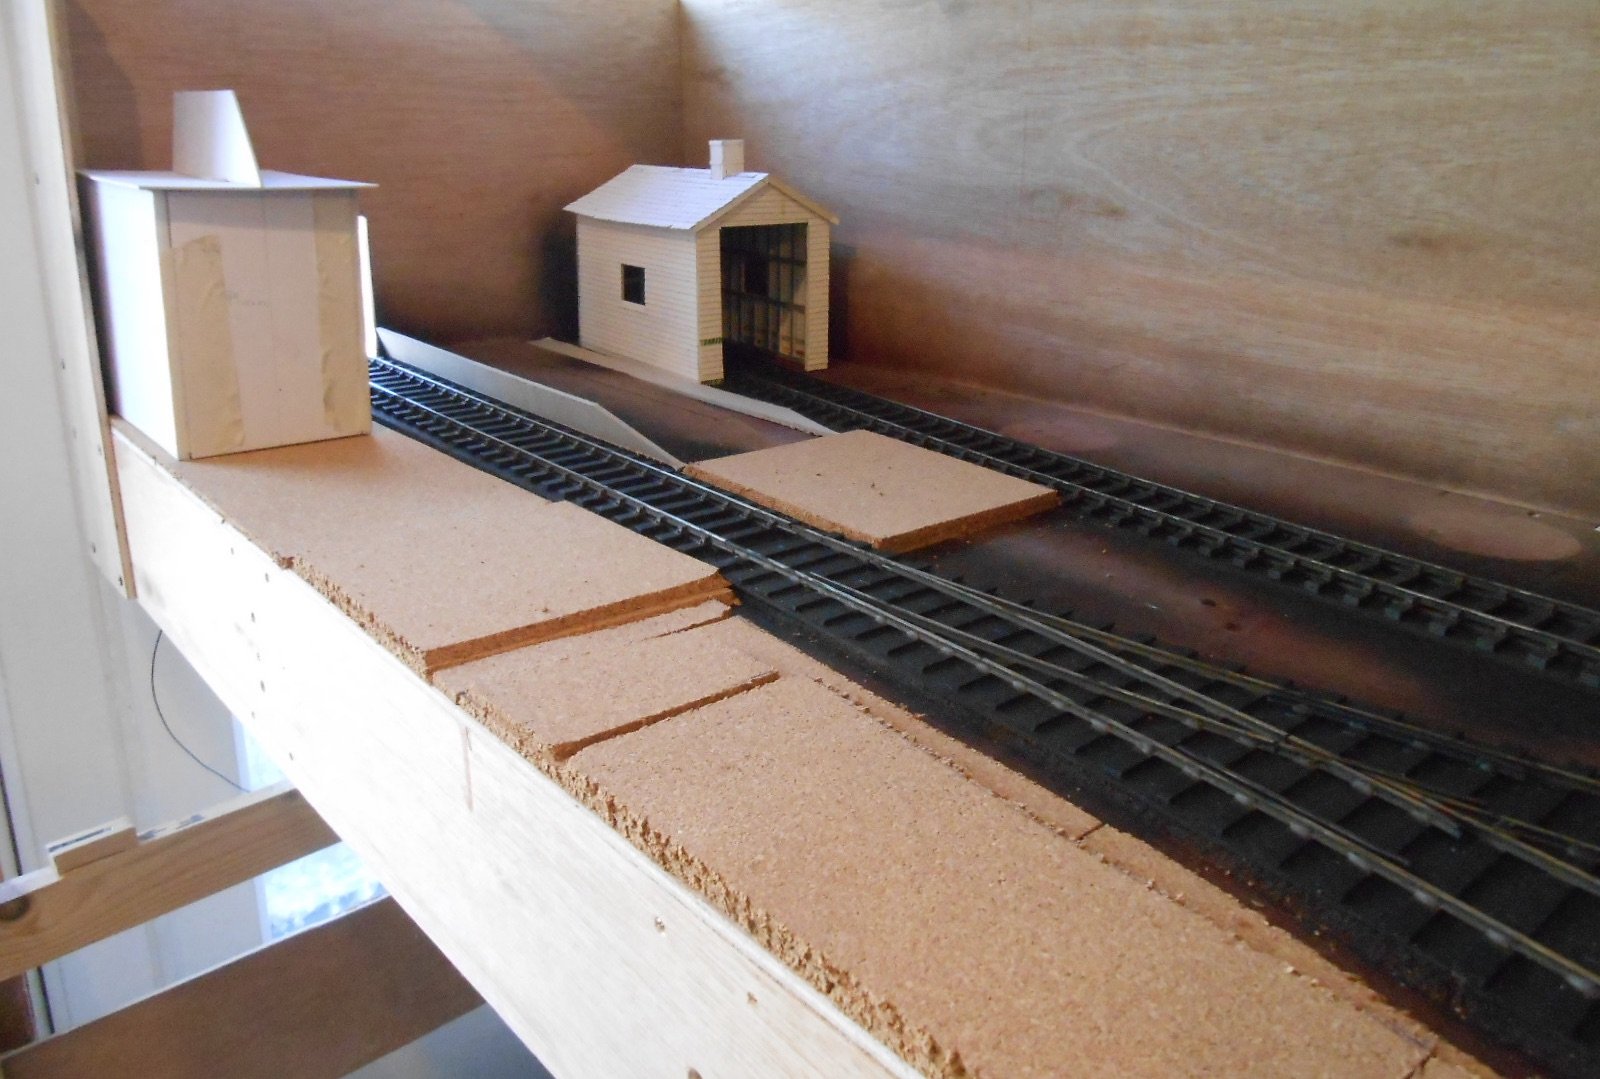
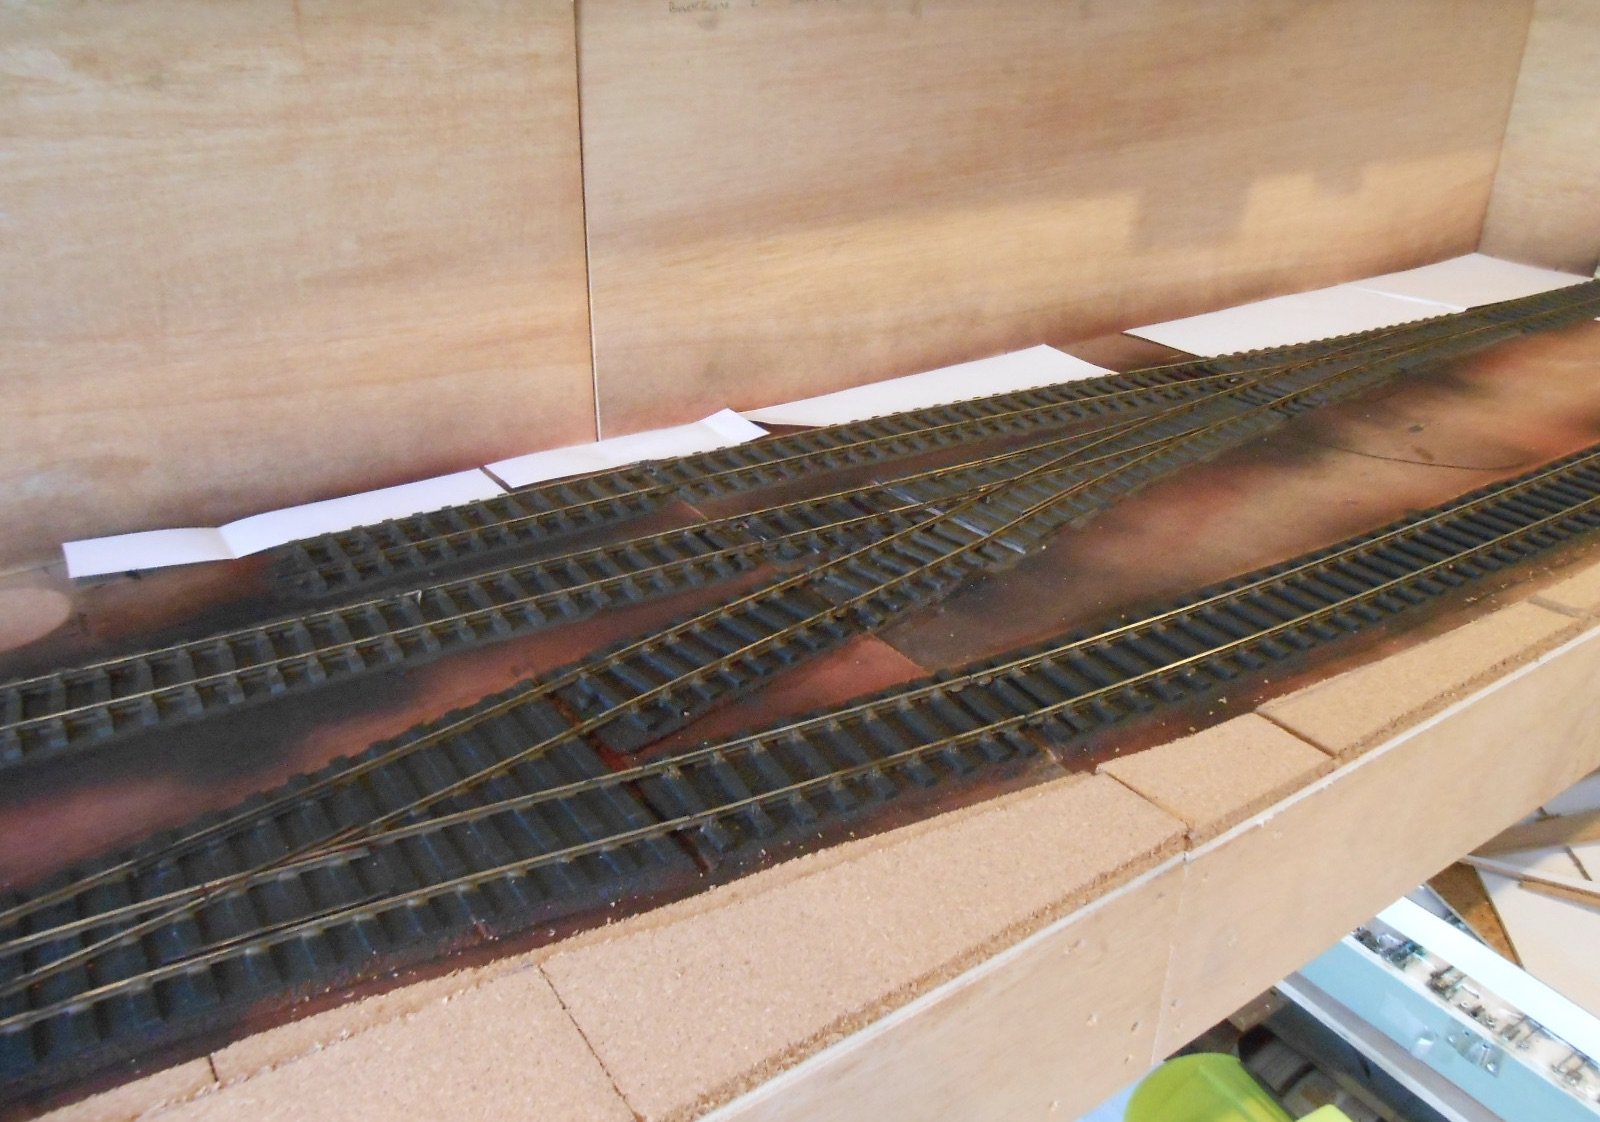
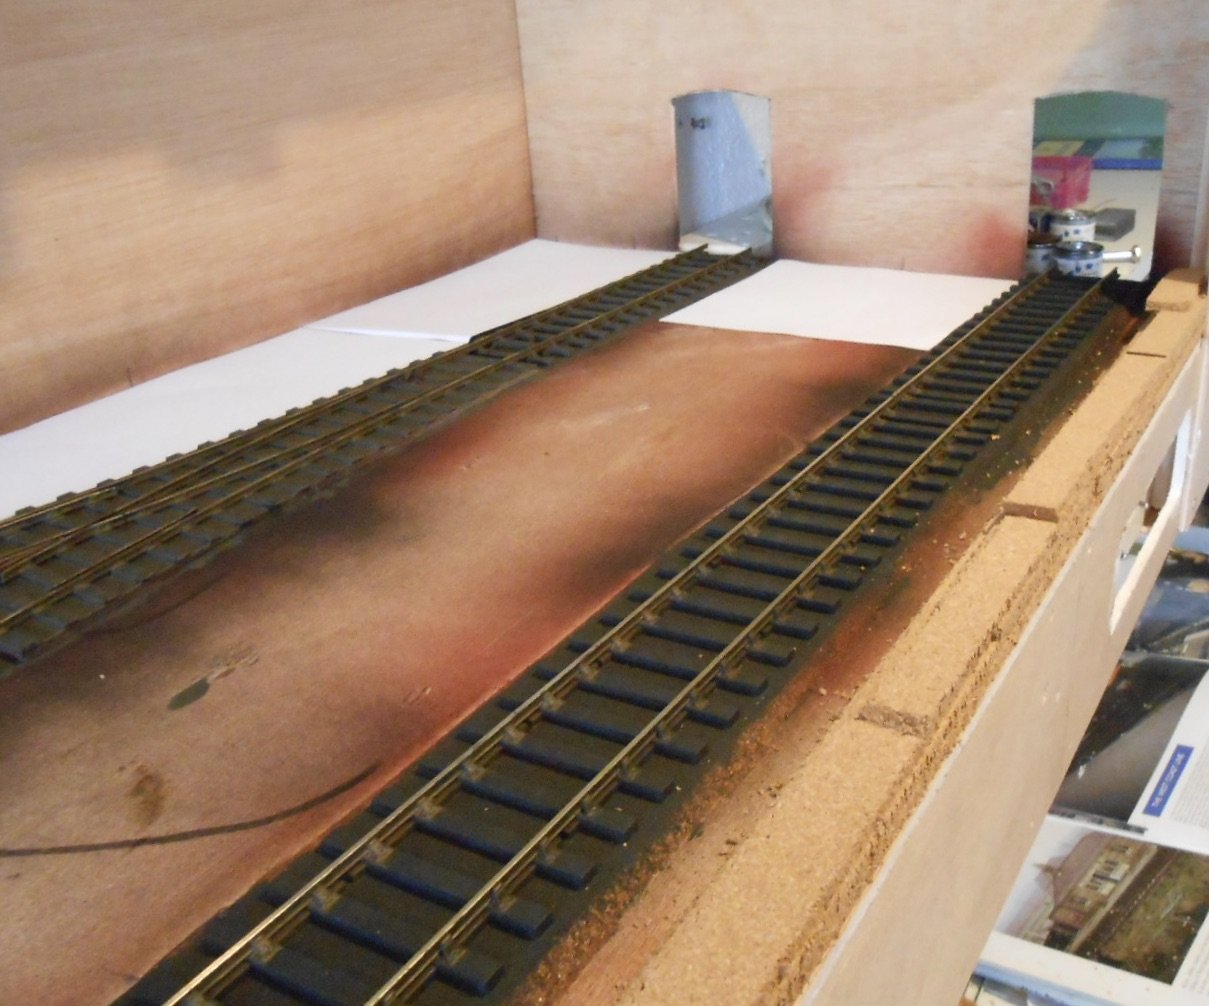
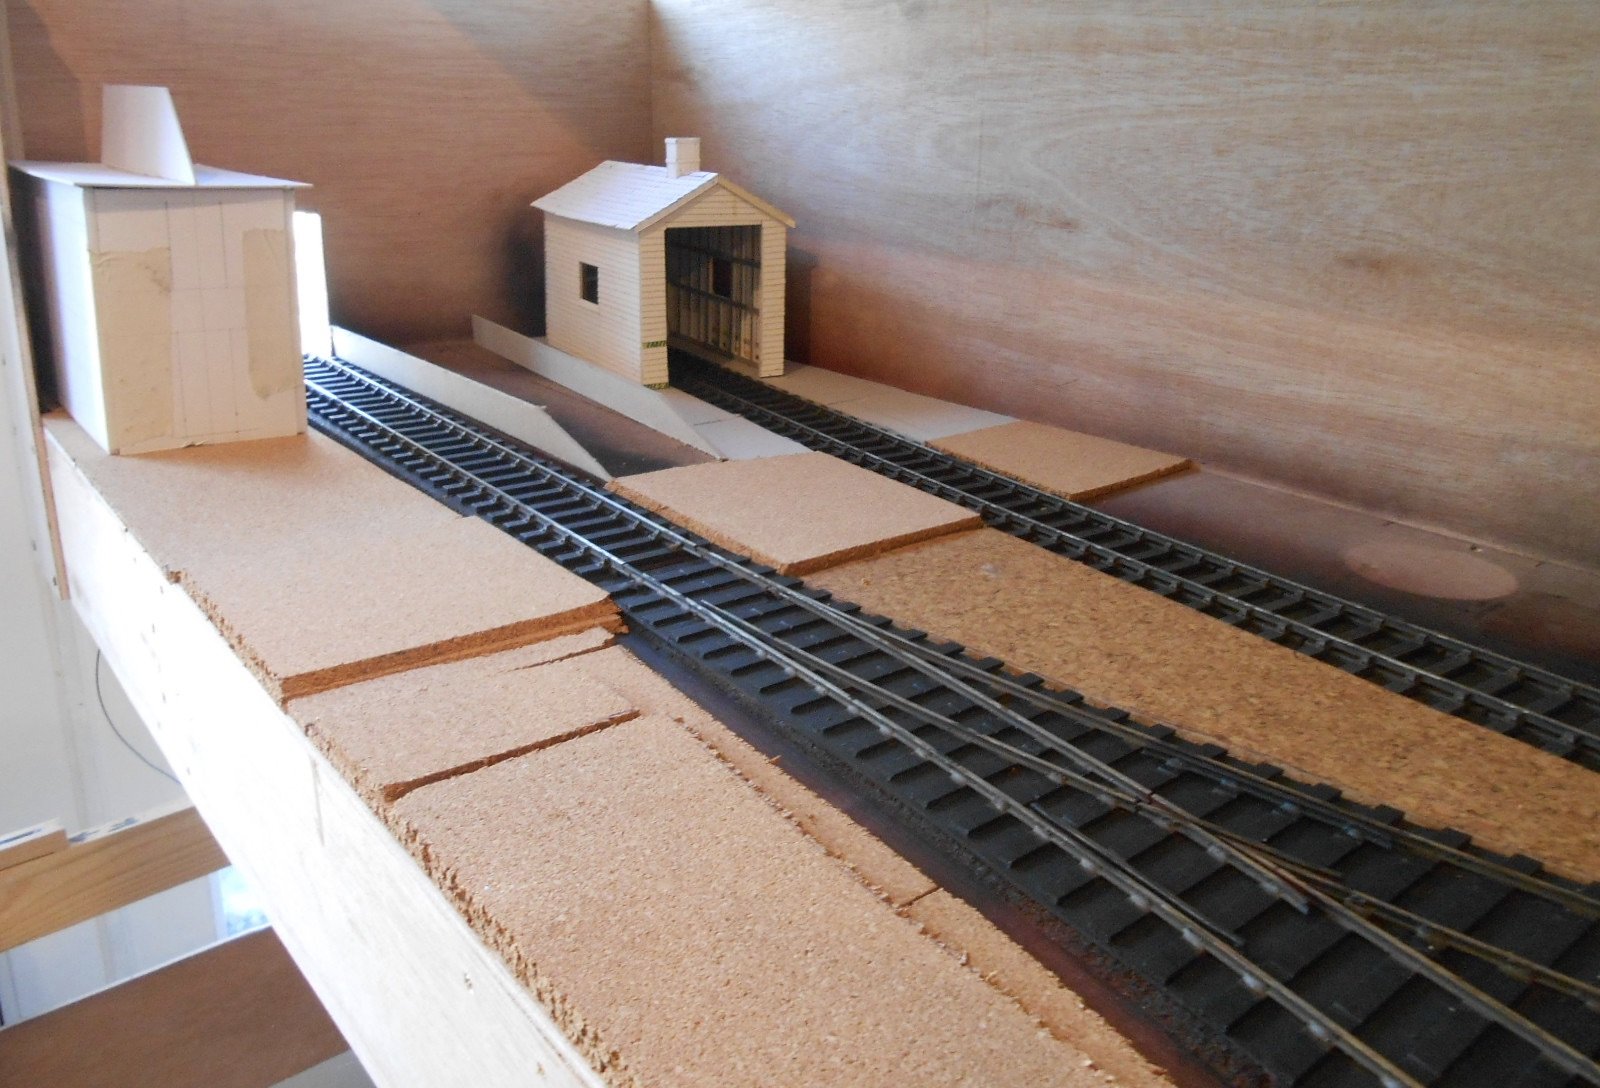
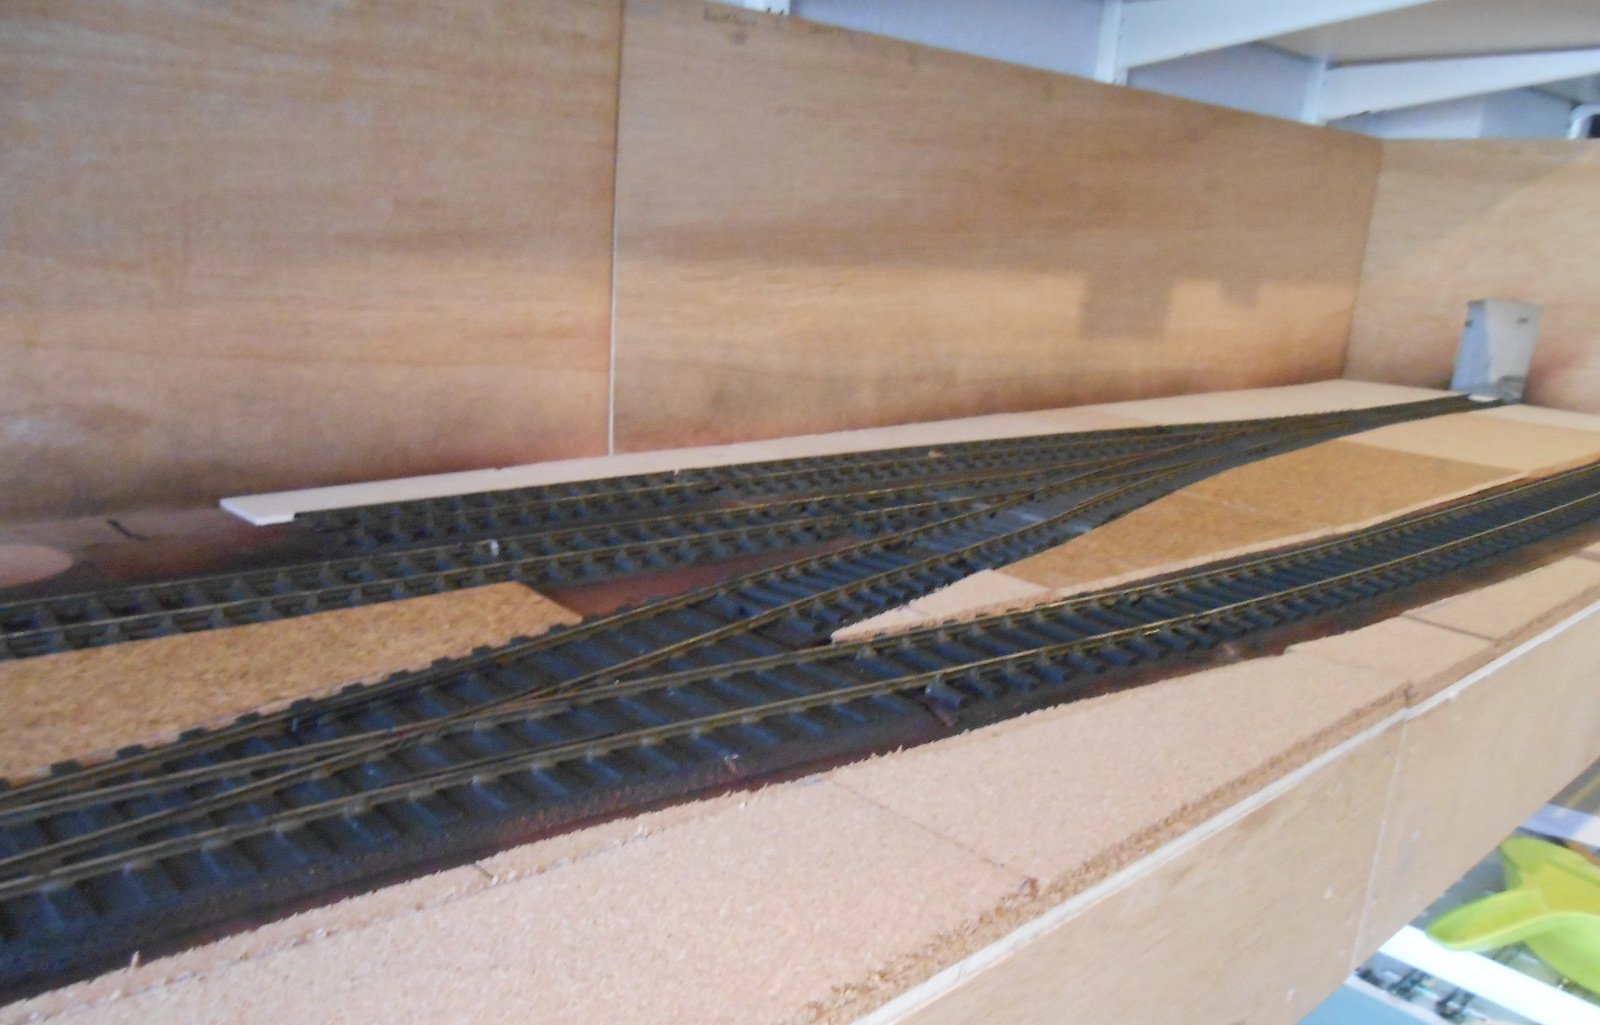
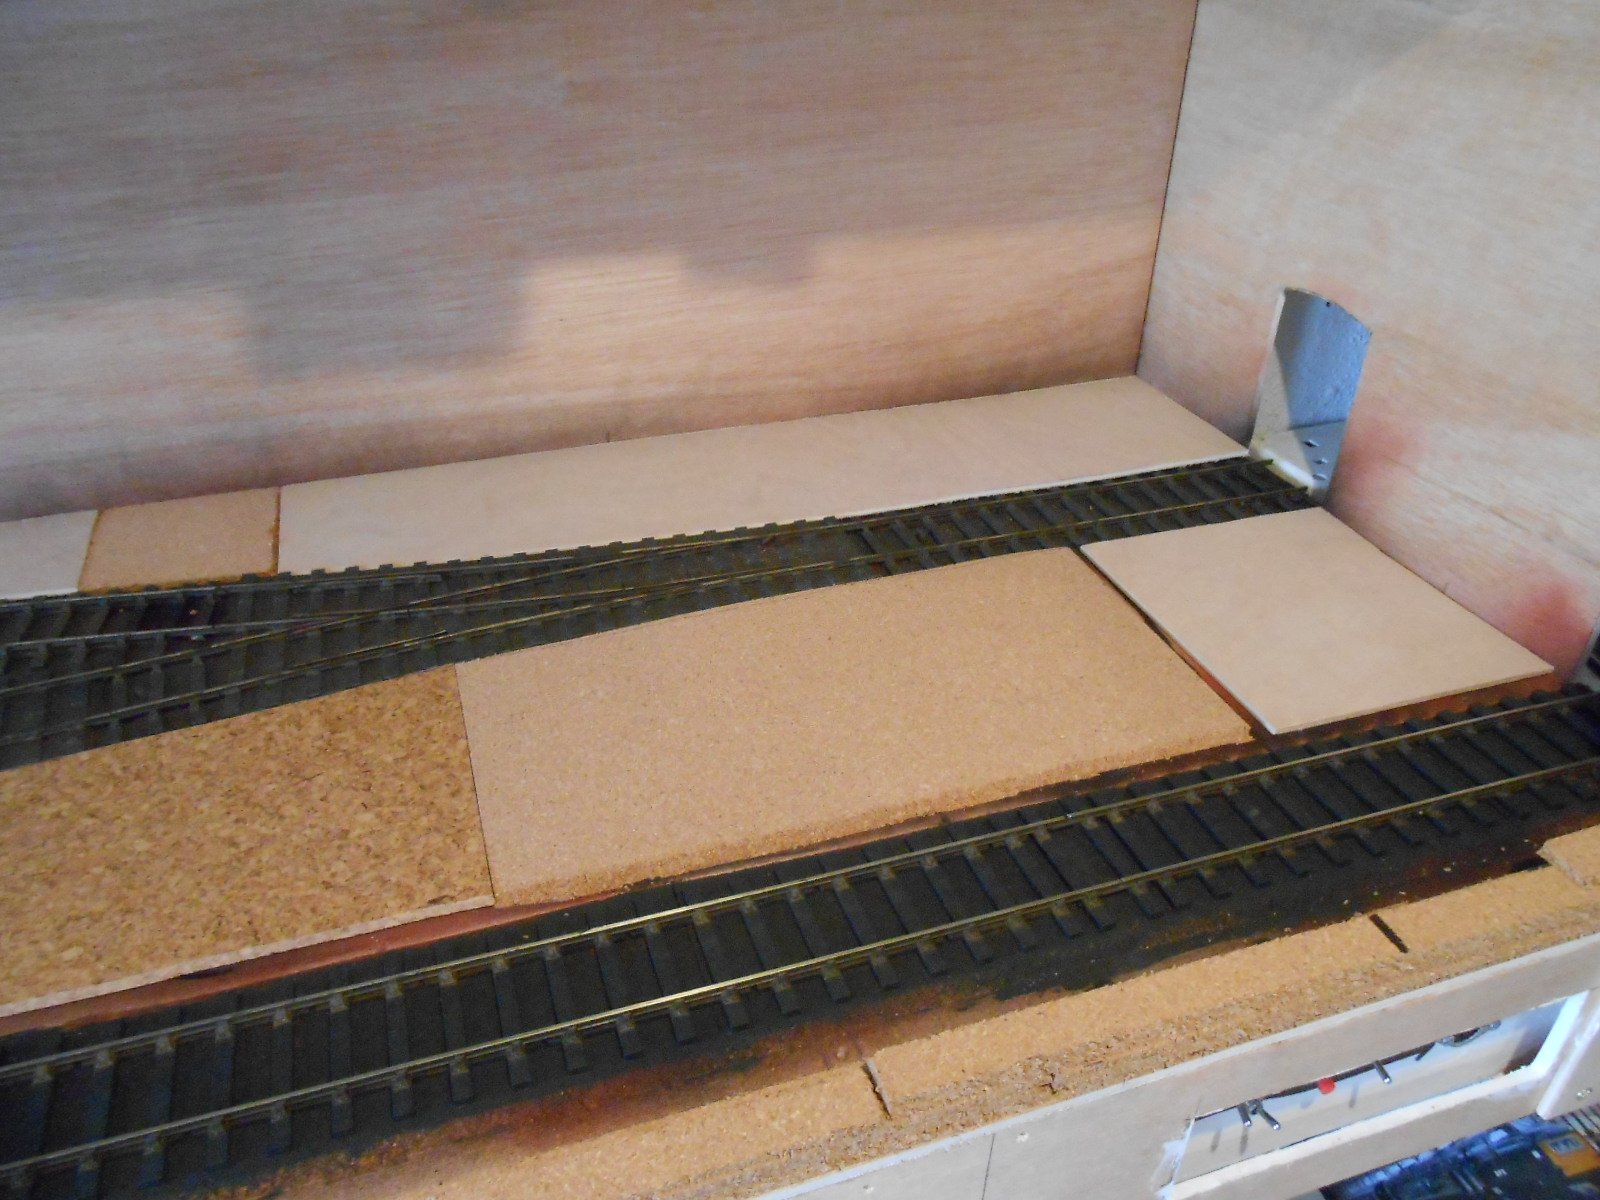
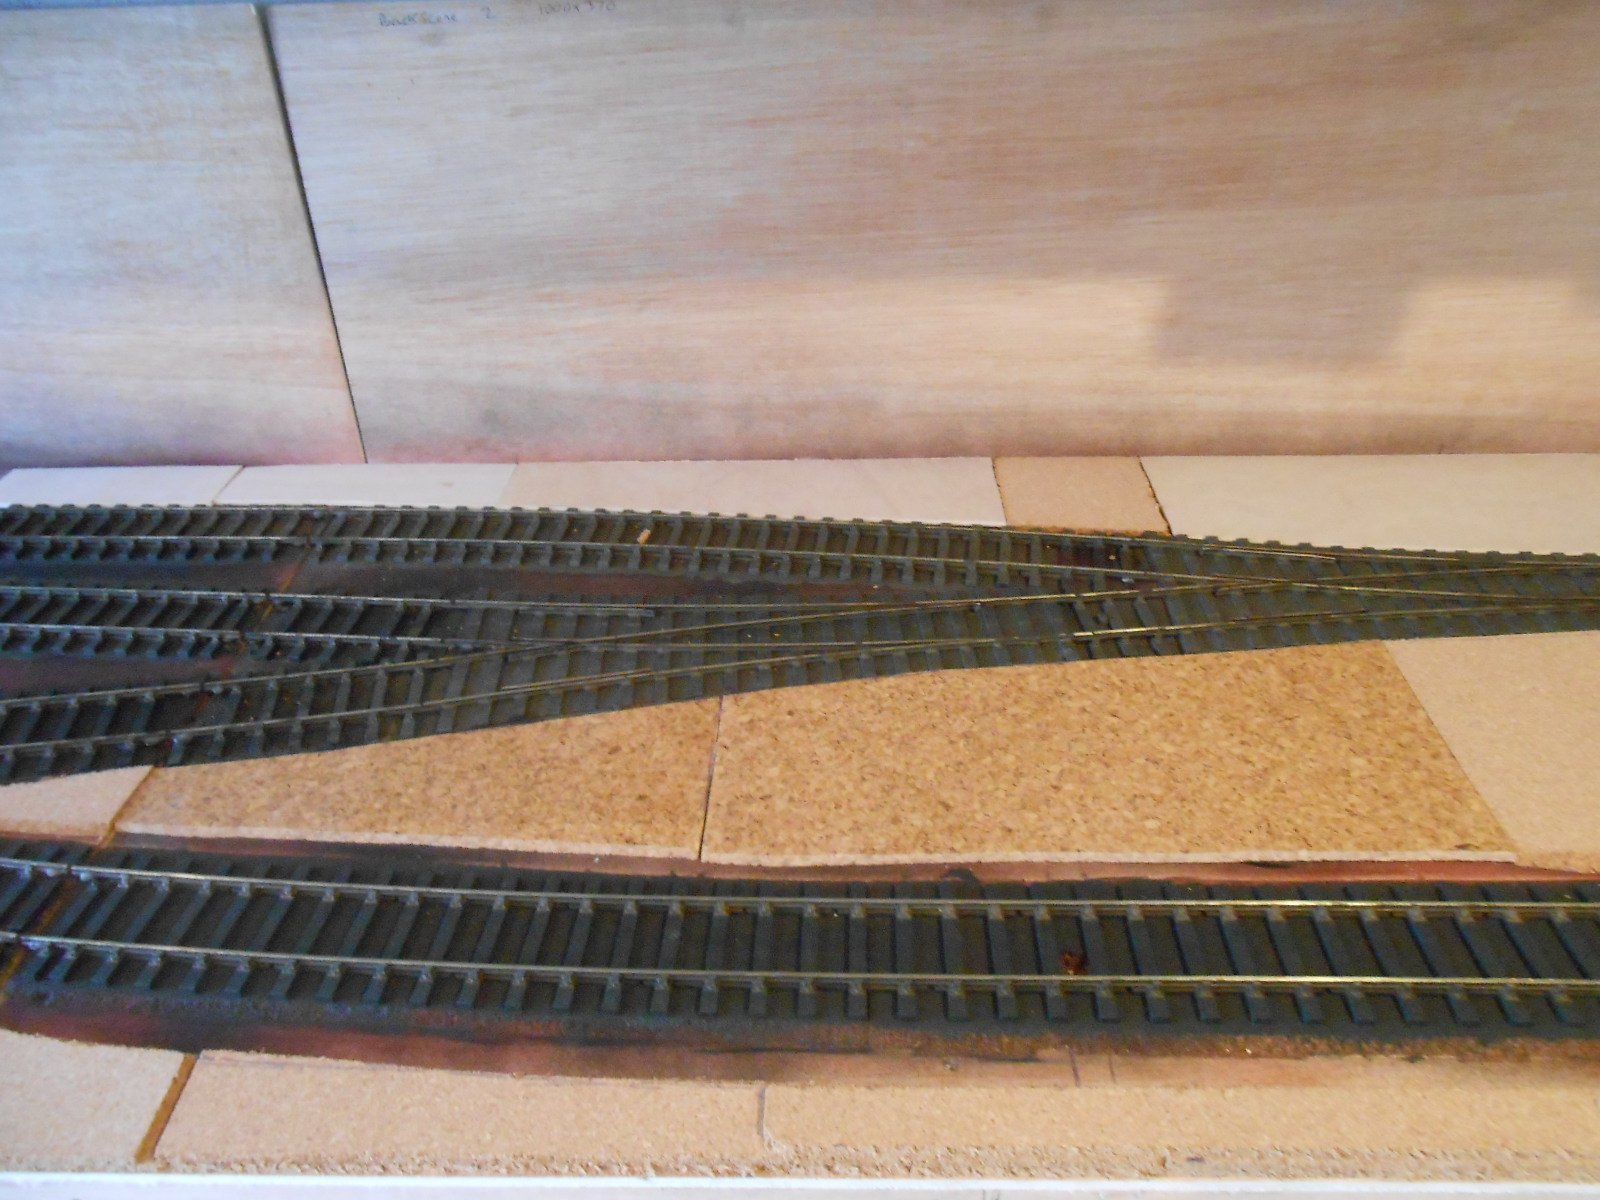
One of the nice things about building your own layouts is there is always something new to do. You can always play trains as well of course, so with with my two Irish layouts going out to shows in October & November, plus this new one on the go, I have plenty of choice! Next job on the BR layout was to get the track painted. So back to Martyn Welch's seminal 'Art of Weathering'. This has excellent suggestions for track work. The mainline sleepers are deemed to be fairly new, so have been painted with a mix of matt black and chestnut [Humbrol 186]. Later, these will be dry brushed with gunmetal [53] which gives a slight silvery effect. The private sidings, being much older & run down track are a lighter colour and will also be getting the gunmetal treatment. Martyn's suggestion for rails and chairs is to use a mix of leather [62], orange [82] and matt black for the mainline, but with gunmetal added for the sidings - along with further treatment to follow. As it is only a small layout, there is more reason to go to town with the fine details. Something that has been bugging me for a while is the ground levels on the layout. The mainline sits on 3mm cork, while the sidings are just laid on the base board. The mainline would have a cess running beside the ballast shoulder, so this becomes my datum, as it were. The problem has been deciding where the ground levels would be in the sidings - at the base of the sleeper or level with the tops, while road surfaces need to be level with the rails where there is a crossing. Ultimately, it is a bit like doing a painting - you start with the background and gradually work forwards. With a model though, you are working in three dimensions, hence the desire to get the base levels right. Another thing to think about was that this is intended to be a 'jigsaw' layout, with exchangeable sections to try and portray several different locations over time. Ultimately, decided to start with the permanent sections - the front edge, the level crossing to the yard and the area around the loco shed. These were built up with cork and card, cut to shape after first making paper formers. The same method was used to create the removable sections too. The removable sections have been cut from 3mm ply and comprise the areas in front of the back scene [mainly on the second baseboard, plus one piece to cover the join and another to hide the exit to the fiddle yard. However, NPQ at Aldershot this weekend, after which it is only a few weeks to Tolworth in November and Swillybegs first outing. Get these out of the way and I can hopefully get back to this layout again. Variety is the spice of life, after all.

-
Just checked my own thread 'Clogher Valley Project', now malingering on page two of the layout thread. I built a first and a third, with both having just three vents. Never picked up that the firsts had more (they were much shorter anyway) and quite possible they lost a couple when the CVR degraded them to thirds. In the course of many exhibitions, nobody ever mentioned a lack of vents, though did once get criticised for a Guinness poster that was the wrong period!
-
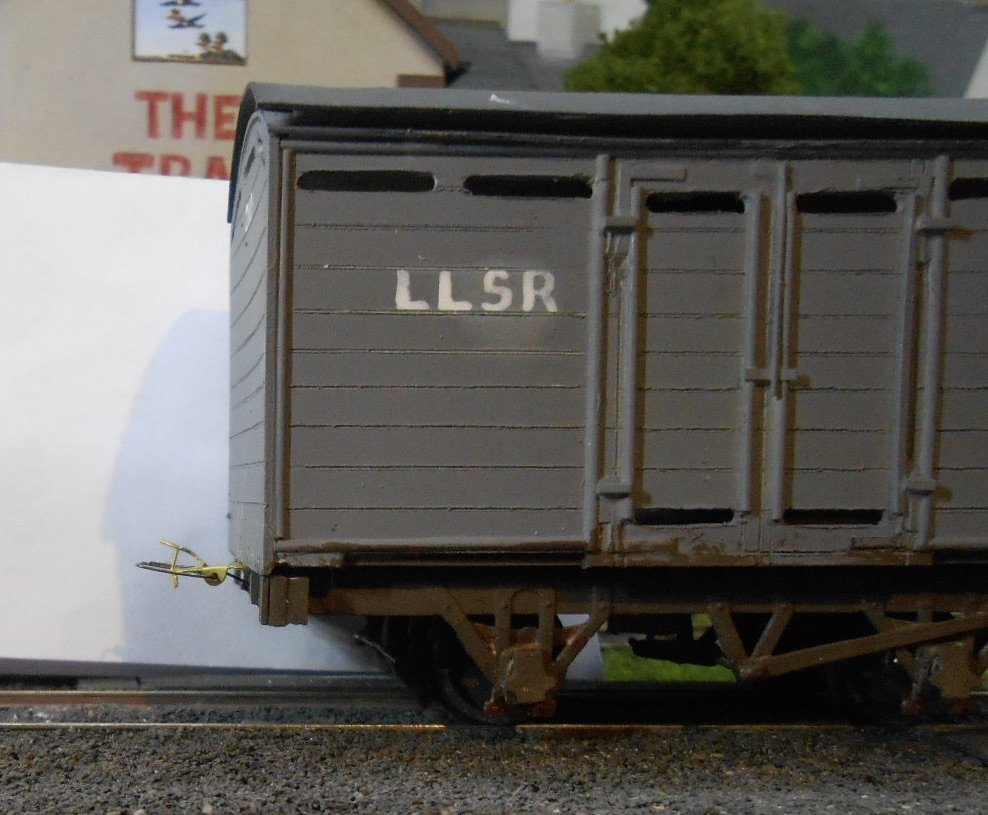
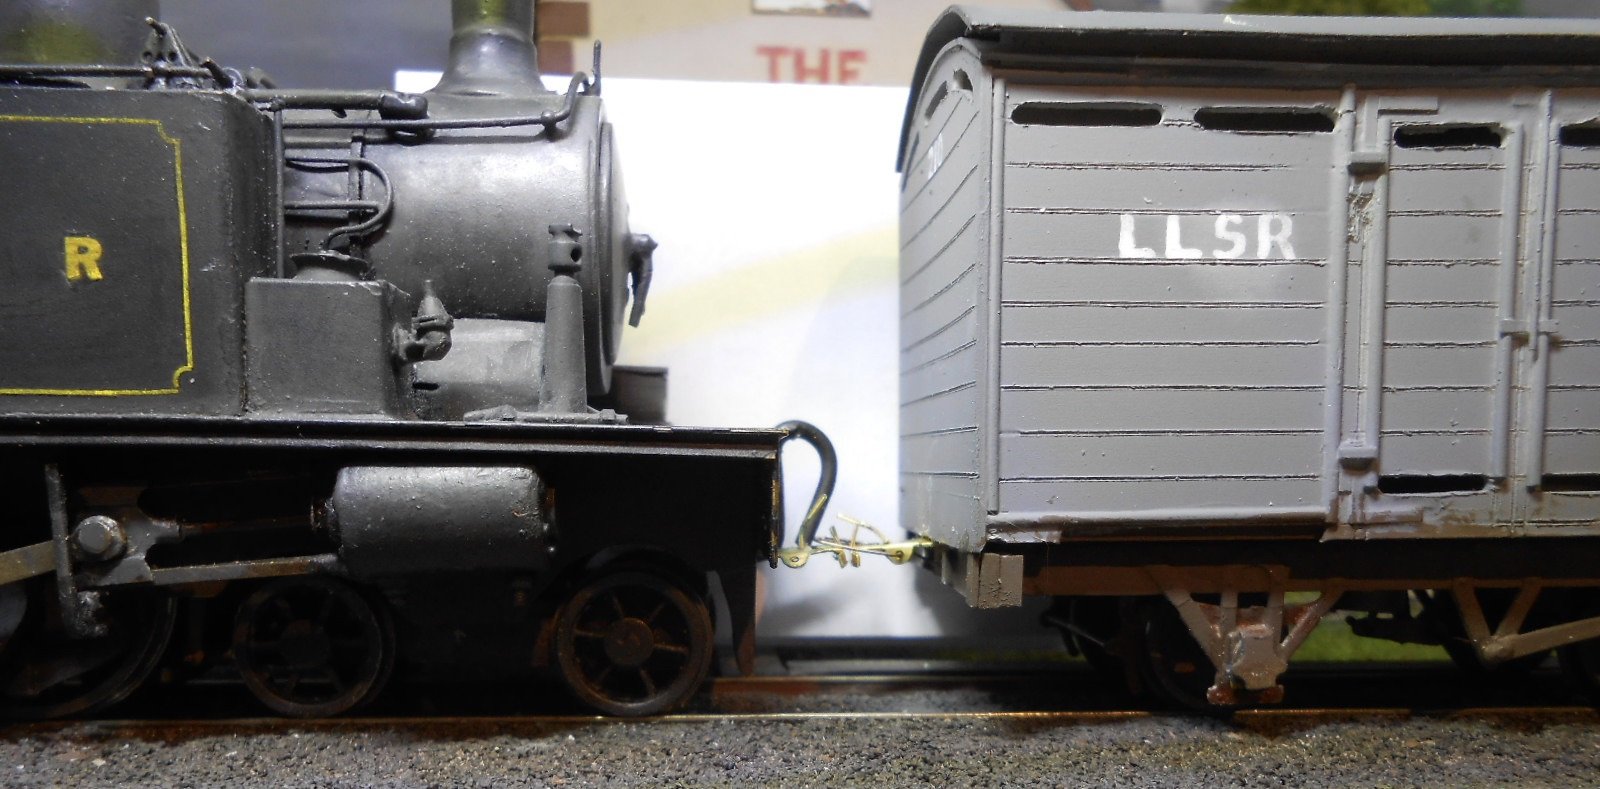
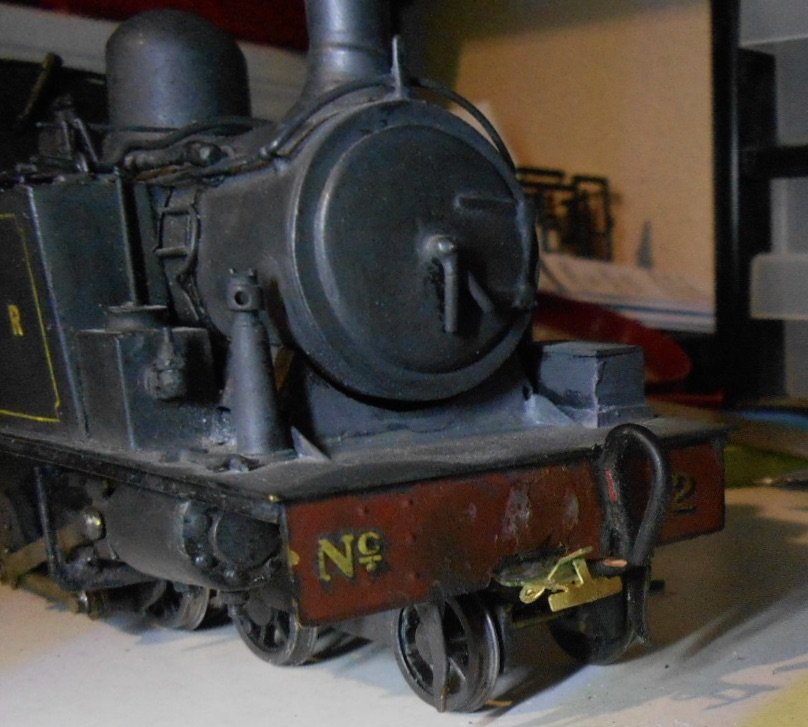
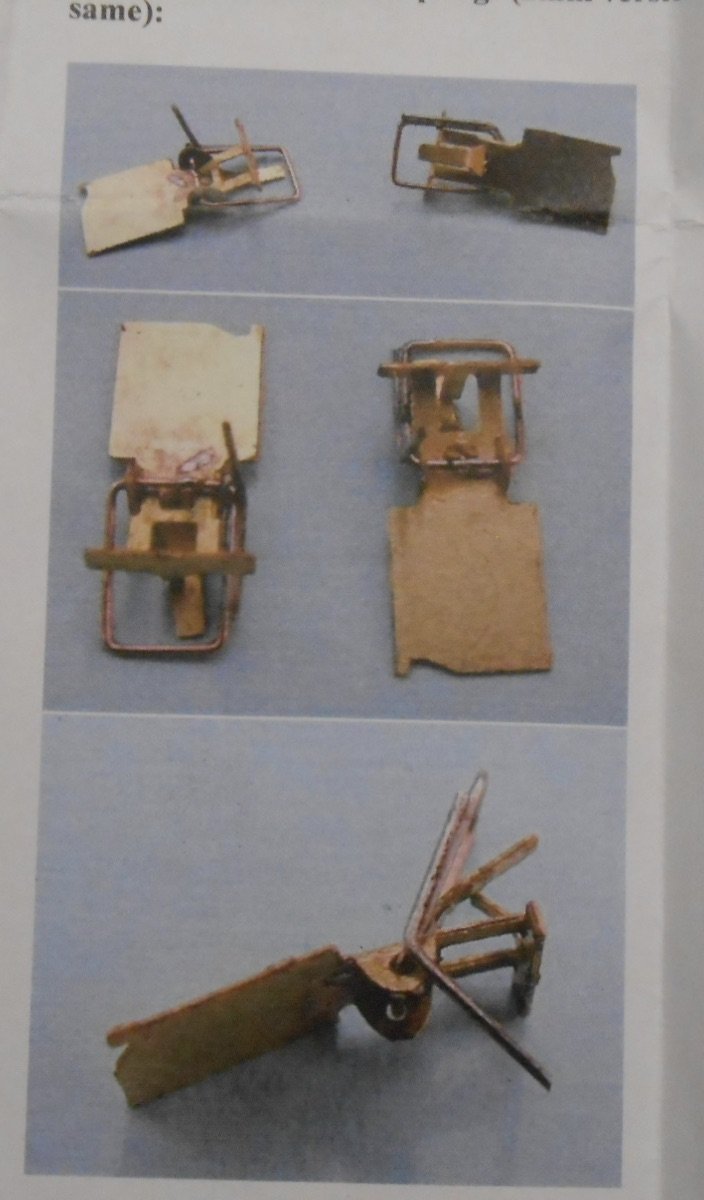
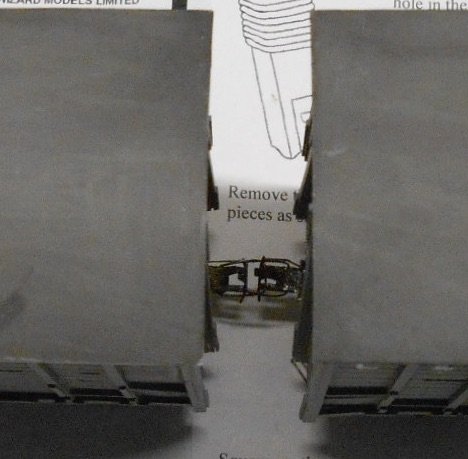
Been spending the last couple of days making up enough DGs for my narrow gauge stock and also adapting everything to enable fitting. DGs are designed to sit immediately below the bottom of wagon and coach sole bars. Unfortunately I'd previously cut notches in the latter for the tension locks, so these needed filling in. Perversely some of my loco and railcars have deeper buffer beams, requiring a different approach. However, nothing too drastic, though a bit of painting will certainly be needed. DG instructions suggest using either contact adhesive, solder, or screw/bolt to fit the couplings. Mostly, I've used the former, though brass locos have enabled solder fixing. The two pictures below show a CVR butter van, re-lettered to Swilly. In the first the coupling loop is in the normal, horizontal position, the second the loop has lifted because the electro magnet uncoupler has pulled down the iron wire tail. So far, this seems to work well. I use the former Dingham magnets, now sold by the Gauge 0 Guild, but a similar DG magnet is available from Wizard Models. On advice from Gordon Gravett, I power the magnets with 15v, rather than 12v, which gives a bit more oomph. This also means the iron tail can be kept fairly short, which helps the loop to drop back in place once the magnet is switched off. The latter is buried in the ballast by the way, with the top level with the top of the sleepers. It doesn't seem to matter if there are two loops together, which is good, because with turntables at both ends of my layout, I don't want couplings to be 'handed' as this would complicate shunting. Locomotives are a different matter, because in some cases, things like bogie or pony wheels get in the way of the iron wire 'tail'. At the moment, am leaving the coupling loop off the loco coupling, relying instead on the ones on the wagons and coaches. This seems to still work fine and if you can get away with your couplings being handed, might be the way to go for all stock. The next two pictures try to show this. Among things still to do are blackening all the couplings with gun blue [paint not a good idea] and tidying up all the buffer beams. Unlike AJs, it seems DG couplings are fairly forgiving in that the various bend angles don't need to be too precise - ideal for a bodger like me, though time will tell.
-
Which is exactly the excuse I use for Northport Quay. Go for early 1900s and you can add WL&WR too.
-
The classic railway modelling conundrum: so many ideas, but insufficient space, money, time etc... I find that going through the planning exercise helps. Usually comes to nothing, but when filed away for future reference may yet provide inspiration.
-
Fascinating. Many thanks Eoin. At the very least I feel a few internet searches coming on!
- 26 replies
-
- 1
-

-
- lathe work
- machines
- (and 1 more)
-
Always like a bit of imagineering.
-
Sadly, you are right, JB - at least until a new Celtic Tiger emerges. For now, interest seems to be all about another arms race and satisfying the ego of the current POTUS. Feel sure the latter would approve of my use of capitals though. Swords into ploughshares? I fear the human race is once again heading the wrong way...
-
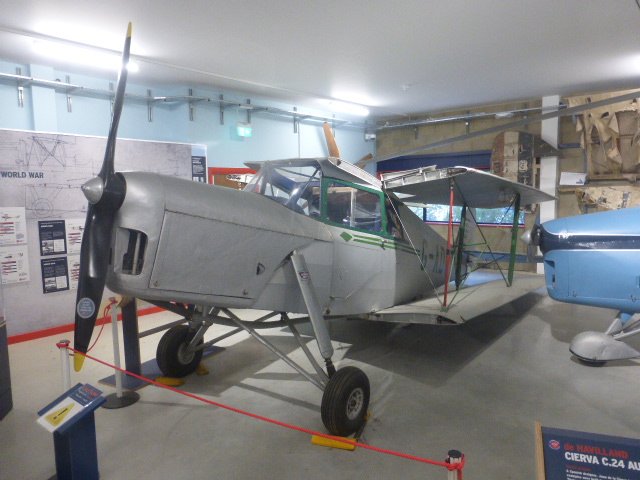
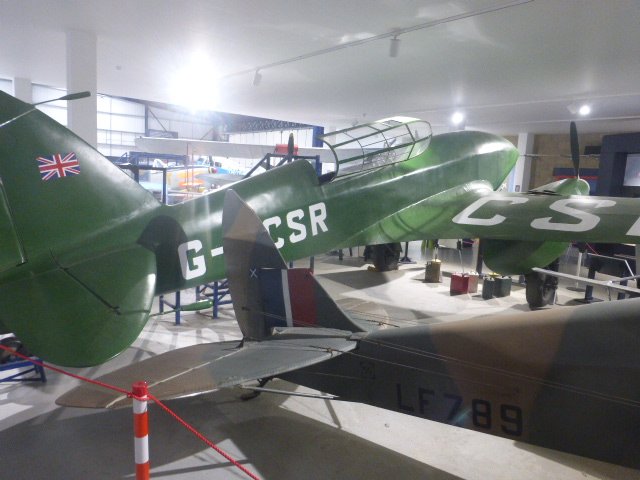
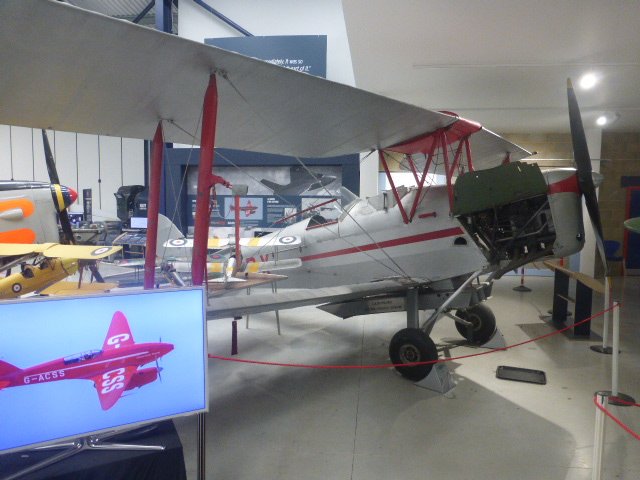
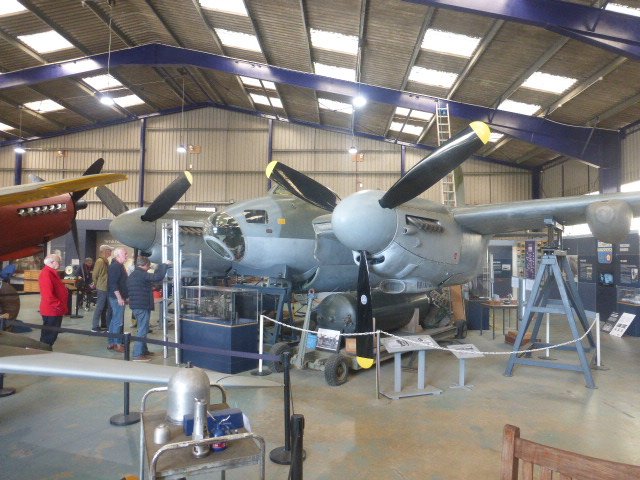
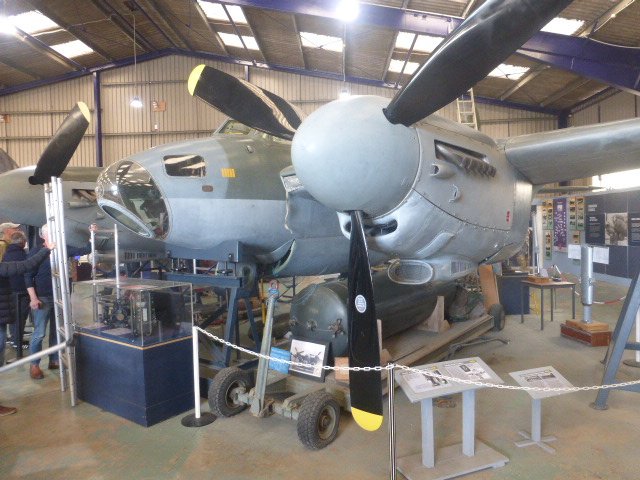
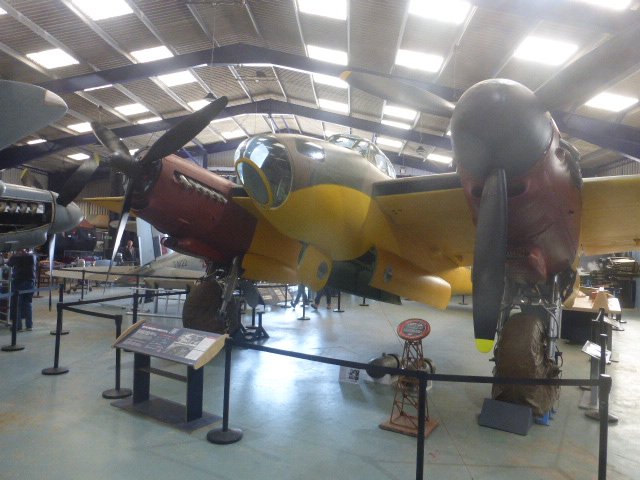
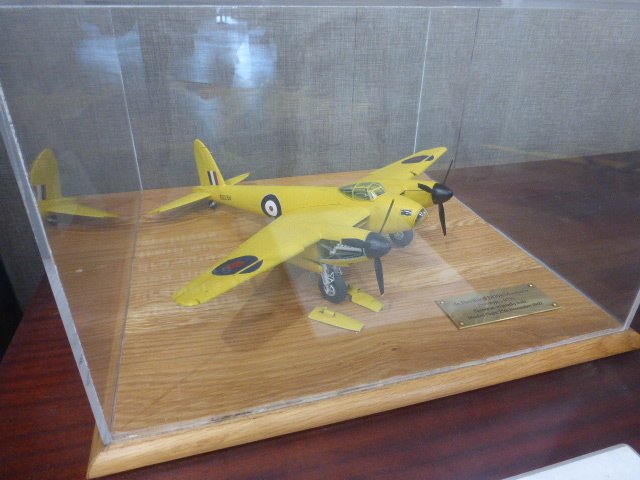
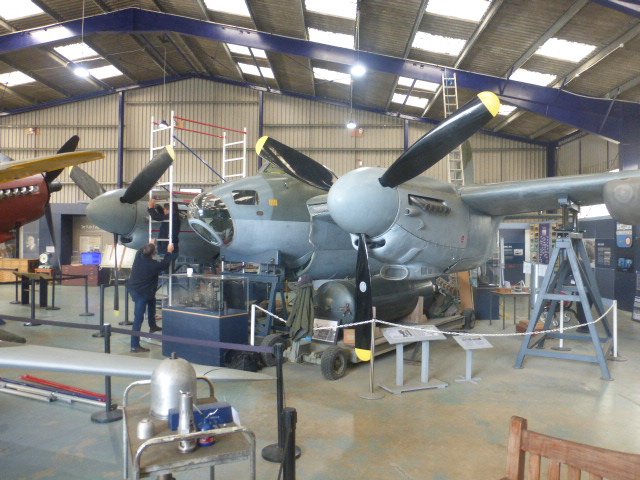
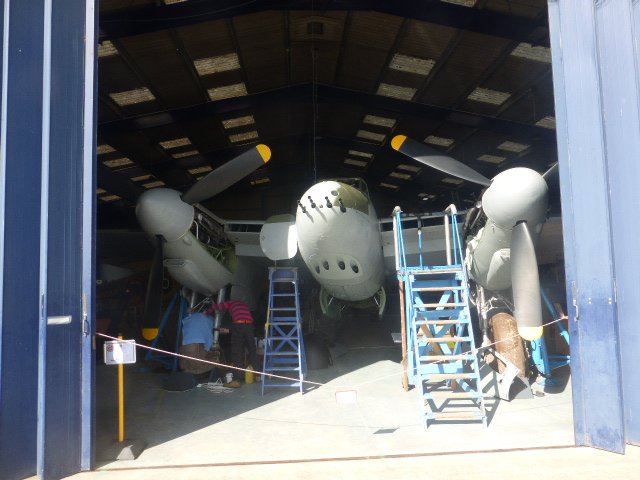
Visited this splendid place today and well worth the journey. Mosquitos, Comets, Vampire jets and loads of other interesting displays that cover the people as well as the machines. Excellent guided tour too. The Mossie with the yellow underside is the original prototype, while the Vampire at the end is a 15 year restoration project done mostly by just one man.
-
I make it 23 vans, one open and the brake coach.
-
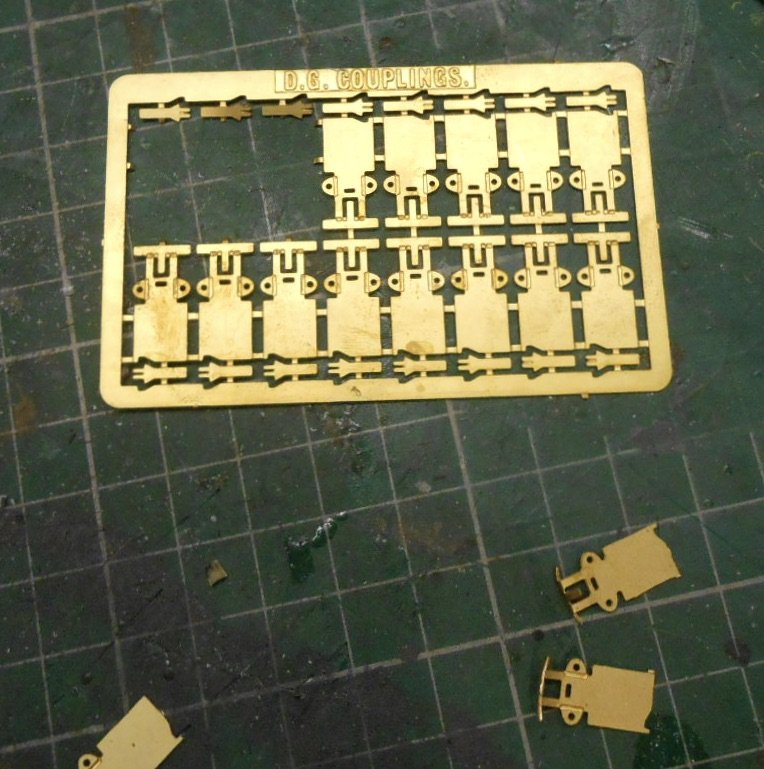
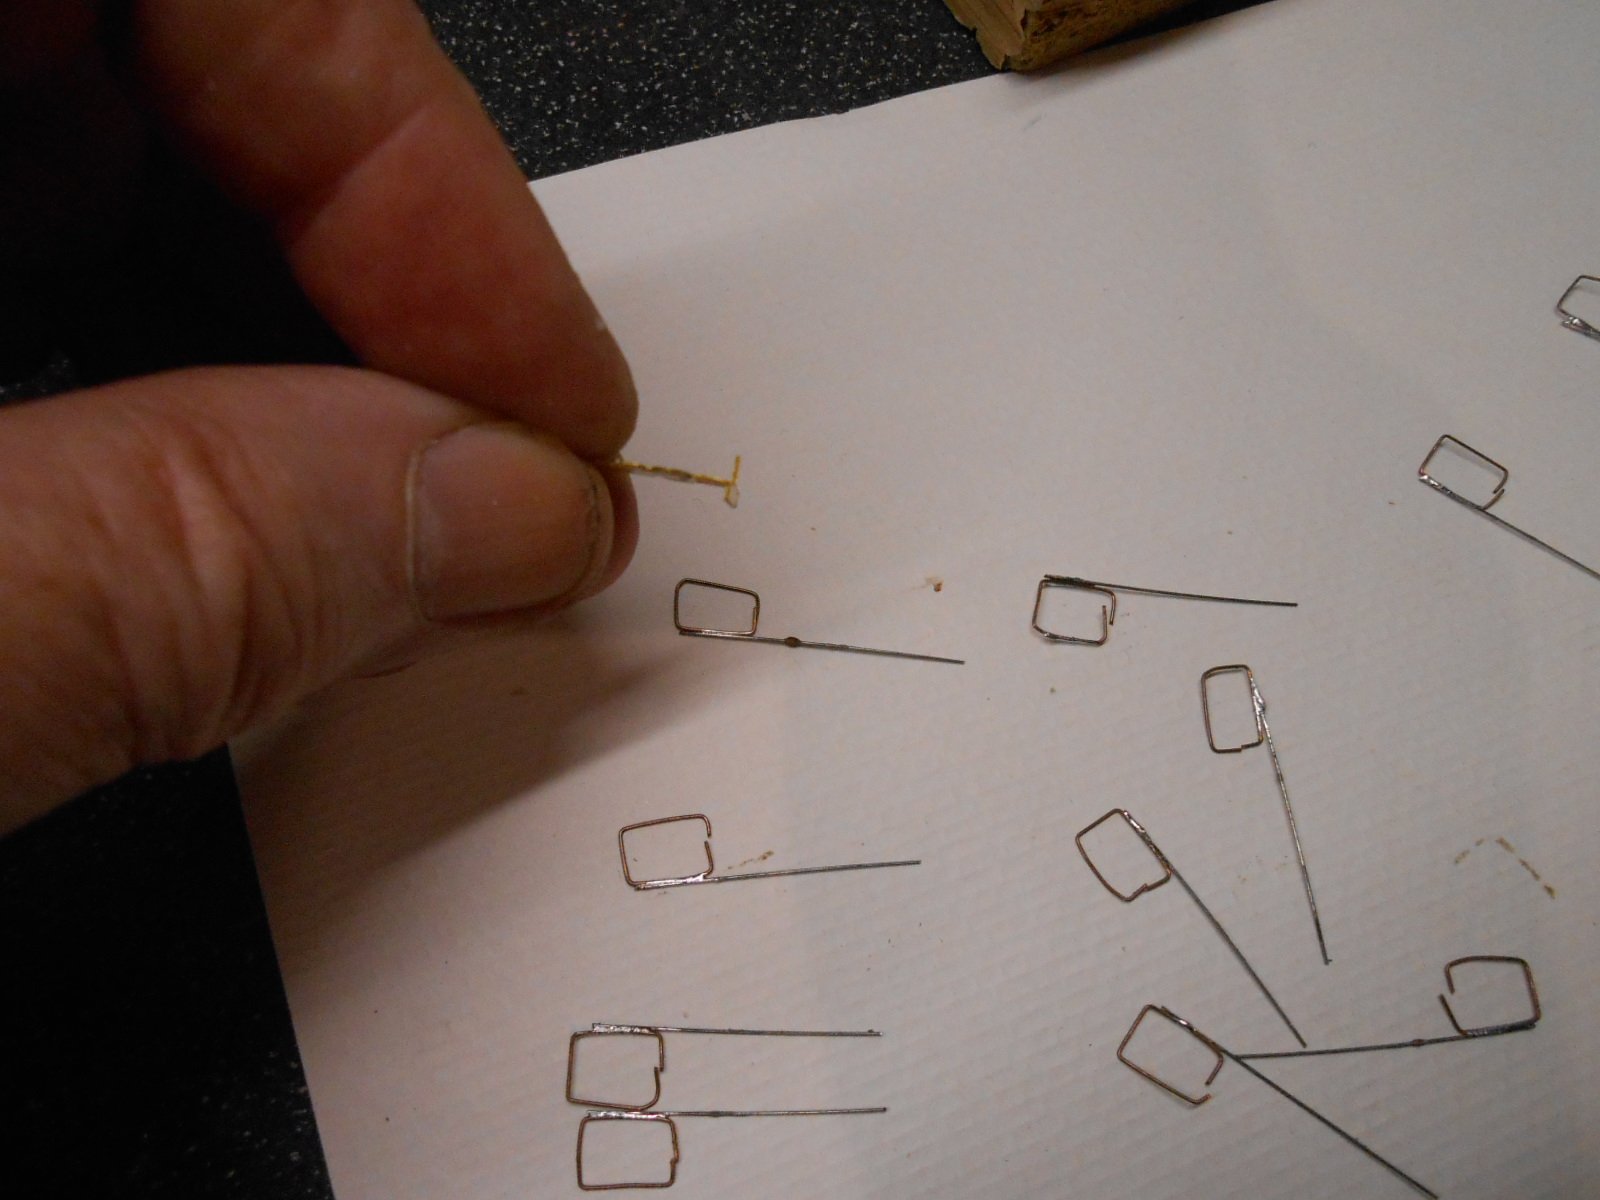
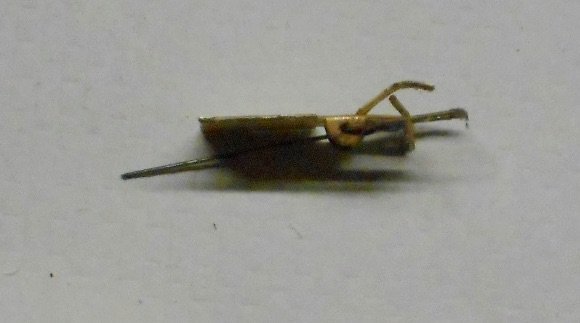
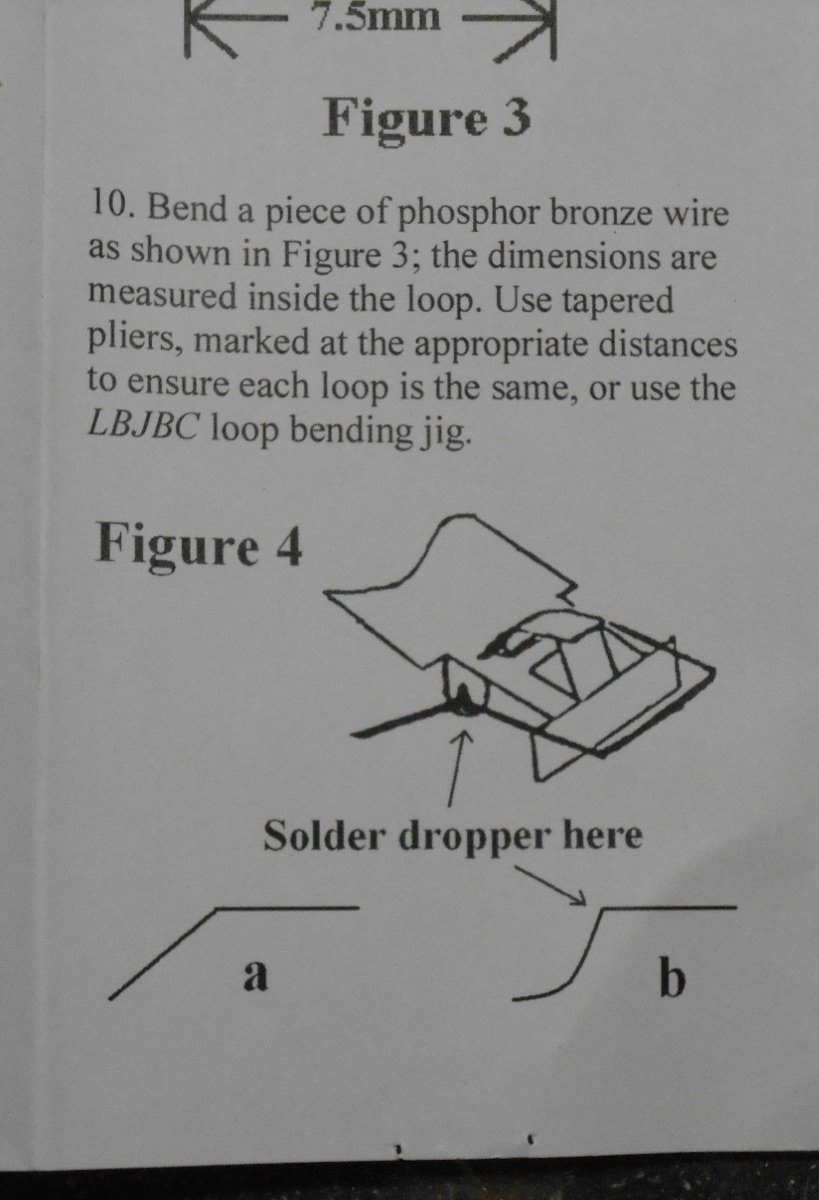
A bit more on the DG couplings. This is just my experience, in 7mm scale at that and there are people far more qualified and experienced than me. Considering that, in 7mm scale, the whole coupling measures about 7mm wide by 12mm long, the 2mm scale ones must be tiny - though these are small enough for me. Also small is the price - an etched fret for 16 costs as little as three quid, though my versions are £6.30, so that's about 50p a pair... The etches are nicely done too, plus you get a coil of 0.5mm phosphor bronze wire for the loops too. As you can see, there are fold lines etched in, with two separate pieces for each coupling, plus the loop. Once the main etch is cut out [craft knife], the main cross piece is folded down [pliers], which means the middle bit now sticks up and then needs bending back about 20 degrees. This forms the coupling 'hook', while the bit just bent down is the buffing plate. Next job is to cut out the other, smaller, etch. This is tiny [and must be minute in 2 or 3mm scale]. It is perhaps the only issue with the DG coupling as can't help thinking a few spares could have been included on the etch to cover the ones that can ping off and get lost. Already been there and got that T-shirt... Anyway, this smaller etch is the 'delayed action' part of the coupling, enabling a vehicle to be uncoupled and pushed into place without reconnecting. It needs about a 45 degree bend and then is fitted into the slot in the main etch, with the two lugs tweaked outwards to hold it in place. After that, the two lugs with the round holes on the main etch are bent down as these are what the wire loop is fixed to. It all takes less time to do than read this. The only other thing to do is make the coupling loop. For another couple of quid, you can buy a brass block which works as a bending jig. You wrap the phosphor bronze wire around this up to 15 times to make 10mm x 7mm rectangles. Once separated, each one needs a short piece of steel wire soldering to it. This acts as the dropper wire, enabling hands free uncoupling using below track electro magnets. Again, slightly fiddly, but you soon get into a routine. These wire loops are then sprung into the lugs of the main etch, after which the whole assembly needs to be chemically blackened with something like gun blue. All that is left is to then fit the coupling, using contact adhesive. Considering the small size of these couplings, not only do they look ideal for 7mm narrow gauge, I think they would make a fine alternative to tension locks in 4mm scale, being both discreet and offering hands free uncoupling.
-
Me neither, Leslie and my SLNCR work goes back even further!
-
Interesting - thanks Angus. Just received some more etches from Wizard and they've come with 0.5mm wire, which is what I had in stock. Gradually getting used to what is, for me, the fiddly nature of the DGs, but having seen how well they work in smaller scales, decided I really ought to try. The good thing is that even if the 0.5 proves to thick, it will be easy to substitute something finer. As ever, hats off to everyone in 2 and 3mm scale!
-
Excellent! Nice to see a mix of modern and traditional techniques as well. Would also like to know more about Silhouette cutting.
-
If you want steam era, then going for a set of private springs might be the answer. There are several very nice rtr industrial locos available and even without a repaint, it would be a start, especially when used with some of the wagons mentioned above. Early industrial diesels like the Ruston 48 or 88 would fit the bill too. There is a useful rule that suggests the longest train you run should be no more that a third of the length of the scenic space on your layout. 1100mm = no more than 400mm maximum, so a small shunting engine and three or four wagons will be better than a mainline engine and only one or two wagons. Keep an eye on the usual second hand websites for bargains and while you are accumulating stock, play around with designs and have a go at making some buildings to set the scene. It is all part of getting creative.
-
Sounds like just one engine working - for obvious reasons. The demonic howl when both were on full power could rival a steam loco exhaust. Well nearly... Back in the 70s, my choice of train home at the end of term from college in London was the Aberdeen Mail. Often loaded to 15 bogies or more, sticking well out beyond the end of the platforms at Kings Cross. Still have vivid memories of one run where the train did Grantham to Newark (14 miles, including 1 in 200 through Peasciffe Tunnel) in 12 minutes, start to stop. Was convinced it wasn't going to call at Newark for a while, but the noise, standing at the carriage door with the window open as we flew through the tunnel, was incredible.
-
Note too that the Bassett Lowke advert states its products were new year gifts for boys. Girls too busy playing with dolls and doing housework presumably....
-
Seems like a fair bit of time has gone by without me actually making anything and not sure that the latest project counts for this either... Decided I didn't like the tension lock couplings I'd been adapting for Swillybegs, so ordered some DG etches from Wizard Models. They are the 0 gauge/7mm scale version and [unlike the tension lock adaptions] aren't handed, so should simplify shunting sequences. Have made up a few for testing purposes and, so far, so good, though am wondering if I've used the right gauge wire for the loops. The instructions don't say, other than to use phosphor bronze. What I have is 0.5mm - does anybody know if this is ok, please?
-
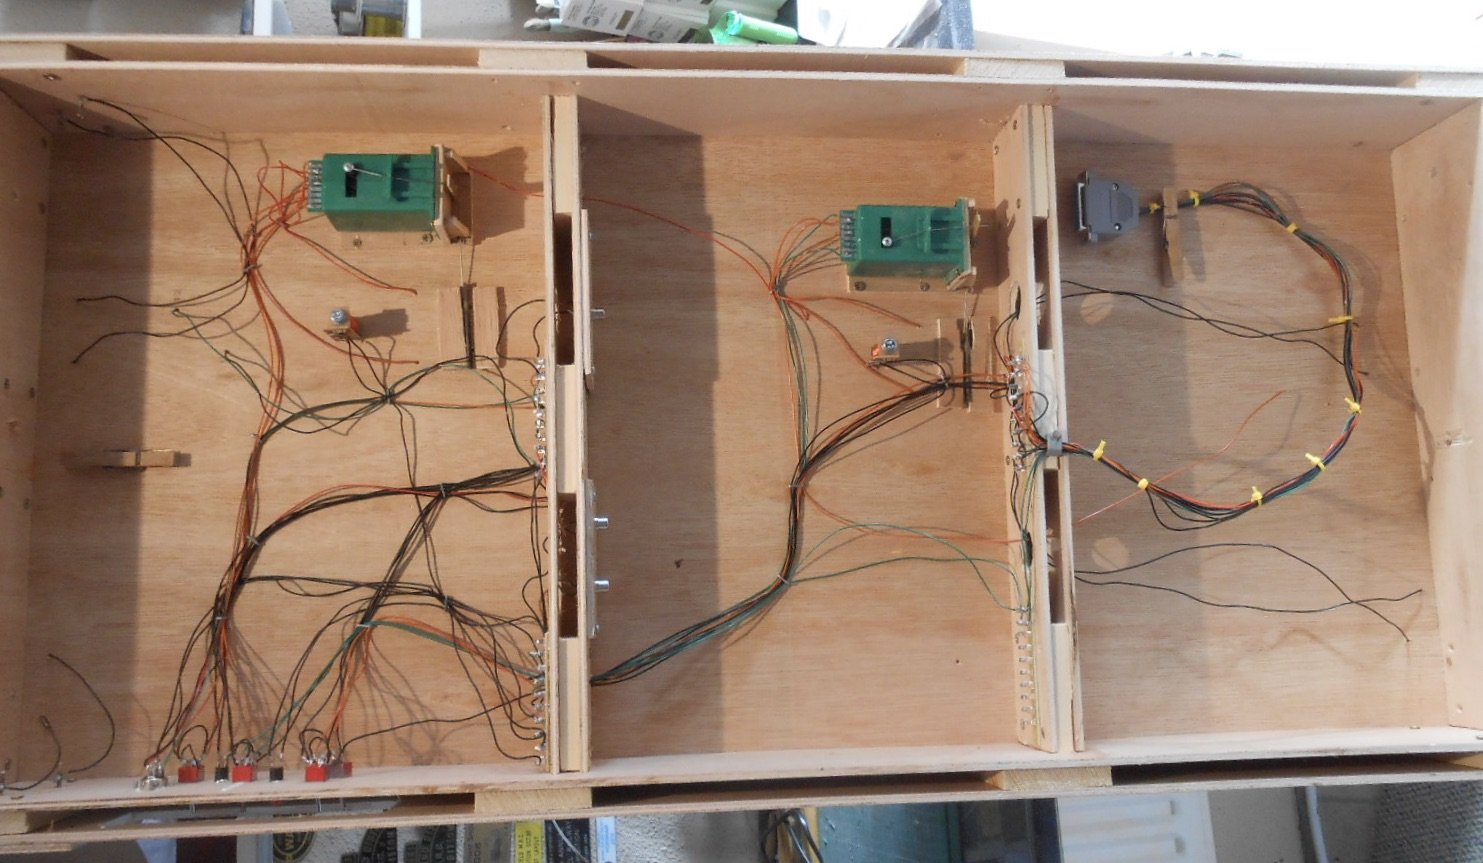
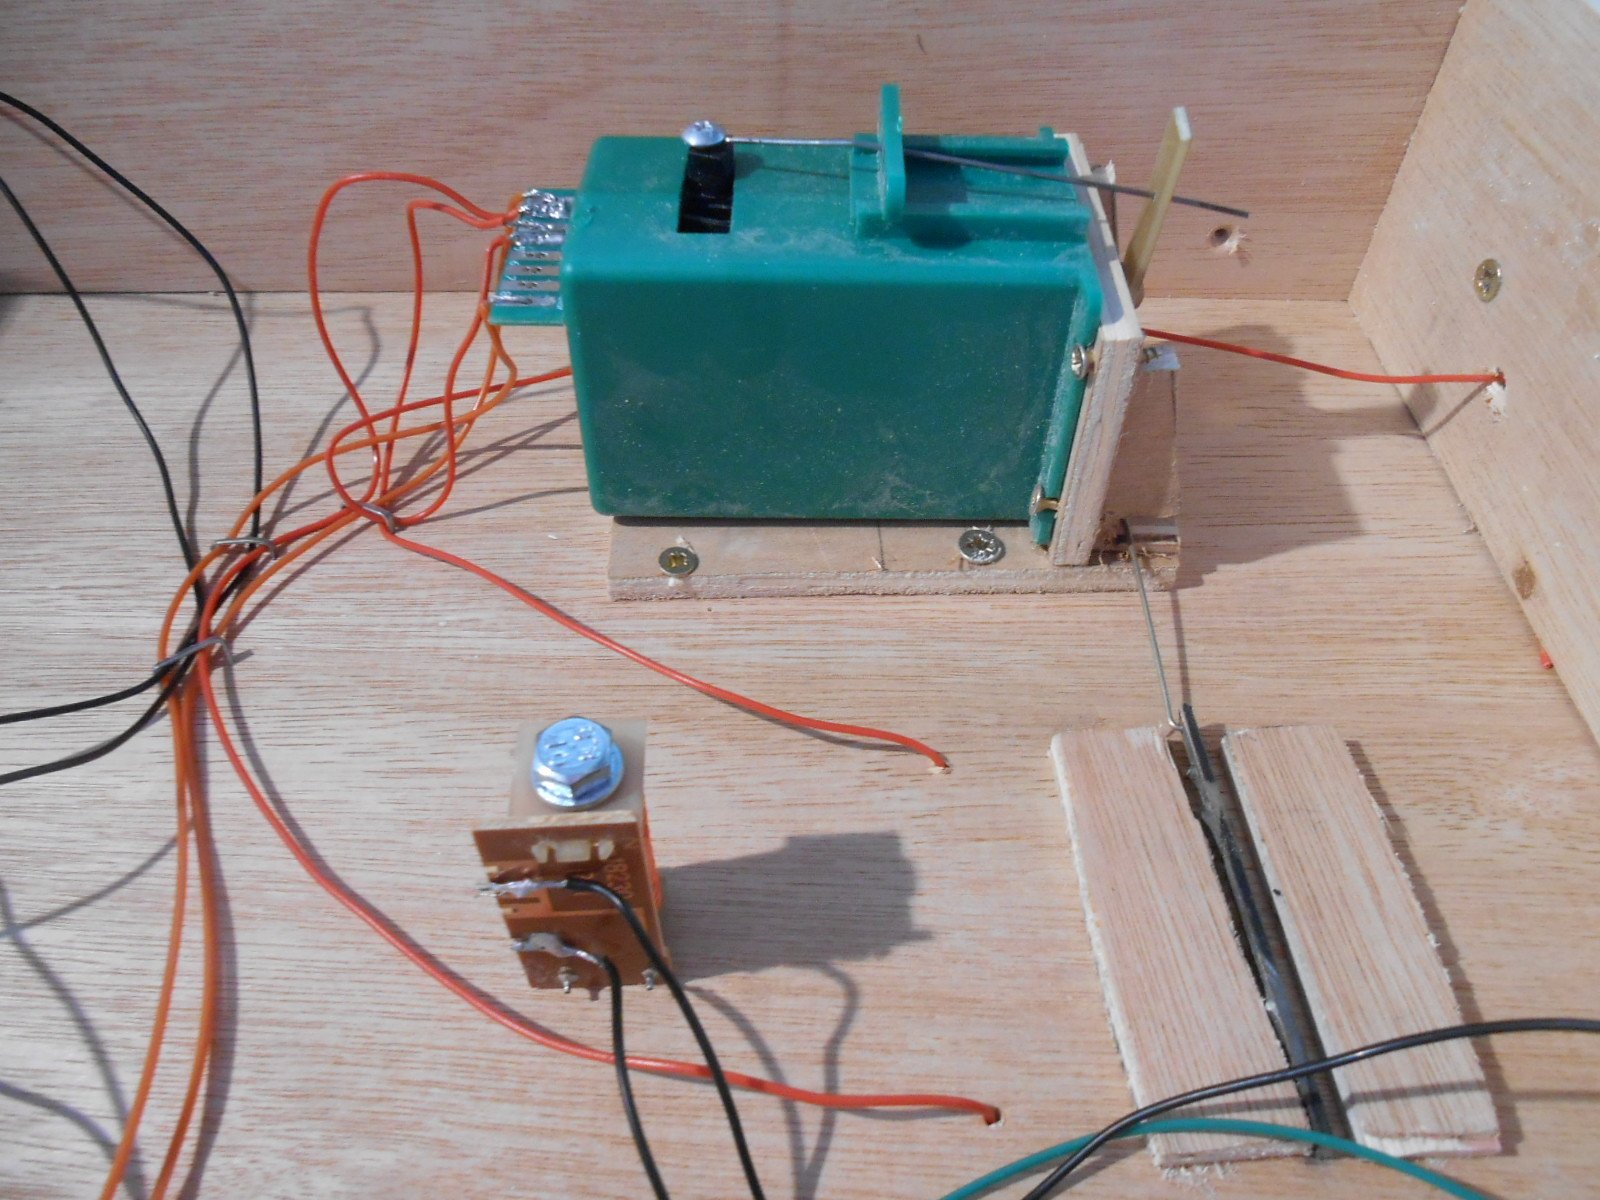
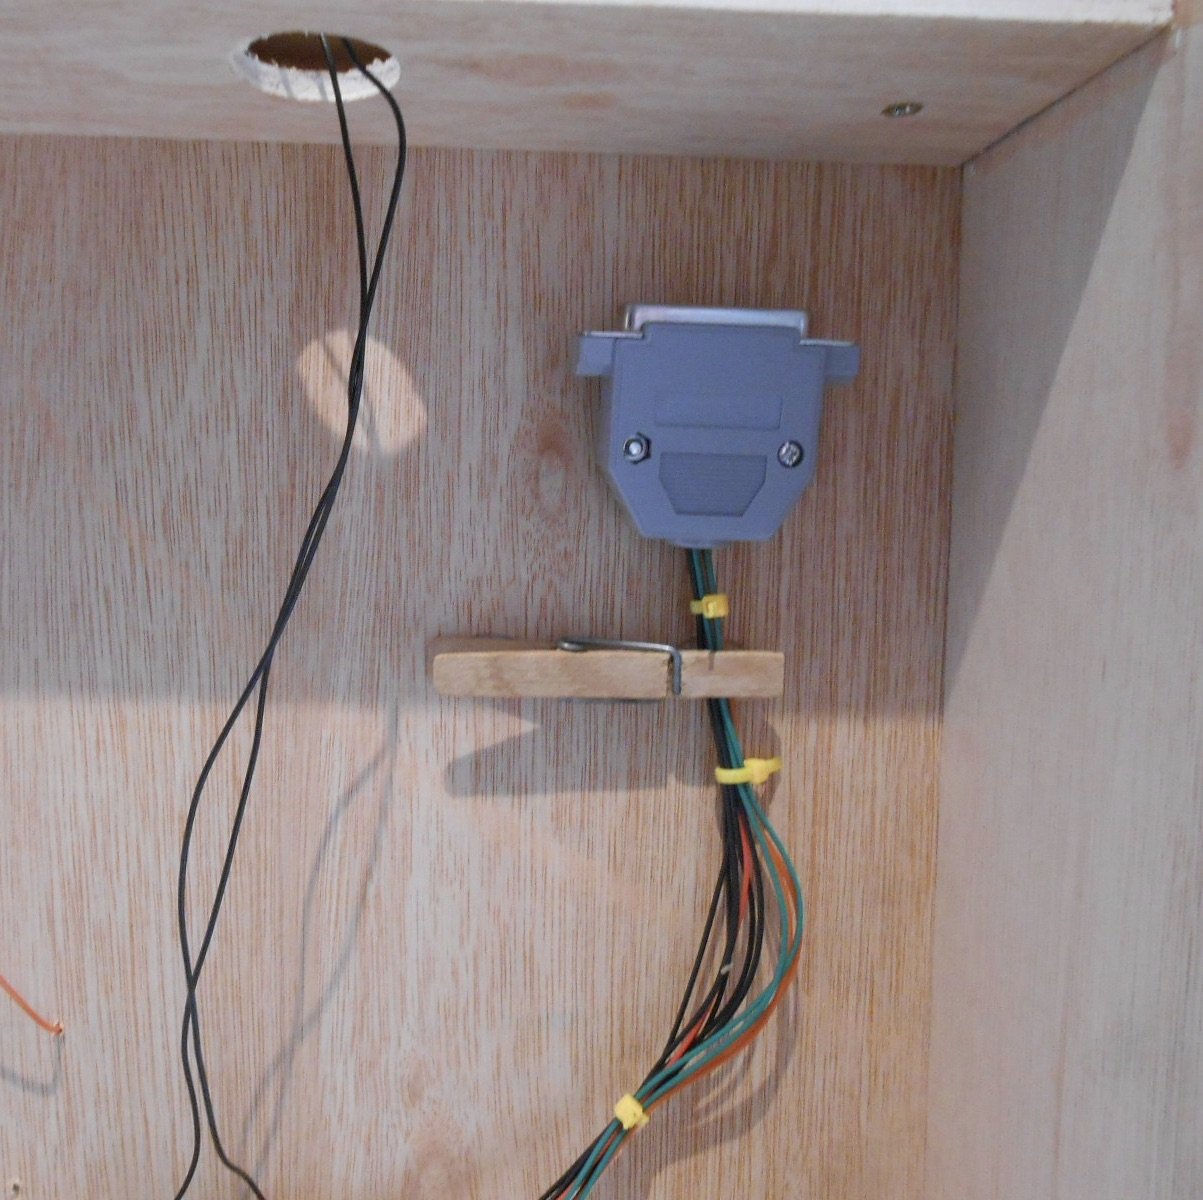
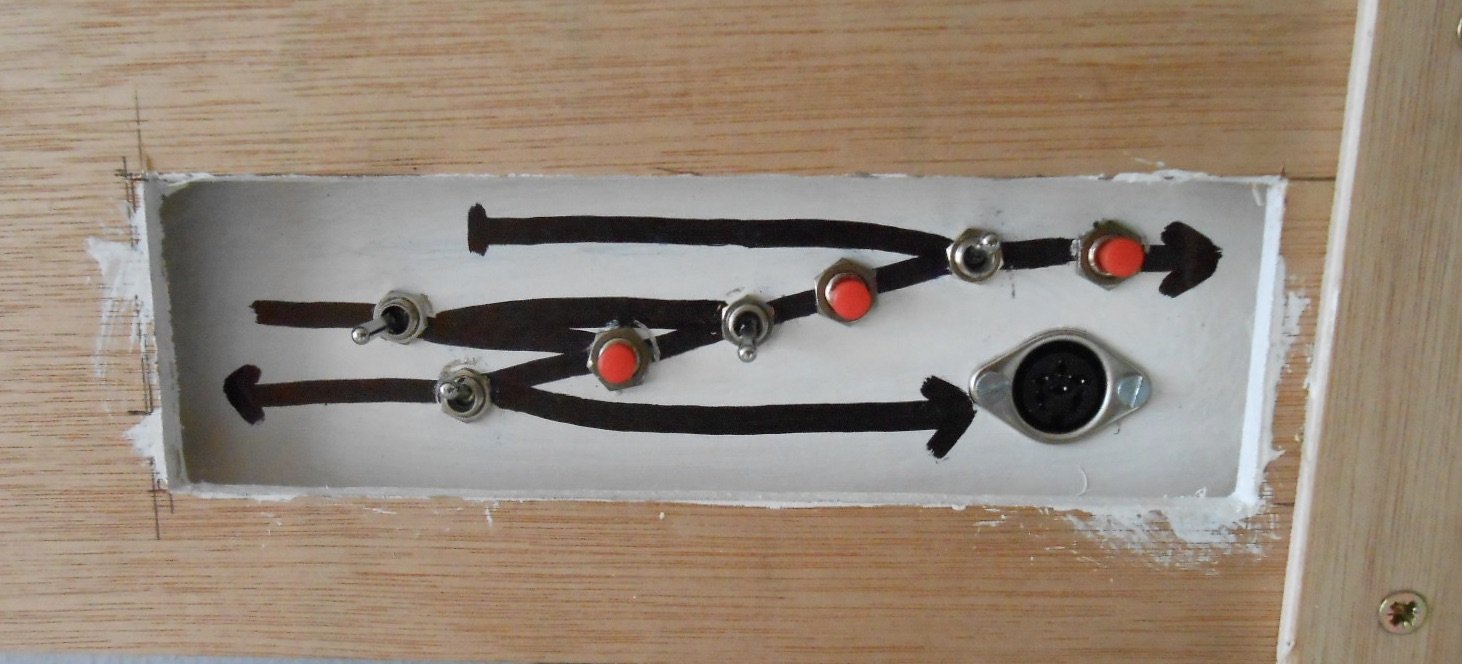
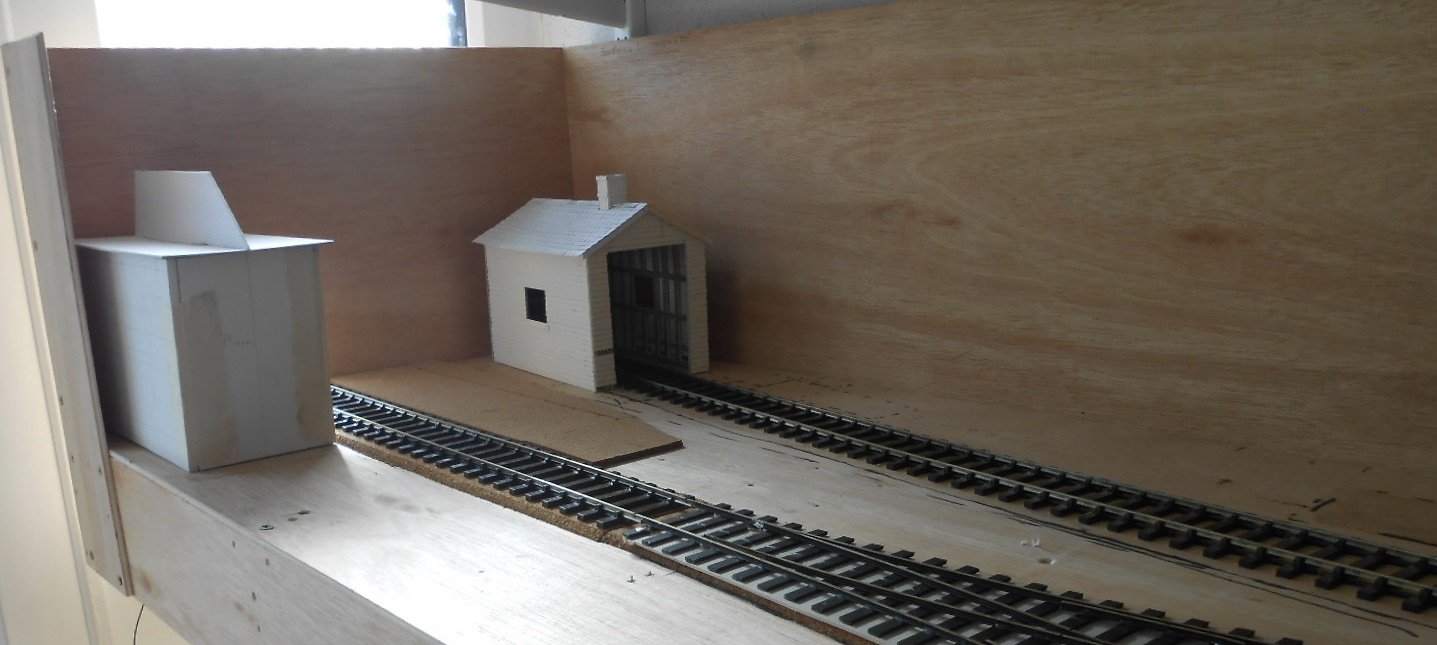
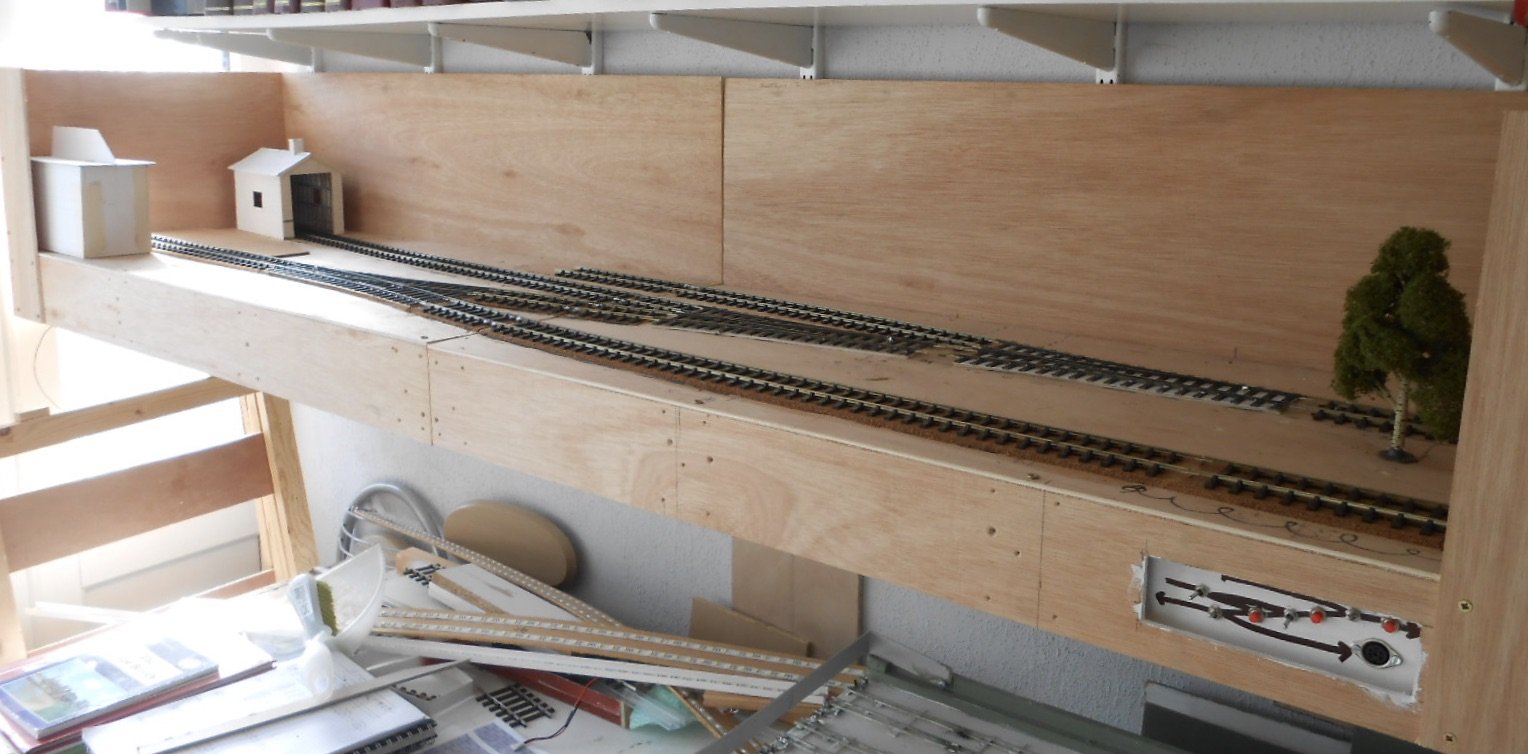
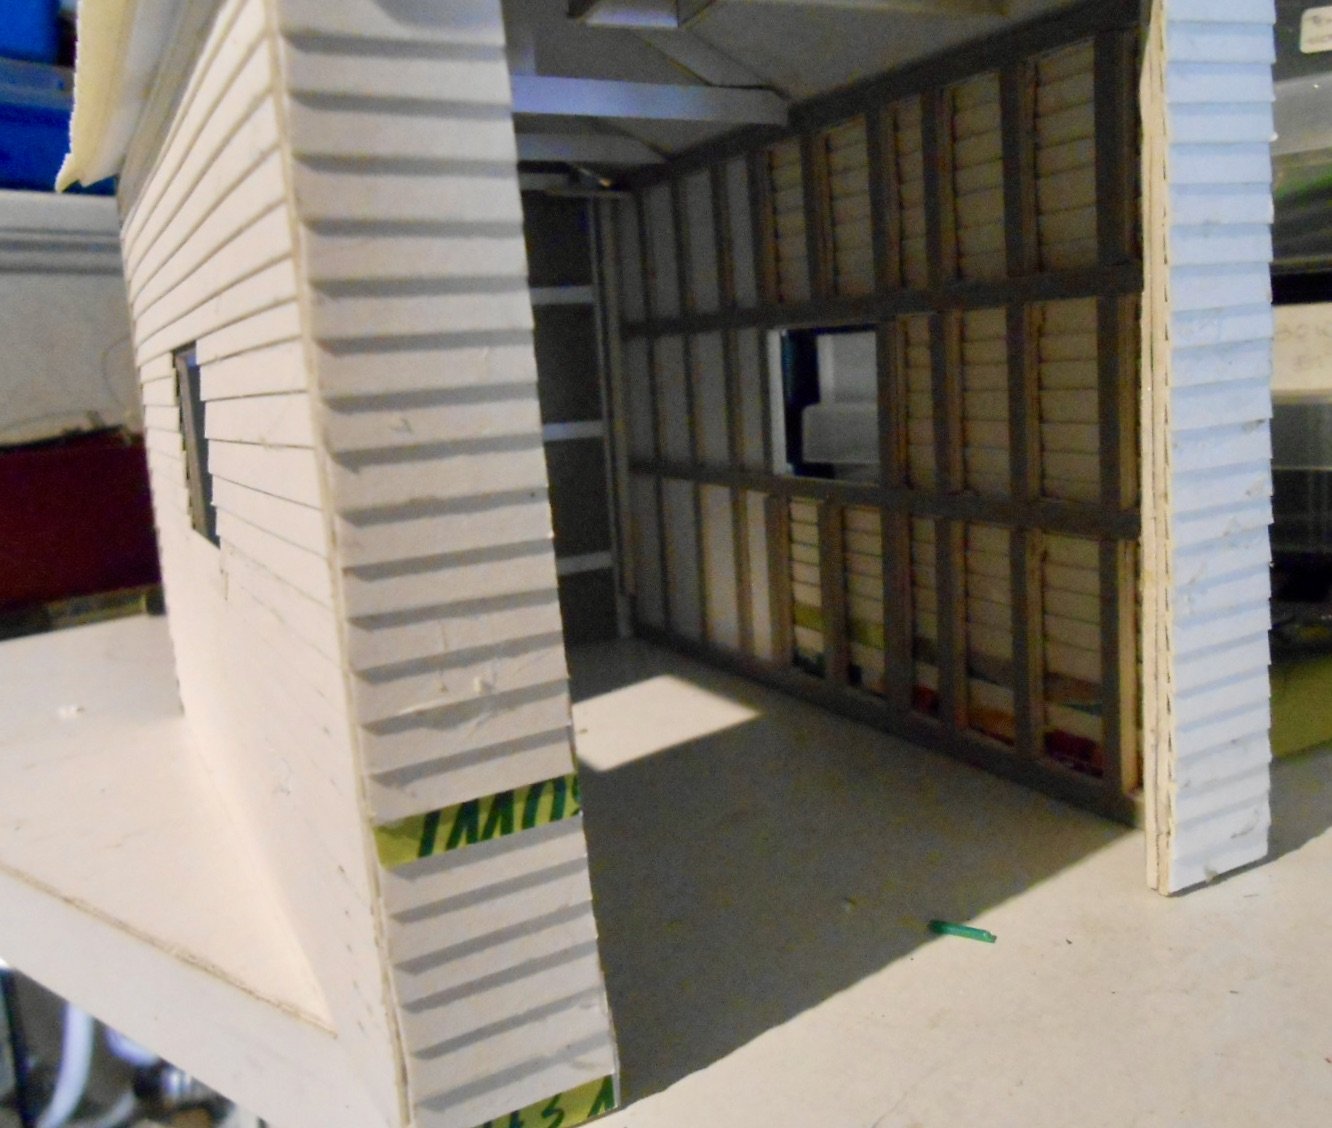
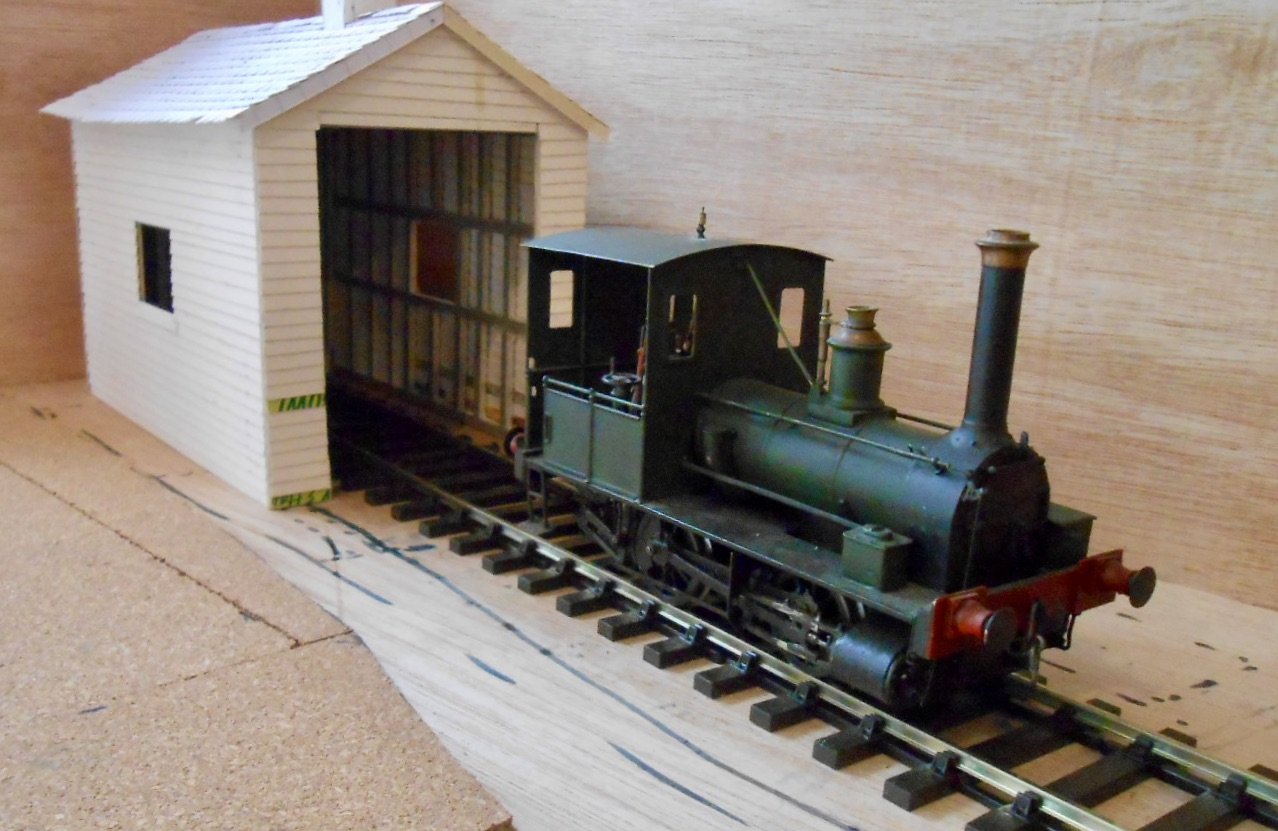
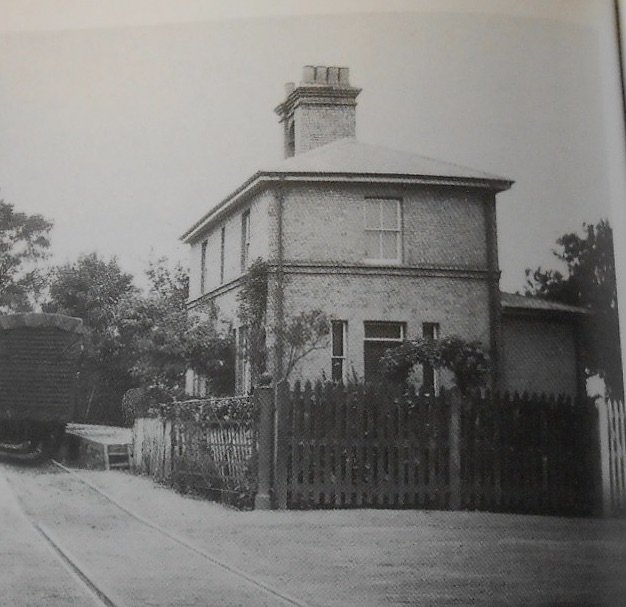
Oh frabjous day! Callou! Callay! He chortled in his joy. [Jabberwocky, in case you are wondering] Yes, the wiring is done. Fairly conventional: I have long used tag strips and a wiring diagram, so don't worry too much about coloured wires. That said, have used black for track, orange for points and green for electro magnets. A couple of tricks were to mount the Tortoise point motors on their sides and hot glueing a clothes peg to the underside of the baseboard to hold the computer plug and socket. Made a bit of a horlicks of the mimic diagram for the control panel, but hopefully it can be touched up with a fine brush. With the track laid and wired, have been playing around with sight lines and basic buildings. To this end have been building a loco shed and have mocked up a station building shell, which will be closely based on the one at Snape Maltings. More on these later, though with the Farnham/Aldershot show coming up soon, now need to turn my attention back to Irish matters, in order to make sure Northport Quay is working well.
-
Amazing how wide the track looks in that third photo. Makes me think I should be using Code 75, or even 55, instead of 100... What a railway!