David Holman
Members-
Posts
4,359 -
Joined
-
Last visited
-
Days Won
117
Content Type
Profiles
Forums
Events
Gallery
Blogs
Community Map
Everything posted by David Holman
-
Clever thinking for the traverser! Nice too that you can use fairly tight radius curves for the off scene sections to keep the overall footprint compact. The fact that it all aligns nicely is a real challenge on a sectional exhibition layout, so definite pat on the back there! Did it once in 0 gauge. The layout was about 30' x 12' of which only the front 16' was scenic. Took it to the Chatham Show, but didn't get any more invites for some reason... Changed it to cassettes each end and suddenly the number of operators needed doubled, so your solution is definitely the right one. Presumably, only the layout and sector table will need substantial support, with the curves cantilevered off them and maybe just simple pillars in strategic places for the curves. Minimising the amount off "stuff" to set up, transport etc is crucial in making exhibiting tolerable - but am sure you know that! Great idea and will make a lovely way to show off all your fine models. Good excuse to build some coaches too!
-
Hmm... when does selective compression cross the Rubicon and become 'might have been' or just pure fiction? Have had this discussion with myself, because of the space considerations, numerous times and the prototype almost always loses out. The one (semi) exception was a layout based on Wantage Town, which even in 7mm scales out at just over seven feet. I always applaud those who pursue the prototype route, though apart from Andy Cundick of this parish, there is usually still a compromise somewhere. Equally, with so many proposals that never got started, there are plenty of options to stir the creative juices. Hence I always end up starting with the available space and simply make something to fit it. Can see why Fenit is so tempting (like Foynes too with its overall roof), but if you change it too much will it still be Fenit - or would you have to change the middle consonant (e.g. to a k) because it is no longer quite right? One thing not in doubt is that whatever you end up building will be thoroughly researched and beautifully crafted, with lots of entertainment along the way.
-
IRCH standard goods vans - wooden framed variant
David Holman replied to Mol_PMB's topic in General Chat
Lovely stuff and very much filling in some of the mysteries of general Irish goods stock. -
Splendid! Serious rivet (?) press there too.
-
It is certainly all part of the hobby's evolvement. Often say that, if I was starting again, I'd probably stick with rtr for stock. For me, the problem is finding scratchbuilding parts, like coach bogies, w-irons, axles boxes and the like. The ranges available are now much less than ten years ago, so it is a good job I have most of the stock I need, especially for broad gauge.
-
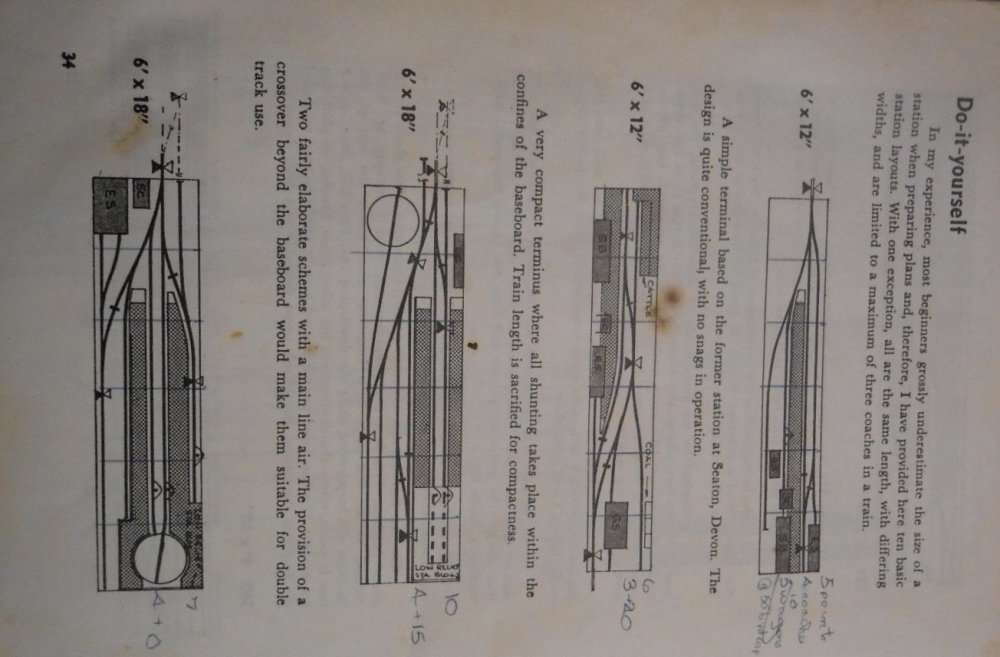
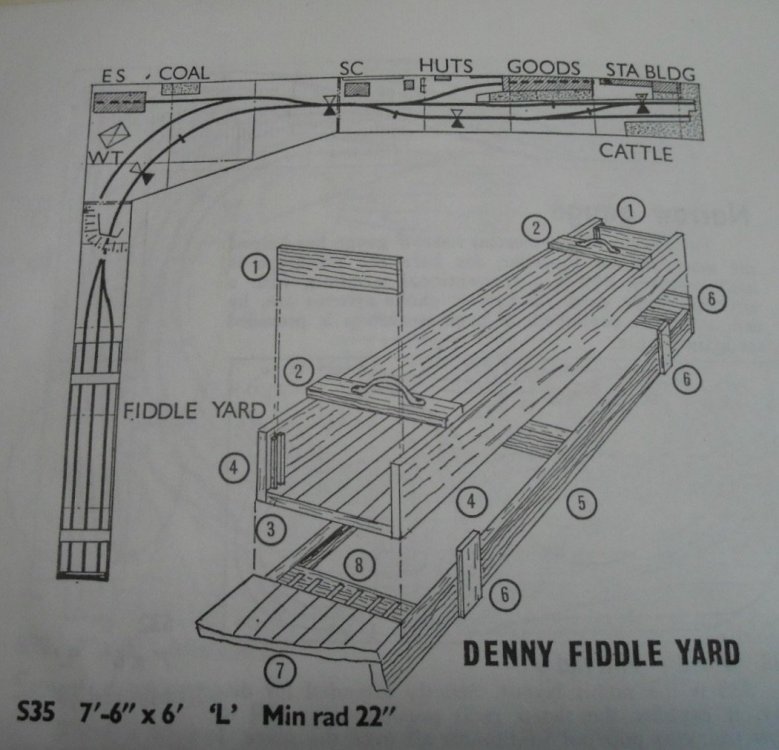
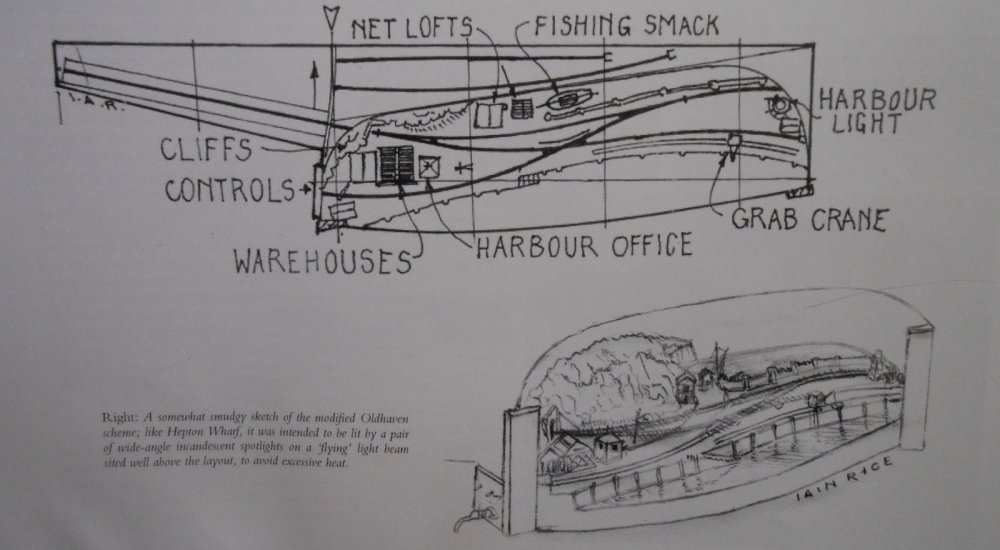
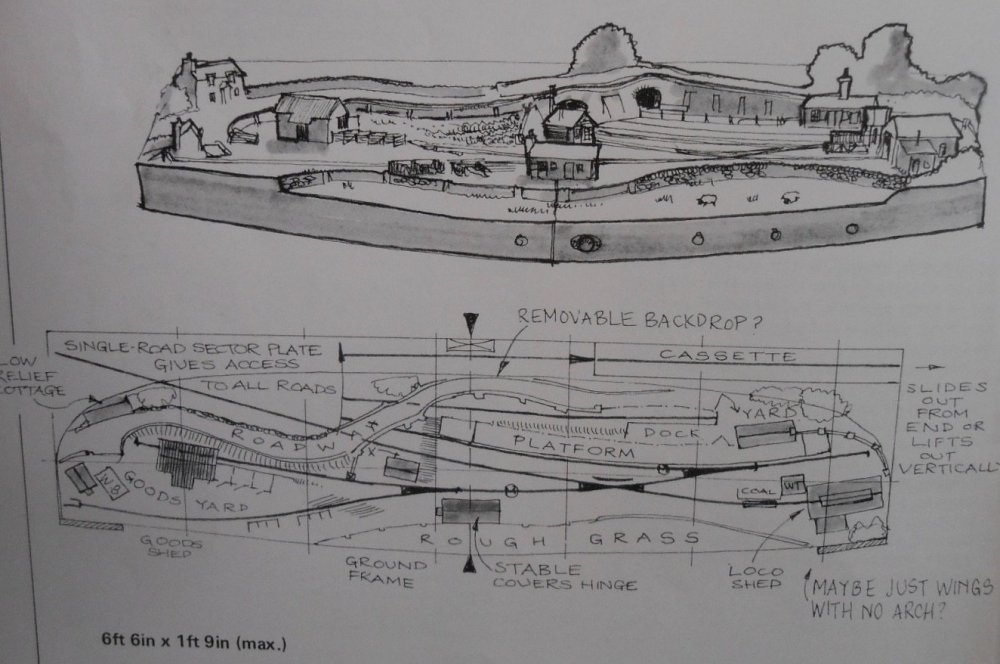
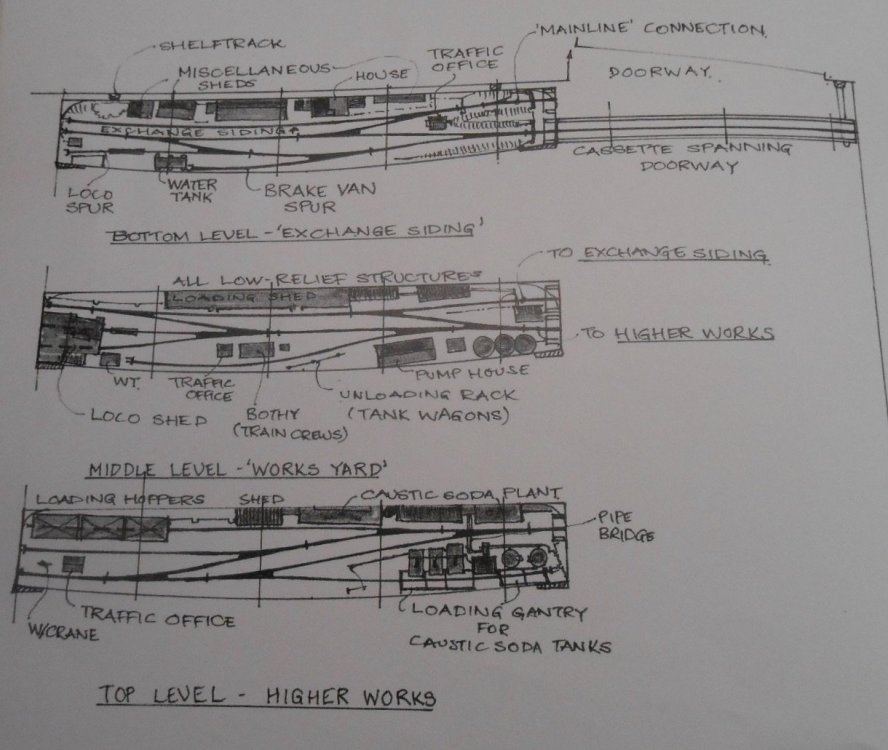
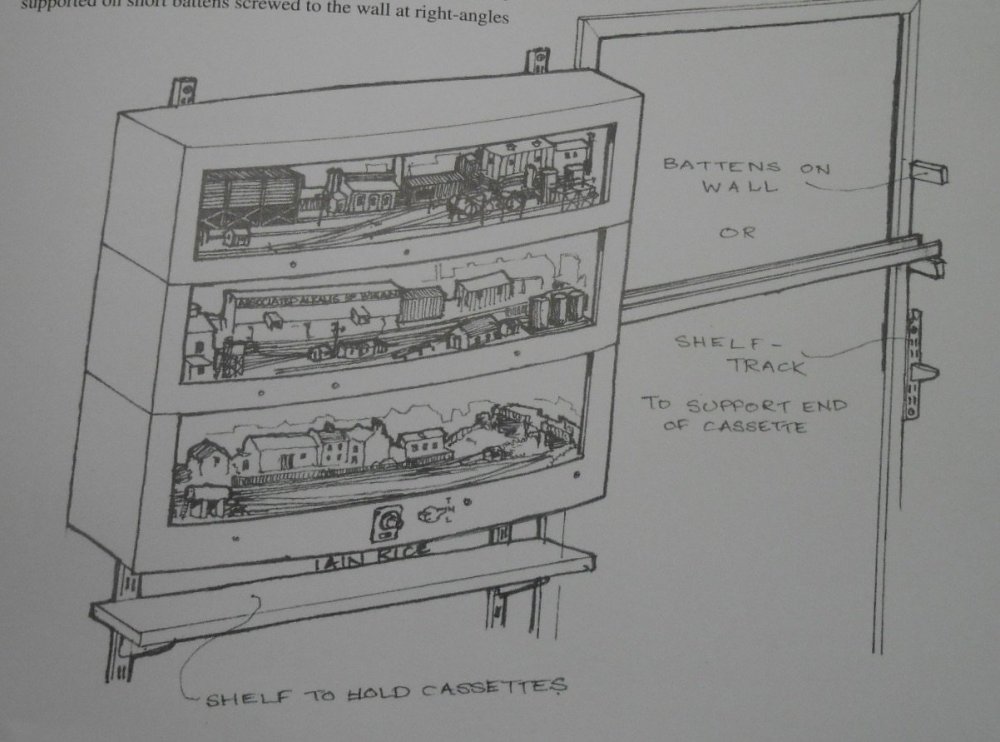
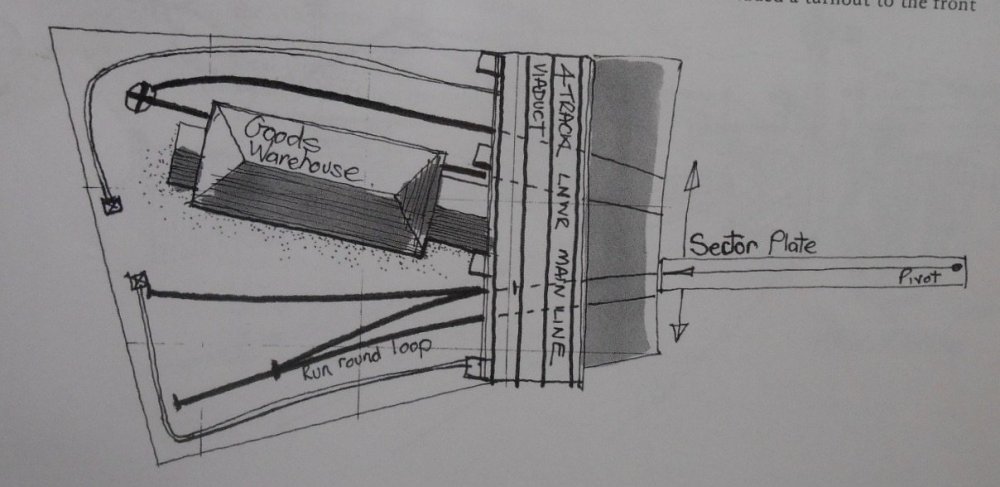
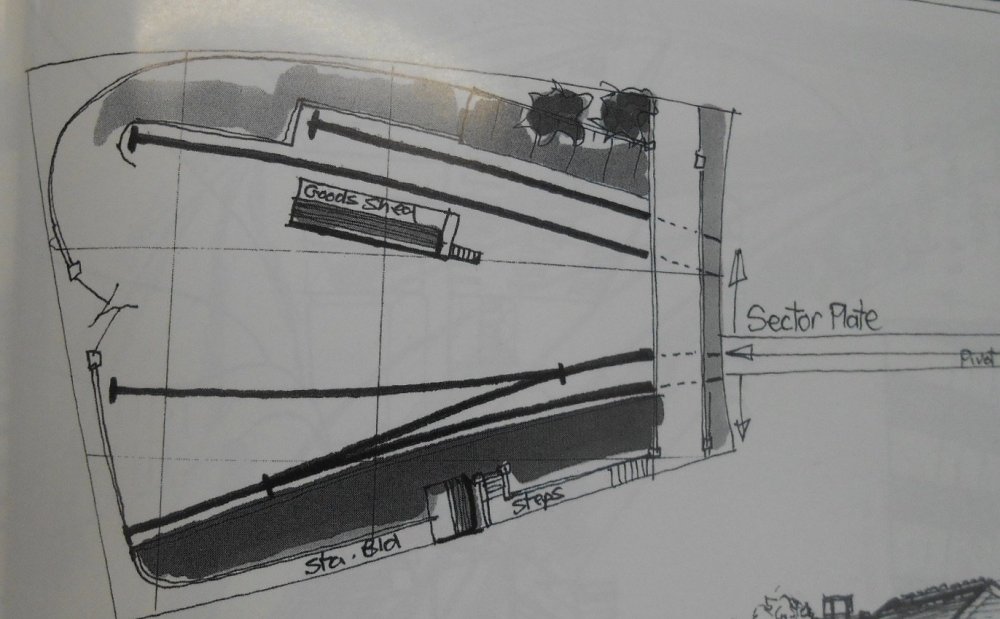
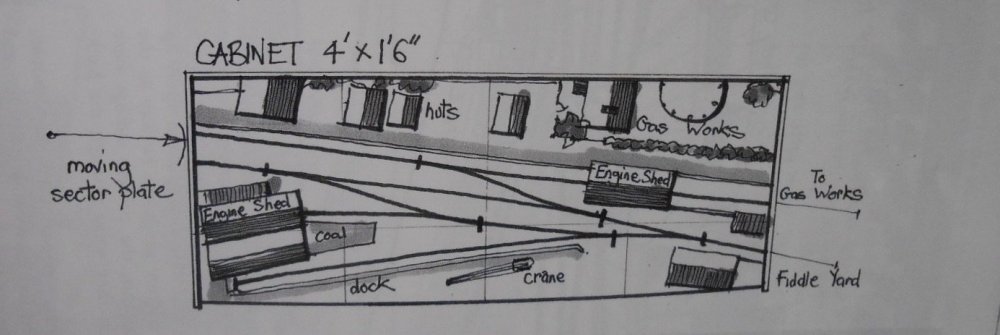
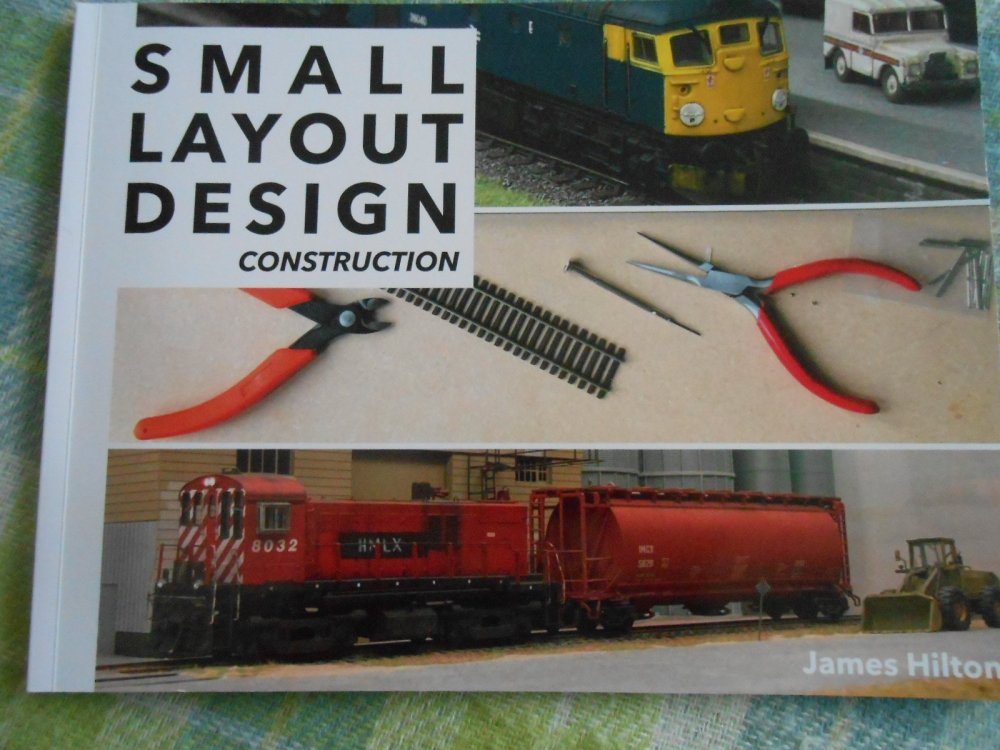
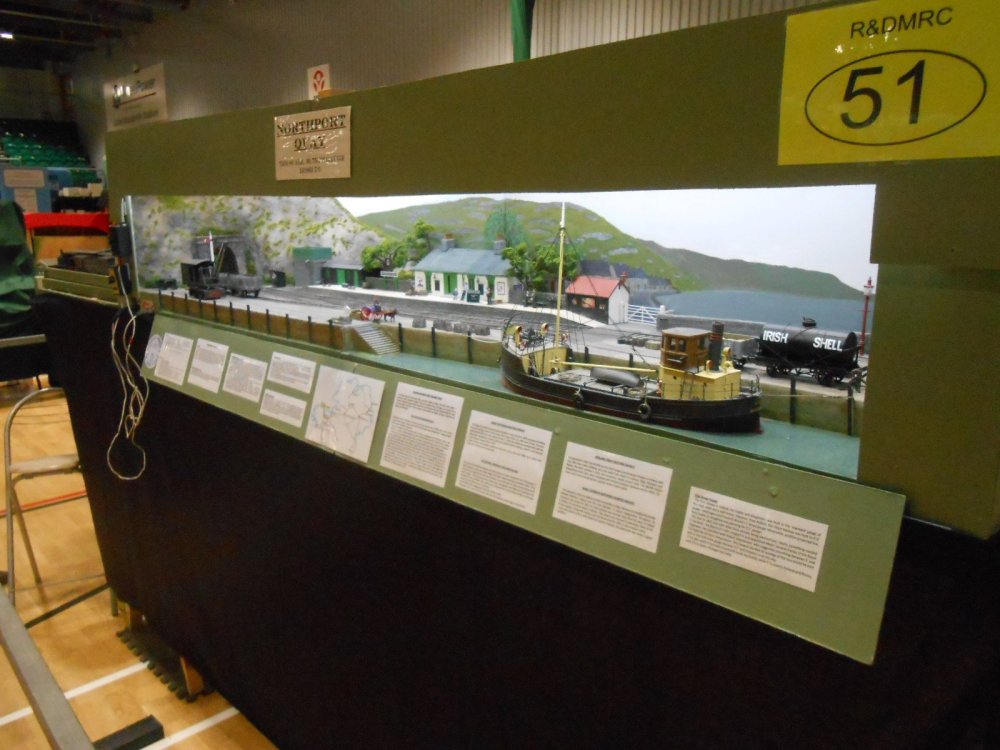
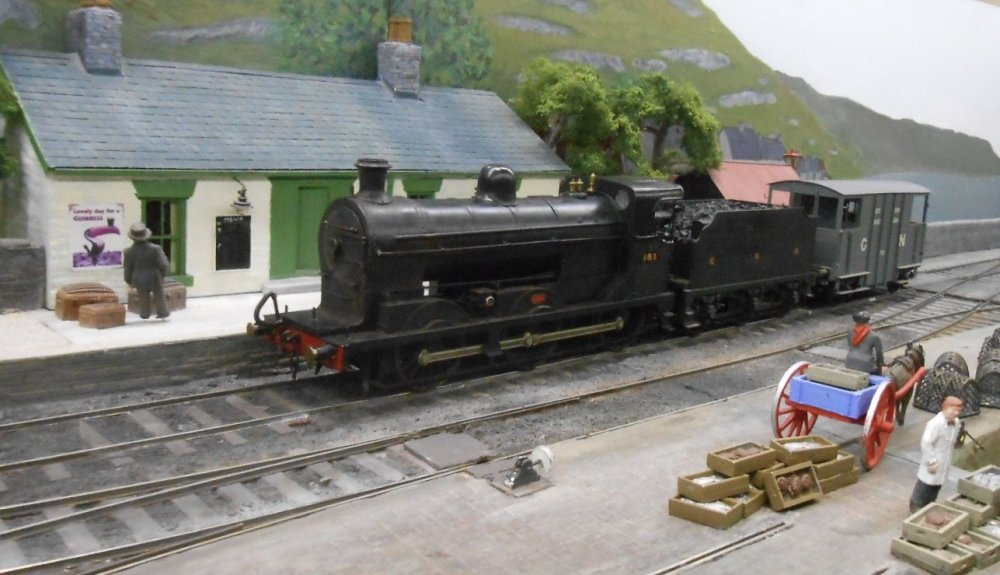
Ok, here are a few ideas. First up, Cyril Freezer's 'Small Layouts'. A bit dated now, but worth a look, because there may be something you could adapt. My favourite layout designer has always been Iain Rice. Always appealing and practical, but also so clever. The one below is what I based my Northport Quay project on This next one is based on Llanaster, one of the first exhibition layout to do away with the entry points to the loop - using a sector plate instead. This next one I have always thought particularly clever, arranging three small layouts one above the other on wall brackets. Trains progress from one scene to the next via a cassette. This one [above] was actually designed for 7mm scale, but should reduce to your parameters in 4mm. Idea to avoid are things like the two below from Barry Norman. Usually love his ideas, but when you look at these, you'll see that your locomotive will spend most of its time hidden off scene! This one I DO like though. It is a fairly accurate rendition of Wantage Town, minus the tram shed. However, even with the latter the whole scene needs just 7'2 in length in 7mm scale! Been there, done it & it works really well. Finally, a new book I picked up at Railex, by James Hilton & published by Wild Swan. It takes a fresh look at micro layouts, some of which are very simple indeed, but explores the concepts scenics and operation with each plan. Hope this helps!
- 5 replies
-
- 11
-

-

-
Depends what variety of stock you have. If it is mostly locos, then a shed/depot is probably the best option. Will post a few ideas later.
-
"Voiding the Warranty" - Mol's experiments in 21mm gauge
David Holman replied to Mol_PMB's topic in Irish Models
The detail on the underframes is rather splendid. Fair bit of work need to regauge, but definitely worth it. -
"Voiding the Warranty" - Mol's experiments in 21mm gauge
David Holman replied to Mol_PMB's topic in Irish Models
Couldn't agree more! Variety is the spice of life and while standardisation, container traffic and multiple units must make sense economically, most of the fun in watching trains has gone when you know beforehand what they will look like, number of wagons, coaches etc. A while ago, there was a train spotting series on TV and all they had to get excited about was liveries, because the stock was essentially all the same. Ok, sweeping generalisation, but you know what I mean... Northport Quay, despite only being able to accommodate two six wheel coaches and a van (or equivalent wagons) offers 10 trains over two periods and each one is different, with nothing duplicated in each line up = more stuff to enjoy and make. Works for me, anyway! That said, you only have to look at layouts like Ballinacraig to see that modern image modelling can still be fabulous. -
Lighting is indeed important. Aim to have the same on your workbench as you will have on the layout. For LEDs, have found that "cool white" works well. See that the spellchecker goblin is at work on your thread too (lifting for lighting) - sometimes I wonder what language I'm typing in!
-
Lovely photos of an exceptional layout: so well observed.
-
IRCH standard goods vans - wooden framed variant
David Holman replied to Mol_PMB's topic in General Chat
Compared to this side of the water (where even obscure companies seem to have at least one book about their wagons), it is a neglected area in Ireland, so these notes are really useful. -
"Voiding the Warranty" - Mol's experiments in 21mm gauge
David Holman replied to Mol_PMB's topic in Irish Models
Somebody clearly knows how to solder! A proper little jewel. -
All 7mm broad gauge stock qualifies for running rights on NPQ, Leslie so you will be most welcome! Applies to anyone else out there too, not least because there are so few of us.
-
Overall, the layout performed pretty well at Railex. I seem to have largely solved the track issues, so derailments were minimal. Getting on top of the Alex Jackson couplings too, though I need to make a better alignment tool to ensure the couplings are all the same height and inline with the centre of the track. Several trains worked almost faultlessly - coupling and uncoupling reliably. On other trains the AJs proved a bit sticky, so need to check the height of the dropper wires I guess. Otherwise, the latest remedial wok has proved successful, despite the A41 road to Aylesbury doing its best to reduce the layout to kit form on Friday afternoon! Next outing will be Aldershot in October. This was the show I had to drop out of last year, so nice of them to invite me this time. Attention now turns to the Chatham Club's 0 gauge layout, for our Show in July. A 10m x 5m double track oval, am currently fitting backscene boards while last minute scenery is being added too. Hopefully, the layout will provide a nice setting for a wide range of trains belonging both to the club and individual members.
-
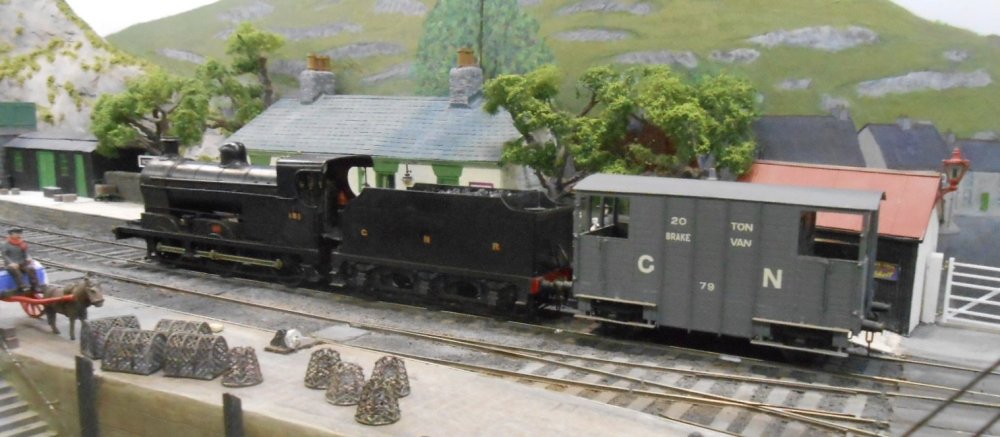
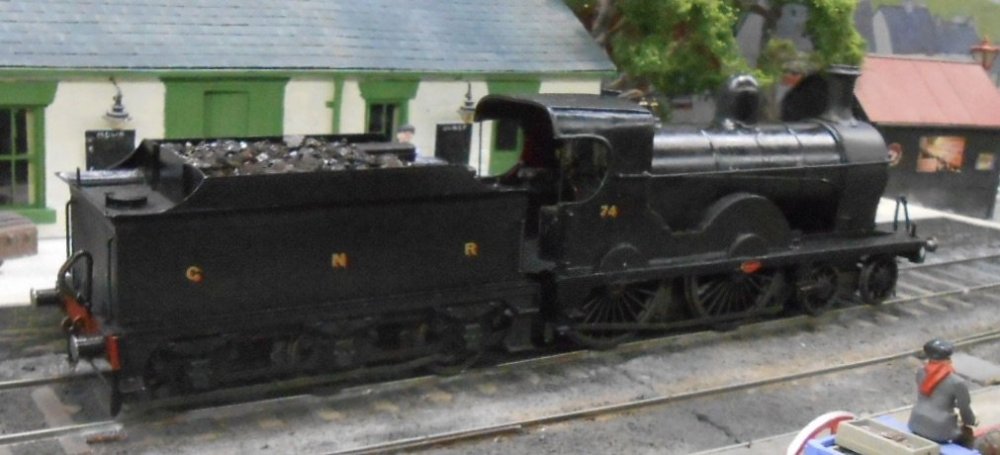
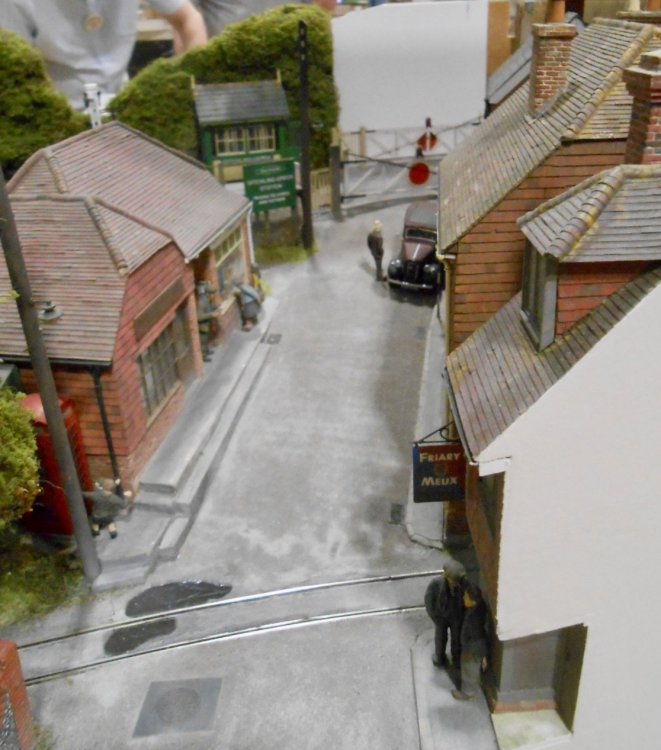
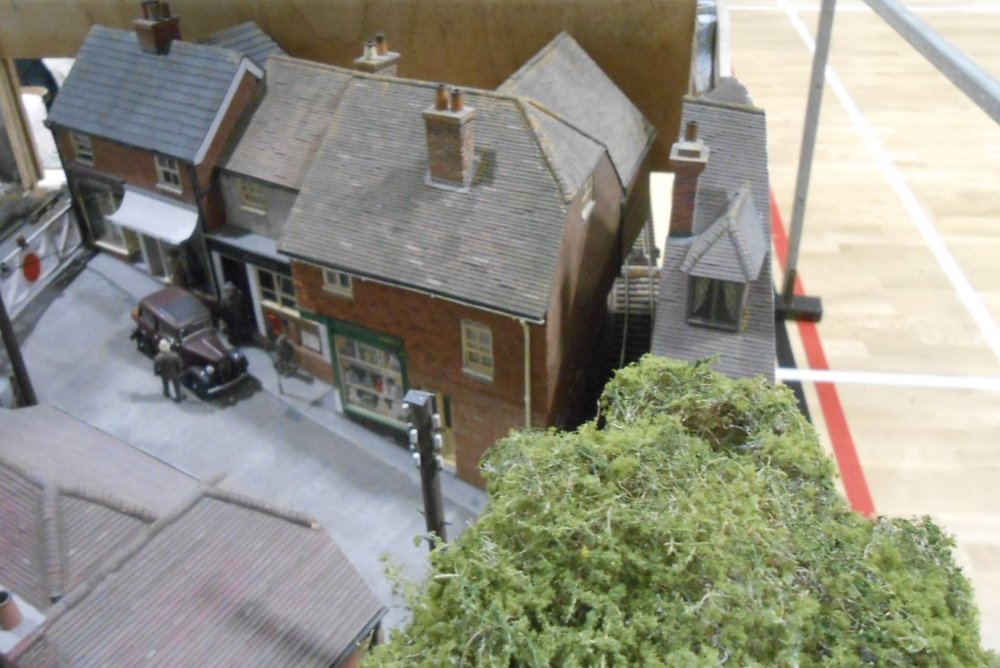
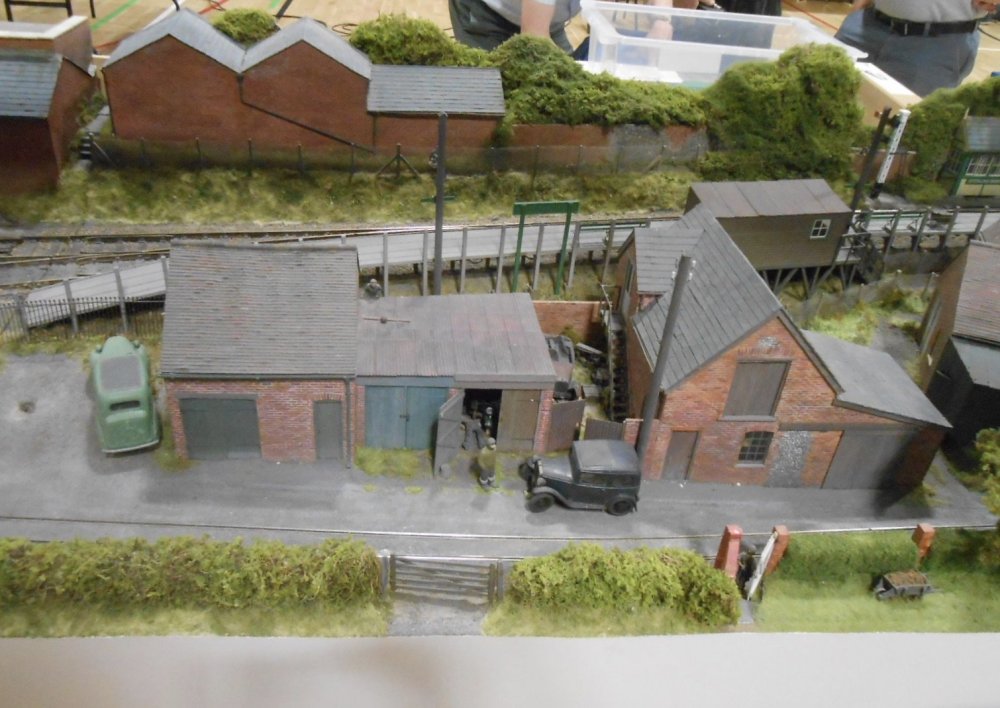
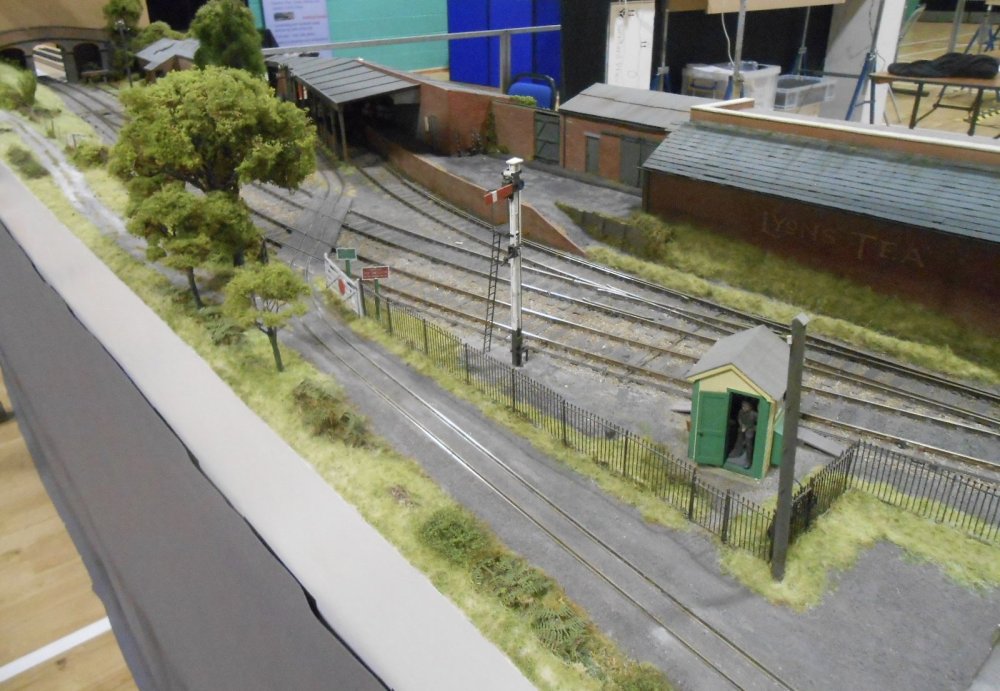
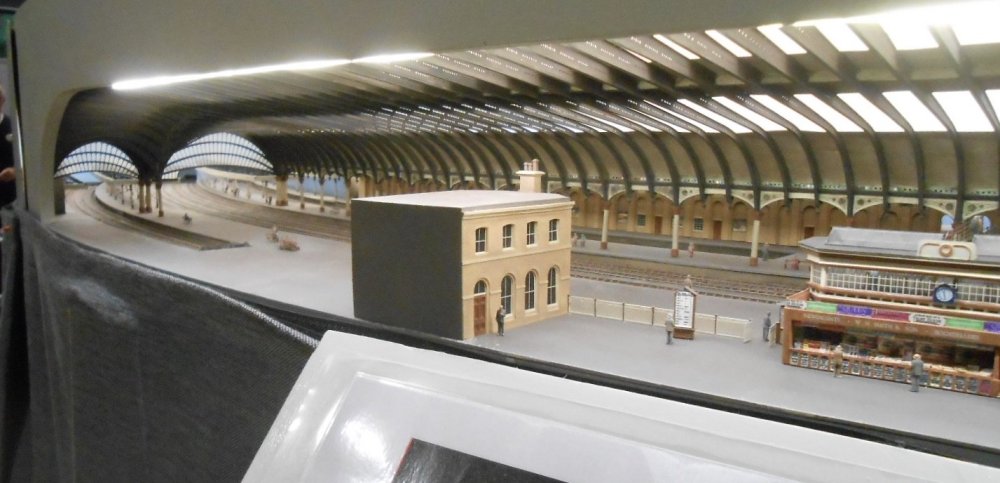
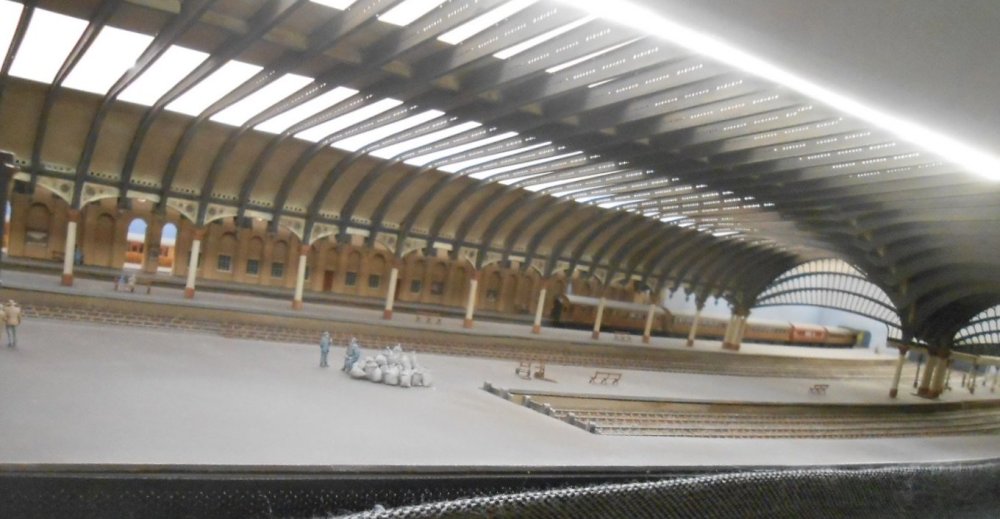
It was a a fine weekend at Aylesbury and a pleasure, as always to have David along on Sunday. Railex is very much a 'fine scale' show and though there were plenty of families and other folk along, events like these have a high proportion of knowledgable fellow modellers, which always results in interesting and informative conversation. My Acla coaster caused much interest, while it was nice to get plenty of comments about how 'Irish' the layout looks, which has always been essentially one of its main aims. David's PP and Q locos really are fine models so it was great to run the PP all day. Slight problem was that it is too long for my headshunt [likewise the Q, which is an even bigger beast], so eventually we worked out a way of using my J26 to collect the coaches. AJ coupling at one end for the 0-6-0T, screw links the other for the PP. The latter's 6'6" drivers are obviously intended for high speed mainline work, but it rolled across NPQ, at little more than walking place, very smoothly. Another highlight for me was seeing Ditchling Green again. This was the layout that launched Gordon & Maggie Gravett as major players in 7mm scale modelling. When the Chatham Show first started in the Dockyard, we used to put up a lot of exhibitors in our own homes, and Ditching Green helped start a long friendship when they stayed with my wife & I. Gordon later sold it, to make space for Pempoul and it ended up in a barn somewhere in France. Later, my own Loose End layout ended up in the same place! Anyway, DG is now back and has been extensively renovated. As can be seen below, it still looks very good indeed. See if you can spot the baseboard join in the last picture. Other things that caught my attention were the 2mm depiction of York station and an interesting diorama illustration perspective modelling, but all the layouts were of a very high standard, so it was great to be part of it all.
-
He would probably have self combusted of he touched it Leslie! What I noticed was one of his cronies complaining about the new Pope not putting "America first" on his agenda. They just don't get it....
-
Loads of very subtle detail. An ordinary scene, beautifully observed and not easy to get right like this.
-
Fab. Think the printed paper approach is the right one, especially in 4mm scale. Am guessing the markings on the real thing were fairly shallow and probably would look too deep on a 3d print. And you've still given a nod to modern technology! What could work in this situation is resin casting. When I've done my own wagon sides, found that even the fine scratches of a wire brush on the plasticard masters are picked up by the resin. Likewise even a glass fibre brush. Both good for wood grain effect.
-
Spoke with someone at Railex yesterday who actually has some of Sid Stubbs and Alex Jackson's models. What a privilege that must be. Nothing about the Isle of Man layout in MRJ though.
-
Hadn't noticed the tender wheel on Shannon, though rear bogie wheel on Wolf Dog wasn't always turning, which probably means the springing needs adjusting. Not sure about the uncoupling. Some trains were almost faultless all day, so suspect more adjustment of the AJs is necessary. All were working fine the two weeks before, honest! Guess I wore them out... Will have to see what the 1950s stock brings to the party today.
-
Power corrupts and absolute power corrupts absolutely.
-
"Voiding the Warranty" - Mol's experiments in 21mm gauge
David Holman replied to Mol_PMB's topic in Irish Models
They look great. Am rather tempted by the idea of a 7mm one...
.png.c363cdf5c3fb7955cd92a55eb6dbbae0.png)


