-
Posts
2,731 -
Joined
-
Last visited
-
Days Won
70
Content Type
Profiles
Forums
Events
Gallery
Everything posted by murrayec
-
Nice one Dave, can wait to see it Eoin
-
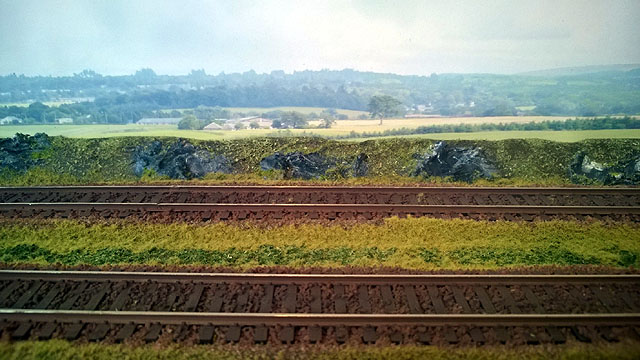
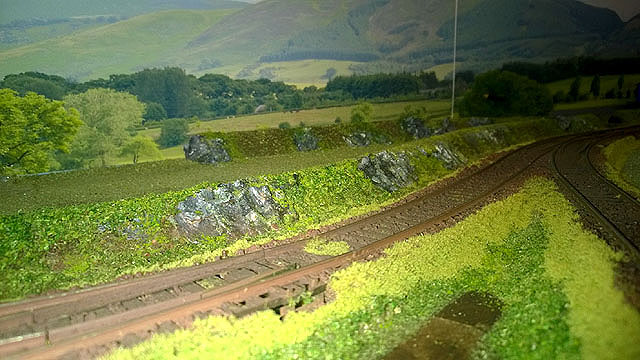
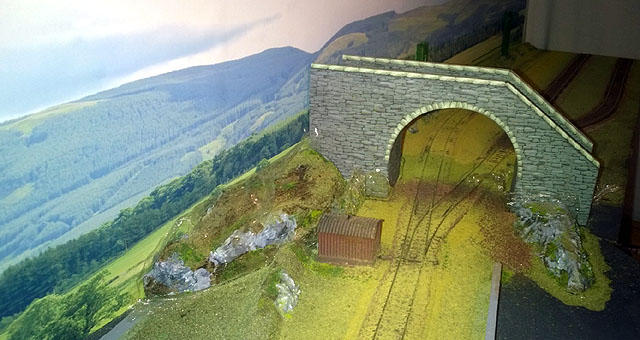
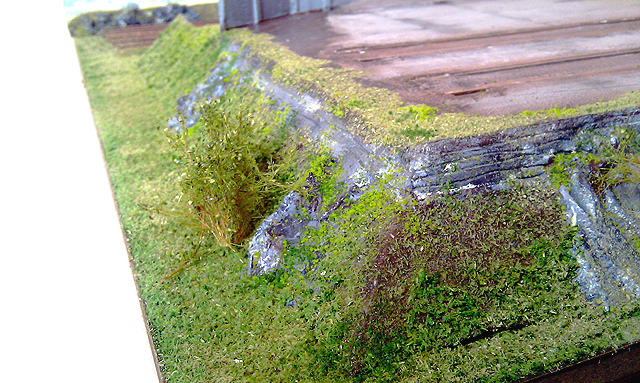
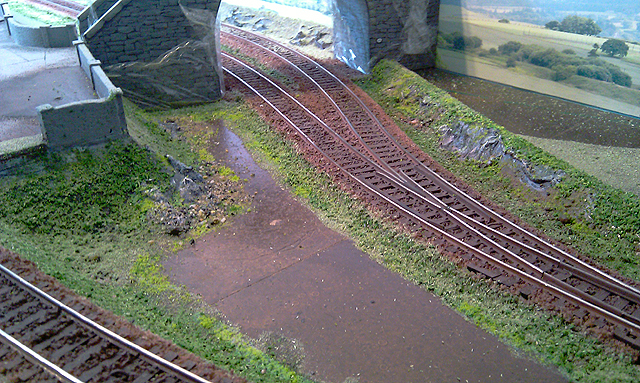
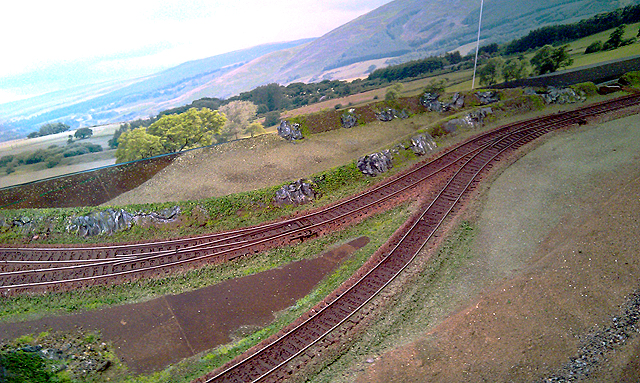
Hi All Here are a few interesting photos taken by CM, the second layer of long static grass has gone down, still s few bits to finish in this mode- 'layers n layers' I like these shots though... ... you can see the layers building up CM & Eoin
-
untilThe Fair has been moved to Nov 20- see calendar for details
-
-
-
Hi A4m Stunning, it has been great to see it develop to this, stunning.... Eoin
-
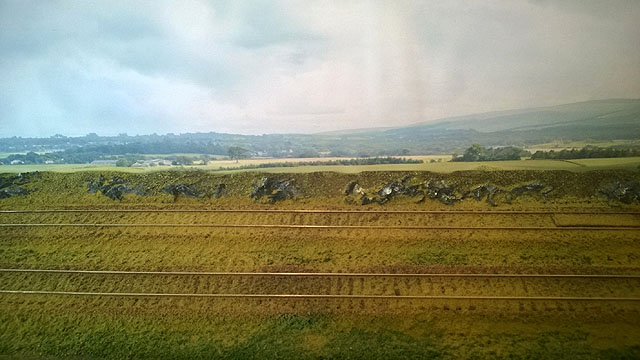
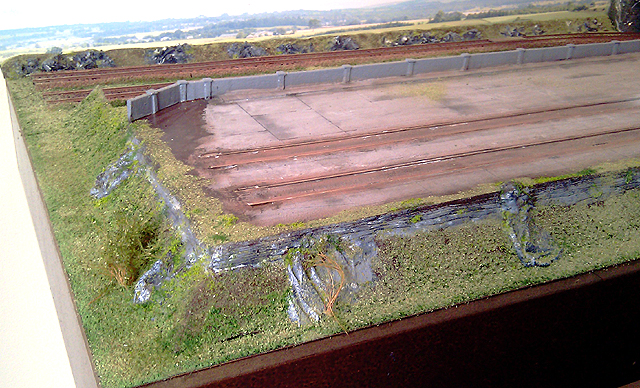
Hi All and thanks for the great comments The first layer of static grass went down today, this is 2mm grass at track side- looking burnt from the constant weed spraying! The photos are taken just after application, the next post will be of the hovered site and hopefully well have burnt grass both sides of track.... Eoin & CM
-
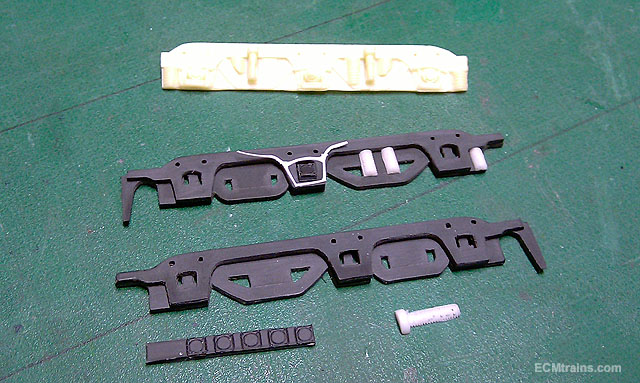
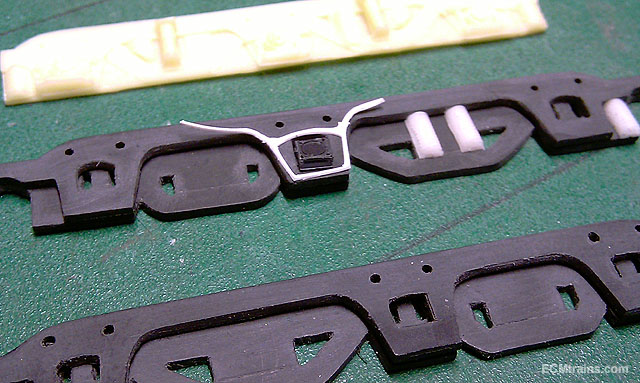
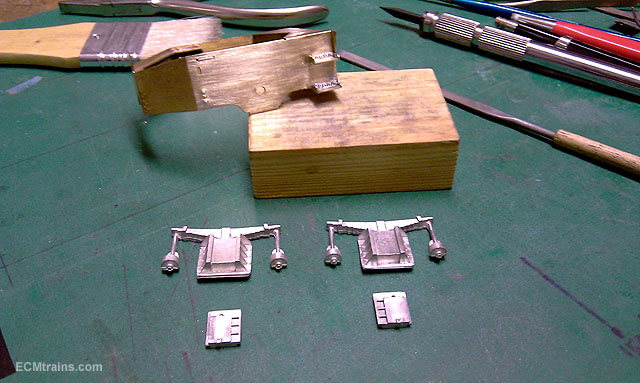
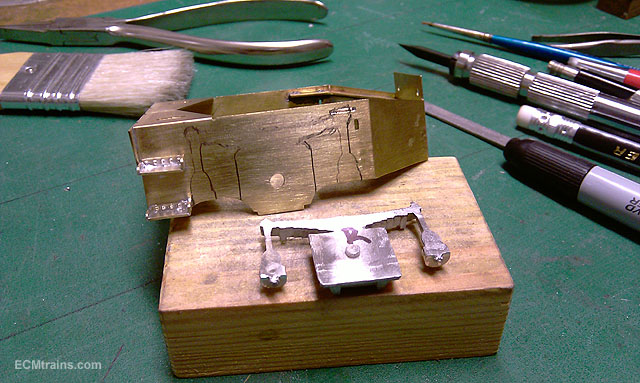
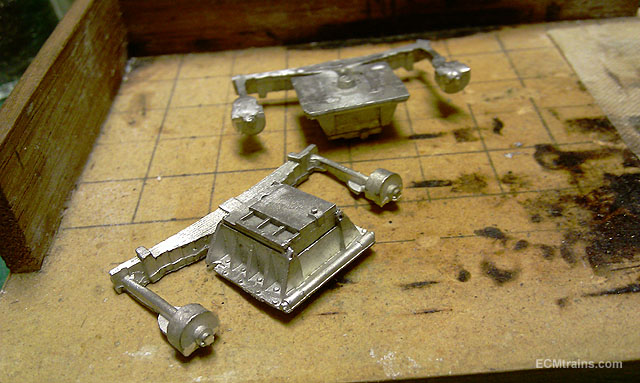
I have the design of the chassis and running gear complete, but this project has been on the shelf while doing the DARTs, though I am tipping away at the bogie frame sides and here is the story so far;.... The motors will be Tenshodo Spuds with a little brass truck to carry the third axle, this affair will pivot off an etched brass side frame mount fixed to the Spud body- I've yet to make one of these to test. So with that decided! I set about working up the patterns for the bogie sides which will be cast in white metal. The photos show the main side frames cut out and part cleaned up, cut from 1mm black styrene, it's a bit softer than the white stuff. Each frame is in two bits and will be stuck together to give 3d look. The white cut-out laid on top is cut from never-tare paper which will be used for detailing the frames, and the springs are made of plastic- cast from a mould made from a M3 bolt, only half the bolt is cast for making up the springs. M3 bolt thread is a bit small and not the right scale, I might re-visit that one.... Next step is to work out the shock absorbers and mounts and all should be ready to glue up!! Eoin
-
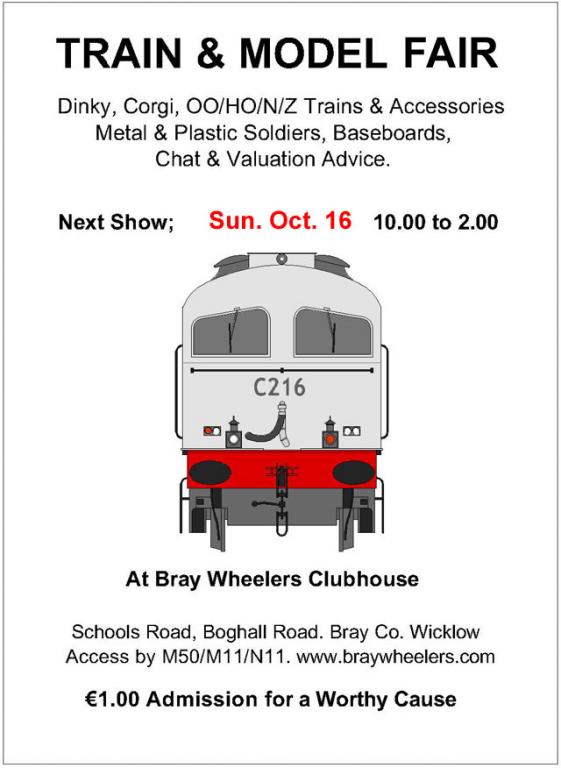
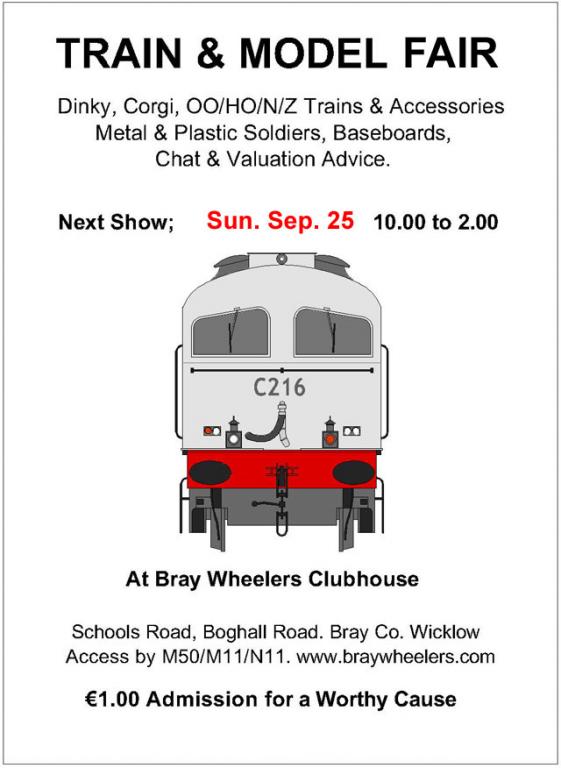
untilFrom 10.00 to 2.00 at Bray Wheelers Clubhouse, off Boghall Road. Bray. http://irishrailwaymodeller.com/showthread.php/94-Bray-Train-amp-Model-Fair?p=93159&viewfull=1#post93159
-
-
Hi John It's home spun.... Here is a link to a description of;- Eoin
-
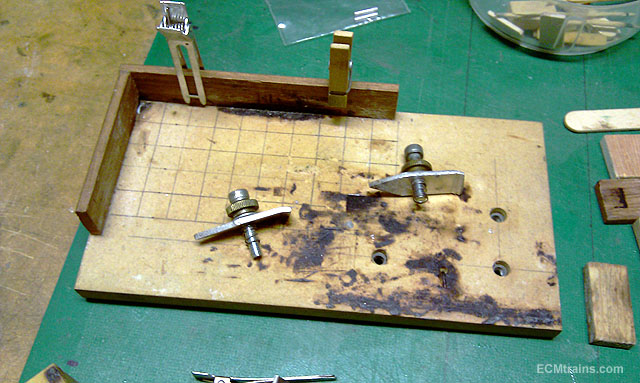
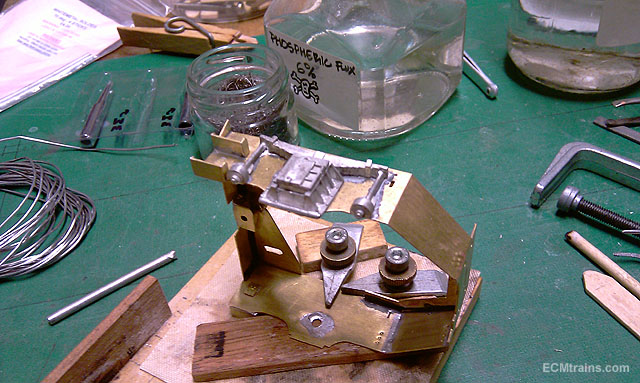
Here are a few shots of a soldering clamp and support board, made from 9mm MDF with a hardwood upstand and 90 deg fence. Threaded inserts are used for screwing down the clamps and an arrangement of clamping bits I use is shown, I use a strip of frying sheet to stop the parts sticking to the MDF, as you can see the MDF gets scorched- hardwood would be a better material. The unit is sacrificial, so holes can be drilled for a new clamping arrangement Eoin
-
Thanks lads Yep it will be at the Bray Fair tomorrow, although it is dismantled!.... Eoin
-

Harry's Other(battleship) workbench
murrayec replied to GSR 800's topic in Aviation & Maritime Modelling
Hi I do like battleships...... Eoin -
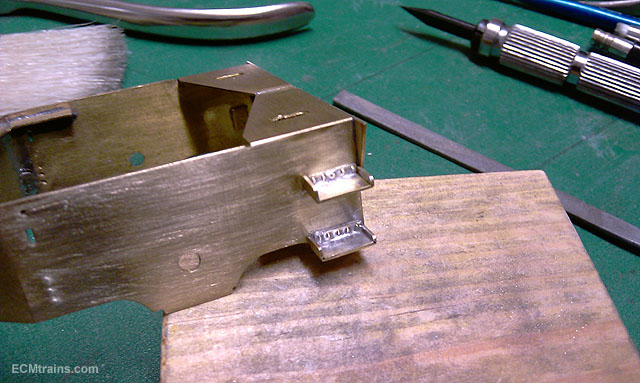
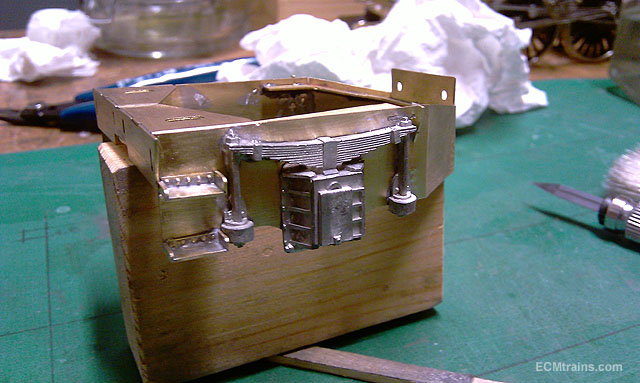
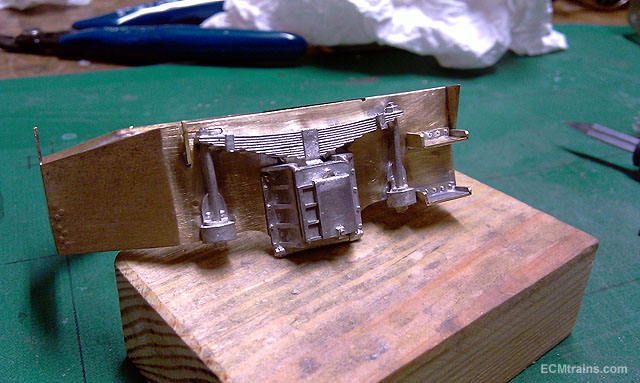
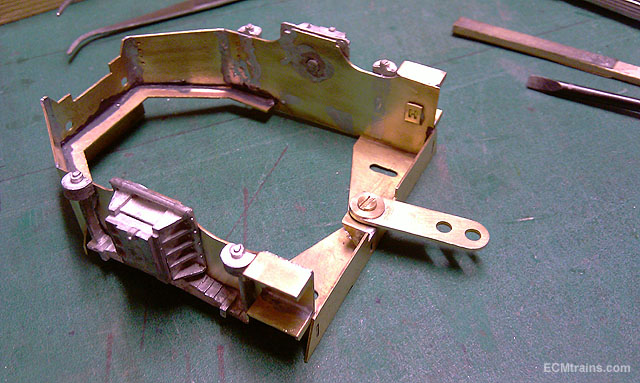
Rivet detail soldered on the steps with a quick clean up Rear chassis spring and horn block detail was next, these white metal castings were all out of shape and quite hard to get flat. They were prepared for sweat soldering onto the chassis with 140 deg solder on the brass and 70 deg solder on the white metal. The horn block covers were soldered with 70 deg solder. To minimise spreading solder all over the brass I marked up the location with a pencil, solder will not freely pass over a graphite line so is handy for this job. The parts are sweated on to the brass by using the iron on the inside of the chassis and not near the white metal, if more solder was required the 70 deg was used. All done with the tender coupler installed Eoin
-
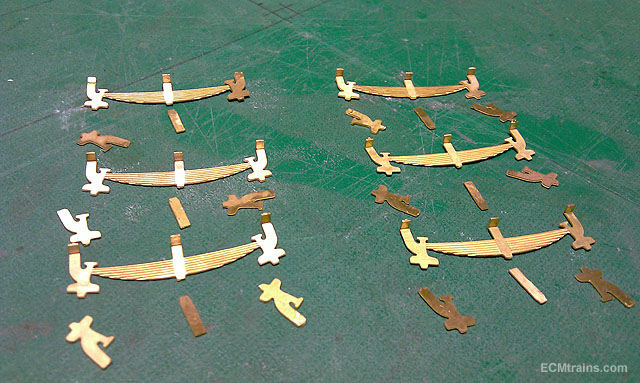
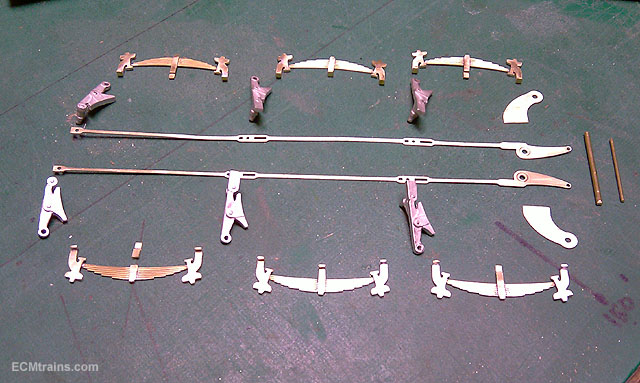
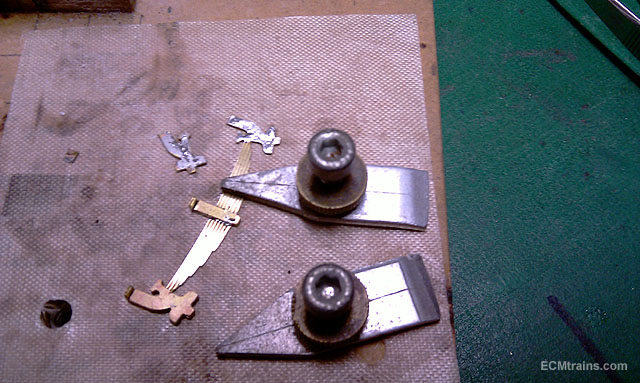
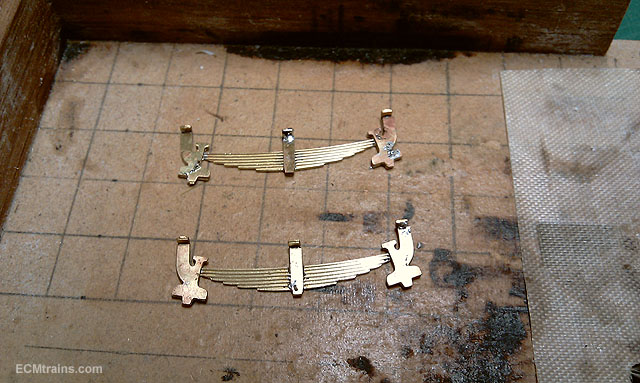
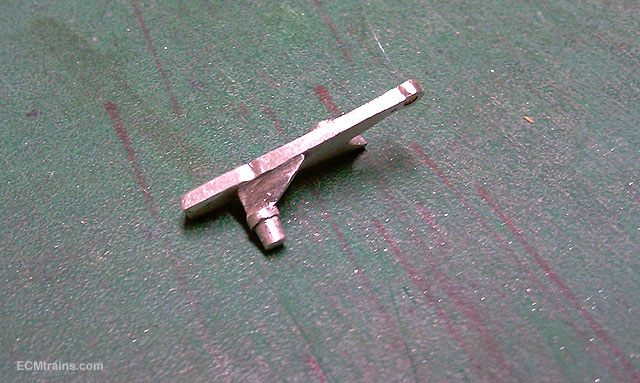
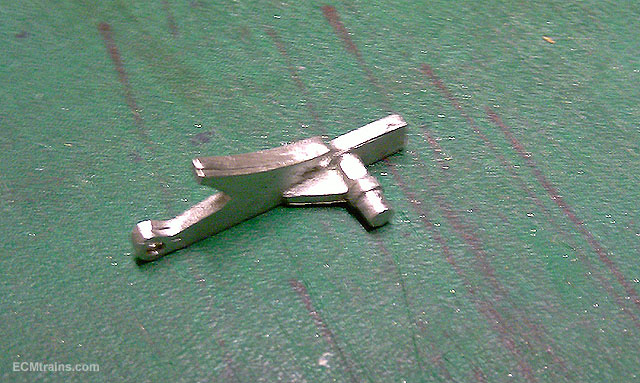
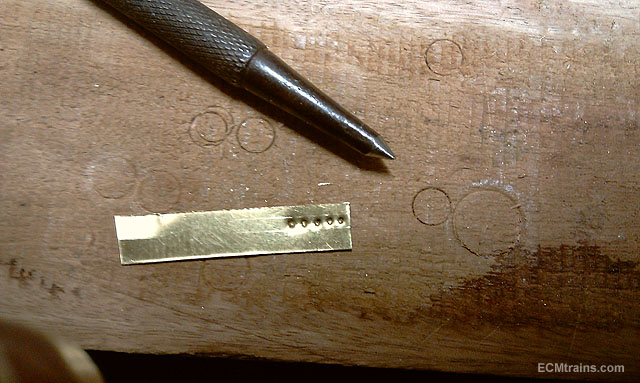
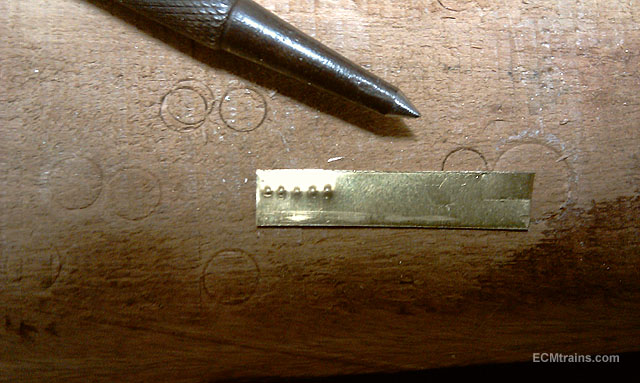
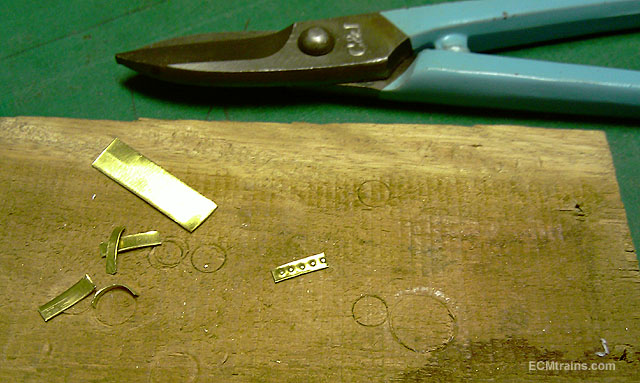
Flying Scot Springs, breaks, steps & stuff... Springs were next, these are fiddly etched laminations that were cleaned up and sweat soldered with 180 deg solder. Some cusp filing is required in areas before soldering- as once stuck one cannot get a file in at these areas. One of the spring assemblies has been modified with the horn block arm cut off! this is required for the suspension modification I've done to the kit, 3 more will be cut as per.... The break castings were cleaned up and found to be poor castings on one side, the mould was off centre when cast and caused a step in the casting. When offered up to chassis and wheels, the castings were fatter and touching the flange of the wheels, a slight mod was done with the edge of a file to thin the shaft and allow clearance for the wheels. All done and ready to go onto the chassis after I set up the electrical pick up arrangement. The long break push rods where mangled in the previous build and took quite a bit of work to straighten out- but it worked! Next was missing part making- the rivet detail on the driver steps, and a tiny footplate support were missing for one side and these had to be made The trick to punching out fine rivet strips is to stay away from the edges of the sheet, this minimises distortion and helps to give the proper shape, once punched the strip is cut to close size, it's flattened, and then filed to size. A light filing on the top of the rivets give a good match to the etched ones from the kit- the middle strip is the home made one!
-
-
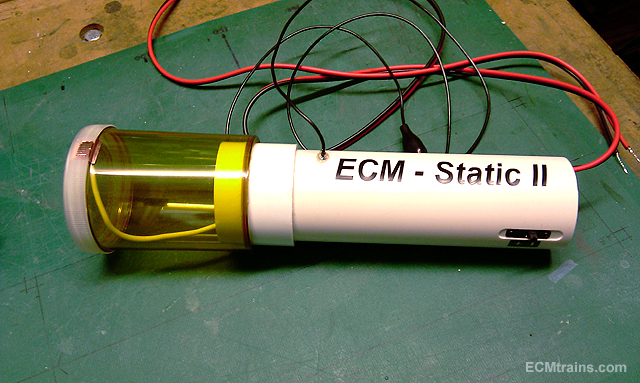
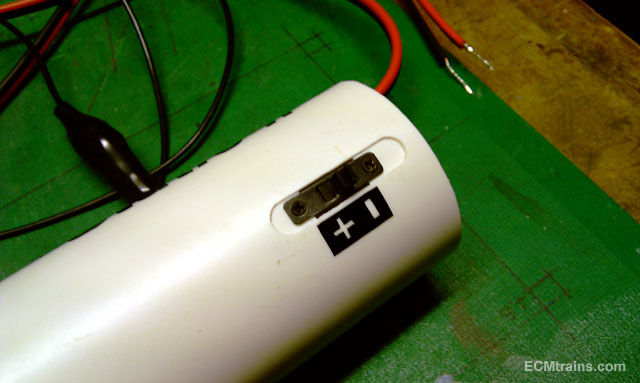
Hi This mornings project was to make the smaller applicator, I found a 170ml pill jar with a screw on lid (medical buzz again!) which works with the 40mm pipe. The outlet is 40mm and will give more accurate placement of grass around objects on a layout. I also recessed the switch a bit and used flush counter-sunk screws to insulate the fingers a bit better from zaps when switching the unit on n off..... Eoin
-
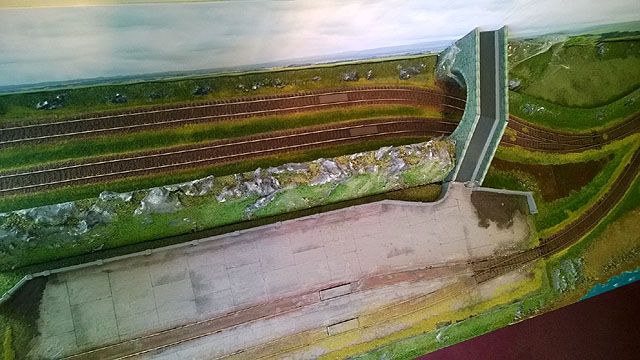
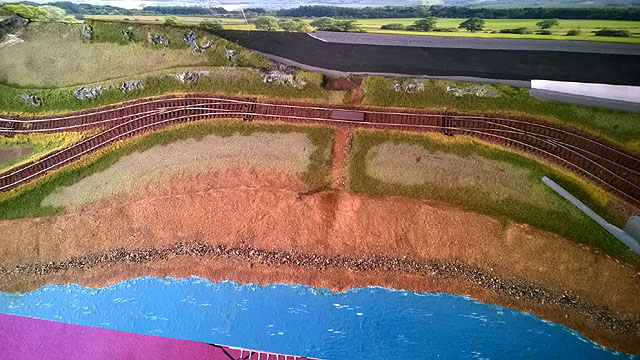
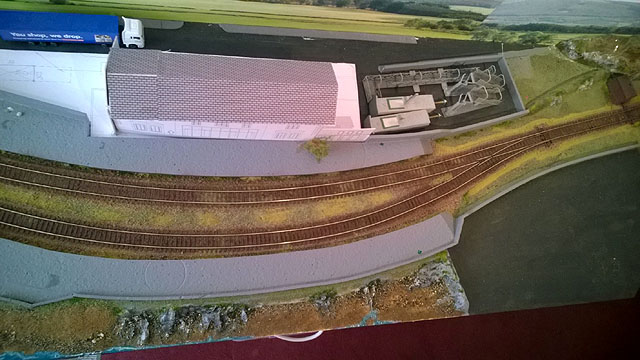
Hi All Here are some photos of the first layers of scenic going down;- Dyed sawdust with PVA was spread out over the grass areas, this covered that loud flock we used previously around the timber yard and Southern Track, it looks a lot better now. A layer of 2 types of contrasting fine flock was added for highlights and variation in the base layer- more will be added as the sawdust dries. Up close shows the sawdust works really well, you can also see the fine contrasting flock throughout. Next in this area is the brambles and static grass in scrub n overgrown fashion. This area is the pond/swamp thing, harking to the Murrough and the Reed Beds on down towards Wicklow Town, so it will be some reeds n brown water for this area. We've only got the bridge up and the council is already digging a hole in it! And the Greystones Permanent Way Inspector out closing the gate! Eoin & CM
-
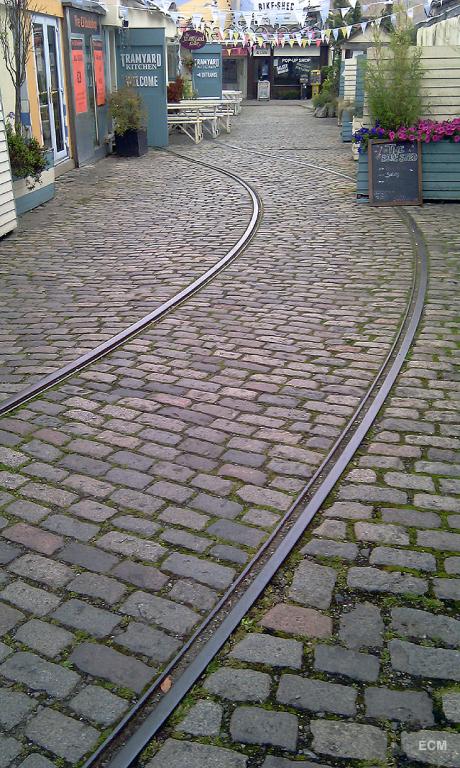
Hi Possibly some of the only original surviving tram tracks, in the Dalkey Tram Yard, they also have the back-end stairs of a tram (not sure if its original)sticking out of the restaurant building- but could not get in to take a shot, twas all locked up!! Eoin
.png.c363cdf5c3fb7955cd92a55eb6dbbae0.png)

