murrayec
-
Posts
2,765 -
Joined
-
Last visited
-
Days Won
70
Content Type
Profiles
Forums
Events
Gallery
Blogs
Everything posted by murrayec
-
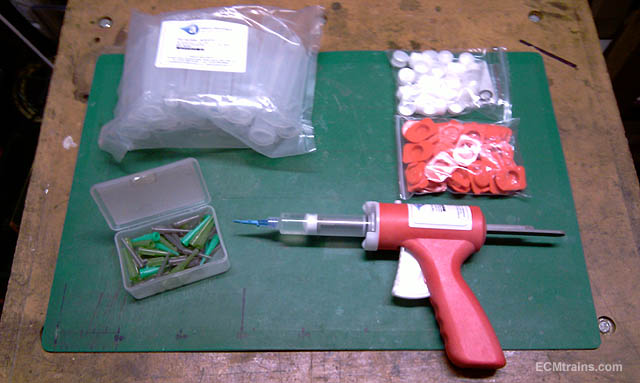
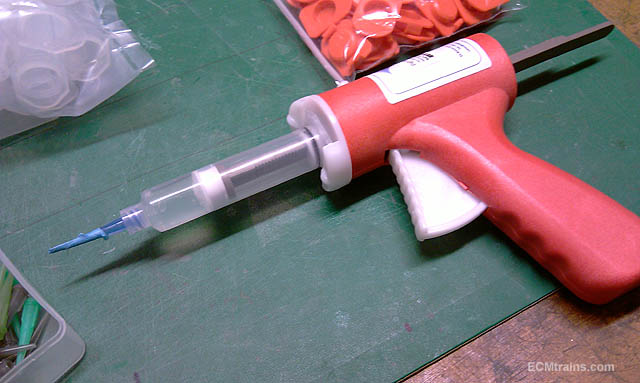
Hi Here is a very useful tool if doing a lot of fine gluing using a syringe. Standard syringes can be very hurtful on the hands if a viscus glue is being used and after applying the glue to a DART body print with a standard syringe I can do nothing else for several hours! This unit is really comfortable to use, one can place the glue accurately with one hand and no strain. The unit comes with 30 clear barrels, pistons, end caps (if using different glues the barrel end can be sealed), and a range of tips. Its from adhesivedispensers.co.uk and cost £67.00 including postage. If doing a lot of fine gluing you got to get one Eoin

-
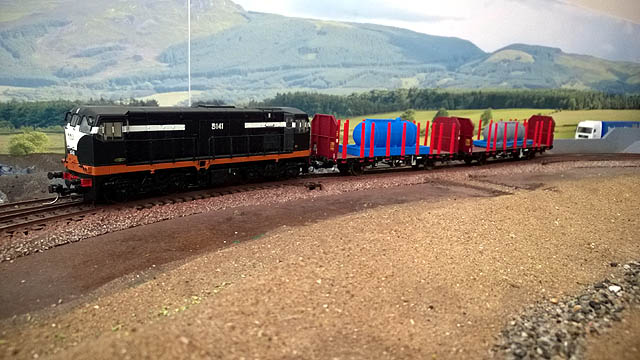
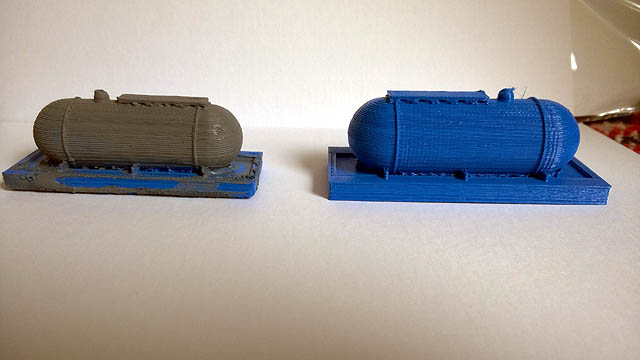
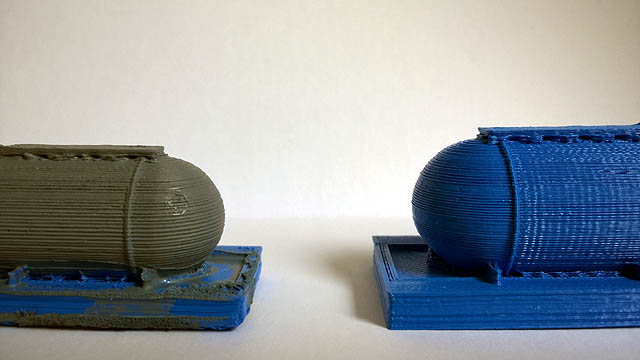
Some test prints of a fuel tank;- Two versions of the fuel tank. The blue is in 00 scale and the grey in H0. They were both produced by uploading a free library design and the printing on my 3D printer. The design is in H0 scale, which I then reprinted by scaling up to 00. Both lower photos illustrate the coarseness of the printing process using my XYZ da Vinci 1.0 printer. Will Brexit mean that we will now have to change from 00 to H0? CM
-
Hi David Lovely stuff,
-

Model show - West Cork Railway Village Clonakilty Sunday 19th June 2016
murrayec replied to Georgeconna's topic in What's On?
Hi Well a hardy bunch came out yesterday to the show, the weather was disastrous for this beautiful venue but overall the show was well attended- myself and Dave had a great day meeting new and existing customers, and a few forum members- all in their wet gear! Great to meet all Dave took a few photos;- Eoin -
Hi All The Bray Show is on this coming Sunday;-
-
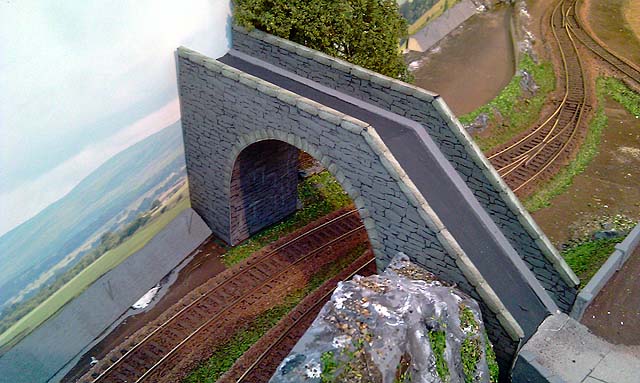
Hi Dave It's flush inkjet print on mat paper card- a photo of stone wall Photoshopped and made fit the CAD template for the bridge foam structure cutting- as seen in previous posts above. There is a little bit of shading added here and there with grey Magic Marker and white pencil 'Highlights'- it works well giving a 3d appearance...
-
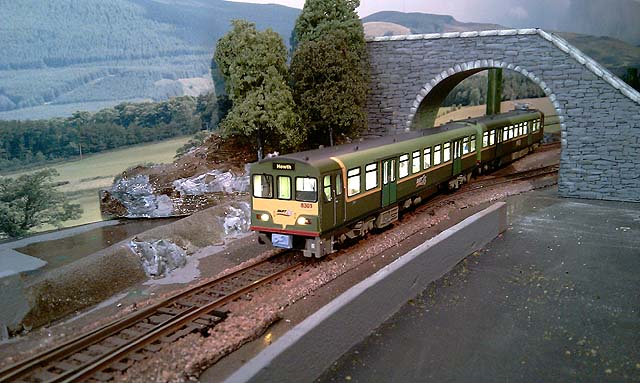
Hi The back scenes went up on the wall today and DART 8101 was sent out to test the scenes and the new stone cladding added to the road bridges;- The Dublin road bridge.... ...and at the other end- the road bridge to the timber yard- love the mountains through the arch! Eoin & CM
-
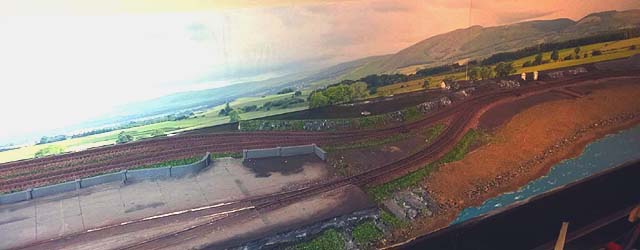
Hi Here a a few shots of the back-scene, its three sheets mounted on card;- After a disastrous start trying to stick the scenes straight to the wall, we changed tack and stuck the scenes onto card and now they will be stuck to the wall - much easier. Luckily we started at the end that we had a spare scene- as we are using 1 and a half the same scenes for the length of the layout. A few little blemishes on the first attempt- I think we can fix them, the other two worked wonderfully after reading the instructions again!! Eoin
-
Hi Excellent, looking great- tanks! Eoin
-
Hi The Section 8 planning process is for planning exemption of alterations to a protected structure where there is not a material alteration- an extension is a serious material alteration so this should not be allowed- who knows when its the council applying!! it will still go on the live planning register for public view and comment, I'm not sure of the process off hand- I'll have to look that one up... Eoin
-
Hi I just posted that Tweet on the 'Fry Model Railway for Malahide' Facebook site asking the question if the display is going ahead and where- go on this page and 'Like' it's in the visitors post section Eoin
-
Hi The models are stored in the Writers Museum in town and the layout all dismantled is in a Fingal Co Co store... There was a planning permission given for a restaurant change of use and a small dinning room extension in the yard between the existing house and the garage structure, back in 2006. This is the only location an extension can be constructed and there would not be enough space to install the layout- there is very little space on the site as the original gardens have been used for housing and apartment permissions- houses in courtyard style permission was granted in 2002 for the front garden, completely enclosing the listed house!! If anything happens I personally think it will only be models, books and bits housed there with no layout! The site just does not have the space. I've just checked the Fingal Co Co planning website and no application has been lodged Eoin
-
untilAt Bray Wheelers Club House, Schools Road, off Boghall Road. Bray. 10.00 to 02.00
-
Excellent work, busy postmen...
-
....and here it is running with the wobbly wheels!! Eoin
-
WOW! David Loose End is stunning,Clogher has got to be even more so... Eoin
-
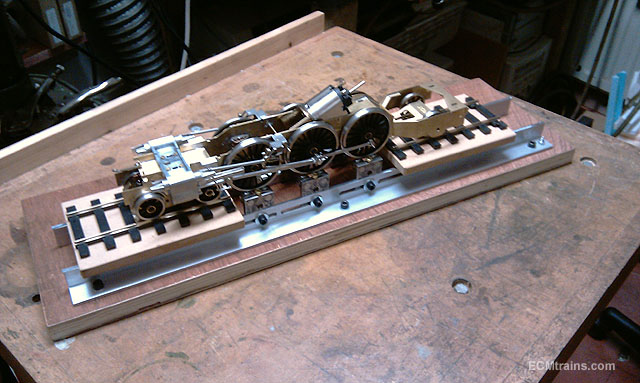
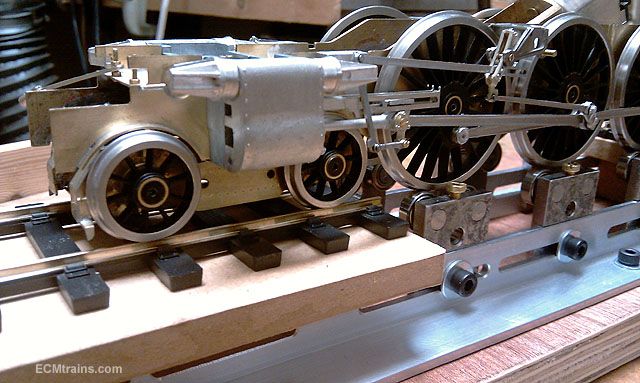
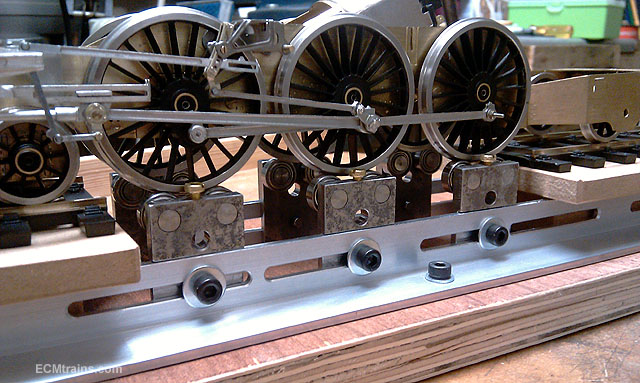
Hi The rolling road is now up and running and will be able to fine tune the Scot valve gear now;- This will also act as a chassis construction jig with pointed bars through the hole between the roller bearings and pinched with the brass screw on top of each roller bearing up-stand. The bars have yet to be made. On the first test run I found the Scot has two wrapped wheels so this will have to be sorted first.... Eoin
-
Hi These photos reveal great information on the rails within the harbour;- Two turntables installed on Carlisle Pier- one at the base and one at the end. The gates at the back of the Kingstown Railway Co Line to access the New Wharf by way of a bridge over the Revenue Stores Harbour. The Kingstown Railway Co shed roof. Eoin
-
Hi George A serious range of models in those photos- Eclectic! I have a Stuart live steam beam engine kit that your photo reminded me of, its somewhere in the dark recesses of the attic, it's probably hiding with the SSM 'Irish' J15 kit also! as hethinks I might get around to doing it one day... Eoin
-
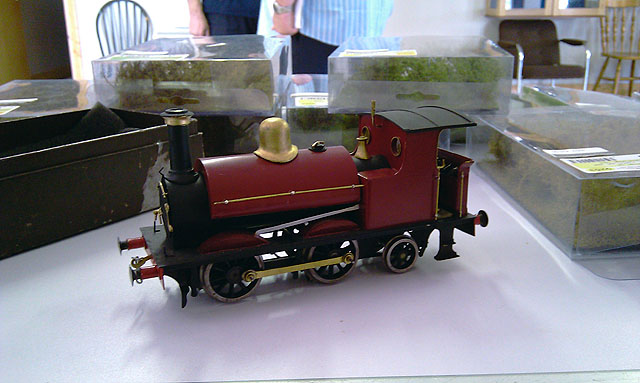
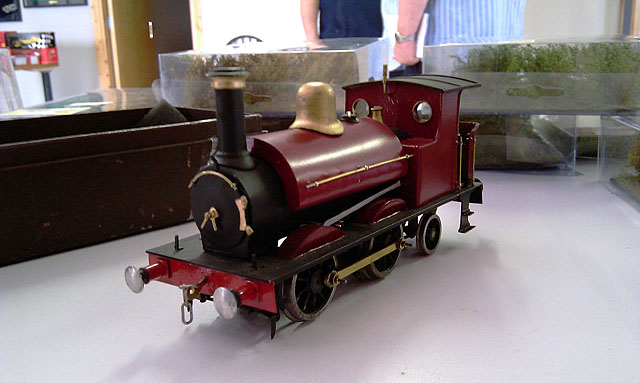
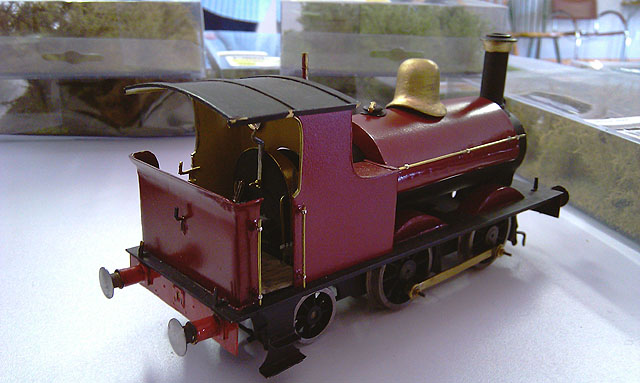
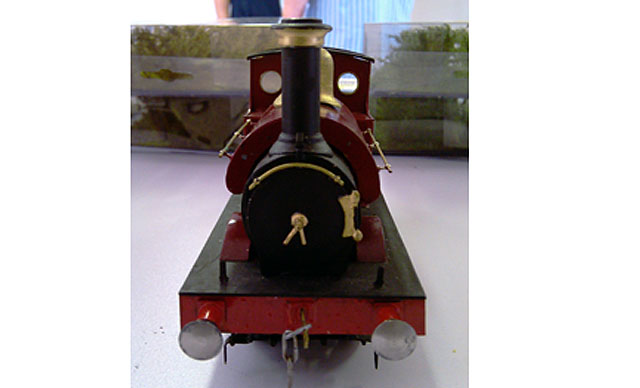
Hi A very pleasant and well attended show yesterday, a visitor brought in a beautiful scratch built freelance tender loco he built in Gauge O, and I just could not resist posting up a few photos;- Really nice Eoin
-
Hi Just to remind you all, the Bray Show is on this coming Sunday Eoin
-
Weshty I'm looking forward to that one, though wont be starting on it for some time- the bench is full and I have no more boxes!! or room to store them..... GSR 800 It will be green, but I'm not that happy with the blue-green I've seen- decisions, decisions! Eoin
-
.....just thinking about it! I got that figure on parts completely wrong;- A fully loaded DART25 has 223 parts for the motor unit and 203 parts for the van- this includes all extra options, screws, connectors and wires. So a two car DART25 set has 426 parts!! Eoin
-
Hi Kirley I use a Keen Close Coupling plate stuck to the underside of the chassis with a four wire electrical coupler. Weshty With over 200 parts going into each set and 18 sets being worked on, there has to be some form of organisation, my workshop is smaller than most bathrooms and I spend a lot of time shoving boxes around the house!! Thanks all for looking and the great comments Eoin
-
Hi George No heat, just ingenuity, brute force and plenty of clamps- it takes 12 hours for the glue to set so I call it 'Cooking'!! Eoin