murrayec
-
Posts
2,765 -
Joined
-
Last visited
-
Days Won
70
Content Type
Profiles
Forums
Events
Gallery
Blogs
Everything posted by murrayec
-
Hi In this months Railway Modeller- Rails of Sheffield are advertising an ESU decoder with Class 20 sounds for £89.50. With the LokProgrammer one imports the sound project from the decoder, then changes or adds sounds to the project and then writes the project to the decoder..... Eoin
-
Hi This may help also; http://irishrailwaymodeller.com/showthread.php/3869-Soldering-Tips-by-murrayec?p=59978&viewfull=1#post59978 Eoin
-
What the LokProgrammer can do: Change the sound saved on the decoder. Setting of all digital parameters of the Loksound decoder such as address of the loco, operation speed, maximum speed, braking deceleration, brightness of bulbs etc; you can set all options with your computer very easily - no cumbersome entering of CVs (configuration variables) with your command station. Rearrange your sounds and transfer it to the LokSound decoder. You can use all sounds that can be downloaded to your computer hard disk. Sound can be allocated to different events. Additional sounds can be activated via function buttons. Sound With the LokProgrammer you can erase the sound data of any LokSound decoder as many times as you wish, and replace it with a different sound. To this end we offer on our homepage more than 200 different, fully matching sounds of various prototypes and locos for downloading on your computer. Also you can edit just parts of a sound project: You don’t like the decoder’swhistle? Just replace it with one of the many others. Suitable sources beside those offered by us, are in Windows *.wav format available. Sound – even voice or music is no problem for our decoders. With the LokProgrammer’s aid you use the entire flexibility and functionality offered by LokSound decoders.
-
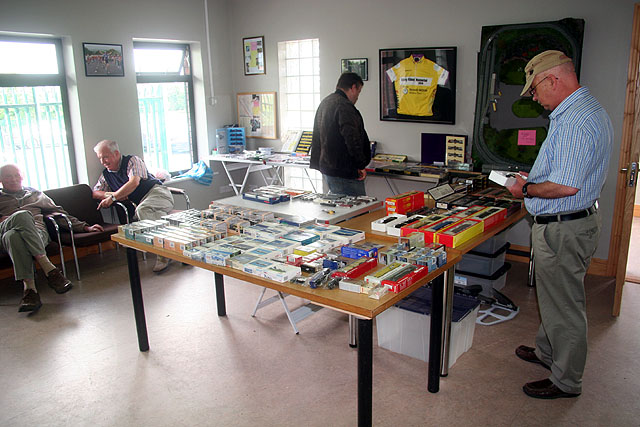
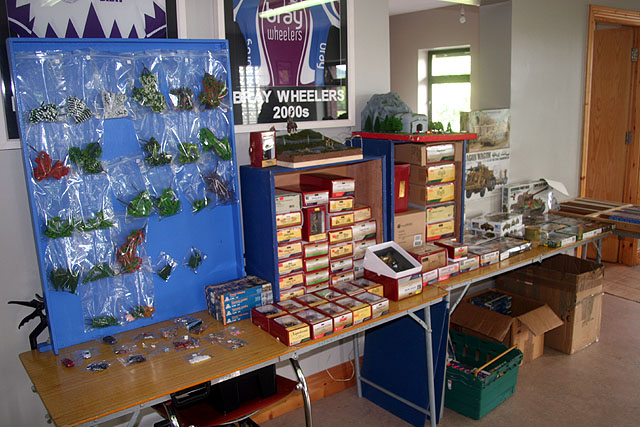
untilfrom 10.00 till 2.00 at Bray Wheelers Club House Check out the link below;- http://irishrailwaymodeller.com/showthread.php/94-Bray-Train-amp-Model-Fair?p=91371&viewfull=1#post91371
-
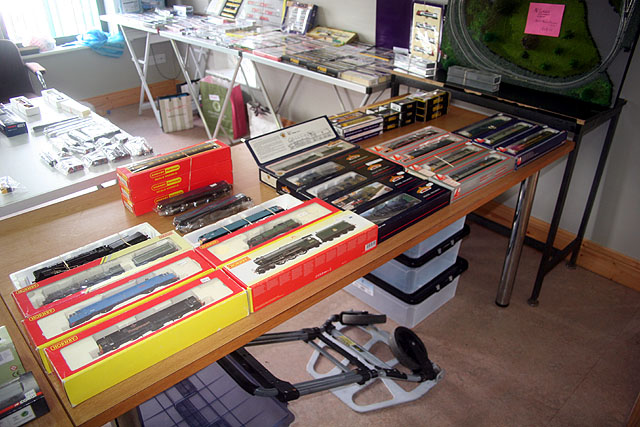
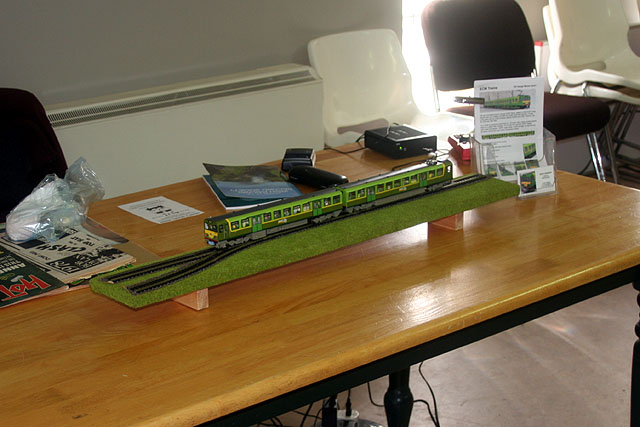
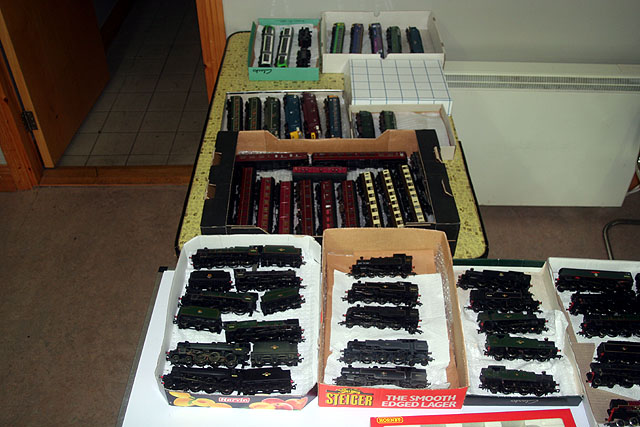
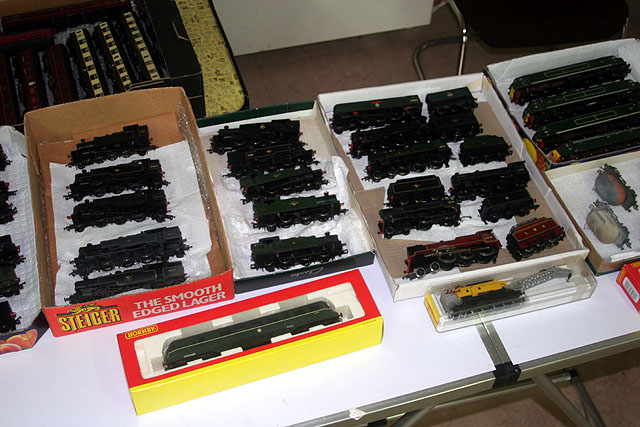
and at Sean's table

-
at Ciaran's table
-
the DART
-
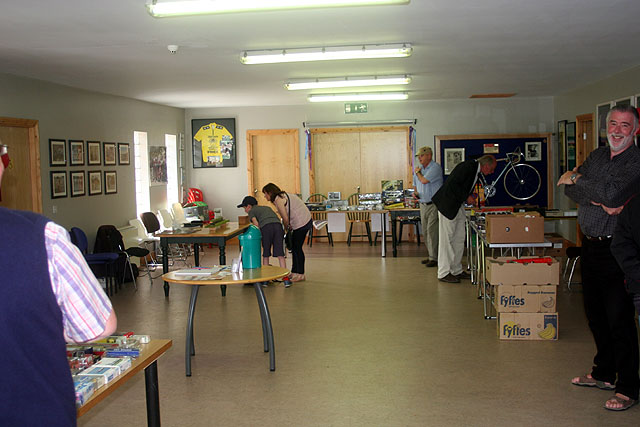
At wrennie's table we even got to see his toes!
-
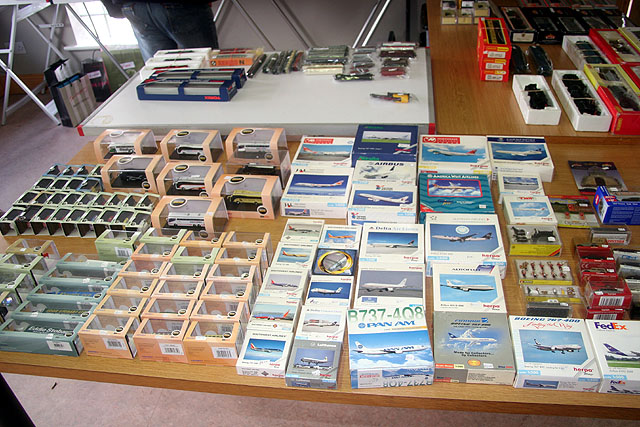
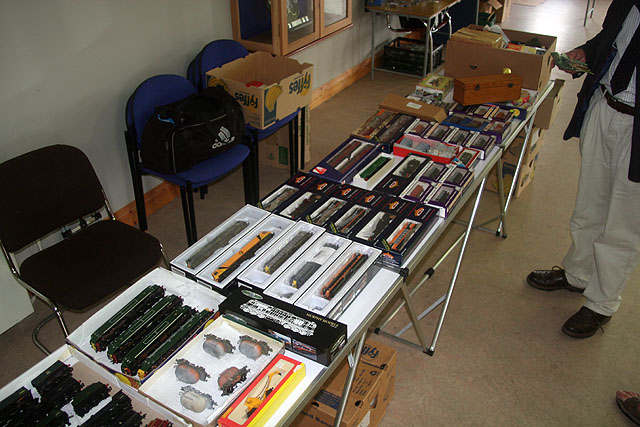
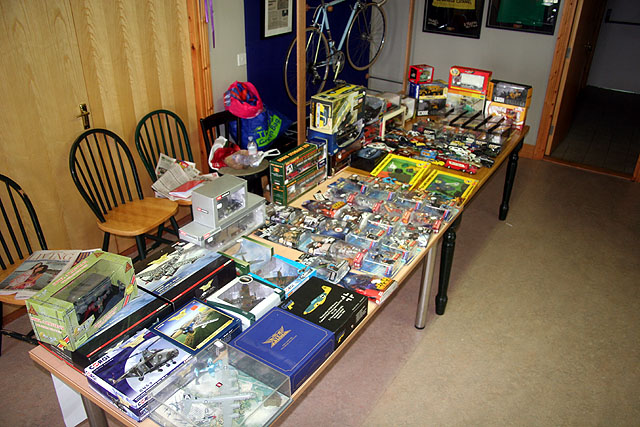
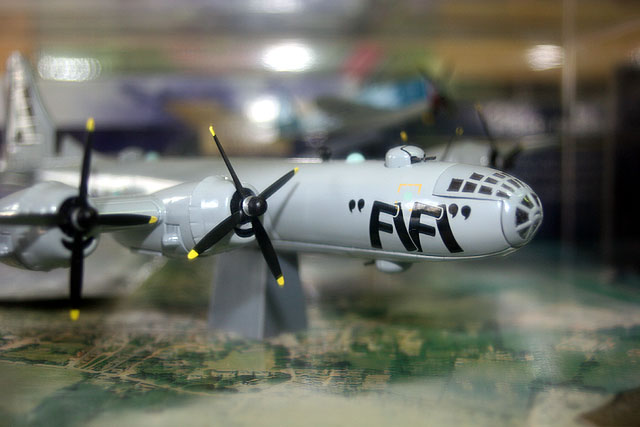
Hi All Here are a few photos from the last show; At Dermot's table;- and a shot of a plane for the weekend that was in it!
-
It's in the Bray Wheelers Clubhouse on Schools Road off Boghall Road- up past the Fire Station http://irishrailwaymodeller.com/showthread.php/94-Bray-Train-amp-Model-Fair?p=90847&viewfull=1#post90847 Eoin
-
Hi dave182 Yep I'll be there, and I have a little packet for you Eoin
-
Hi All Don't forget the Bray Model Show is on this coming Sunday morning 10.00 till 2.00 Eoin
-
Hi David Templot- that looks like a handy program I'm looking forward to seeing this progress Eoin
-
Hi I had a go at making the moulds Sunday night, all went very well.... Two of them have been cleaned up and a bit of paint addeed Eoin
-
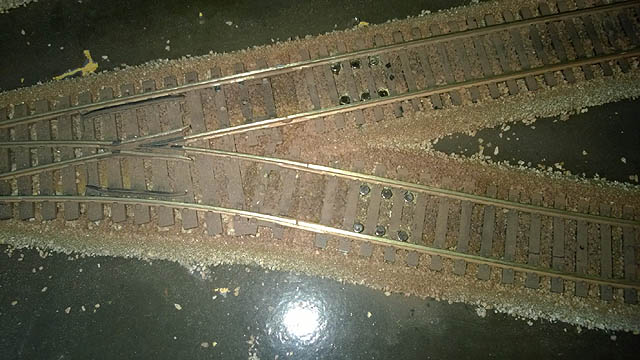
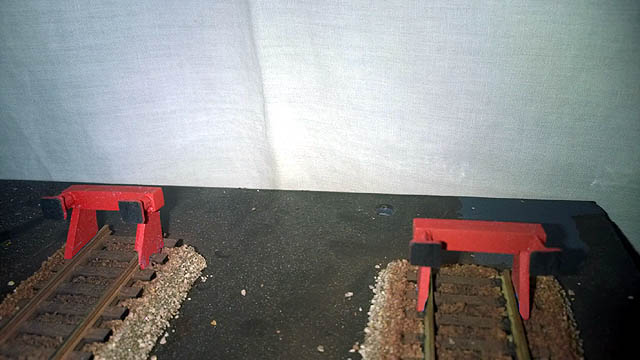
Hi All Following a suggestion from Dave Lindfield, we decided to install bar couplers in place of the traditional flat magnetic couplers. The bars are 3 mm dia. By 13 mm long and are inserted into vertical holes drilled between the sleepers. Six bar magnets, in two rows of three opposite each other, were used. A first attempt, using weaker magnets, was not successful, so we upgraded to N42 Neodymium magnets. These work but seem to require sensitive adjustment to the Kadee coupler “hooks”. Further adjustment will need to be done, but the overall effect is very neat and unobtrusive. ...and here is a photo of my 3d printed buffer stops, glued, fettled and painted CM
-
Hi David It was all black n white up to the 70's and even into the 80's in places, a lot of planning offices had the code 'you can have any colour walls you want as long as it's white' Eoin
-
Hi David Great to hear you were over visiting, all great places... I can answer the one on the Clon Model Railway Village, myself and baseboard Dave did a 2 day show there 3 weeks ago;- The station building is great, the model village is great;- they have two Park Royal coaches and a diesel loco out front not going anywhere, they've taken parts of the villages around the area and scattered them throughout the layout with viewing paths, bridges and vertical sleeper railings- hat's off to them they have done a very neat job. But, to me, the Gauge 1 model railway layout was very disappointing- all the track has been laid at the lowest level even below viewing footpath and it just looks like a model rail layout, patrons are looking down on roofs! There are plenty of hills and embankments but no one thought of running track at high level. With the history of railways in the area and some of the structures still existing there was no attempt to integrate them in the model. And the trains are German or other, but no Irish local stuff which in my book is a must for a venture like this..... I'd still pay €11.00 Eoin
-
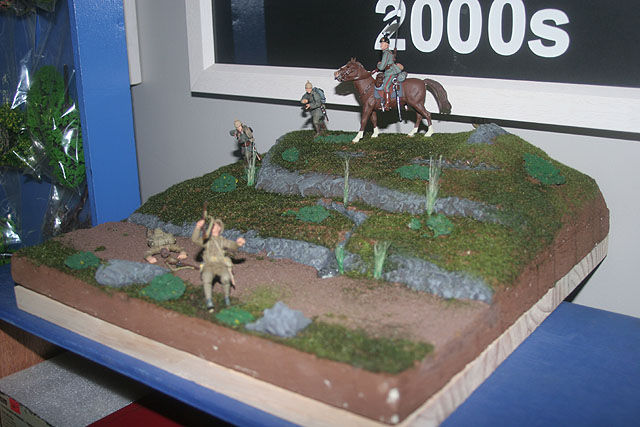
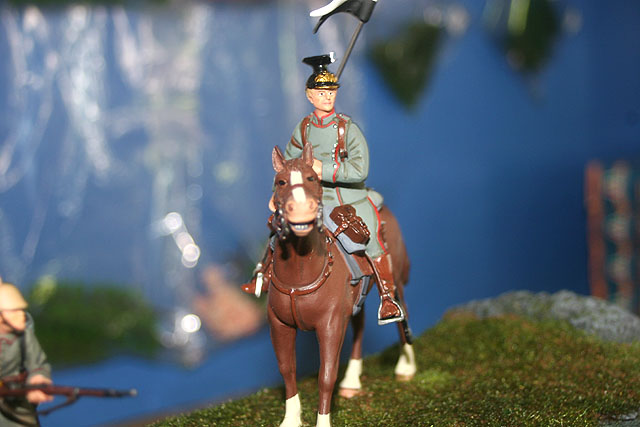
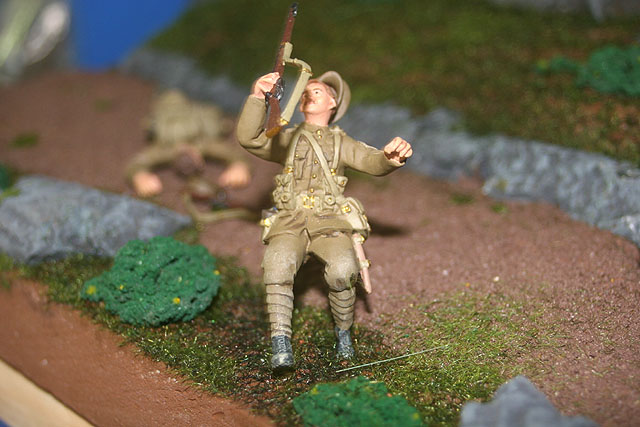
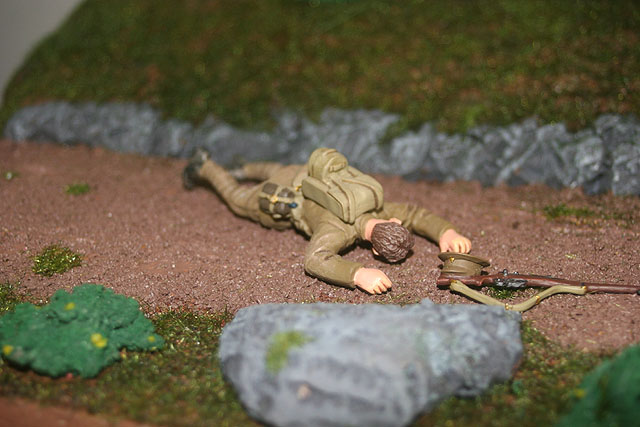
Hi Borithe Excellent to see the photos Though some chaps not in proper uniform- they should have been shot! Was there many attendees? Eoin
-
Me to, John It looks great, my choice would be CIE/Inchacore cab Eoin
-
untilFrom 10.00 to 2.00 at Braywheelers Clubhouse Bray http://irishrailwaymodeller.com/showthread.php/94-Toys-of-Yesterday-Bray-Show?p=90847&viewfull=1#post90847
-
Hi All The next show is on on; The title has changed a little but it's still the same gig See you there Eoin
-
Weshty You've used up all your 'u's Eoin
-
Hi Glenderg I'm using Stixall clear by Everbuild and I get it in Wurths in Ballymount- it's like Tek7 but stronger and cleans off the DART glazing far easier than Tek7 Eoin
-
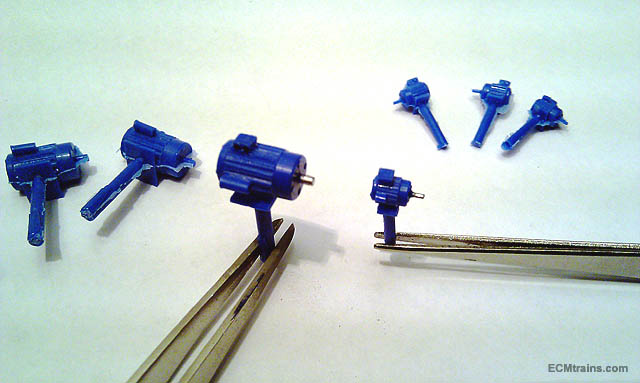
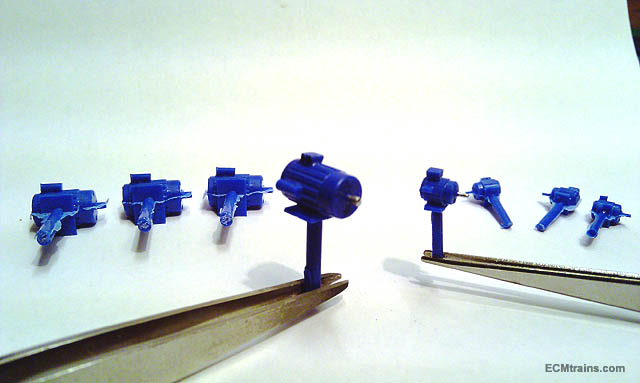
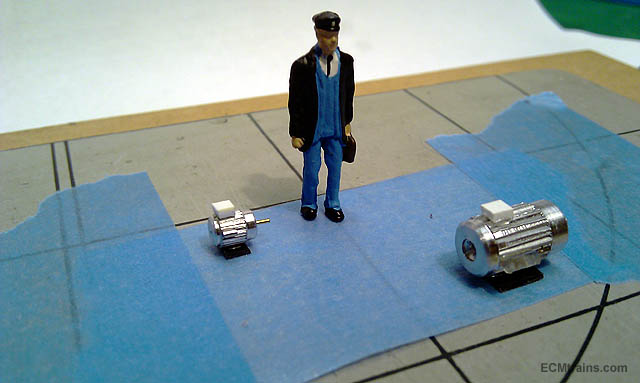
Hi Dave182 I researched this myself some time back, I bit-the-bullet and am making my own...... Dart Castings do a coach dynamo which is halfway there but no cooling fins- not all motors have fins! The pics below are of the patterns for moulding Gauge O motors, these are from a long running project which is shelved for the moment. As you can see the motors could be used in Gauge OO- the 'Chief Mechanic' is HO so the small motor is suitable for most uses. The larger one would be good for a big crane or the like. When I complete the moulds I can make you a few.... Eoin
-
I thought of a Sci-Fi film prop- 'Model 7698-B Master Blaster' or do you remember the RTE adds long ago - 'Stamp out sarcoptic-mange-mites and Liver Fluke'!!!! Thanks btb- I was wondering what I was doing wrong when my tongue was turning DART green! Eoin