murrayec
-
Posts
2,765 -
Joined
-
Last visited
-
Days Won
70
Content Type
Profiles
Forums
Events
Gallery
Blogs
Everything posted by murrayec
-
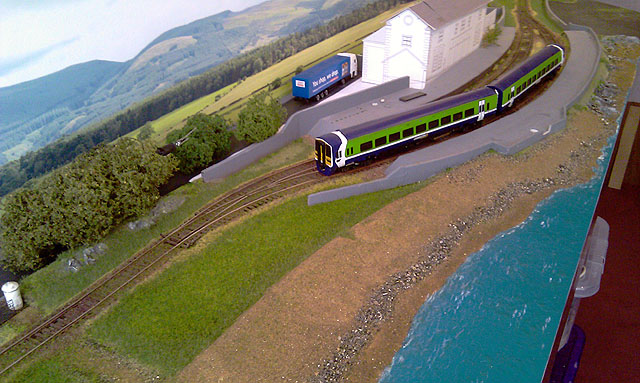
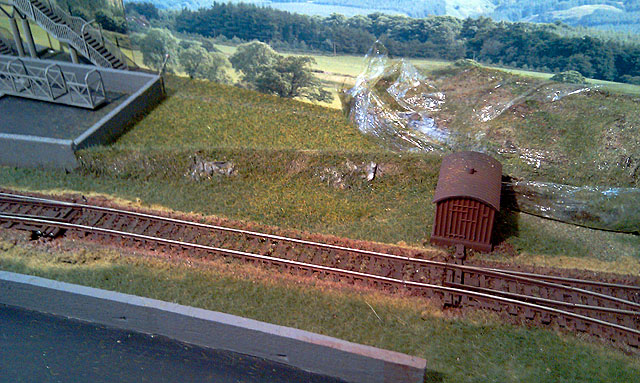
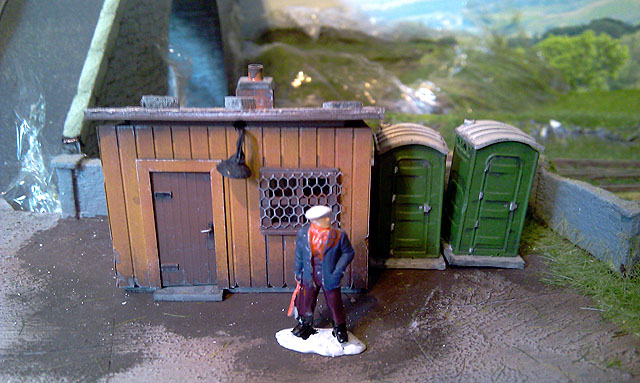
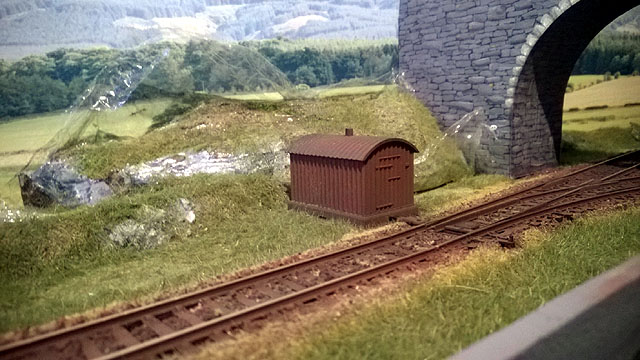
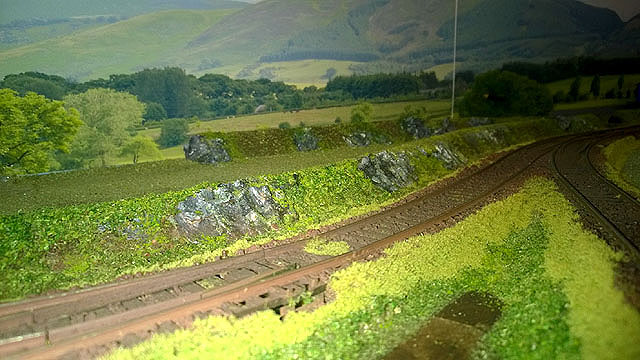
Hi All Thanks for the great comments and looking in, The last layer of grass went down today, field grass I call it- a mixture of size and colour. This was added to the field behind the beach and adjacent the bridges, and a bit mixed in here n there around the tracks for variation. The breeches got a smattering of long grass around the water edge which will intermingle with the reeds- eventually! Scattered flock and ground cover is next- gorse, brambles n ferns....... CM has been painting figures, this chap is looking very 60's in his wine strides n white cap A bit of timber loading going on Eoin & CM

-
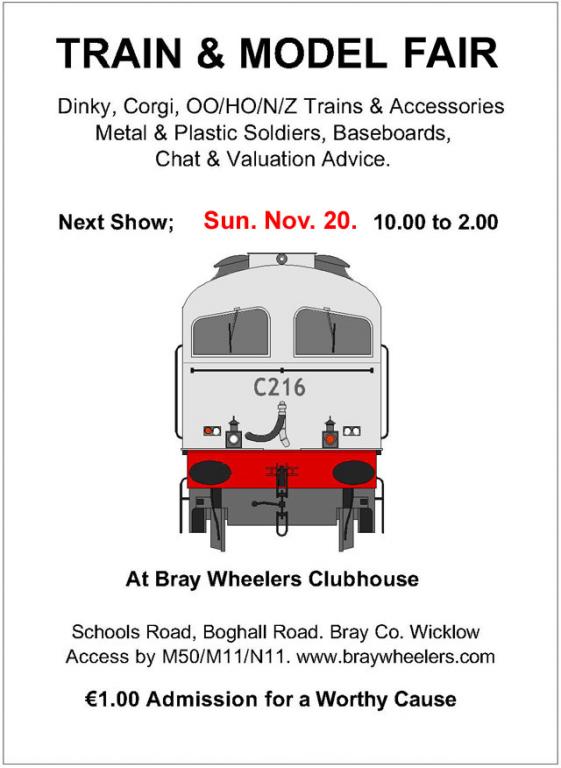
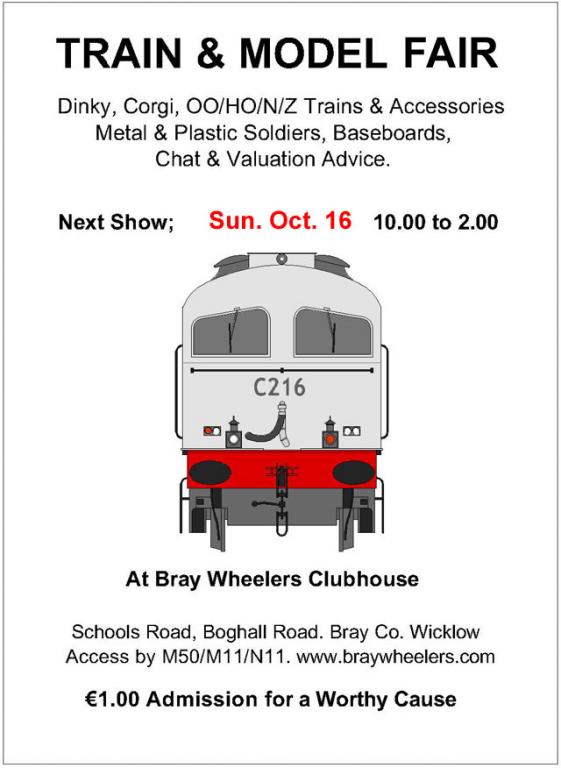
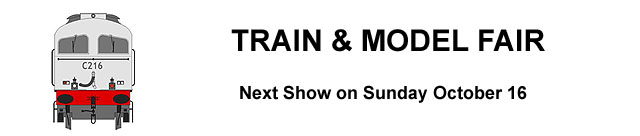
untilFrom 10.00 to 2.00 at Bray Wheelers Clubhouse, off Boghall Road, Bray. http://irishrailwaymodeller.com/showthread.php/94-Bray-Train-amp-Model-Fair?p=94239&viewfull=1#post94239
-
Hi We now have a date of November 20 for the next Fair
-
Hi Junctionmad Have to go with Horse, Worsley Works is the one if you can do brass, aside from no castings (not many needed), they do give you options on the etch for the windows... Eoin
-
Yes they are pretty nice, I had about 4 looks at them but decided to spread the money over several items! maybe next time... Eoin
-

MRSI 2016 Show - St Pauls College Raheny October 29-31
murrayec replied to Blaine's topic in What's On?
Yes was a great show, I thoroughly enjoyed the 3 days, great fun chatting to everyone and picked up a few nice items. Well done to the club with organisation and thanks to the girls in the kitchen Eoin -
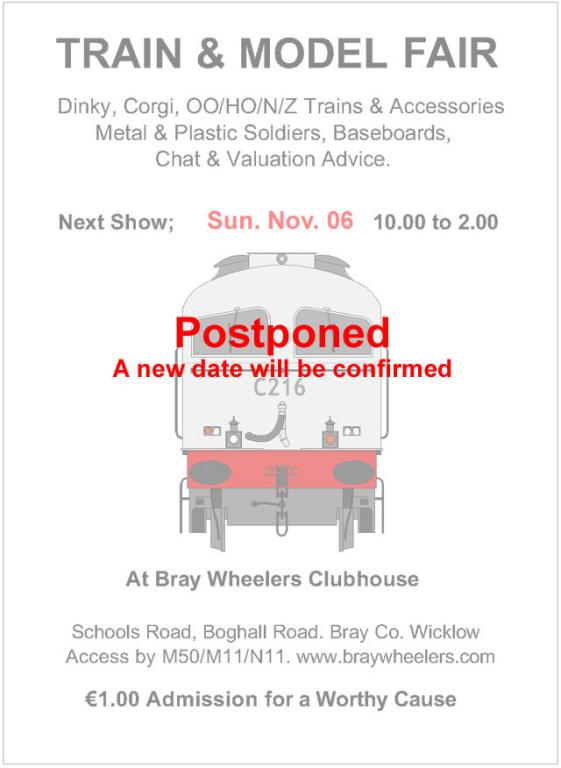
Hi All Unfortunately the 6th November Fair has to be postponed to later in the month due to availability of the Braywheelers Clubhouse. We will confirm a new date in a few days....
-
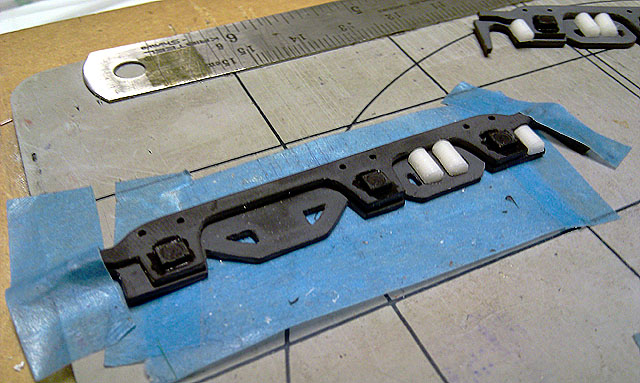
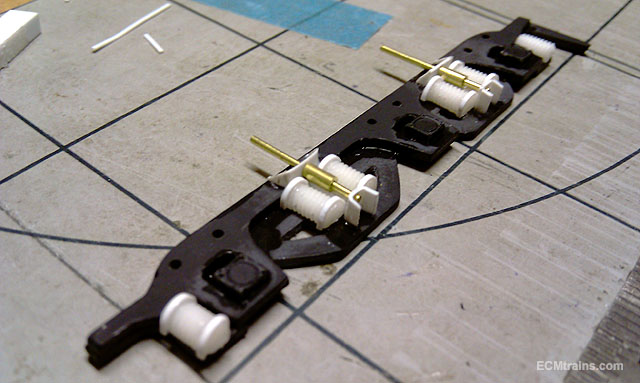
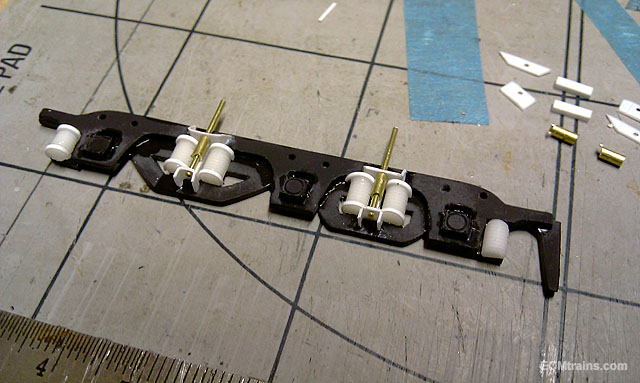
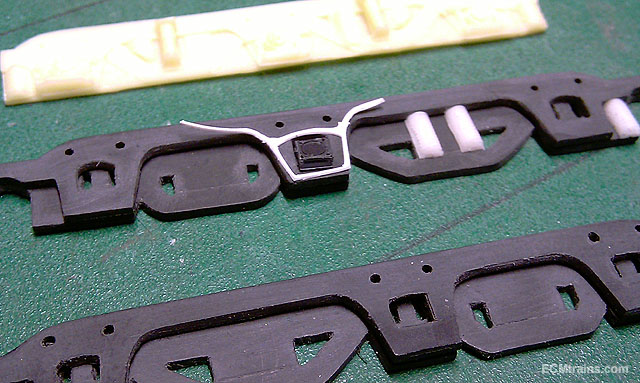
Hi I have progressed a little further on the patterns I re-made the springs with a coarser 3mm bolt which gives a better spring look and more to scale, the shots are of the components going together- some are glued down and others not until the glue is cleaned up.... .....There is not enough hours in the day! Eoin
-
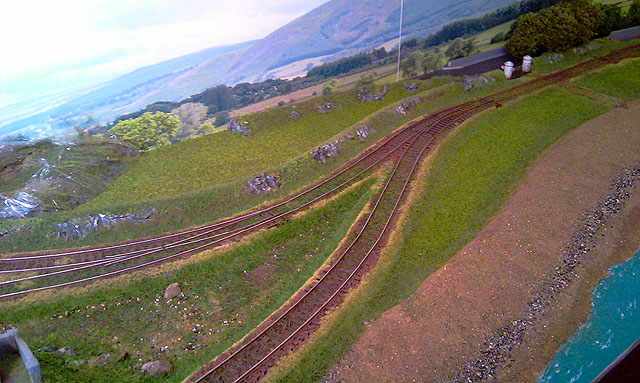
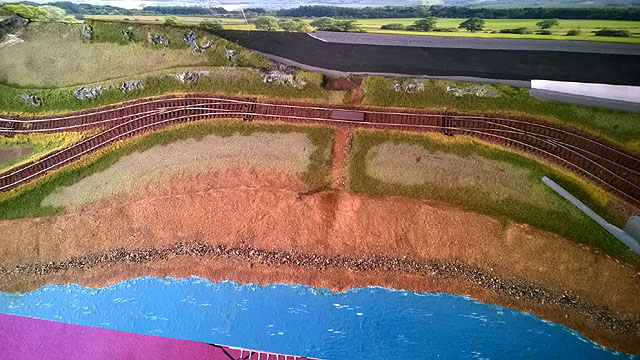
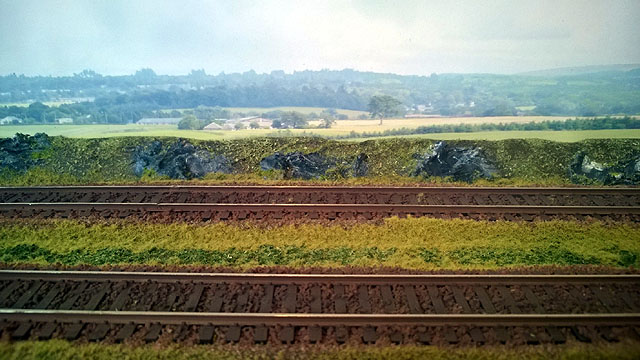
Hi Here are a few photos of the long grass(6mm)layer almost complete, just the field grass to go and we're into the trees n ground cover... Eoin & CM
-
Nice one Dave, can wait to see it Eoin
-
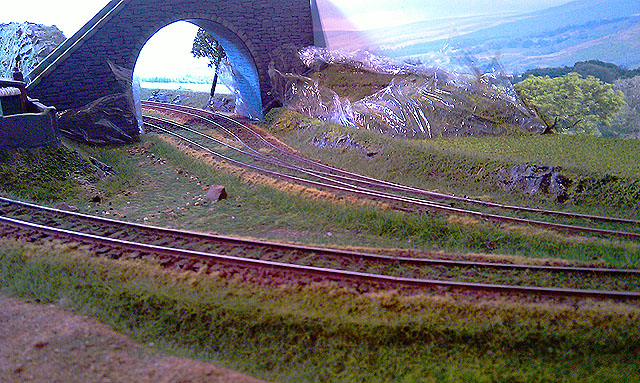
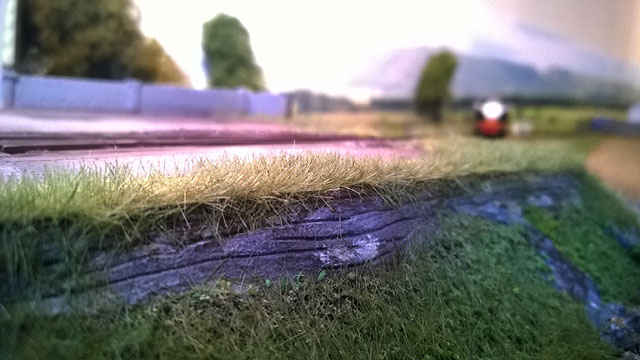
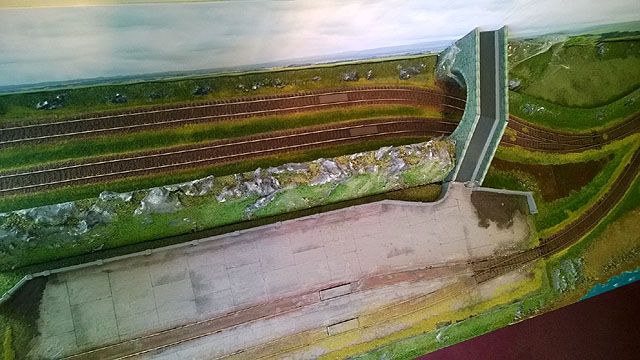
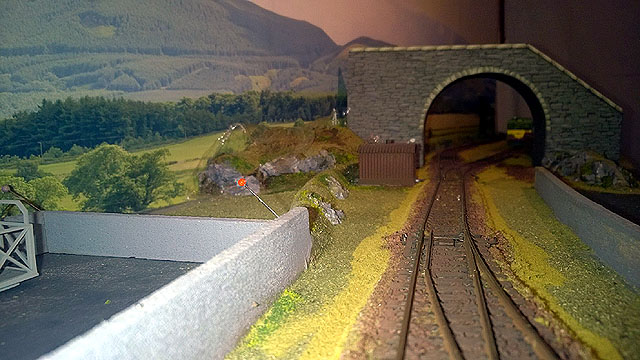
Hi All Here are a few interesting photos taken by CM, the second layer of long static grass has gone down, still s few bits to finish in this mode- 'layers n layers' I like these shots though... ... you can see the layers building up CM & Eoin
-
untilThe Fair has been moved to Nov 20- see calendar for details
-
Hi All The Bray Model Fair is on this coming Sunday.....
-
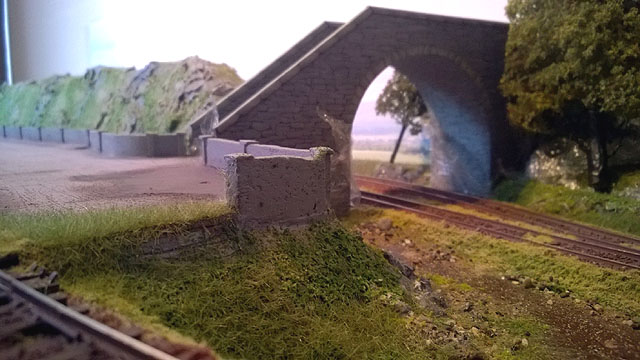
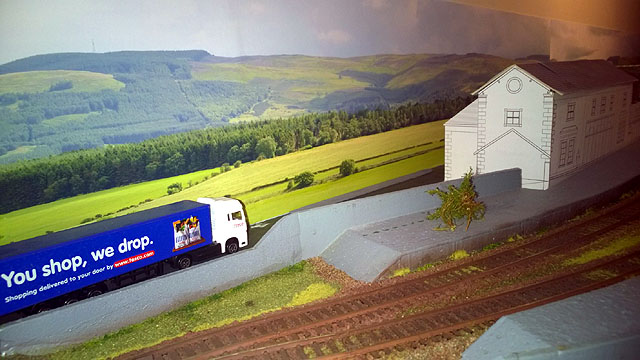
.....and a few shots CM sent this morning of the hovered site Eoin & CM
-
Hi A4m Stunning, it has been great to see it develop to this, stunning.... Eoin
-
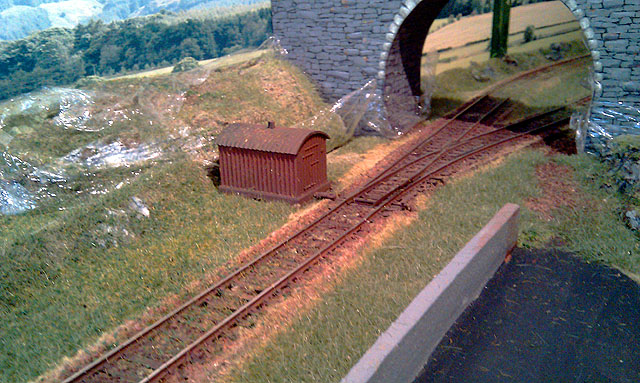
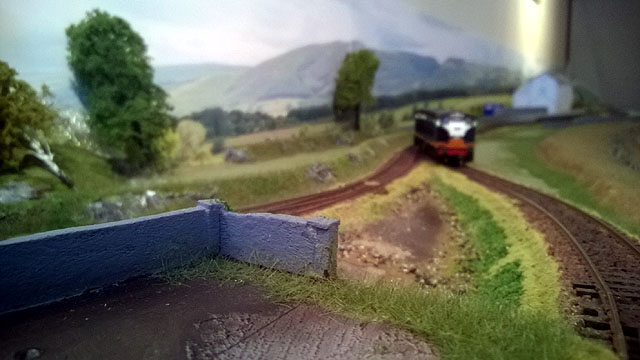
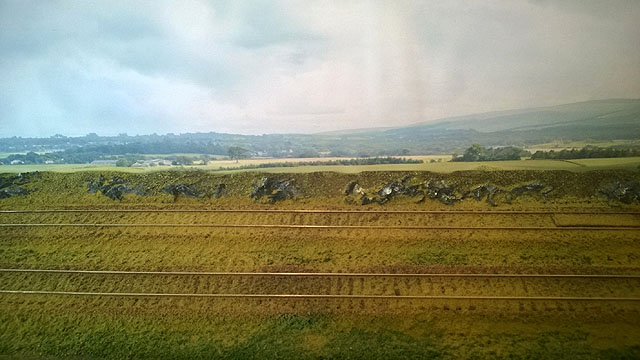
Hi All and thanks for the great comments The first layer of static grass went down today, this is 2mm grass at track side- looking burnt from the constant weed spraying! The photos are taken just after application, the next post will be of the hovered site and hopefully well have burnt grass both sides of track.... Eoin & CM
-
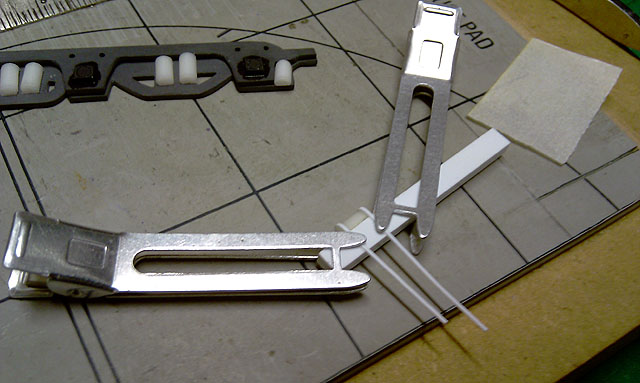
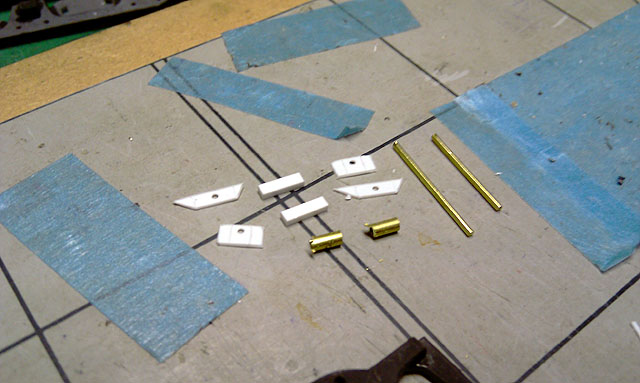
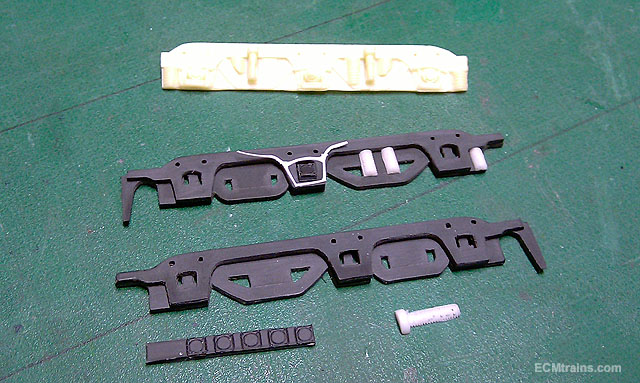
I have the design of the chassis and running gear complete, but this project has been on the shelf while doing the DARTs, though I am tipping away at the bogie frame sides and here is the story so far;.... The motors will be Tenshodo Spuds with a little brass truck to carry the third axle, this affair will pivot off an etched brass side frame mount fixed to the Spud body- I've yet to make one of these to test. So with that decided! I set about working up the patterns for the bogie sides which will be cast in white metal. The photos show the main side frames cut out and part cleaned up, cut from 1mm black styrene, it's a bit softer than the white stuff. Each frame is in two bits and will be stuck together to give 3d look. The white cut-out laid on top is cut from never-tare paper which will be used for detailing the frames, and the springs are made of plastic- cast from a mould made from a M3 bolt, only half the bolt is cast for making up the springs. M3 bolt thread is a bit small and not the right scale, I might re-visit that one.... Next step is to work out the shock absorbers and mounts and all should be ready to glue up!! Eoin
-
untilFrom 10.00 to 2.00 at Bray Wheelers Clubhouse, off Boghall Road. Bray. http://irishrailwaymodeller.com/showthread.php/94-Bray-Train-amp-Model-Fair?p=93159&viewfull=1#post93159
-
-
-
-
-
-
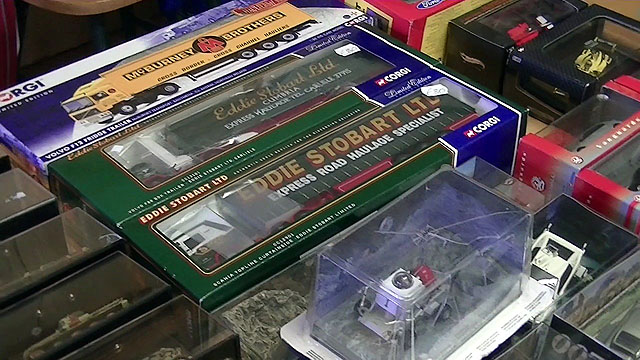
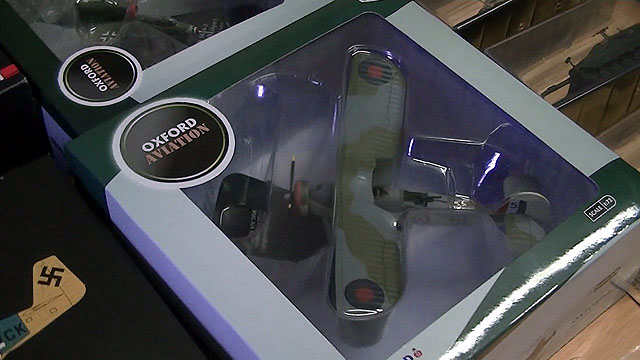
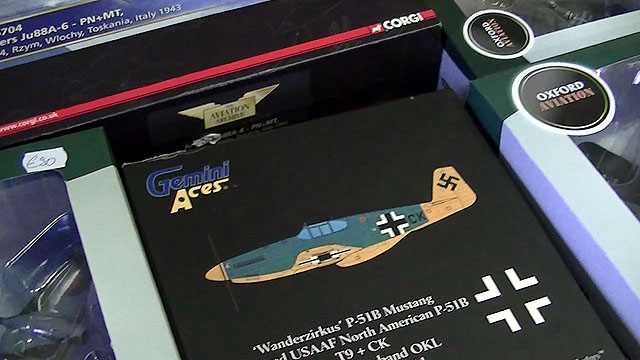
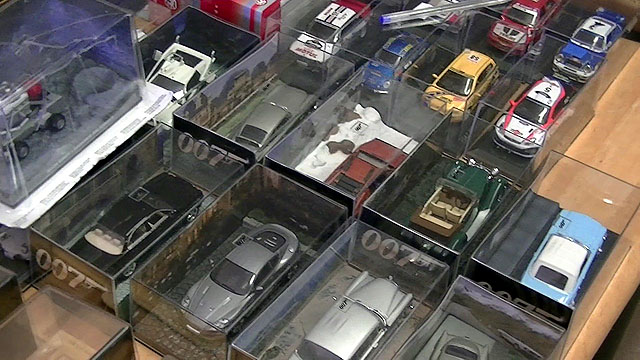
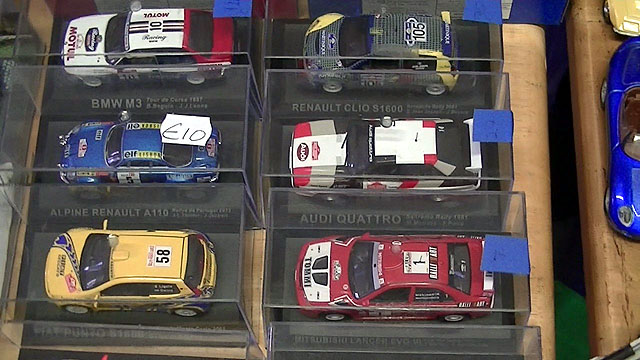
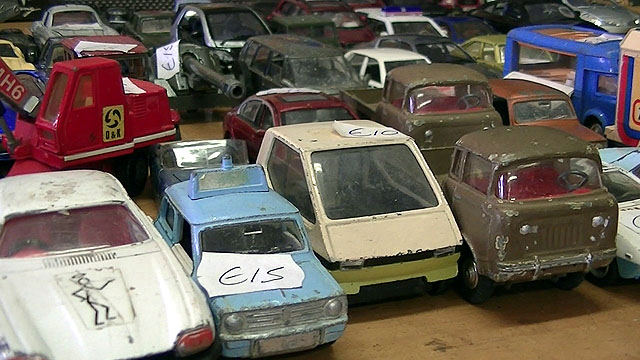
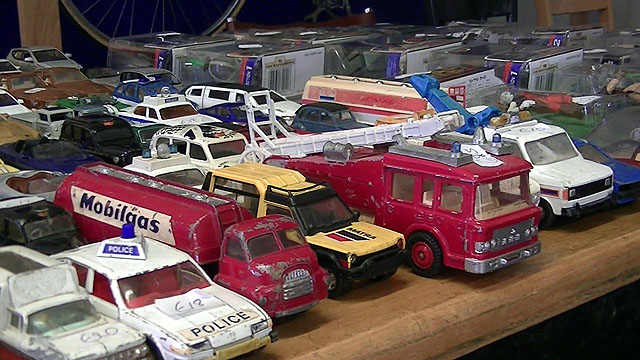
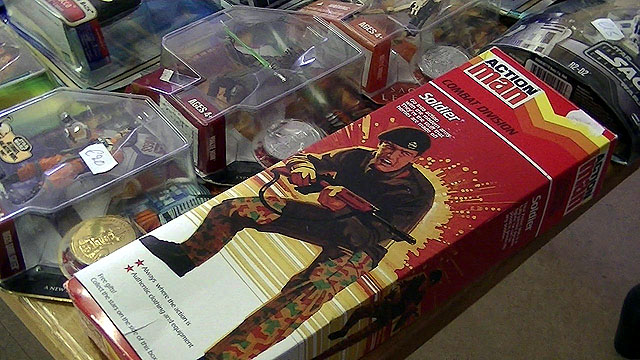
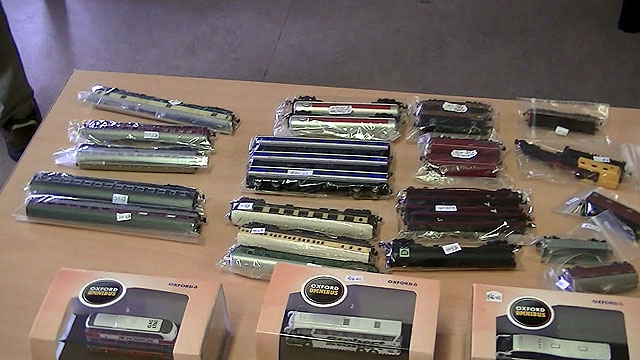
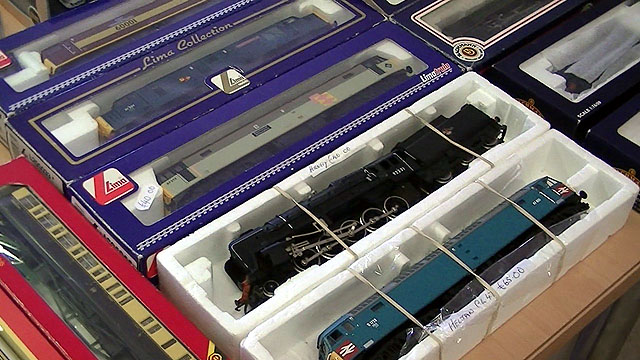
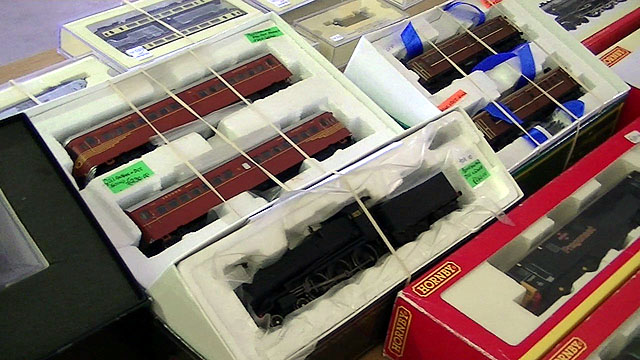
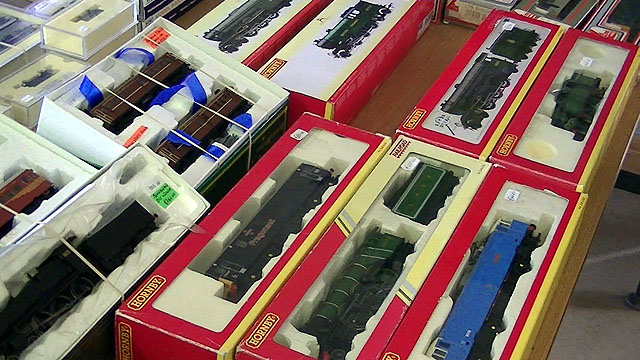
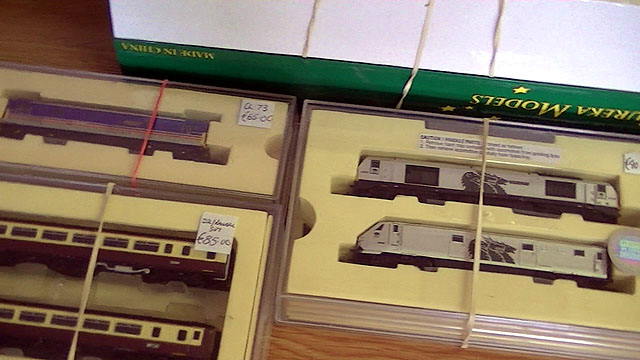
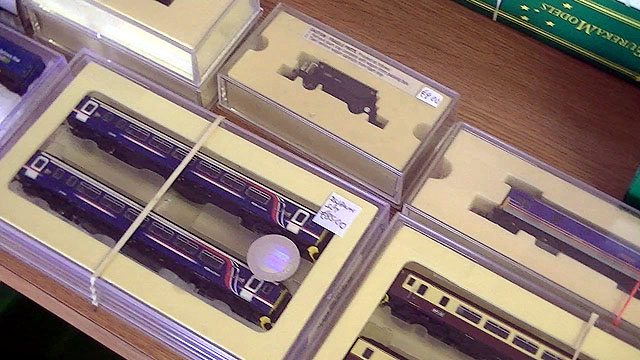
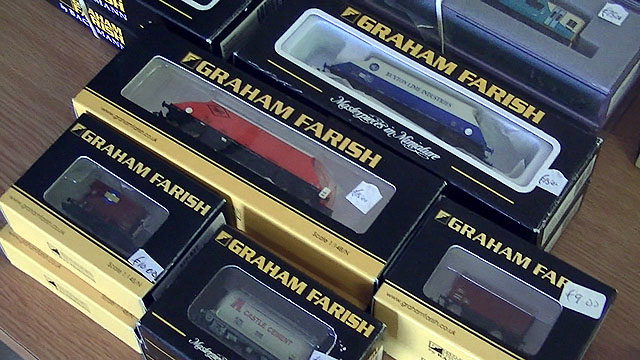
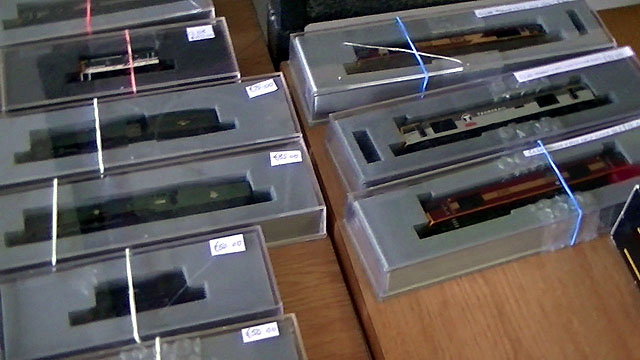
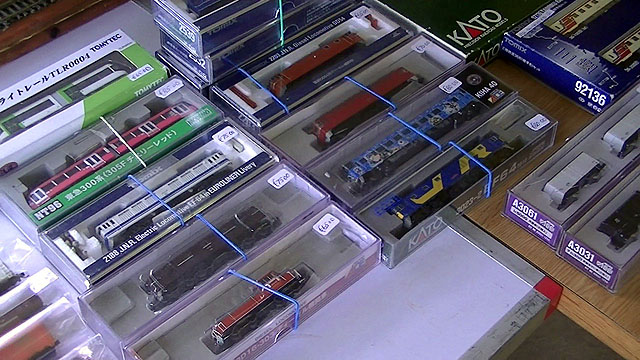
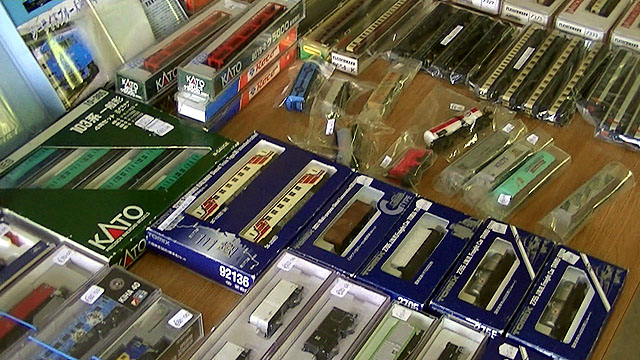
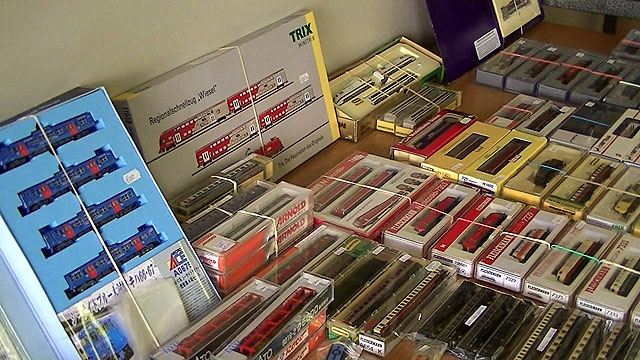
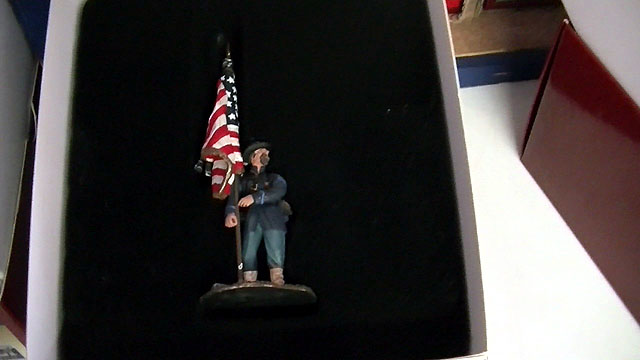
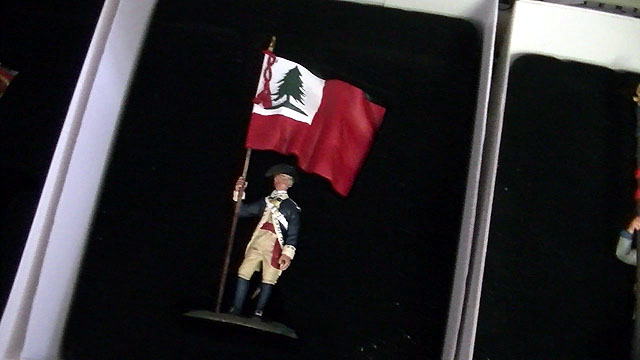
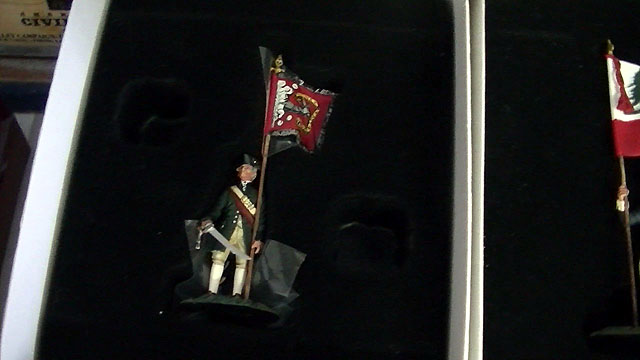
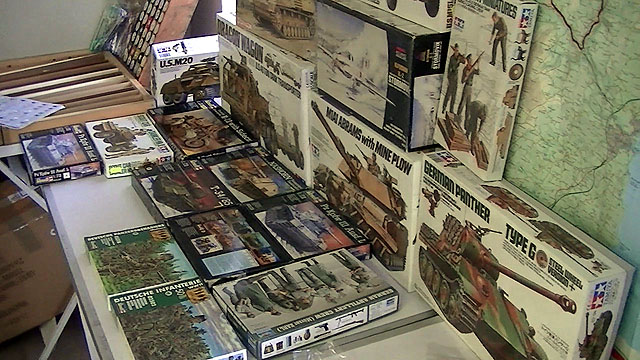
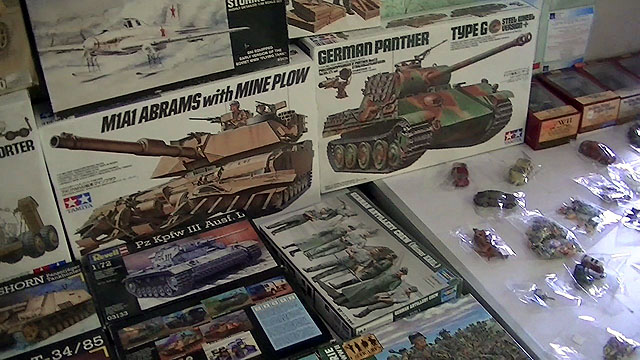
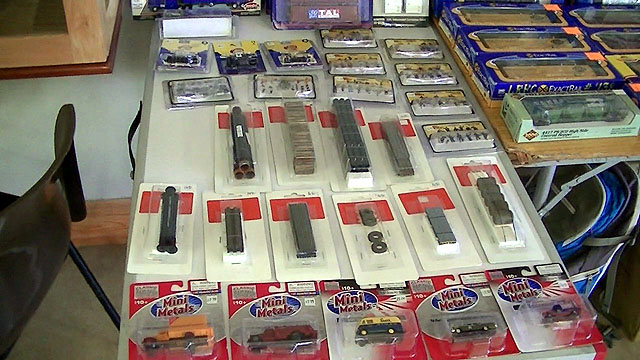
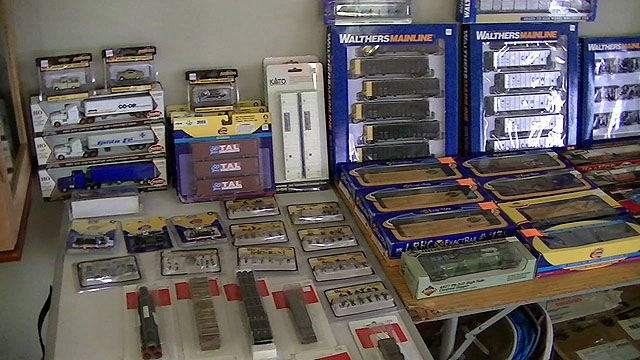
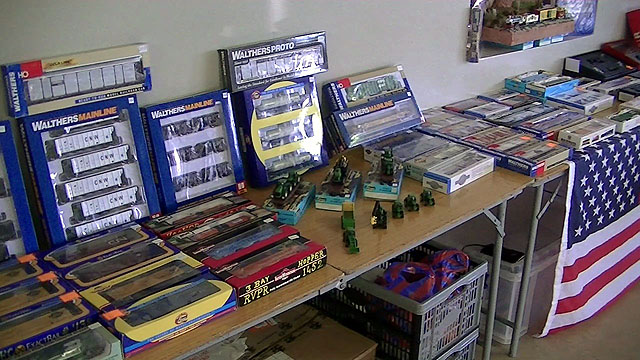
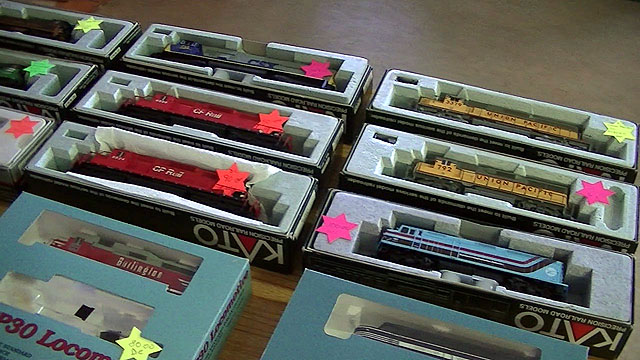
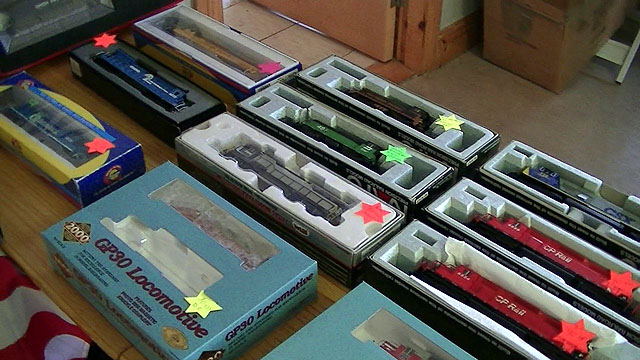
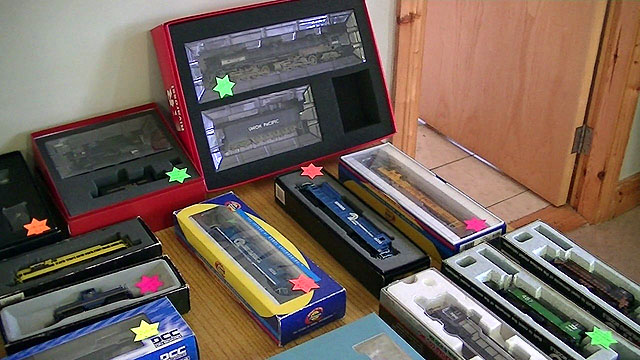
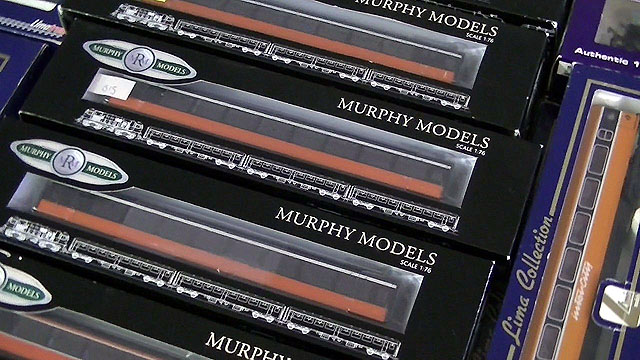
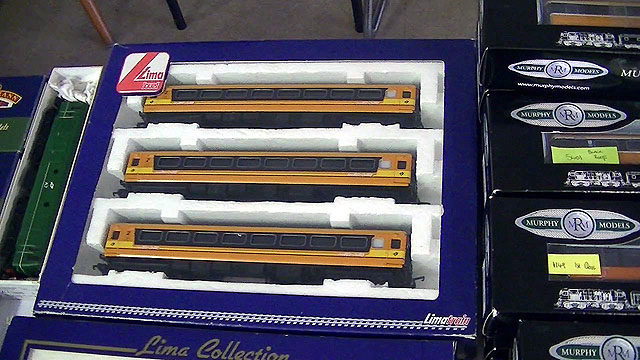
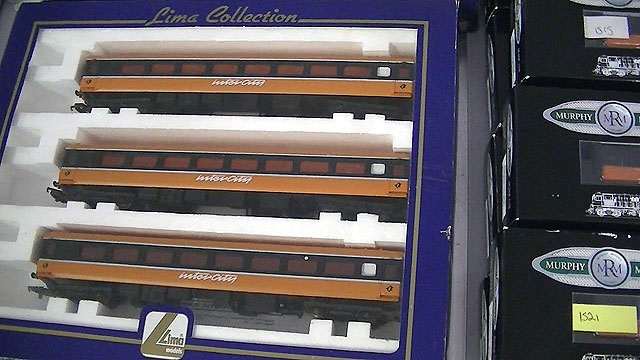
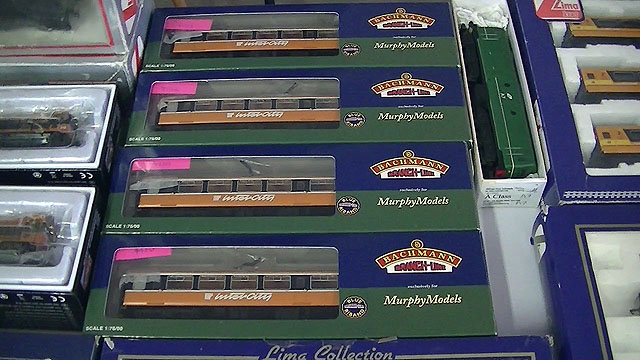
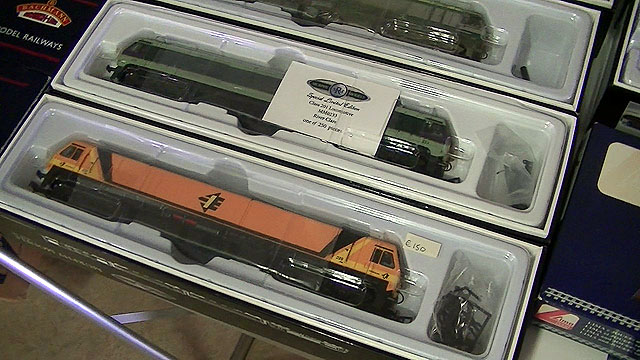
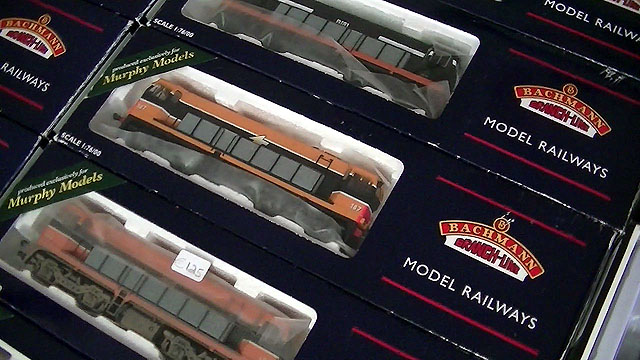
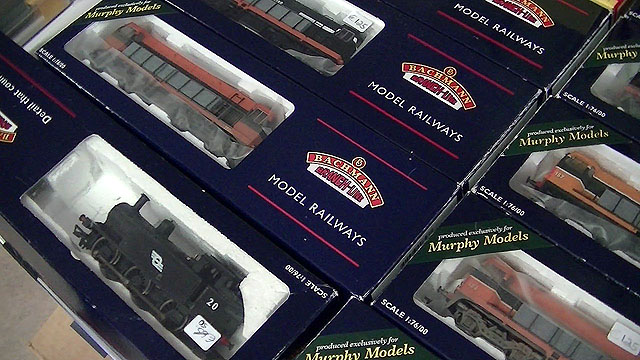
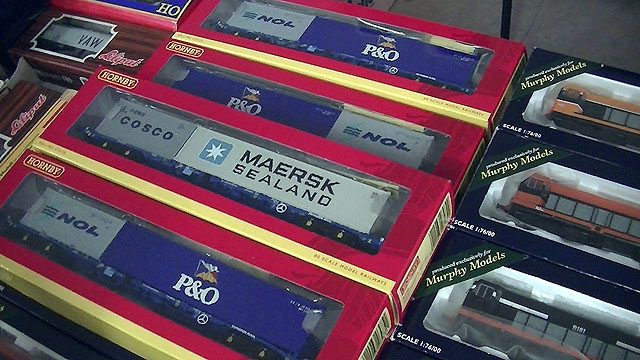
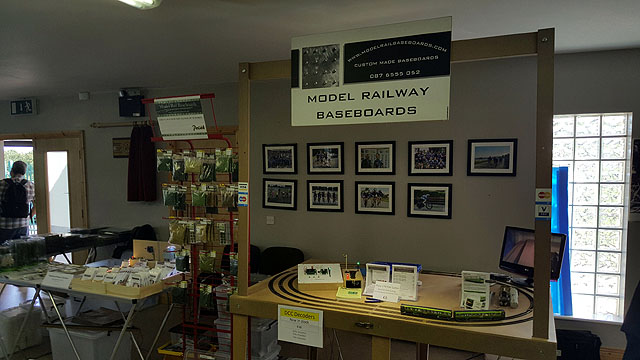
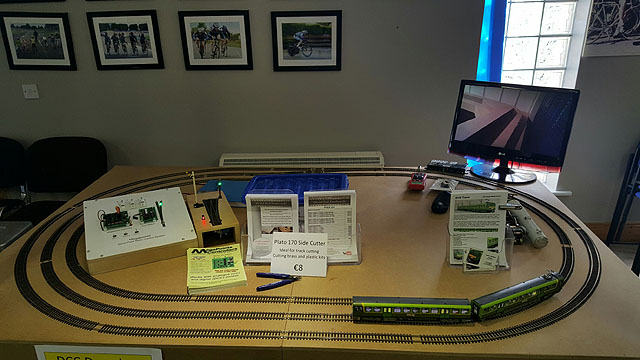
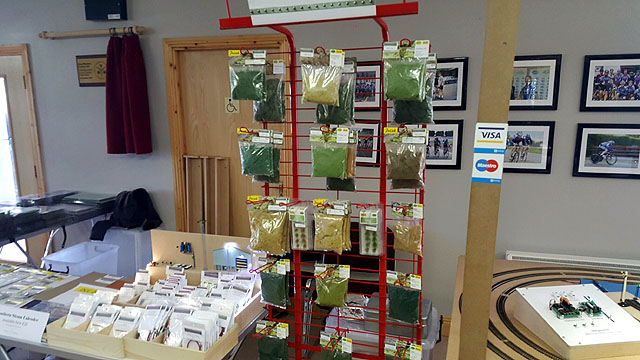
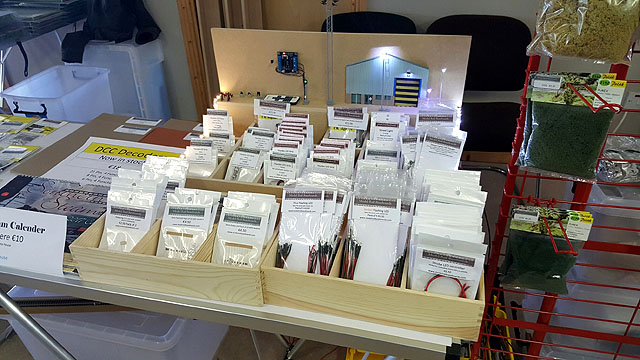
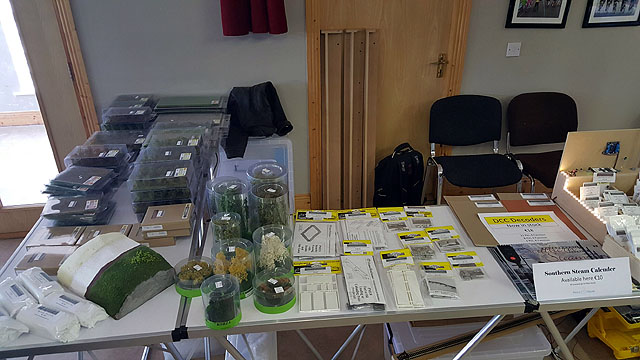
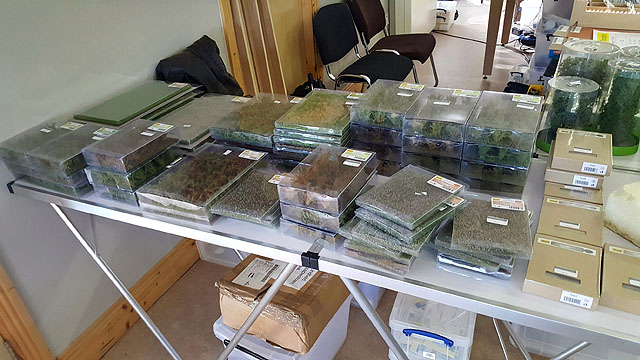
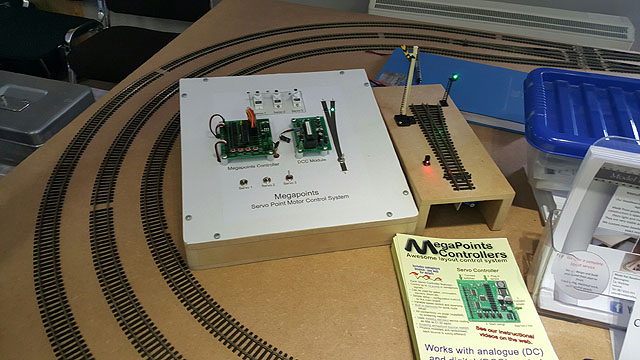
Some photos taken at the last Fair;-
-
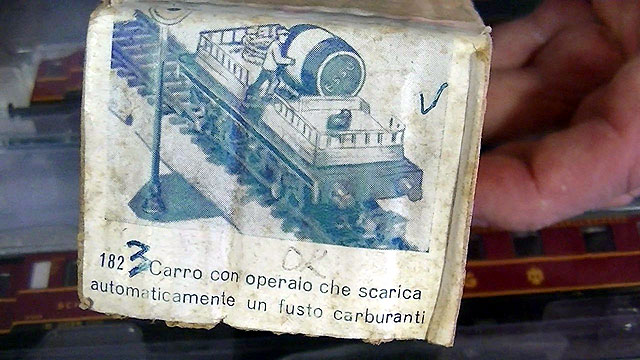
Hi John It's home spun.... Here is a link to a description of;- Eoin