Glenderg
-
Posts
3,490 -
Joined
-
Last visited
-
Days Won
11
Content Type
Profiles
Forums
Events
Gallery
Blogs
Everything posted by Glenderg
-
Noel, I think the lads are referring to the fact that there is a wealth of historical information in previous issues of this magazine, which may be of use to members. Commentary on the state of current model railway publications is all over social media, and other forums/fora, can we not stray off topic here? I find this stuff particularly useful, as will anyone else searching here in years to come? R.
-
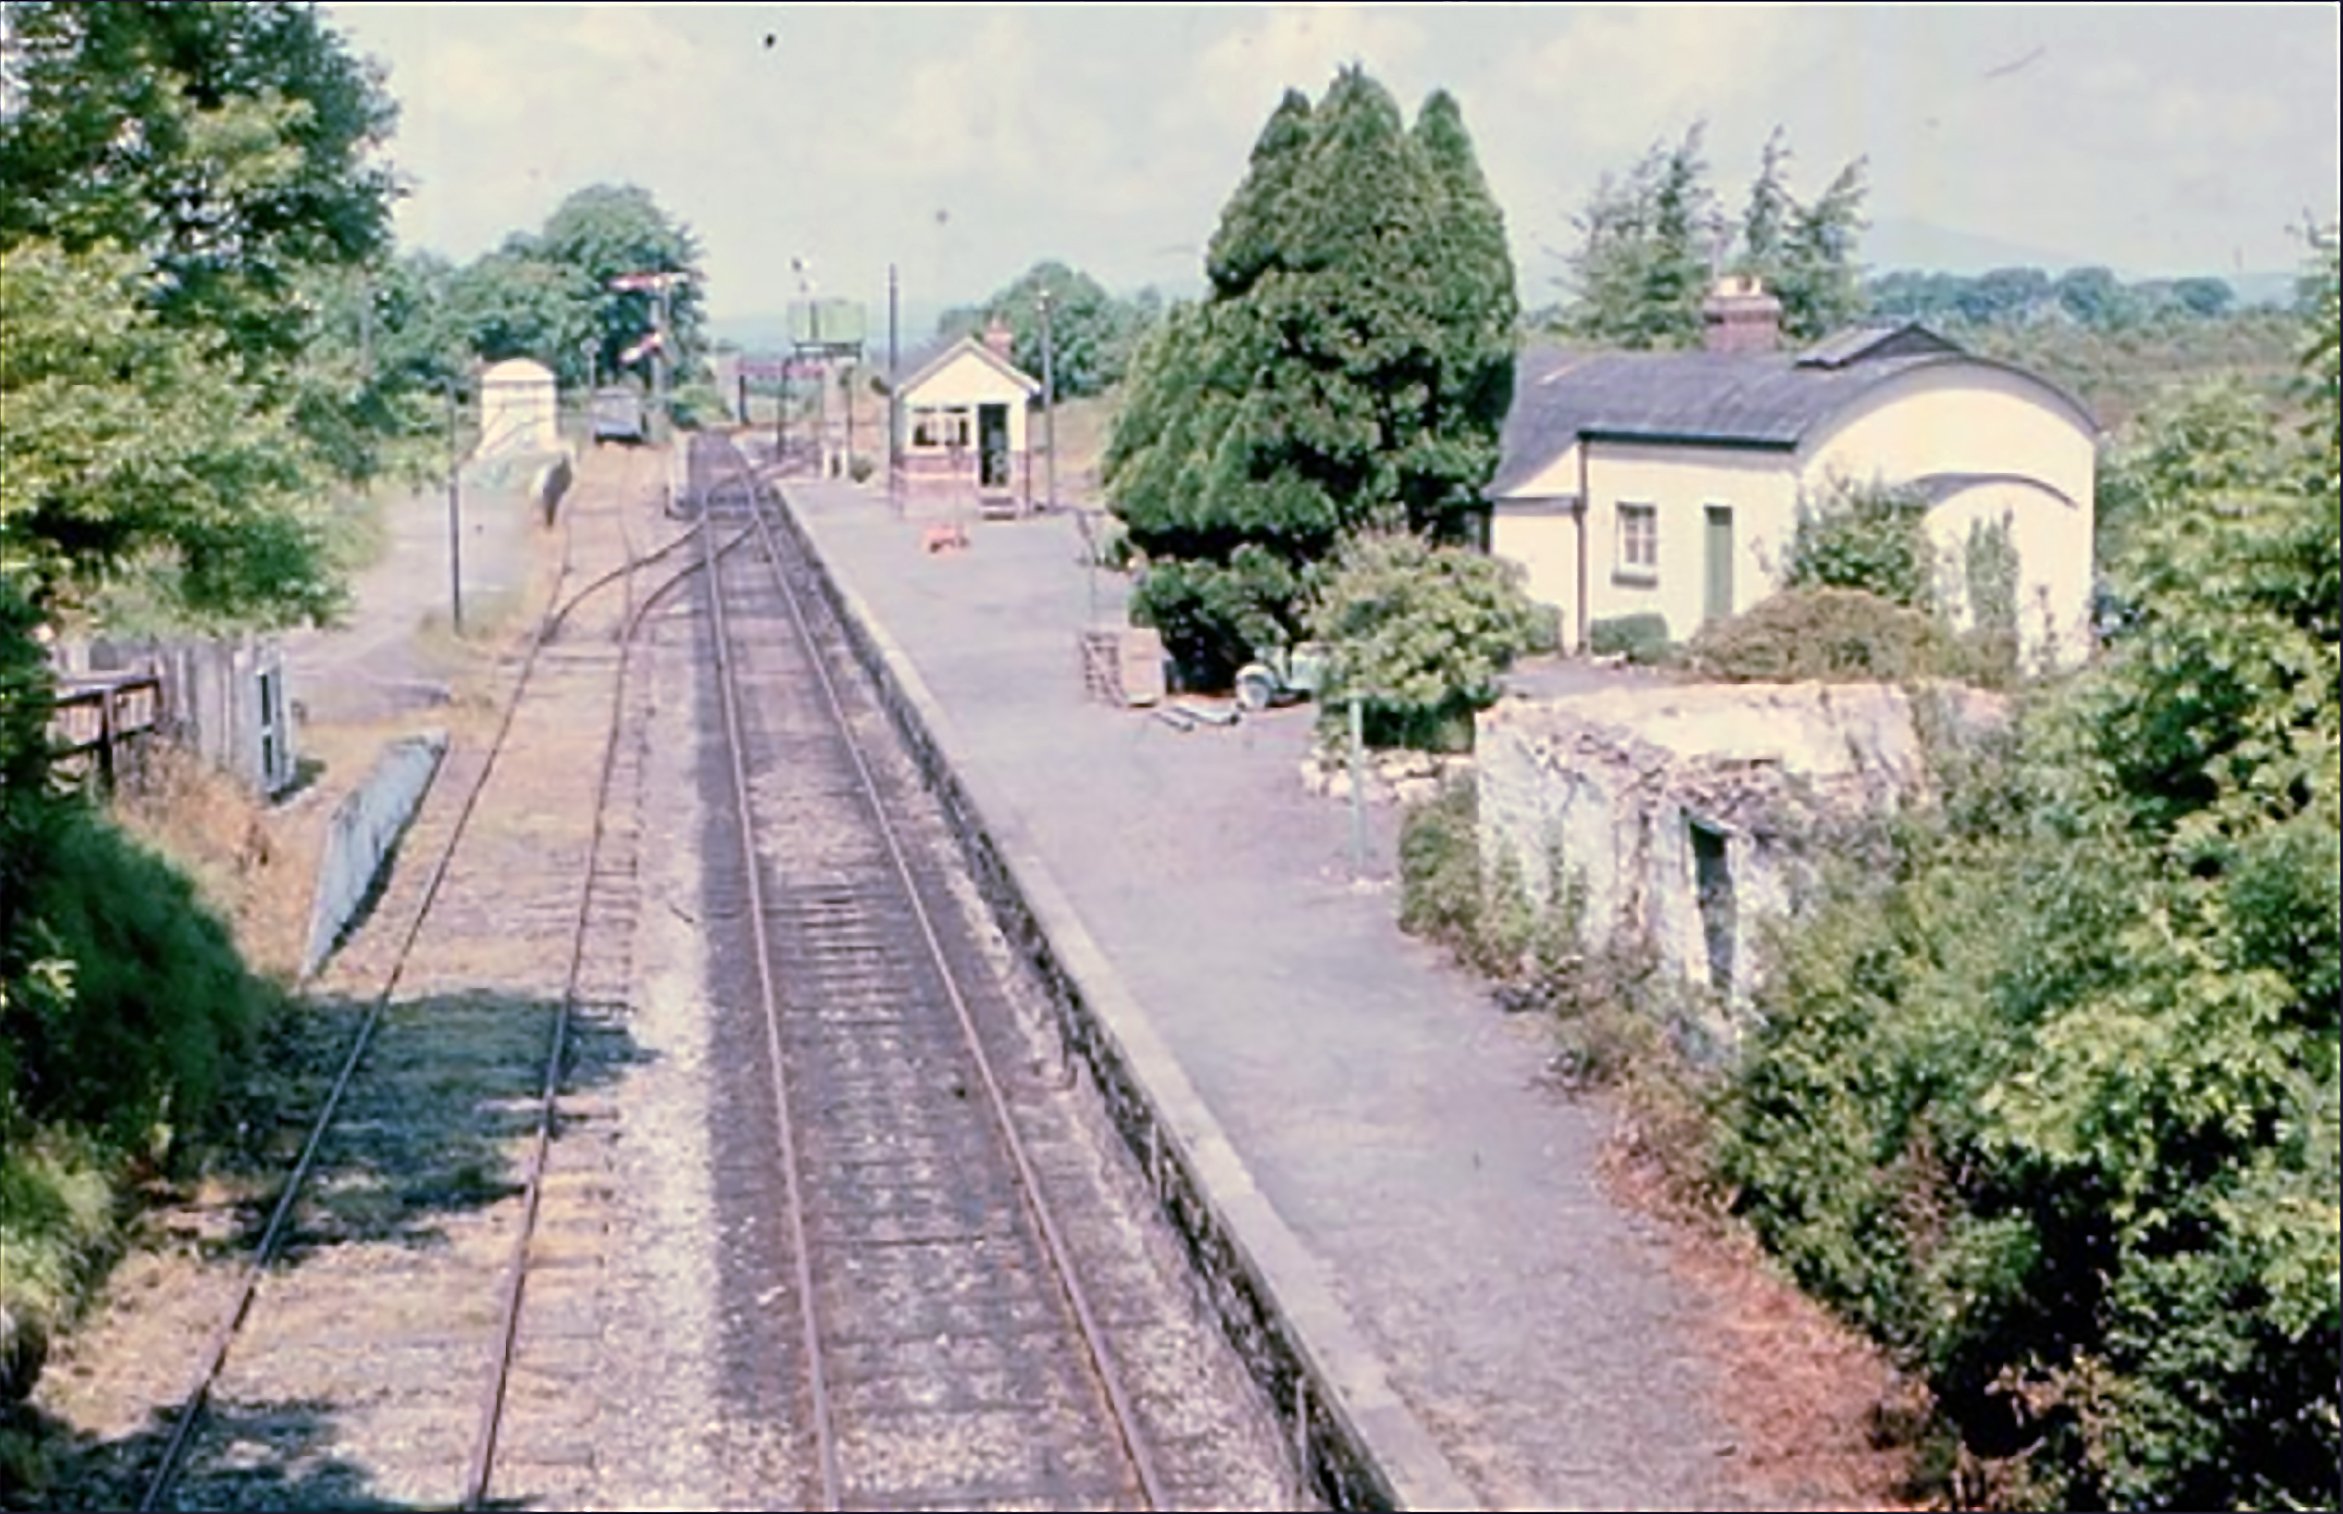
Ed, Have had a look at the Ordnance Survey maps, they were both overbridges, or at least that's how they were drawn. As for type it appears to be an "ikea" type rivetted metal frame, with two supports of cut stone either side. I don't imagine it was any different on the other side either, as every structure is very industrious and "value engineered". Similar to this type at Moyasta. Hope that helps, but it's not definitive. Richie.

-
-
I have to agree with David here about using off the peg 7mm track here, and inching out the wheels by 1.00mm either side - that way you *could at some later stage make it rattle away through the garden or whatever ye fancy. It's 32mm is the gauge of 7mm, don't have any track to hand. Yeah, I wouldn't swear by either, not really up on the narrow gauge stuff tbh, but I'd go with the second one. Also, the benefit of the mock up is it's pretty quick to do, costs little, and even if it's as odd as moll belle, you can eyeball it and maybe inspire a bit of further action if you start to flag. Keep us posted! R.
-
@PorkyP You'll have to print this on A3, should be enough to start making a mock-up in cardboard etc. The previous drawing, compared with the above, had a shorter chimney, dome was in the wrong location, and the cab was iffy. Richie. Tralee_&_Dingle 2-6-0T A3.pdf
-
Tralee_&_Dingle_No_02.pdf So @PorkyP I've scaled this to 10mm to the foot, or 1:30.48. I've amended the wheels to the sizes published on wikipedia, but as you can see with the cab and body measurements, there's something amiss. I'd suggest trying to get a hold of some more accurate drawings, if that's possible. On the wheel front, I reckon you could turn the ponies at the front, and drill the 3 hole discs with a bench drill. As far as the drivers is concerned, these will do you just fine! https://www.ebay.ie/itm/NEW-LEGO-Train-black-locomotive-wheel-X3-spoked-railway-spoke-speichenrad-rc-a-/392334531088?hash=item5b58f5da10 I know nothing about lego trains, but it seems like a reasonably priced option, and easy to tone down the flanges to something approximating scale wheels. You can easily file out the counter weights, remove spokes, or add more detail with ease. Anyhoo, drawing attached, have fun! Richie.
-
I've just had a quick look at this "idea".. It's a bit bonkers. If you use 32mm track as the 3 foot gauge track, the scale works out at a domestic authority unhappiness of 1:28.575. No, yer not going to find wheels or miniature folk to shovel coal in at this scale.. Anyway, there's a bit of key info missing here - if the model is for a layout, gauge of what track is readily available determines the scale of the loco. If its a static model for display, then scale determines gauge, since you can make yer own bit of track. I can scale the drawings for you, once you've sorted the scale/gauge issue. I applaud this madness, incidentally. Richie.
-
ABS plastic, most likely...
-
Assume you mean a D Class and E Class with both variants? There's also a wee saddle tank pilot loco I'm quite partial to....
-
Whichever way you turn the wagon, the side profile is the same, if that makes sense. That way you can load the front of the wagon from Door A, the rear of the wagon from Door B. R Actually, I've just read through the thread again, and had a good look at the photos once more. It's a Railway Clearing House (1923) 10' wheelbase chassis, with the Morton Independent Brake arrangement, but then on top of it, there's a (modified) Bullied triangulated underframe on top, with a cab on top of odds and sods but wider than the BR version, as it overhangs the solebar and makes the most of the irish loading gauge. What a mad, wonderful thing....
-

Battery electric choo-choo trains?
Glenderg replied to Noel's topic in What's happening on the network?
It's an eminently sensible tender. Stock to work under the knitting, and be battery powered where no knitting exists, but the plan would be to electrify the routes highlighted in the tender, eventually. I'd suggest you get your comments on seat comfort in early mind, before manufacturers get appointed... -
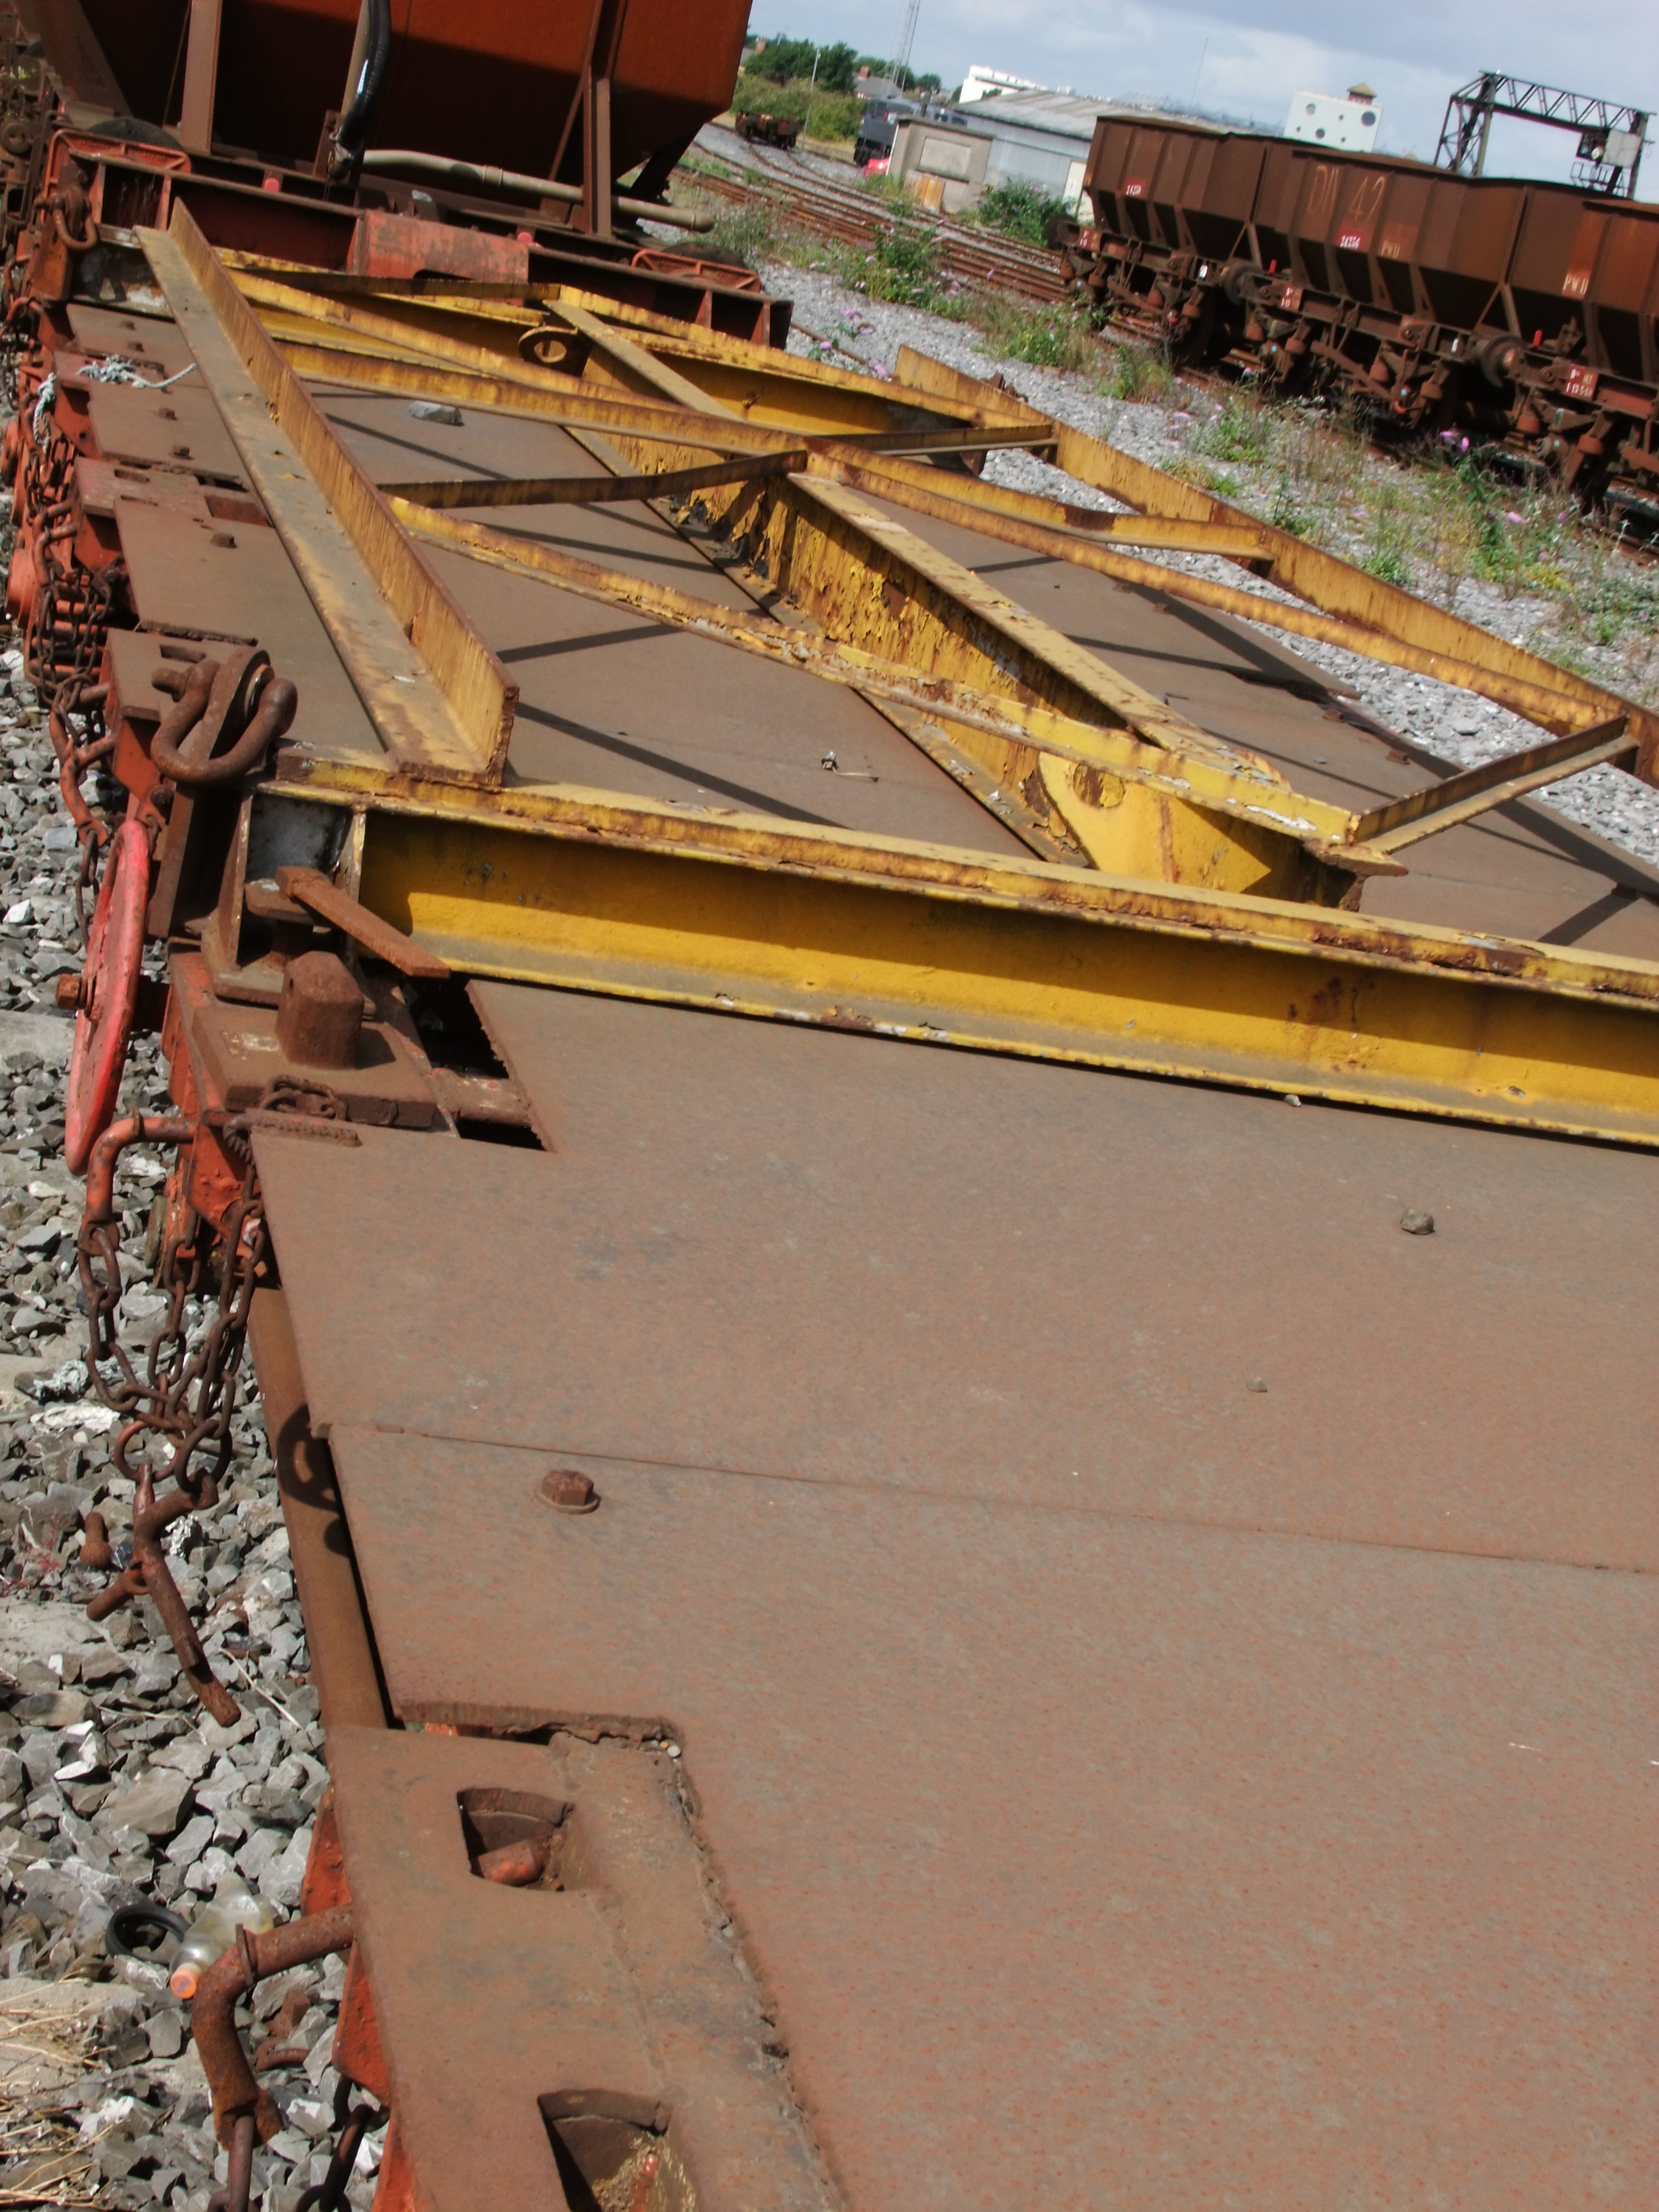
It's first cousin is this - https://paulbartlett.zenfolio.com/brlowmacwv Since they'd have had to push the sideframes out for gauge reasons, the top deck and supporting steel fins would have gone outward too, making it a BR pattern, but CIE-ized to suit. In departmental use for perway and I've only seen 645A, 650A, & 651A, but there might be more. Last inspection date I've seen is 1993, but they were knocking around until 2006, as captured by Mr Gordon Hawkins. A Priestman Crawler was it's guest load on that occasion.
-
I don't think there's a Lowmac on the North Wall. There's a converted 42' flat wagon with a crane on the end though ?
-
I dreamt I was wriggling around on some cold concrete in Glasgow. Thankfully it was a fantastic dream and I won't be physically broken in the morning. *applies wd40 to the knees, just in case..
-
"bet" wagons...
-
diag WANTED: GSWR Carriage Diagrams
Glenderg replied to DiveController's topic in For Sale or Wanted
Is this the document in the Manchester transport museum? -
Fixed that for ya, JB!
-
The containers were specially constructed for beet traffic, iirc, in 2003, and were due to be rolled out properly for the subsequent beet season. There was no next beet season, so containers were scrapped. I have an odd note from the time suggesting they were converted coal containers, which could be just another tale from a "Heuston Driver".. Richie
-
Find an old broken umbrella, remove the links from the main pole to the arms, but and fit to suit. The smaller the umbrella, the smaller the profile. The alternative is folding catering foil to a profile, but this takes a lot of setup and messing. R
- 1 reply
-
- 1
-

-
Kevin, I've had access to unpublishable photos to determine the actual grey, and it's tricky beyond belief. Early morning shots there's a gunsmoke hue off it, long shots it's almost creamy grey. We do a lot of work with white balancing of old film and photos of the era as it's generally untrustworthy. Once balanced, the photos are night and day different, and present a truer picture. The other thing you have to remember here is that we're talking CIE in the mid sixties. Gunsmoke grey or any other fancy shade is unlikely, borne out by study of the photos. Slate grey is what they were, and as soon as the lads get back from "counny doon", I'll throw some dirt on them, and hopefully they'll match the real and nostalgic colour. Rich
-
Yip, absolutely. R.
-
Class 73 wouldn't be suitable as it's a Bo-Bo - the A Class is a Co-Co axle arrangement. R.
-
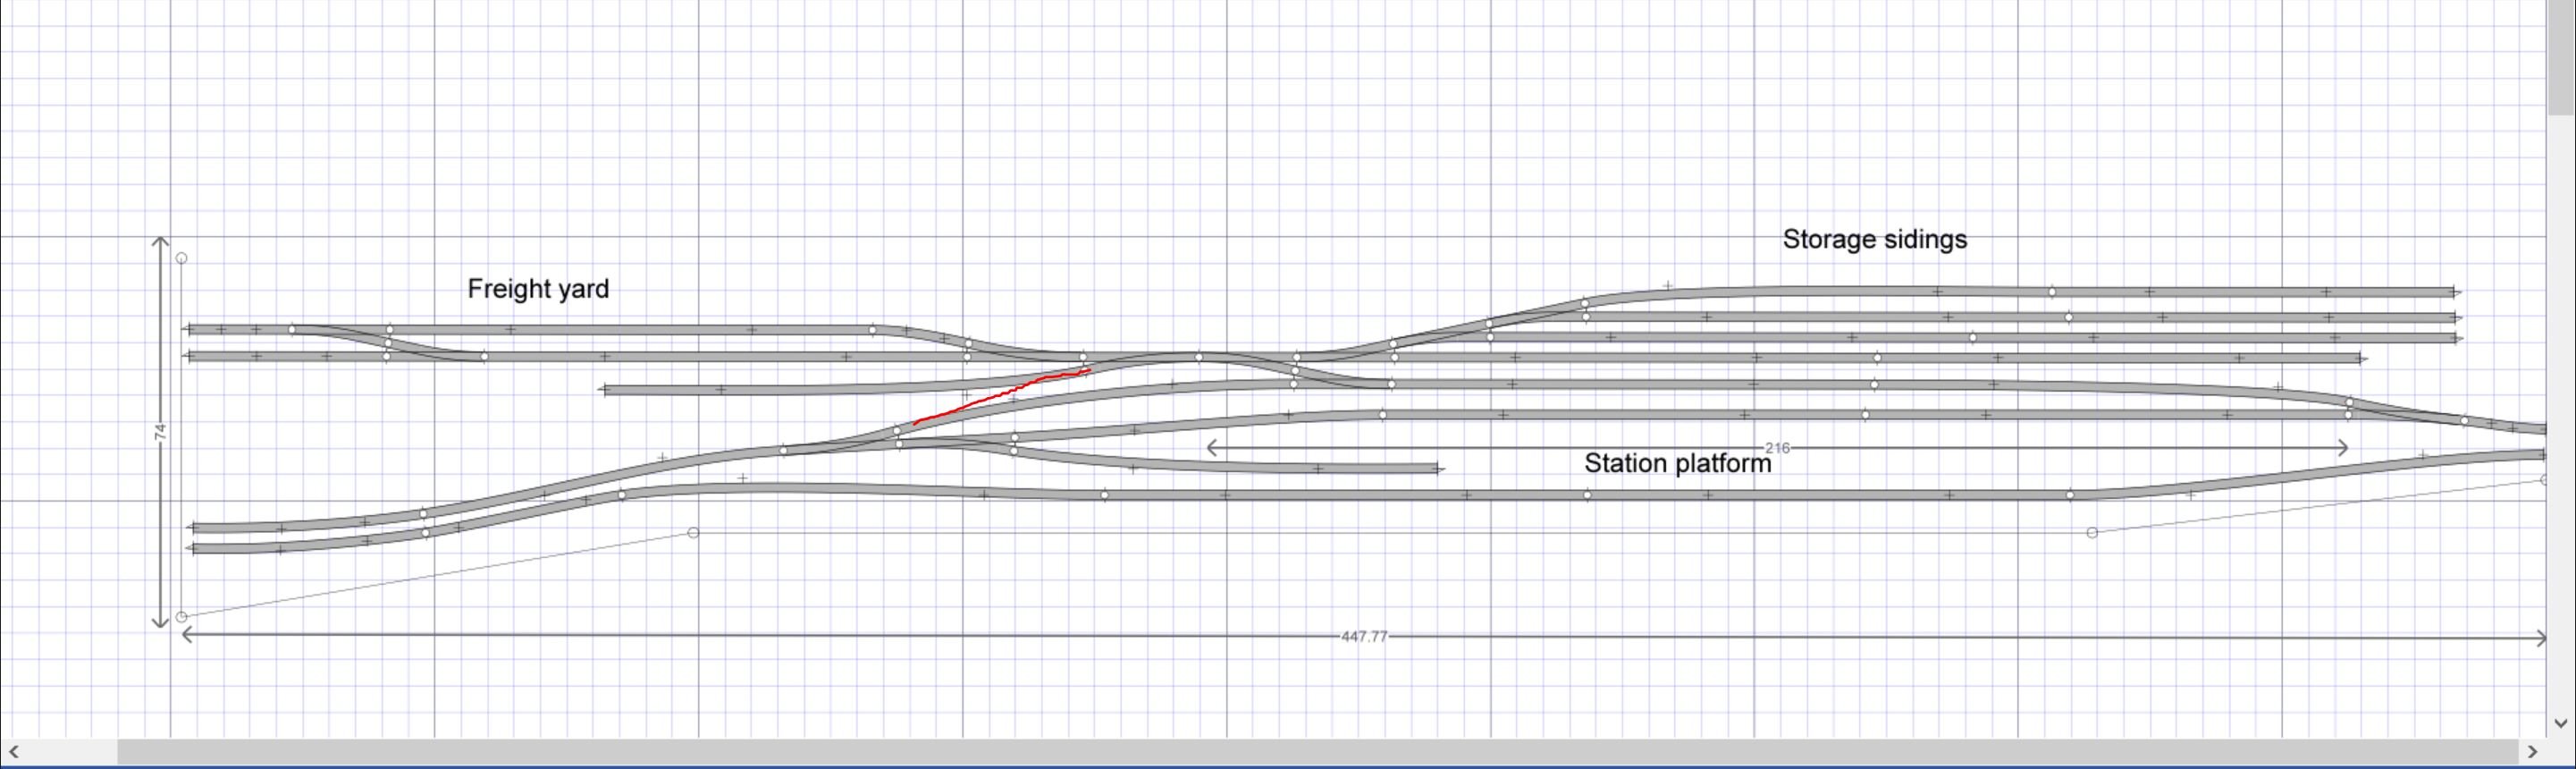
My only suggestion would to connect where the red line, or else getting stock from the storage sidings becomes a pain in the hoop, specially if you've a full freight yard. R.
-
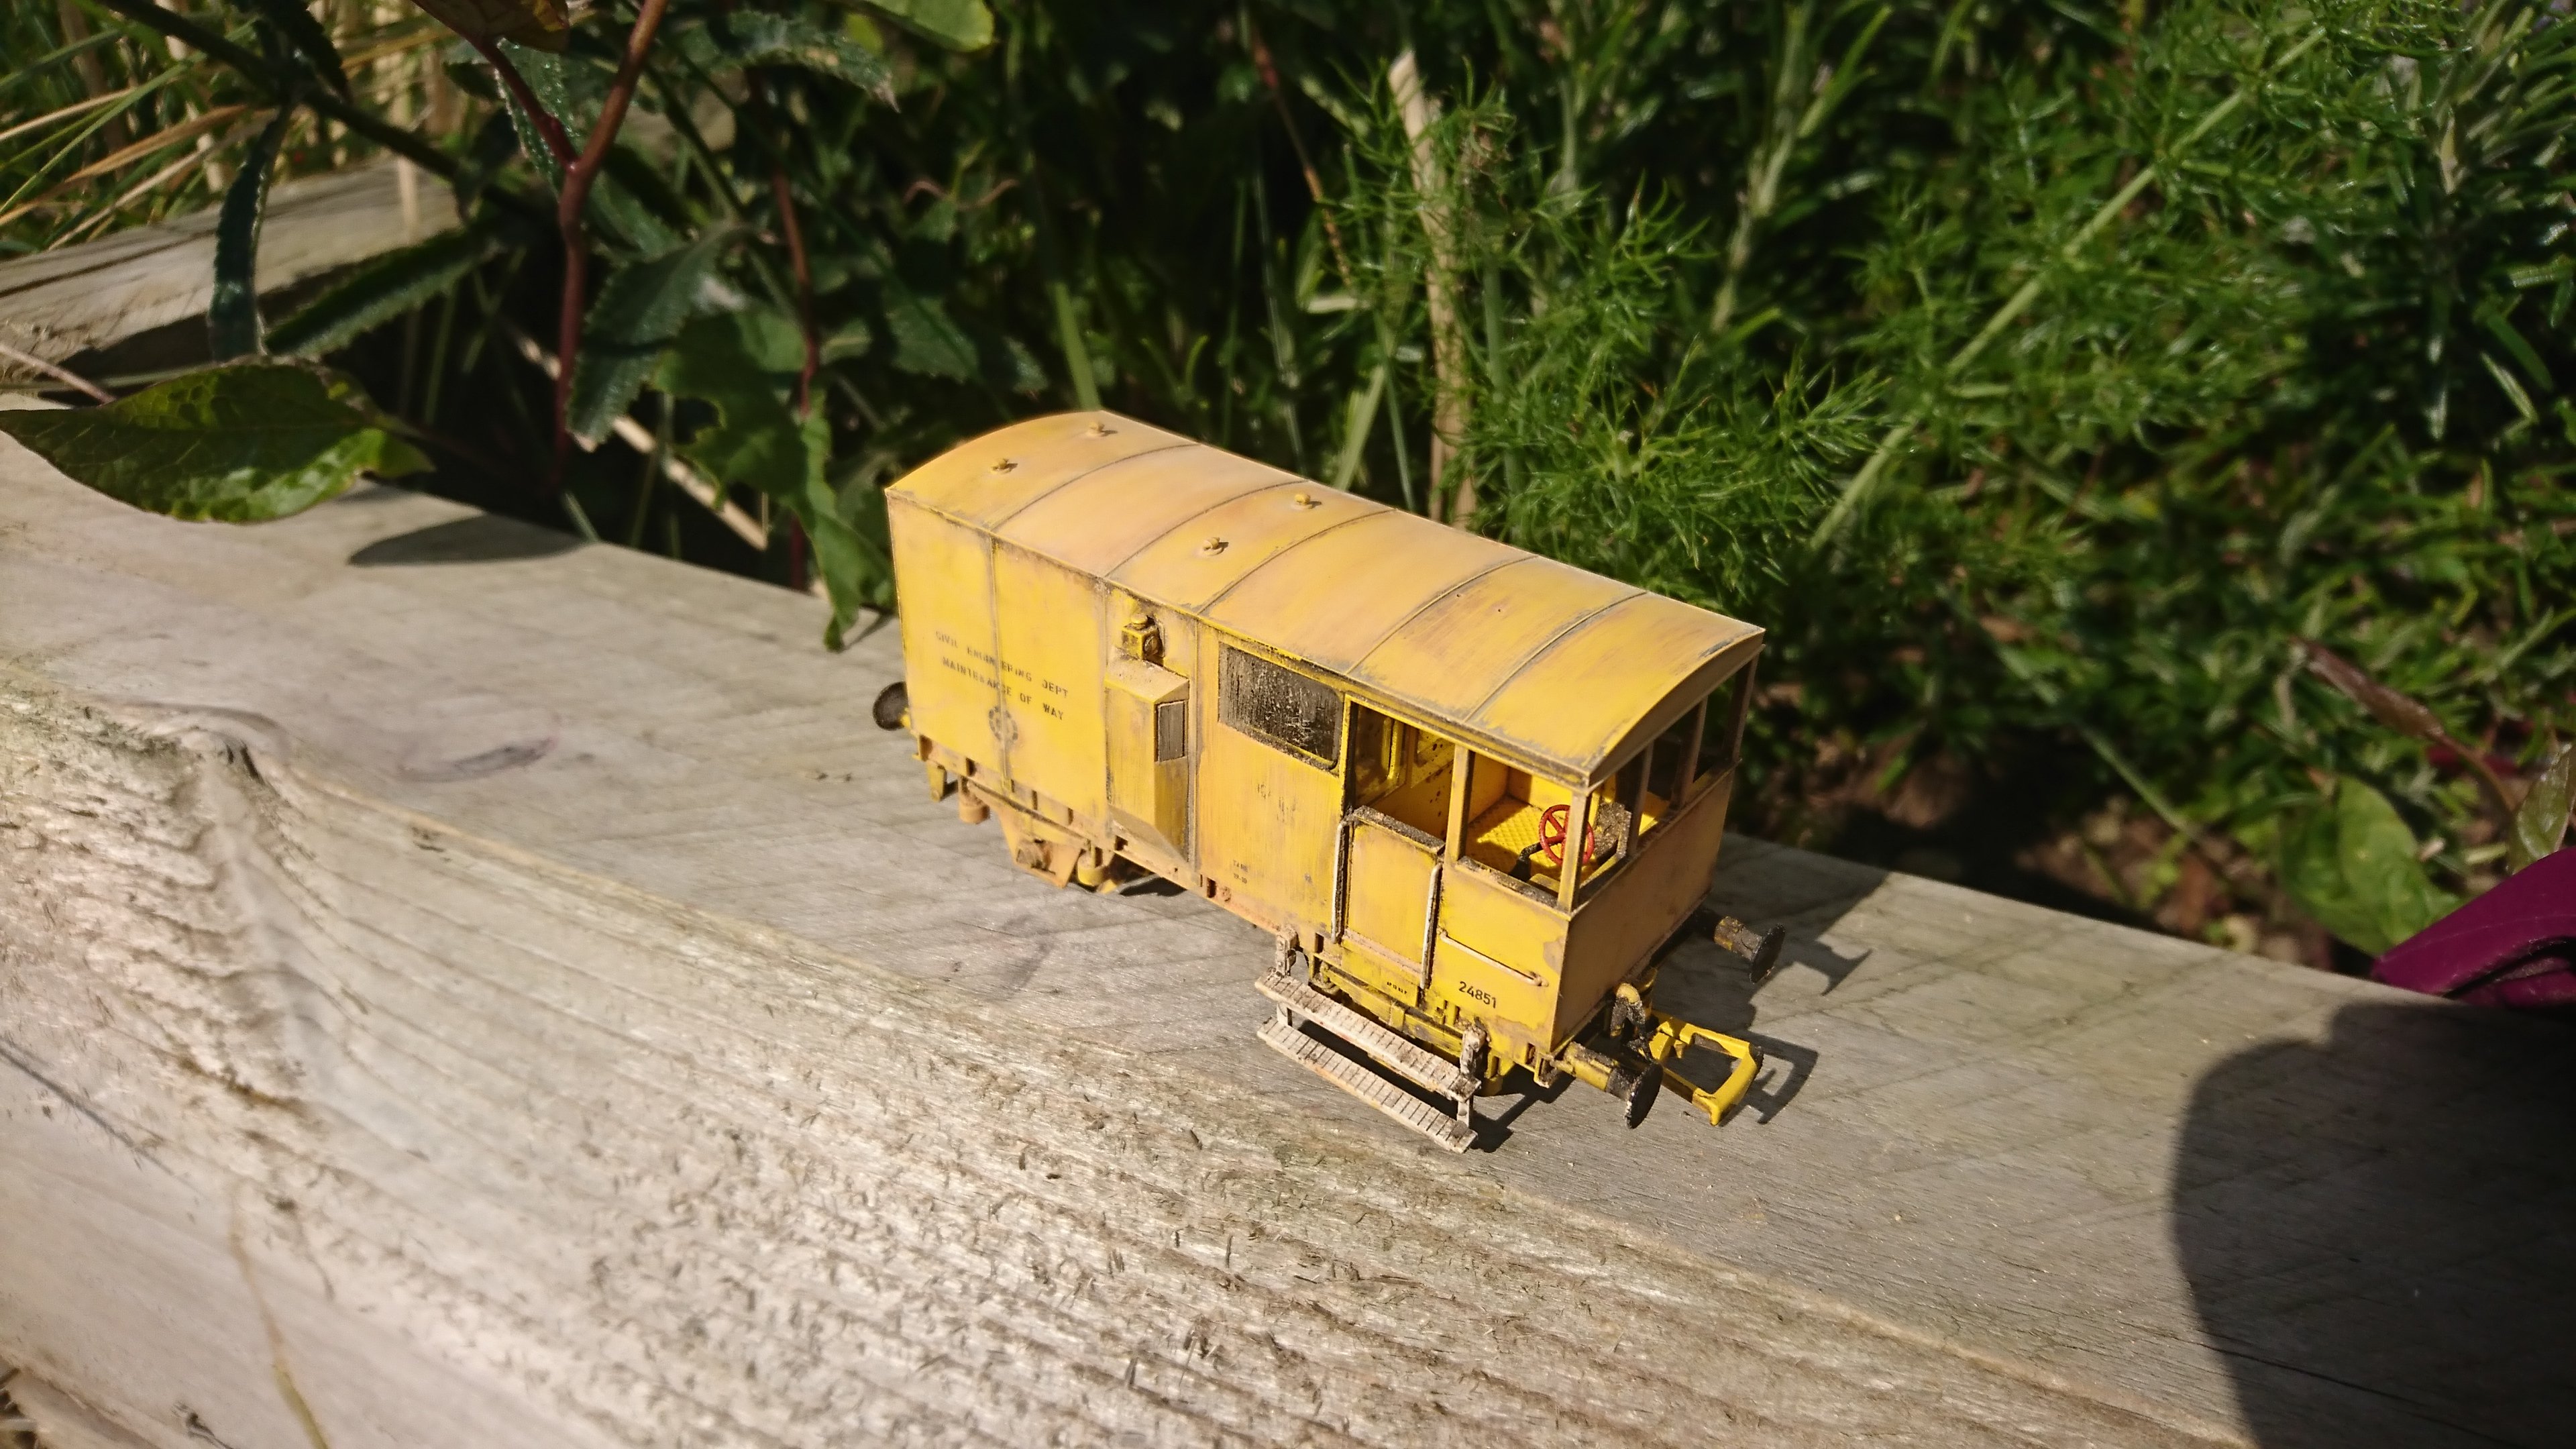
So for the weathering folk, I fooled about with a pre production sample, employing several techniques. First off wash the gouache wash of dirt, let it dry, then remove excess. (I've no idea what happened to the plough as I had to disassemble and reassemble this sample, but I have a 3 year old suspect in mind.. Have a feeling it may have been repurposed in a dolls house..) I mixed a few weathering powder tones to try and get a colour more akin to the yellow. In future, I'd leave out any intense browns and stick with earthy tones. It's led to a slightly pink hue on the roof, which looks odd. I used powders from ak interactive, which are quite instant and aggressive. The next time around, I'll try with the full set I have from Mig Ammo, which are way way more subtle, and have a better colour palette, but sadly none are labelled "Naarth Wall Distressed Yella"! The isopropyl alcohol had no effect, though it removed the tampo instantly, which is a pleasant sideways discovery. Anyway, I consider it a valid test, but a bit more needs doing to get it bang on. I'll keep yee posted. Richie.
-
Sorry for not responding to this popeye before now. Yes, the yellow is the "as built" version in standard Per Way Yellow as it was post mid 80's. (Prior to that, the yellow had a decidedly lemony tone, as had Per Way stock in the UK, so perhaps some crossover there). I've been fooling about with alcohol again, the isopropyl variety, which can be got in chemists, and it seems to do the trick on toning down paint shades as per prototype. It's a first for me, but next week I hope to distress one of the pre-production samples on my desk. I'll report results here, as I know there are a few who'd like to brave it, like yerself. Richie.