.jpg.580dc5508bbcbf9f16ddeb6488d081c2.jpg)
patrick
-
Posts
905 -
Joined
-
Last visited
-
Days Won
41
Content Type
Profiles
Forums
Events
Gallery
Blogs
Community Map
Everything posted by patrick
-
.thumb.jpg.3c2fadb488e8bf5ef9653331666e86a6.jpg)
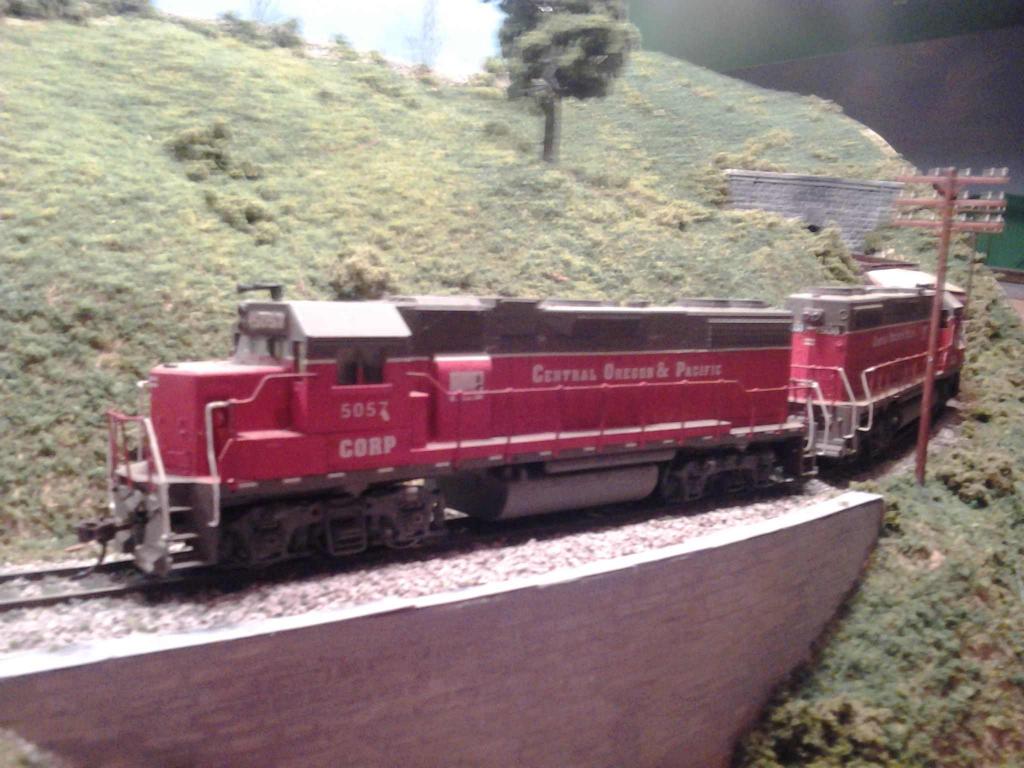
Central Oregon & Pacific Locomotives.
patrick replied to patrick's topic in US / Canadian Railway Modelling
This is a neat video from 1997 which also features the Yreka Western RR, a shortline which connected with CORP in Northern California. Also plenty of Lower quadrant semaphores which I forgot to mention in the first post. -
When I first moved to the US in 1995 I lived in Southern Oregon a block away from the Central Oregon & Pacific RR. The line which had recently been taken over from the Southern Pacific was part of the original SP main route from California to Oregon but due to steep grades and tight curves was bypassed from Black Butte in Northern California to Eugene Oregon. The original route, known as the Siskiyou line remained open principally due to heavy forest products traffic. When I got to know the line CORP were about to reopen the southern portion of the line which had been closed by SP a few years before. This section has some of the steepest grades on any mainline in the US. 3.5% in places, tight curves and tunnels. A truly spectacular piece of railroad. My fondest memory of this line was chasing a southbound freight out of Medford up the hill to Siskiyou tunnel at the summit. CORP's power at this time was second hand GP38's newly painted in red and grey, GP40's, in Burlington Northern green and more with high hoods still in Norfolk Southern black. On this day the fifty plus car train, the heaviest I had seen on the line, loaded with forest products was powered by six locomotives up front and five pushing on the rear. The noise the smoke the smell was an experience I will never forget. While sorting through some old models recently I came across some GP38,s I built back then with a view to modeling CORP. They are old Athearn GP38-2 models backdated by replacing the truck sideframes with the older Bloomberg style, replacing the frameS with ones from GP40-2 where appropriate and filling in the water sight gauge opening on the right hand side. A lot more work could have been done but they were good enough for me as they were intended as operating models. They were photographed on my Irish layout on a spot which could pass for some areas along the Siskiyou line.

-
-
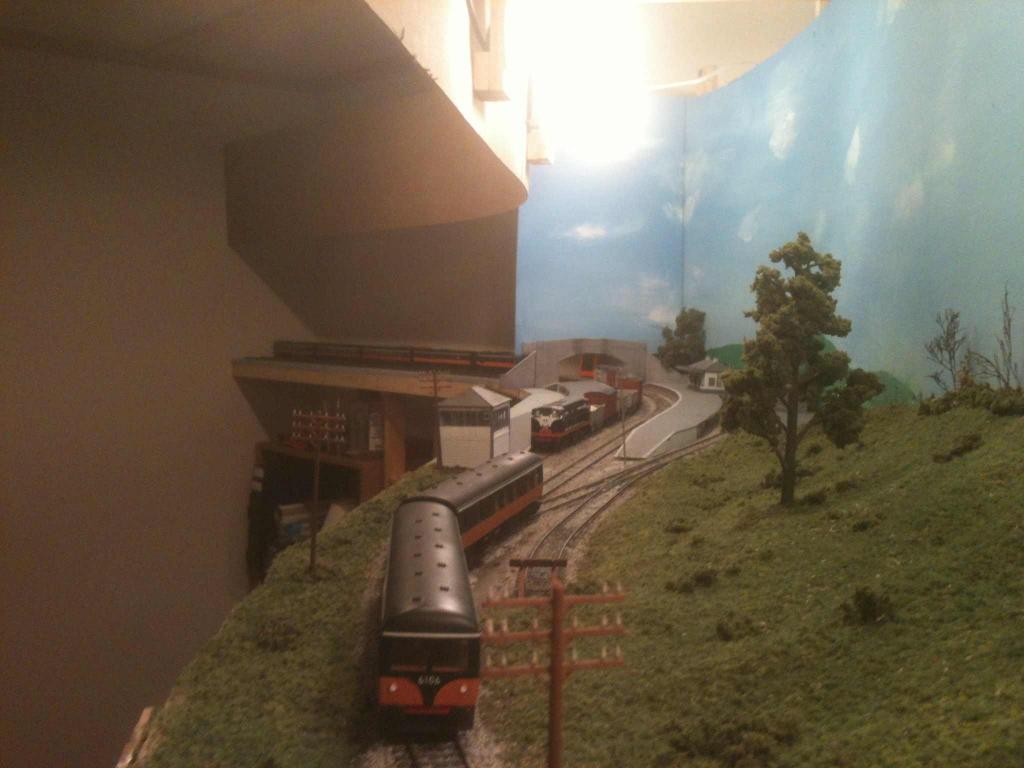
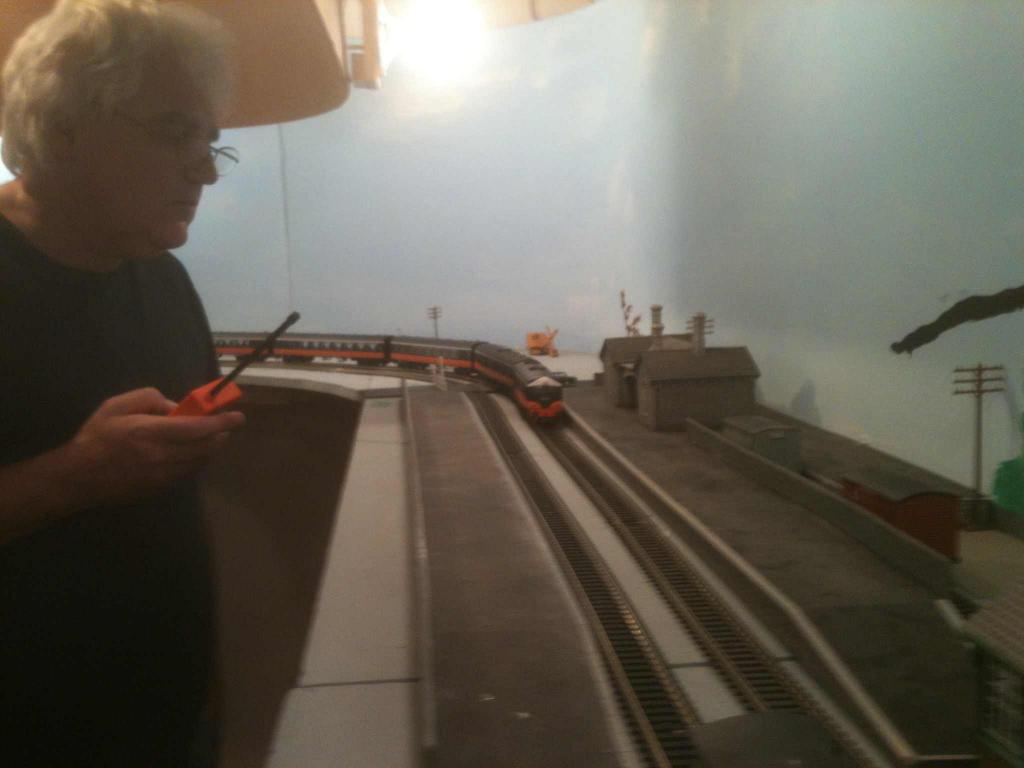
I made some changes to the track alignment at Glen More. The curved point at the east end of the station was the source of occasional derailments. It was replaced with a regular point and the problem has been solved. The point for the beet loading siding was also moved west to the end of the passenger platform. The changes can be seen in the video. I'm still trying to figure out the video editing tools so the passenger train is shown twice!
-
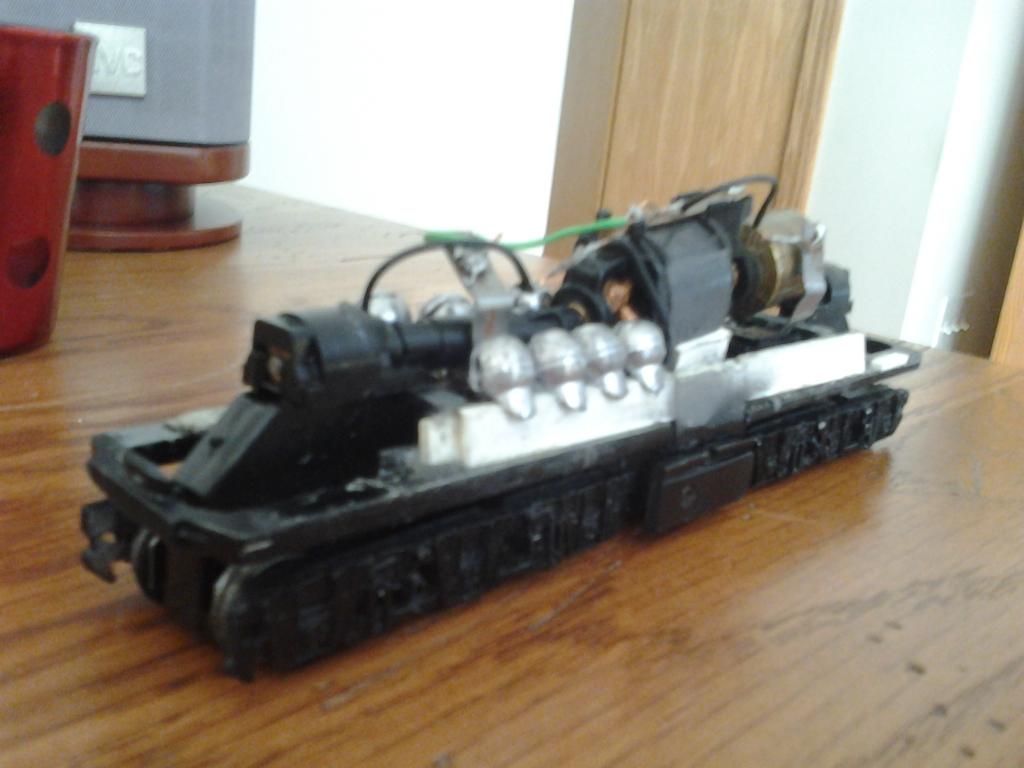
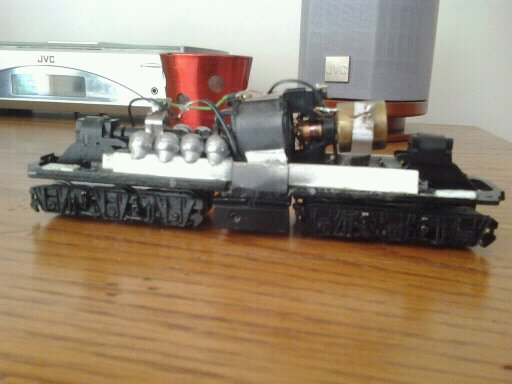
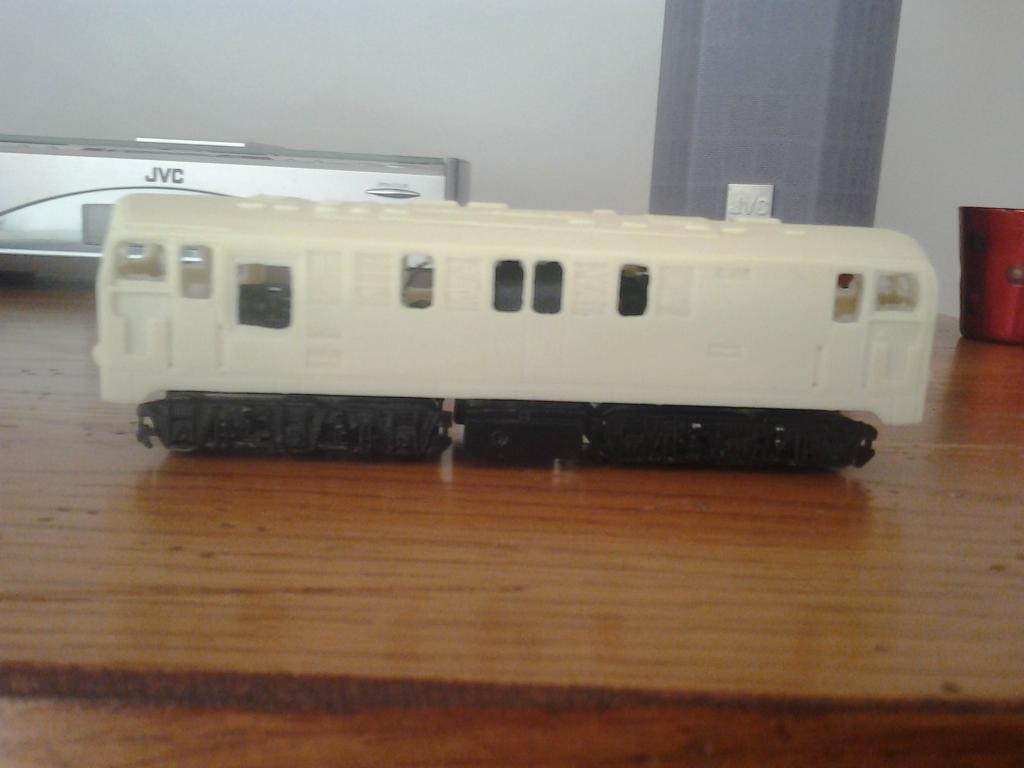
I have been working on modifying an Athearn blue box SD9 underframe for a SSM Sulzer. One of the fuel tanks was removed to shorten the wheel base and the remaining tank and SSM fuel tank castings were ground down to fit. A friend of mine who is a tool and die maker made quick work of this although it could be done with a file. The frame was then glued back together with epoxy using thick plasticard to brace it along the sides. The gears were removed from one of the bogies but the metal wheels were retained for electrical contact. One of the Athearn flywheels was retained. It may be possible to keep the 12 wheel drive but not with a flywheel and possibly a shorter motor would have to be substituted. The Athern bogies pick up current on one side and send it up through the metal tabs on each bogie. One of these was bent to clear the flywheel. On the other side the current is transferred to the locomotive frame. The original motor mount allows it to pick up current through a copper contact on the underside which makes contact with the frame however in order to have room for the flywheel I altered the motor position and then used wire to make all electrical contacts with contacts on the bogies. The motor was mounted using silicon and some scrap plasticard, an idea I got from Model Railroader years ago. This holds the motor tight enough to operate but it can easily be removed if necessary. The mechanism runs well but typical of the Athearn blue box diesels is a little noisy. Because the flywheel is on the side of the unpowered bogie limiting traction, fishing lure weights were add on the power bogie side and in the locomotive shell. As can be seen from one of the photos the locomotive body sits slightly high on the mechanism but this can be easily fixed by removing o little material from the inside of the shell. I took a little experimenting to get everything working and unfortunately when it was all assembled it runs backwards! To fix this the bogies will have to be reversed and while I am at it the wiring will be tidied up.
-
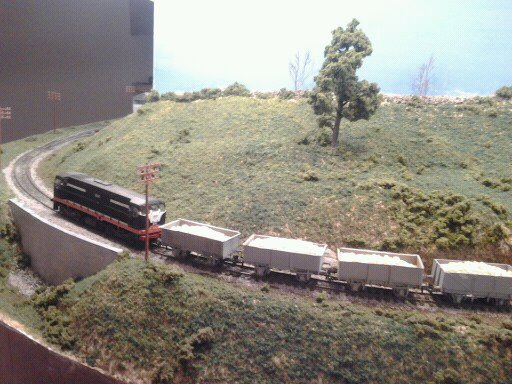
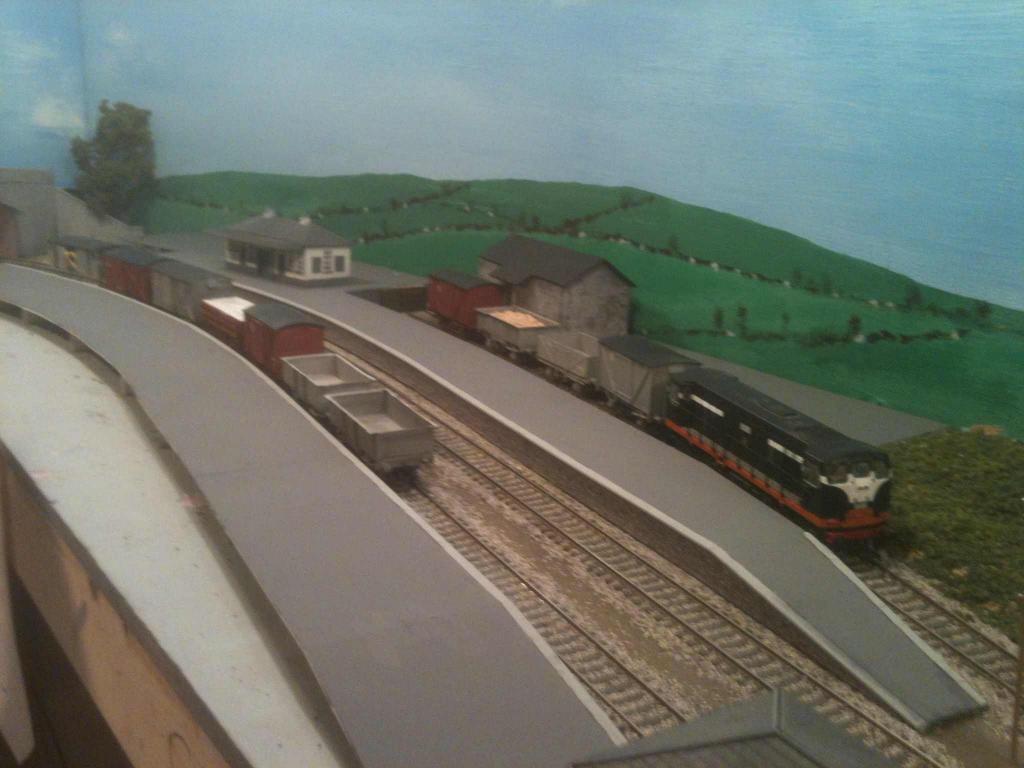
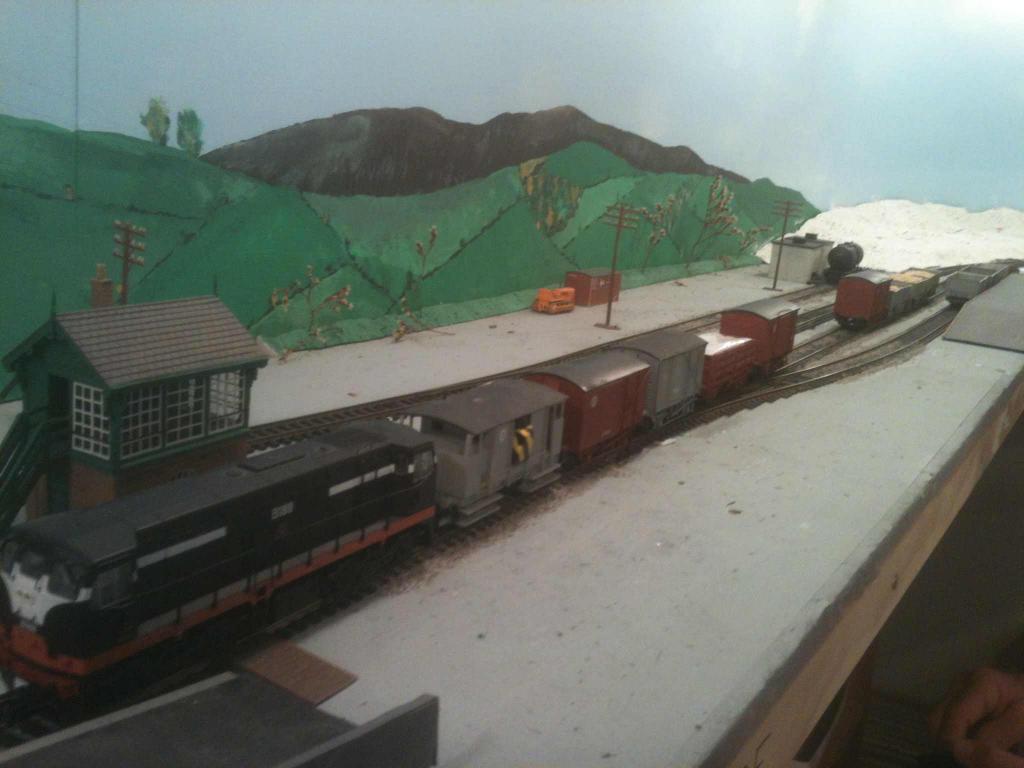
Here are a few more photos from the operating session showing the Waterford Cork goods picking up beet at Glen More station and Keily's Cross before proceeding to Grange where it crosses the Cork Waterford passenger train. Keily's Cross was inspired by the photo of Belleville in "Rails Through the West" taken by David Carse. I have always been fascinated by these remote sidings which were scattered throughout the Irish rail system and came to life during the beet season. Since the siding can only be shunted by westbound trains, empty wagons have to be dropped off at Glen More and backhauled by the west bound train for loading. This adds an interesting wrinkle to operation. When enough Open wagons are built a beet special will be run from Cork to Glen More and return to handle the traffic. The layout is mostly operated by myself running trains in sequence but it is more fun with a second or even third operator. With three people available the goods trains have a two person crew, driver and guard/shunter. The third operator runs the passenger trains. Despite the lack of signals the layout takes on a life of its own when operated, the trains become "real" with a purpose instead a collection of models. The height of the layout and walk around design make the railway accessible and easy to operate.
-
I love it. Great to see some Irish N gauge.
-
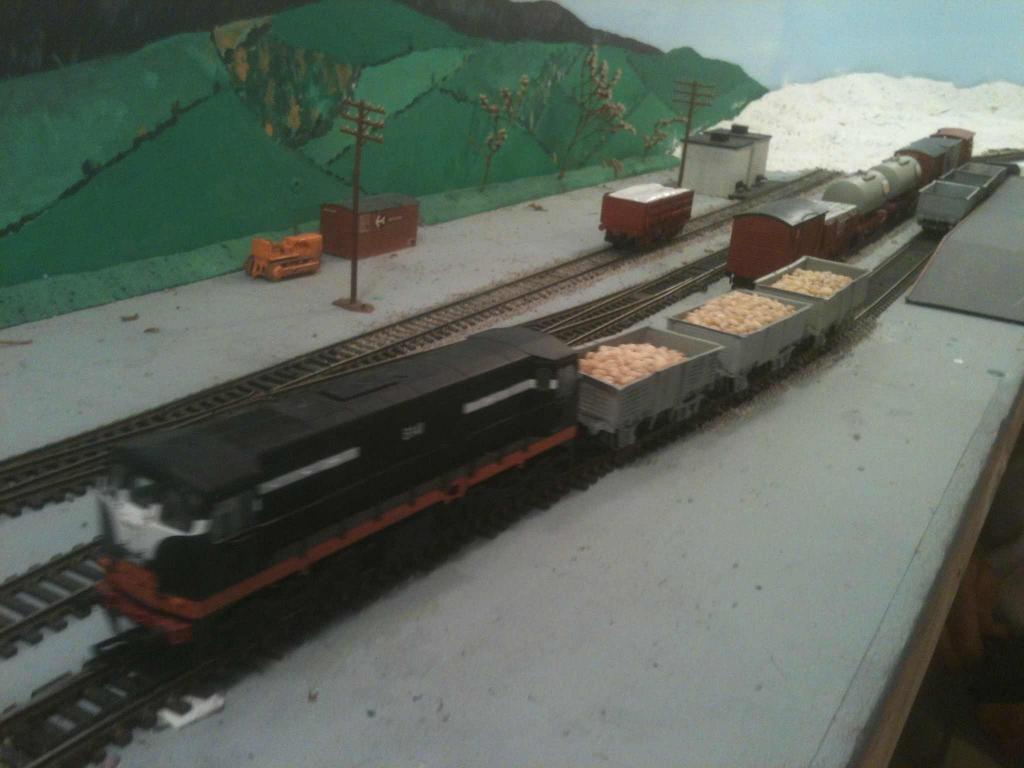
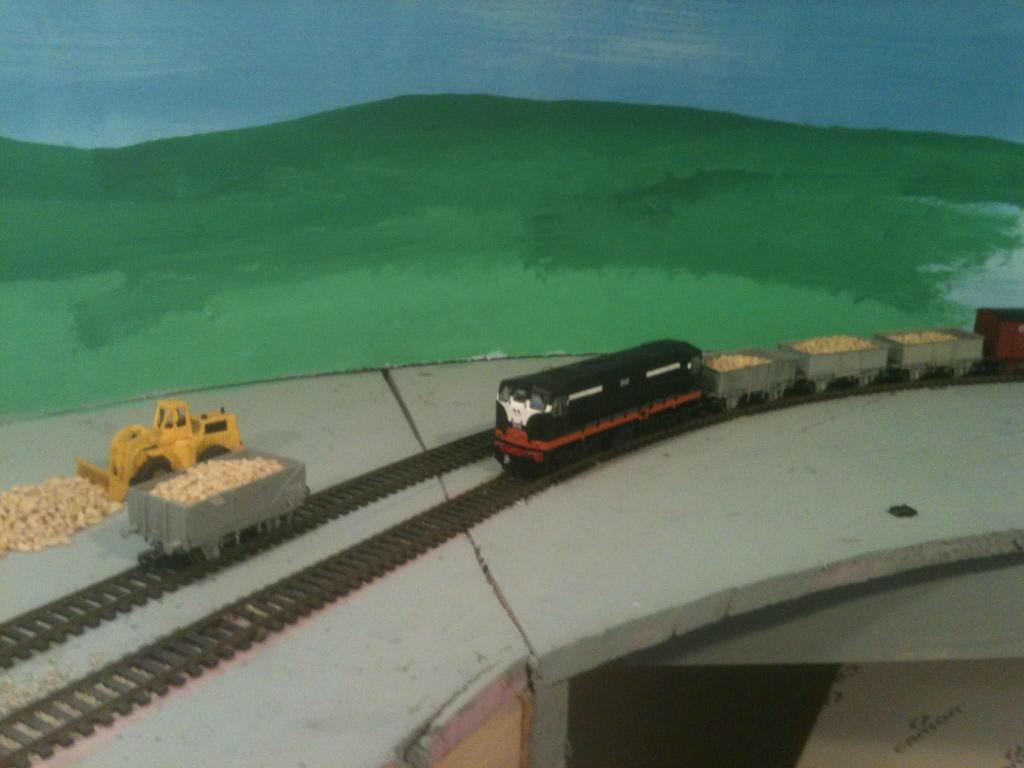
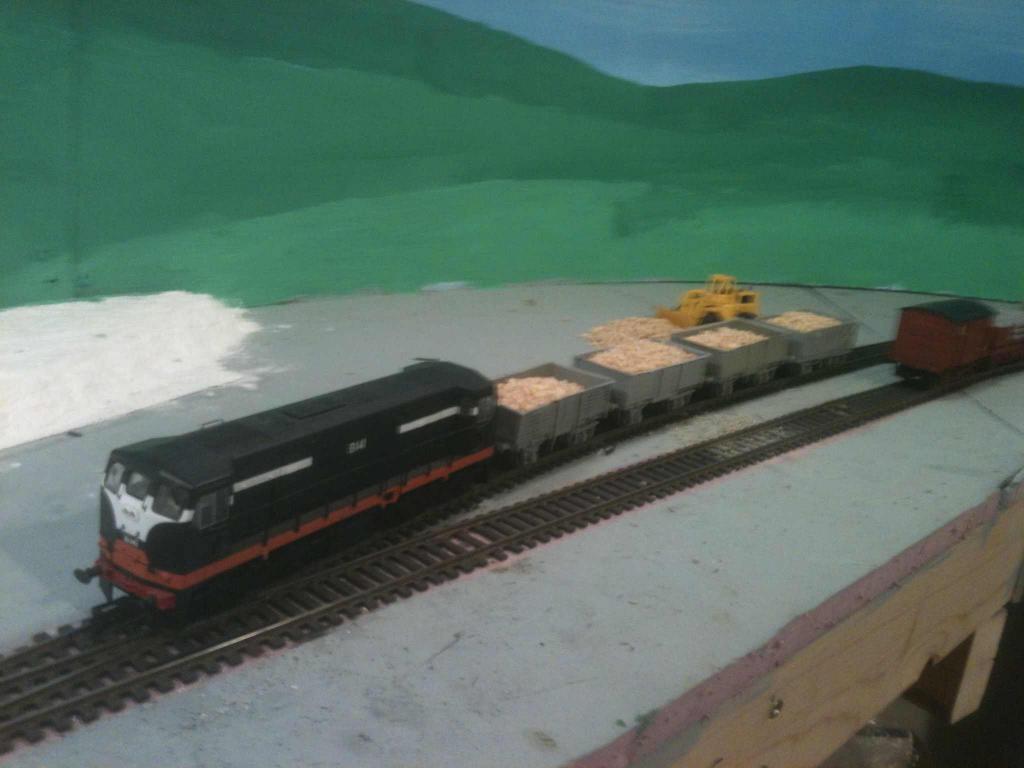
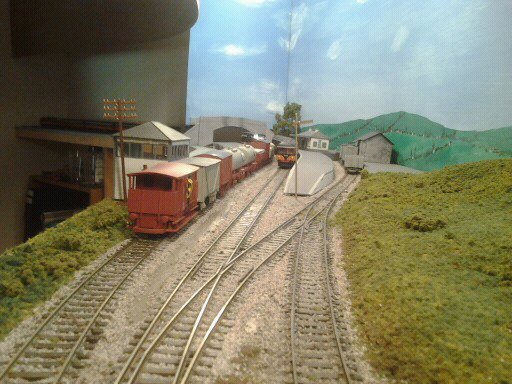
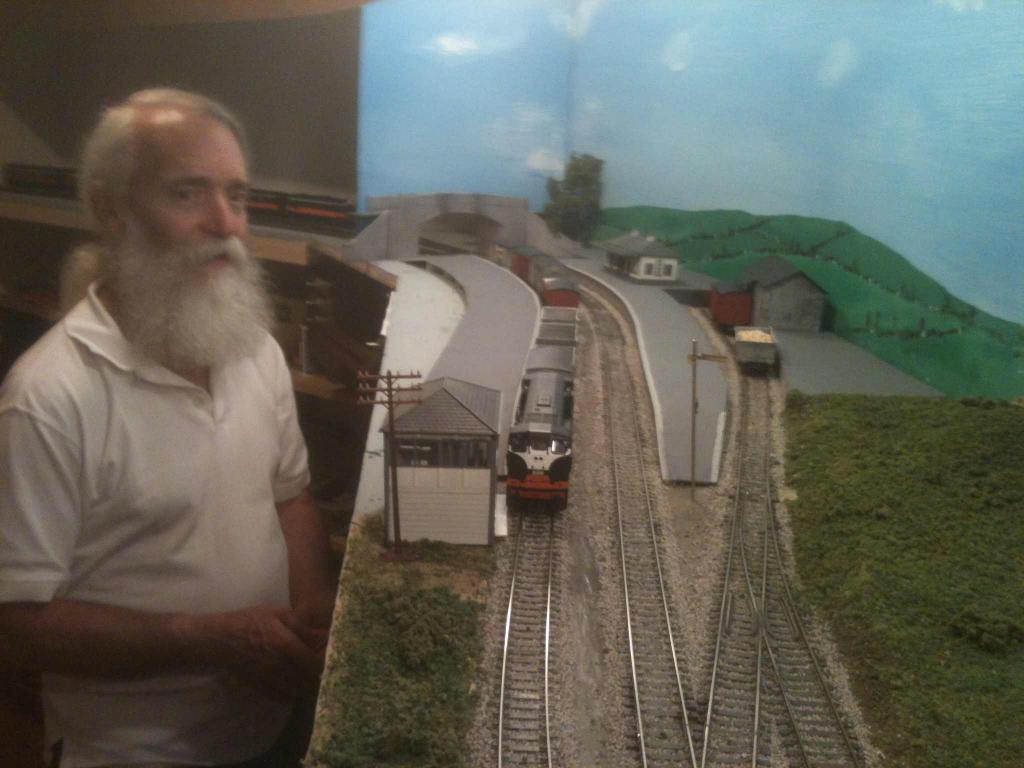
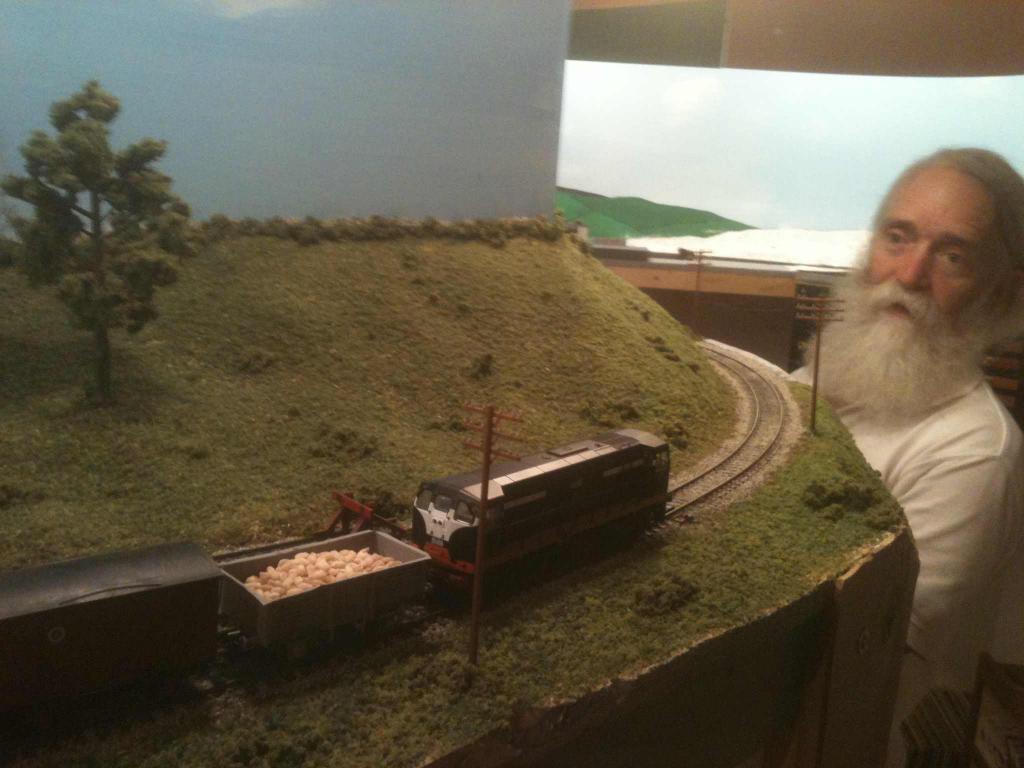
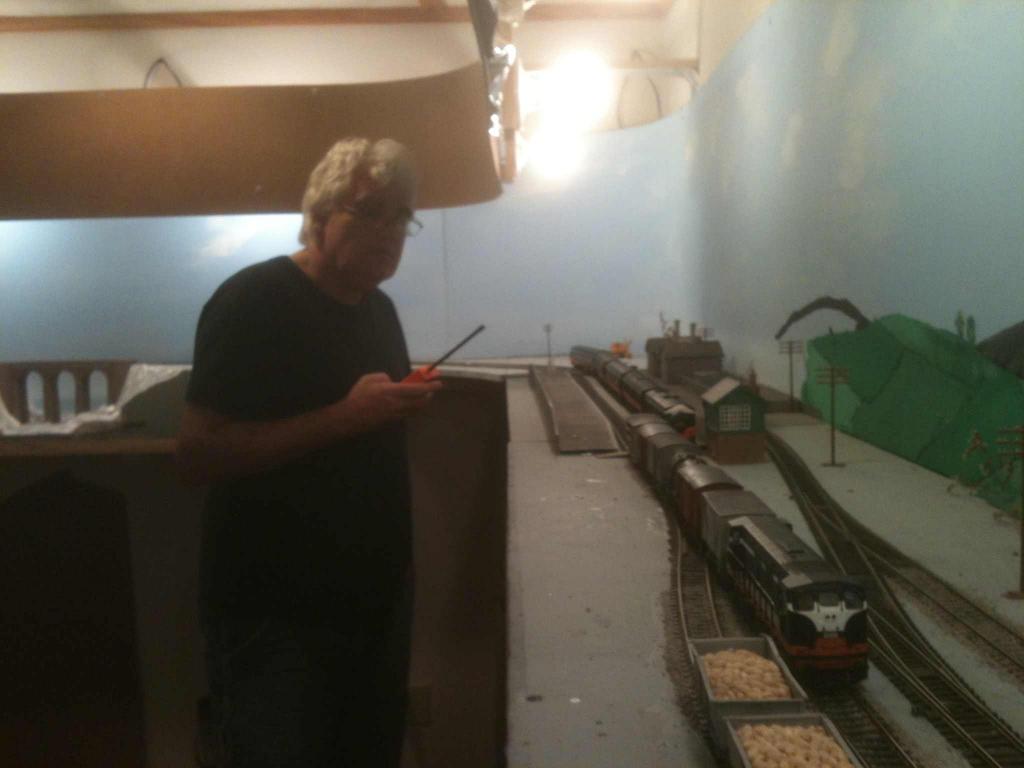
Not much work has been done one the layout in the last few months but it is being operated. A sequence timetable is used where we run two passenger and one goods train each way representing the trains through Grange and Glen More during daylight hours. The whole sequence takes a little over an hour to run. It is mid October and the beet season is just beginning, the crop being sent to the Mallow sugar factory. The following pictures show the progress of the Cork Waterford goods which is distributing empty beet wagons today. One load of beet is picked up at Grange and forwarded to Glen More where it will be picked up along with the other loads by the Waterford Cork train. Along the way it crosses the Waterford Cork railcar at Grange and is passed by the Cork Rosslare train at Glen More. The guy with the beard is my neighbor Bruce, who would prefer to be running B&O articulated steam locos hauling coal hoppers!
-
Wonderful. I am looking forward to seeing more.
-
One of my favorite performers.
-
http://www.barewalls.com/pv-450111_Ireland-by-CIE.html Maureen found this on line recently while looking for artwork for the layout area. I have never seen this image before. Does anyone have any information about it?
-
GNR locos in CIE ownership - question
patrick replied to minister_for_hardship's question in Questions & Answers
http://en.wikipedia.org/wiki/CIE_801_Class Here is some information on the travels of K801 -
Are there photos in Steve Johnston's Irish railway modeling book?
-
I would prefer kits if the cost is significantly lower.
-
I have several containers built from Peco card kits and they fit in the SSM open and my scratch built Bulleid's.Sorry I cant post a photo as my digital camera died.
-
Glover is right on the mark about the H vans. Any layout depecting the 1950's to the mid 1970's should have lots of them. I'm suprised that a kit has not been available. SSM provide 30 ton brake vans and wooden opens and ex GN 12 ton vans and sliding door vans can be adapted from Parkside Dundas kits, what we need are H vans, Bulleid opens and CIE cattle wagons to convincingly model the CIE loose coupled era from the 1960's to the mid 1970's. Add a 20 ton brake van and some older vans and you have the 1950's covered also. It would also be nice if any new wagons produced could be converted to 21mm guage without major surgery. Best of luck with the project Liesley.
-
Thanks for posting these wonderful photos.
-
I am very much looking forward to following your progress.
-
I have also had to wait for a reply from John but he has always got back to me.
-
I hadn't heard. Thats very sad. I saw the band twice, in 79 and 81 but unfortunatly he was no longer with them. Their first three albums are on heavey rotation on the stereo and in the car and are recieving very positive reviews from all who hear them.
-
Dr Feelgood's live album "Stupidity" from 1976. I got this on cassette when it first came out, later got the LP and recently the CD which has the tracks from the "encore" single which came with the first 20'000 LP's.
-
Thats correct. Its a nice kit but I have mixed feelings about it. It was chosen to reflect the atmosphere of the Mallow Waterford line. The orignal intention was to use two kits to make a longer viaduct but the space available was too short. The stone colour is also wrong for the region and the arches are about half the lenght of those of the Kilmacthomas viaduct. I decided to use just one kit to represent a smaller bridge rather than on oviously (to me) too small version of a large viaduct. Progress on the layout has been slow in the last few weeks and I havn't posted anything since my digital camera died. The platforms at Grange are under almost finished and an Athearn SD9 underframe has been shortened to fit a SSM Sulzer. I will post some photos as soon as a camera becomes available.
-
Im afraid the only work involved was E mailing John at Silver Fox modells and paying him for it!
-
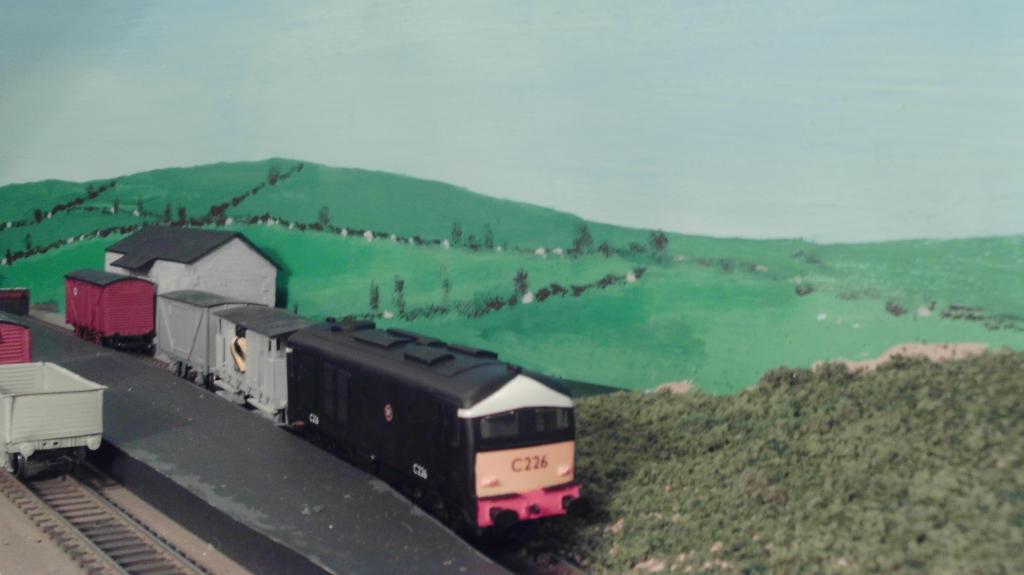
This little beauty arrived in the post today along with a couple of heating vans. I've got a thing about black Metrovics with yellow warning panels.