-
Posts
2,731 -
Joined
-
Last visited
-
Days Won
70
Content Type
Profiles
Forums
Events
Gallery
Everything posted by murrayec
-
Hi David It looks great, I hope you enjoy the weekend Eoin
-
Thanks jhb I'll hold off until you return Eoin
-
Hi Guys Great to get some input, thanks I've done some searching and can only find stuff on British Lamp Codes, they discuss and display in diagrams the arrangement of lamps on the front of locos to signify types of trains, the goods they carry, and even if empty!- all white. But no mention of red lamps! I found on a forum thread the same question being asked about red lamps on a station pilot, a lengthy discussion ensued but no one could inform the asker as to which side, all that was confirmed was a loco should display a red lamp on the rear. I'm going for the right hand side facing the direction of travel.... Eoin
-
Hi Wrennie I've not played with those CVs up in the 300 n 400, so cant give you advise on them. I have tried to program a 4 function chip with JMRI, following instructions from a DCC book to alter the lights- but had no luck. I came to the conclusion that the instructions were for a specific chip and would not work on the one I was trying to program! This may also be the case using the CV settings thumper posted up? My best advise for now is 'Stay warm and drink plenty of liquids' for thumper may be along soon.... The Doctor
-
Hi wrennie I bit more info required? You say the head light is not working 'properly'? Does that mean it come on and something weird is happening, or is it not coming on at all? Are you using the yellow and white wires to run the headlight? these are directional. Or are you using the green or purple wires?- as they are not directional and require 'push on button' The Doctor
-
Hi All, Here's the question- On a steam loco was there a rule in CIE as to which side a red light was displayed front and back over the buffer beams? Eoin
-
Hi Broithe Exactly, I do a bit of astronomy and thats why I was so concerned and went to the trouble.... Eoin
-
Hi David It's really coming together now, you have increased the depth of field of the board twofold with the buildings- excellent modelling Eoin
-
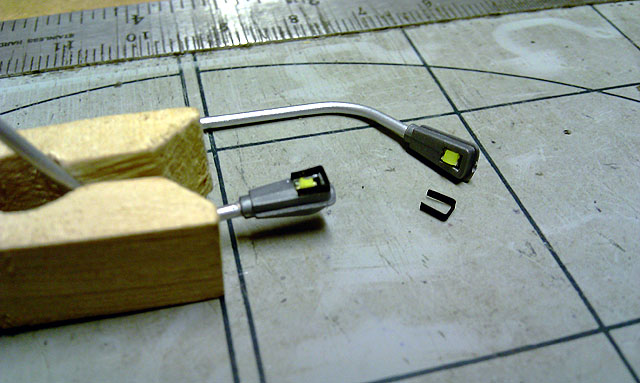
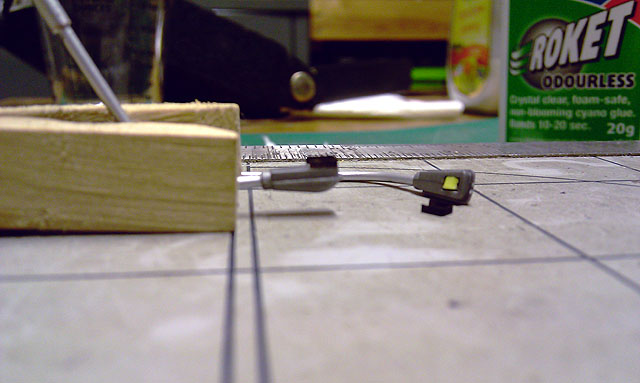
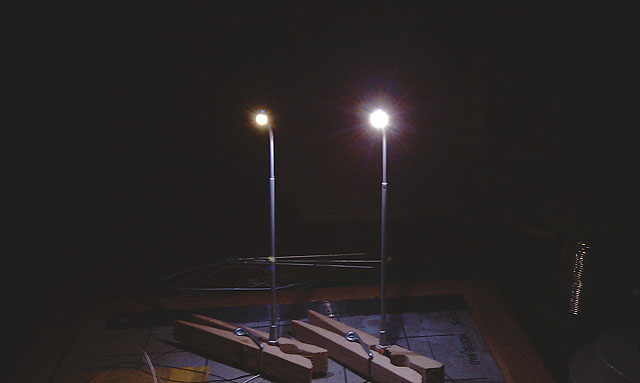
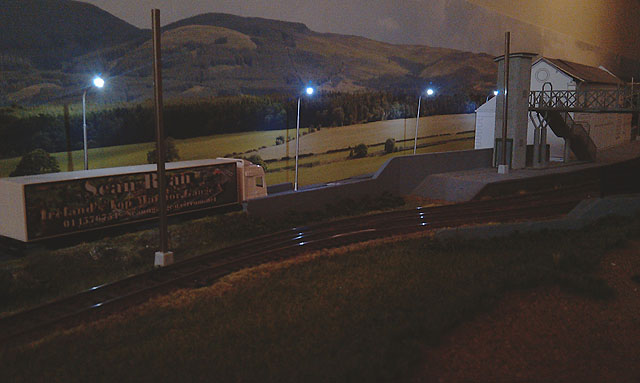
Hi We decided to reduce the glare off the street lights with some shields to the leds, as the layout is designed to be run sitting down so the lights are at eye level and are in your face if turned up to full power (we have a baseboard-dave led remote controller installed) Some shim brass was cut into 1mm strips, chopped up, bent to shape, metal blackened, and stuck on to each light... Works great Eoin
-
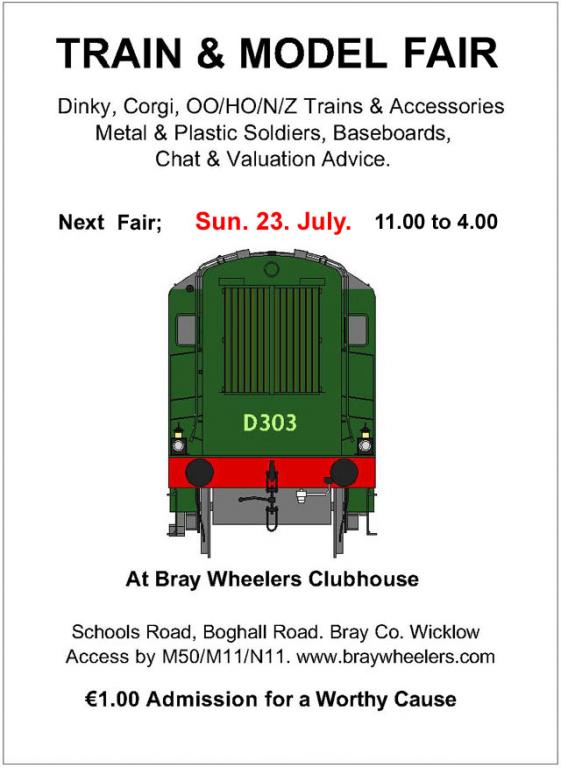
untilAt Bray Wheelers Clubhouse, Schools Road, Off Boghall Road, Bray. 11.00 to 3.00 (note time adjusted)
-
Hi Broithe We like to be the first.... Eoin
-
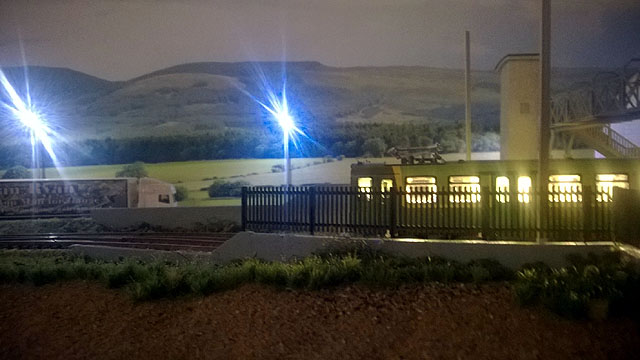
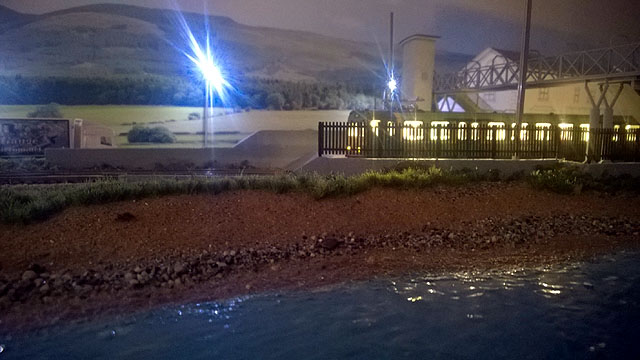
CM was out train spotting at Greystones the other night and sent me these photos of the DART in the station with the new street lights;-
-
Hi DV Very nice work, yes the paint post problem is a pain, even worse getting it to here.... Eoin
-
Hi John Lovely stuff, that looks like a very complex loco in the previous post- a lot of electronic Eoin
-
Hi Thanks guys for the great comments PaulC;- It's Gauge O Eoin
-
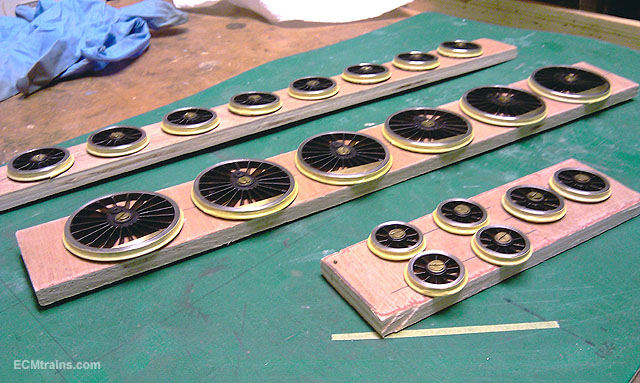
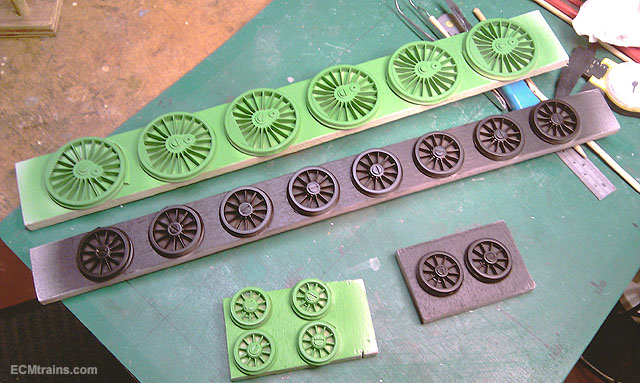
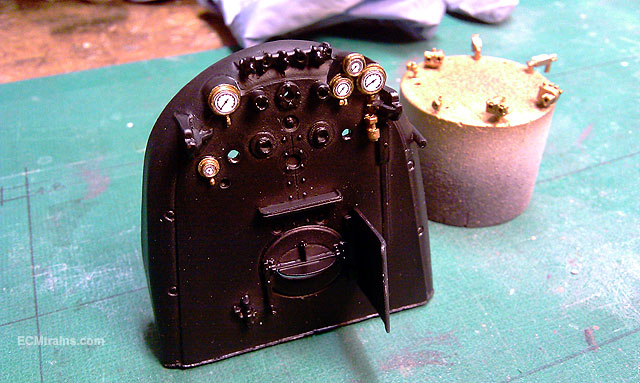
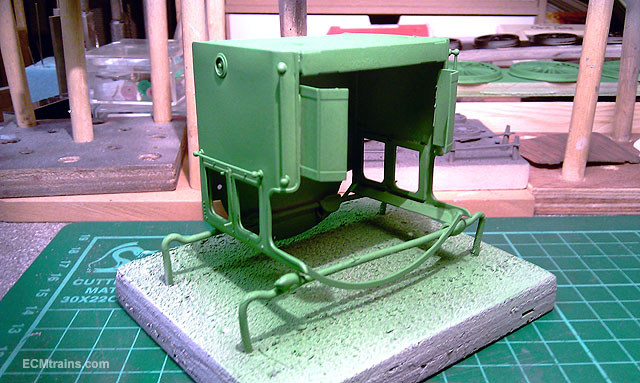
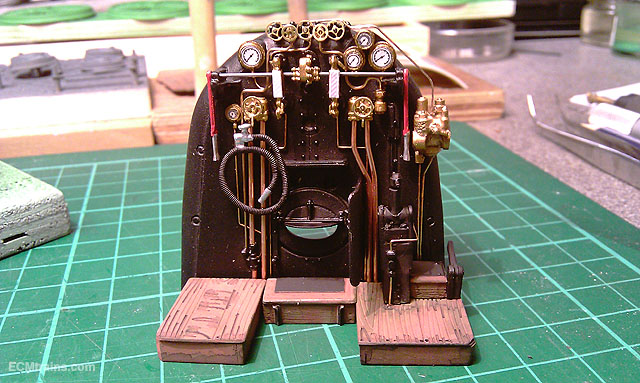
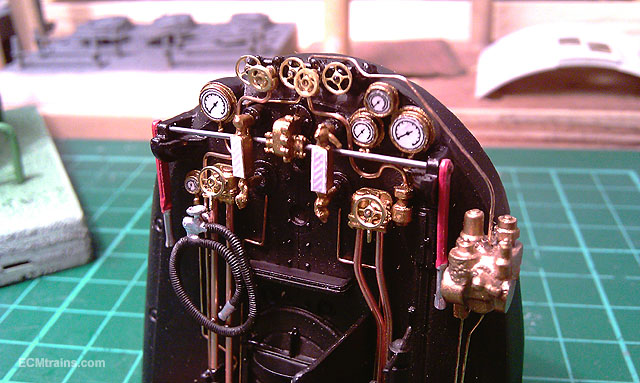
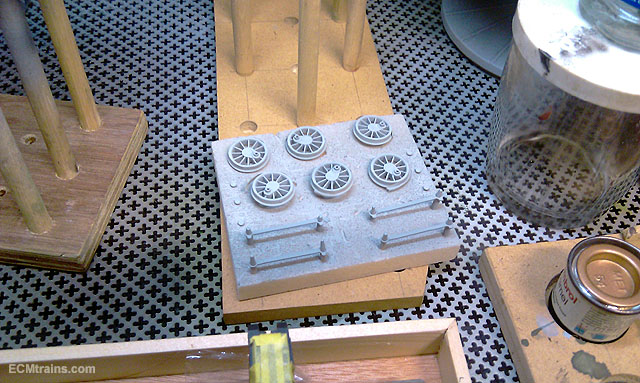
Hi The cab roof mod above worked very well..... Painting wheels, cab and backhead stuff on the Flying Scot..... The wheels were mounted an ply boards with brass counter-sunk screws to keep the paint out of the hub, a washer is under the wheels so they are above the timber and can be rotated while the paint is wet and the screw doesn't stick. The backhead was under-coated and painted satin black, Humbrol masking liquid was used to mask off around the dial gauges, and the gauges were painted brass colour to pick out their surrounds. The dial gauge faces are little drawings printed off on the inkjet printer, covered with clear transpaseal, cut out and stuck on. Cab stuff being finished off, soon ready to put the back-head together. Cab with first coats going on. Backhead now up and running, PB wire was used for the pipework as it looks like copper and doesn't need painting, nice looking bit of stuff but very fiddly to do- the water gauges and hand-wheels were all out of shape from the last build attempt and I had to play around with them to tidy them up. The water gauge faces were done on the inkjet printer as per the dial gauges. Eoin
-
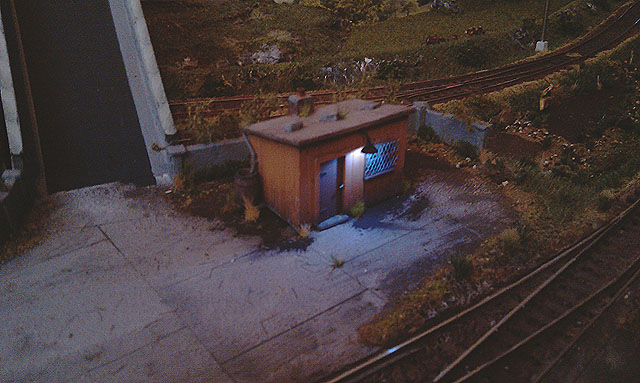
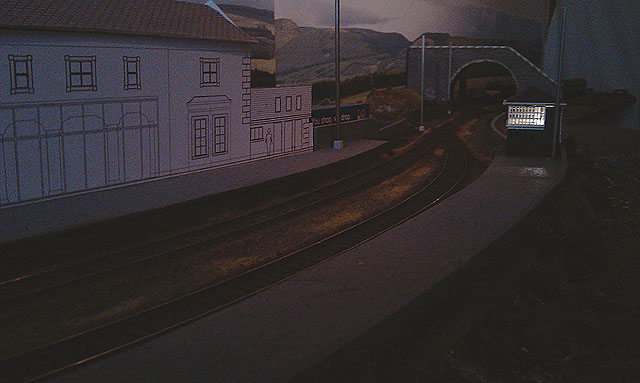
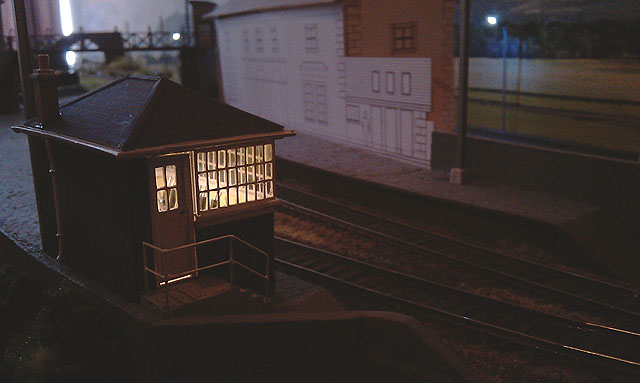
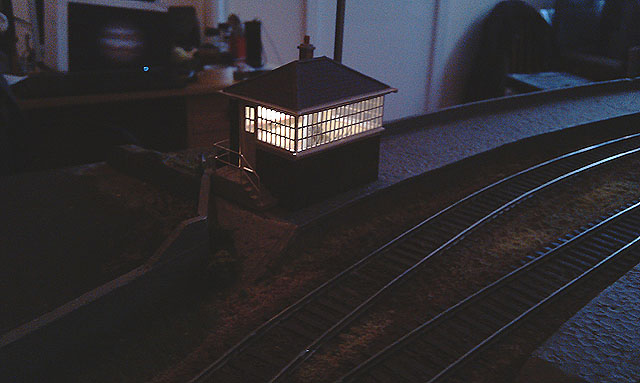
Greystones by Night! We started to install street and building lighting, here are a few photos of our endeavours.... Eoin & CM
-
Hi dave182 Funny you should post just as I was formatting up the poster. No we don't shut down.... Next show this coming Sunday;-
-
Hi David Looks amazing Eoin
-
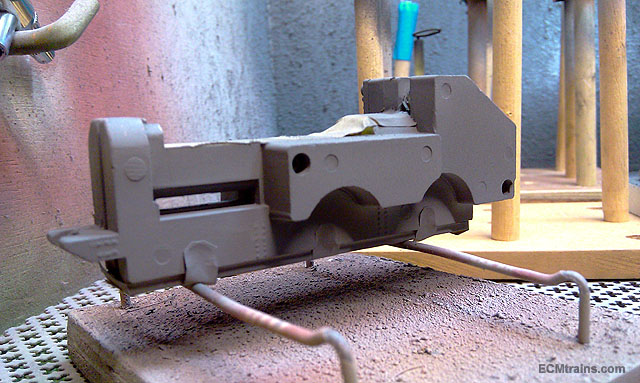
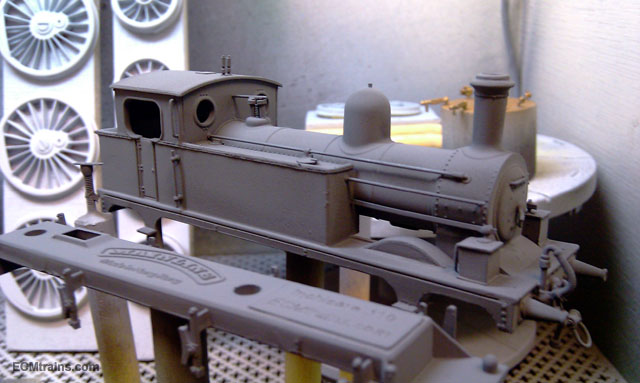
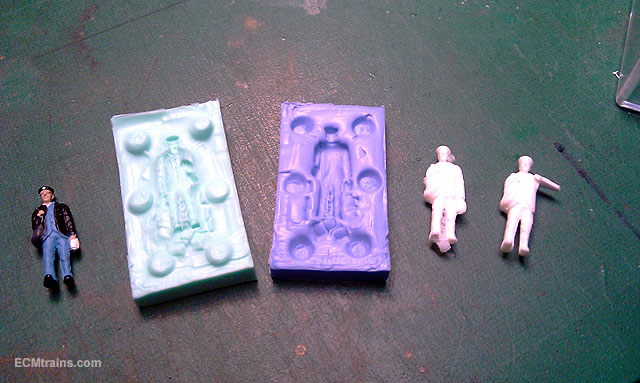
Some painting done this weekend;- Grey.... Greyer... This is the Humbrol 27 matt and for the driver to block out the motor in the cab! He will be leaning with arm up on the cab door so decided to mould up a guy, cut his arm off and make a new one out of styrene to lean on the door. He will be cut off at chest height and wedged between cab side and the motor! Eoin
-
Hi Broithe Excellent photos, great to see the landscape and some of the details, also the loco details, it is a lovely place. Sadly it looks like there was crowd problems.... Eoin
-
Hi I've just completed two 21mm DART sets for a chap and last year converted two 141s & two 071s to 21mm- both are private layouts if that counts? I also have two separate orders for 21mm Class A chassis Eoin
-
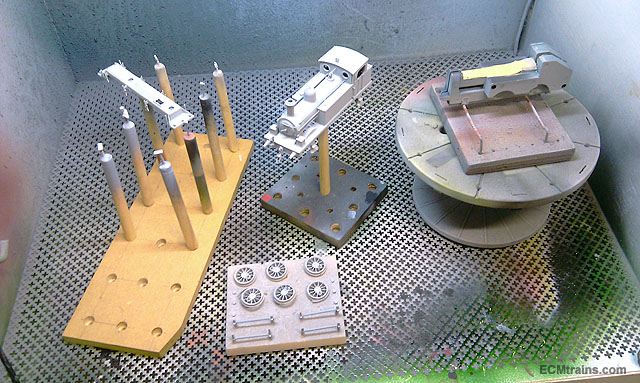
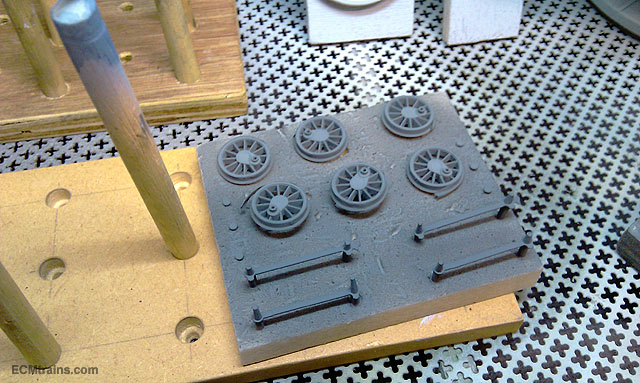
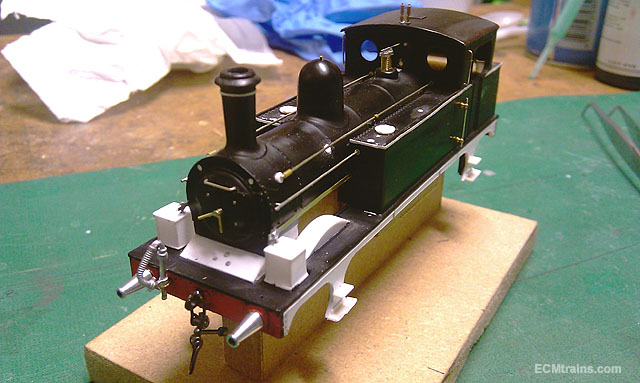
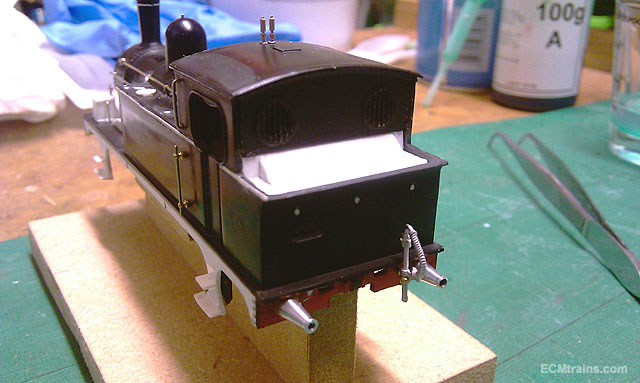
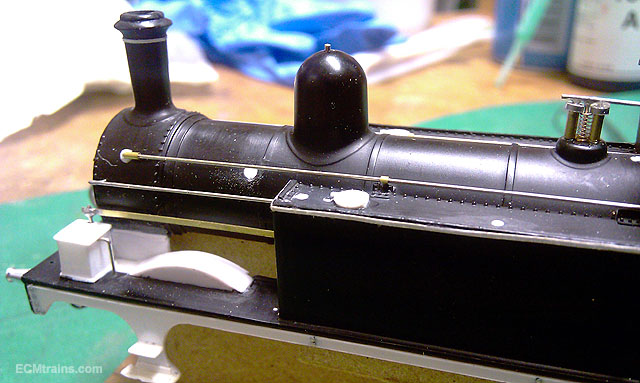
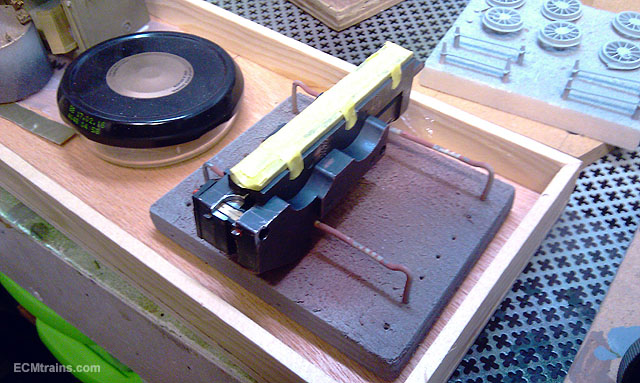
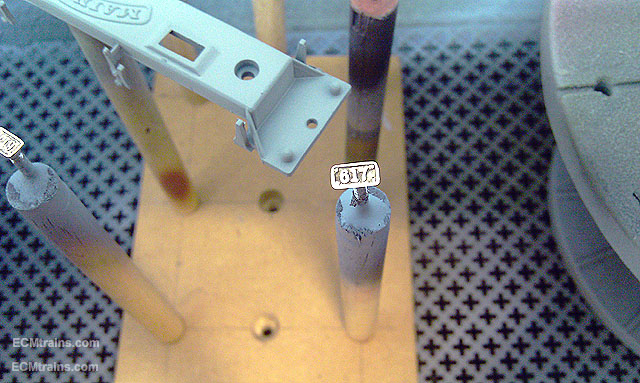
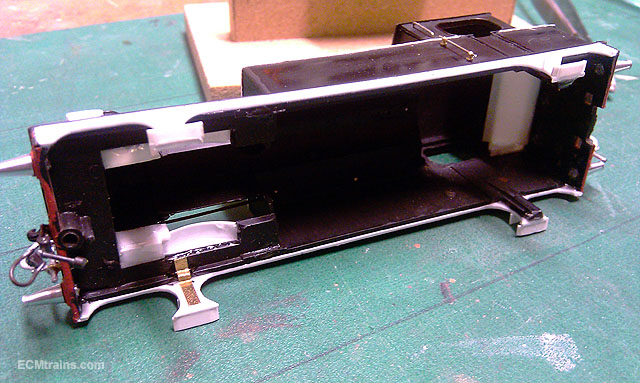
Hi all The J10 now has all its bits on- vacuum pipes fixed into the buffer beam with brass split pins, period coupler irons at the front, and then to cap it all- a nut on the dome.... Stuff in the paintshop, and some under-coated, I have decided to go with Humbrol 27 following a previous post Oh and Noel especially for you;- Eoin
-
-
Thanks again all for comments pauldelany Those plates are spoken for, for this project and another chap. Next time I do etching I will include plates for you... My sympathies to you on your mrsi membership:) Eoin
.png.c363cdf5c3fb7955cd92a55eb6dbbae0.png)


