-
Posts
2,731 -
Joined
-
Last visited
-
Days Won
70
Content Type
Profiles
Forums
Events
Gallery
Everything posted by murrayec
-
Weshty Yes, the comparison shot shows up the angular windows on the Silver Fox 'C' Eoin
-
Hi Guys This is one of his scratch diesels, he takes it so far and then the owner finishes off;- http://irishrailwaymodeller.com/showthread.php/5379-Class-C-7mm-Model?p=85546&viewfull=1#post85546 Eoin
-
Hi grandad The picture at bottom page 68 of Shepherd's book is telling- one can see through both cabs to sky beyond! she's got to be the same on both sides- windows at least. And, it's a while since I read the text and I do remember something about offset boiler, but the drawing on page 48 shows the boiler in the middle- so gangways both sides by the drawing Eoin
-
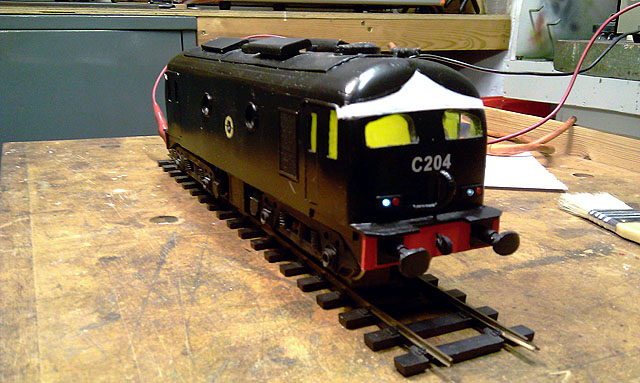
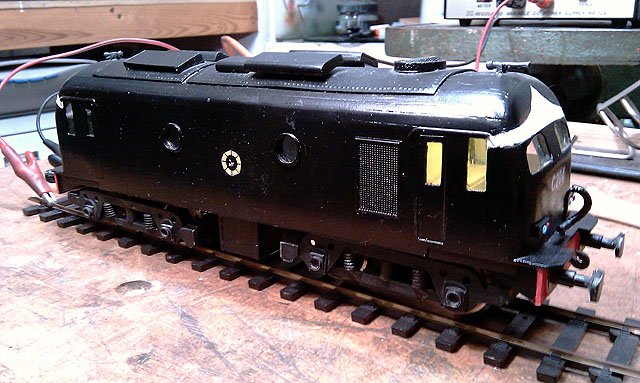
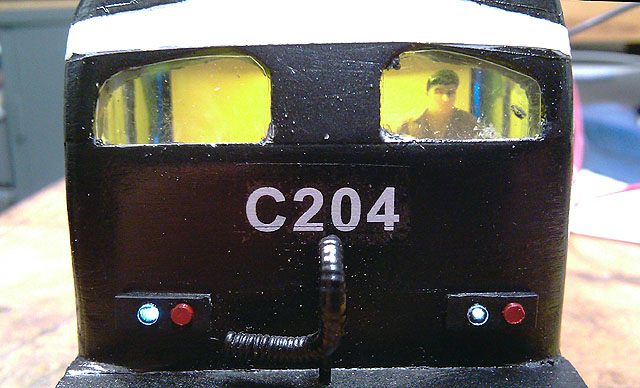
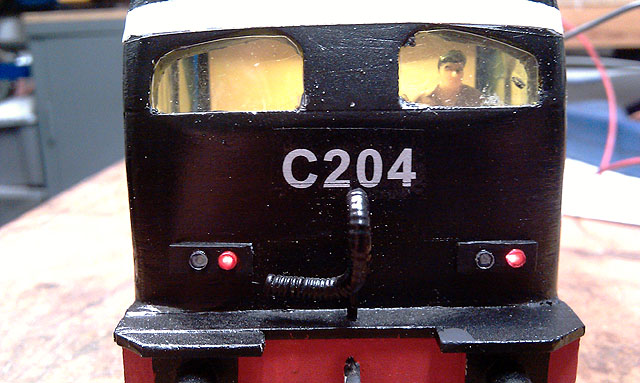
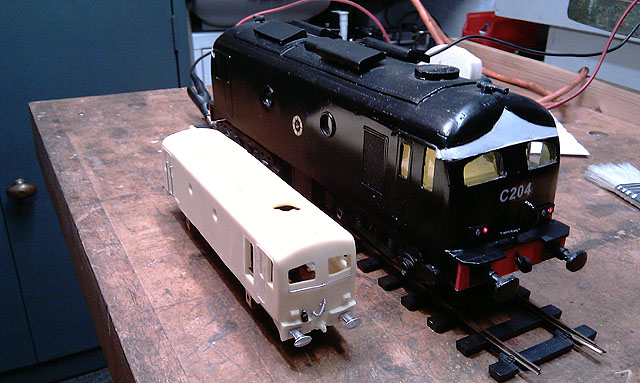
Hi Here is a few shots of a big 7mm Class C built by the same MRSI chap with the 'Another 121' previously featured. She was in the shop for lights to be fitted Slightly propped up at the front so she doesn't take off And a comparison shot with my OO C as the 121, I got to get me one of these.... Eoin
-
Broithe It's called 'NO Gauge'!! Looking at the photos in the mag, they show a picture with the passenger frame removed from the running gear, the deck is slung very low on the ground rail wheels. These wheels would stick up between the seats- imagine getting the seat beside the wheel.... crunch! Eoin
-
Hi David Did you ask Branchlines? they got in 21mm gauge wheels and axles for me for two DART sets, it did take a few months though... Eoin
-
That wikipedia link has a photo and I read about it in 'Railway World' Feb 1962 of all places. It's got loads of B&W photos but I wanted to stick to the rules! Eoin
-
Did you know India had a rather strange Monorail System in Patiala in the Punjab, pulled by mules? https://en.wikipedia.org/wiki/Patiala_State_Monorail_Trainways It was a mad looking affair with a single ground rail, double flange ground rail wheels and an outrigger wheel to balance the thing. Designed like this to save on cost and time in laying track, primary set up to move concrete from the works to site, when the building was complete they took up the track and installed it at the new site. Steam locos were brought in later which were stronger than a team of mules pulling five coaches rather than two for the mules! Thought I'd seen it all!..... The modeller could save 50% on the cost of the track!! Eoin
-
Hi Dave Stunning work, the level of detail, the realism, fantastic, I cant wait to see it in the flesh and maybe run a train or two over it- maybe even a DART!! Eoin
-
http://irishrailwaymodeller.com/showthread.php/77-Graham-s-Workbench?p=51957&viewfull=1#post51957
-
untilBray Show on from 10.00am till 2.00pm http://irishrailwaymodeller.com/showthread.php/94-Toys-of-Yesterday-Bray-Show?p=84652&viewfull=1#post84652
-
If there was there would be no room for produce!
-
Broithe That would take some fine modelling! get the bowls or oranges at the wrong height it would be a disaster.... Eoin
-
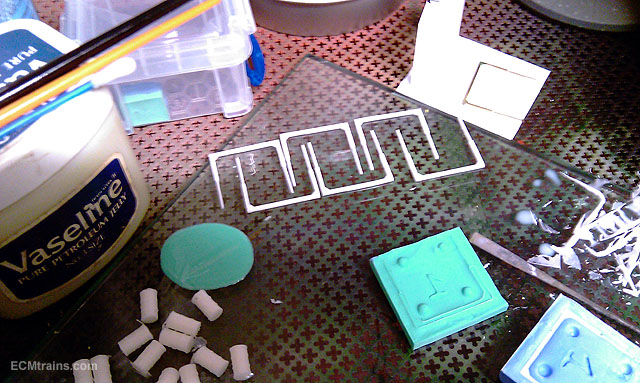
It's to grease me mould....
-
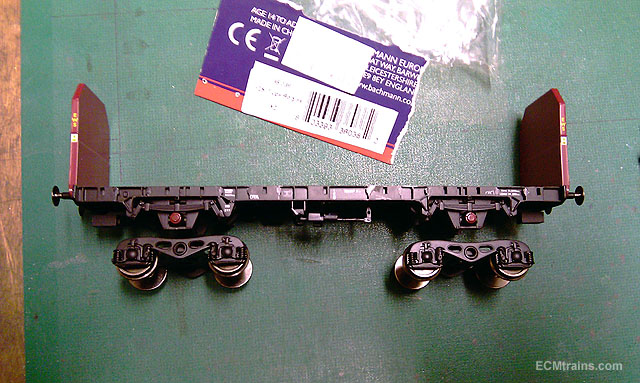
Hi Guys I noticed a post regarding the OTA timber wagons above and thought I would share this; Closetmodeller bought 4 OTA timber wagons for his Greystones layout and I'm commissioned to convert them to more like Irish, I know there going to be a bit short but this is what we have to work with;- This is the chassis stripped down and being sized up to take the Bachmann Y25 bogies, basically all the break stuff and the mouldings along the sides has been cut off- eventually a C channel will be stuck along the sides under the uprights of the log cradle to hide all. The existing bogies will be trimmed down to take the Y25 which will be clued on- this retains the coupler sockets. This is a shot of the plastic cast uprights to make the log cradles, there will be 7 uprights as opposed to the Irish 10 or more- if one wanted the exact length the chassis could be cut and extended. The ends will have some extra ribbing attached, a little white ladder, and a few white handrails, and I plan to paint the whole thing with Lowe rust paint.... Eoin
-
-
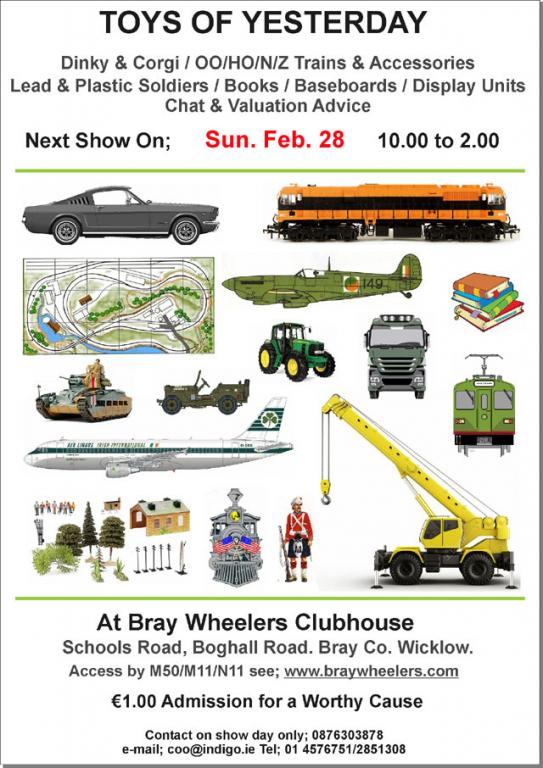
Hi All Yes, the first show of 2016 was very well attended, thanks for dropping in, next show is on Feb 28;- Hope to see you then Eoin
-
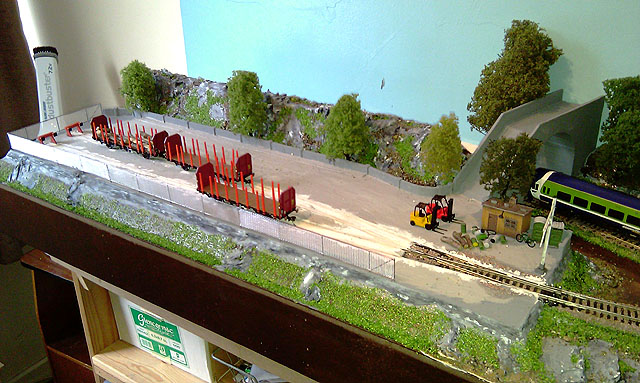
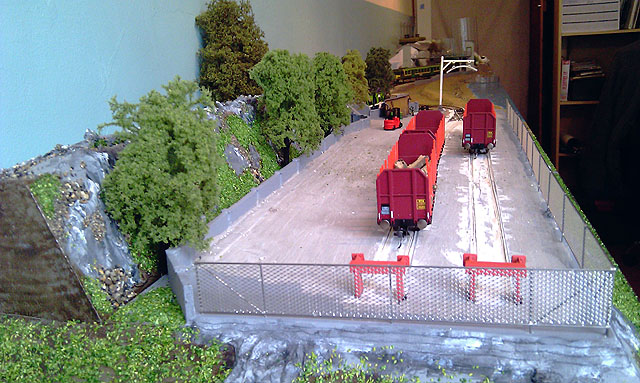
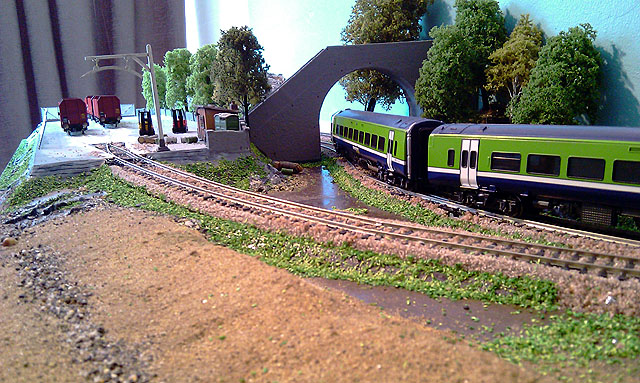
Hi I was by the Greystones Layout dropping off some trees and to fix up the track in the timber yard, here is a few shots in the daylight;- Eoin
-
Hi Dave Lovely stuff, a nice bit of vegetation going on there and the track work is pretty realistic Eoin
-
-
Hi It's home spun- .8mm piano wire soldered up with U-POL aluminium reinforcing mesh for car body repair epoxied on, I've a few little 'CIE NO Trespass' signs, barbed wire on the top, and some weathering to go on yet... Eoin
-
Hi All Don't forget the first Bray Show of 2016 is on this Sunday coming, the 24th Hope to see you there.... Eoin
-
Hi Kirley Well worth cutting up your layout! nice addition, I like those black fuel wagons to Eoin
.png.c363cdf5c3fb7955cd92a55eb6dbbae0.png)


