-
Posts
2,731 -
Joined
-
Last visited
-
Days Won
70
Content Type
Profiles
Forums
Events
Gallery
Everything posted by murrayec
-
Hi I love the flying wheel logo, and they should never changed to anything else in my opinion. This type of logo was not invented in the 1940's, although the 1940's design desk played a blinder by inverting one of the wings! The 'flying wheel' or it could also be called the 'flying wings' harks back to the early Persian Empire, whom had a symbol of their god 'Ahru Mazda' the supreme creator, god of light, which in its simplest form was a disk with outstretched wings on both sides, the complex form had a human figure standing in the disk. The Egyptians and the Romans adopted similar motifs and used it in carvings, decorations for all types of things, and jewellery. The symbolism was of the sun disk (representing the god of light) suspended in the sky by wings of a bird- naturally! what else back in those days held the sun up in the sky. Later with the oncoming of boats, cars, planes n trains in the late 1800's some of the manufactures adopted the motif again as company logos and to adorn the front and sides of their creations. The symbolism had changed slightly, substituting the sun disk for a wheel with many different variations of the theme;- front on, looking downwards, and side on. SS cars used a 3d flying swallow with outstretched wings, later when SS changed to Jaguar they used a logo not unlike the Persian motif, Bentley did the same- a disk with a big 'B' in it and wings on both sides. Other companies also used this symbolism on motorcycles, army uniforms, bicycles, etc... It was and still is generally used in the transport industry to signify wheels, flying, and speed, the most recent application I can thick of is the logo on the front of the new Mini car. Eoin
-
If I may M'Lud, I concur with my learned fellow and commend and support his issue of such a fine recipe... M'Lud..... Eoin
-
Hi Yes, I have one of those green engines also- still have the box to! Broithe I also had some of that Lone Star set! your photo brought back memories- I swooped it for a Class 08 diesel which was painted orange and CIE'd, I think I was around 9 or 10 years then! Eoin
-
Hi Kirley Just looking at the video- great stuff, the layout is looking very good, I love the photo backdrops they add a realism in the video that makes one think I'm looking at the real thing. On the wheel slip- if those flats are the white metal ones, there's got to be some weight in their frames alone- my guess on the cause of slip? Eoin
-
Hi driver301 You are doing a spectacular job on Connolly Station, I'm looking forward to seeing it if the opportunity arises. You will be glad to hear that the development of the N DART body is near completion. The body prints are now cutting to an acceptable level, which was a trial n error exercise over the last couple of months. The next item is the jig tool to wrap the body sheet to the glazing structure and a few moulds for;- door rails, roof vents, pantograph recess and corridor connectors, dare I say its then done!! Eoin
-

Nice clip of the railway in the guinness brewery
murrayec replied to heirflick's topic in Letting off Steam
Hi Stradbally Museum has one of the William Spence 0-4-0 1ft 10 gauge Tank engine No 15 preserved, these are one of my favourite narrow gauge steam locos and are just an amazing sight in the flesh. If you get a chance to go there- do! they have a great collection of narrow gauge stuff, working and not. http://stradballyrailway.webs.com/locomotives.htm Eoin -
iarnrod Going by the photo you posted above, would it be an option and more economical to respray the locomotive you intend to use to match the MM Mk2s colour? Eoin
-
Hi Walter I'll have a coffee- that is in Cork next week, the DART will be there! Eoin
-
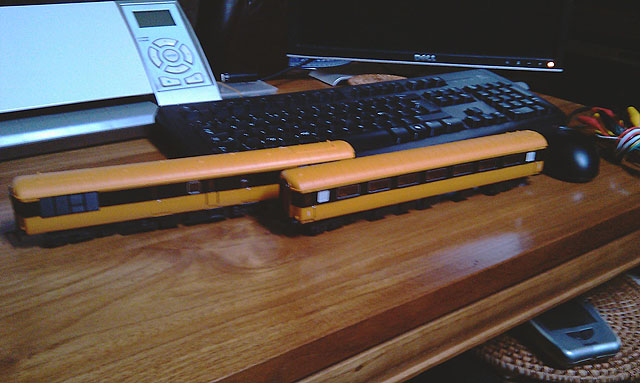
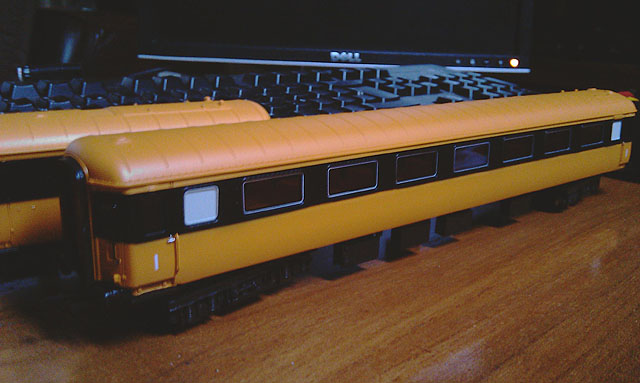
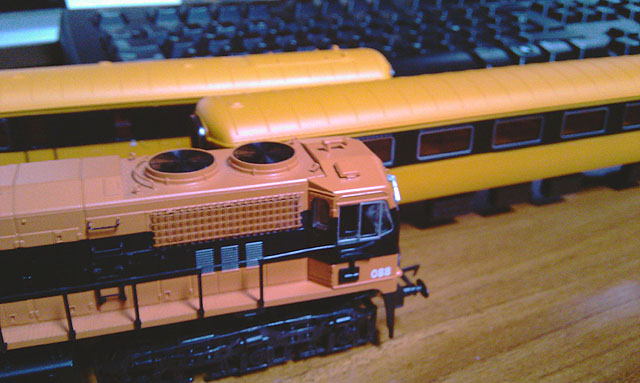
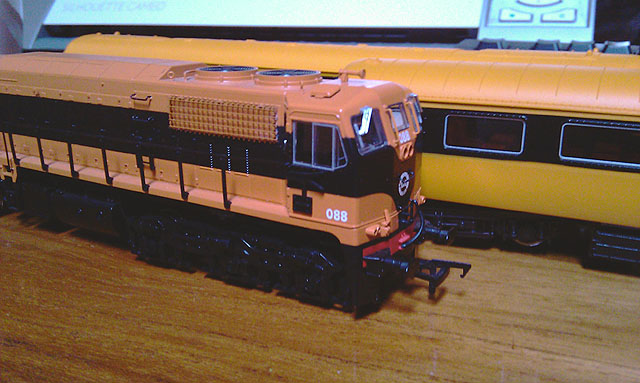
Hi I picked up my first 2 MK II's, 1st Class & EGV, today from Wrennie at the Bray show, in his words " bleedin rapid " and a few with 088- slight colour variation but I can live with it. Again " bleedin rapid " Eoin
-
Hi Walter Will see you on Sunday, if you have any OO gauge sitting people, bring them with you- I'm looking for more Eoin
-
Hi Dave That looks really great, and yes the pricing is cool. I look forward to seeing-n-playing with it at the Bray show... Eoin
-
Hi Westhy Yes, a very nice shot Eoin
-
Hi Riversuir226 That photo just answered another question- 'Where is the cow-catcher/wheel guard mounted' Thanks for posting Eoin
-
Hi Kirley Thanks, very helpful to see. Eoin
-
Hi Excellent photos, they answer nearly all my questions on the bogie sides, their a great help to finalise the drawing to make the templates for moulding aclass007 I have been referring to the Downpatrick C photos on flicker for a lot of info Thanks guys for the help Eoin
-
Hi Horsetan I passed on your message to Steve, he chuckled and recited the whole scene from the movie, needless to say but I will - 'watched a lot' Eoin
-
Hi All Dave;- No prices yet, I'm still working things out- etched bogie frame for a single motor unit, bogie sides and under frame box. I will post up pricing at a later date. aclass007;- Yes, I'm producing the white metal bogie sides and under frame box myself. The first C's I'm building are going to be silver, the SF kit bogie sides are not great so I have decided to do this. Also white metal and NS wire driver ladders will look the part with the silver livery and wont need any finish, they can be painted for other liveries. Does anyone have or know where there are photos of the C bogies up close and want to share? this would be very helpful Thanks Eoin
-
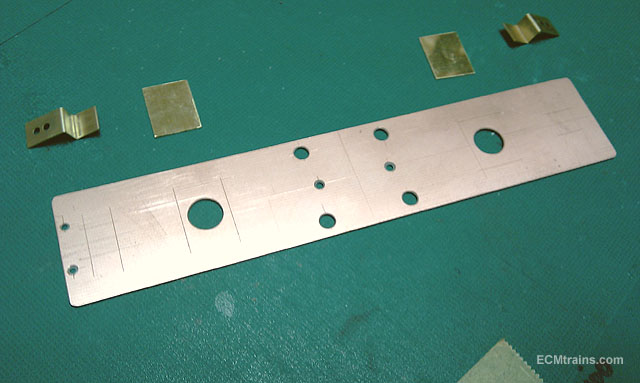
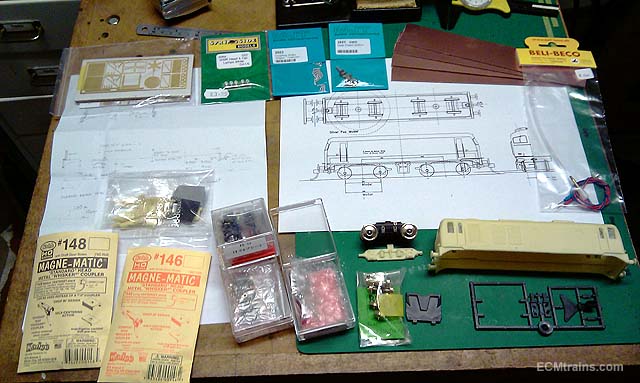
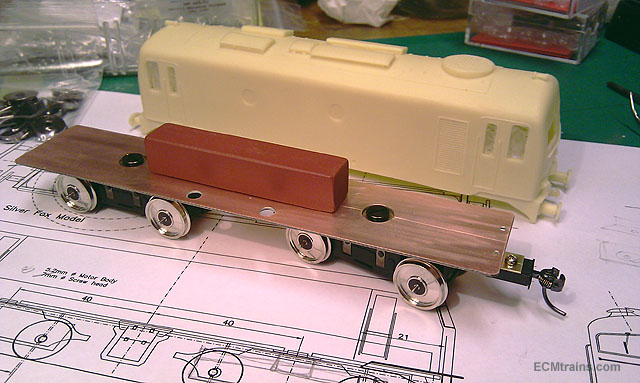
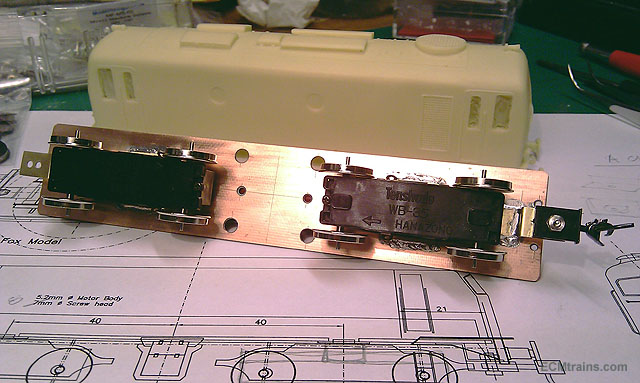
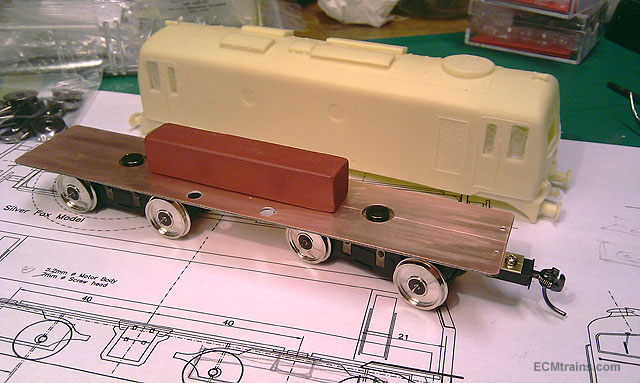
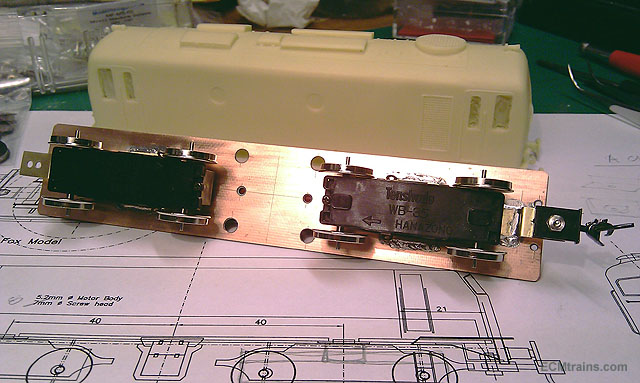
Hi All Thanks for comments Noel The wheels will be 12.6mm, I reckon wheel slip would have been a characteristic feature of these engines- I like it, it feels real! When DCCed there will be a bit more control over the motors. Yes more weight will be going on- Kit parts, white metal bogie sides, a lot of brass bits, wires n chip... Some photos of the bits;- Eoin
-
Hi To follow up on the Class C chassis here, as mentioned on the 'Class A' thread;- http://irishrailwaymodeller.com/showthread.php/3921-Class-A?p=61132&viewfull=1#post61132. I have now assembled a test set-up chassis and ran it through a bit of testing;- [video=youtube_share;t0OIScr3i7s] Video of the first test run of a chassis for a Silver Fox Class C loco kit. PCB board with two Tenshodo motors, 66gms steel weight and Kadee 146 couplers. Total weight at 162gms. A powerful little engine, works very well under this analogue test. The slow running is great, it can pull the 4 Cravens around radius 2 bends with full buffer lock! I have not tested full speed yet, but up at 3/4 throttle is scary- at scale the speed is up to ramming the driver back in the seat with his mouth starting to take on that balloon shape like a fighter pilot in full 10gs dive! The wheels are still 14mm, I'll change them when DCC-ing the motors and installing the bogie frames. Eoin
-
Hi Dave Great track plan, looking forward to playing with the storage crane. And cant wait to see the servo points control system in action, it will revolutionise the DCC points control and save on the costs. Bring it on.... Eoin
-
Hi David Yes an interesting looking engine. Life is strange- I was looking through a railway book the other night and noticed this engine in the background of a photo, its fly-wheel, circular door and narrow cab caught my eye! Then I see your post today... Eoin
-
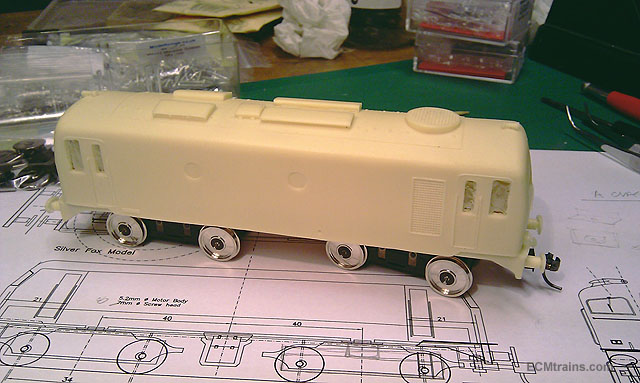
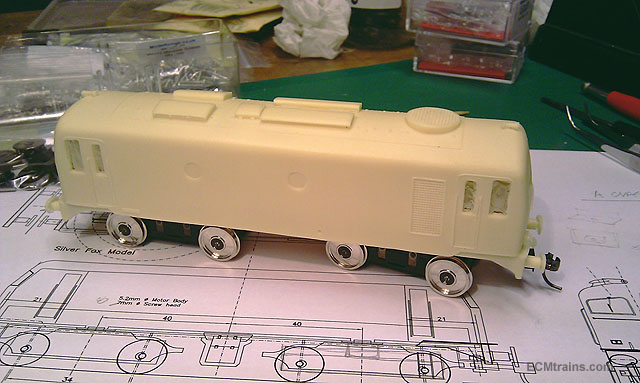
Hi Paul Yes both flavours will be available, the spud motors have to have the internal pick-up removed and the motor wired for DCC- I do this if required. Some shots of the 'C' ECMCHAS! coming together;- A few wires and a little fettling on the buffer beam and off to the test track Eoin
-
Hi All The following is the report I mentioned earlier; Myles Tierney has had a number of conversations with Nora Owen whom represents the group supporting the move to the Casino, from these discussions the following is understood; 1. The issue of the location at the “Casino” in Malahide of the model seems to have been finalised. 2. Outstanding legal and other matters regarding the model have been resolved apparently. 3. The planning of a new building (5,000sqft) on the site to house a layout is under-way. It has been suggested that consultation and input from committed railway modellers would be welcomed regarding the actual layout and generally. Now would be a good time to contact your local councillors [if you live in Fingal] to press for this consultation. Other interested people should consider contacting their local T.D.s and express support for such consultation.” Eoin
-
oops! wrong link above, should be this;- http://irishrailwaymodeller.com/content.php/302-CIE-J15-0-6-0-Drawings Eoin
-
Hi All A late happy christmas to all and the best n better for the new year I got the SSM CIE Ploughvan & Wickham Inspection Car Kits from Chris... Dave I knew what you were saying Eoin
.png.c363cdf5c3fb7955cd92a55eb6dbbae0.png)

