irishthump
-
Posts
1,877 -
Joined
-
Last visited
-
Days Won
8
Content Type
Profiles
Forums
Events
Gallery
Blogs
Community Map
Everything posted by irishthump
-
I also never considered the cost of keeping the site running. Well done to you, sir. The site is an invaluable resource for the Irish modelling community and I'm one of many who have benefitted from the advice and expertise of it's members.
-
Hello, Jamie and welcome to the site. Nice to have someone from so far afield! Sounds you already have a nice collection of stock. With a small space a nice little shunting layout with a goods or container yard might be a good idea. Or maybe even a diesel maintenance depot and refueling point. Try this site for track plan ideas - http://www.freetrackplans.com/Home.php
-
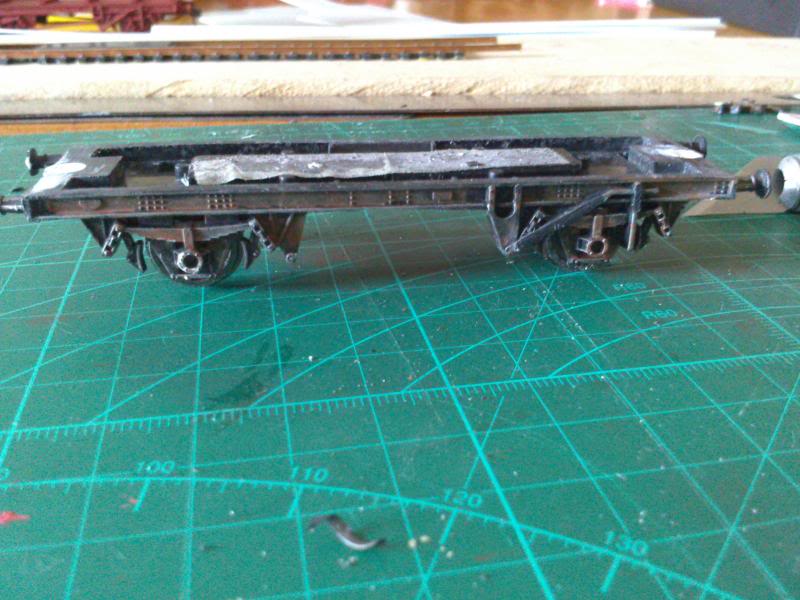
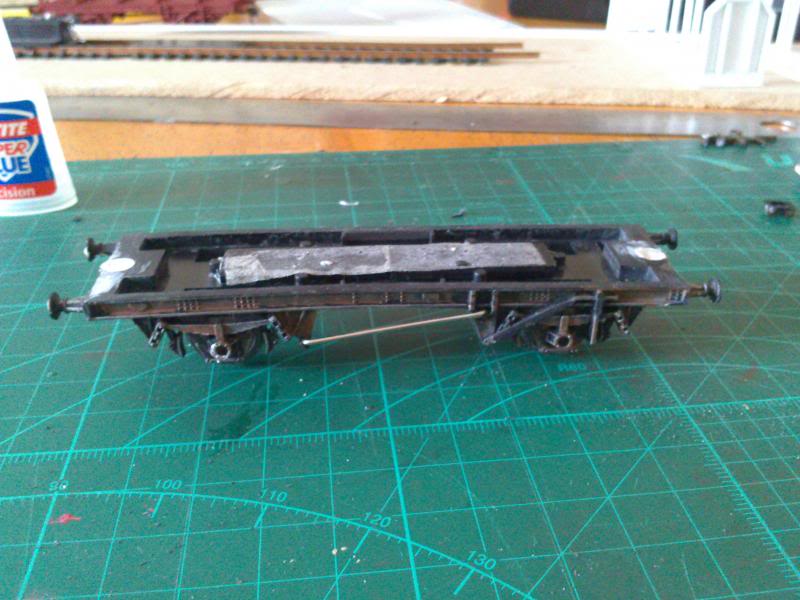
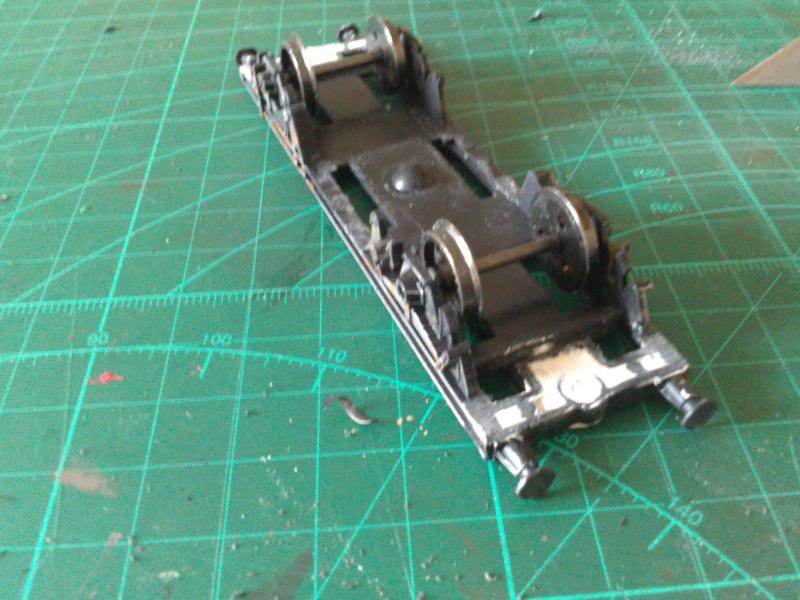
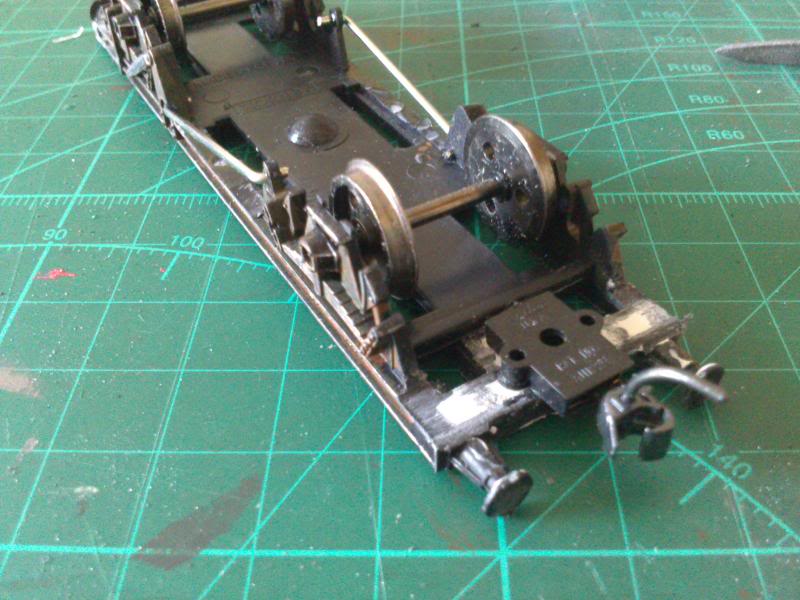
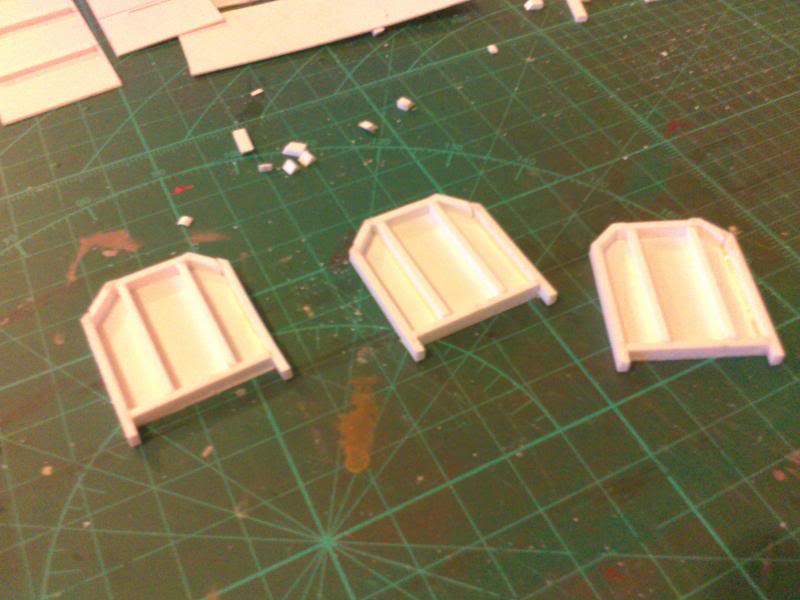
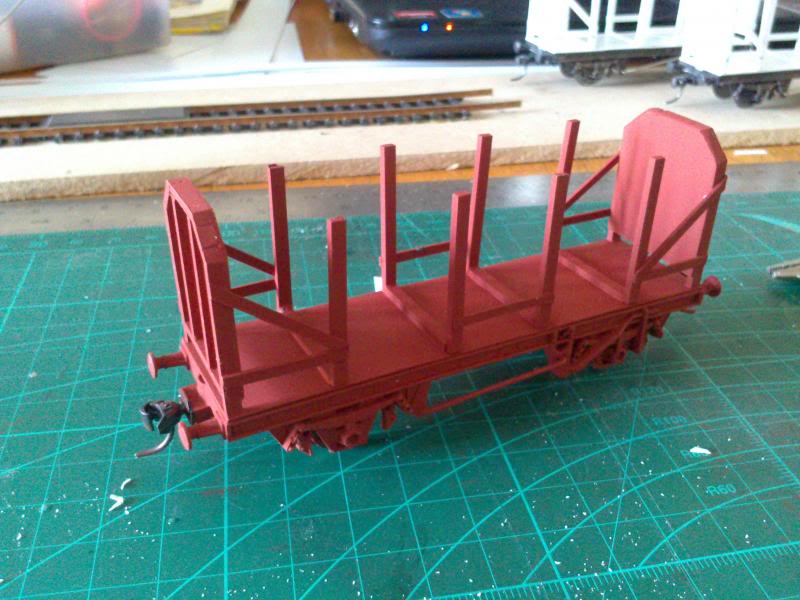
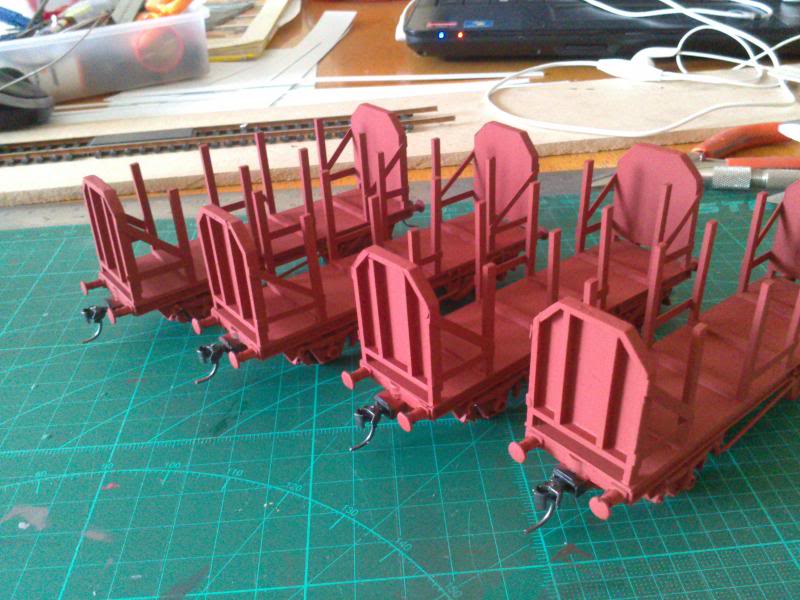
I had been planning to buy a few Hornby timber wagons but after seeing this thread http://irishrailwaymodeller.com/showthread.php/1212-Four-Wheeler-Timber-wagons I decided to go the scratchbuilt route. I had a few of those horrible Hornby Railroad range tanker wagons so I decided to use the chassis as it looks roughly the right size. I cut away most of the underframe detail. An old paperclip makes some passable brake gear and makes the chassis look a little less bare! I removed the tension lock couplers and used filler to make a suitable mounting point for a Kadee No.5 coupler. Coupler mounted... The wagon bodies were built from styrene. Fitted to the chassis and given a coat of oxide primer, weathering to follow... Hardly prototypical but I think they'll look good on the layout!

-
Thanks, Glenderg. I usually use Games Workshop washes which give the same effect, but they are getting bloody expensive so I was looking for a less expensive alternative!
-
Excellent work! Is the wash made up from just gauche and water?
-
Man, that sounds impressive! I have the sound chip for my 071 on order from Modelshopbelfast, can't wait for it to arrive.
-
Wonderful work, both vans look the business!
-
Sheriff Street? Then don't be surprised when you find you're pliers gone and every window smashed on that double decker!
-
B113 and 102s trip to to Cultra
irishthump replied to MOGUL's topic in Photos & Videos of the Prototype
Lovely find, really enjoyed it! -
Lads, Lidl are selling 1 metre strips of leds complete with a small 12v transformer wired to it for €10 It's the same as this stuff - http://www.ebay.co.uk/itm/LED-Lighting-Strip-300mm-18-Warm-white-LEDs-per-Length-/270703748272?pt=UK_Trains_Railway_Models&hash=item3f073364b0#ht_1769wt_1255 Which can be cut into various lenghts and used for building or coach lighting. They had white as well as other colours.
-
That said, I got a couple of Hornby Railroad Container flats for €10 euro each.
-
Guys, Was in Dublin yesterday picking up a few things in Mark's Models and I happened to pop across to Banba Toymaster on Jervis street (they have quite a large selection of Hornby stuff). While I was there I noticed they were selling the bog-standard Hornby decoder; R8429, for €25. Bit pricey thought I! Sure enough I went into Hamley's in Dundrum that afternoon and they are selling the same decoder for €15! You can even pick up the Sapphire from them for €30... I know that some shops are a law unto themselves but I think a tenner in the difference is a bit rich!
-
Graham's layout - Monkhill and Saltstown.
irishthump replied to irishthump's topic in Irish Model Layouts
Thanks for the kind words Burnthebox! As you say it takes time, and while I'm very happy with the way it's going, I already find myself thinking of what I would I would do differently on the next layout! -
Graham's layout - Monkhill and Saltstown.
irishthump replied to irishthump's topic in Irish Model Layouts
A few pics of my 071 in it's natural environment! Outside the engine shed. -
Murphy Models 071 - New, detailed pre-production photos added!
irishthump replied to Admin's topic in Irish Models
Picked my 086 up from Mr Bracken this evening and have to say it's a cracking model, the detail is just superb. I stuck in a decoder and it is now happily getting run in on my layout! -
I would say it's the pickups. You can get a lot of crap building up on the inside of the wheels where the pickups touch the wheels, bare in mind that over lubricating the loco can cause dirt and dust to stick. As regards the squeaking, was the loco properly ran it when you first got it? It's recommended that you run a loco for at least 30 mins at medium speed in both directions to help bed-in the gears and to work the factory applied lubricant around the mechanism.
-
I had to do this with my Mk3's as they were just too free wheeling. When hauling coaches over the magnets they would uncouple near all the time! I attached a small piece of copper strip to one bogie and adjusted it so that it was just touching one axle.
-
Also check out these two videos. Although he is talking about larger scale models all of the info is applicable to oo gauge and I found it a huge help.
-
It sounds like this is an issue with allignment of the coupler. If they are off centre the magnet will pull the trip pins together rather than apart. Kadees have to be alligned dead straight over the centre line of the wagon to work right. It may help to glue the pocket in place once it's dead straight. The 321 uncouple also has to be dead centre of the rails, this is really important with this particular magnet, if it is even slightly off it won't work reliably. Coupler height may also be an issue; with the 321 uncoupler the trip pins should just brush the top of the magnet when they pass over it. If you don't have one already get one of the coupler height gauges. Many of the NEM coupler pockets can be at the wrong height. I found the pockets on Dapol box vans to be a shade low. Misalignment will also cause problems when coupling up BTW.
-
Murphy Models 071 - New, detailed pre-production photos added!
irishthump replied to Admin's topic in Irish Models
-
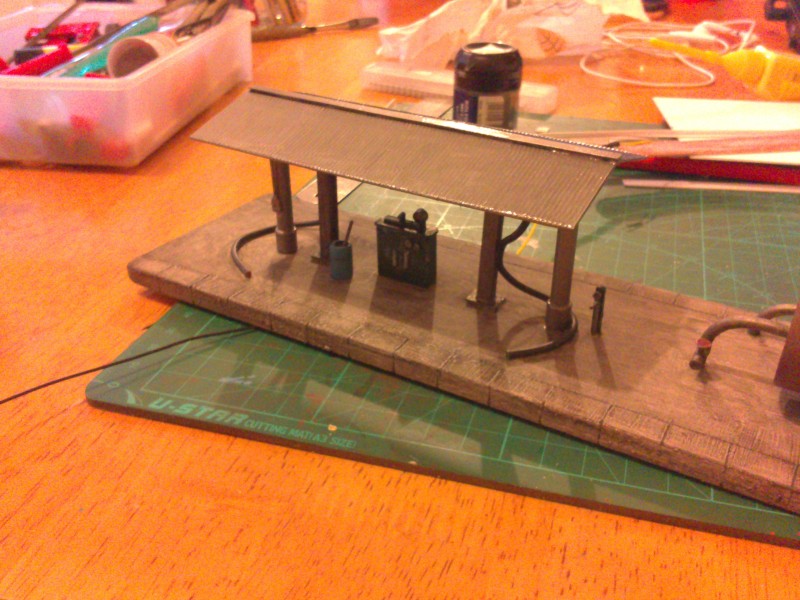
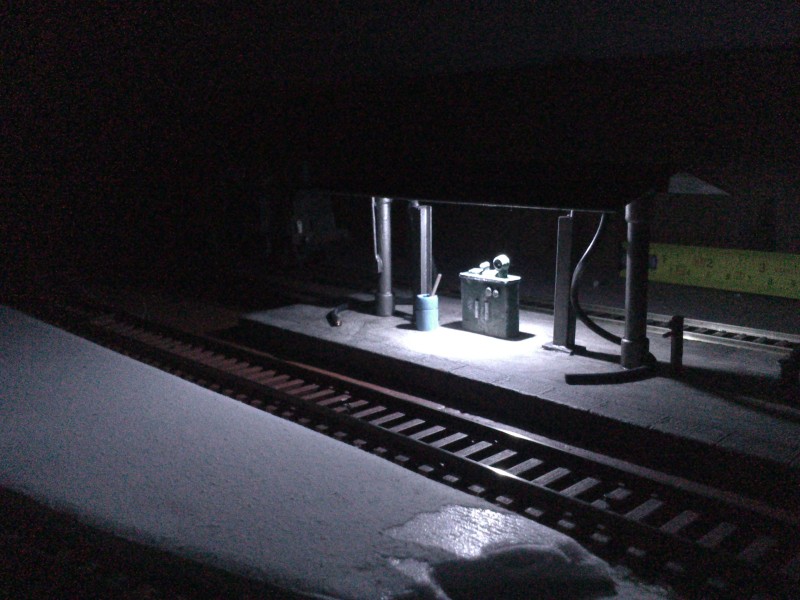
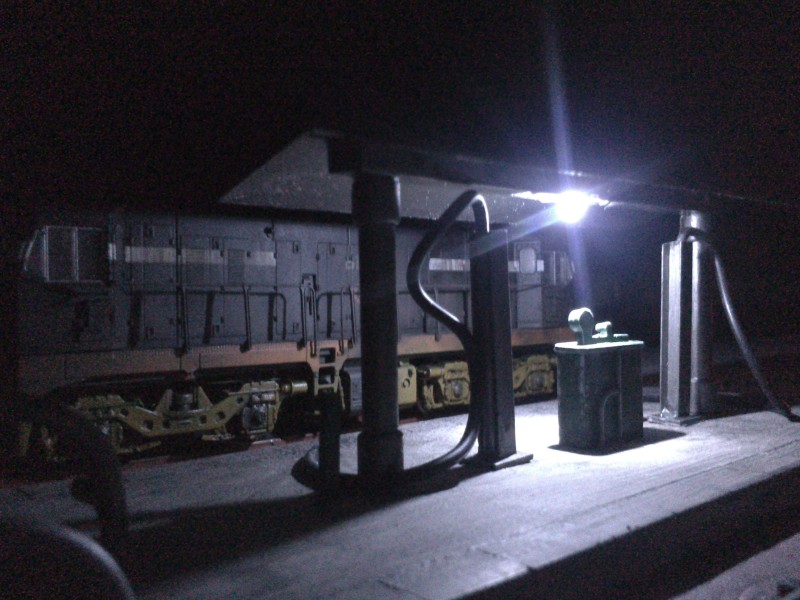
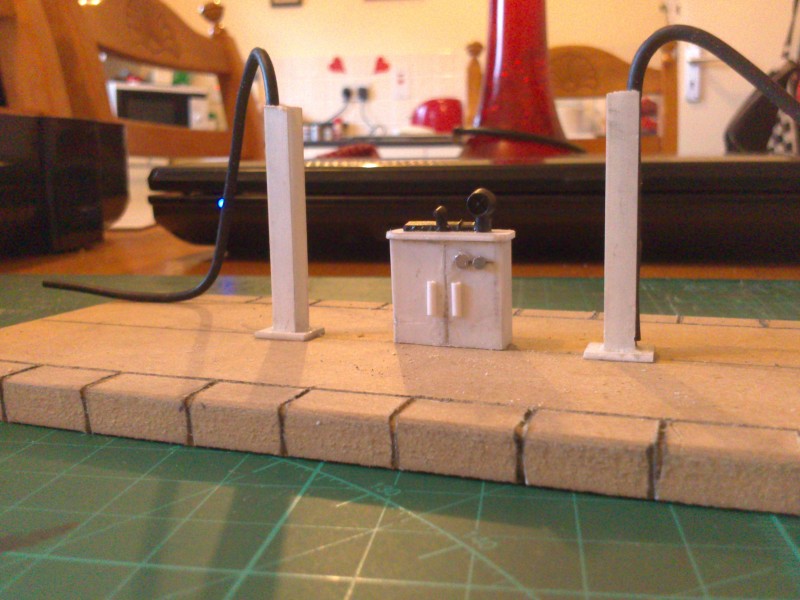
I decided to add a canopy and lighting so came up with this... I figured a single, white led would be enough. The canopy is just corrugated sheet styrene. And here it is wired in and placed on the layout. B165 takes on fuel!
-
Thanks for all the positive comments lads. @ Glenderg - yes, I used track pins for the valves!
-
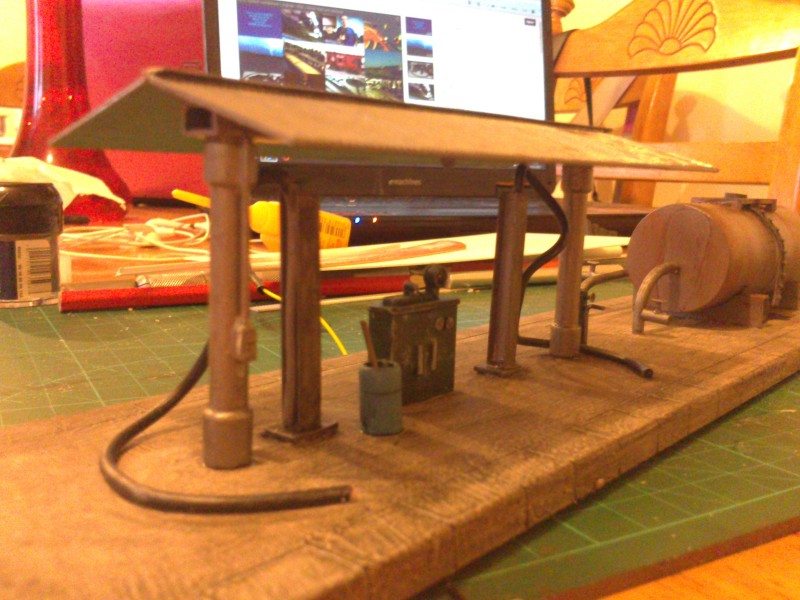
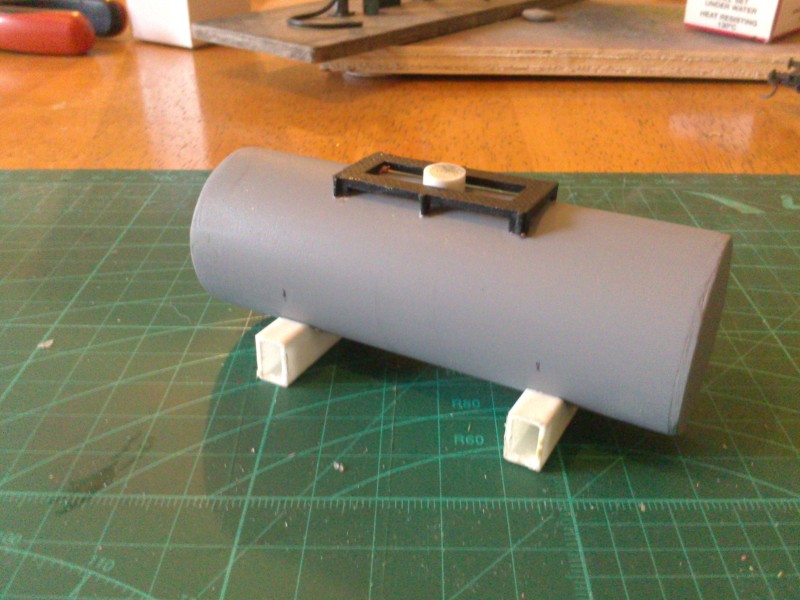
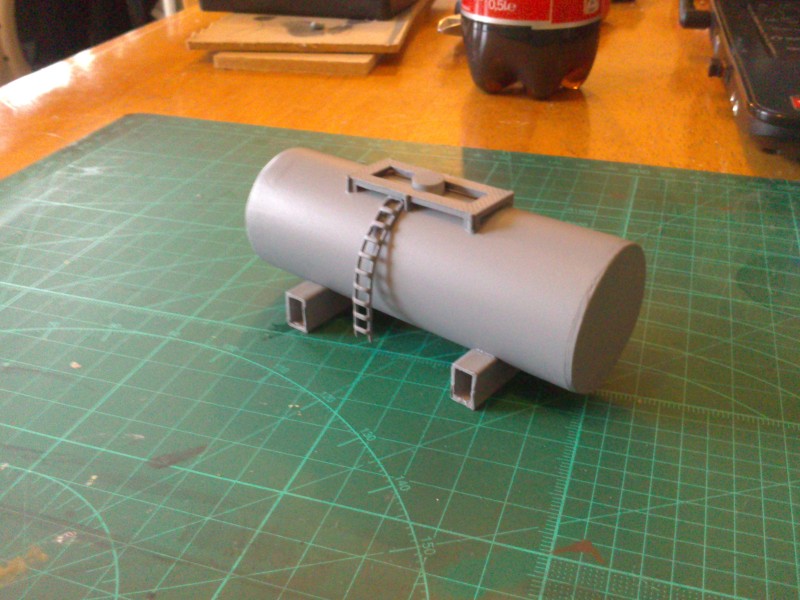
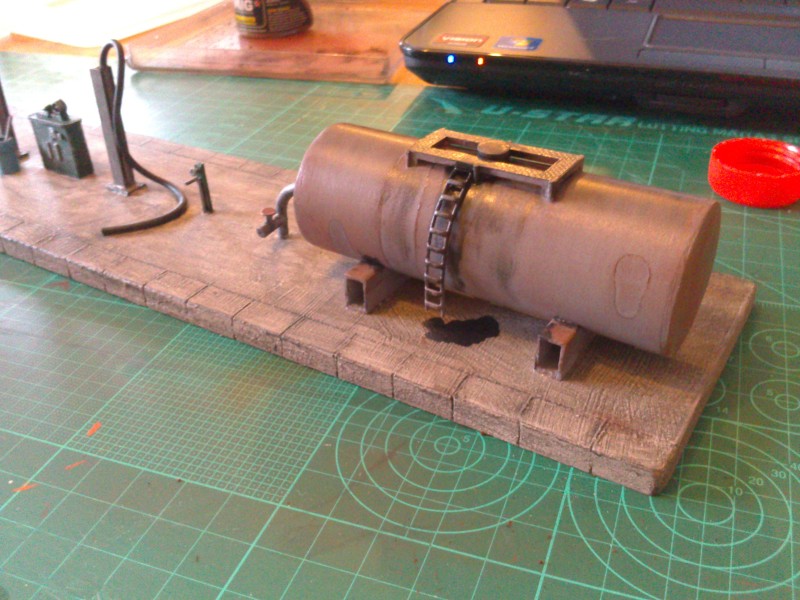
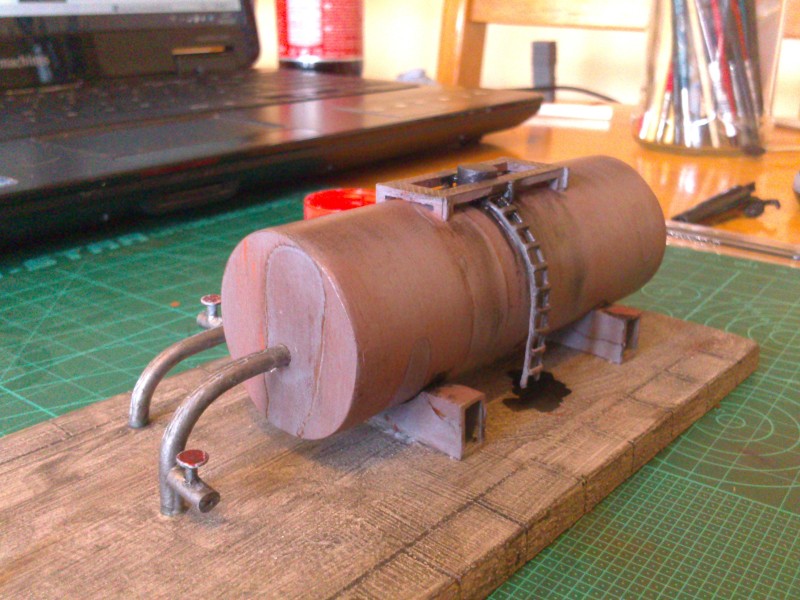
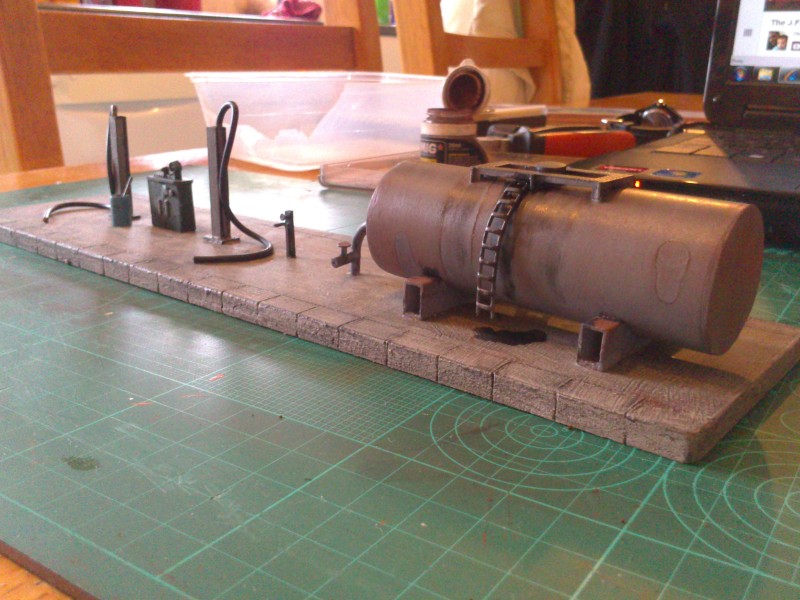
All painted up... I really was'nt happen with using the wagon tank, it just did'nt look right. So I scratchbuilt this... Add a ladder and a quick coat of Halford's primer... Weathered and put in place.
-
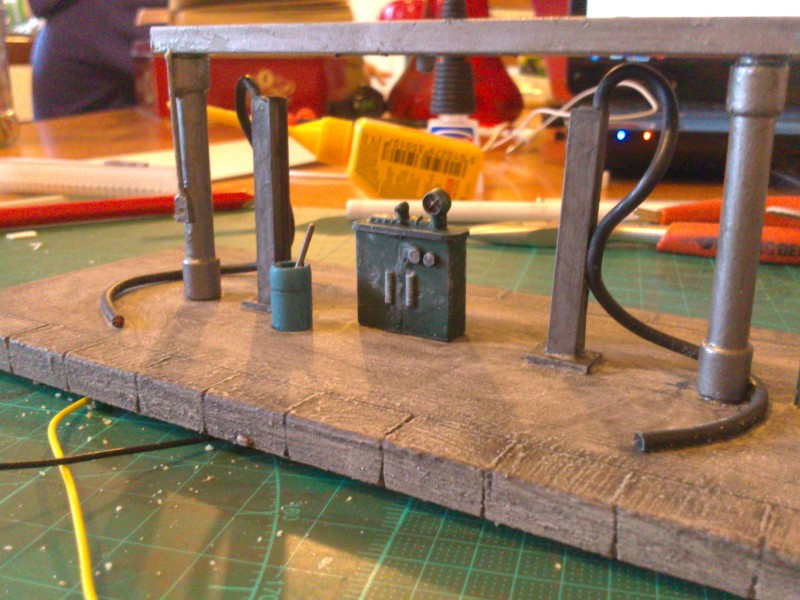
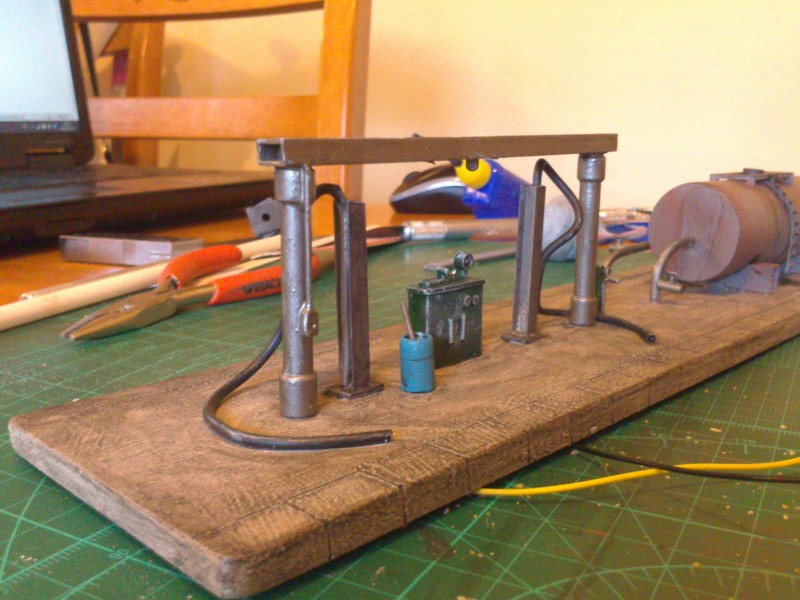
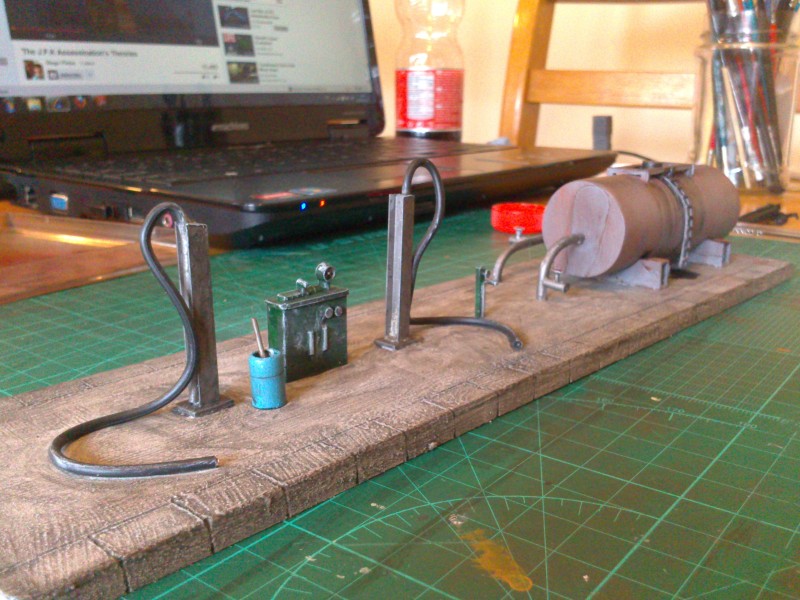
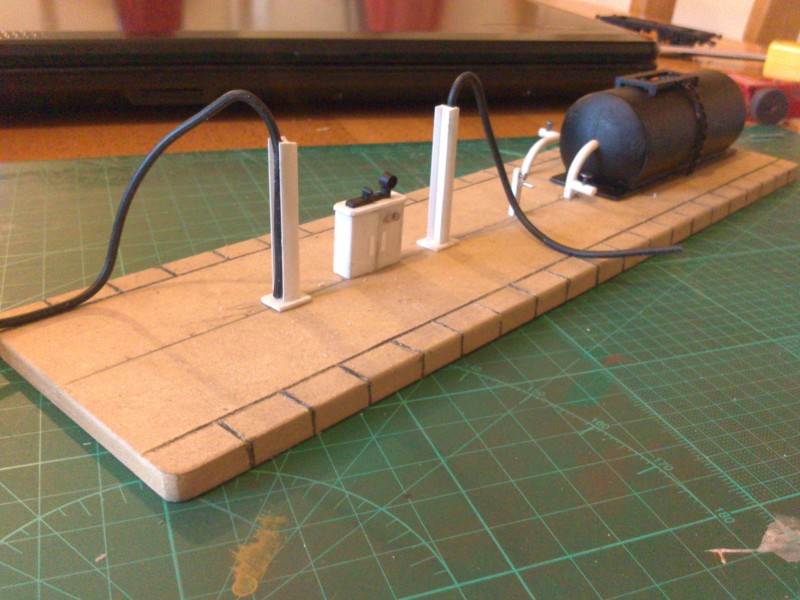
I also scratch built a loco fuelling point for the layout, based around the Knightwing kit. The base is 6mm MDF and I scribed the edging pattern into it, the tank is from an old wagon and the rest is offcuts of styrene and other bits and bobs. I'm not sure if I'll put a canopy over the pumps, and I may switch the tank for something better looking.
-
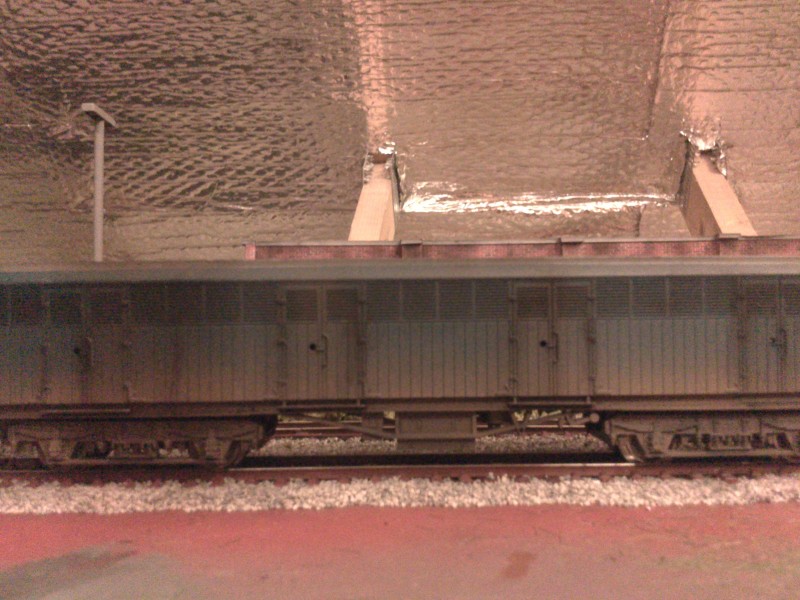
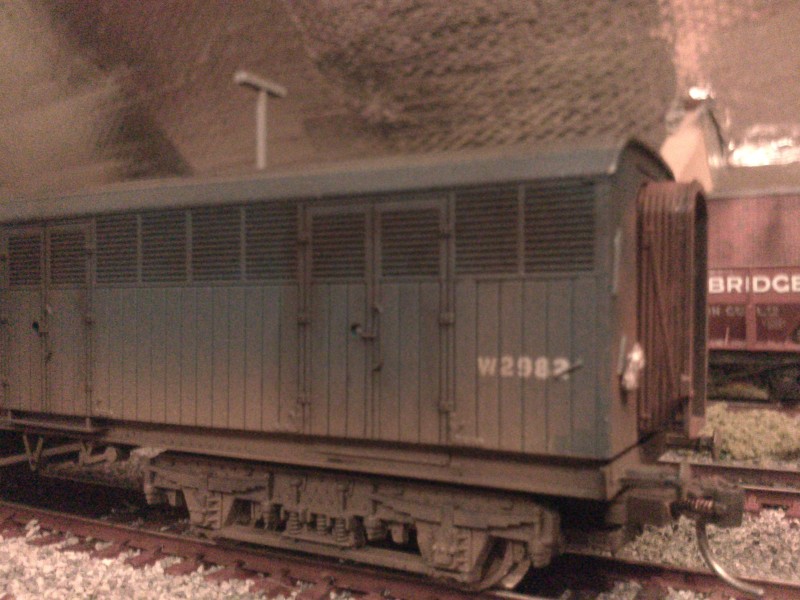
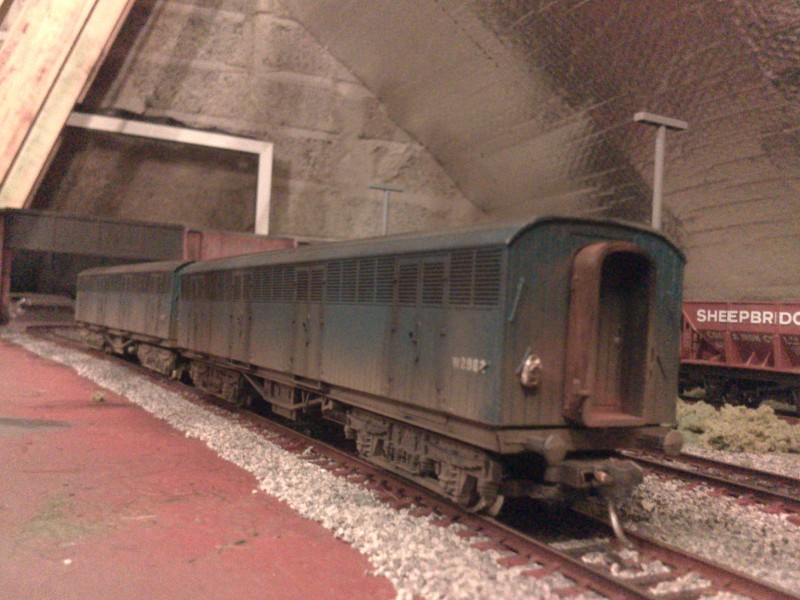
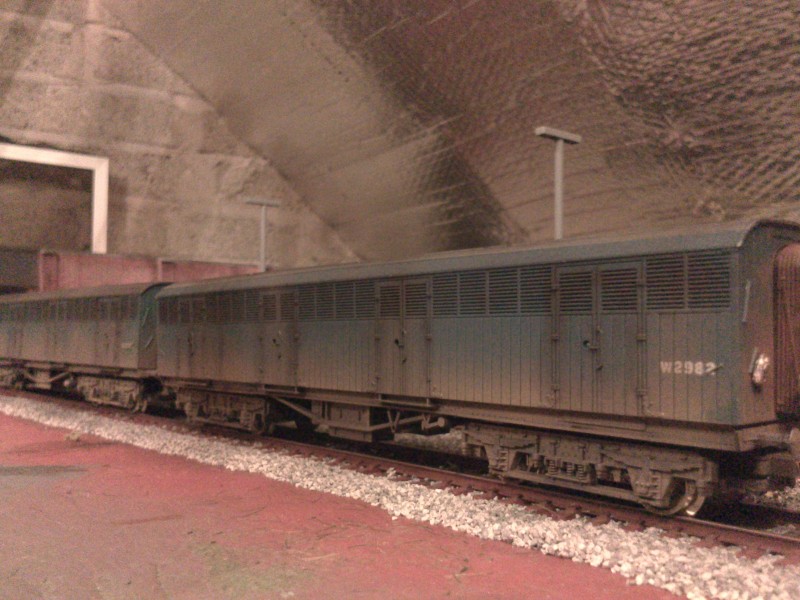
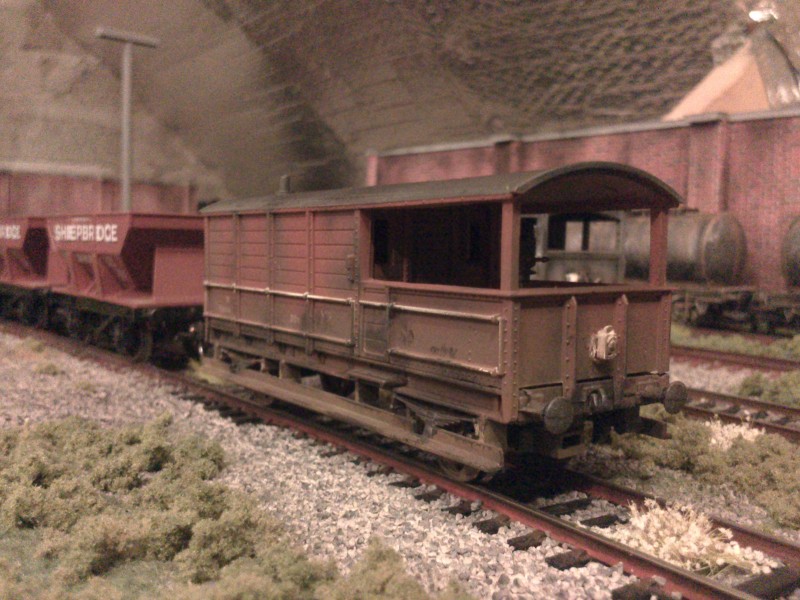
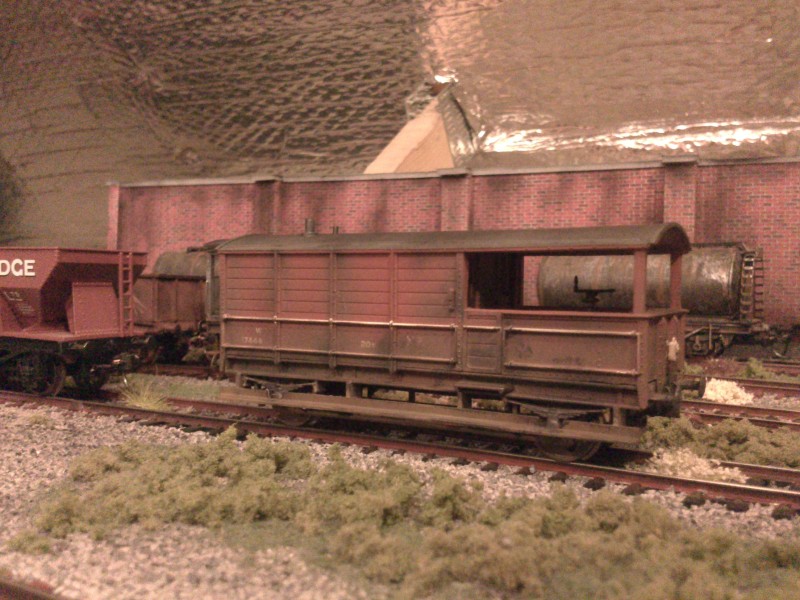
A long overdue update... Sitting at home nursing my now tonsil-less throat I did these to pass some time, a "toad" and a couple of siphon G parcel vans.