JasonB
-
Posts
1,528 -
Joined
-
Last visited
-
Days Won
34
Content Type
Profiles
Forums
Events
Gallery
Blogs
Everything posted by JasonB
-
Beautiful finish on the Sulzer Noel, as said above it looks very well. C class with the ferts in the background looks great aswell.
-
I'd reckon the lad that clipped his helmet was only one of many near misses going under that, along with the odd head on collision
-
Cheers Paul. Yes I have to admit the temptation to just get things up and running after the shed went in was certainly there. But I was adamant I wanted to do this right from the very beginning, so hopefully it will pay off down the line.
-
Absolute monster of a build. Love the glow of the lighting in the lobby.
-
Thanks Noel, long long way to go yet but it's a start I suppose Cheers Eoin, thanks for the advice. Yes I've already looked at installing the gutters and it's definitely something that needs doing sooner rather than later. Your spot on regarding the rain water running down the sides. I've only recently noticed it myself with the change in weather and it's certainly something that could cause problems down the road if it wasn't addressed. Nice and secure on that front heirflick
-
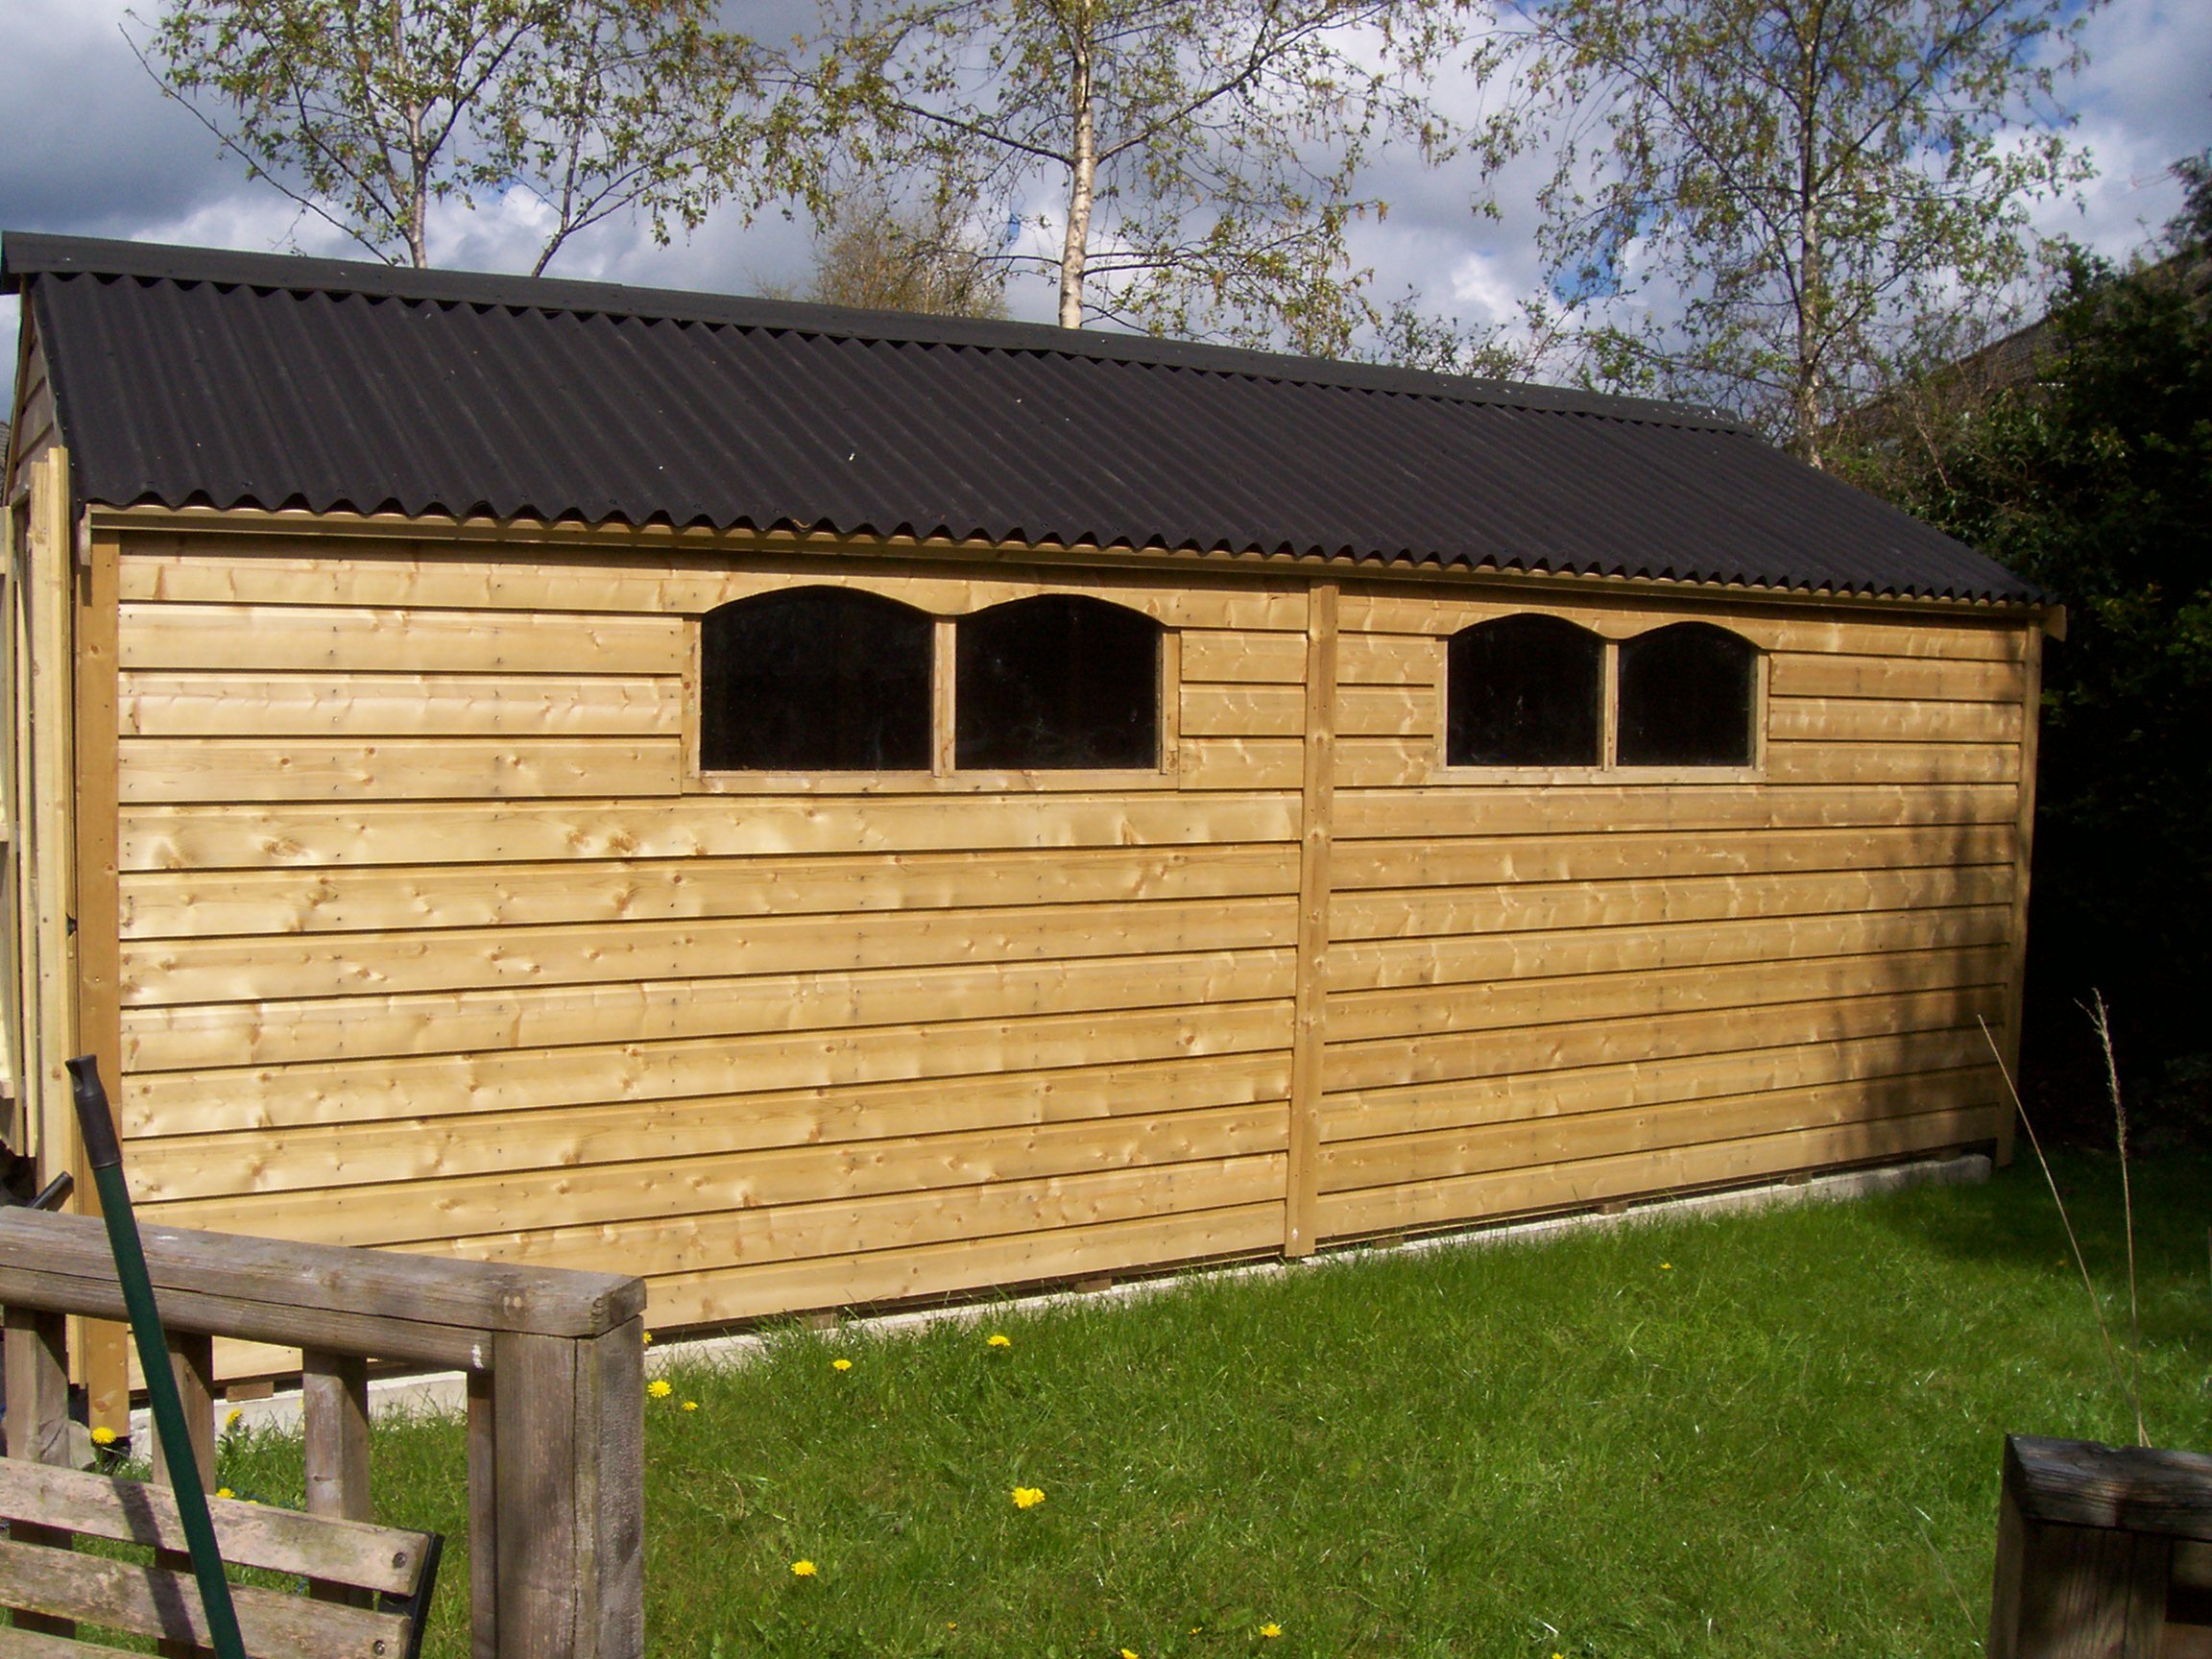
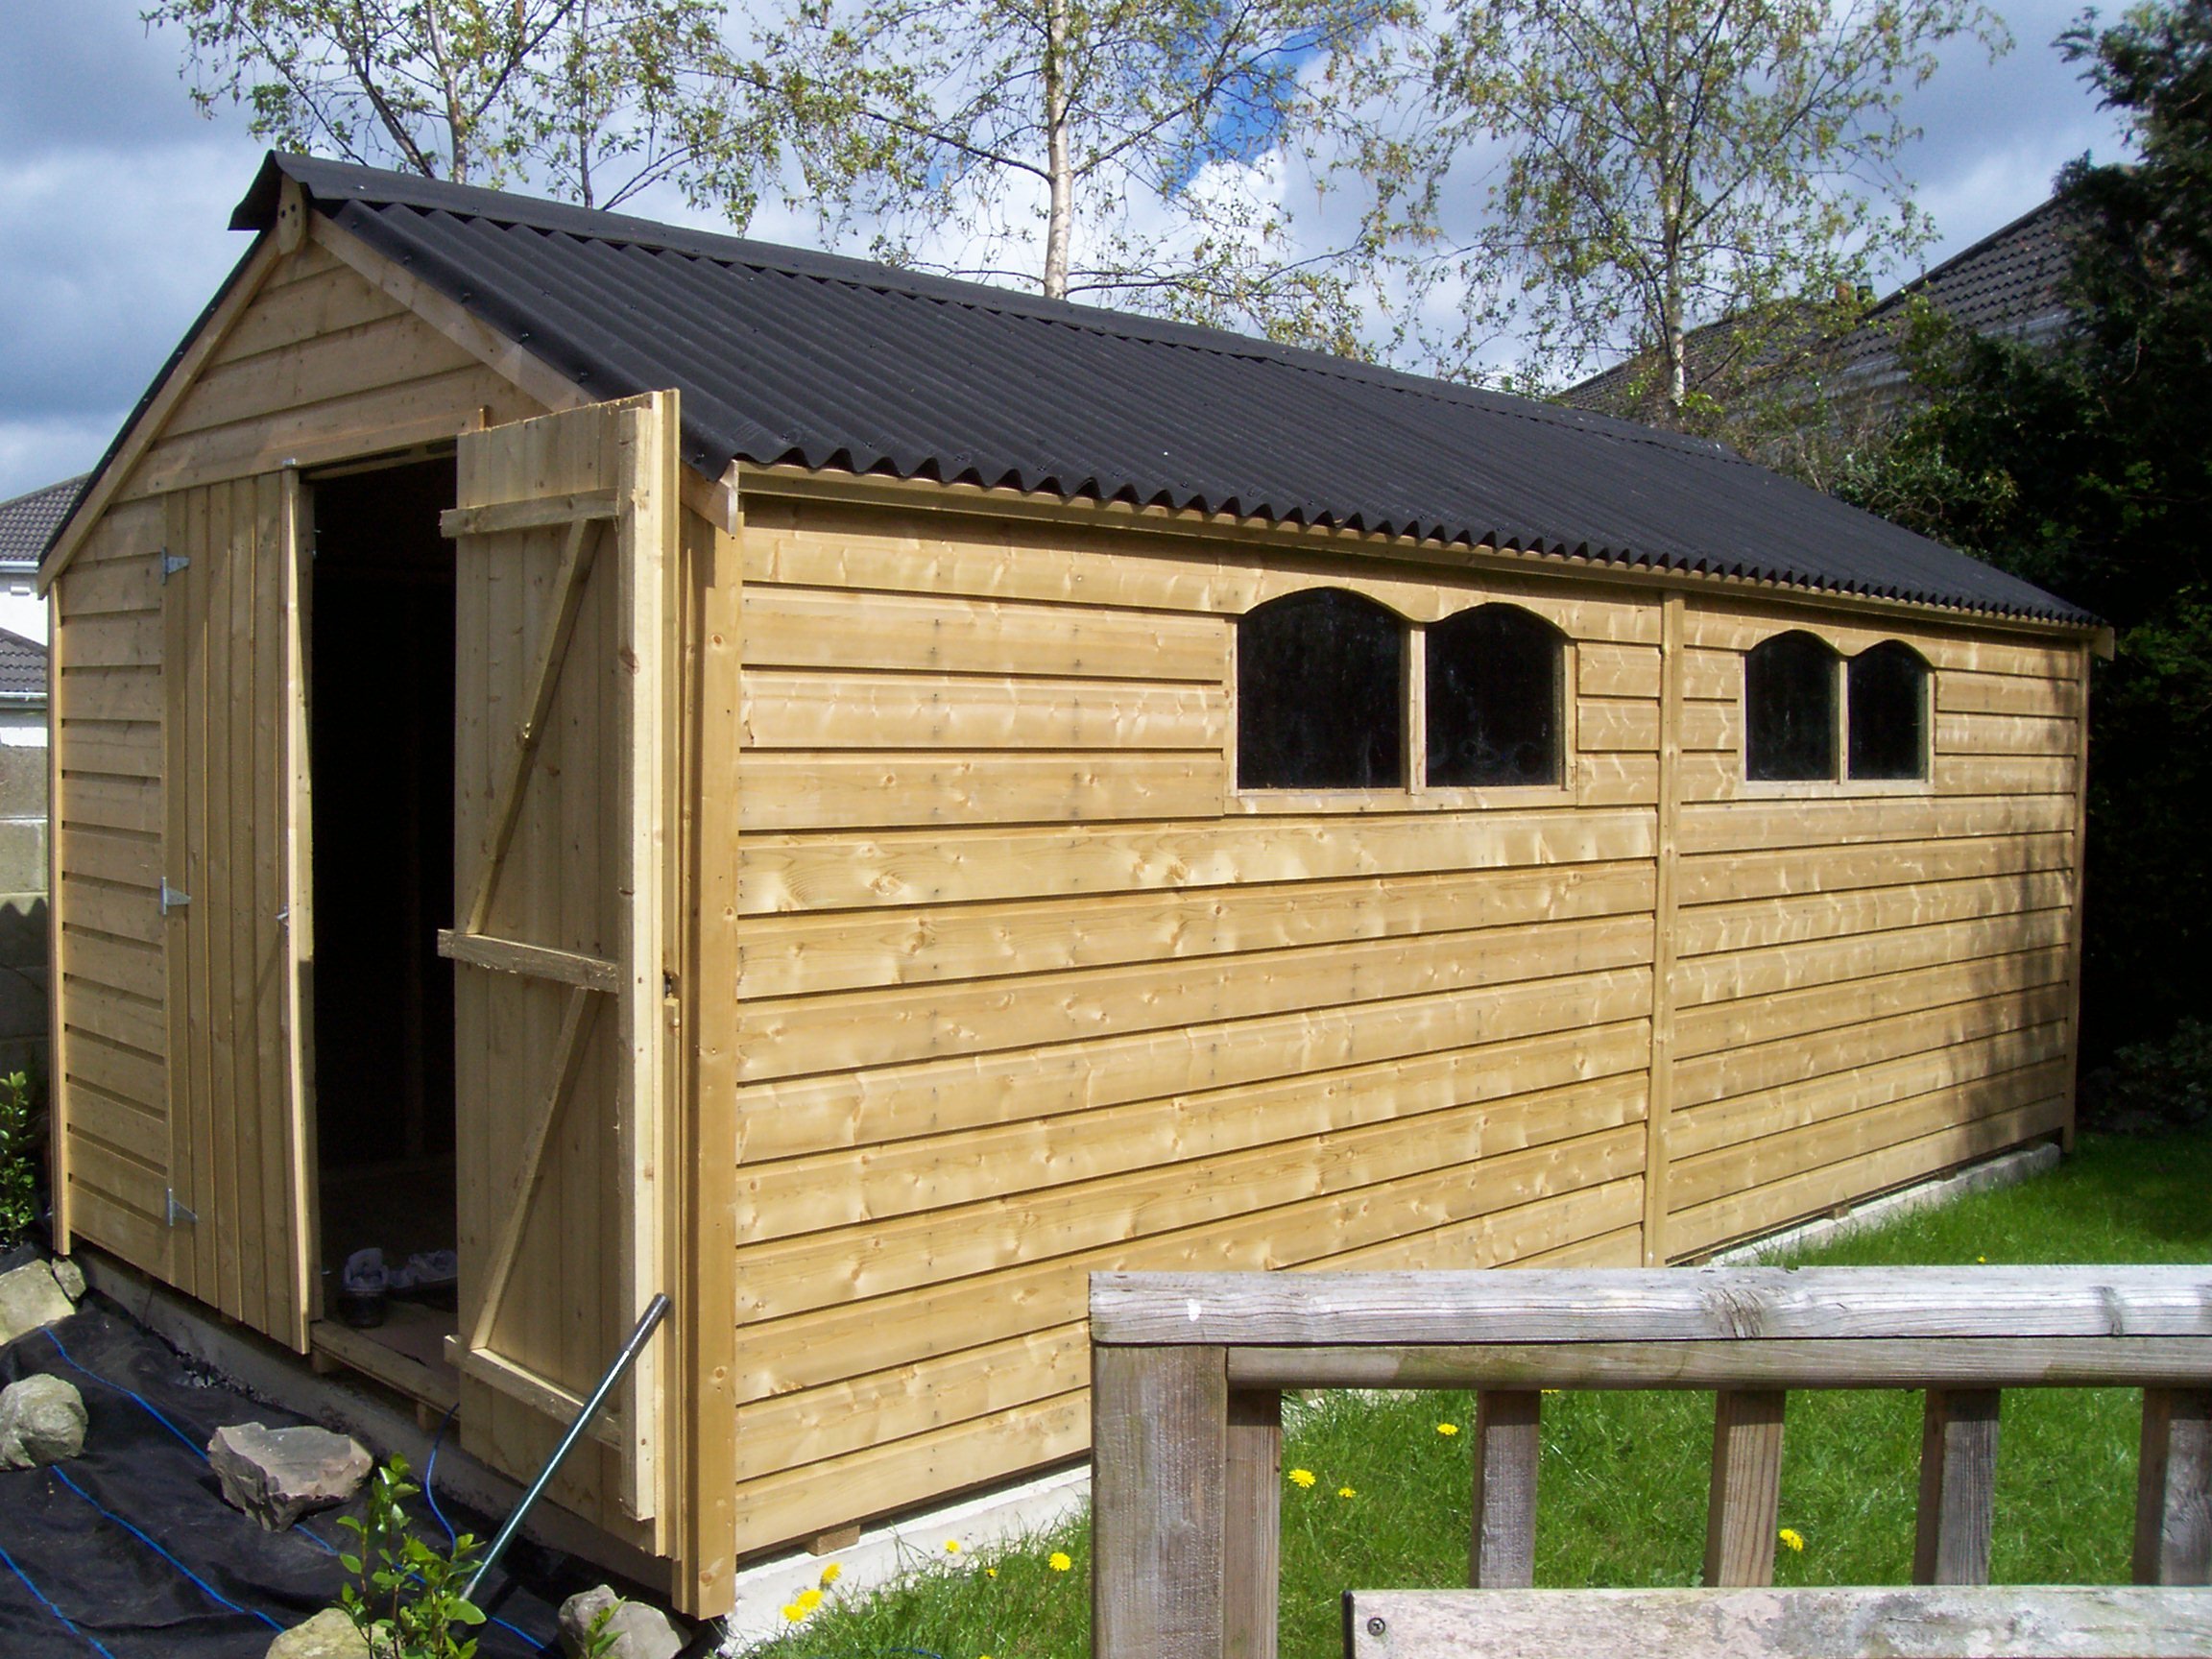
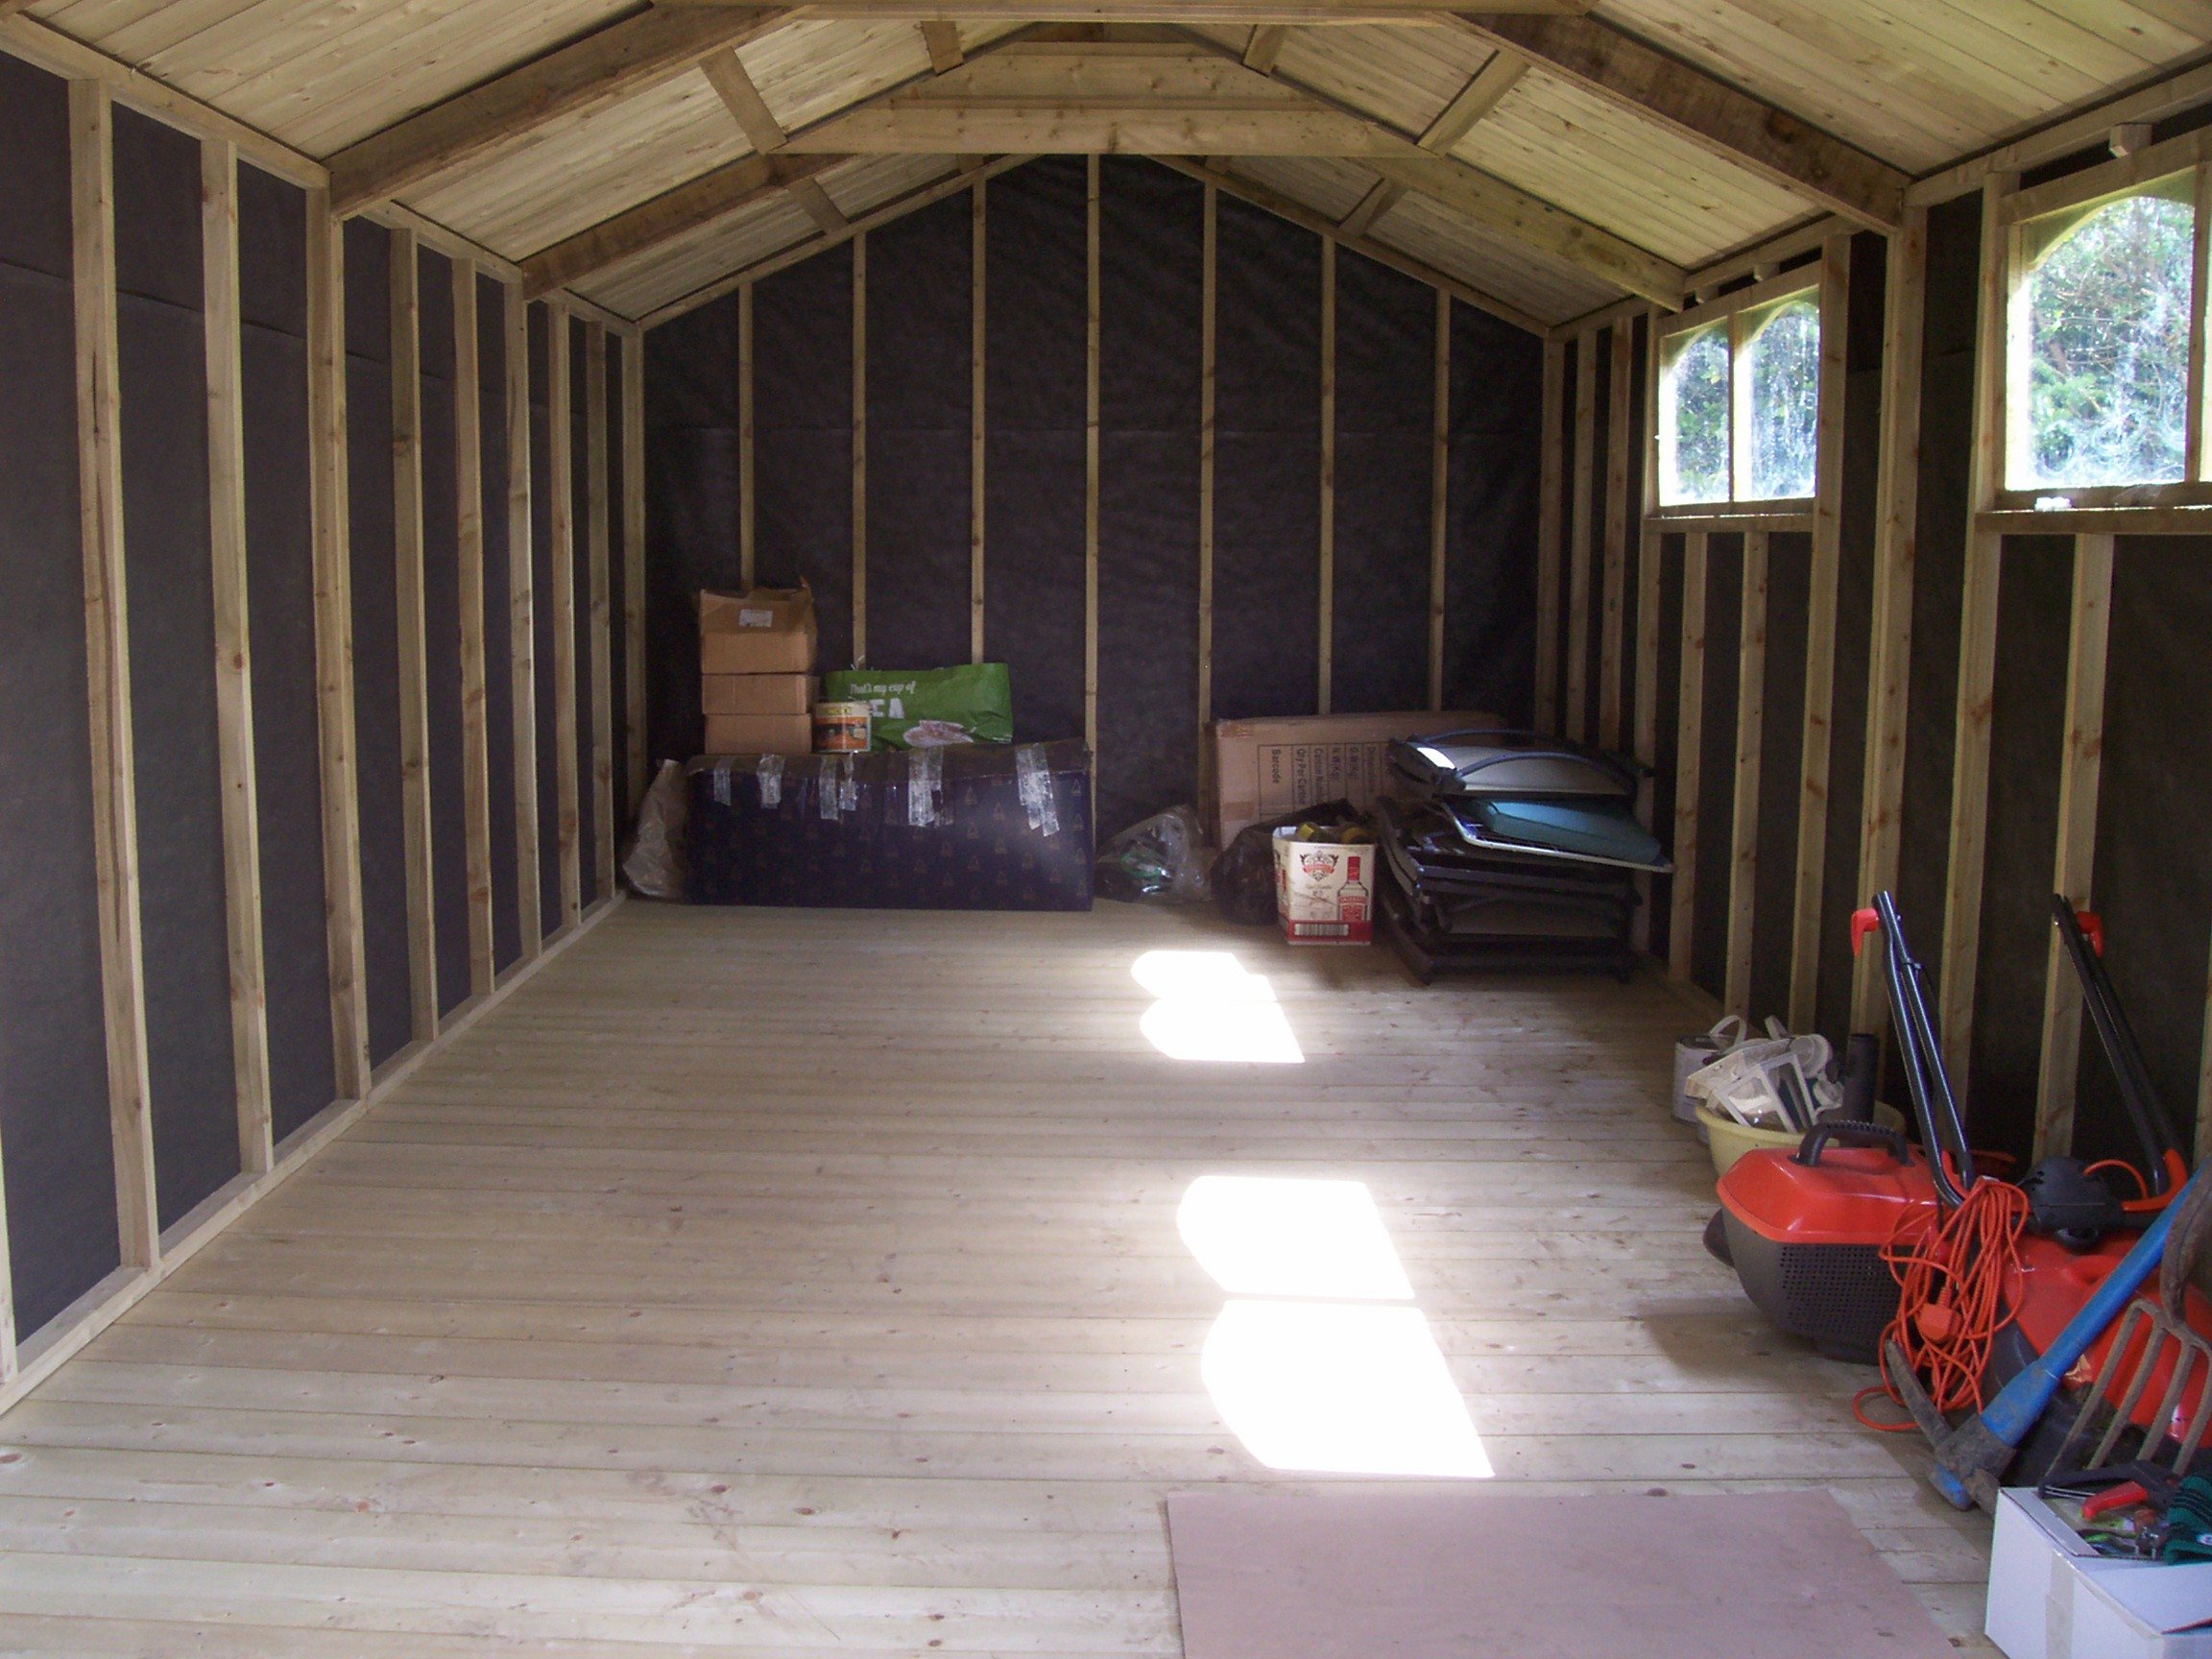
Hi guys. So after spending the last number of years running trains on my Dad's layout, I finally gave in to temptation a while back and decided to put a plan in place to make some sort of start on a layout of my own. So this is the first of what will hopefully be many more updates from Petersbridge over the coming month's and beyond. But before anything else the layout obviously needed a home. Here's the progress to date... First thing to do was submit planning permission to her indoors, and after spending a week or so convincing her that the back garden wouldn't be completely ruined with what I wanted to plonk into it (plus some heavy bribery) permission was eventually granted. With the green light given the next couple of weekends were spent clearing some small trees and hedging on one side of the garden. This hadn't been part of the original plan but after a rethink and some more measuring I felt I could gain a little more space and decided to go for it while the going was good. With the area now cleared and marked out, in went a concrete base. Again this wasn't originally planned and was another added cost but I felt long term it was the right way to go considering the size of the frame going in and the problems you can face with damp etc further down the line. With the hard graft now out of the way and the concrete set I could finally make the call to have the new man cave delivered. Unfortunately, with one thing and another the only progress made since the pictures above were taken earlier this year is that the outside has had a couple of coats of paint. But its now back at the top of my to do list and my priority over the next few weeks is to insulate the interior and get some power connected before the winter really takes hold. Once this is done I can then start thinking about the baseboards. Obviously there's absolutely nothing to look at regarding a railway at the moment and some might even be thinking what's the point of the post? But I felt it was time to start the thread somewhere and I thought why not from the very beginning, from the ground up so to speak, and update from here on in. With regards to the layout itself I've plenty to be getting on with when it comes to various buildings and scenics etc without the need for the baseboards to be in place, so I will be cracking on with some of those smaller jobs over the coming weeks also.

- 135 replies
-
- 14
-

-

-
I'd advise against JB. More than likely it will end in disappointment once you find a flaw in the shade of livery supplied after purchase
-
One of those little things that can often be overlooked on a layout, but make all the difference when they look as good as that. But maybe that's just me, I've got a bit of a thing for Buffer Stops
-
More of a tippex man myself. But I have to say the black with yellow panels is a rather attractive livery, even though way outside my preferred era.
-
Couple of nice little projects on the go there Robert. The curtain side pallet cement has always been one of my favourites so looking forward to watching these progress.
-
That's a beauty Noel. I always see the 2600 lurking in the background in alot of your posts. Nice to see it out and about.
-
The finishing touches with the handrails etc have made all the difference Noel. Very impressive looking model, great job
-
Ordered mine today. IR livery with dayglow panels. Happy as a pig in s***. Stand looked seriously impressive aswell guys.
-
Absolutely fantastic news lads. What's been achieved to date has been incredible, but this is on another level. Plus there's the added bonus that this might finally stop Noel dropping A Class hints every 3 or 4 posts
-
Very busy evening at the Junction Noel. Love the shot of 221 sitting at the MPD.
-
Spot on JB, they'll be well worth the wait no matter how long it takes. I know what I'm blowing my Confirmation money on when they finally arrive.
-
Unfortunately seeing something like this doesn't surprise nowadays. Some of the driving I witness on a daily basis along with their attitude to the rules of the road is beyond belief. Luckily these type of planks are in the minority.
-
Last pic does it for me. Top notch as always.
-
Going by the releases to date these will be well worth the wait. Yet again this just goes to show that IRM won't just throw anything out there unless it's of the highest quality. Really looking forward to adding these to my ballast wagons.
-
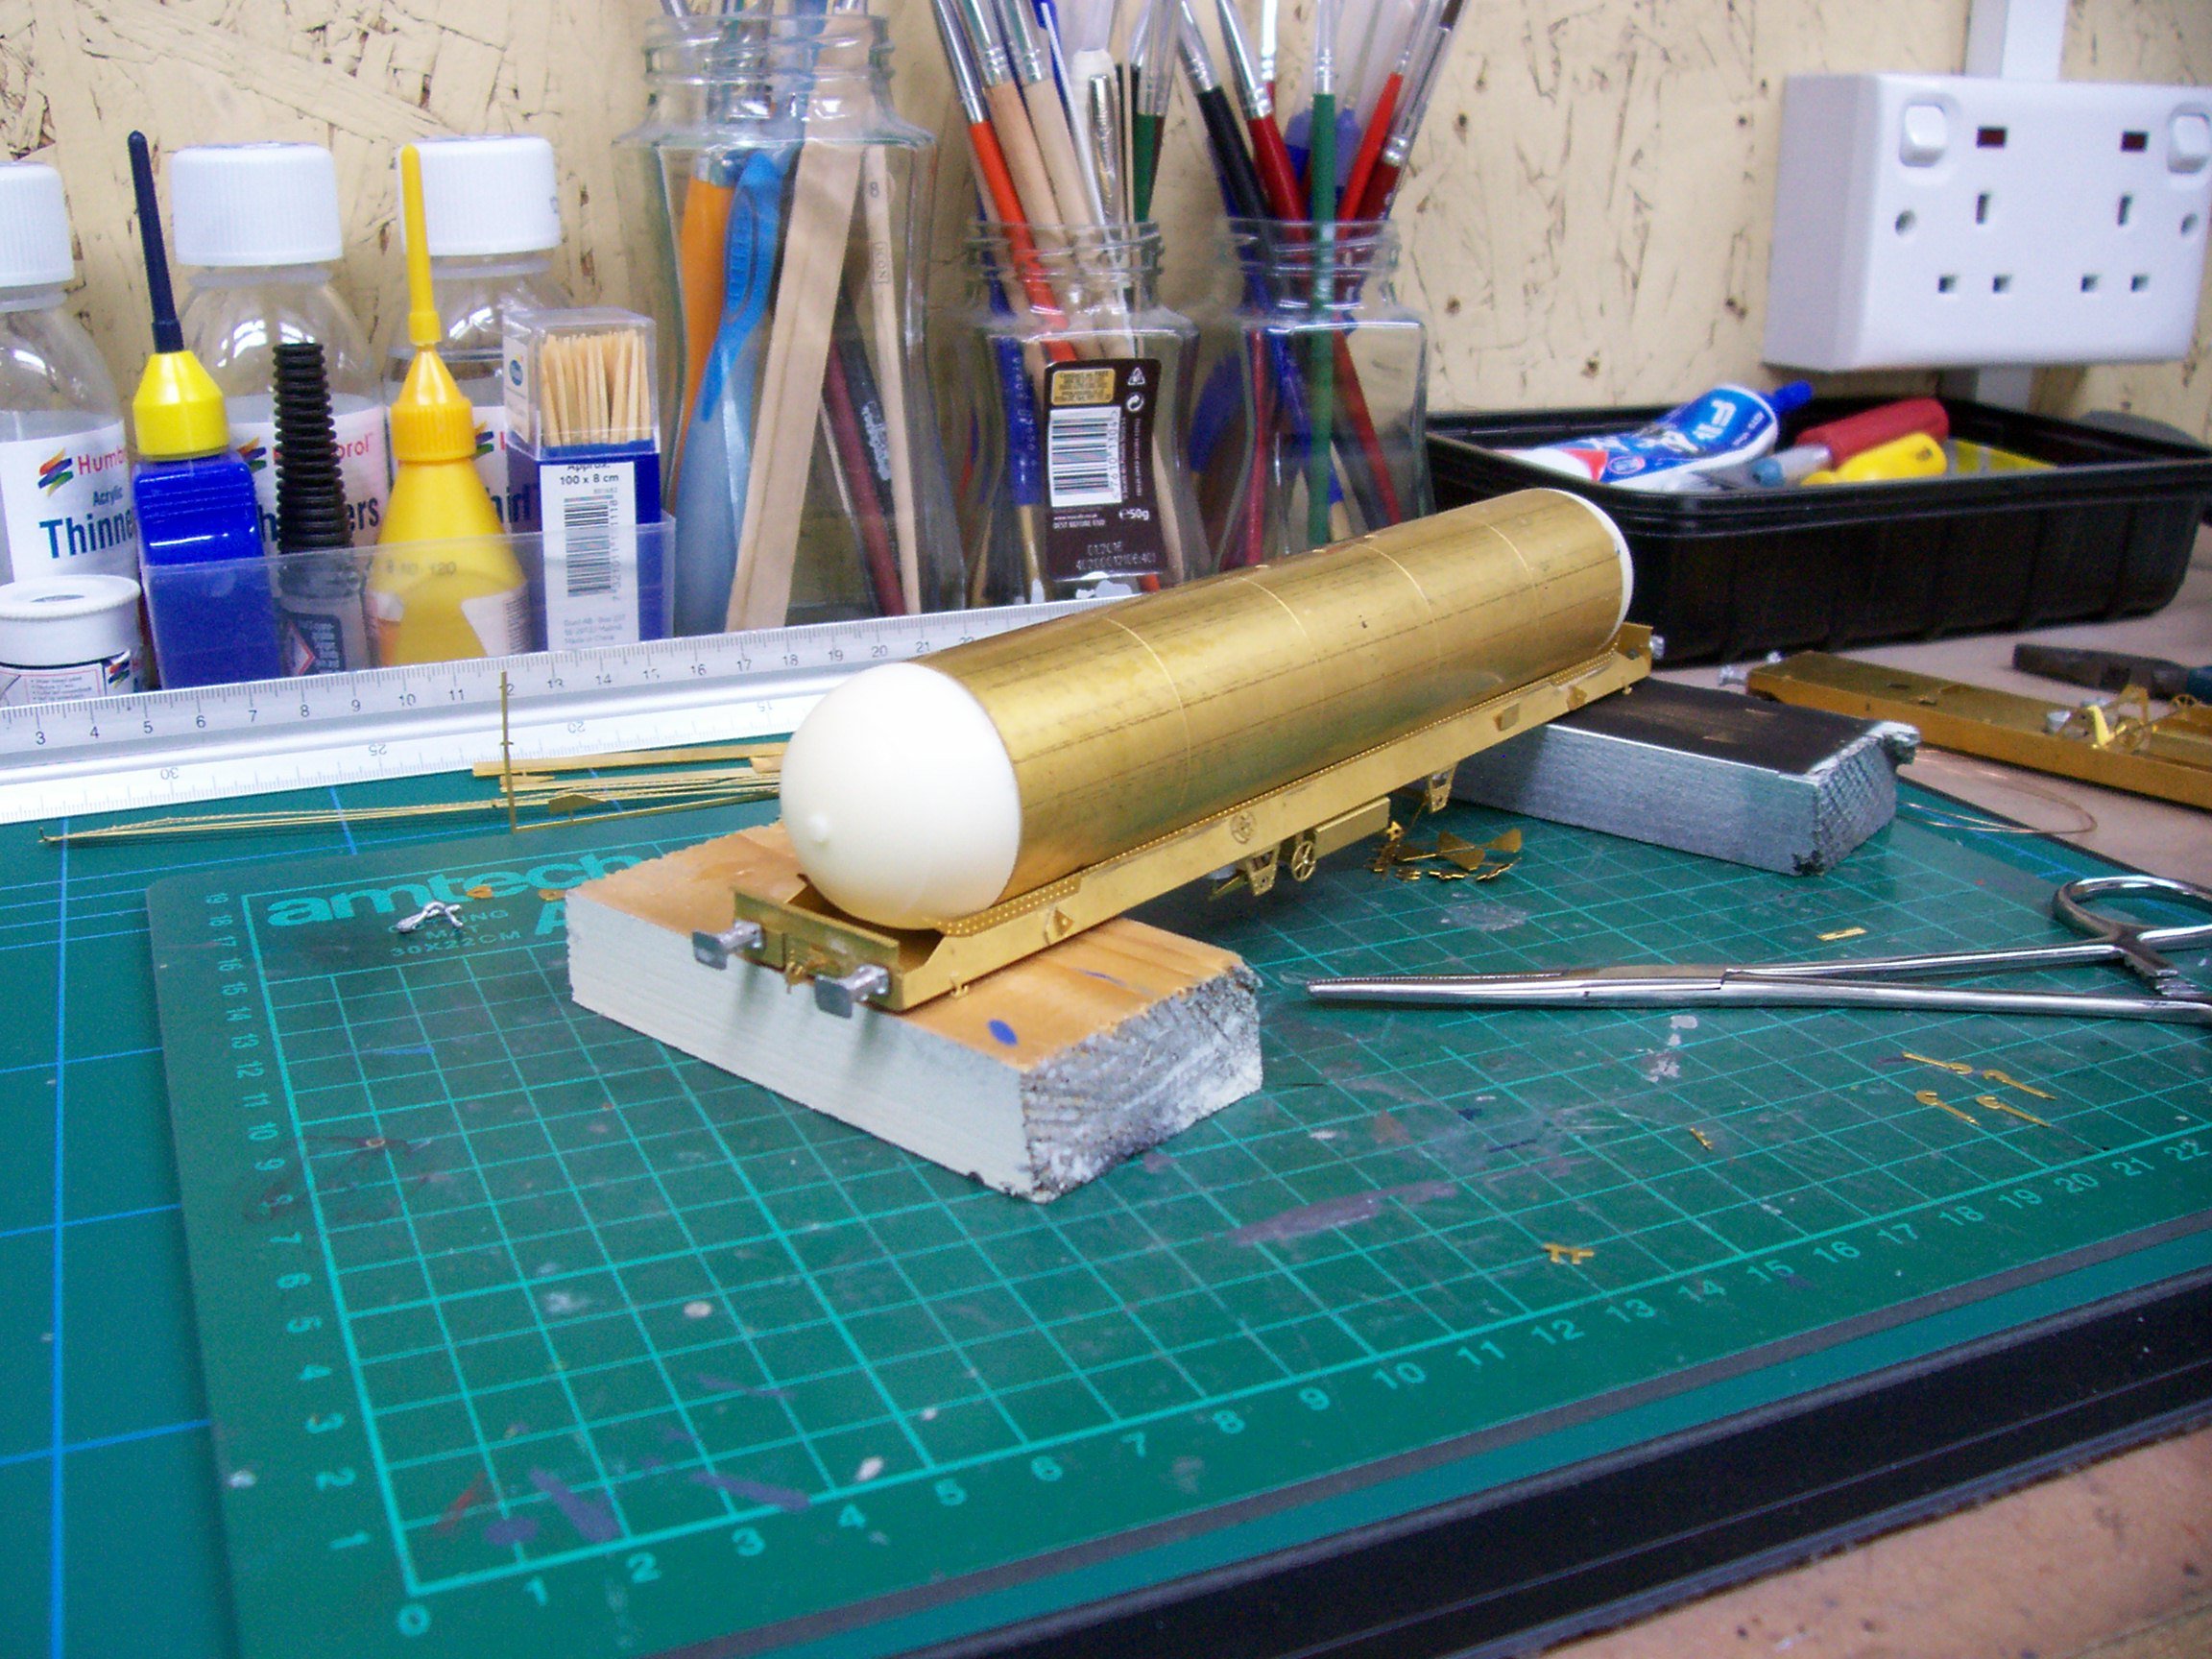
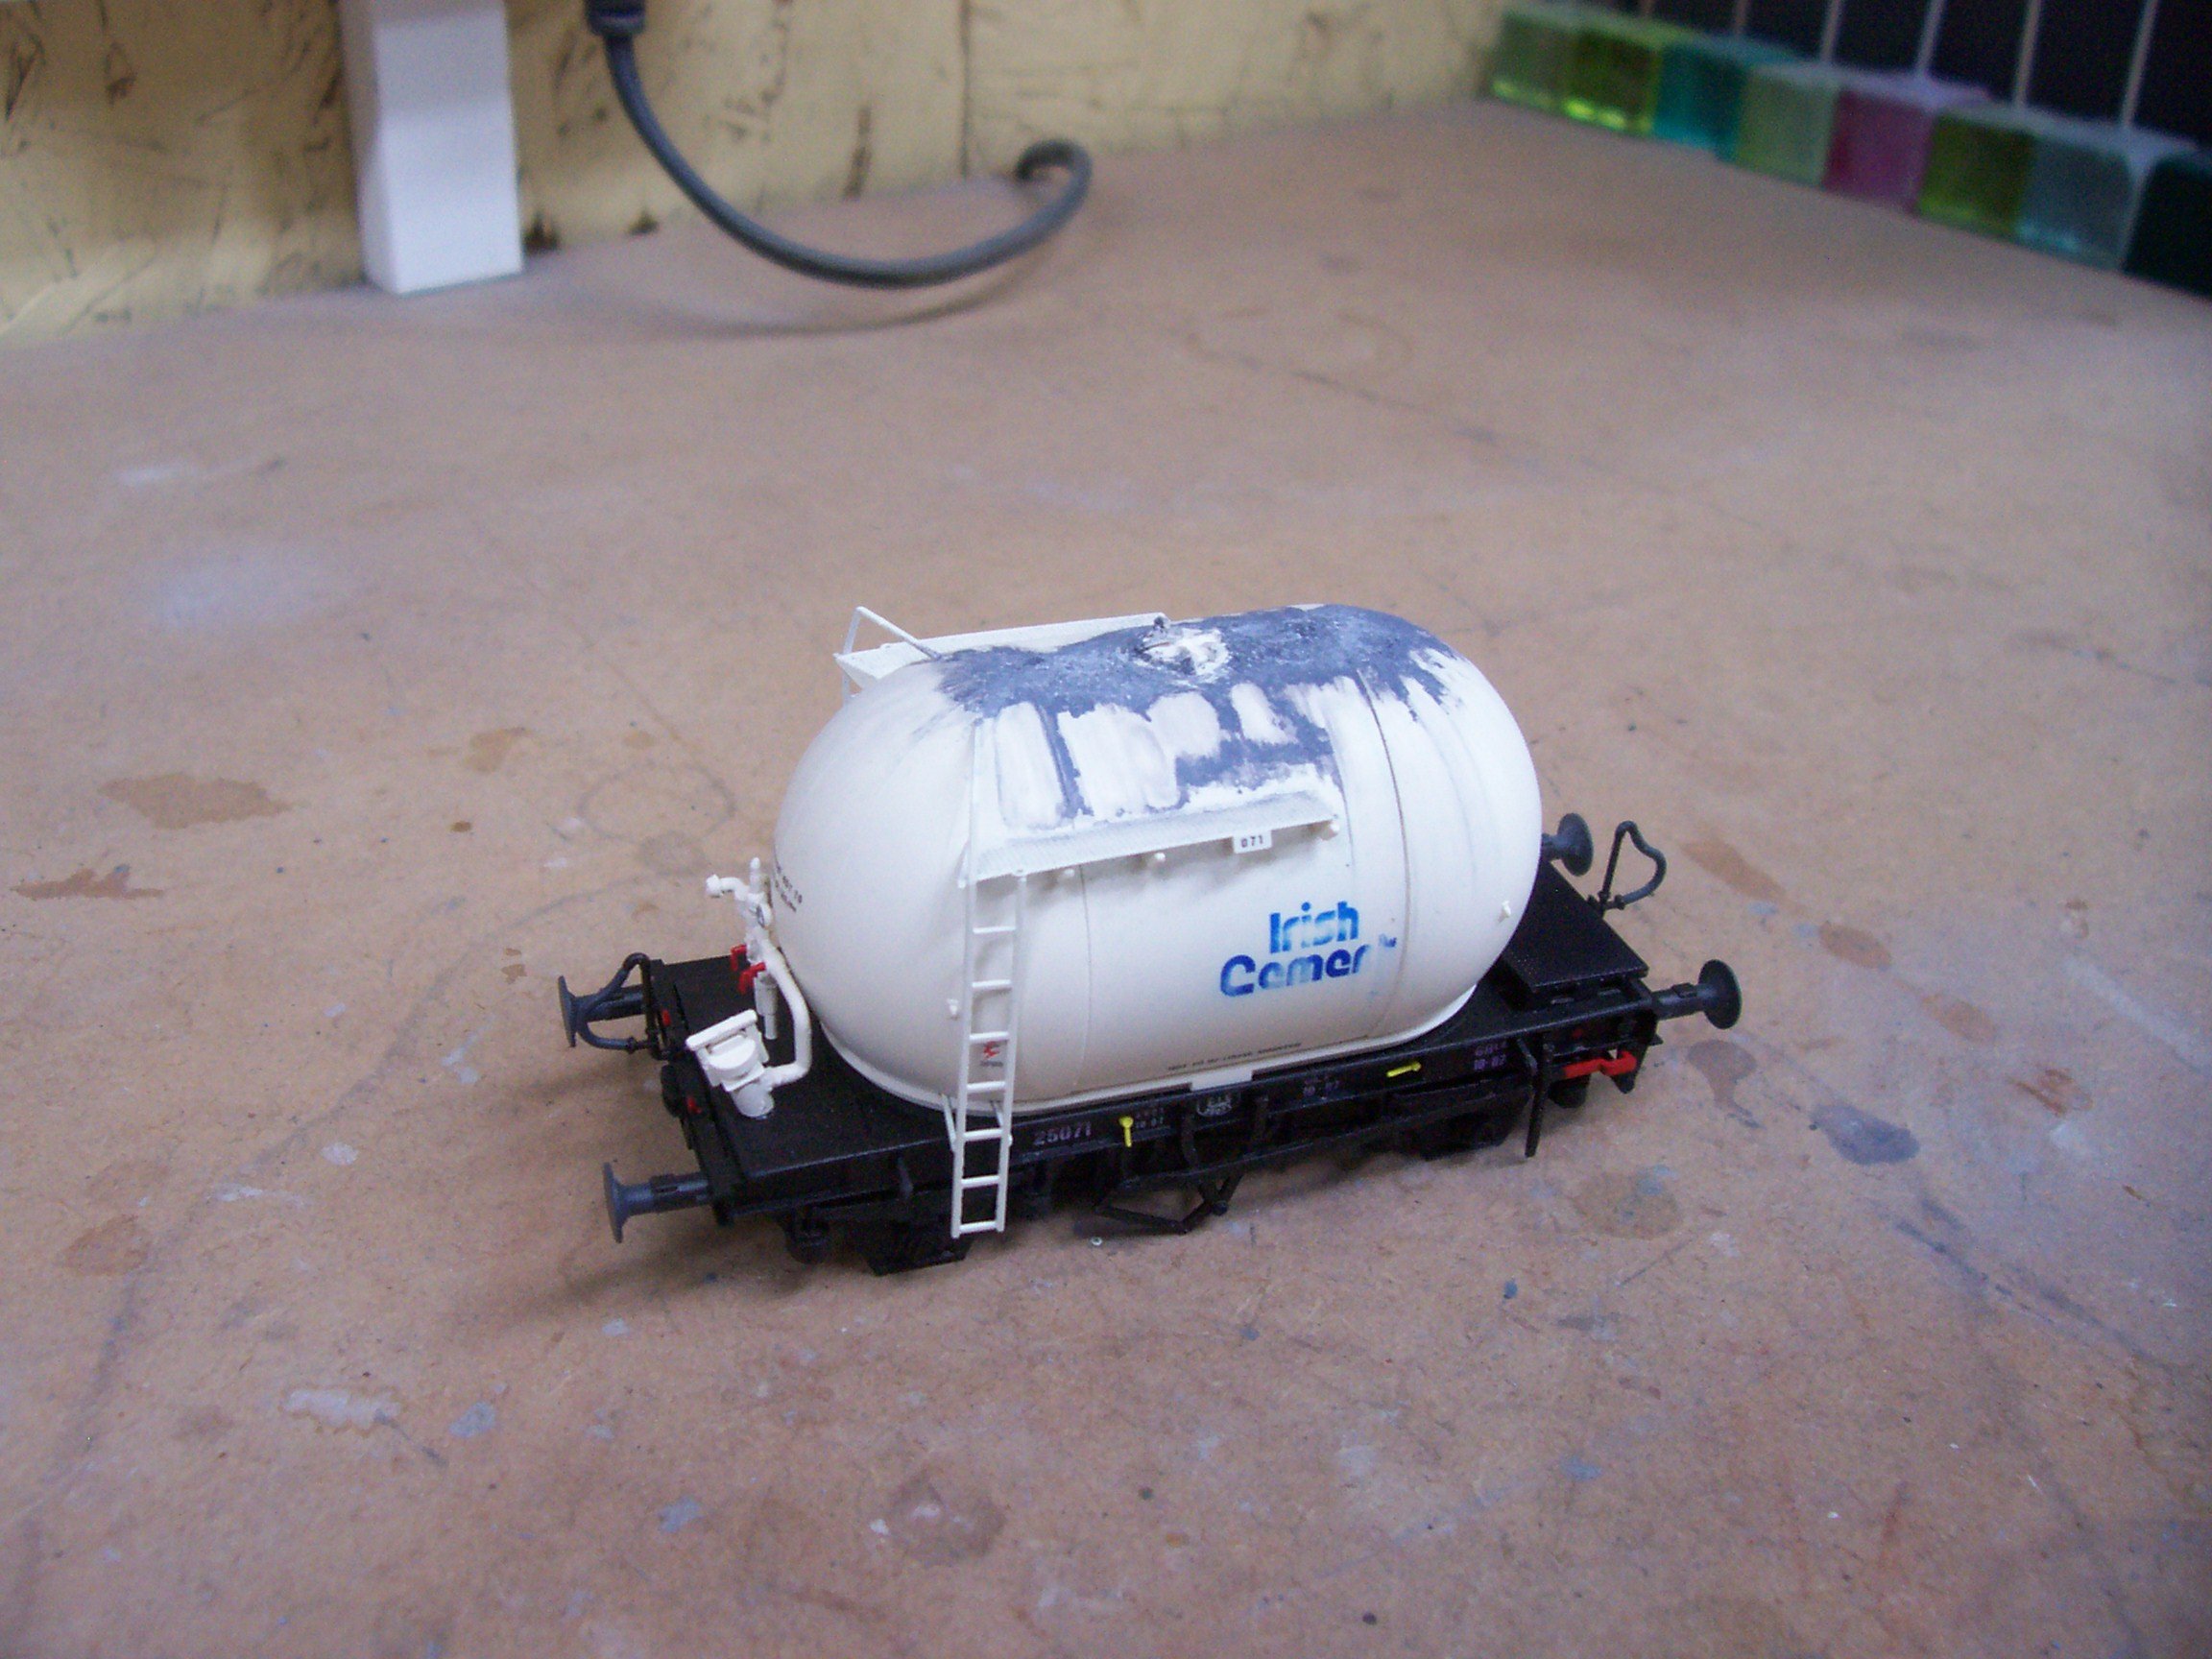
Progress of sorts on the Ammonias...
-
Cheers Robert. Yes the powders seem to work well when trying to achieve that caked on lumpy appearance. All going to plan it will still be visible after airbrushing etc is eventually finished.
-
The logos have now been removed on all but 4 of the bubbles, so I've moved on to adding some cement spillage to the top of the tanks. This was made up from a mixture of Humbrol weathering powders and Matt Cote. When the mix had dried I began removing it until I got a look I was happy with. It was then fixed in place with matt varnish.
-
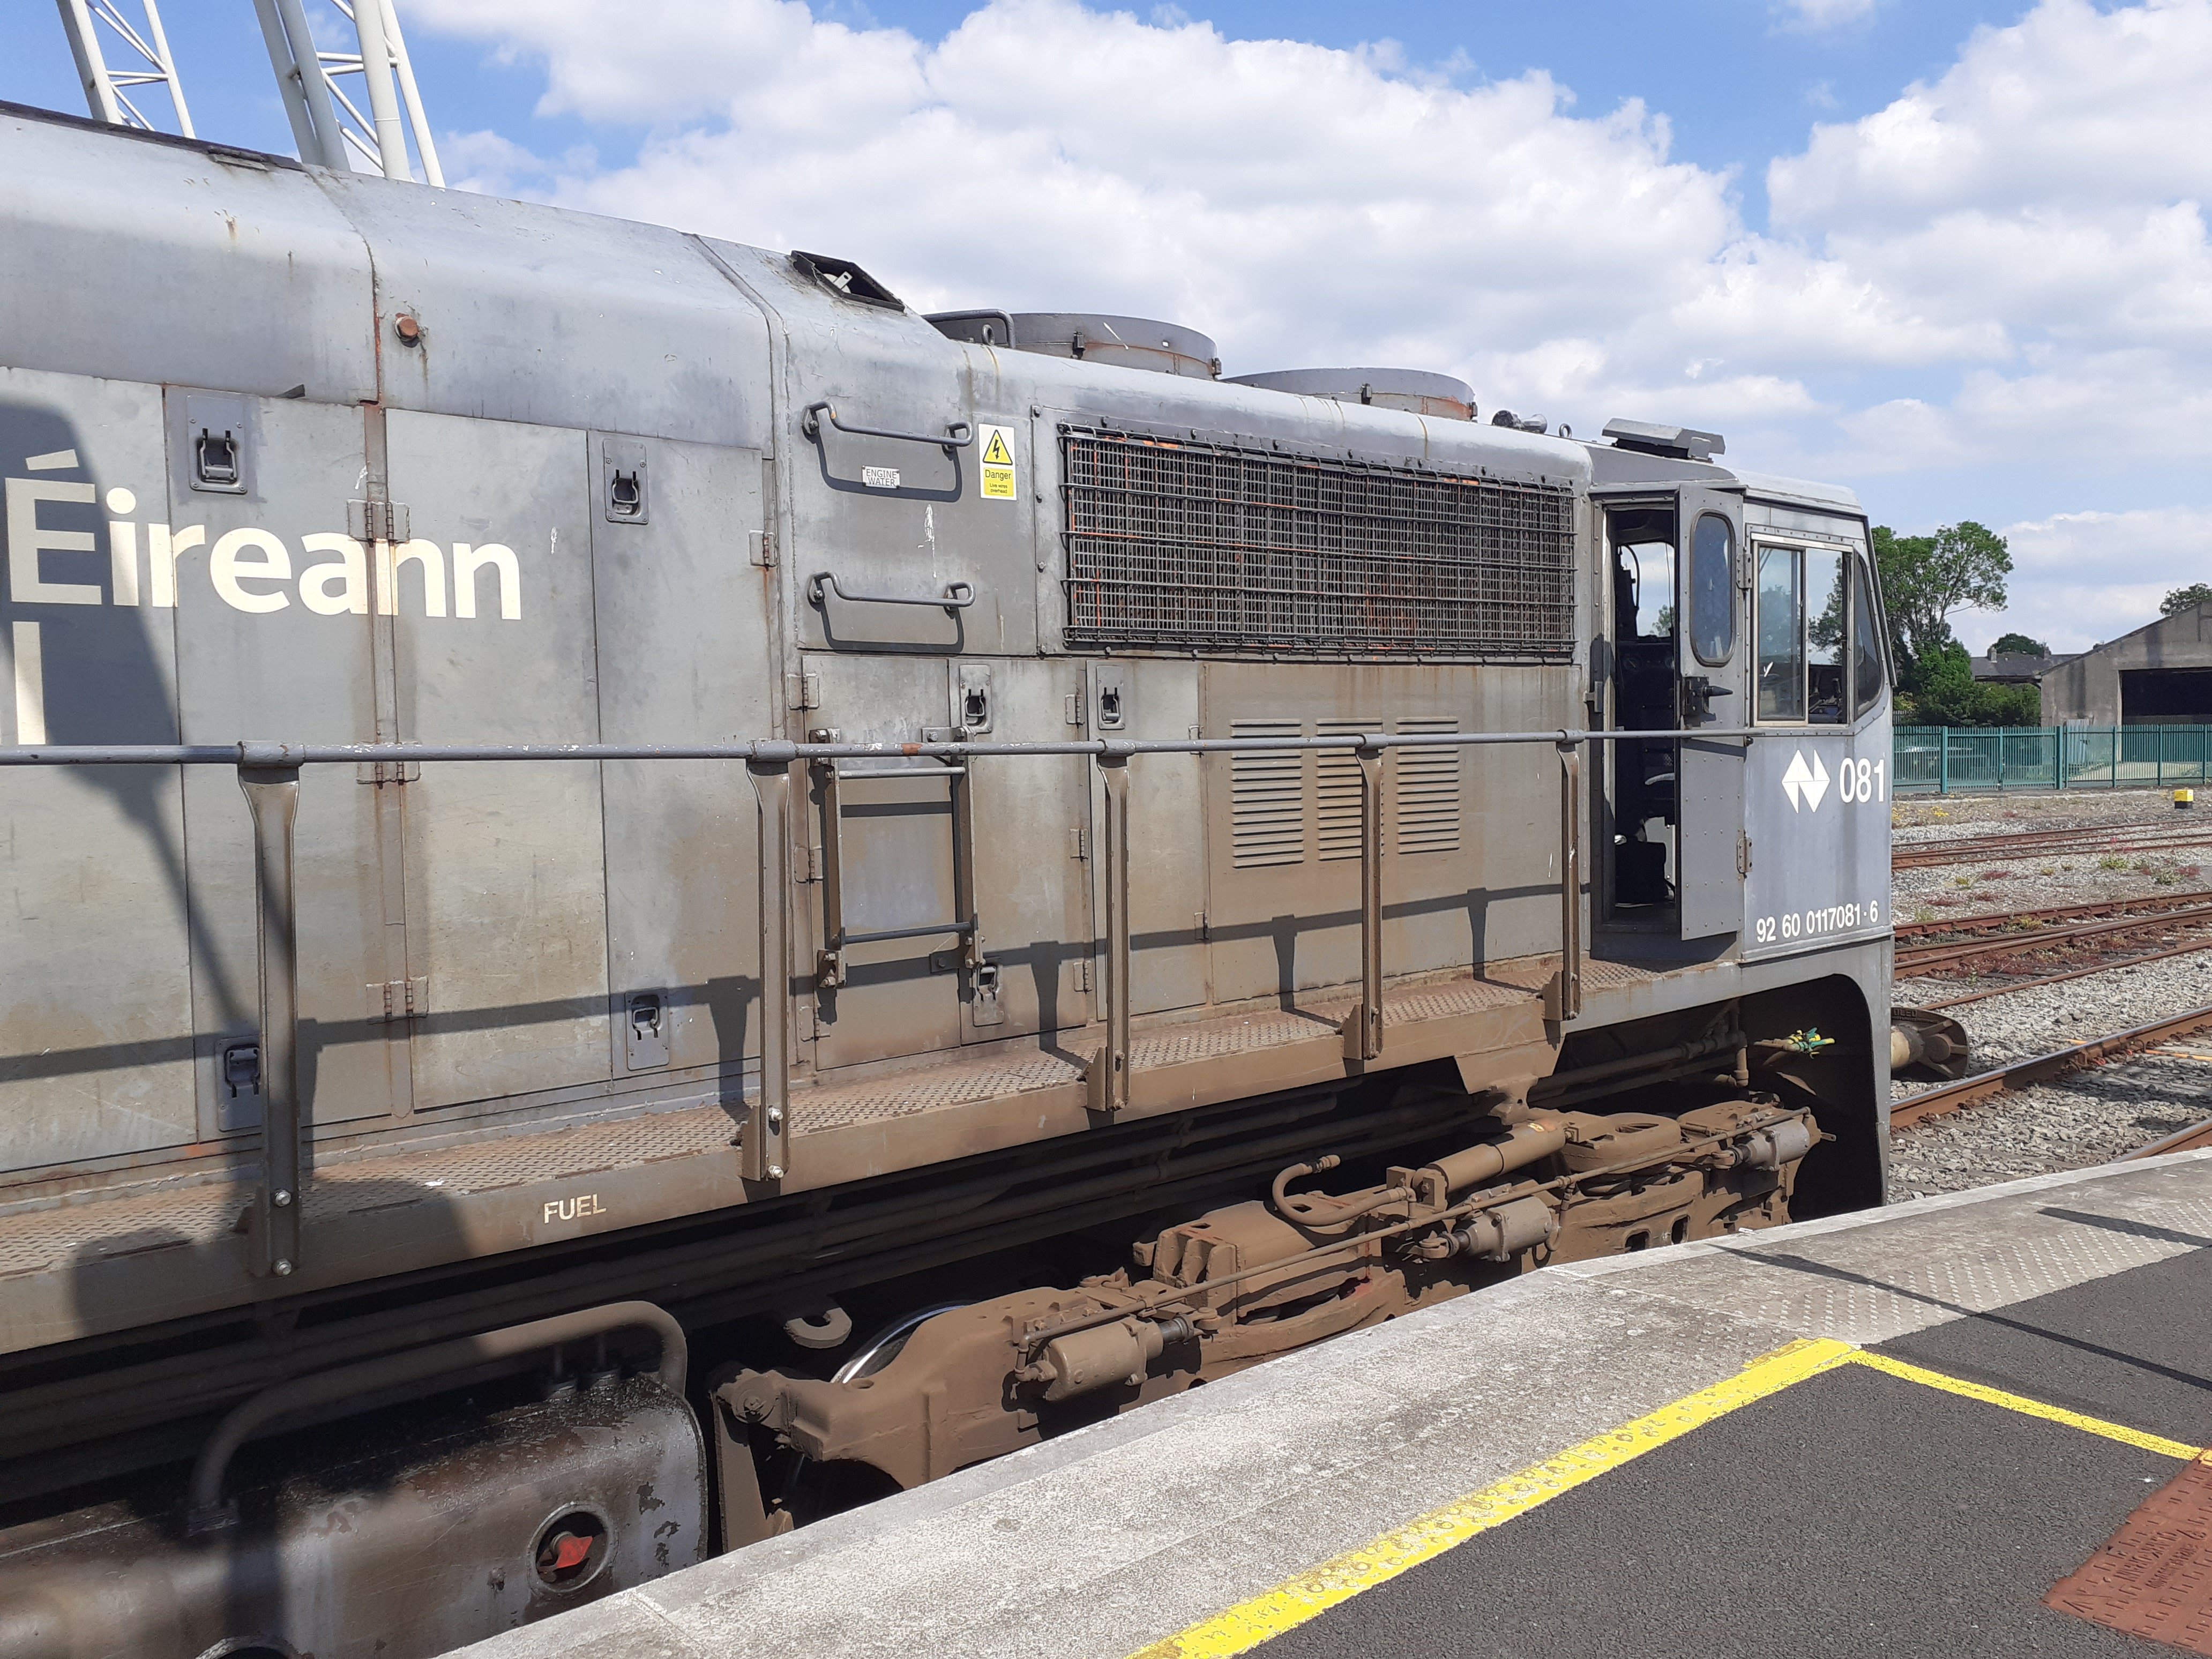
Really interesting photos there Railer and great info to go with them. I know they're not everyone's cup of tea but I've always had a soft spot for the 201's. Reliability issues never helped over the years I know, but it's such a pity they never got close to the success of their predecessors.
-
Belmond - Haul only or push pull?
JasonB replied to Noel's topic in What's happening on the network?
Even better Noel -
Belmond - Haul only or push pull?
JasonB replied to Noel's topic in What's happening on the network?
Lovely shots Noel. I'd gladly sit there with a pint of the black stuff looking out at that.