
JasonB
-
Posts
1,528 -
Joined
-
Last visited
-
Days Won
34
Content Type
Profiles
Forums
Events
Gallery
Blogs
Everything posted by JasonB
-
Tony, this is as close as you'll get from Wills. I would recommend you go with Broithe's suggestion and scribe some blank sheet to get the look your after.

-
That reply has me even more confused than I was previously. I'll say no more. Anyway back on topic, really looking forward to the arrival of these beauties and finally getting to hook them up to my ballast wagons. To have a completed ballast train of such high quality running on our layouts is a dream come true for alot of us on here. It's just getting better and better.
-
This layout continues to amaze me.
-
Precision at its best. Top notch modelling as always Popeye
-
A word of advice for Noel. Maybe now would be a good time to hang up that piece of ladies clothing you're prone to wearing. I know you say they never will, but just incase these little yellow beauties do manage to blow your skirt up, not having it on at the time will save us the trauma of seeing what's underneath.
-
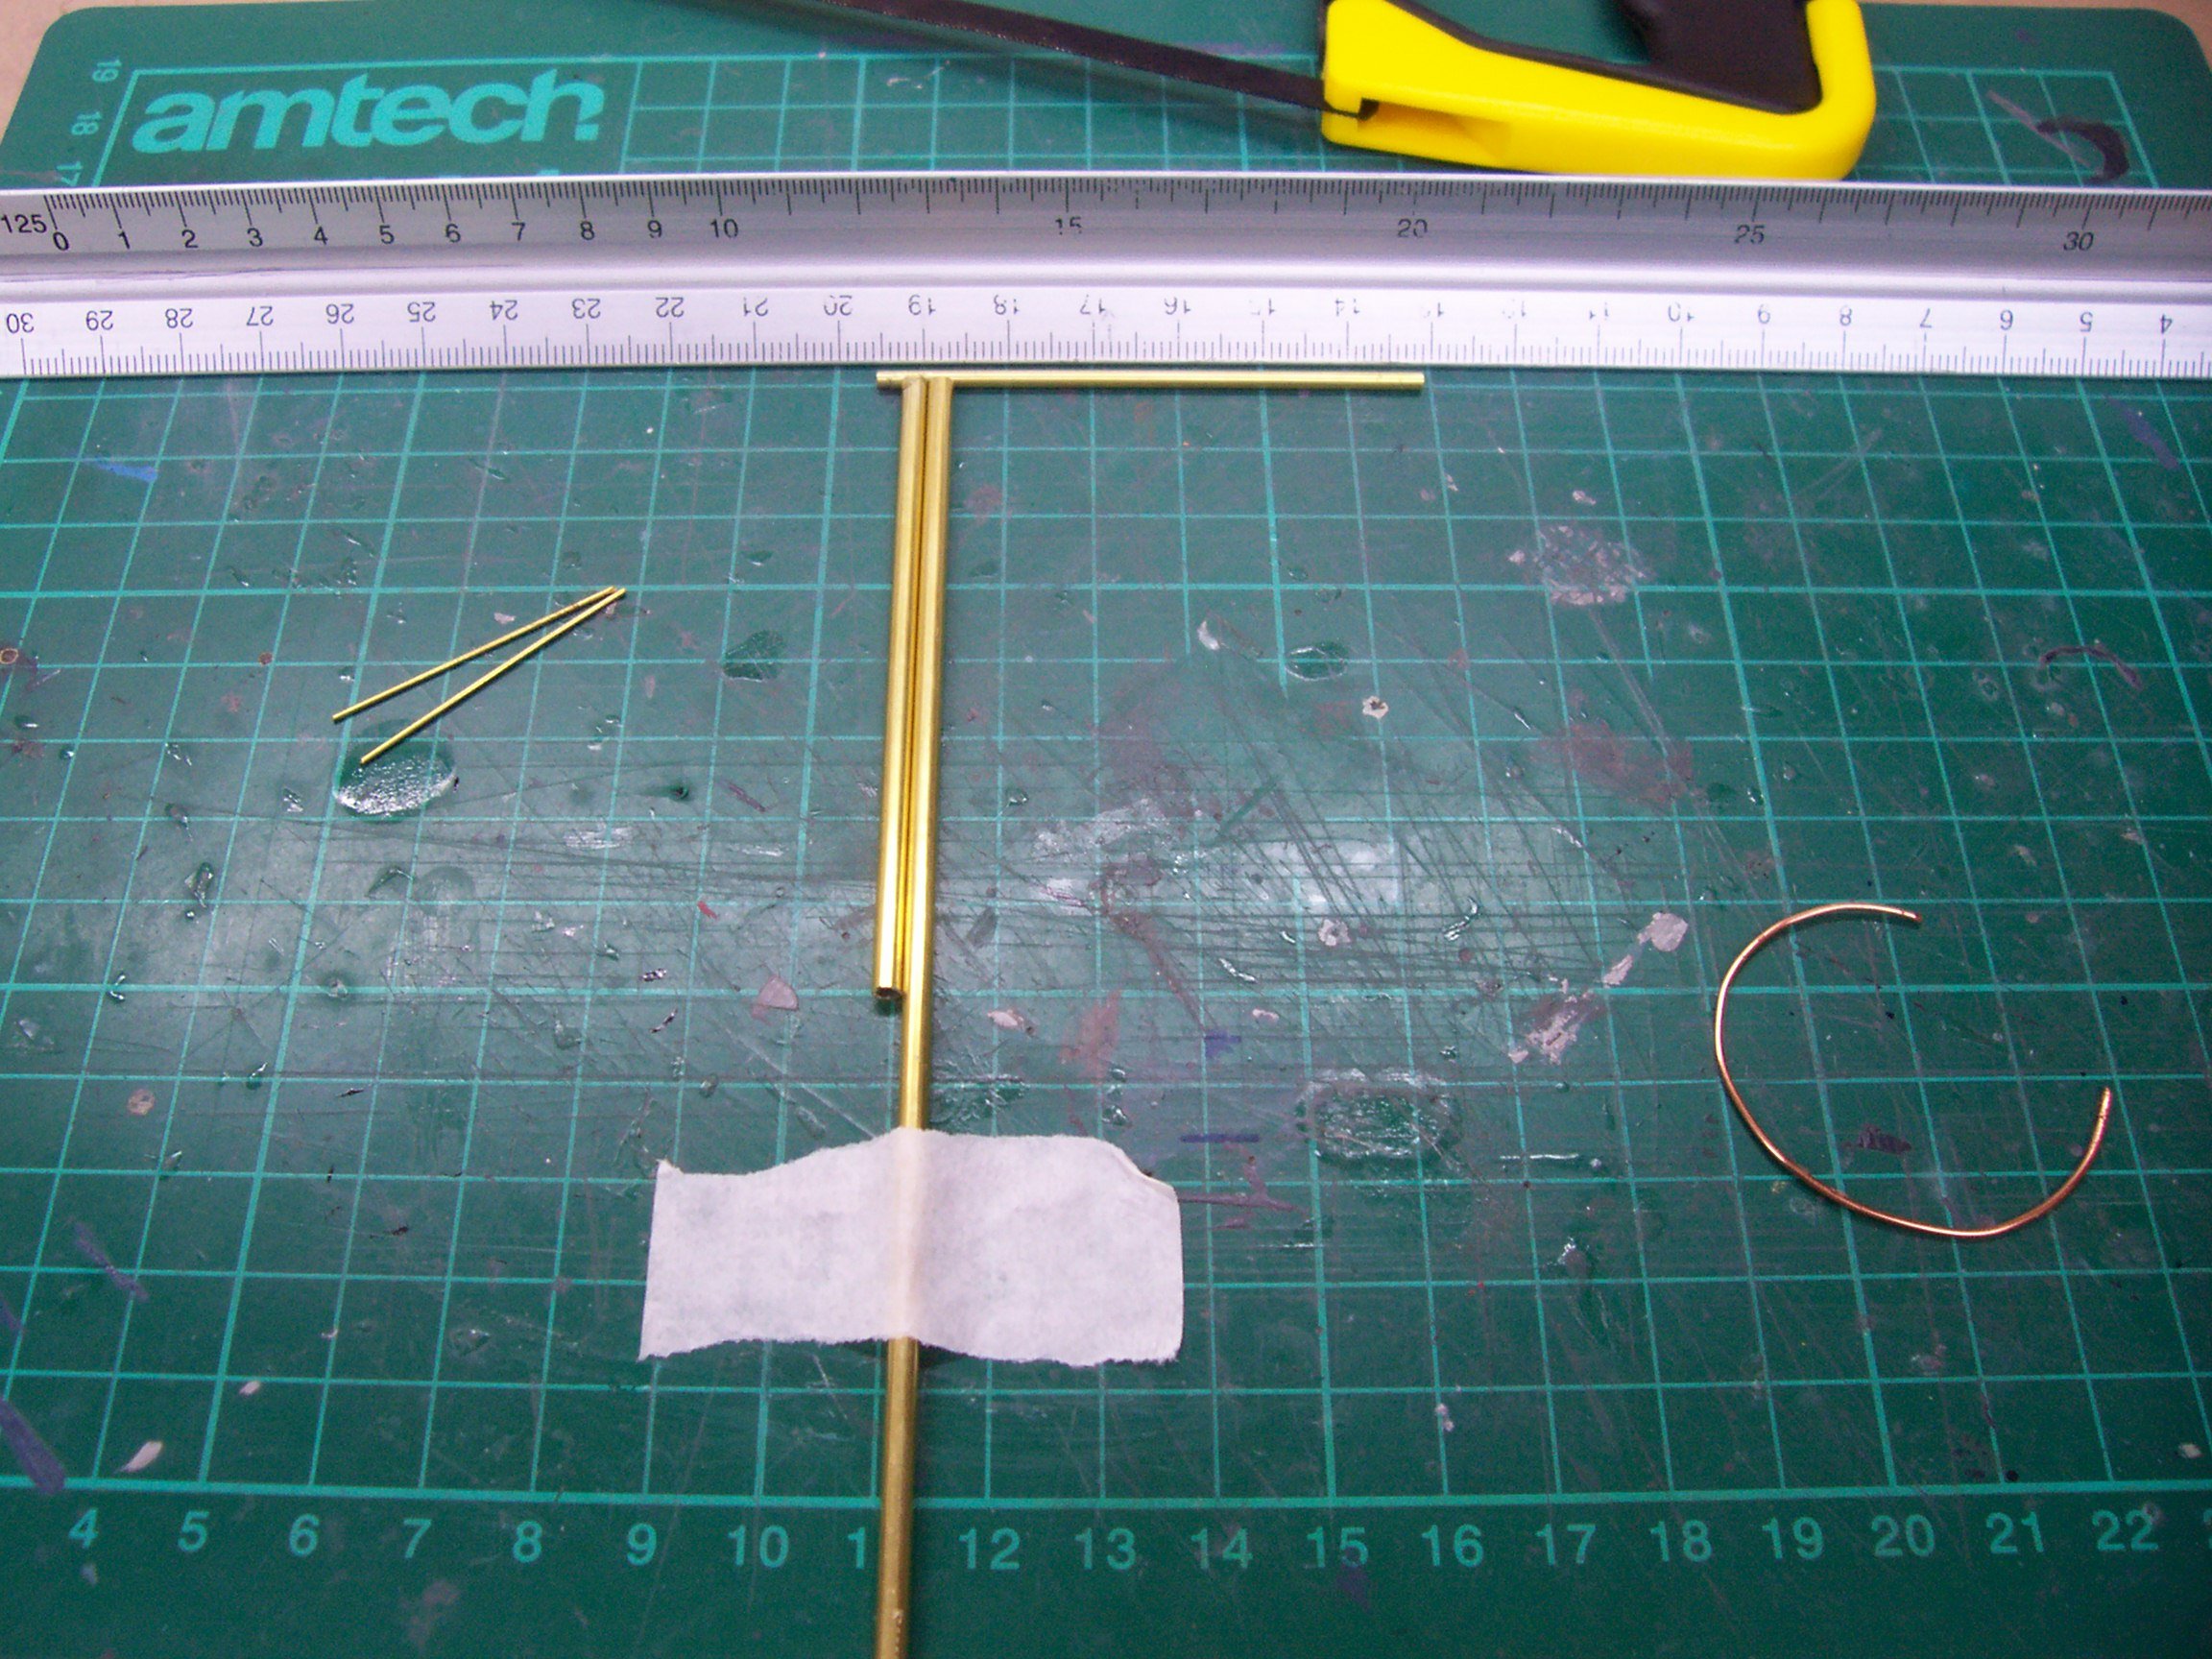
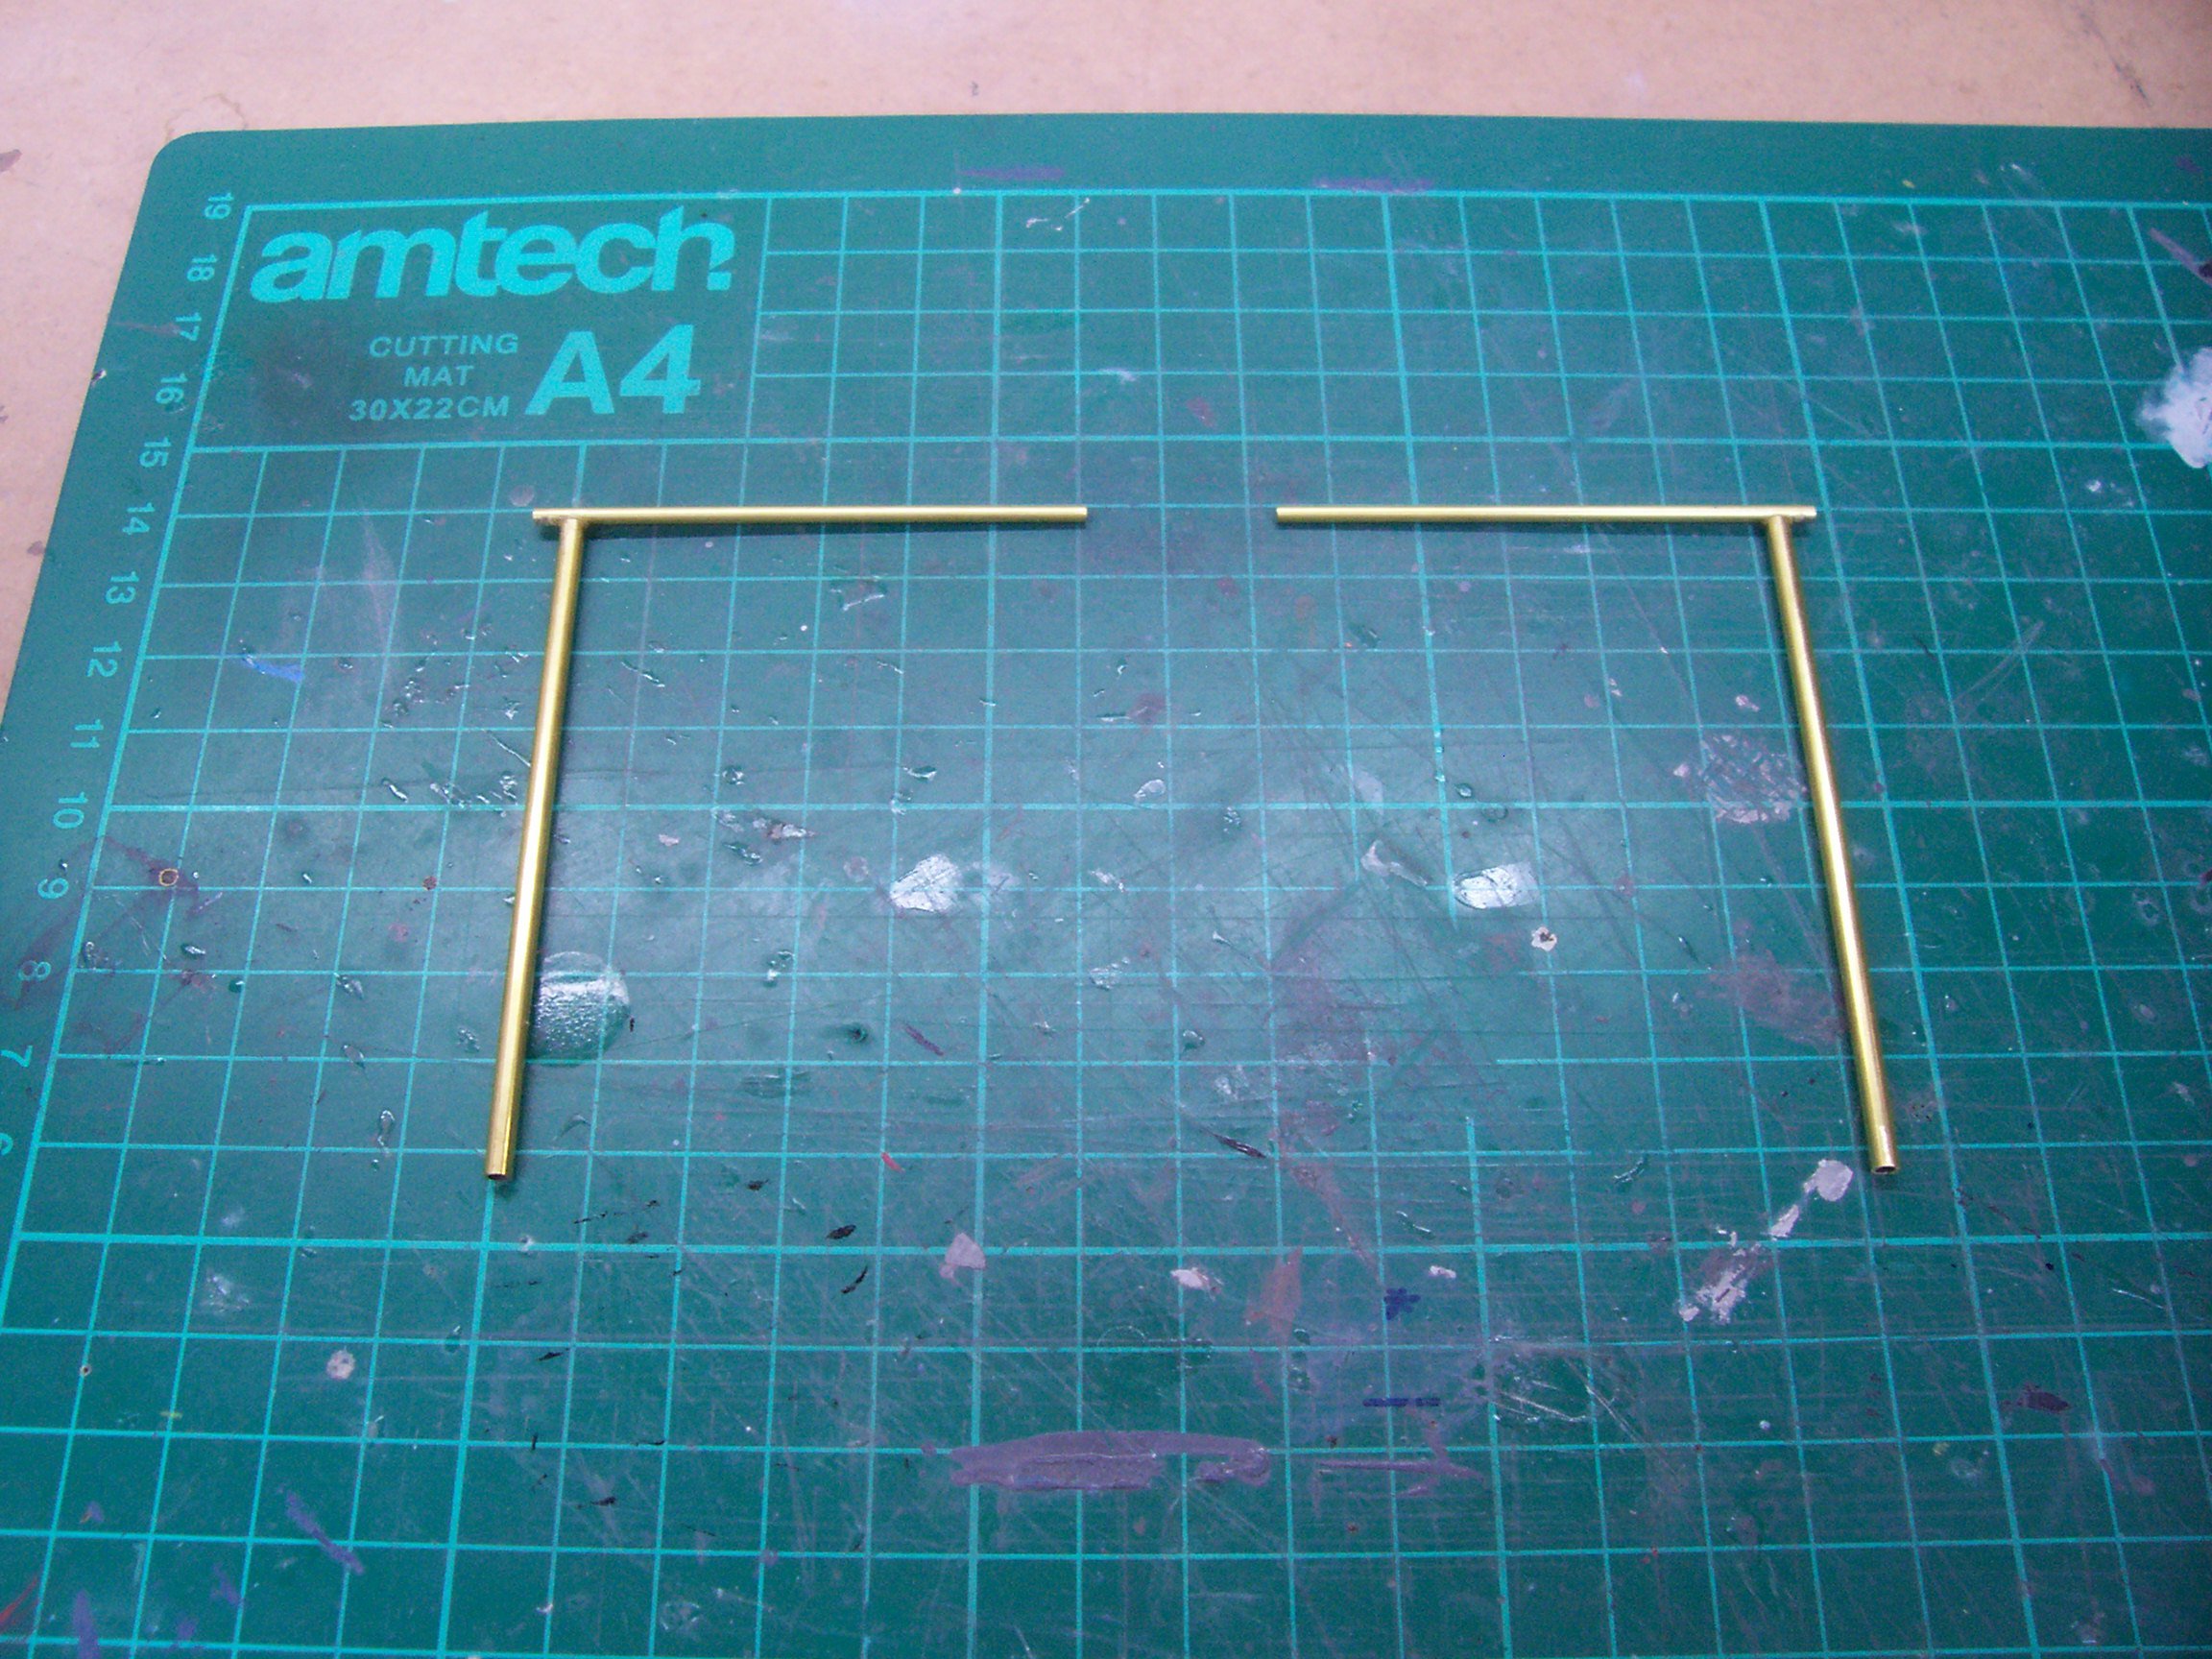
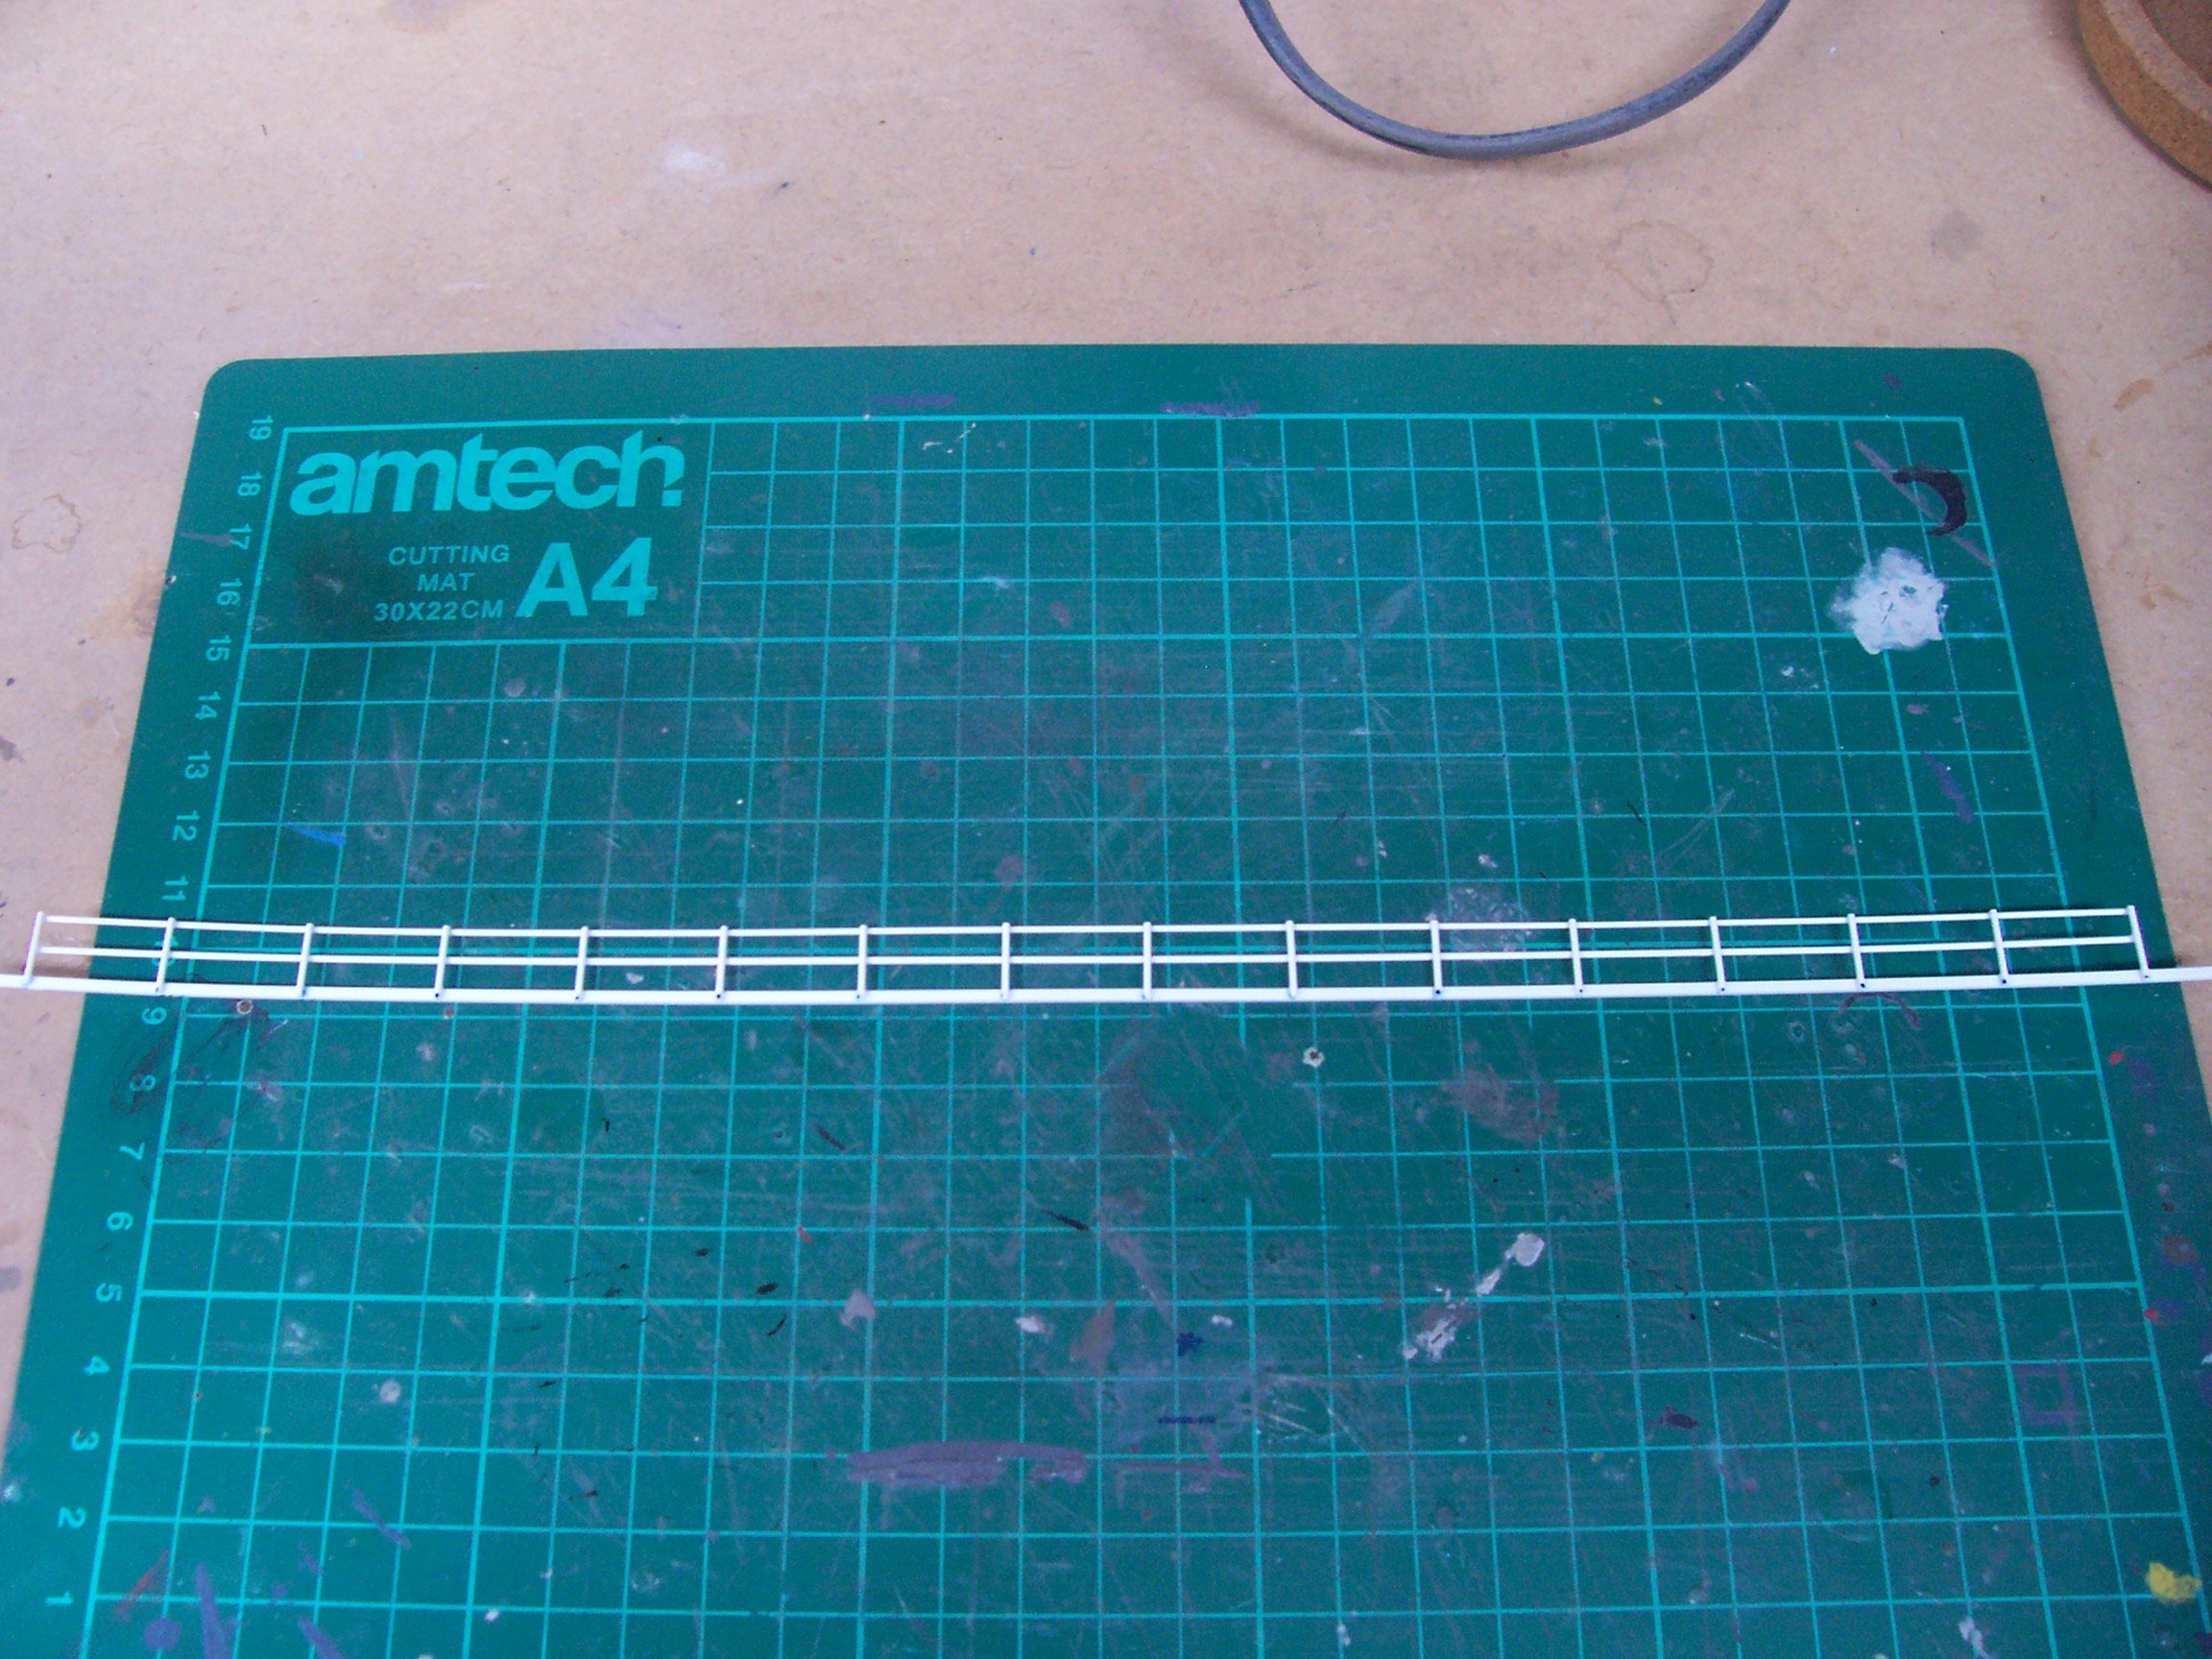
Made a start earlier today on the frame that carries the piping.
-
One word... Masterpiece.
-
Any particular reason why you feel clay wouldn't work in 4mm Tony? I've recently began dabbling out of curiosity after watching what David has produced when using it. Whether used on its own, with sheets, or applying to existing buildings. I've found the finish very impressive in the short space of time I've spent modelling with it. And it's been all 4mm by the way.
-
As far as I know a couple of the ploughs carrying the IR logo could still be seen well into the IE era. So your looking at late 80's until maybe 2005/06.
-
Lovely scenes Noel. Great to see 112 out and about. It's by far my favourite loco from my own collection of 071/111's. Have to say it's looking particularly well working the timber train
-
Fantastic news Fran. Really looking forward to these. Thanks for the update.
-
It's not the first time a comment of that nature has been posted by a certain individual on here, and it certainly won't be the last. But I'll say no more, I don't want to be accused of bullying again. As for the Mk1 GSV, I have two from Silverfox. They're ok, but as already mentioned above the difference in quality stands out a mile when sitting beside an MM Craven. I'd easily retire both of mine if a quality RTR version became available, and I'm sure I wouldn't be the only one. At the end of the day IRM is a business, if the numbers stack up I'm sure anything is possible, as the plough vans proved. If not I'll make do with what I have. In my opinion some people are never happy, I'll leave it at that.
-
Have a soft spot for that livery myself, always loved the Points logo. It would have been great to see 134 carrying it again. But what's more important is that we get to see this legend back where it belongs, no matter what livery it carries.
-
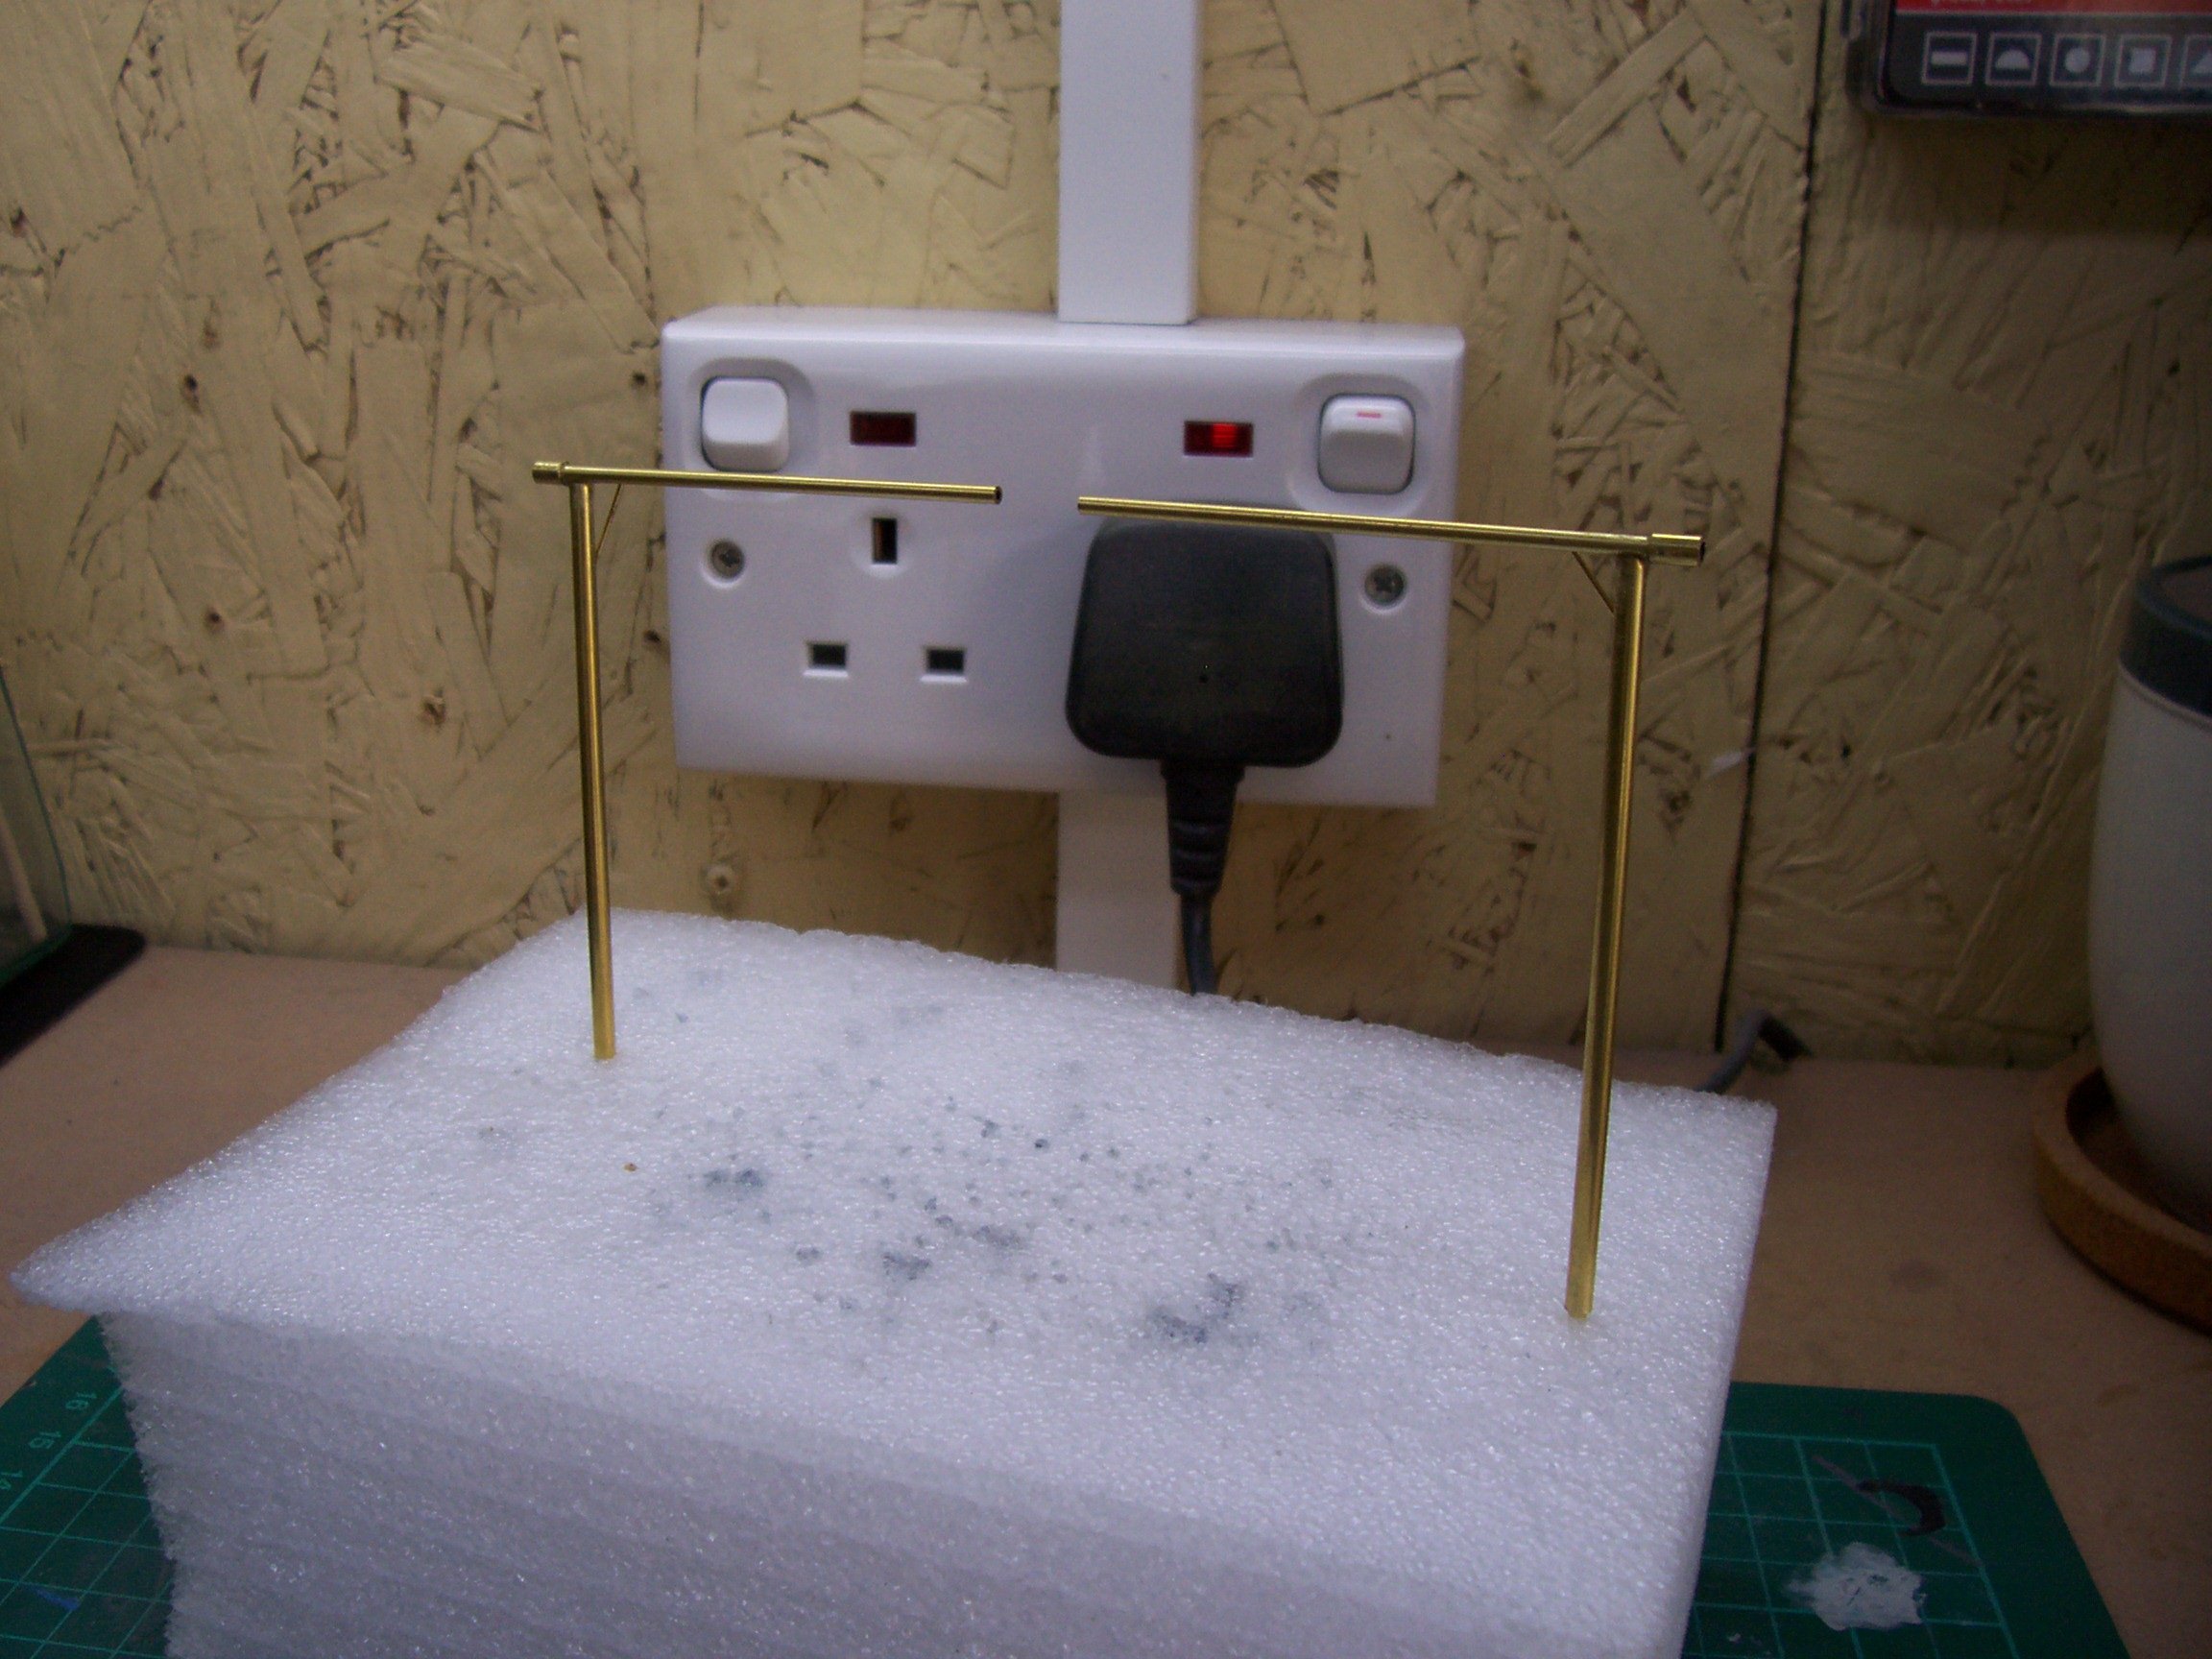
Last of the detail has now been added, and I've primed for painting. Guard rail is also finished, and is ready to be fixed in place.
-
Spot on. There's a very big difference.
-
Keep that build going Robert, you're pushing us ever closer to getting our hands on these beauties. Any chance of you upping the pace
-
Have you considered volunteering for some clinical trials? It pays well, and even with the risk of having to put up with the side effects involved, such as dizziness and diarrhoea, surely it's worth 2 or even 3 IRM A class locomotives.
-
They were actually the last of the 071 class to be released by Murphy Models, but sold out in no time. If you didn't get one then, the chances of picking one up now are few and far between. But they do pop up now and again.
-
Very impressive line up Noel. Raging I'm going to miss this one. Away the week leading up to it, back on the Sunday
-
I've recently been working on the SSM kit. It's brass, so a little more work involved in the build. But the detail is fantastic, and in my opinion well worth effort when you see the end result.
-
Still producing models, but as far as I know you can only order via their Facebook page now. In the past it could be done through the website.
-

Ernies Massive Irish 1930's to 2005 Photo Archive
JasonB replied to Glenderg's topic in Photos & Videos of the Prototype
Could be wrong, but they look like Mk2's to me Noel. -
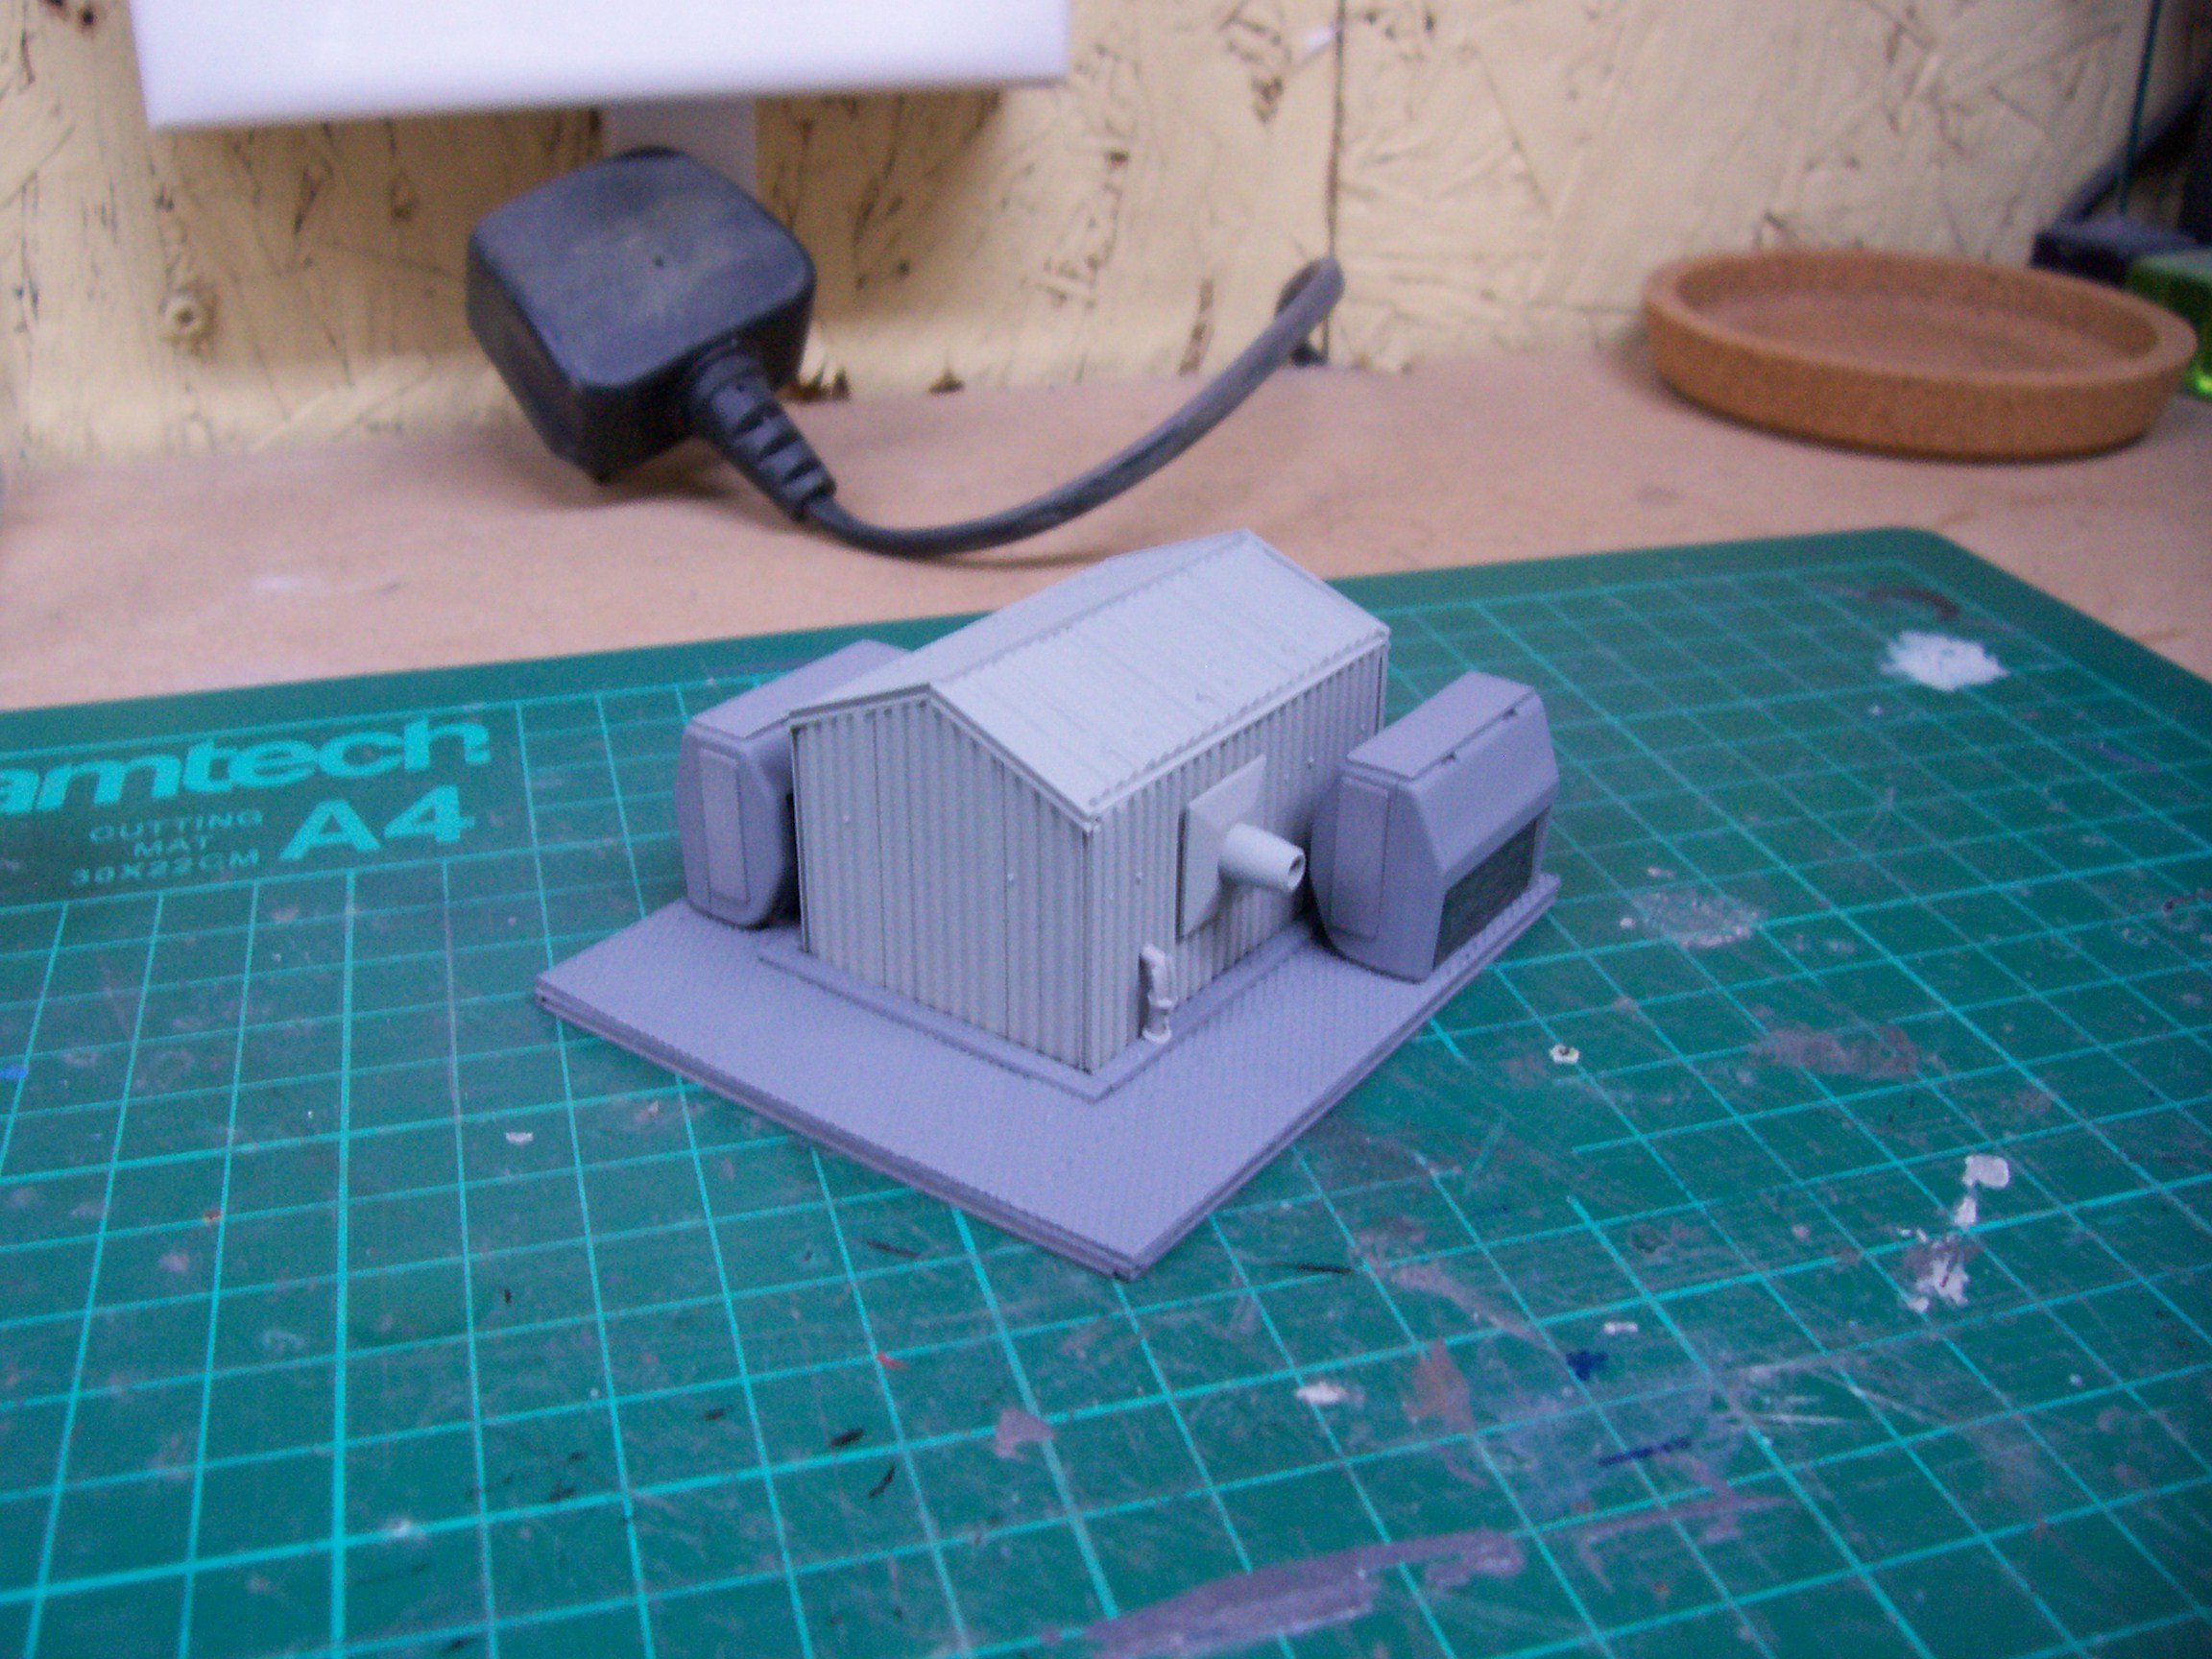
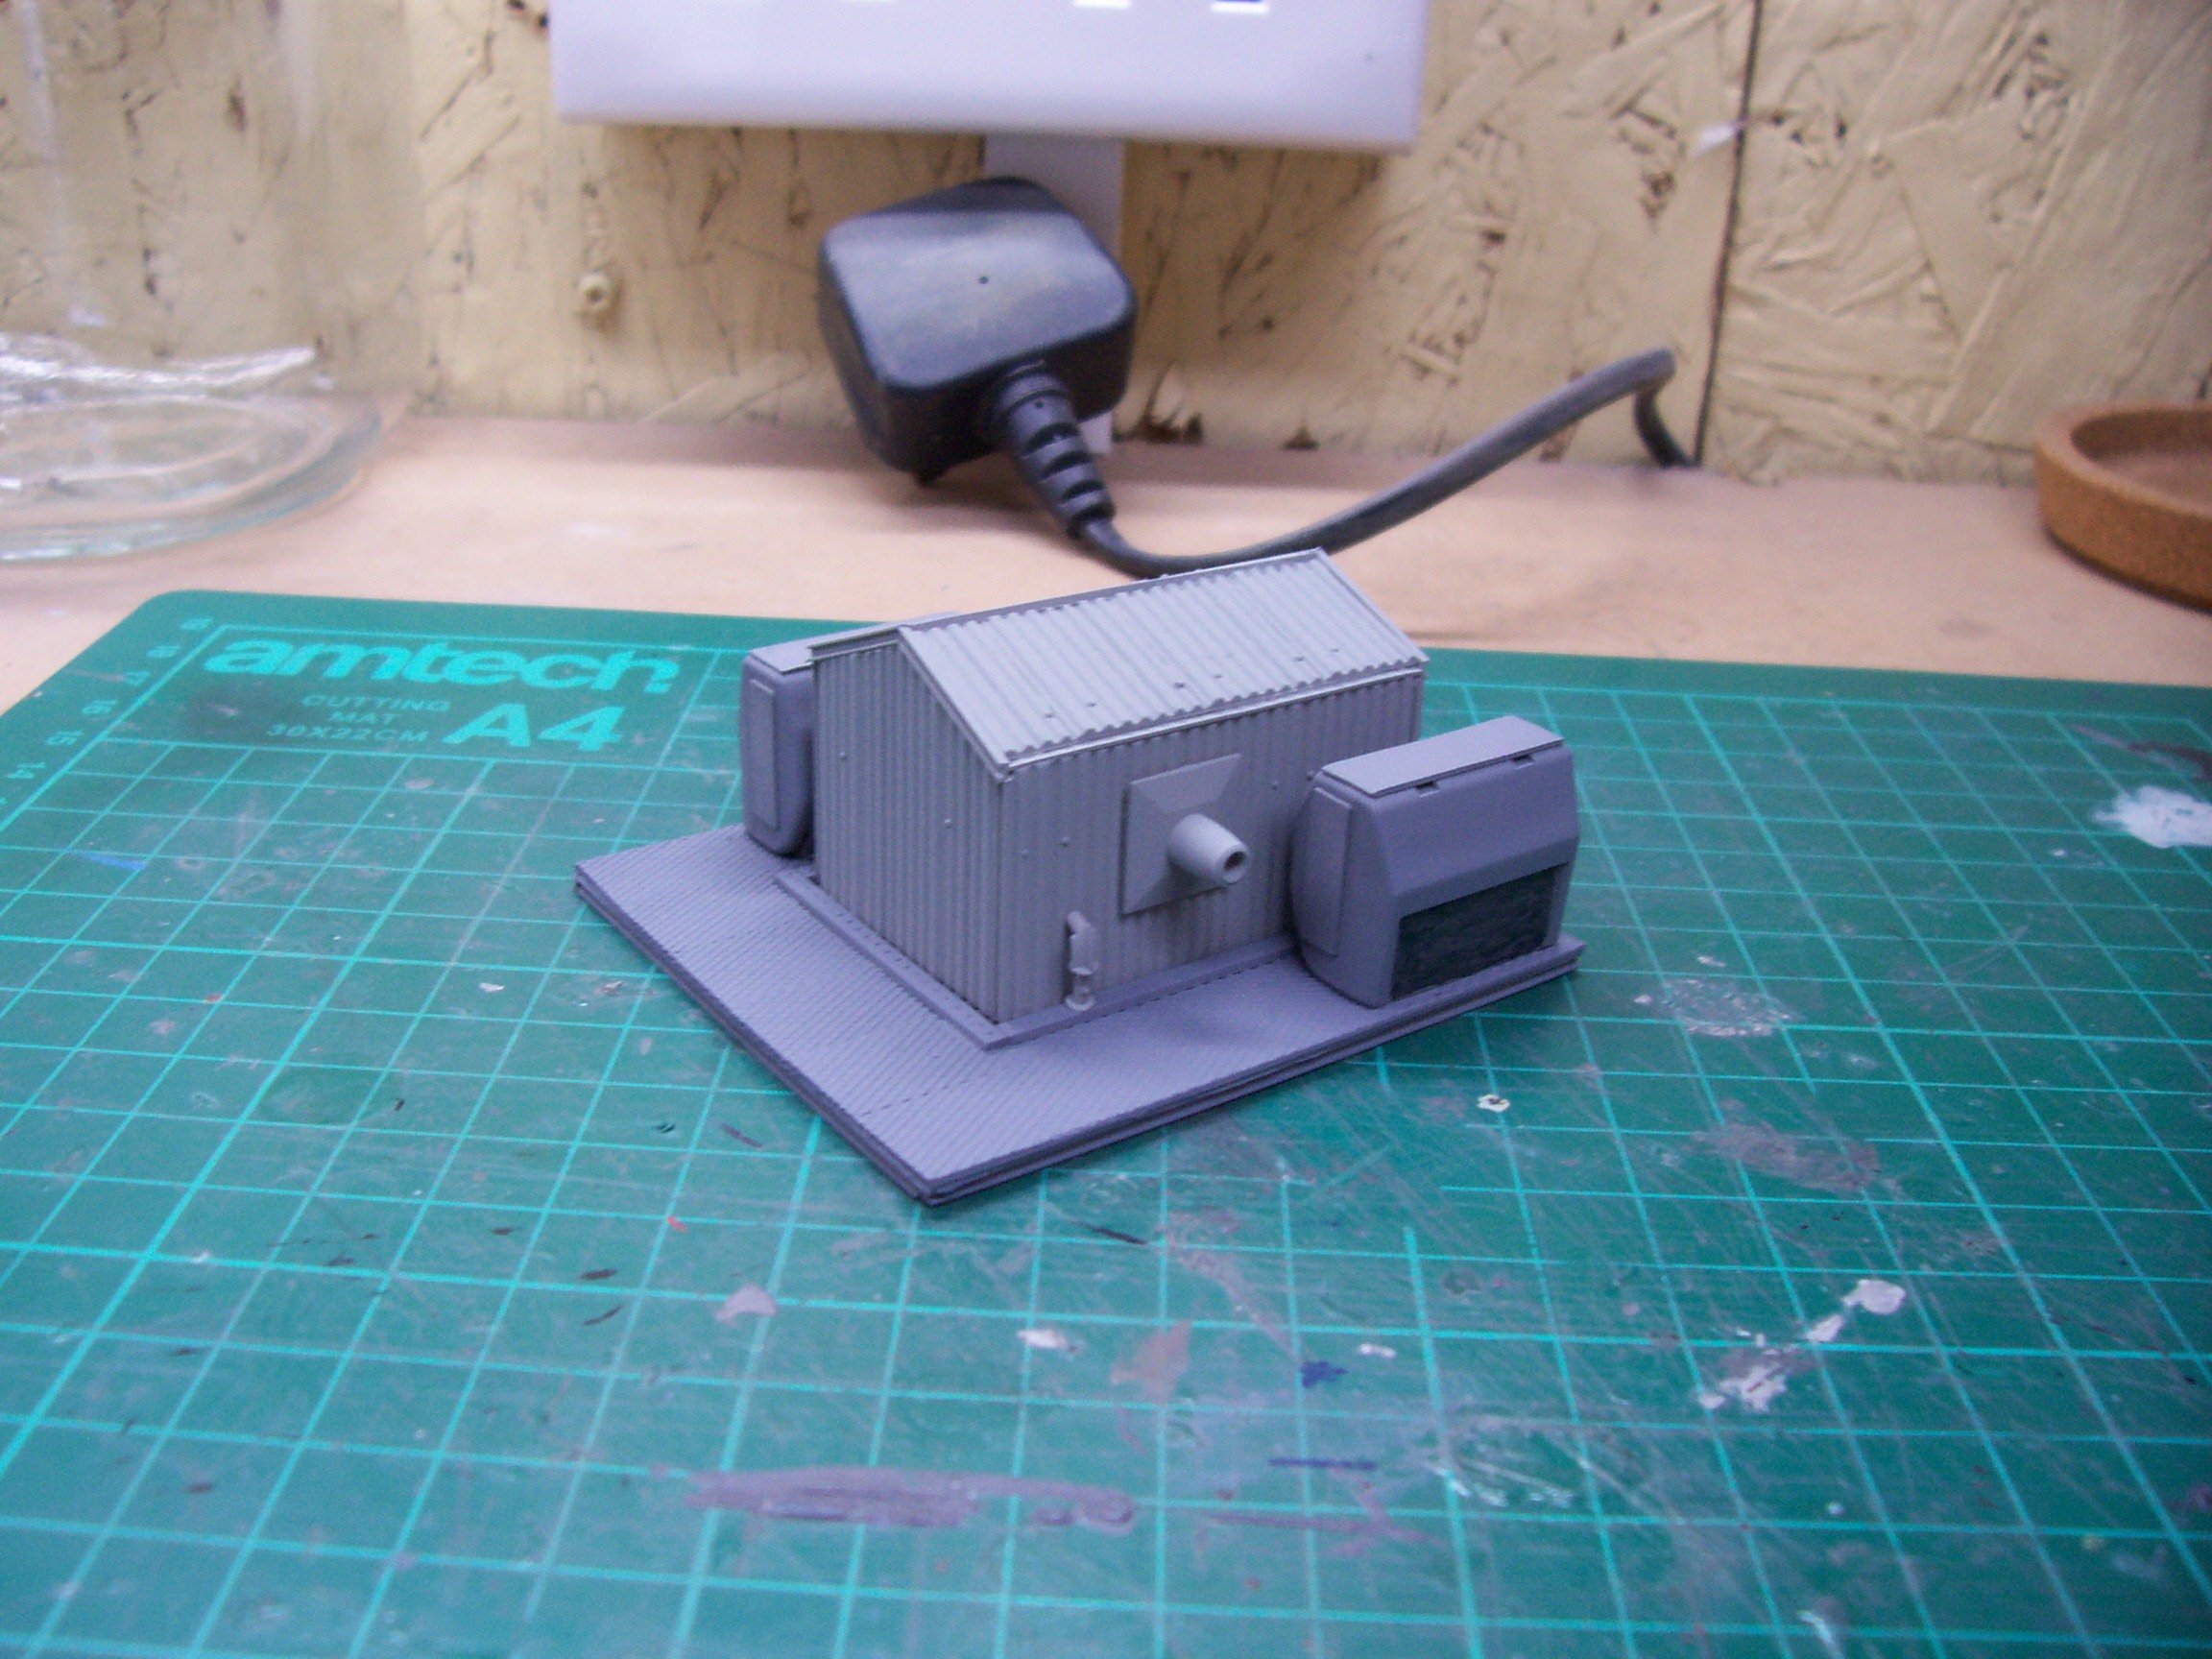
The corrugated building and it's base is almost complete. I've a little more detail to add before I finally fix in place and paint. Just about to make a start on the guard rail from the bits and bobs below, and I've also some more tidying up to do on the Silo itself.
-
What's that I can smell? It's definitely something familiar...A hint of grapes maybe? I've definitely smelt it somewhere before... Ah that's it. It's bullshit.
-
Jasus is right. What planet are some of these living on. I'll be watching this with interest. If they do manage to offload it to someone deluded enough to buy it, I know what I'll be doing with my one
.jpg.449e7c0002647acd63e930612974c8f2.jpg)