Dhu Varren
-
Posts
547 -
Joined
-
Last visited
-
Days Won
1
Content Type
Profiles
Forums
Events
Gallery
Blogs
Store
Community Map
Everything posted by Dhu Varren
-
You could always compromise and have the best of both worlds by having a fiddle yard to fiddle yard layout, with a hidden connection to form a complete circuit. Great for testing, or running in locomotives, or just plain watching the trains go by.
-
Not necessarily. The wire in tube could be routed up through the lower baseboard. It all depends on the space available.
-
Not at all. Probably the best way would be to use a bell crank at the point.
-

21mm gauge track; the pros and cons?
Dhu Varren replied to jhb171achill's topic in Irish Model Layouts
I have used TrackShack myself on a number of occasions and have found their prices, and P&P to be very reasonable. -
21mm gauge track; the pros and cons?
Dhu Varren replied to jhb171achill's topic in Irish Model Layouts
If you are determined to use Code 75, in order to avoid the delivery charges, you could always find someone who is going to Modelrail Glasgow at the end of this month, and ask them to pick up a pack of track. I know there are a lot of guys from NI who travel over for the show, either as individuals or as part of an organised trip by coach. -
21mm gauge track; the pros and cons?
Dhu Varren replied to jhb171achill's topic in Irish Model Layouts
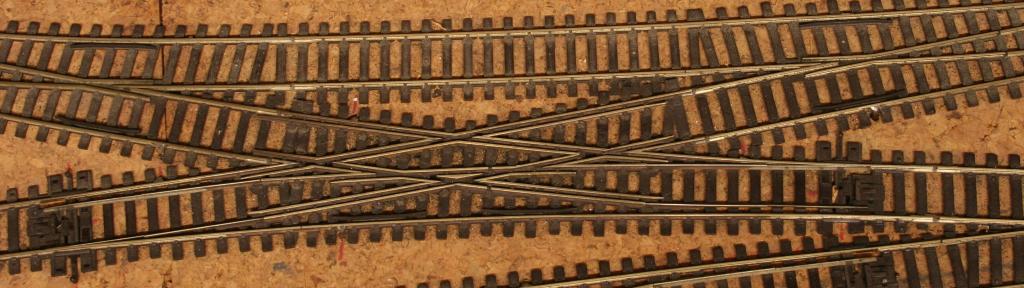
Tony, with the limited space you have available, if you are going to go for 00, it might be better to go with Peco Code 100 rather than Code 75. There is a greater selection of pointwork available in Code 100, plus their Setrack range is fully compatible, and matches perfectly. This gives the option of very tight curves where necessary. If Peco Code 75 is a must, then when necessary, points can be built to match using the Peco Individulay components range which will match exactly. Below is a picture of a scissors crossover built to suit a specific location using a mixture of Peco Code 75 points, and Individulay components.
-
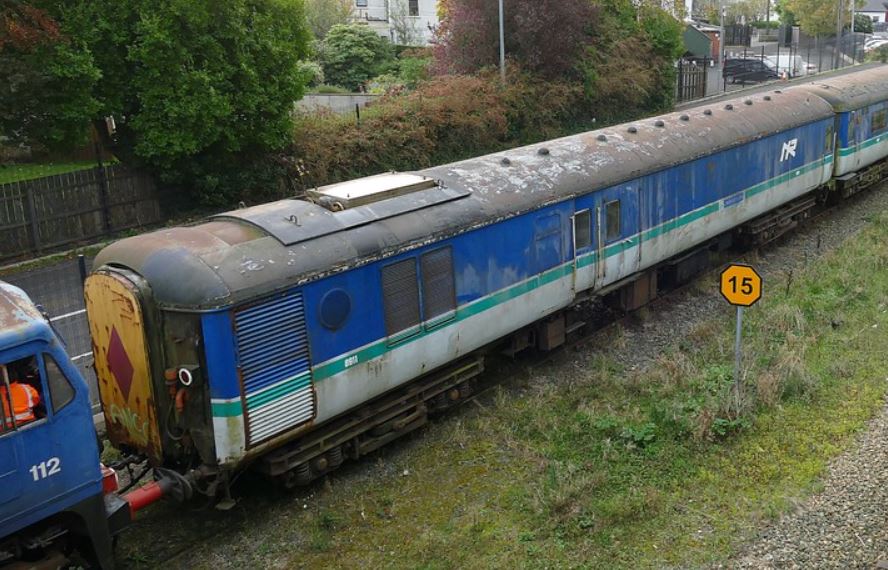
Robert, in view of the lack of information so far, here is a picture from which you should be able to work out the size of the roof detail for the exhaust area. The picture is of the 'Gatwick' Generator van 8911, but since it was itself a conversion from an existing earlier Brake Standard Generator van number 911, apart from the shape of the silencer, it is probably the same, except that 911 had two round silencers. The ventilators have not been altered at all from the original.
-
John, a friend of mine had a similar problem a couple of years ago. I spoke to the Glasgow exhibition manager, Ian Porteous, on his behalf, and was given an email address for direct contact. The layout, 'Bleach Green', subsequently appeared at Glasgow the following year. If you have not already tried it, the address is ExhibitionManager@modelrail-scotland.co.uk
-
Tony, I had a feeling it might have been this bridge you were referring to. I also remember it well. As children in the early 1960s we regularly used to 'walk the line' from the Market Branch junction to out beyond this bridge, and back.
-
If my memory serves me correctly, the bridge over the Drumragh River was a single span plate girder bridge.
-
There does not seem to have been as many H&W locos built, as might be expected, just eight. See link below. http://www.theyard.info/engineering/trains/trains.asp
-
I am far from being a purist, but I have to agree with David Holman. The NCC Mogul and the BR 76xxx have absolutely nothing in common, except for the 2-6-0 wheel arrangement, and conversion to a reasonable representation of a NCC Mogul would require an incredible amount of work, starting with 'remove the body, throw it away, and scratchbuild a new one'. Just about everything is wrong with the 76XXX, including the major fact that the boiler is a tapered boiler, whereas the NCC Mogul has a parallel boiler. A much better option as a starter for the Derry Road would be an Airfix/Dapol/Hornby 4F 0-6-0, which, with very little modification would pass for a GNR Big D SG3.
-
Yes, that is a H & W loco, but not the one referred to in this post. Here is a link. http://www.rmweb.co.uk/community/index.php?/topic/45248-judith-edge-kits/page-37
-
Totally 100% agree with Glenderg.
-
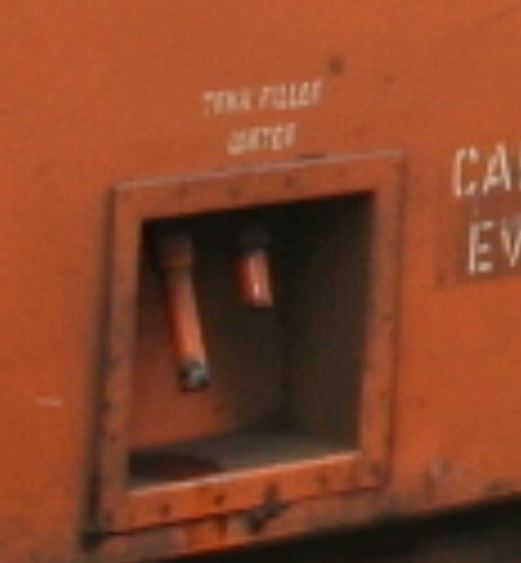
I presume this is what you are after. You can just about make it out as 'Tank Filler Water'.
-
It is good to see that something is finally being done with Meenglas, even if it is only a cosmetic restoration for static display. She has been lying around out in the open in all weathers for a long time now, in a pretty derelict state.
-
The two bogie coaches have all the characteristics of the Airfix/Dapol LMS 60ft Composite coach, which have been fitted with etched brass overlays for the sides. The two Bulleid vans have no parts recognisable to me, so I would assume they are kits. The six wheel van is running on a Hornby six wheel van chassis. The body is probably a kit. The TPO and Luggage van seem to be fitted with Lima wagon couplings, so I would assume the underframes are of Lima origin with added detail, and again the bodies are probably kits.
-
Not everyone wants to use Kadee couplers.
-
All couplings have now been replaced, and the wagons tested. No problems at all, either being hauled or propelled through pointwork and crossovers. As the minimum radius anywhere on my layout is 2ft, I had to do a static test on a piece of 1st radius Hornby track to test for buffer clearance. This turned out to be about 1mm between buffers when being propelled, which is more than adequate.
-
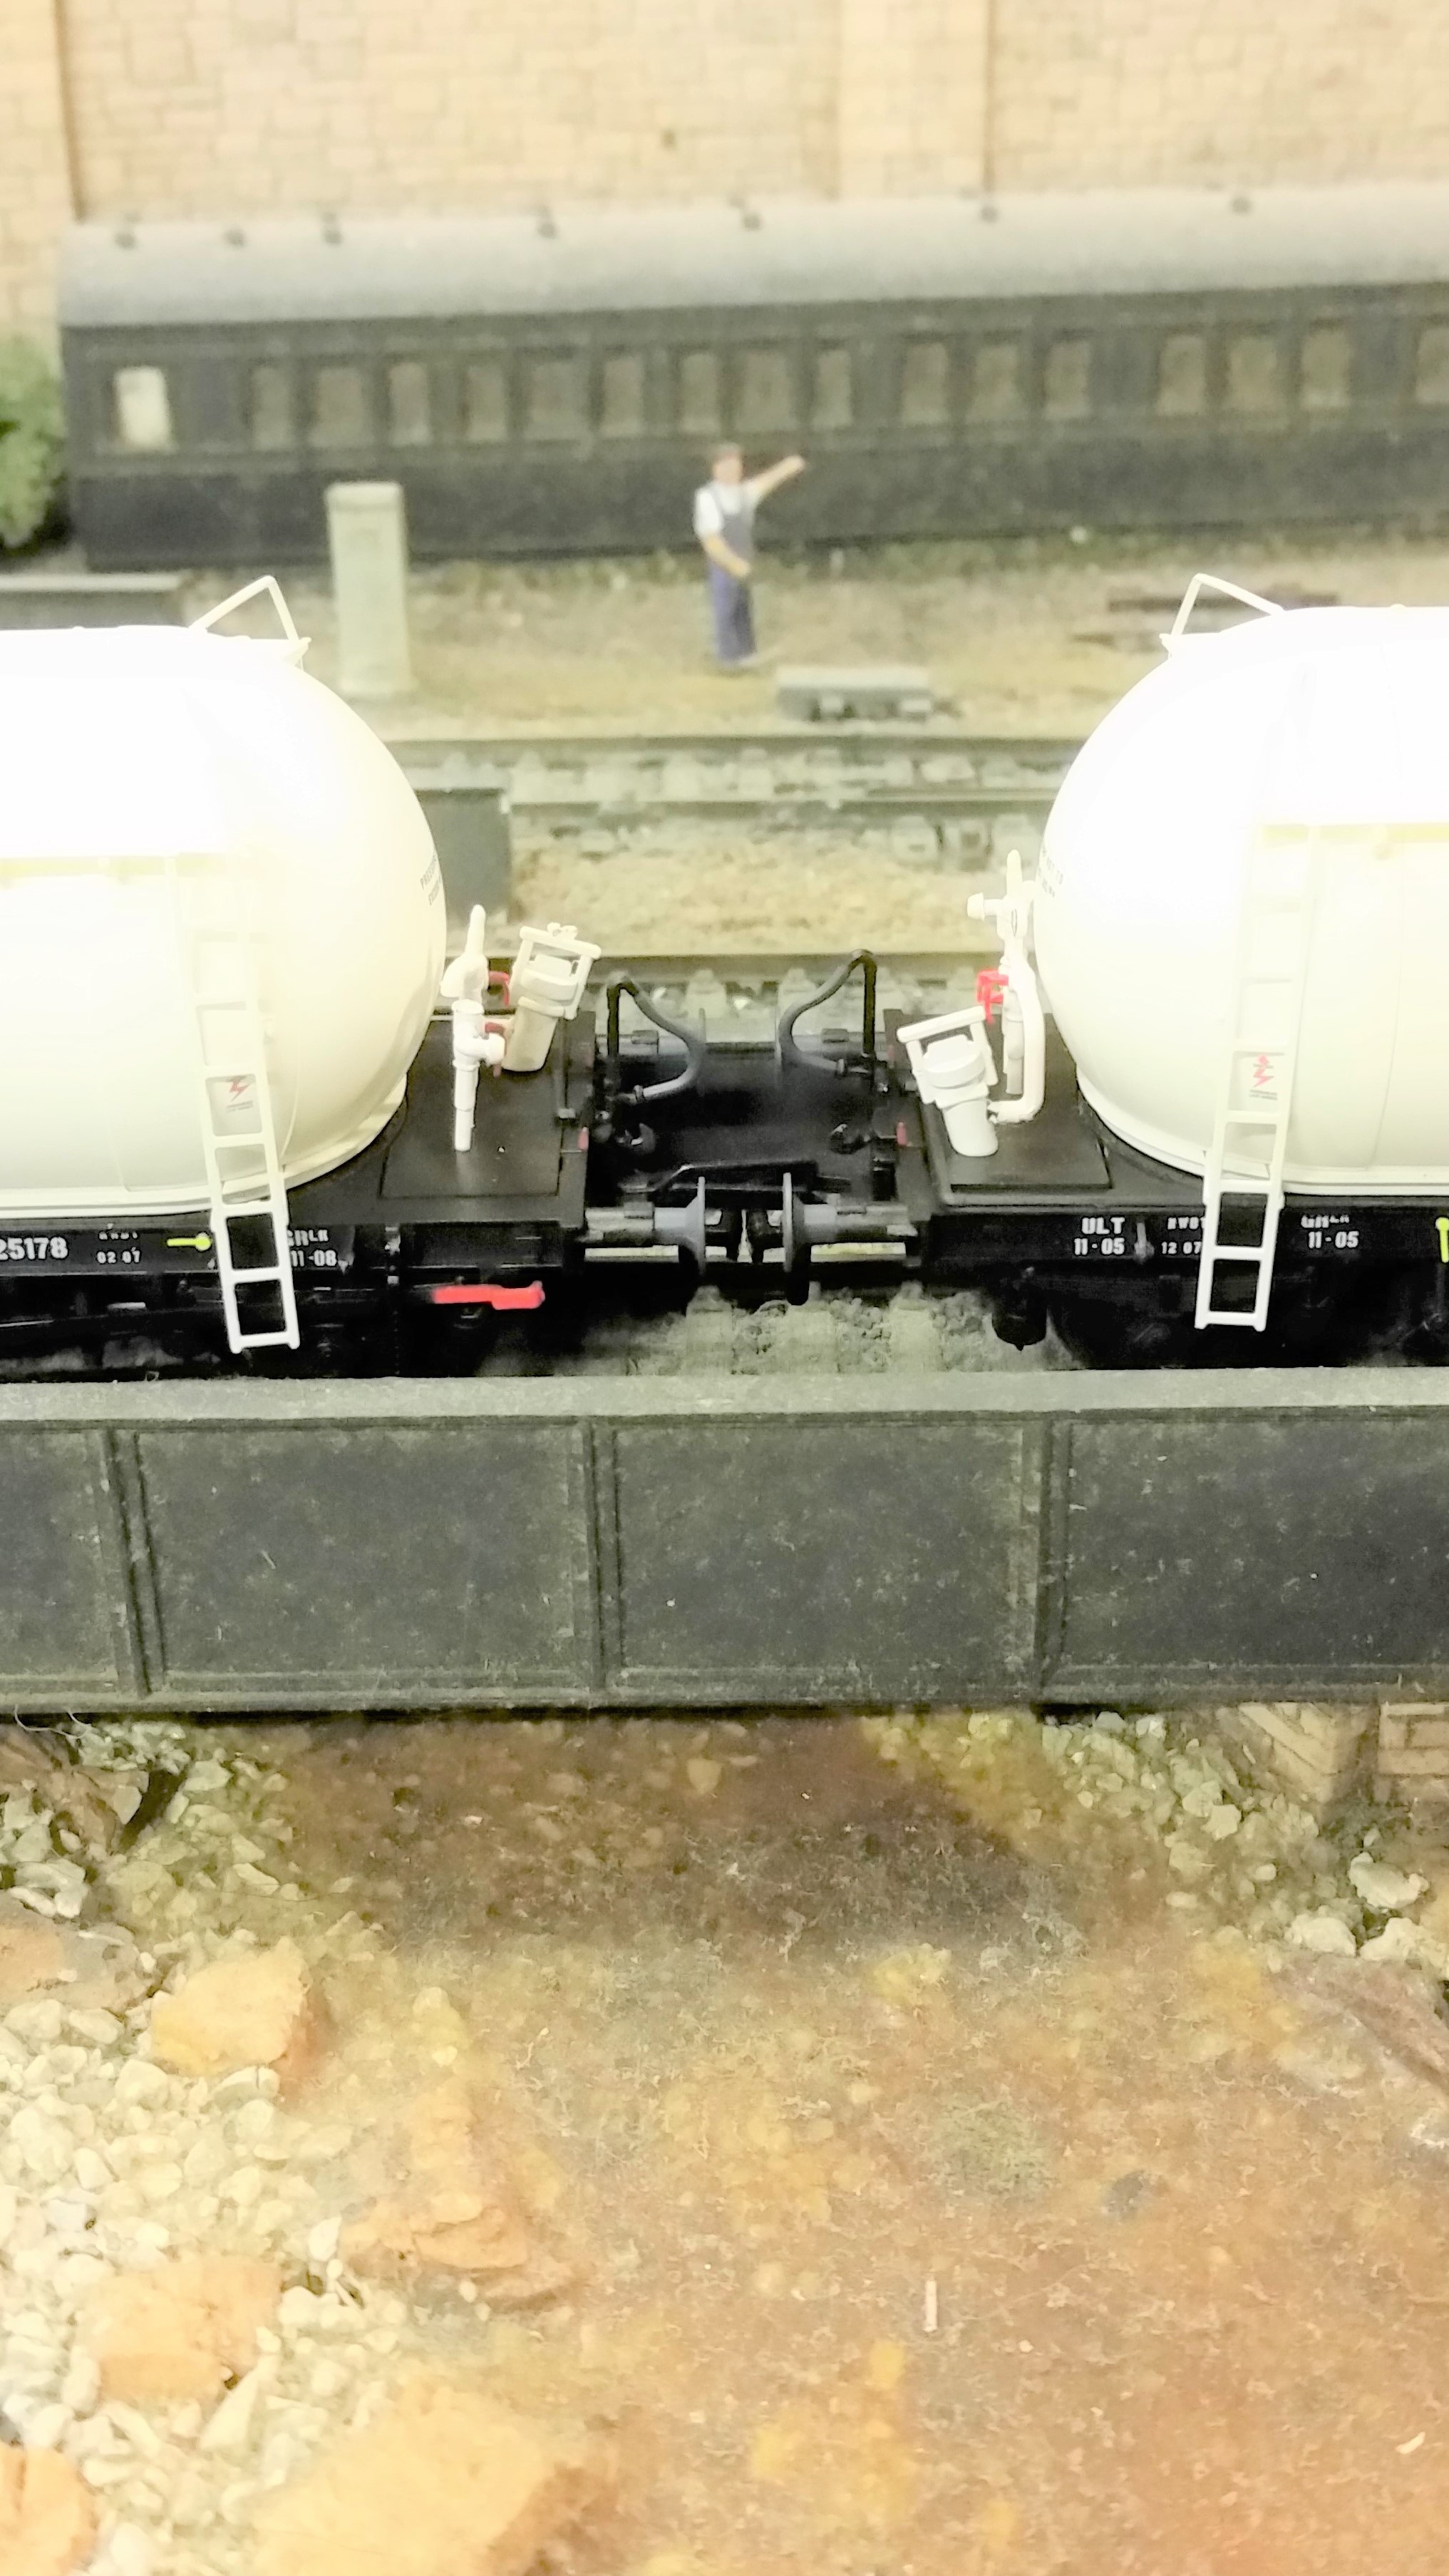
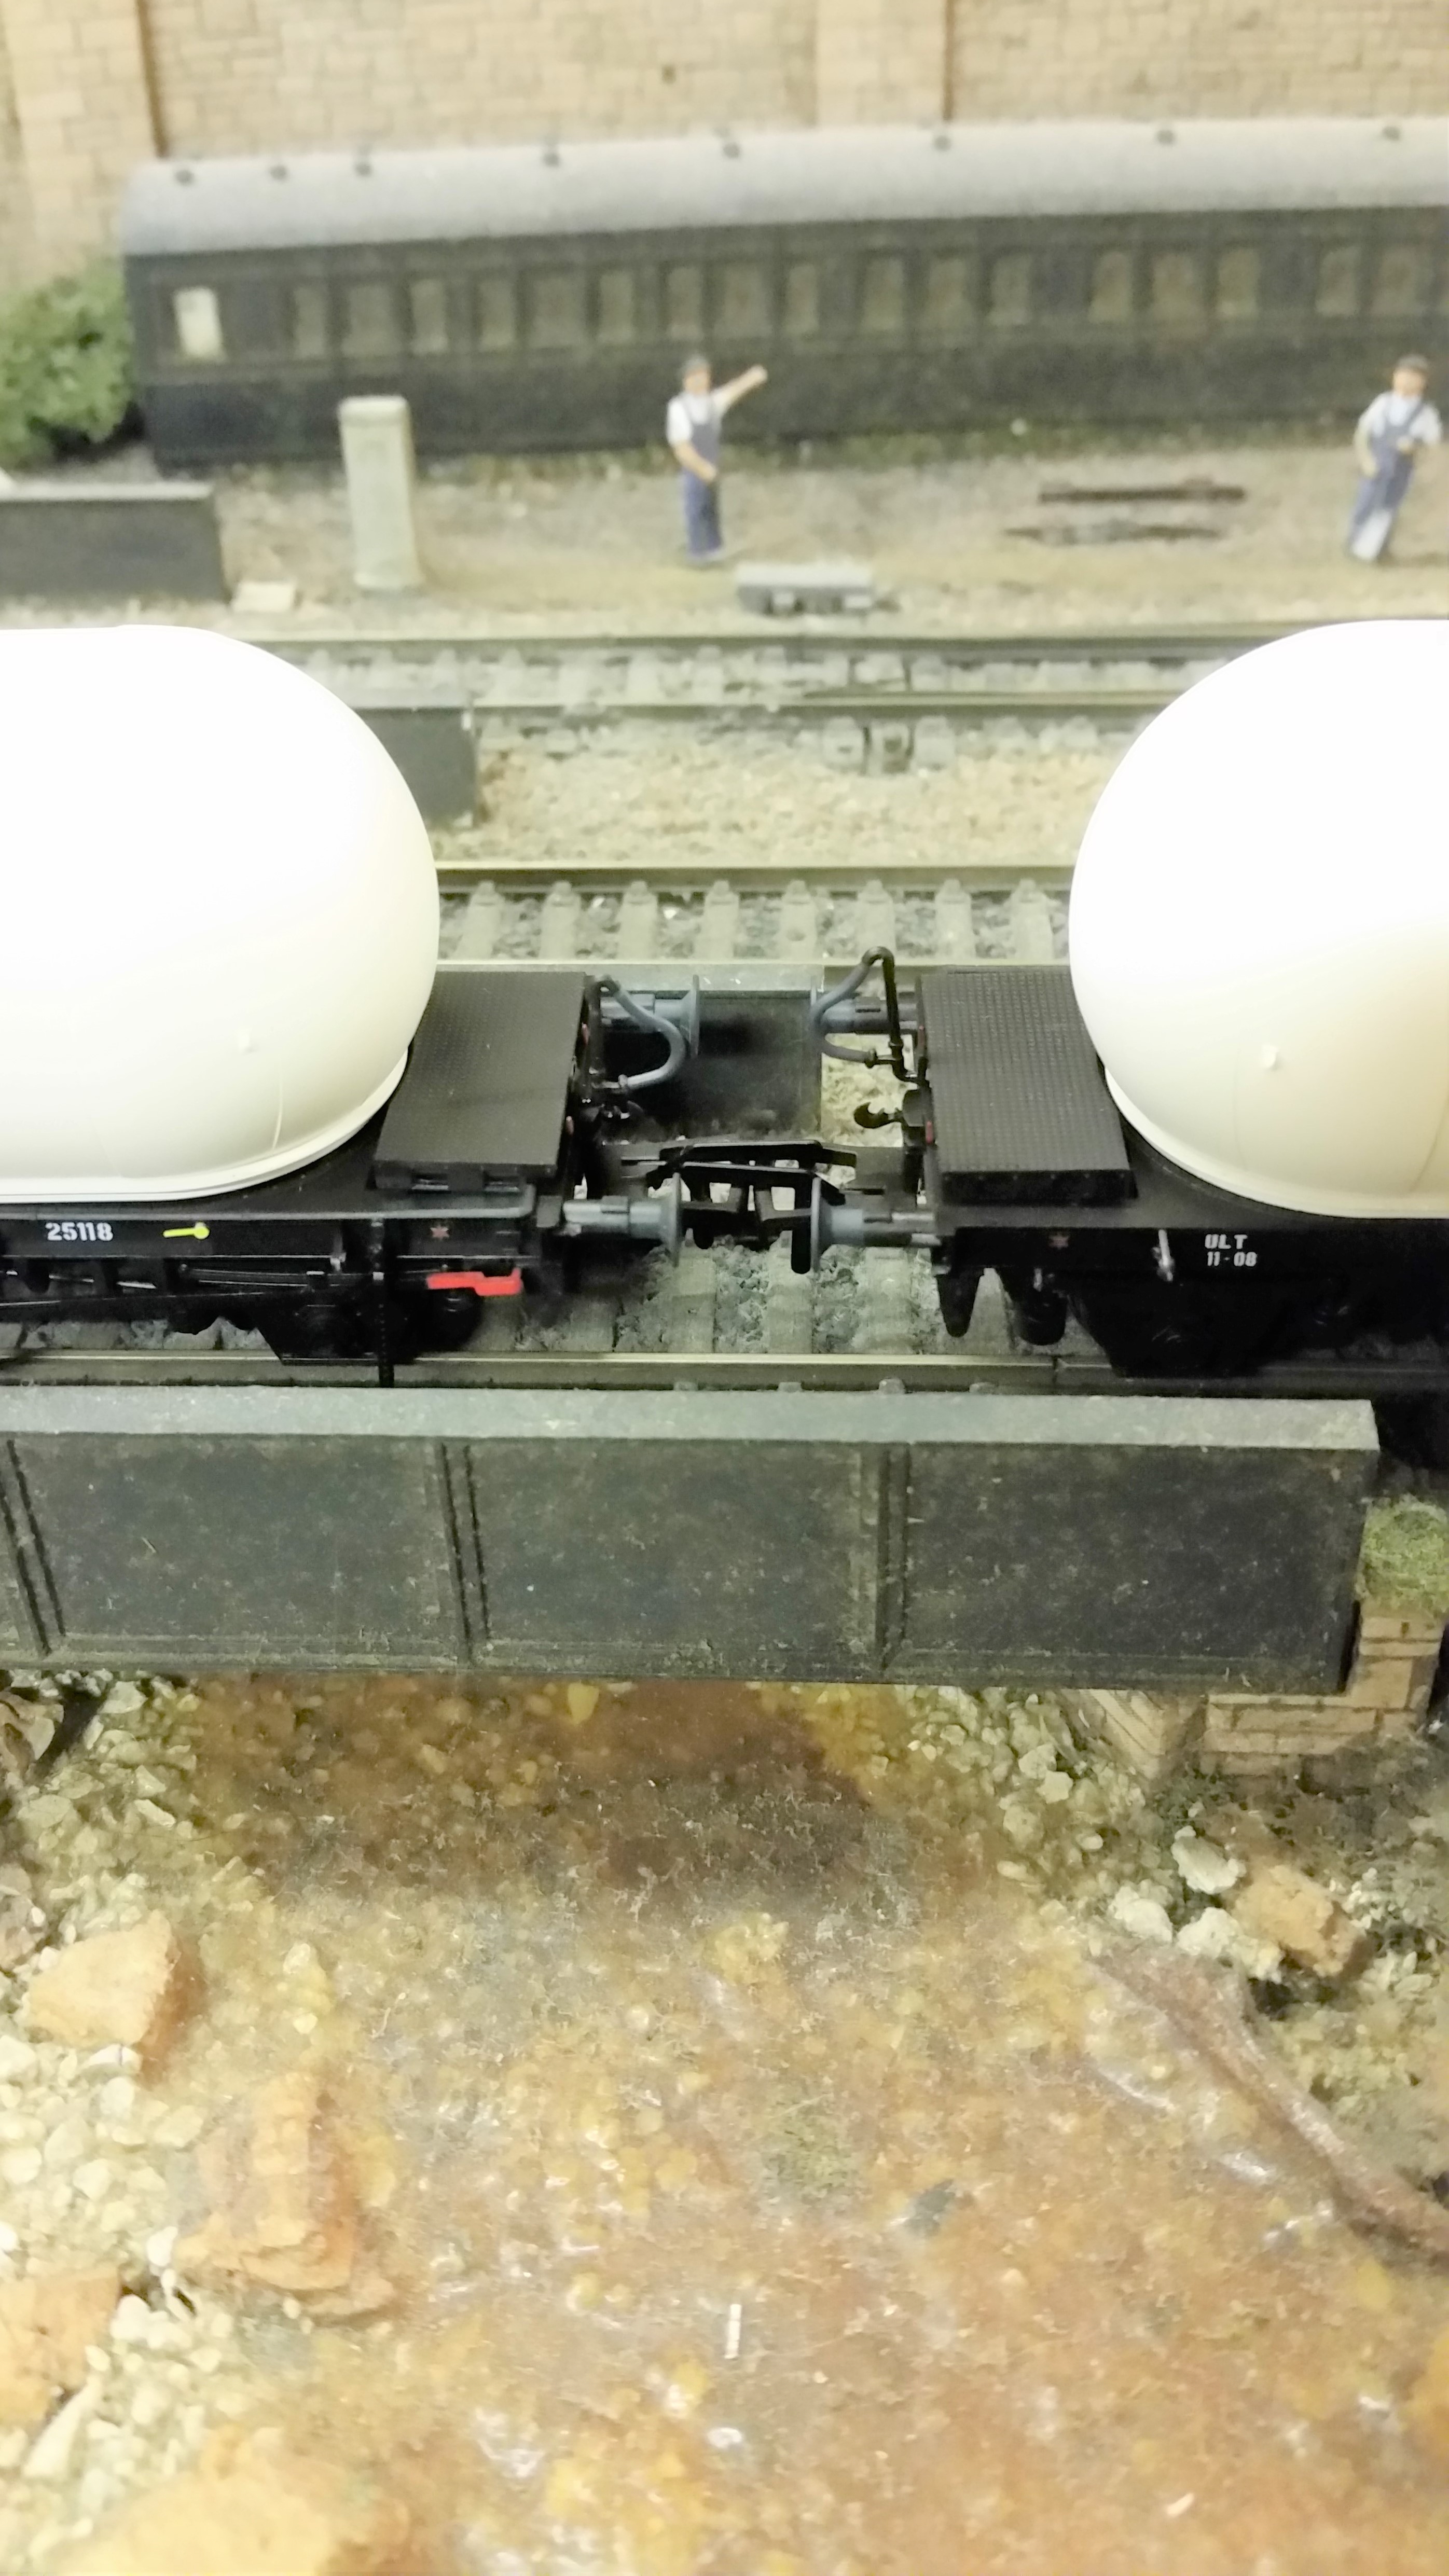
Received my 12 bubbles this week, absolutely exquisite models. The only criticism I have is the lack of close coupling with the standard NEM coupling, a problem that also afflicts the ballast wagons. On rummaging through my spare couplings, I found the Bachmann 36-027 Short Cranked NEM Coupling is 2mm shorter than those supplied with the wagons. A simple calculation reveals that fitting the Bachmann couplings reduces the gap between wagons by 4mm, not perfect, but much better. A check online revealed that Track Shack were the cheapest, and an order was placed, received today. I am now in the process of replacing all the couplings on my bubbles. BEFORE AFTER
-
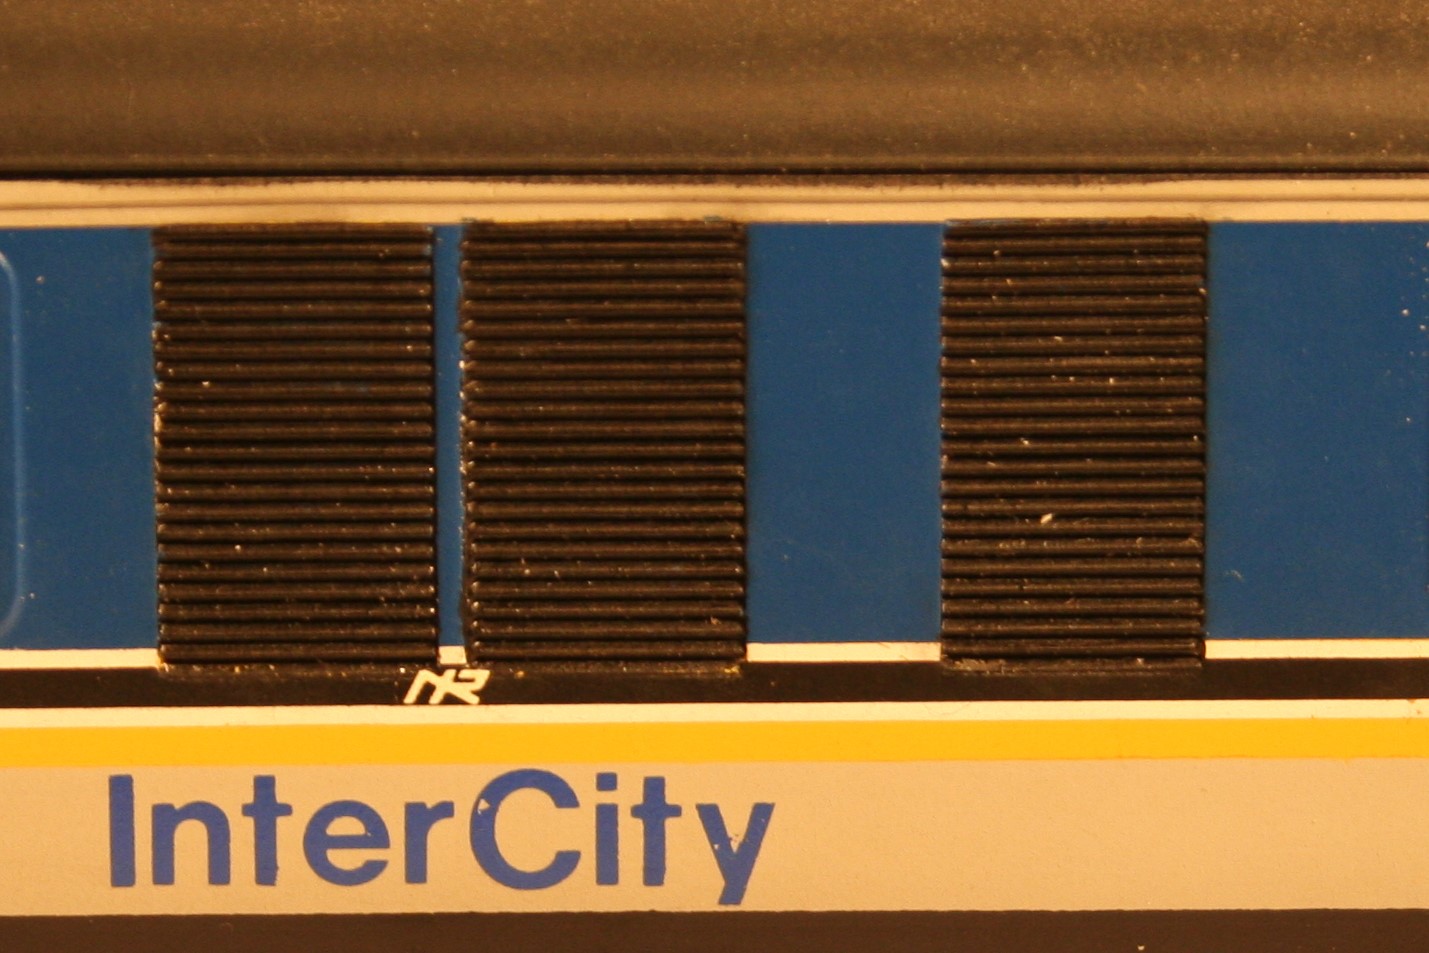
Noel, I too have used the plastic strip method, but with a better result than you have ended up with. I built up the grille on a piece of plasticard, using a solvent like Mek-Pak or similar to glue each strip to it, ensuring that each strip was positioned exactly before applying the solvent. The other method I have used successfully, is to scribe a piece of plasticard with a Junior hacksaw blade, over and over again. This gives an even sppearance to the grille, and if you look closely, each slat is slightly angled, as are the teeth on the blade. The grille on the picture below was made using this method twenty eight years ago.
-
Here are the pictures that could not be uploaded earlier. I have used white plastic so that the strips show up clearly against the black underframe, but a quick coat of black paint would soon hide them.
-
This site is really playing up tonight. Won't insert pictures, and won't let me edit posts correctly.
-
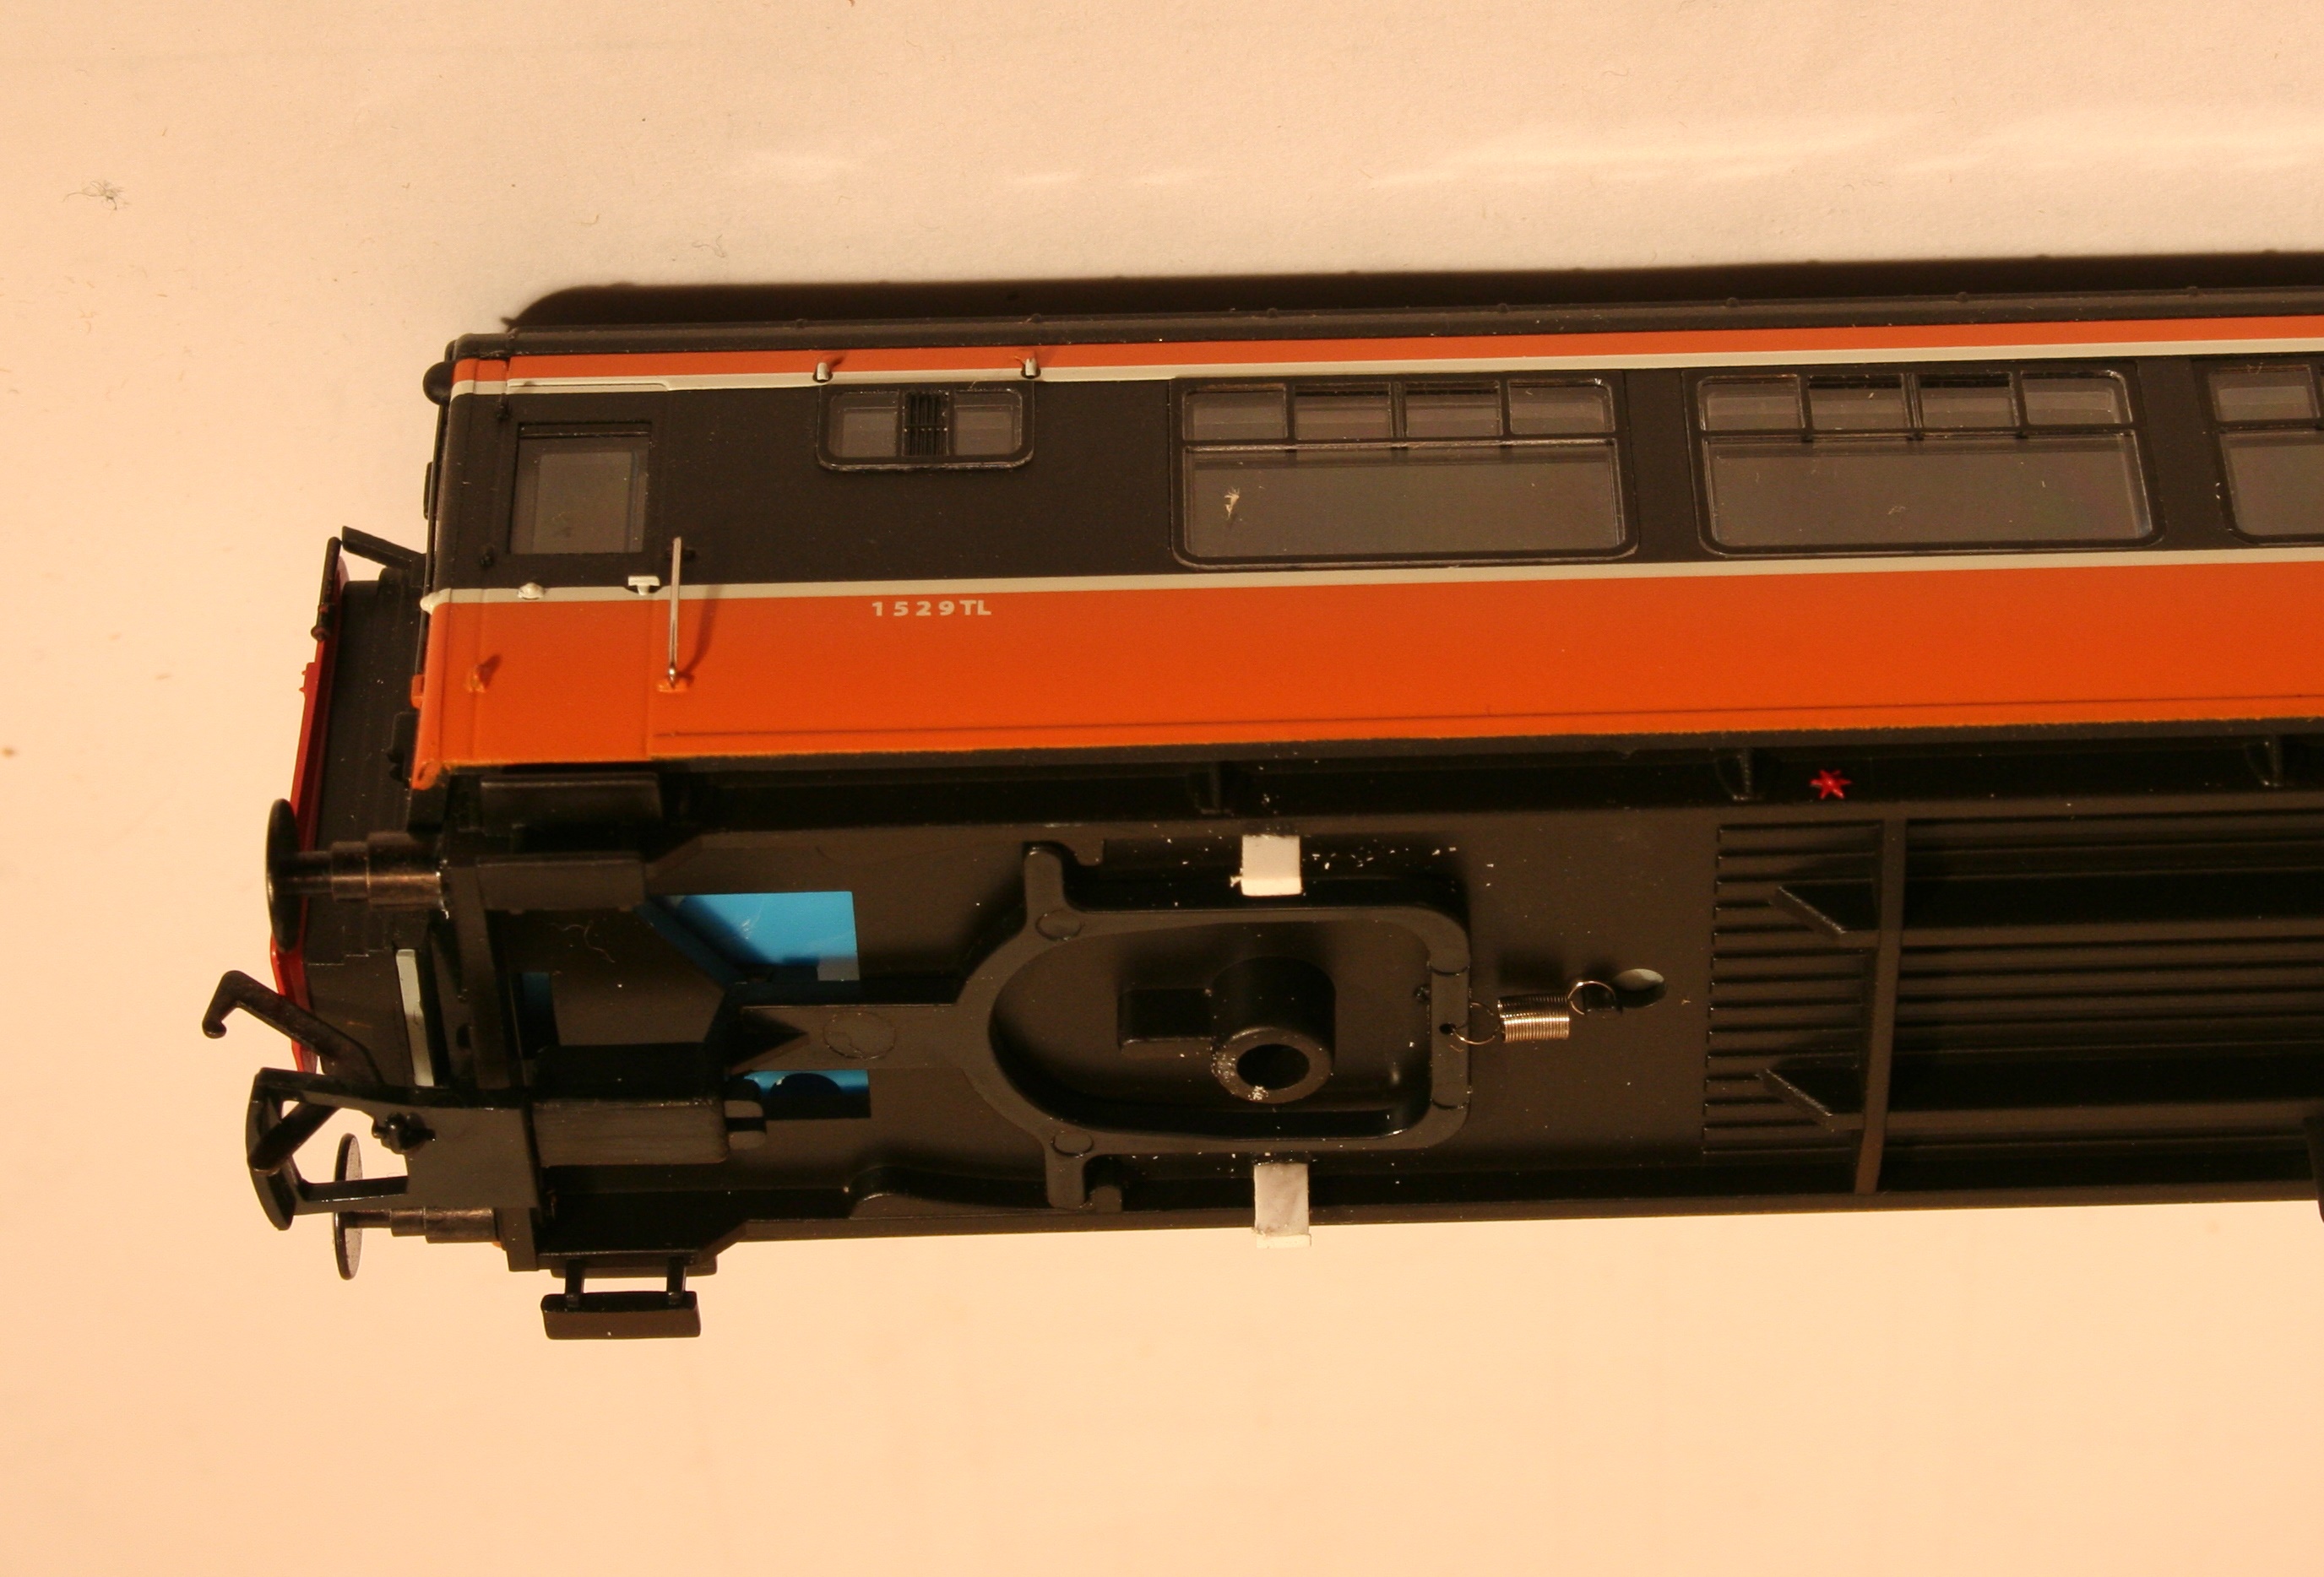
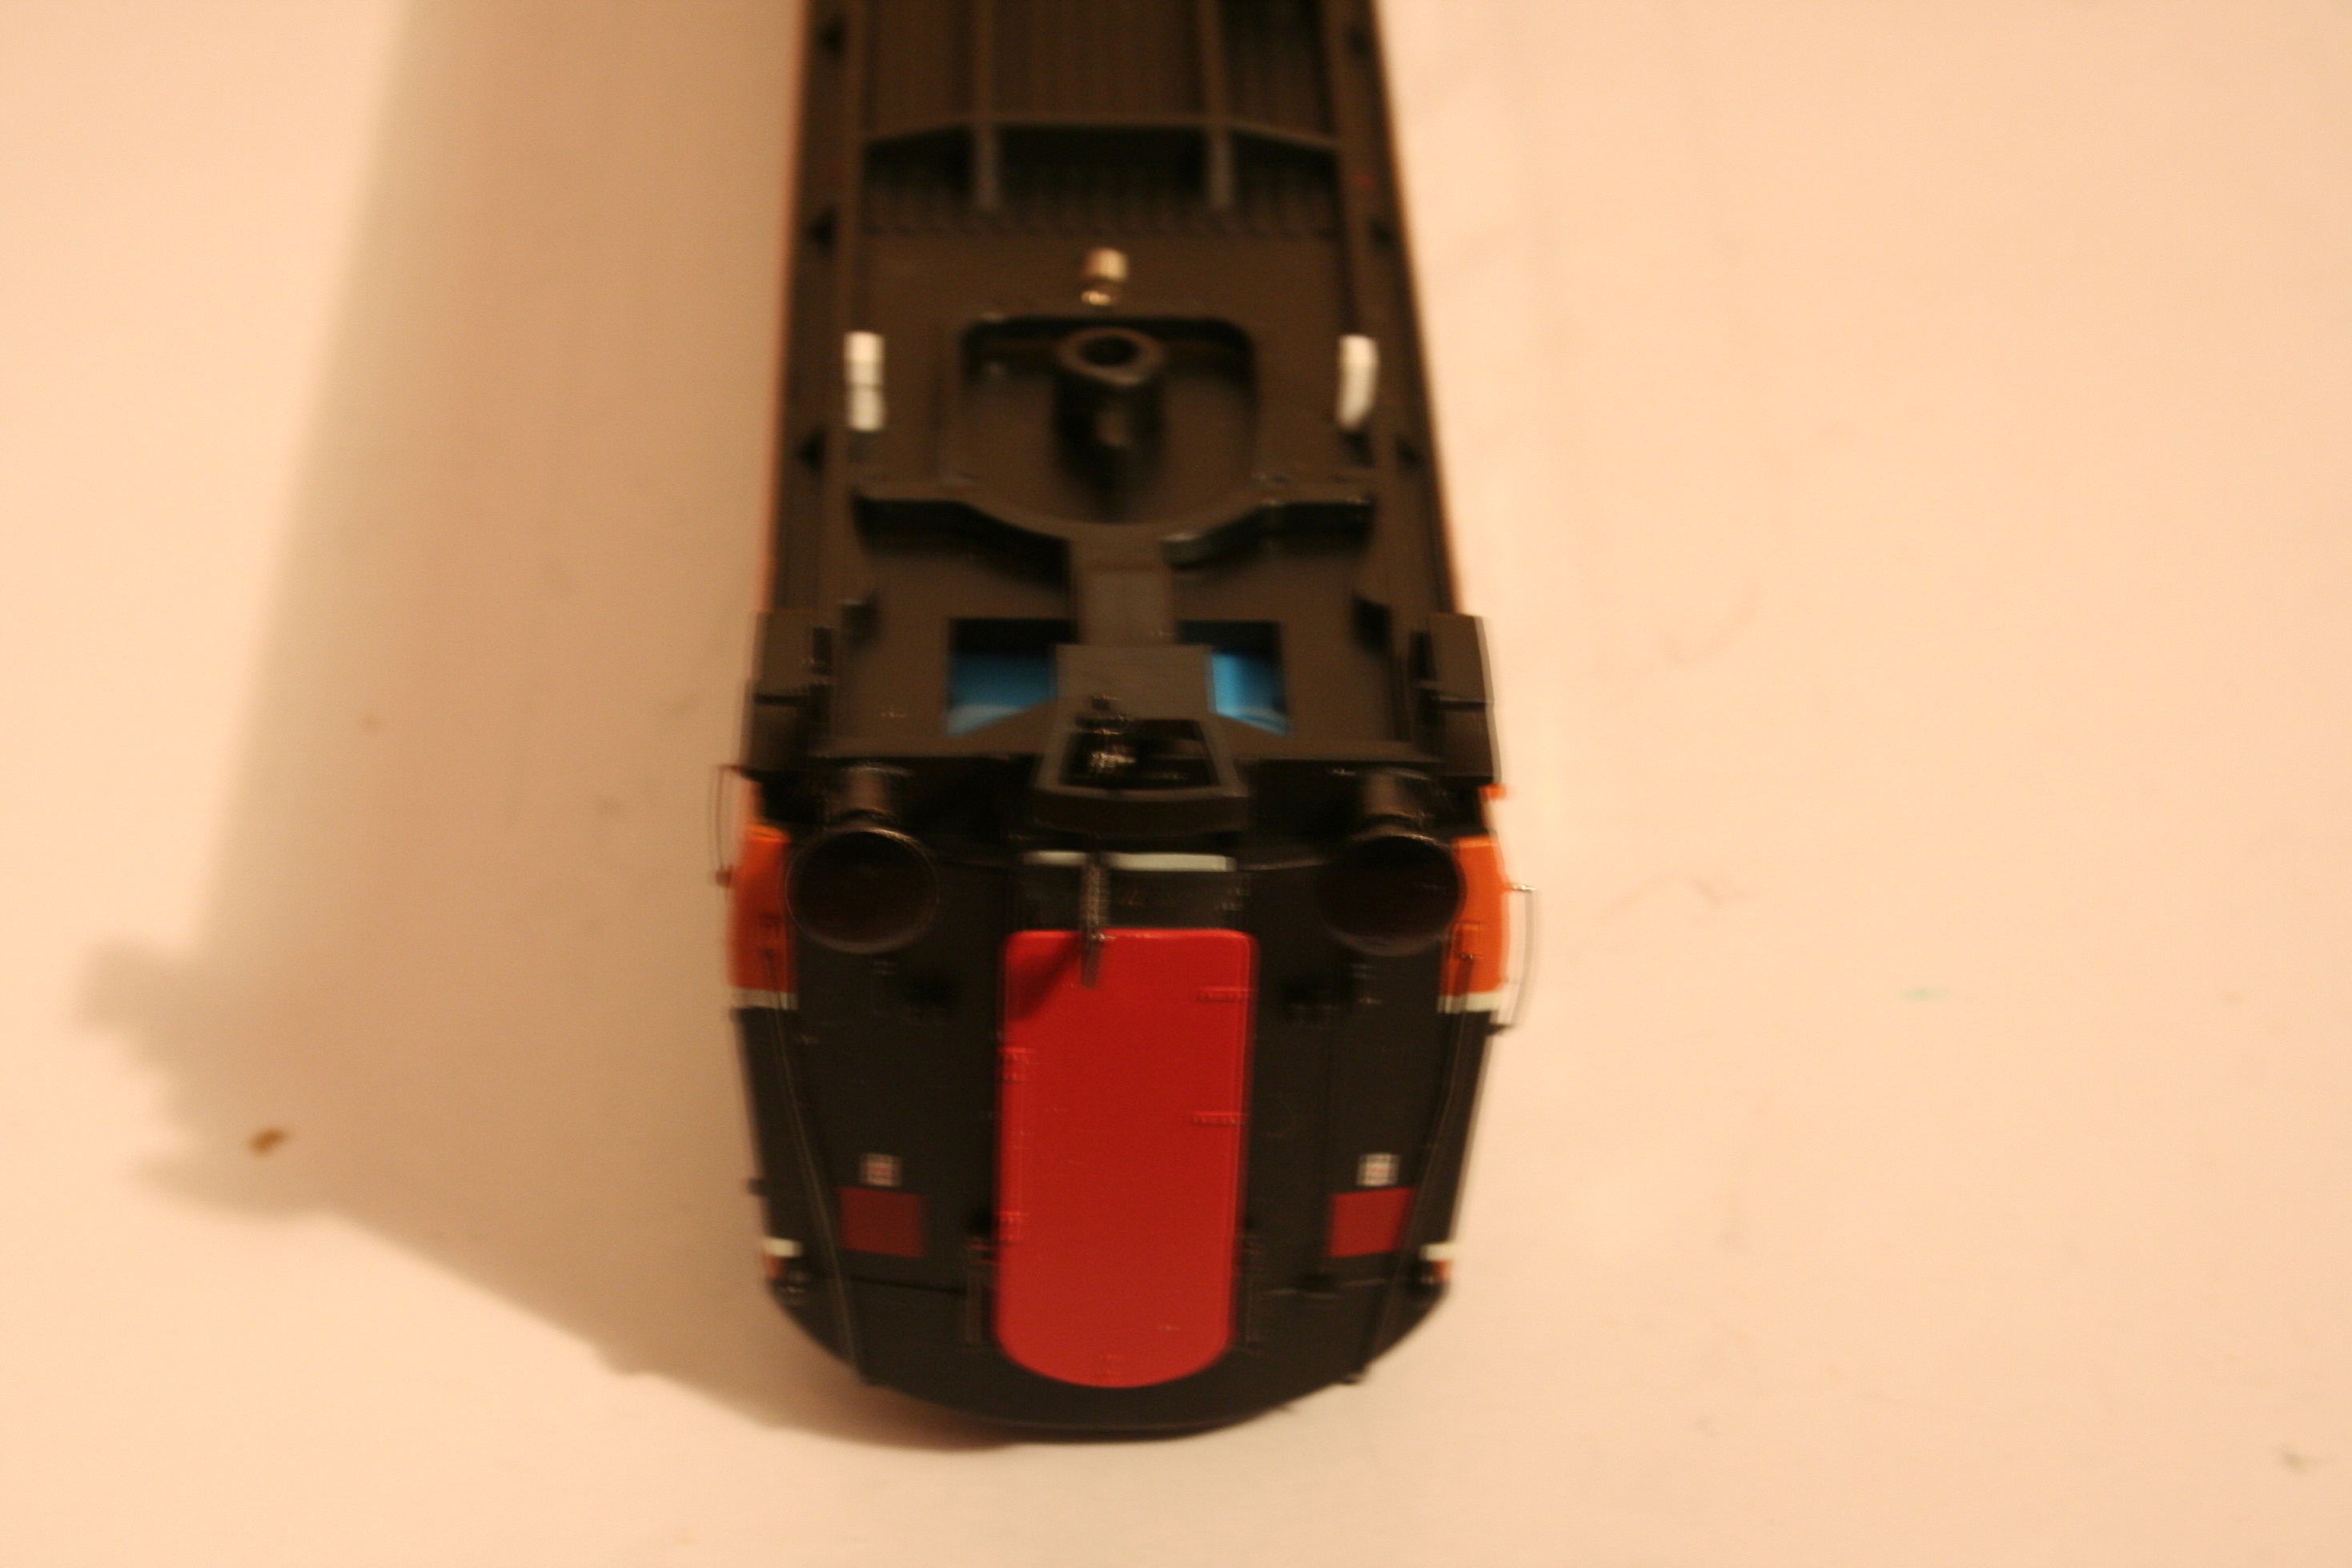
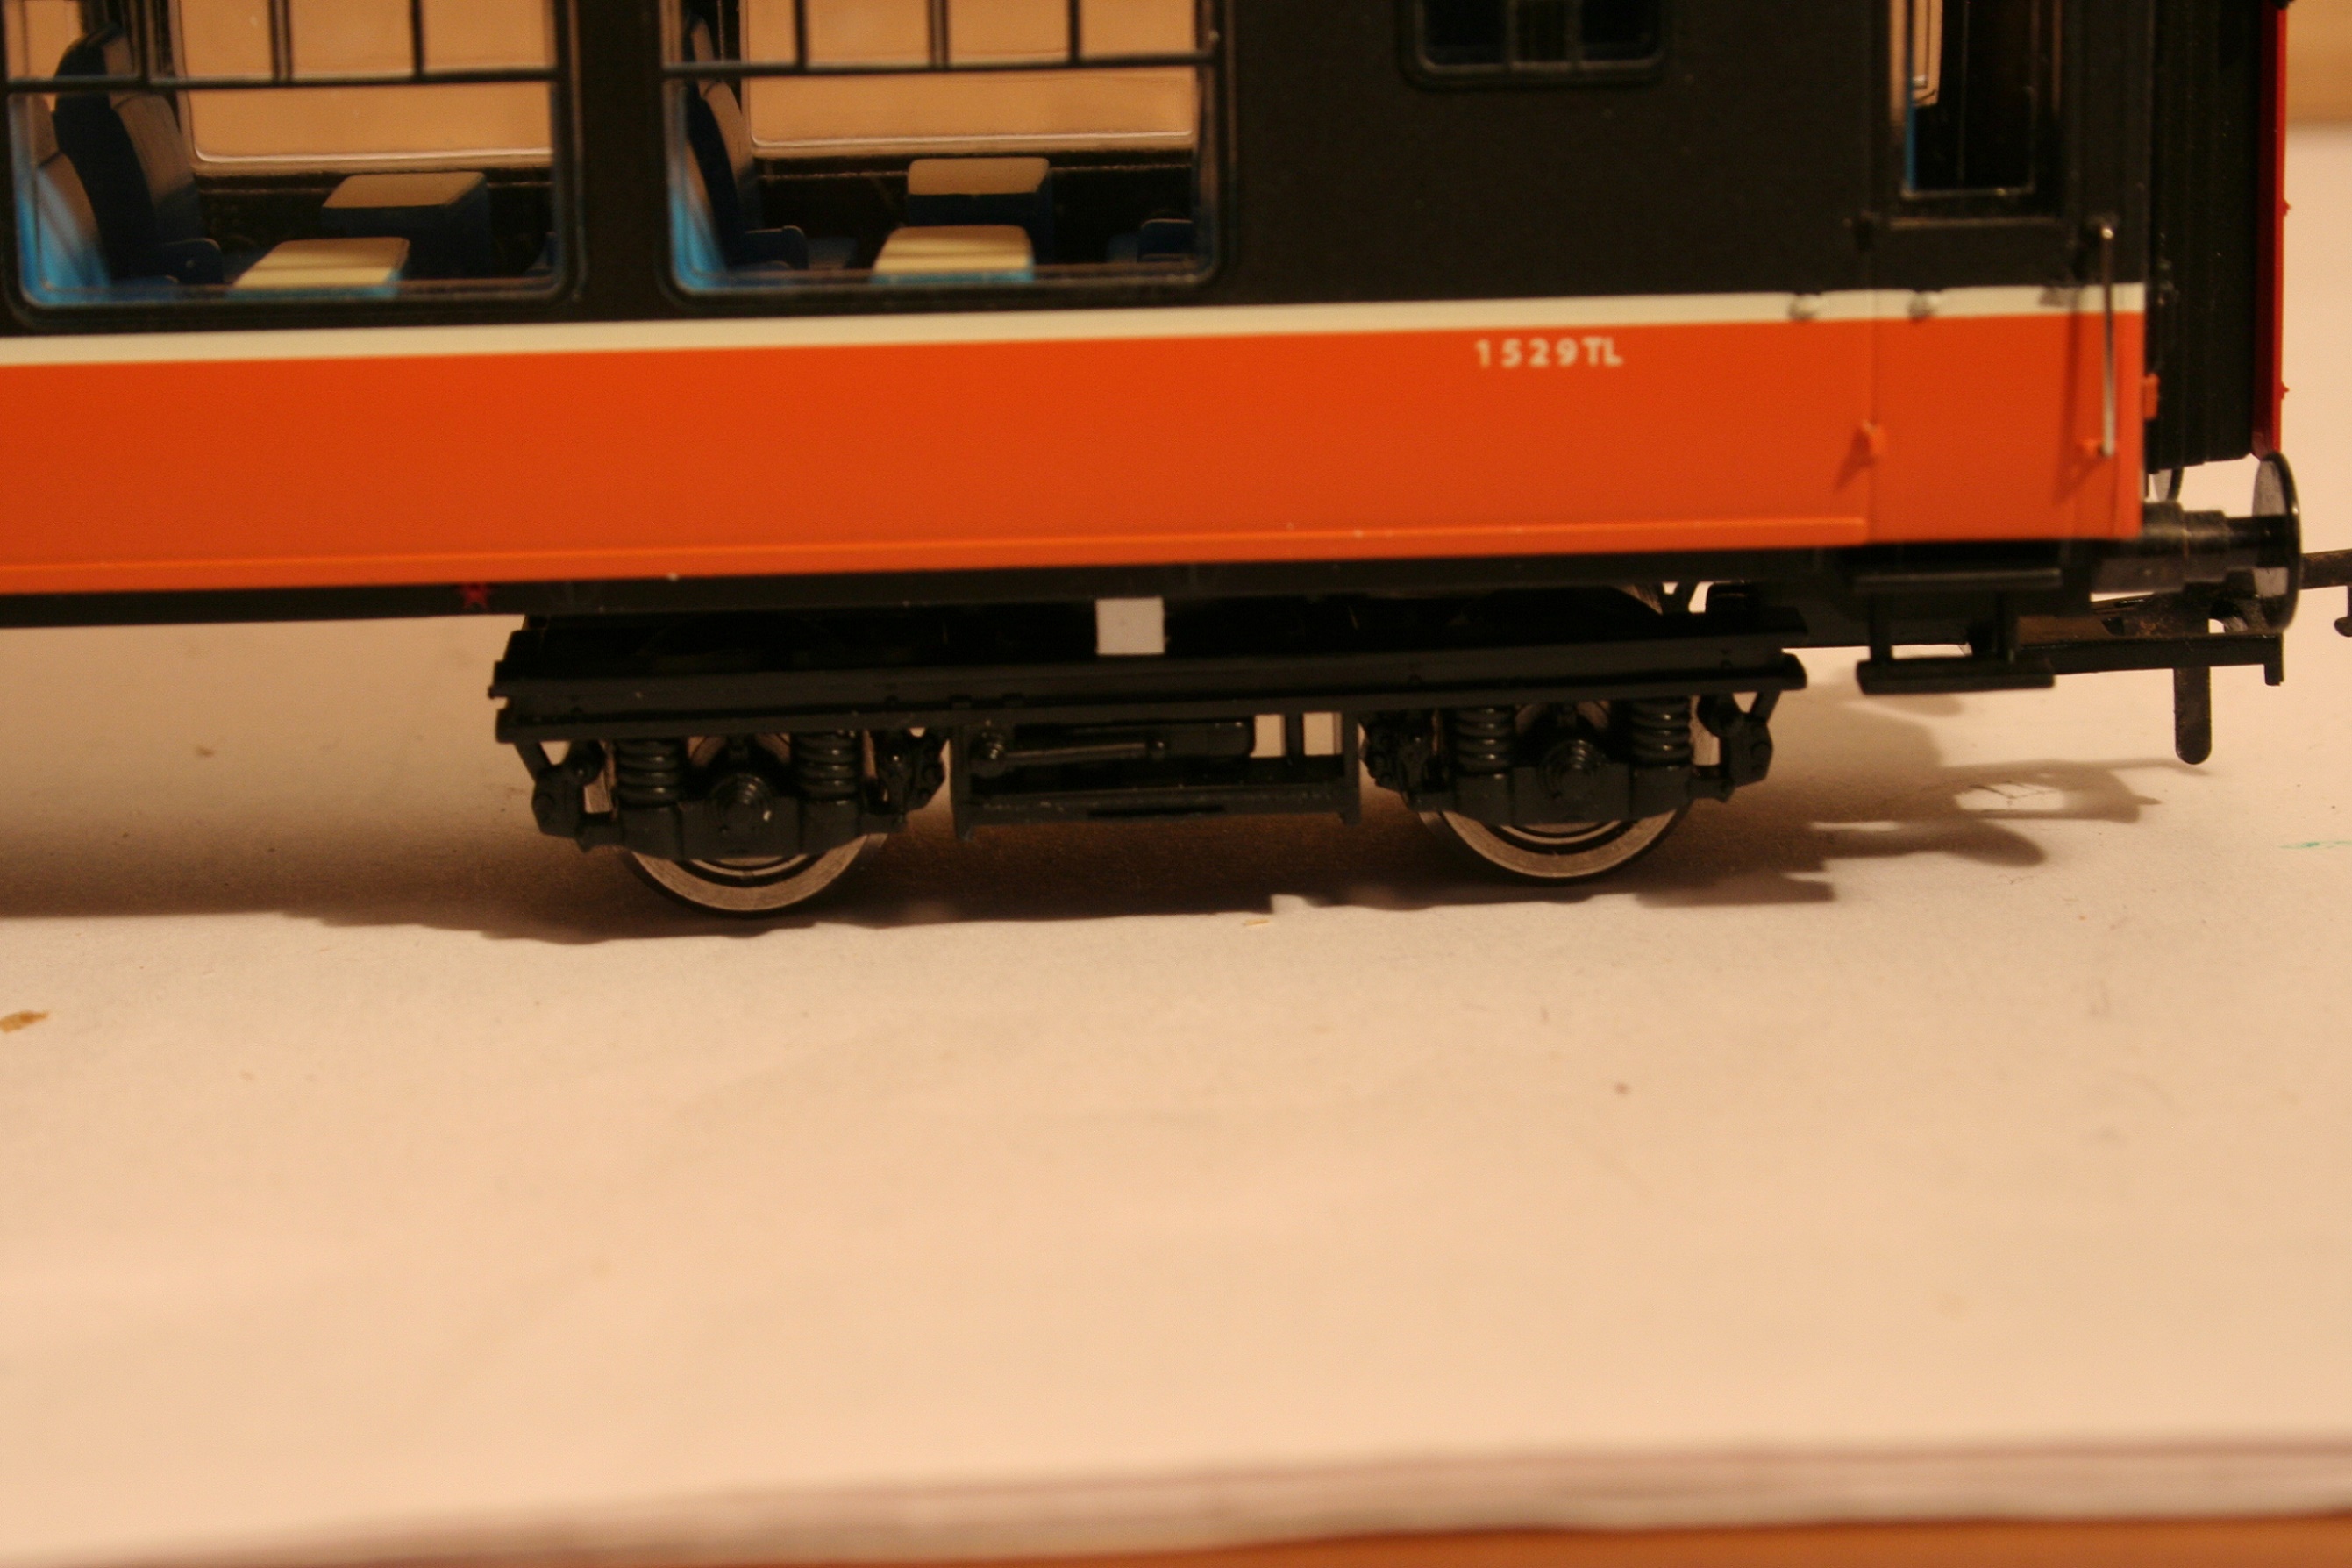
I have read, with interest, the comments made about the new RPSI Cravens coaches, and have to agree that the livery is very attractive. Unfortunately, I have no interest in such up to date vehicles. I have also read about the running qualities of these coaches compared with the MM versions, which seems to be due to different bogies being fitted. This is a problem which has afflicted other manufacturer's coaches over the years, and one which I have successfully cured with the minimum of work. I therefore set about trying to do the same with Cravens coaches. As I said already, I don't have any of the RPSI Cravens, and my modification has been done on a MM Cravens, but the principle is exactly the same. I have made a number of assumptions about the RPSI coaches. Firstly that the wheels are running true, secondly that the underside of the RPSI version is the same as the MM version, and thirdly, that the top of the bogie is completely flat, at least at the outer edges, like the MM ones. The method; 1. Remove the bogie and coupling mechanism, taking care not to lose the spring. 2. Two 4.3mm lengths of 1mm X 2.5mm plastic strip were cut, and glued to the inside of the solebar in line with the bogie pivot. 1mm plastic strip was used as anything thicker would foul the close coupling mechanism. 3. Once set, a straight edge was used to ensure that the ends of the plastic strips and the bottom of the bogie pivot were exactly in line. 4. If the plastic strips are too long, the ends can be carefully filed until the strips and pivot are aligned. If they are not perfectly in line, the bogie may be stiff to swivel. 5. The bogie and coupling mechanism were refitted, and the bogie checked for free movement. Only one bogie is required to be done, as this will effectively provide a three point suspension system for the coach. Doing both bogies would make the coach too rigid for less than perfect track. If the results are less than satisfactory, then the plastic strips can be removed and you can have your wobble back.
-
*