-
Posts
7,478 -
Joined
-
Last visited
-
Days Won
149
Content Type
Profiles
Forums
Events
Gallery
Blogs
Store
Community Map
Everything posted by Noel
-
Cheers. That's the general idea. But 121, and A classes and 101 Sulzers were also visitors from Limerick and Ennis on route to Athenry, Tuam and Claremorris.
-
Its been a while, but have been chipping away slowly piece meal between other projects, working on buildings, platforms, etc. Last few days. Gort is essentially designed for now as an end to end shunting layout that will eventually be part of continuous running set up in the future. Track diagram is as per the prototype as it was about 1970 nearing the end of its hey day as a busy pick up goods station for a regional agri market town. Track cut and dry laid for test fit. Points modified for frog switching and DCC. Now lift it all again, drill holes for point motors and power feed, lay two layers of closed cell foam, one over entire base board, the other just under the track, this will ensure no 'sound' bridge with the plywood for quite running. There will be no track pins, they will just be used temporarily to hold track in place while the PVA glue dries, and then removed as a track pin can act as a sound bridge to plywood baseboard guitar effect. I like quite track. In the immediate future this will just be an end to end shunting layout, but in the future part of a larger continuous loop layout. I'm rather slow laying this track as testing everything as each step progresses, free running, smooth transition curves, locations of uncoupling magnets, avoidance of under board cross members for point motors, platform clearances, etc. Its fun but very slow. I've no idea how I had the energy and stamina to lay all the track on Kingsbridge 27 years ago. Two 5ft x 2ft baseboards for now Track cut and test fitted. Now to re-lift the track again and lay the closed cell dense foam baseboard cover and track bed, then relay the track and pin temporarily while gluing it with PVA. This is going to take a long time but enjoying it all the same. Cattle dock will be on LHS with water tower cut into the end of the middle platform and goods shed just this side of the LHS goods platform. This layout project was inspired by this photo in Jonathan ( @jhb171achill ) and Barry's book 'Rails Through The West', and my childhood memories of Gort as a busy market town. https://www.amazon.co.uk/Rails-Through-West-Limerick-Illustrated/dp/1780730063/ref=sr_1_1?dchild=1&keywords=Rails+Through+The+West&qid=1592600749&sr=8-1
- 329 replies
-
- 11
-

-

-
The difference in sound is negligible to many ears, but I guess the Black&Tan livery (ie black, white band, tan solebar) which ran from 1963 to about 1974-6 was powered by the original EMD567 engines, The other thought that occurred to me from experience is that running two locos in consist both with sound on can sound a bit dizzy and confused. Some sound decoder projects allow you to vary the engine note using a CV setting (ie so two locos do not sound identical). Personally when I run pairs of baby GMs in consist I only turn the sound on in the lead loco, because it just sounds better than two. But that's just me. Others might quite like both with sound on. WheelTappersDCCsound who did the decoders for all my baby GMs offered 3 engine pitch versions so that in consist a pair would not sound identical. I am making an assumption that the Murphy model commissioned chip may have a CV setting to facilitate something similar. There are subtle things when consisting sound locos, for instance you only want the horn to sound on the lead loco, but you want both to make braking noises at the same time, and only the tail loco to make uncoupling noises or buffer clash when commanded, etc. Then there's the whole area of running lights on a consist, set up for running as a pair hauling a train with brake lights at the end when travelling locos only (ie light engines) so brake lights on trailing loco, etc. All to look forward to exploring when the new models hit the rails.
-
Looks like that building may take a big chunk out of the car park.
-

How to decant halfords spray primer into a paint bottle?
Noel replied to Noel's question in Questions & Answers
Thanks @RobertRoche that's really helpful. -

How to decant halfords spray primer into a paint bottle?
Noel posted a question in Questions & Answers
How to decant some Halfords spray primer into paint bottle? I've tried various methods with poor results. It's like setting off a fire extinguisher. Has anybody found a tidy way to do this without loosing half the paint or making a mess like an exploded egg? -
Cheers @LARNE CABIN. No 18 NEM. It plugs into the Dapol NEM pocket. I find dapol NEM pockets tend to droop on most wagons including Dapols own wagons, so a minor tweak is needed to prevent the droop and keep the kadee at gauge height on the horizontal plane, so that the tripping pin does not snag magnets nor points. This tweak is just to slightly file the screw mounting lug on the chassis of one of Leslie's wagons or any dapol wagon slight shorter so that when the screw is in place the NEM pocket is firmly held in the horizontal plane with no play under the screw. It takes only seconds to do but ensures uncoupling magnets will work well for automatic uncoupling and delayed uncoupling . Hope that long winded answer helps.
-
1 done, 4 more to go. Provincial wagons cattle wagon kit. Enjoyed that.
-

Diamond Crossing Protector
Noel replied to Paddy Mac Namara's question in DCC, Electrics and Electronics
@Paddy Mac Namara Clever, do you plan to have detection on the main lines to prevent the branch train coming into conflict with main line traffic? Love the bread board. -
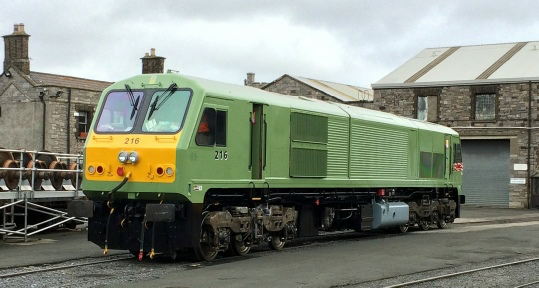
How about a 201? (photo from https://www.lococarriage.org.uk/eire2016.html) Or the amazing looking dalek B113 (photo https://www.derbysulzers.com/cie.html)
-
Interesting photo. When the mk2 coaches came over from BR and were fitted with 5'3" bogies did they leave them in BR blue for a while? The NIR livery seemed clever as only required repainting below the windows to convert from BR to NIR
-
Good news and very keen prices on the 201 and mk2's.
-
Fabulous Gerry. Looks so authentic
- 68 replies
-
- 1
-

-
- passenger & goods traffic
- steam era
- (and 3 more)
-
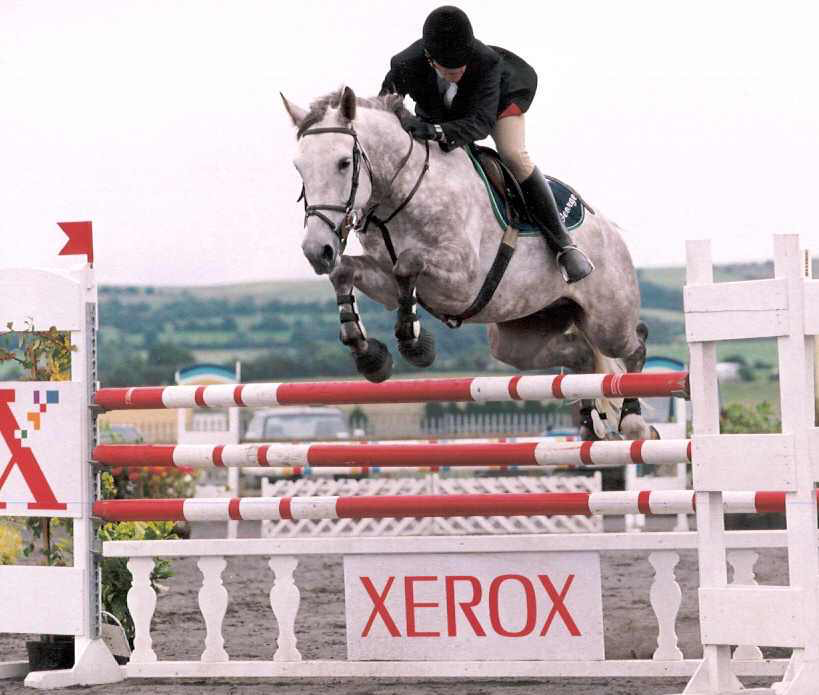
Talking of horses. This guy never put me in a hospital, but his sister did. Many many years ago in another time in another life.
-
Merciful hour.
-
Wait for the Murphy 121 and IRM A class to redefine knees
-
Wow Leslie what a wonderful life history.
-
Super clip 331kph (206 mph in 1955) not bad. The French were always top engineers in aviation, rail, maritime. These French locos were built before the metrovic A and C class. Just shows how good engineering was in France by comparison at the same time.
-
800 class steam EMD/GM 121 CIE EMD/GM 141 CIE EMD/GM 181 CIE EMD/GM 071 CIE/IR J15 class steam MV 201/C class CIE MV 001/A class CIE Sulzer 101 class Sulzer 113 class
-

Photographic Website Updates
Noel replied to thewanderer's topic in Photos & Videos of the Prototype
Fascinating watching the video clip of the yellow machine running on the wider layer CWR. How is it temporarily held in place? -

Photographic Website Updates
Noel replied to thewanderer's topic in Photos & Videos of the Prototype
Some great shots as ever, worthy of Tara junction. Presume the works are on both the WLR and the Limerick-Ballybrophy line. PS: How do you find the D7200? Was thinking of a D7200 or D500, but the 500 looks rather heavy and bulky. The D7200 seems a nicer weight and size. Don't think I'd need the AF prowes of the D500 for mainly seascapes and family pics. -
That was rural Ireland in its heyday, Nowadays you'd need an environmental impact study done before loading the cattle, a sleeping bag for a snowflake animal rights protestor, and the EPA to seal off the town with a pollution control incident. At least the cattle came with cooking striations pinned to their ears. Not sure about clean shows (Shoes), but I like to keep my wellies clean, don't like to bring too much of that sort of thing into the cab of the tractor, it comes off on the differential brake pedals too easy.
-
Meanwhile back at a drug free workbench. Gloss varnish this morning in prep for transfers. A few tweaks to be done to the weathering, and then off to slurry junction.
-
Thanks for that photo Leslie. Looks like the doors in the photo are full length. probably with the short ramp folding upwards against the doors. Road Cattle trucks usually had a full length ramp with folding wings to guide the cattle in. The rain stains are interesting. Somebody had to hose down the inside of these daily and the lower timber panels would have left a gap between the floor so the water and slurry could be washed out.
-
Like the two torpedo tubes
.png.c363cdf5c3fb7955cd92a55eb6dbbae0.png)


