
RobertRoche
-
Posts
462 -
Joined
-
Last visited
-
Days Won
12
Content Type
Profiles
Forums
Events
Gallery
Blogs
Everything posted by RobertRoche
-
I use an Aldi/Lidl version which I find good. They're cheap and the included sanding disks, bits etc have done me for most stuff to do with model railways. You can get better quality accessories either or in addition if you need it.
-
Magnificent detailed work, it looks spot on.
-
Number 4 looking well there, great scene!
-
I don't think that the Oxford Mark 3's are a perfect match to what ran here. So far with the ballasts and bubbles Irish Railway Models have gone for accuracy, so I'm not sure that the Oxford coaches would fit in with that?
-
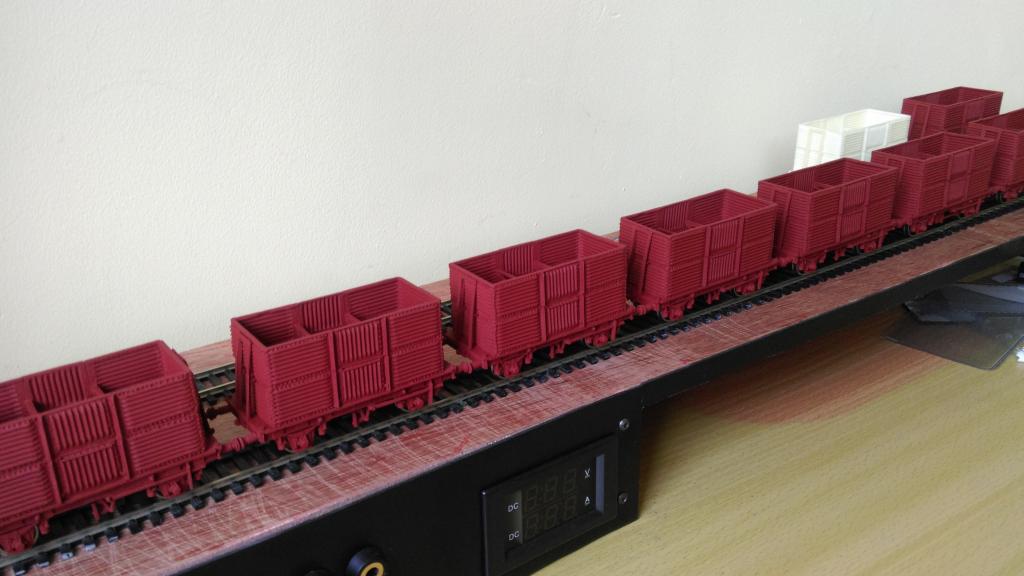
Hi John, I sprayed the wagons with an airbrush. I diluted the paint slightly with IPA and it went on very well.
-
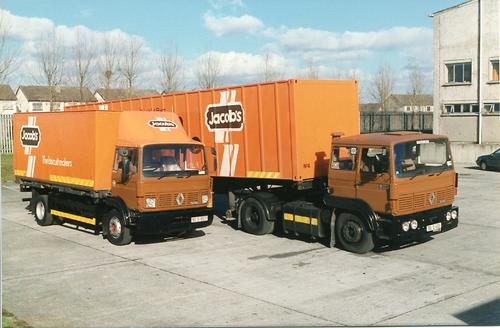
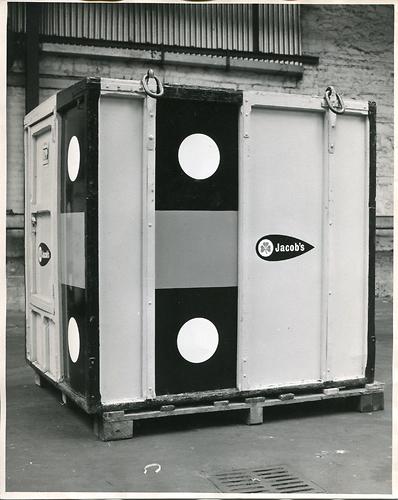
There are some photos of Jacobs trucks, containers etc on http://digital.libraries.dublincity.ie/vital/access/manager/Index such as these shown below (better resolution availabe on the site. I know nothing more about them though.

-
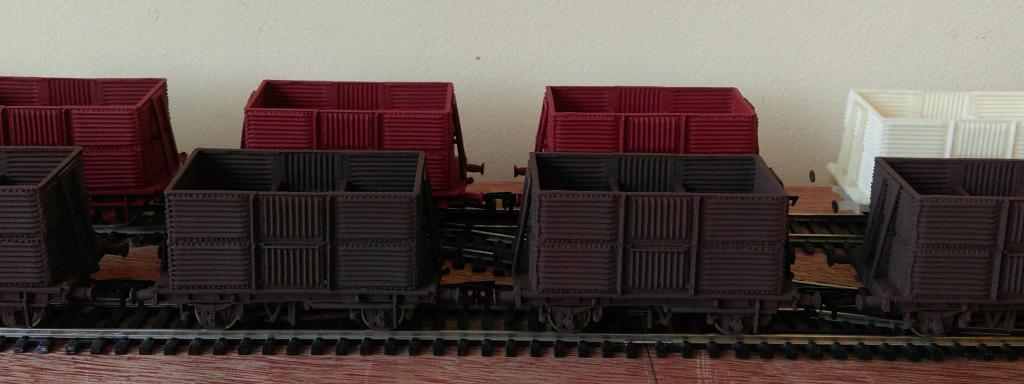
Thanks Nelson. Would you be able to suggest a colour? I used Tamiya acrylic XF10 flat brown on these. Great reference there, I will definitely try to replicate some of the weathering in those shots. Good - this beet kit was really simple and good fun. I have many projects on the go, most of which have been sitting untouched for a while, hoping to get back to them shortly.
-
-
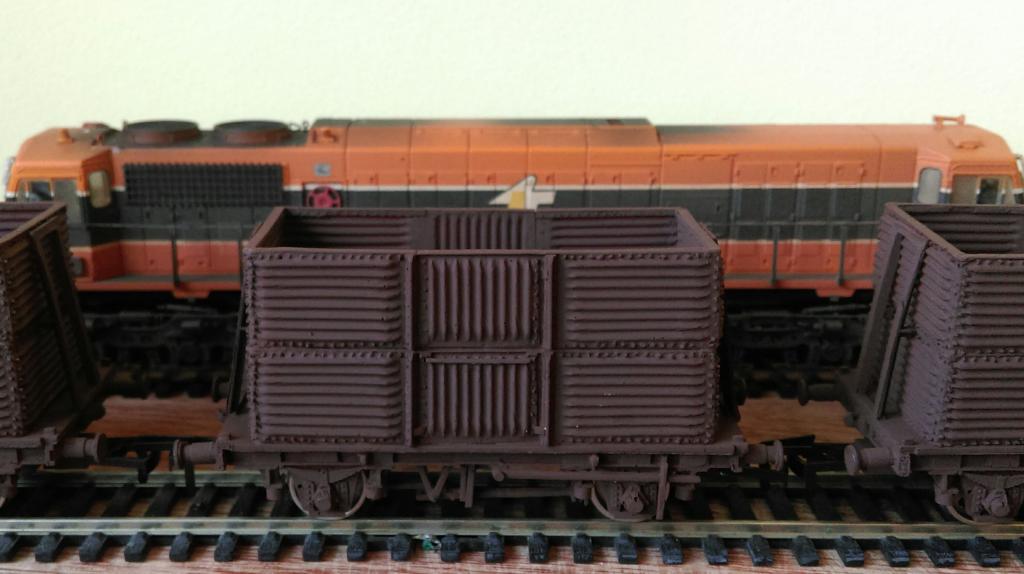
I gave four of them a coat of flat brown yesterday - picture to follow. Weathering to definitely follow. Toning down of the brown, perhaps dry brush with some greys and add dirt and grime. I didn't make any of the single beets, this is the first railway kit that I have done. I found the chassis to be grand, I only had to trim the back off a few brake shoes where it was catching a wheel. I did however manage to put the brake gear on the wrong side of the wagon, despite the instructions clearly stating which way they should go. Thanks for the pictures and video!
-
Thanks for the comments, the colour in my picture looks correct on my screen, so yes they are quite red. I think that this is what I will be doing, a coat of flat brown might do it. Thanks, plenty of weathering to do on them! Also need to sort loads.
-
I picked up 10 double beet wagons from Leslie at Bangor. I really enjoyed putting them together and hope to do more in the future. They are sprayed with Halfords red primer, I am unsure whether I should spray them brown now or just apply lots of weathering.
-
Excellent Noel!
-
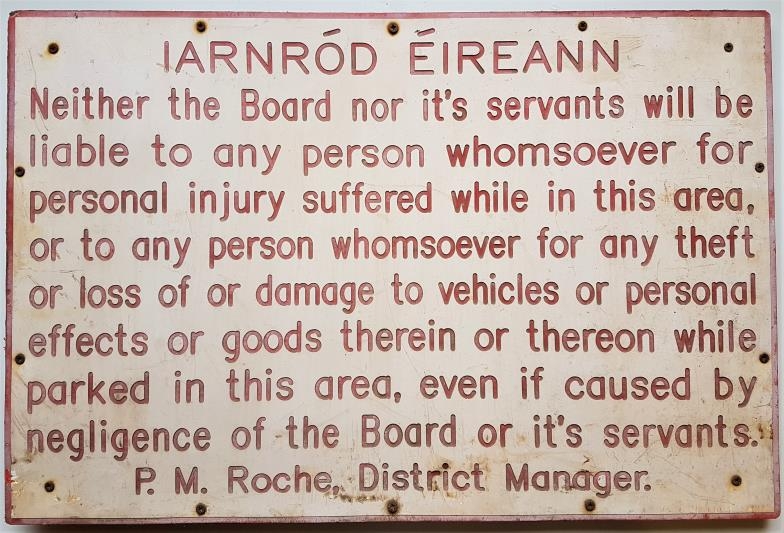
I picked up this sign today. On the rear in ballpoint it says 'WORKS FOREMAN WELLINGTON BRIDGE' a pretty local station which I may try to replicate in the future. I also share last names with the guy on the sign.
-
Dave, I've only just put 2 and 2 together! I look forward on getting some tips on point building for Wellingtonbridge! Rob
-

Wexford Model Railway Club Easter Exhibition 2017
RobertRoche replied to Irishrailwayman's topic in What's On?
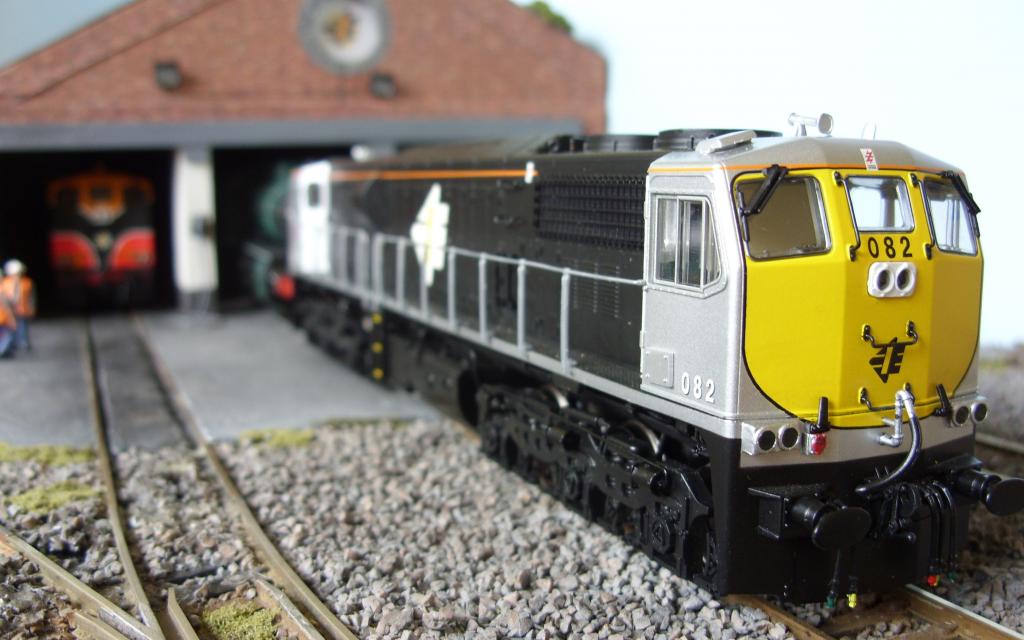
A very clean looking 082 shunts preserved locomotives out of Connolly Shed in preparation for the Wexford Show this weekend. My diorama as well as others and many great layouts will be making an appearance. Say hi if you come along, I will be operating the American themed 'Bushville' layout built by WMRC over the weekend.
-
PM sent regarding B141
-
Looking forward to seeing the layout in Wexford again!
-
Run a few trains and try some shunting, see what you can do with it, making trains and moving goods. Do you have any room to perhaps run through your fiddle yards into a different section of the layout? This may make it seem as if your train has traveled somewhere. The scenery additions will make the layout come to life. Could we see a picture of the whole layout as it is currently? Don't become disheartened...you've put a lot of effort in and maybe you didn't get your expected result with what you have done so far, but a break from a project will often bring new inspiration, and perhaps give you a different perspective on the operations side of it.
-
I would be interested also!
-
Excellent looking spray job!
-
Looks great Gerry, looking forward to seeing it
-
'Off the wall' prices for 181's currently from this seller http://www.ebay.ie/itm/BACHMANN-MURPHY-MODELS-OO-GAUGE-MM0187-CLASS-181-034-IE-034-ORANGE-187-LOCO-A6-/361932623821?&_trksid=p2056016.l4276
-
Hi Noel those last two pictures look absolutely brilliant, well done!
-
The attention to detail already is brilliant, looking forward to watching this progress!
-
Oh wow, I like that!
.jpg.f7632868505c65e8c339eb63a7529572.jpg)