murrayec
-
Posts
2,731 -
Joined
-
Last visited
-
Days Won
70
Content Type
Profiles
Forums
Events
Gallery
Everything posted by murrayec
-
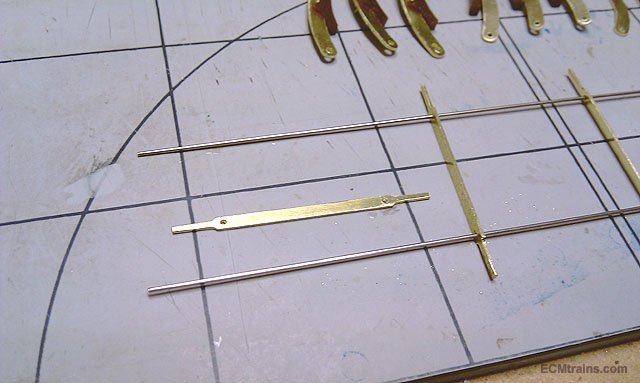
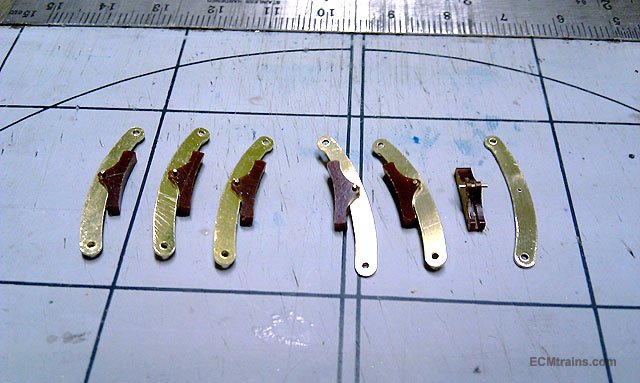
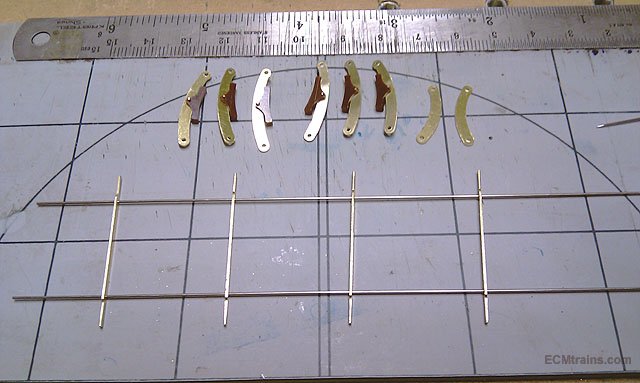
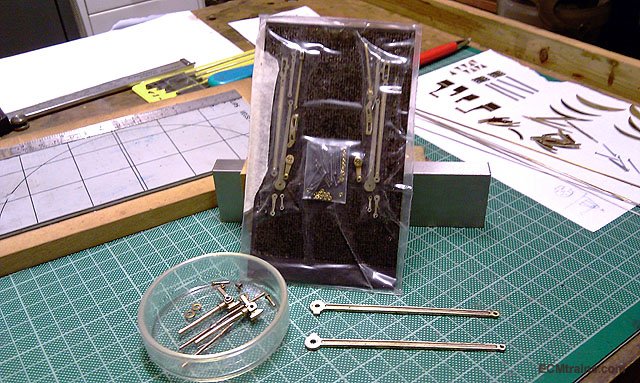
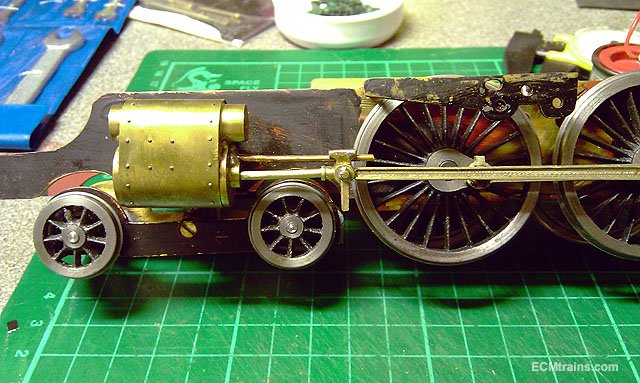
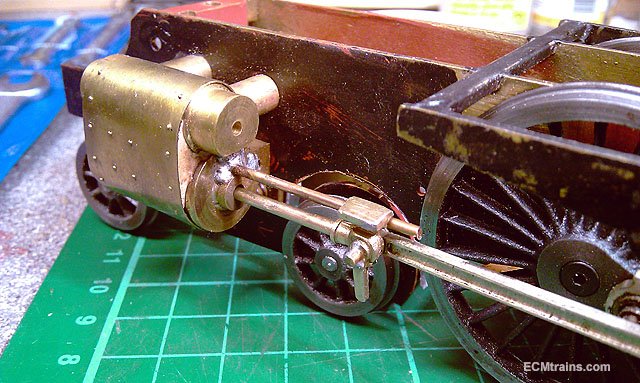
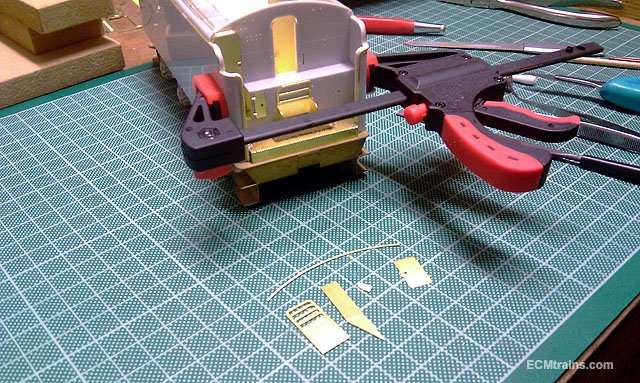
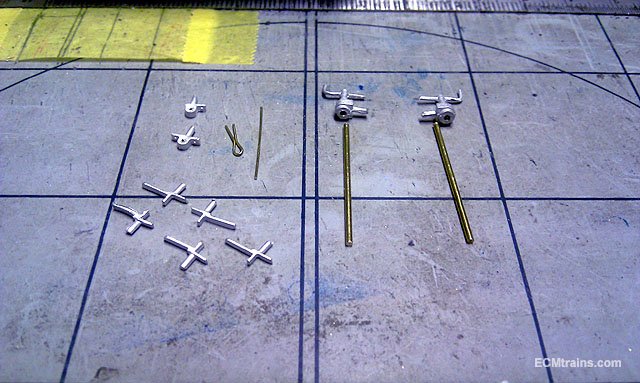
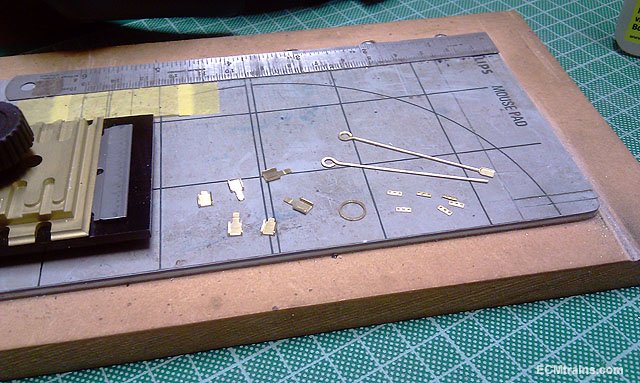
Everything removed from the sheet, all the tabs removed by filing, holes broached up to size, and ready to assemble, on the left top is the steam valve rod guides, next to the right is crosshead stuff, next wheelweights, back down left are the crosshead bracket support to the chassis!.... you'll see in a while... Break shoes were .5mm slotted to fit with .5mm pin onto the hangers Break roding bars, the brass cross bars are filed a little on the edges to fit the bottom hole in the hangers, .6mm NS rods will be used for the lateral rods Complete, and will be attached to the chassis next time.... This is the valve gear kit that was supplied with the model, it's very close to the 800 stuff and with a little tweaking should be quite acceptable?? Eoin

-
Lovely stuff David, Lovely little loco. Eoin
-
until
-
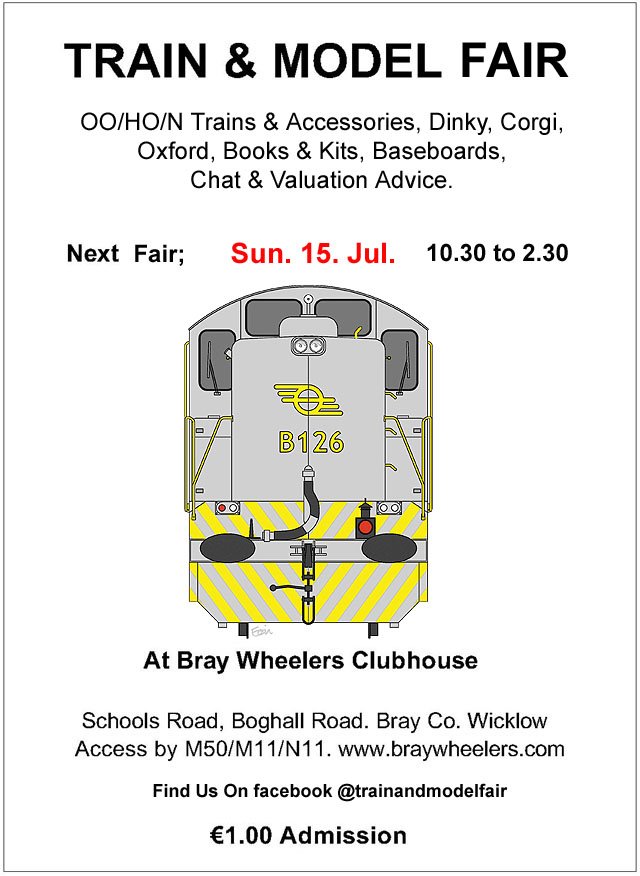
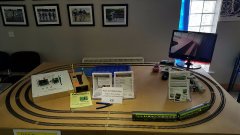
Hi All Next months Fair date;-
-
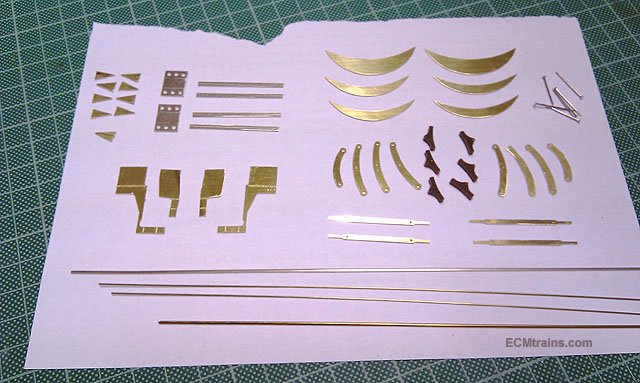
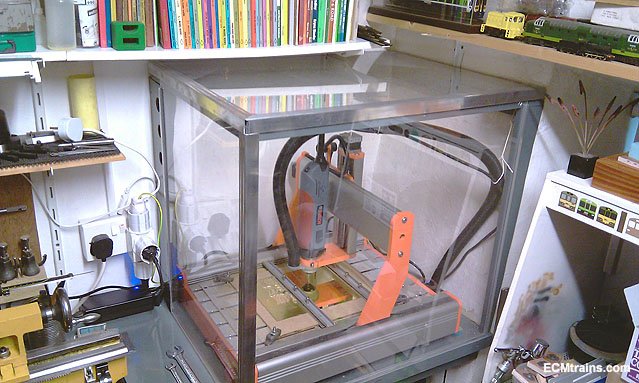
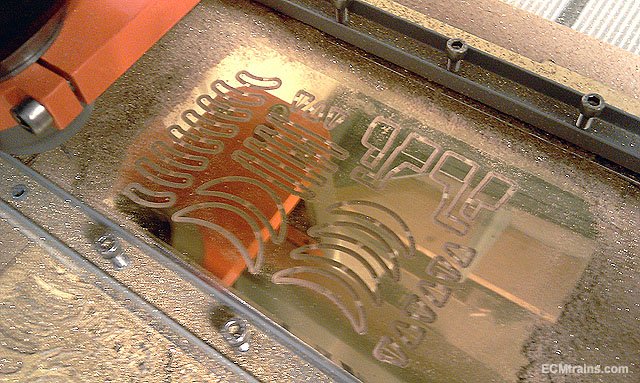
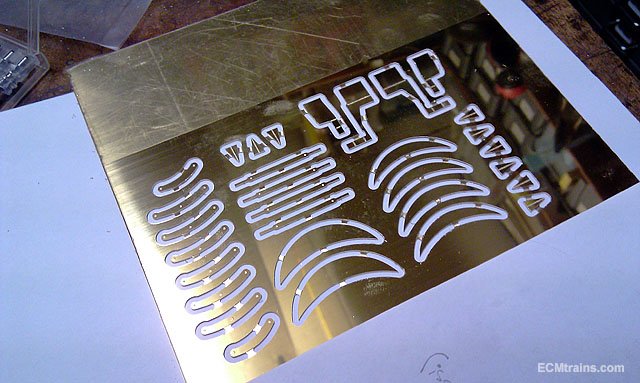
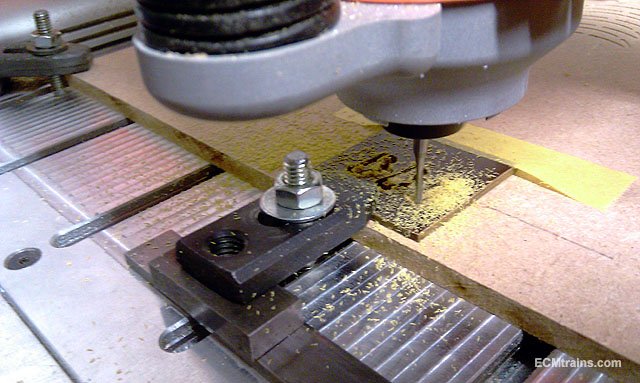
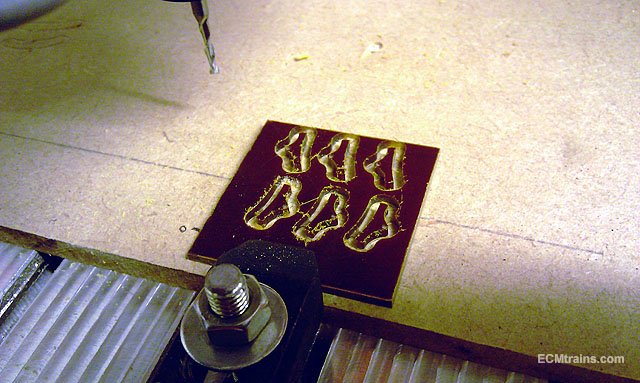
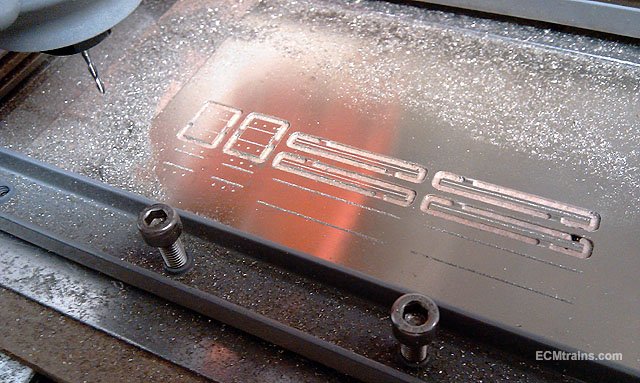
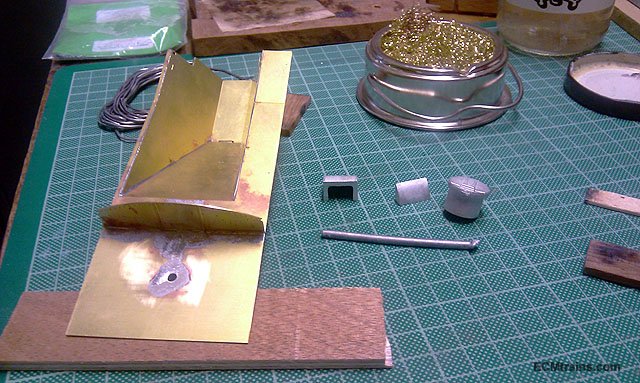
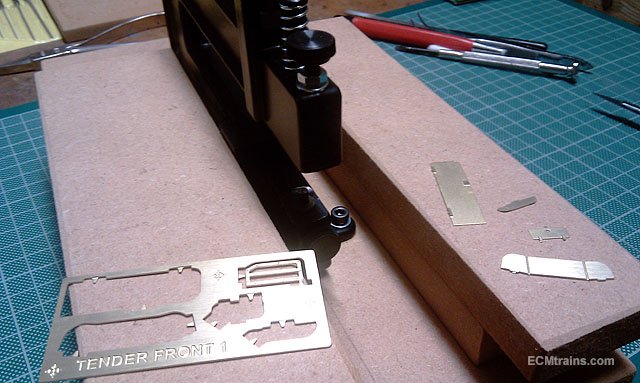
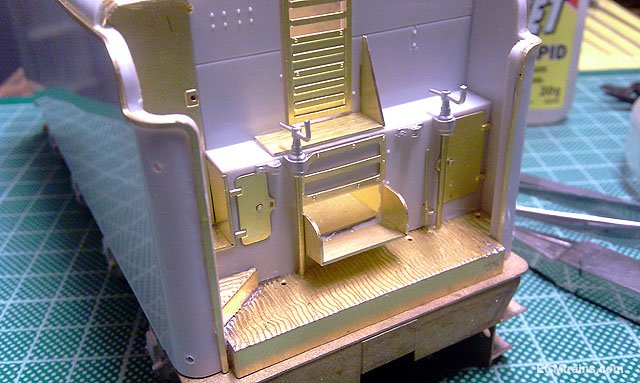
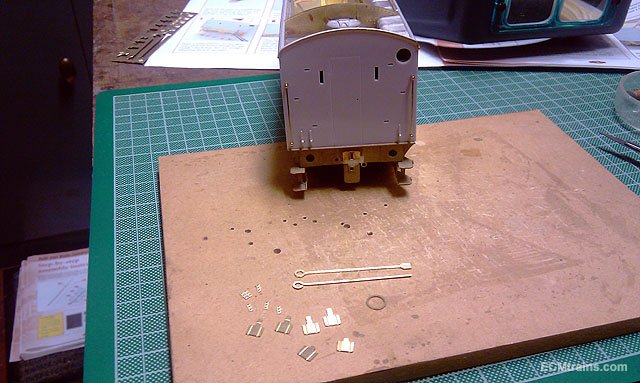
I'm doing the valve gear, wheel weights & break gear on a Class 800 Gauge O kit- no. 801 'Macha' for a chap. A lot of parts for this are not supplied with the kit so have to be fabricated and decided to experiment with cutting them out CNC style!! Some mods to the crosshead and cylinders is required as the kit seems to be based on LNER valve gear and the 800 was a little different I took many photos of the model and imported them into cad and worked out the design for the crosshead system, a chassis hanger assembly to hold the H frame crosshead bar that was more applicable to the class. I also worked out the break stuff from 800 drawings and then got machining.... This is the machine now installed in a dust/noise cabinet- it's hard still to stay in the room when the spindle is up at full speed But it's fascinating to watch the parts appear out of the sheet of metal, this is a shot of the break hangers, wheel weights and crosshead hanger assembly in .5mm brass and complete Break shoes in 2mm Drelin being cut out, this is easier on the ears as the spindle is running much slower and complete This is the crosshead H bar parts and distinctive 800 crosshead bracket in .4mm nickel silver as these wont be painted All worked very well, looking forward to sticking it together......... Eoin
-
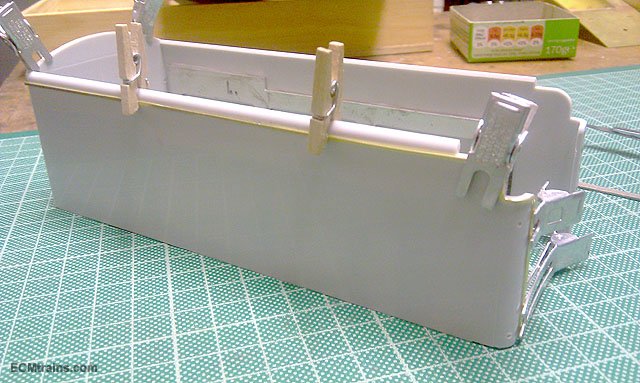
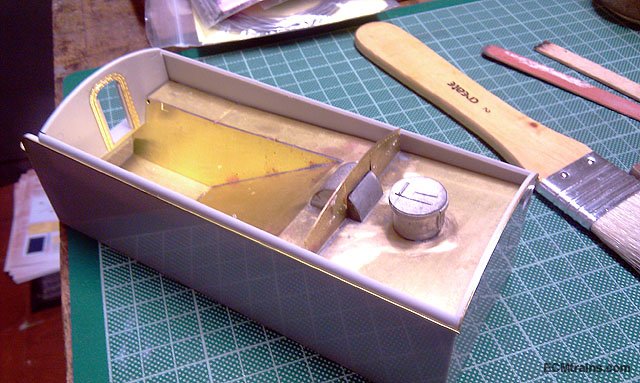
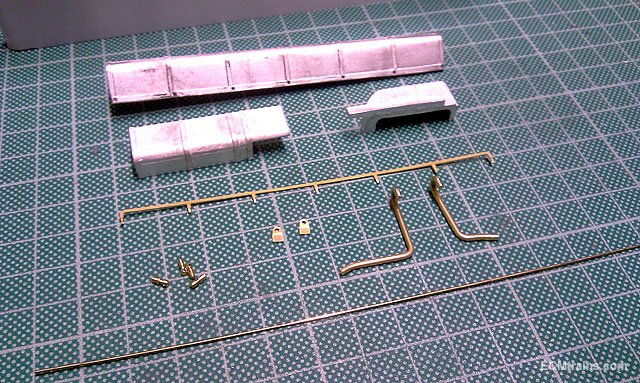
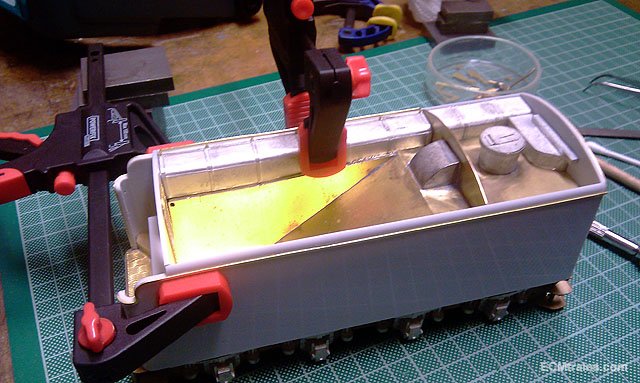
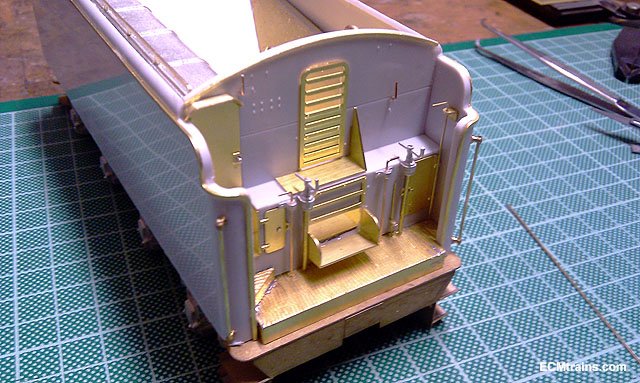
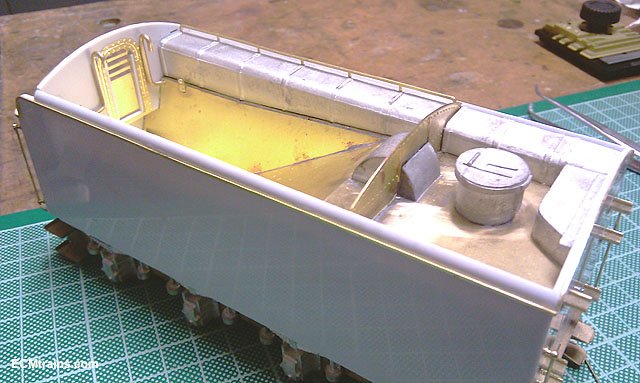
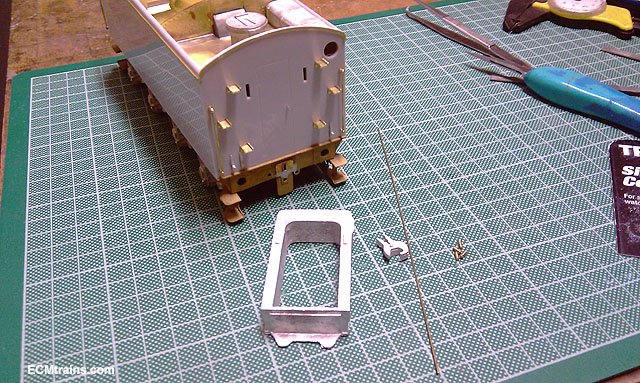
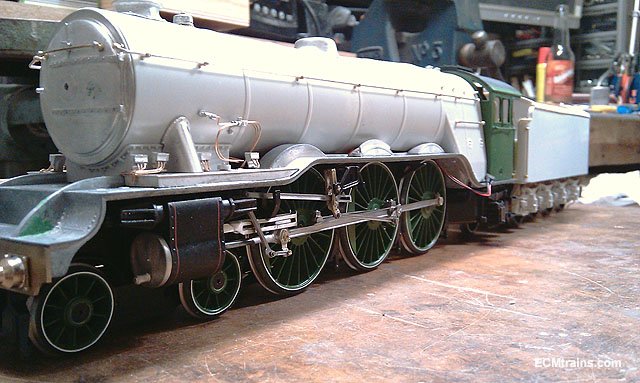
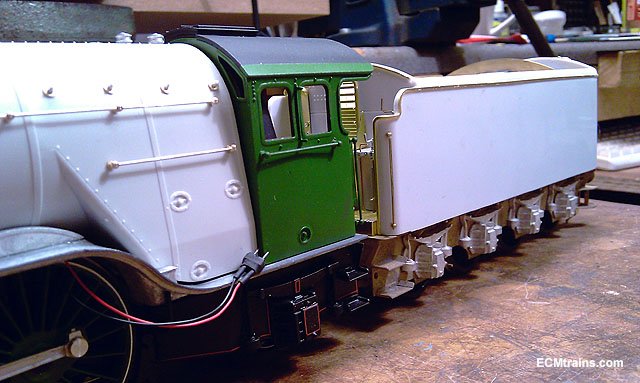
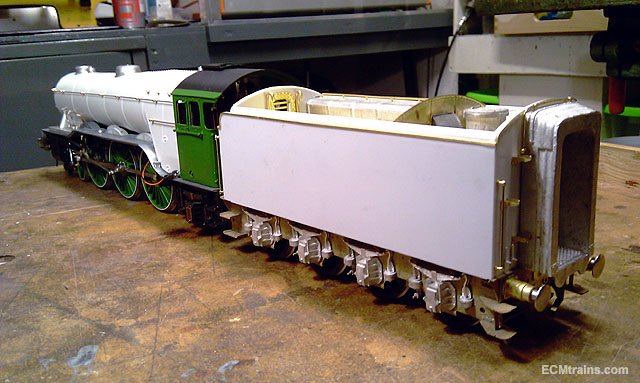
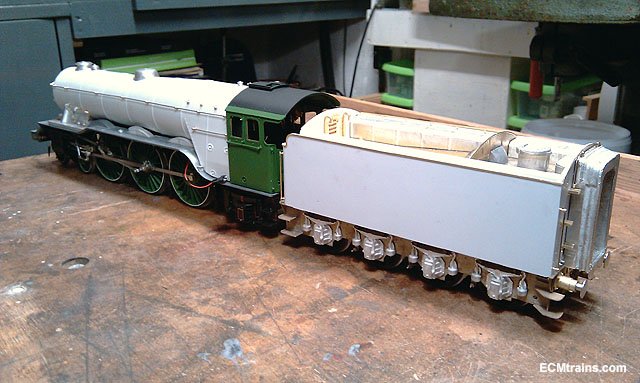
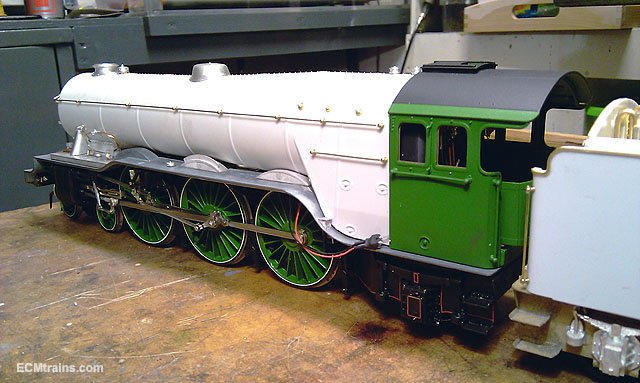
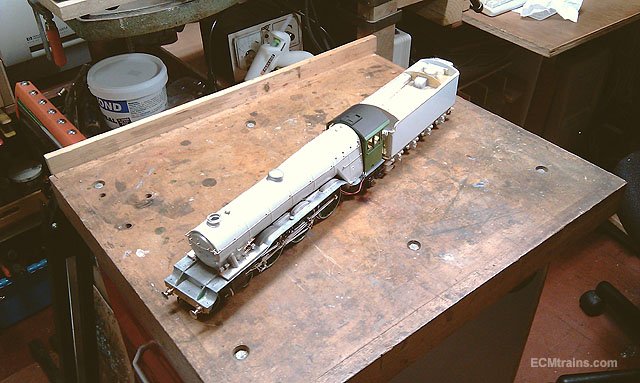
Things have been moving along on the Flying Scot, just haven't had time to post stuff up- well here it is now...... Tender trims being installed with cyano glue Water access hatch and tender top parts being soldered on- 80deg pre soldered to brass parts and the white metal 70deg soldered on Tender top epoxied in White metal crew passage roof going on, using epoxy on this one as to close to the plastic for soldering, brass handrails and other fittings are epoxied to Helping hands while glue sets Tender cab parts- coal shoot, grill & crew door. The grill required a few rivets punched out More fittings going on- all cusps have been removed by filing on these parts in all photos Break handles, brackets and rear tender lamp irons drilled, cleaned up and brass rods prepared All epoxied on Rear lamp irons on and rear steps being prepared Steps folded up and the coal irons will be chemically blackened Steps and handrails epoxied on More tender cab handles, brackets n hooks being prepared Tender cab complete Brass fittings installed in coal area, all were epoxied in Corridor connection n hook next, the connector required some serious filing down on the sides to fit between the steps Gentile persuasion and its on- just with blu-tak for the moment Wheels off again for the last parts-guard irons, I kept this until last as they stick down below the frames and would have made all the above construction more difficult and they may have been damaged in the process- 80deg soldered on Tender is now complete- well except for painting n lining Eoin Now lets have a look at the whole thing Its just about ready for painting, some filling and adjustments required and I'm down to the last 3 packets of parts- the crew, the signs, and a bag of coal..... Eoin
-
Hi jhb Peters Spares stock a lot of wagons, Hornby, Bachmann and others. I've had no problems with delivery, sometimes within 12hrs! if ordered in the morning. https://www.petersspares.com/ Try ID Models for the vans, they post out for the next day if in stock http://idmodels.ie/ Eoin
-
Hi jhb What are you trying to order? if you let us know we might have alternative sources..... Eoin
-

Examples of GSWR / GSR / CIE paint for locomotives
murrayec replied to jhb171achill's topic in General Chat
Hi JHB I love that little loco, it's simplicity is its quality Eoin -
Have to agree with Glendereg, the engineer/designer that dreamt this one up is most likely in a straight jacket, if not, he/she should be! Eoin
-
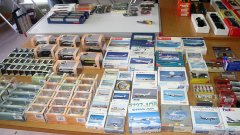
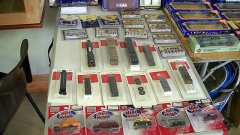
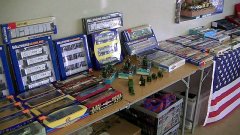
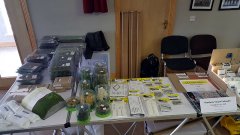
Don't forget This Sunday in Bray guys
-
Thats them Broithe , my ones have a rectangular head like an axe rather than round Eoin
-
I've also dug up;- 5 bed ends- one I use as a gate into the garden- can be seen in the second last photo above. 2 plough spades- off an old tractor plough millions of bottles- tonic, HP, perfume, & boveril 4 steel chisels 2 sets of steel log splitters- ones with wire handles wrapped around 1 TV areal a sack of roofing stakes - blacksmith made in the days before them modern nails and still digging stuff up...... Eoin
-
Hi Broithe Yes, two weirs which still exist, and I was told by a chap that there was a settlement pool in front of my garage but a house stands there now. I had noticed old iron bits and cut granite stones (very like the granite in the kiln) in the garden of the house but the owner could not say where they came from- he sold the property recently and unfortunately the new owner remodelled the garden and discarded them- shes not into old stuff.... Eoin
-
You saw that decal I did not remove- 'eagle eye Broithe' The totem pole- that has puzzled me for years. I dug it up long ago in my front garden, it weighs a tonne so I reckon it's hardened steel- one idea I have is its part of a lime rock crusher! My house used to be 3 workmen's cottages with a lime kiln in my garage.... any ideas?? Eoin
-
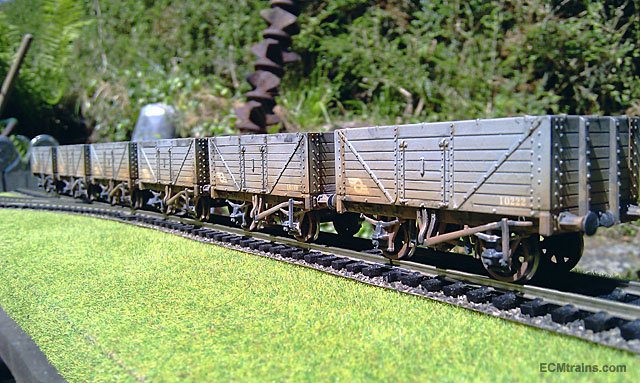
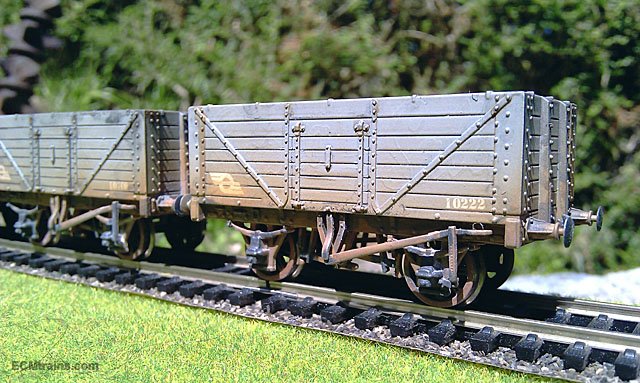
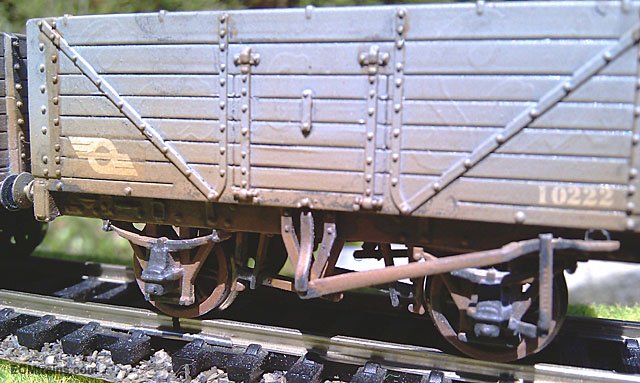
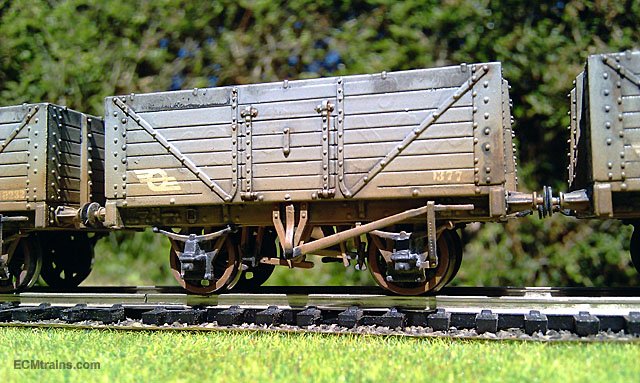
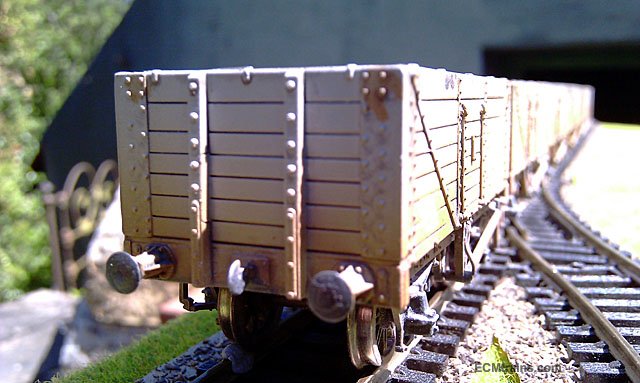
Here are 6 commandeered BR 7 plank wagons converted & weathered to Irish I bought these some time back before I found out about Irish stuff available but decided to use them anyway as a test for weathering, their not fully complete yet but very close- going to do a few replacement planks on some and fit loads of.....something! Eoin
-
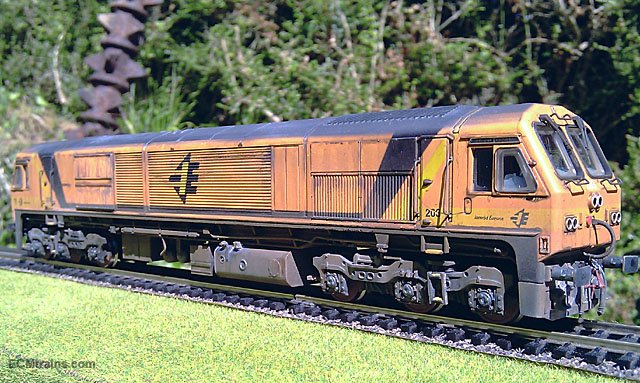
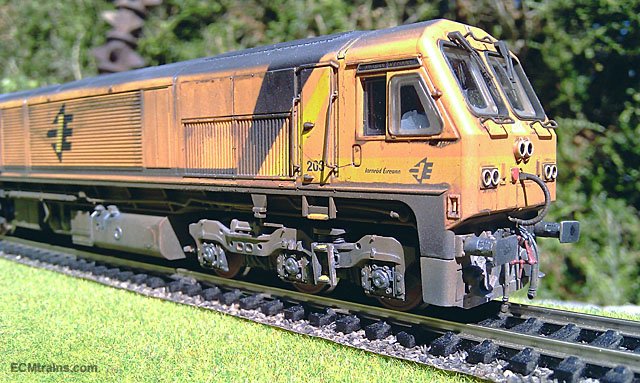
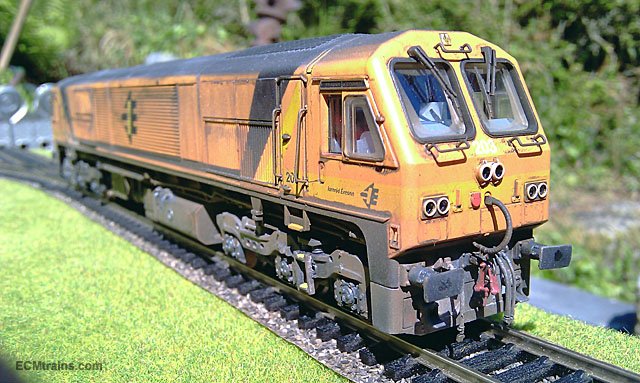
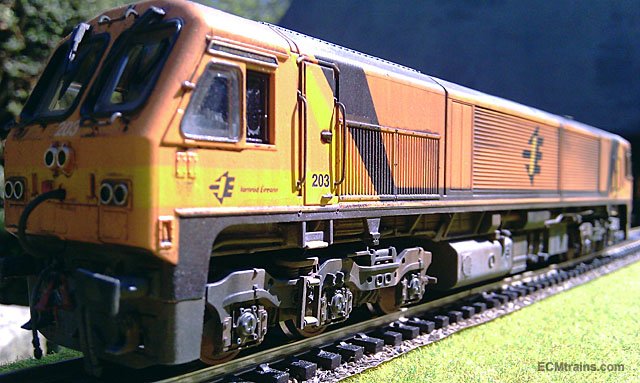
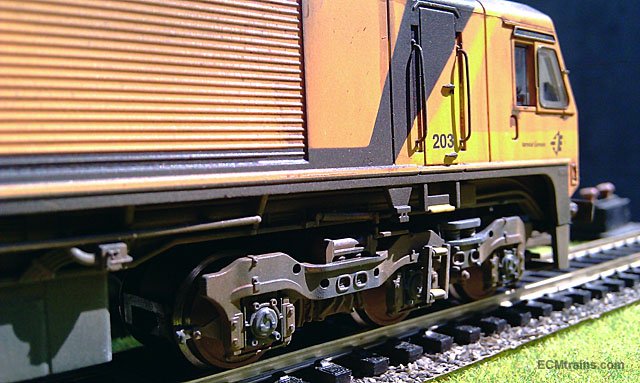
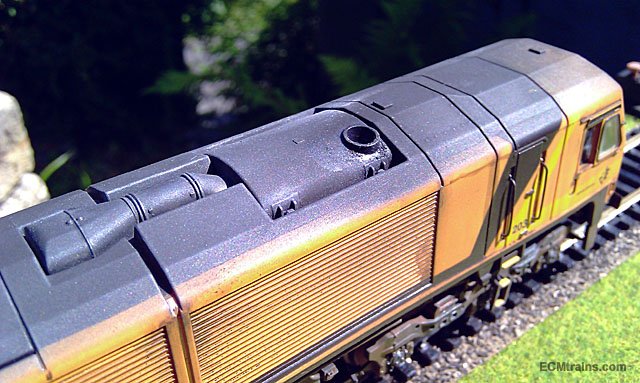
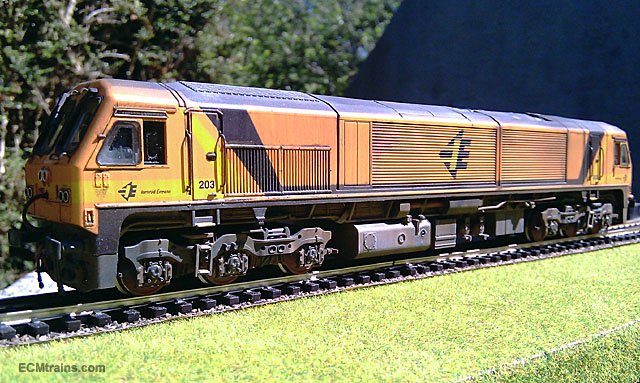
203 on its way for a bit of a clean- been working hard! Also requires a bit of a engine tune up- it's been belching out a lot of black stuff! Eoin
-
Sad news RIP Jim
-
 Hi George Bray Wheelers call all of us the 'Dinky Boys' Eoin
 -
 The N man
© Eoin Murray
-
 The N man
© Eoin Murray
-
 The American Train Man
© Eoin Murray
-
 The American Train man
© Eoin Murray
-
 The Baseboard man
© Eoin Murray
-
 The Baseboard man
© Eoin Murray