-
Posts
2,731 -
Joined
-
Last visited
-
Days Won
70
Content Type
Profiles
Forums
Events
Gallery
Everything posted by murrayec
-

North Down MRS Exhibition 23rd/24th April 2016.
murrayec replied to steventrain's topic in What's On?
Hi Dave & Dave Hope it's all going well- I'm just up and on my way to Bray Show!! Any pictures lads?? Eoin -
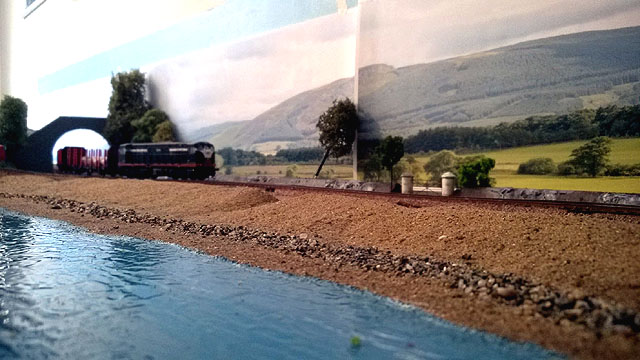
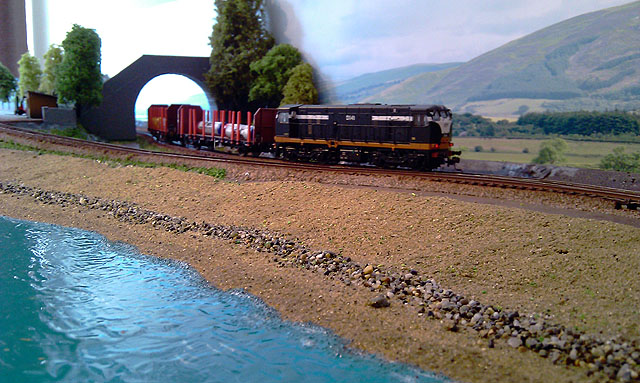
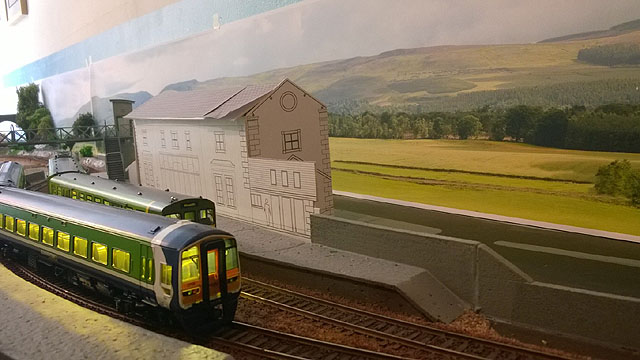
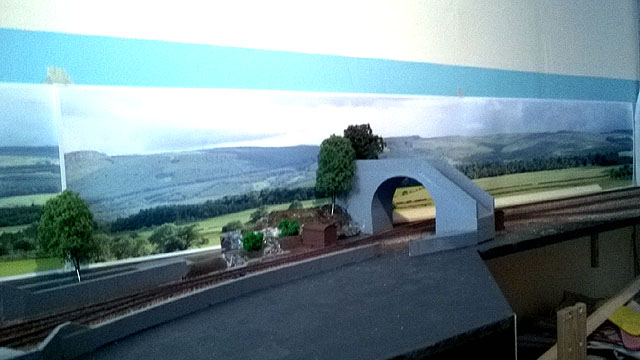
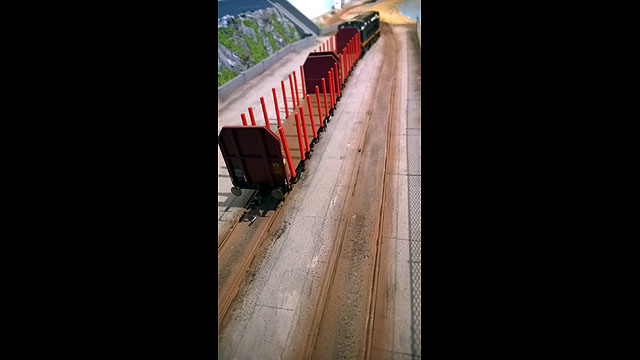
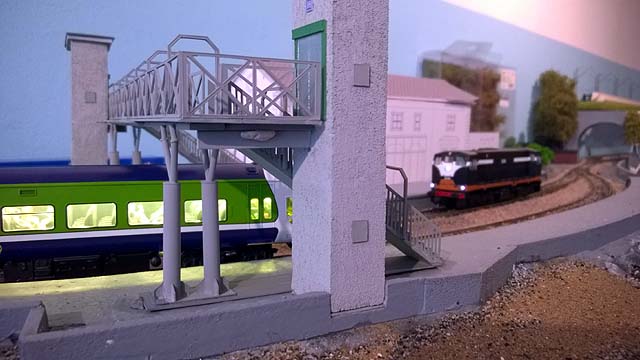
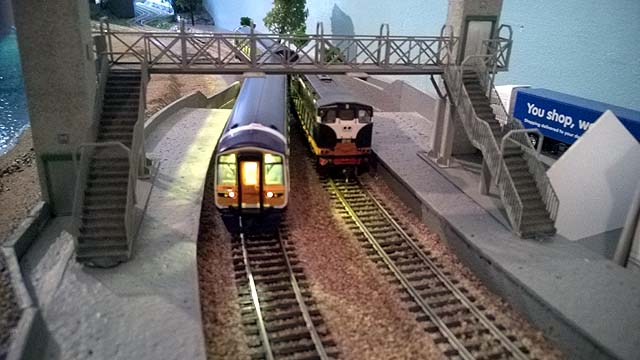
Hi All Track is now cleaned up, new Multimause DCC controller installed, and a bit of programming done, we then set about test erecting the back scenes to see where the joins will be so we can work out masking them- it all worked perfectly the duplicate features in the back scenes line up with the bridges of the model with one requiring a large tree. We then ran trains and took a few photos;- Eoin & CM
-
Hi All Don't forget the Bray Show is on this coming Sunday from 10.00 till 2.00 Eoin
-
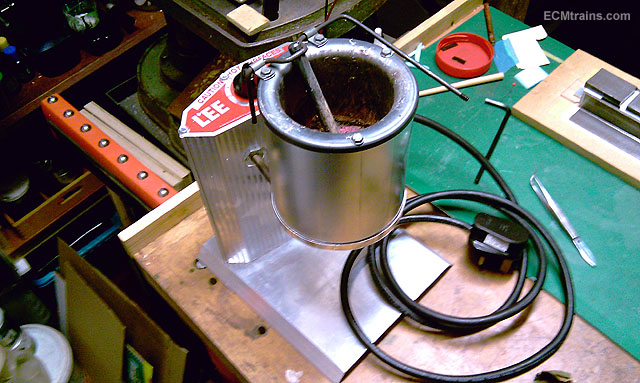
Hi Nelson I find it great, as I say better than the gas cooker The thermostat works and can go up to some temperature- not needed for this work. The pouring spout is very handy but its safer to use a ladle pre heated in the pot to do the pouring, no splashes. Though I do use the spout straight into the mould when I have a clen spout, it sometimes gets clogged up with dross so I made a few spikes and prods with wooden handles to clear things out- the method of doing this described in the instructions does not work very well. I like that I can work with it sitting down in the workshop and not swinging around with a pot of hot metal in the kitchen. Not an overly expensive bit of kit, if you have the dosh and want to do this stuff go for it, There are loads of youtube videos showing its use- American though so most of it is bullet making Eoin
-

St Joseph's Hobby and Model Show Easter 2016
murrayec replied to Irishrailwayman's topic in What's On?
Cool, nice little spot for the Wexford boys Hay wrennie do you remember her? Eoin -
Hi Brian Thanks I'm now a fan of your work, when I saw the way you put the mould together I said 'he's done this before' - GRP - I did a bit of that years ago working on boats n stuff- a long time ago!! Even the master model for the mould is very neat Eoin
-
Hi brianmcs Yes, when I start moulding and the pot is up to temperature I lay the mould on wire mesh support on top of the pot. I let it get very hot- cant touch it 'Hot'. This needs to be done during moulding as it makes a noticeable difference doing so. I'm told 'blackening' the mould also helps but I cannot find a suppler of the material to do this Eoin
-
Hi Nelson I use a Lee melting pot, for making ones bullets you know!! I used to use the gas stove but this machine is much handier and cleaner. I've been looking at a dentist moulding centrifuge to add to the WM moulding experience, their not to expensive and would give far better castings, though only small moulds can be mounted in them which limits it a bit.... Eoin
-
Hi brianmcs The mould looks cool, though it looks like you had an air problem also! the silicone looks like it needs to be evacuated when mixed and before pouring to make the mould- this may help in casting bubble free casts. Also you could try a mould spray loubricator it may stop the plastic cast forming bubbles at the bubbles in the mould! if that makes sence? SSM do the bogies sides your looking for or you could the Y25 bogies from Bachmann which are a bit smaller then Irish ones Eoin
-
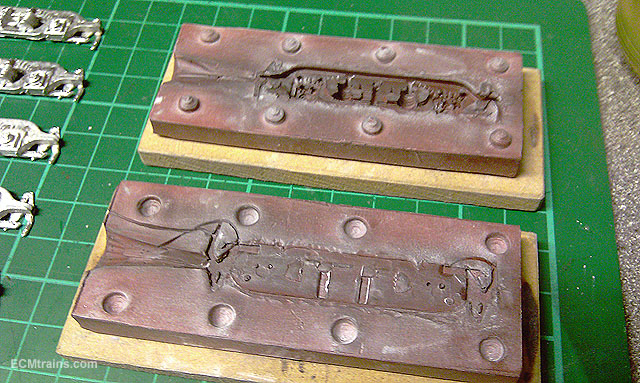
Thanks Guys brianmcs, Yes, air was one problem, cooling was the other- when one has a spru going to small parts the metal solidifies at the connection! I'm thinking on a differant location to fill the mould next time around, somewhere a bit thicker... Eoin
-
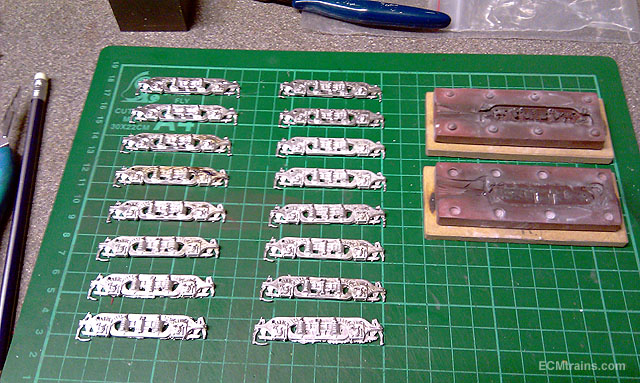
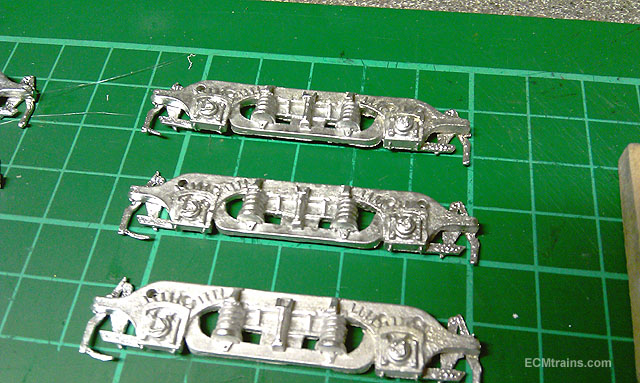
Hi Not had much time to work on this project, been tipping away at bits but nothing complete yet- though, here are a few photos of the white metal bogie sides fresh out of the mould, some cleaning up to do, make the ladders, a few pipe details, and then stick them on the motors. This should make a change to the model;- You can see a few mods made to the mould while trying to get it to work correctly. I'm fairly happy with the results but there are a few small snags in definition so may make another mould. I'll work with these for the time being.... Eoin
-
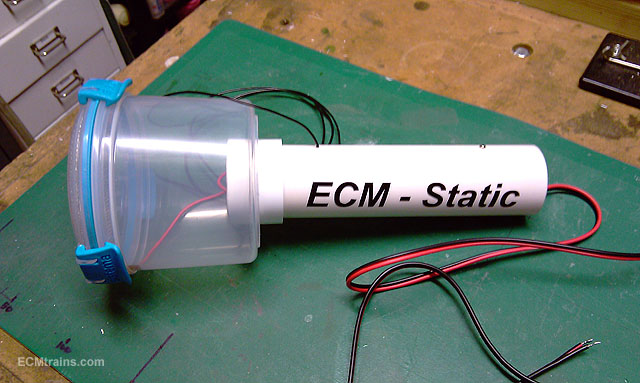
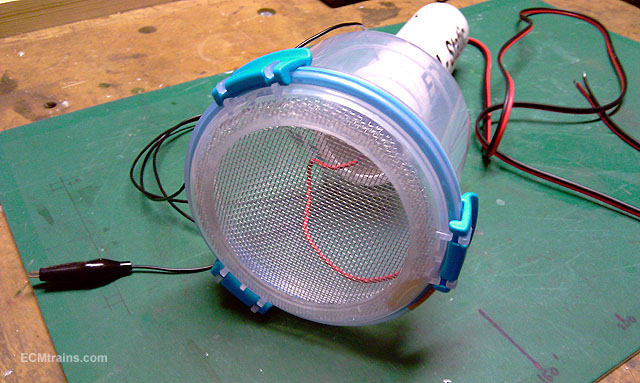
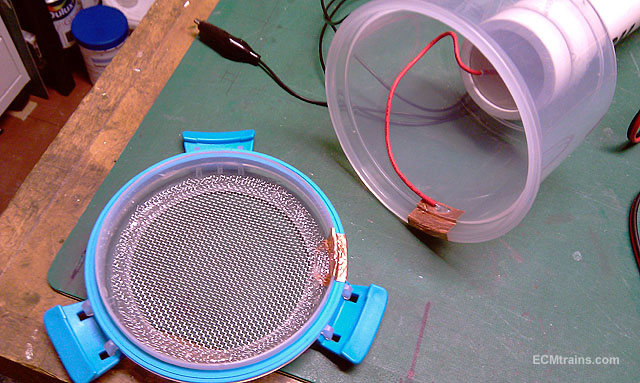
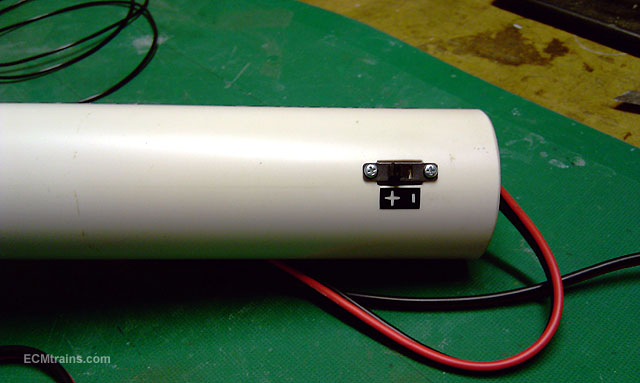
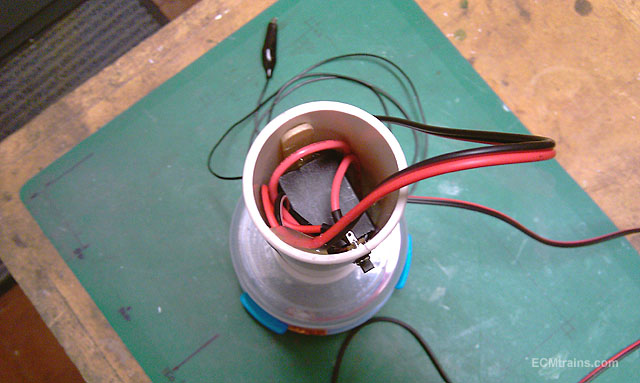
A little project for Sunday afternoon, getting ready to grass the Greystones layout- Static Grass Applicator a la 'Boulder Creek' Youtube video. Cost about €40.00 in bits and some items I already had;- Very simple to put together, all parts easily available Eoin
-
Cool, thanks Dave When one compares the photos in the previous Commuter post there is an incredible difference- no shiny bits, and the weathered track has a better scale, it looks real... well almost... well! Eoin
-
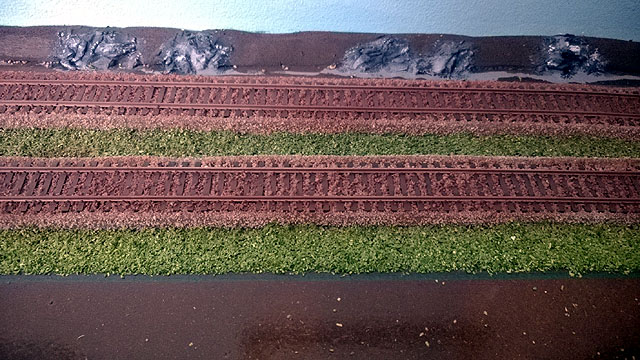
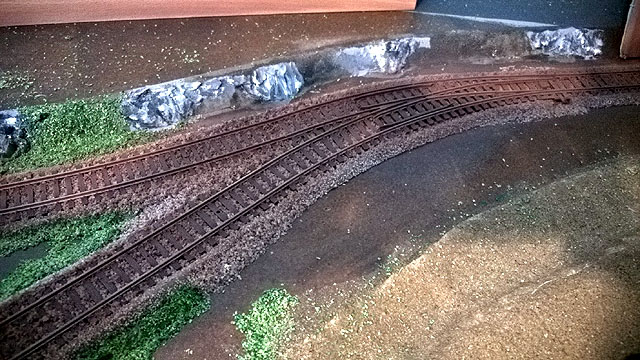
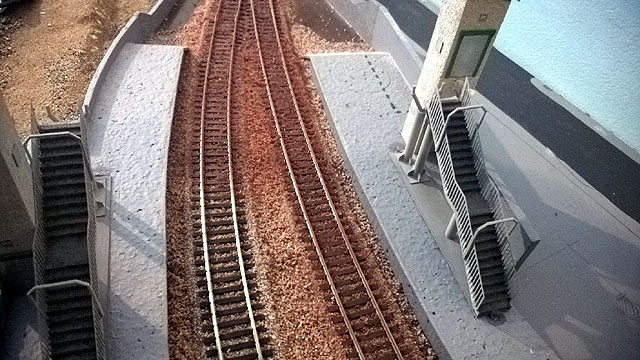
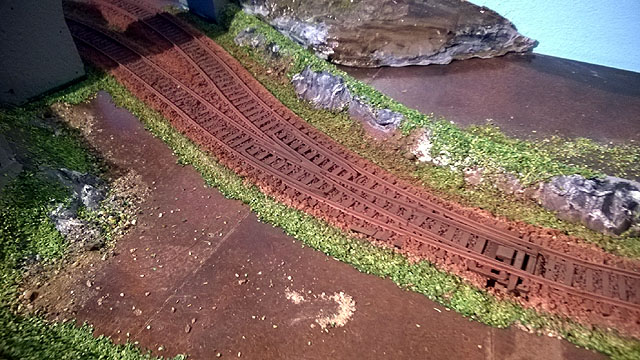
Hi All And now for a little track weathering... Just used Humbrol 70 matt and matt black, this is not really the time to do this but the paint on the ballast tones the colour down and I reckon it looks better- The ballast train has neglected to service this area! First shots are the first coat;- Next the second coat and a third with matt black added at points and track centre only;- We'll give the rail tops a scarp in a few days, I'd say the points blades will need it to Eoin
-
Same file with a slight audio upgrade;- [video=youtube;BDytC0-JHN8] Eoin
-
Hi All A DART was seen up Dundalk way last week;- [video=youtube;V-7ODKHqkv0] It's on one of Baseboard Dave's & client creations, if you want to see more tune in to 'Insight' UTV Ireland next Monday night... Eoin
-
Kirley That's cool it looks amazing I have this project in mind also, I have a Fouler F4 to do the same thing but cant bring myself with a knife to do it- the F4 is cool itself! Eoin
-
Hay Noel Did you never see the kids party magician, two rainbows, a bang, and a hammer! It is an optical illusion and it still mystifies people today- that's why its all over tinternet Eoin
-
Hi wrennie I know a man, besides yourself, that is fluent in Irish! he told me that in olden times there were different Irish dialects- all depending on where one was in the country! Would it be somit like that? Very nice plate though....hint!! Eoin
-
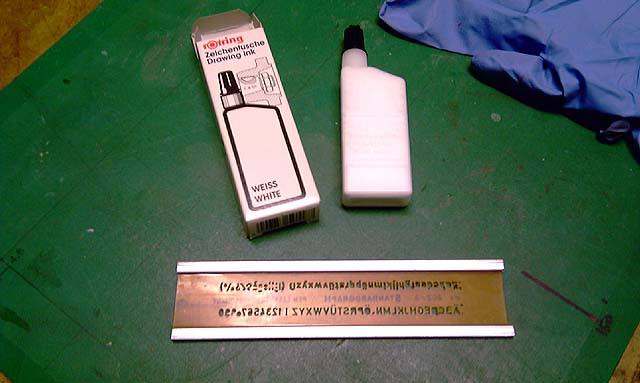
Hi David This is a shot of white ink and a Standardgraph stencil if you haven't seen one of these... Eoin
-

Irish Cement Bubble - "Concrete" Answer Required....
murrayec replied to Glenderg's question in Questions & Answers
Hi Glenderg Same as above, if you look closely one can see the two blue logo colours peering out through the caked cement;- http://i719.photobucket.com/albums/ww198/ttc0169/HPIM1792.jpg Eoin -
Oooooohh! very nice there David Rotring do white ink for their isograph or technical drawing pens, they also do red, blue, yellow and of course BLACK, again rotring did stencils, not sure if they still do, if you can get your hands on small ones there great for this work.... Eoin
-
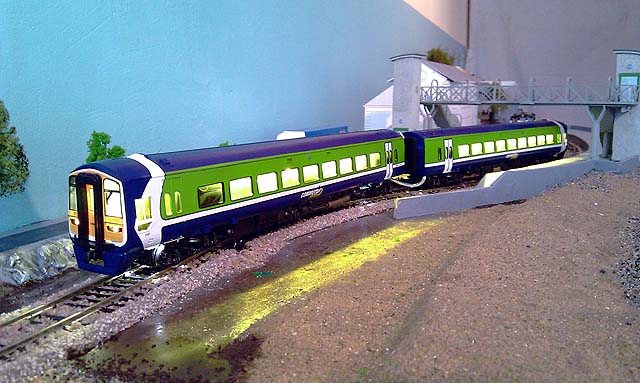
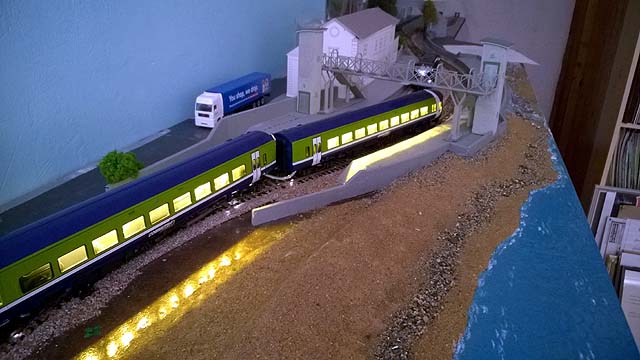
Hi All Was by the Greystones layout dropping off the now illuminated commuter train, DCC directional and coach lights added, it looks great but needs a few holes filled here and there...... CM took a few photos;- I reckon another resistor is required on the coach lights Eoin
-
Yes Broithe .....that's the plan- to install lights after I raise the back of the lid a bit, headroom is a bit tight with the reservoir on the gun banging into it, when the back of the lid is raised this should not happen. Eoin
.png.c363cdf5c3fb7955cd92a55eb6dbbae0.png)

