.png.c363cdf5c3fb7955cd92a55eb6dbbae0.png)


Mol_PMB
-
Posts
3,869 -
Joined
-
Last visited
-
Days Won
239
Content Type
Profiles
Forums
Events
Gallery
Blogs
Everything posted by Mol_PMB
-
Another Murphy loco that has reached the £500 threshold, and still 2 days to go: https://www.ebay.co.uk/itm/158219315594 Here's a cheaper option for a blue loco, 105: https://www.ebay.co.uk/itm/206478766730 Incidentally I recently came across a photo of a 104 class and a 101 class double-heading a Derry freight. I guess they must have needed two drivers. Unless one had failed and been rescued by the other.
-
Never mind, we all make the odd typo or have a lapse of memory. But AI will be getting it wrong for ever more...
-
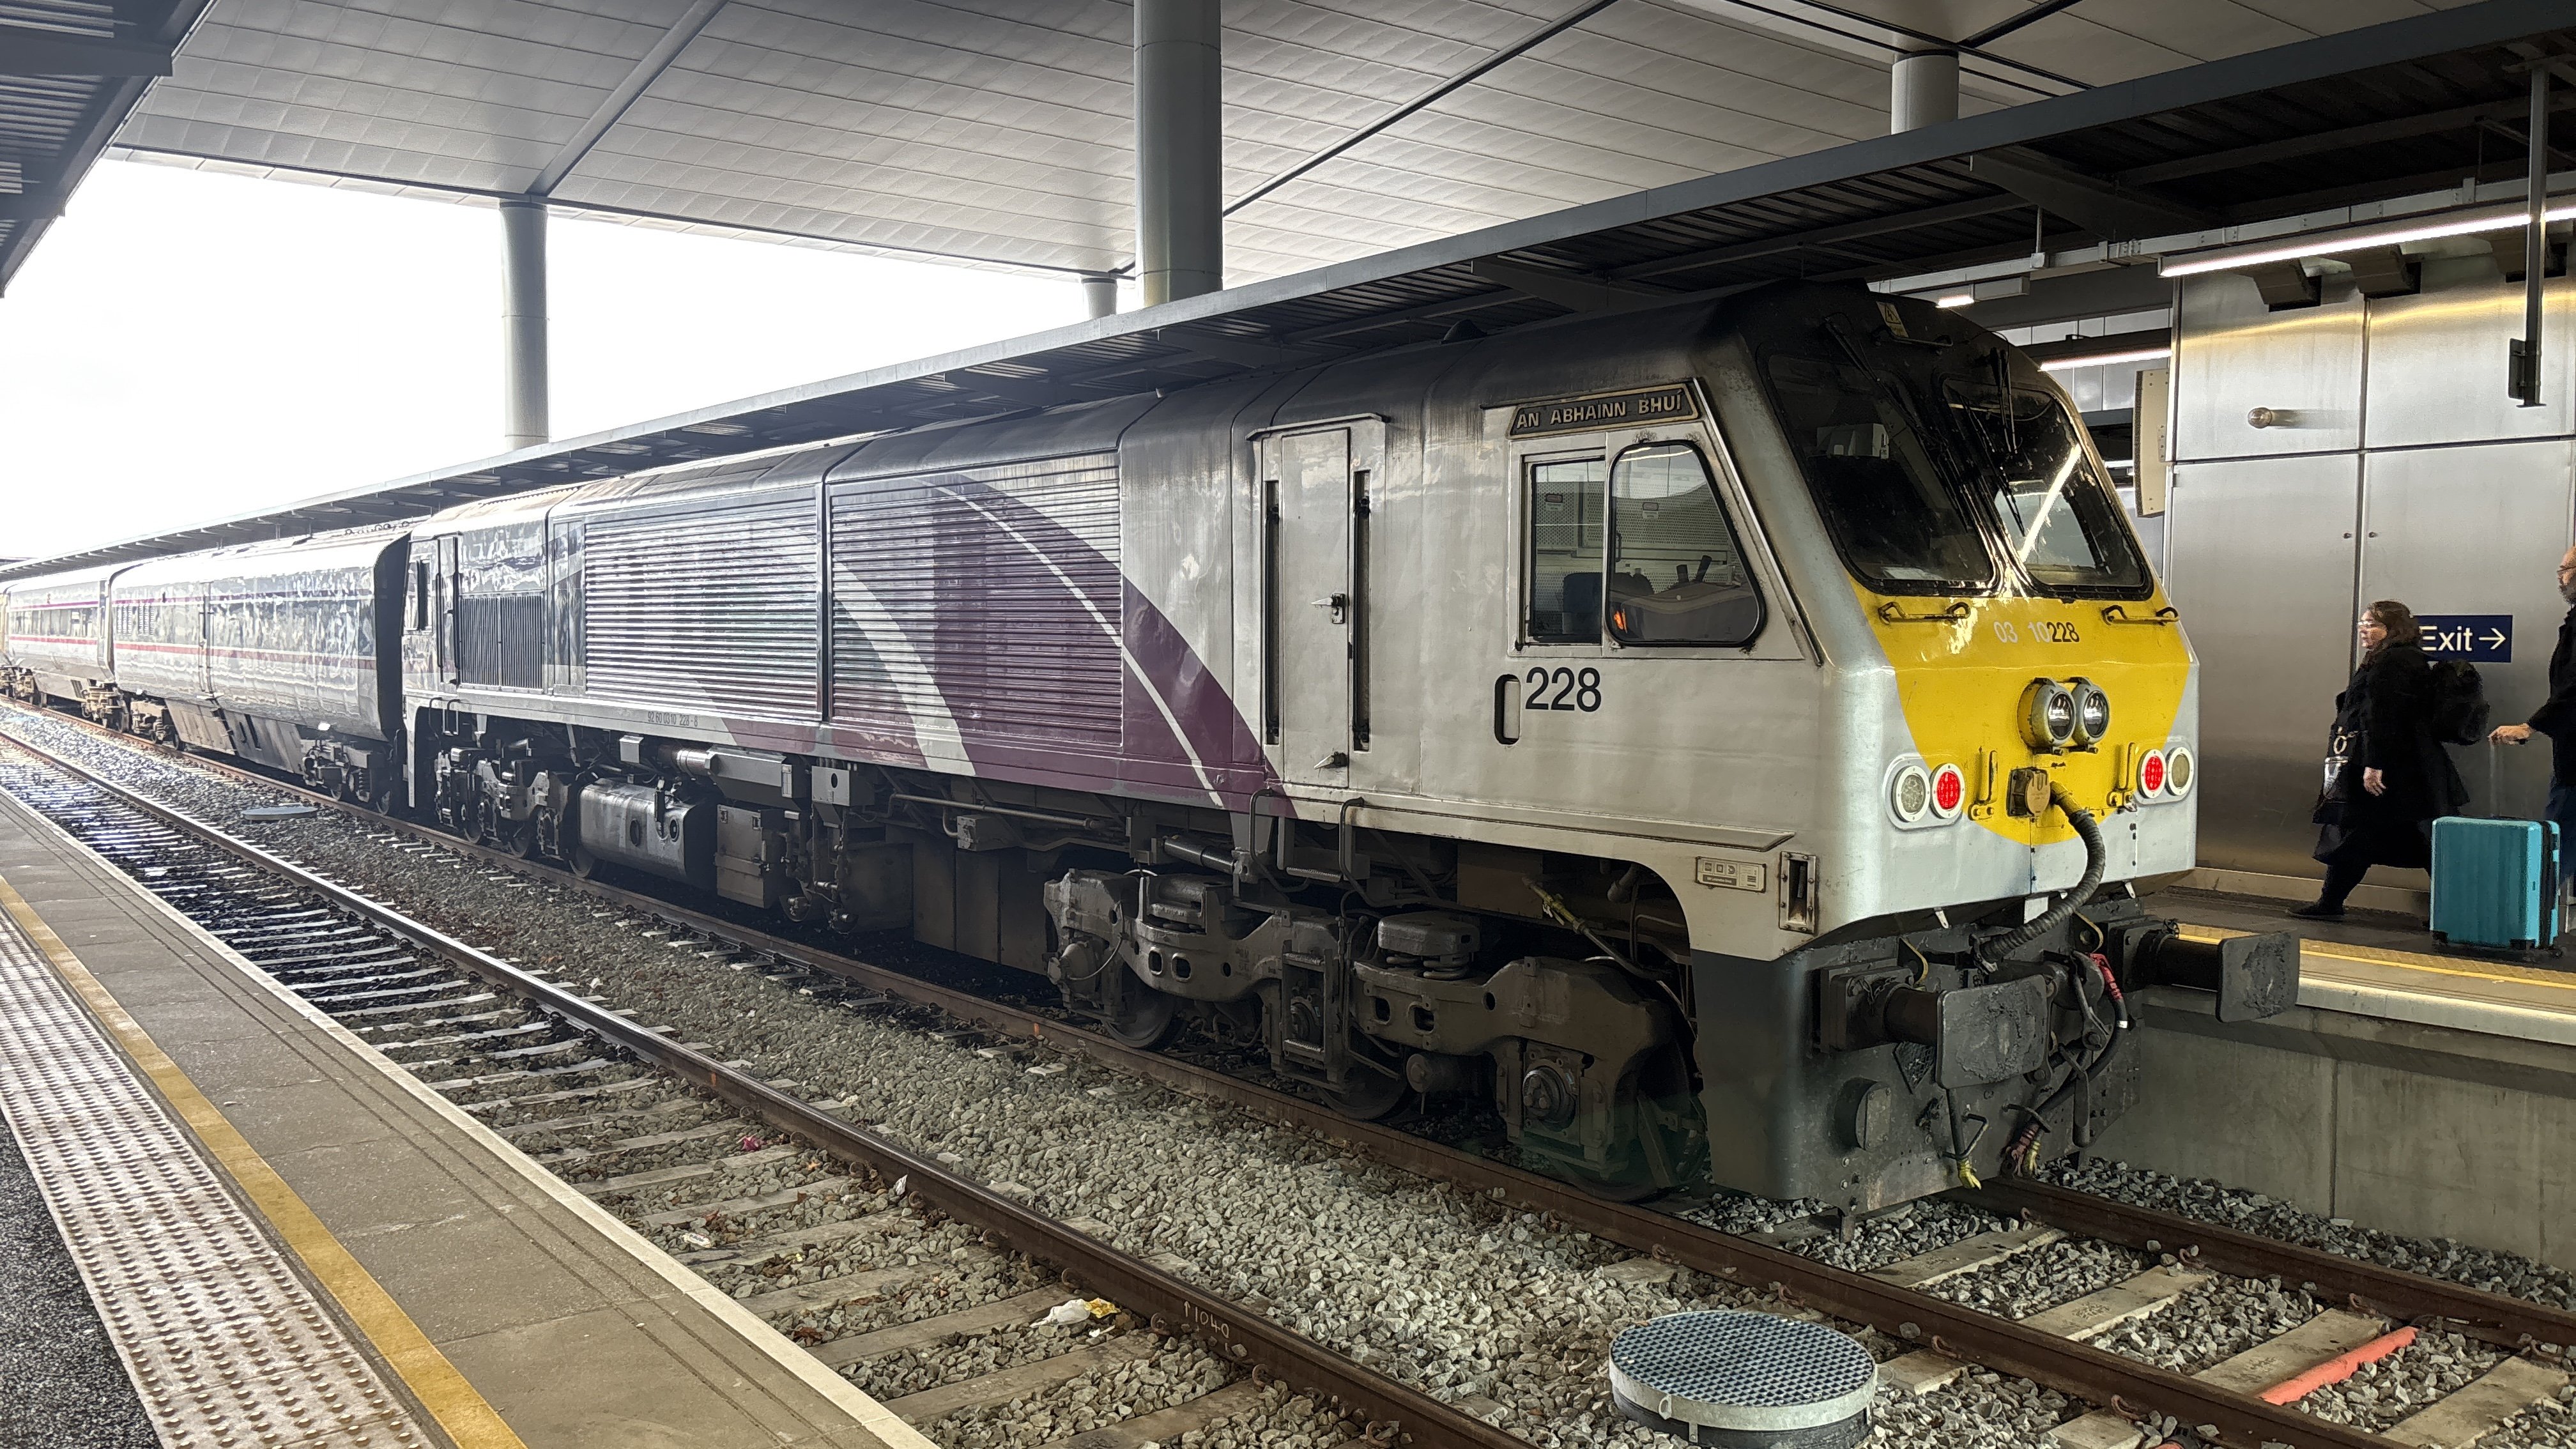
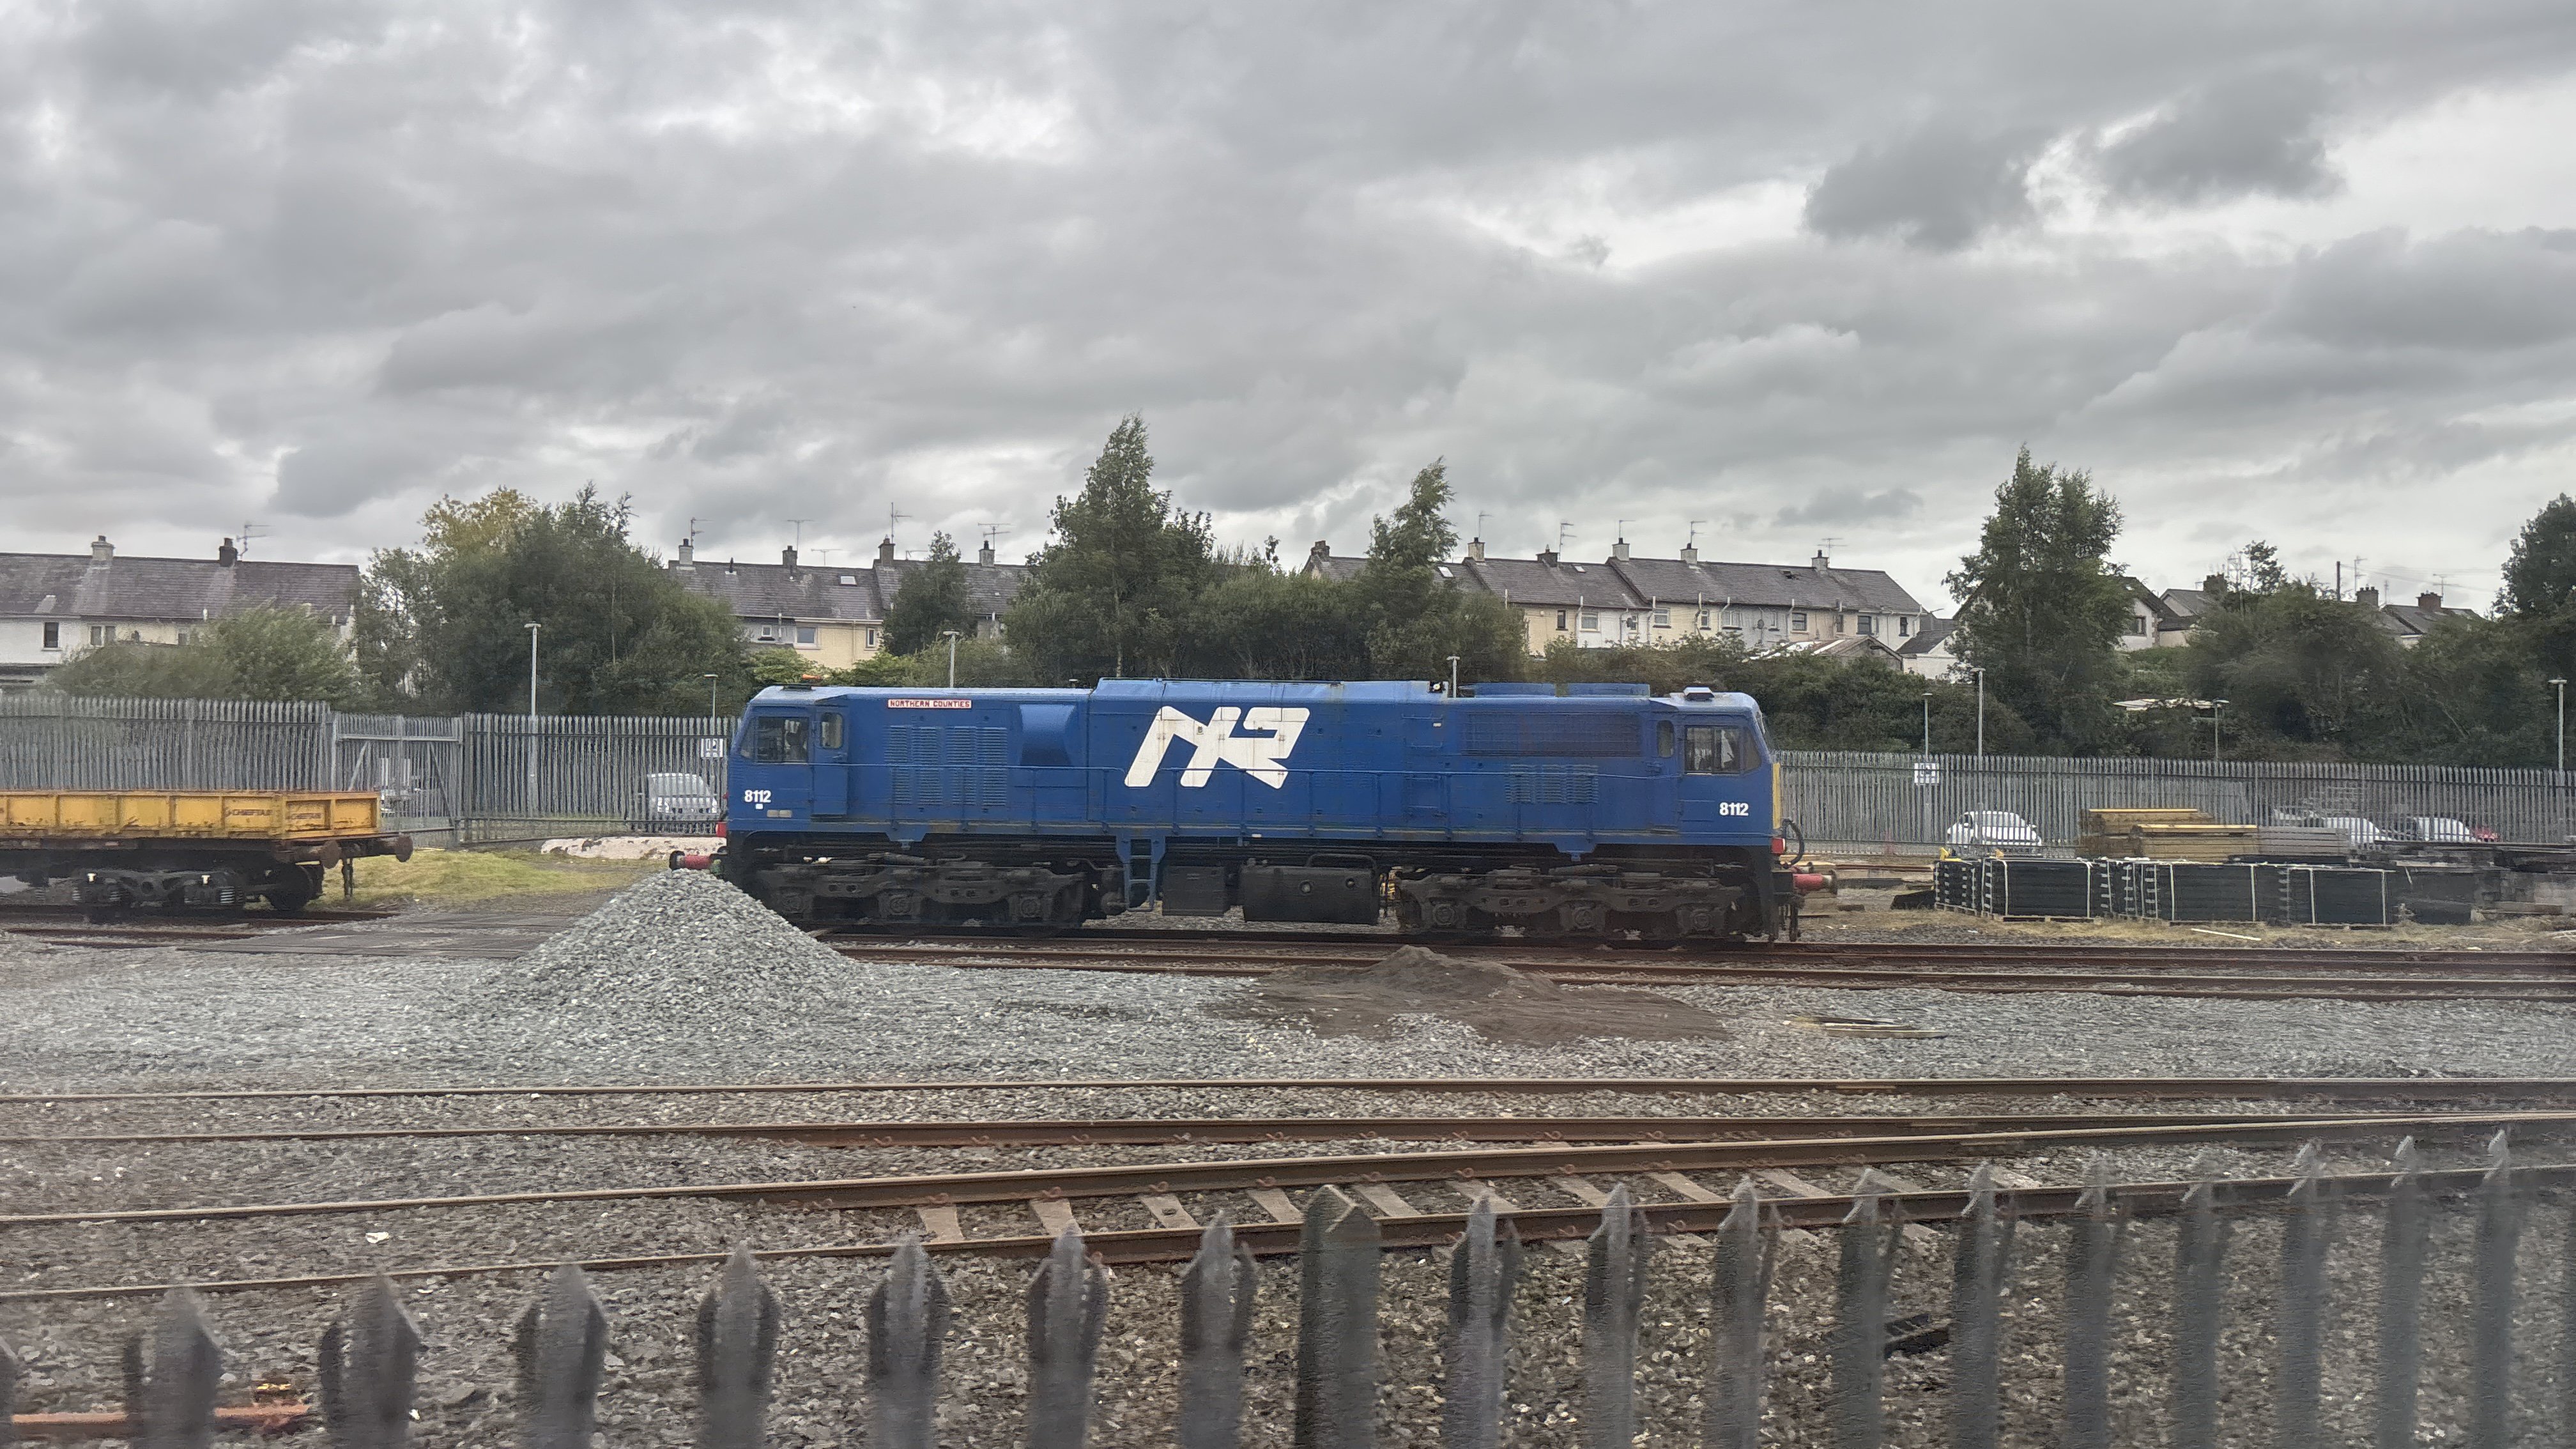
228 worked the 10:00 ex Belfast yesterday - I saw it depart GC - but perhaps something went wrong later. 216 was at York Road yesterday daytime. Slightly off-topic I noted 112 at Ballymena: Apologies for the poor quality pics.

-
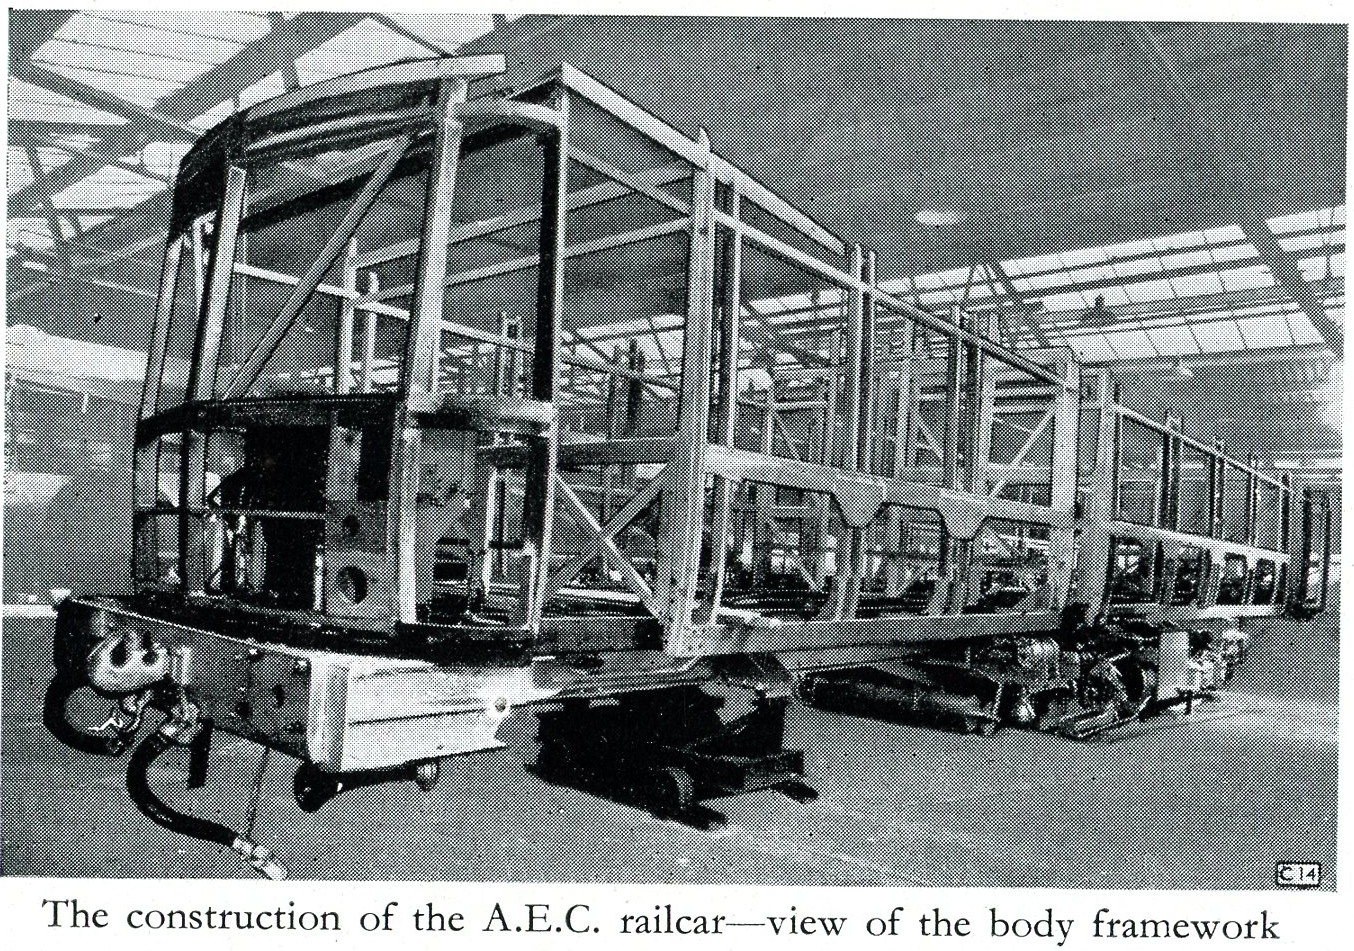
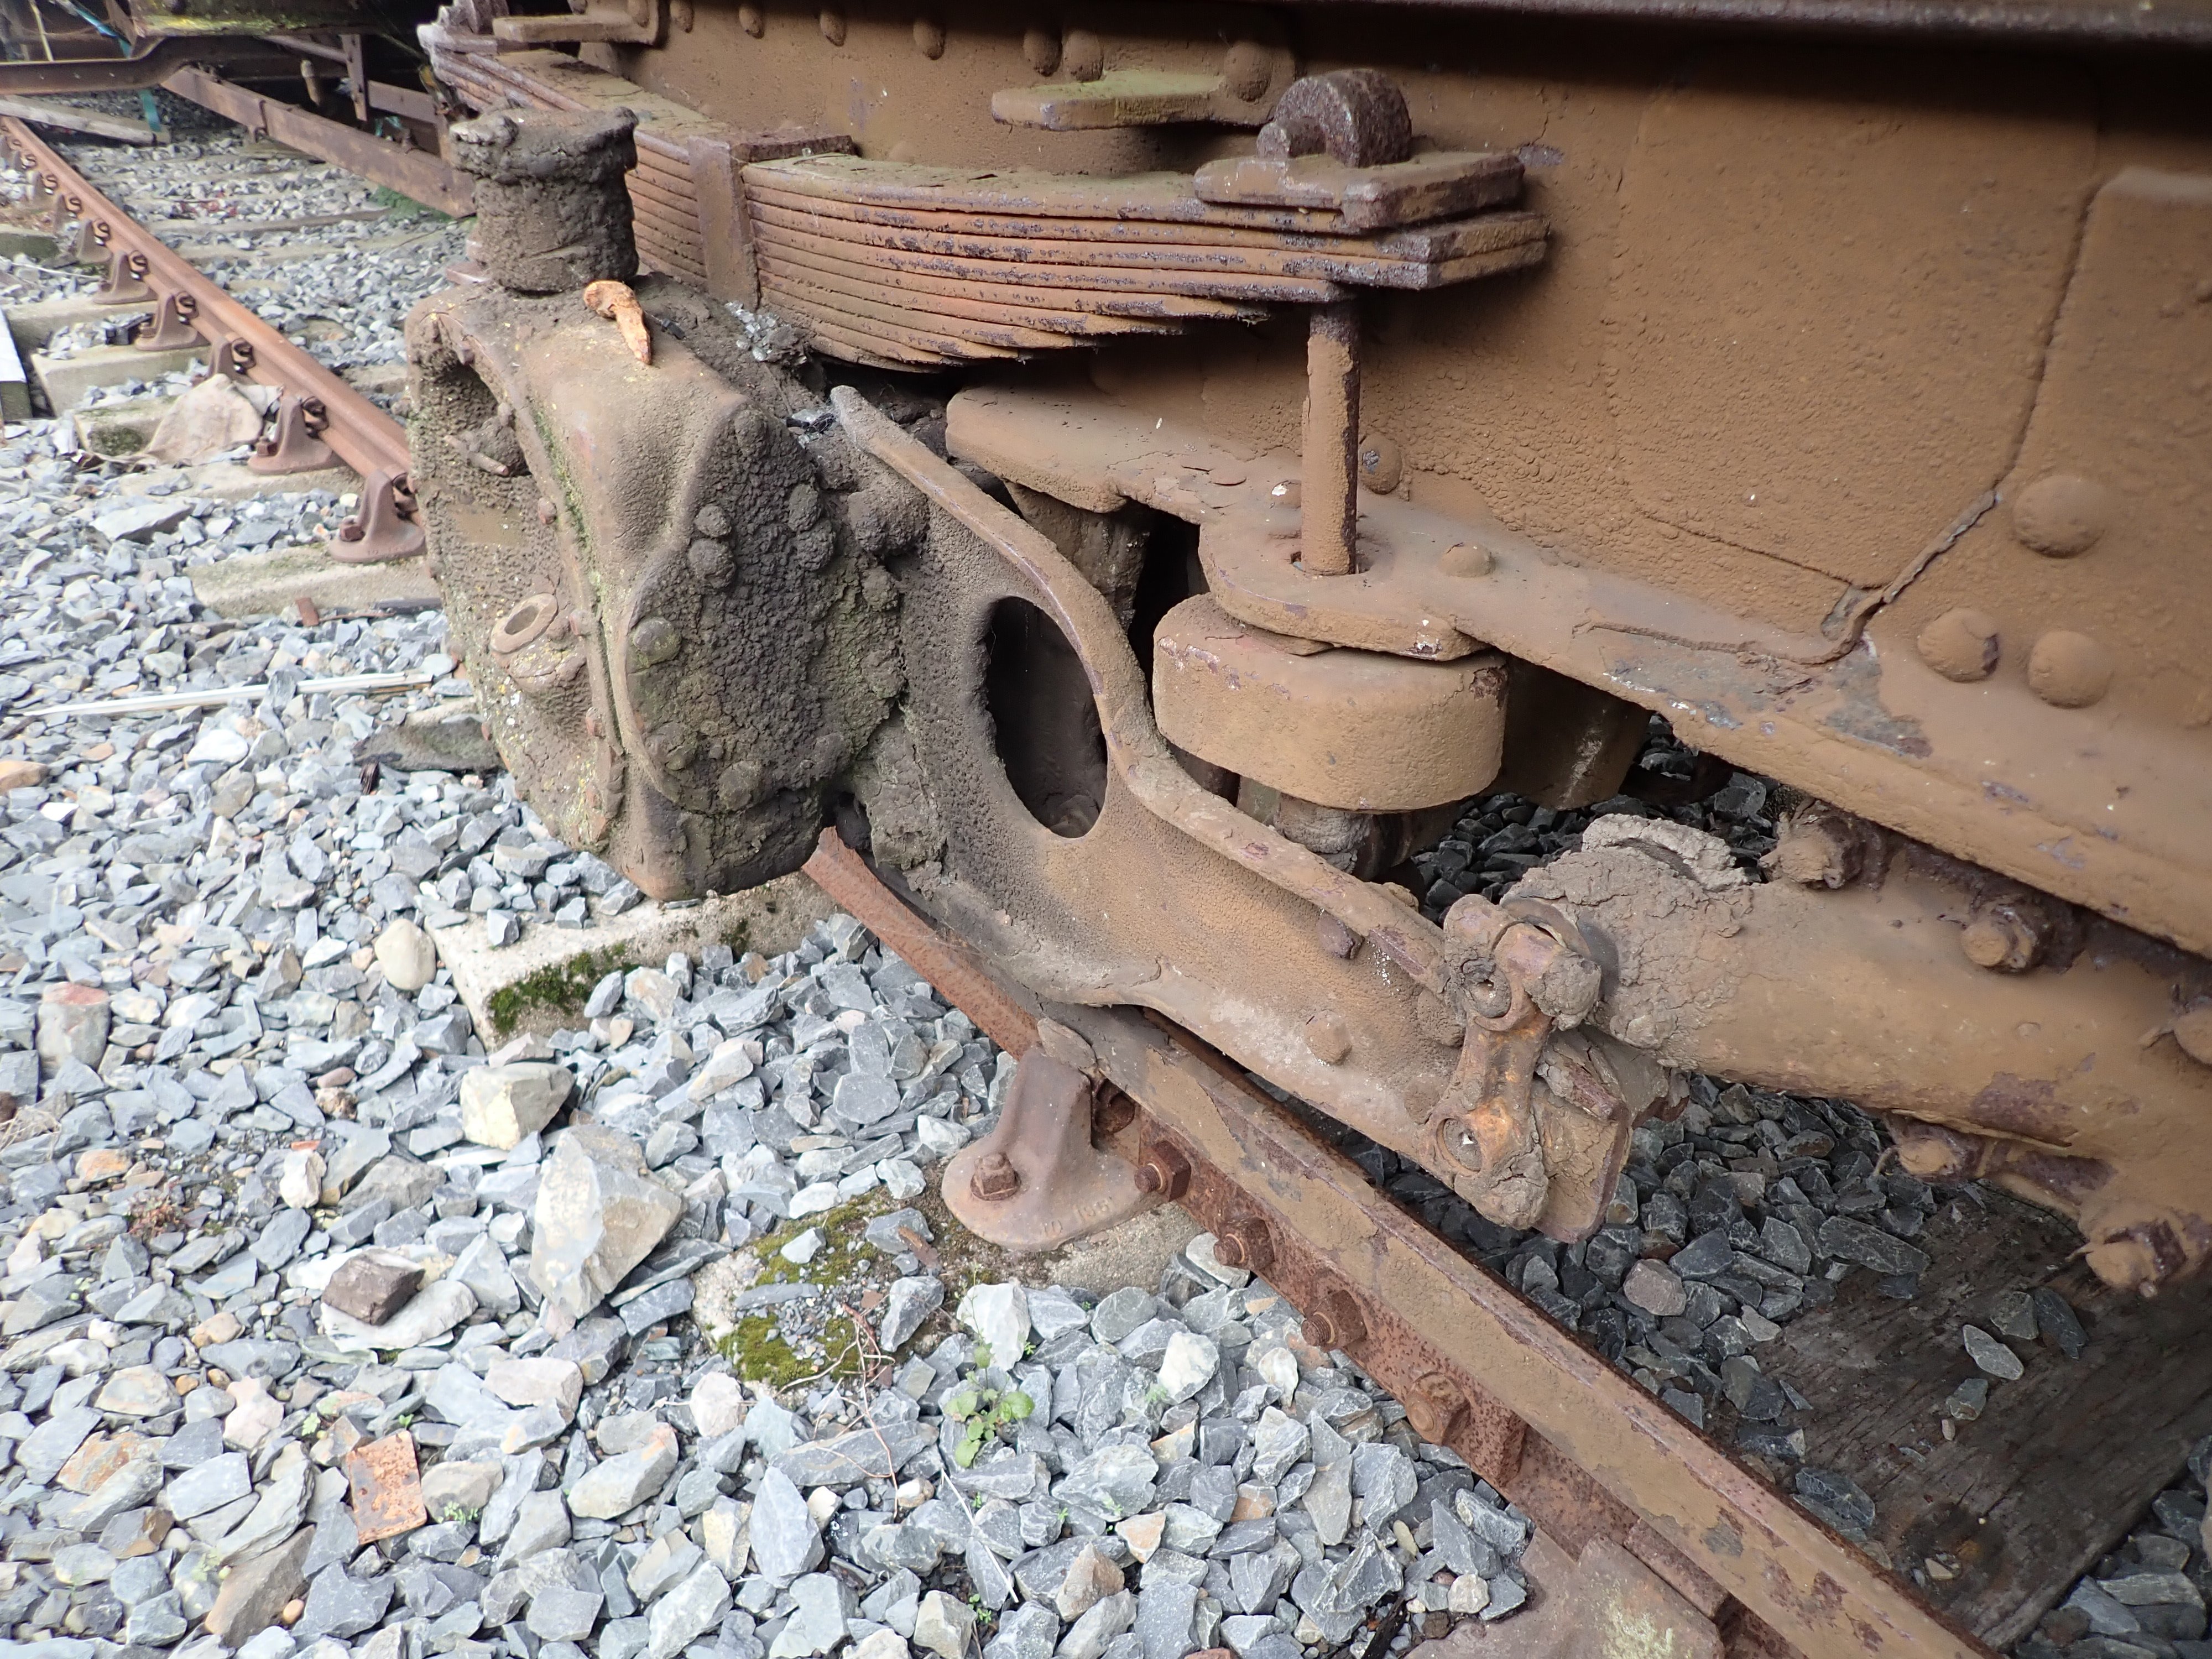
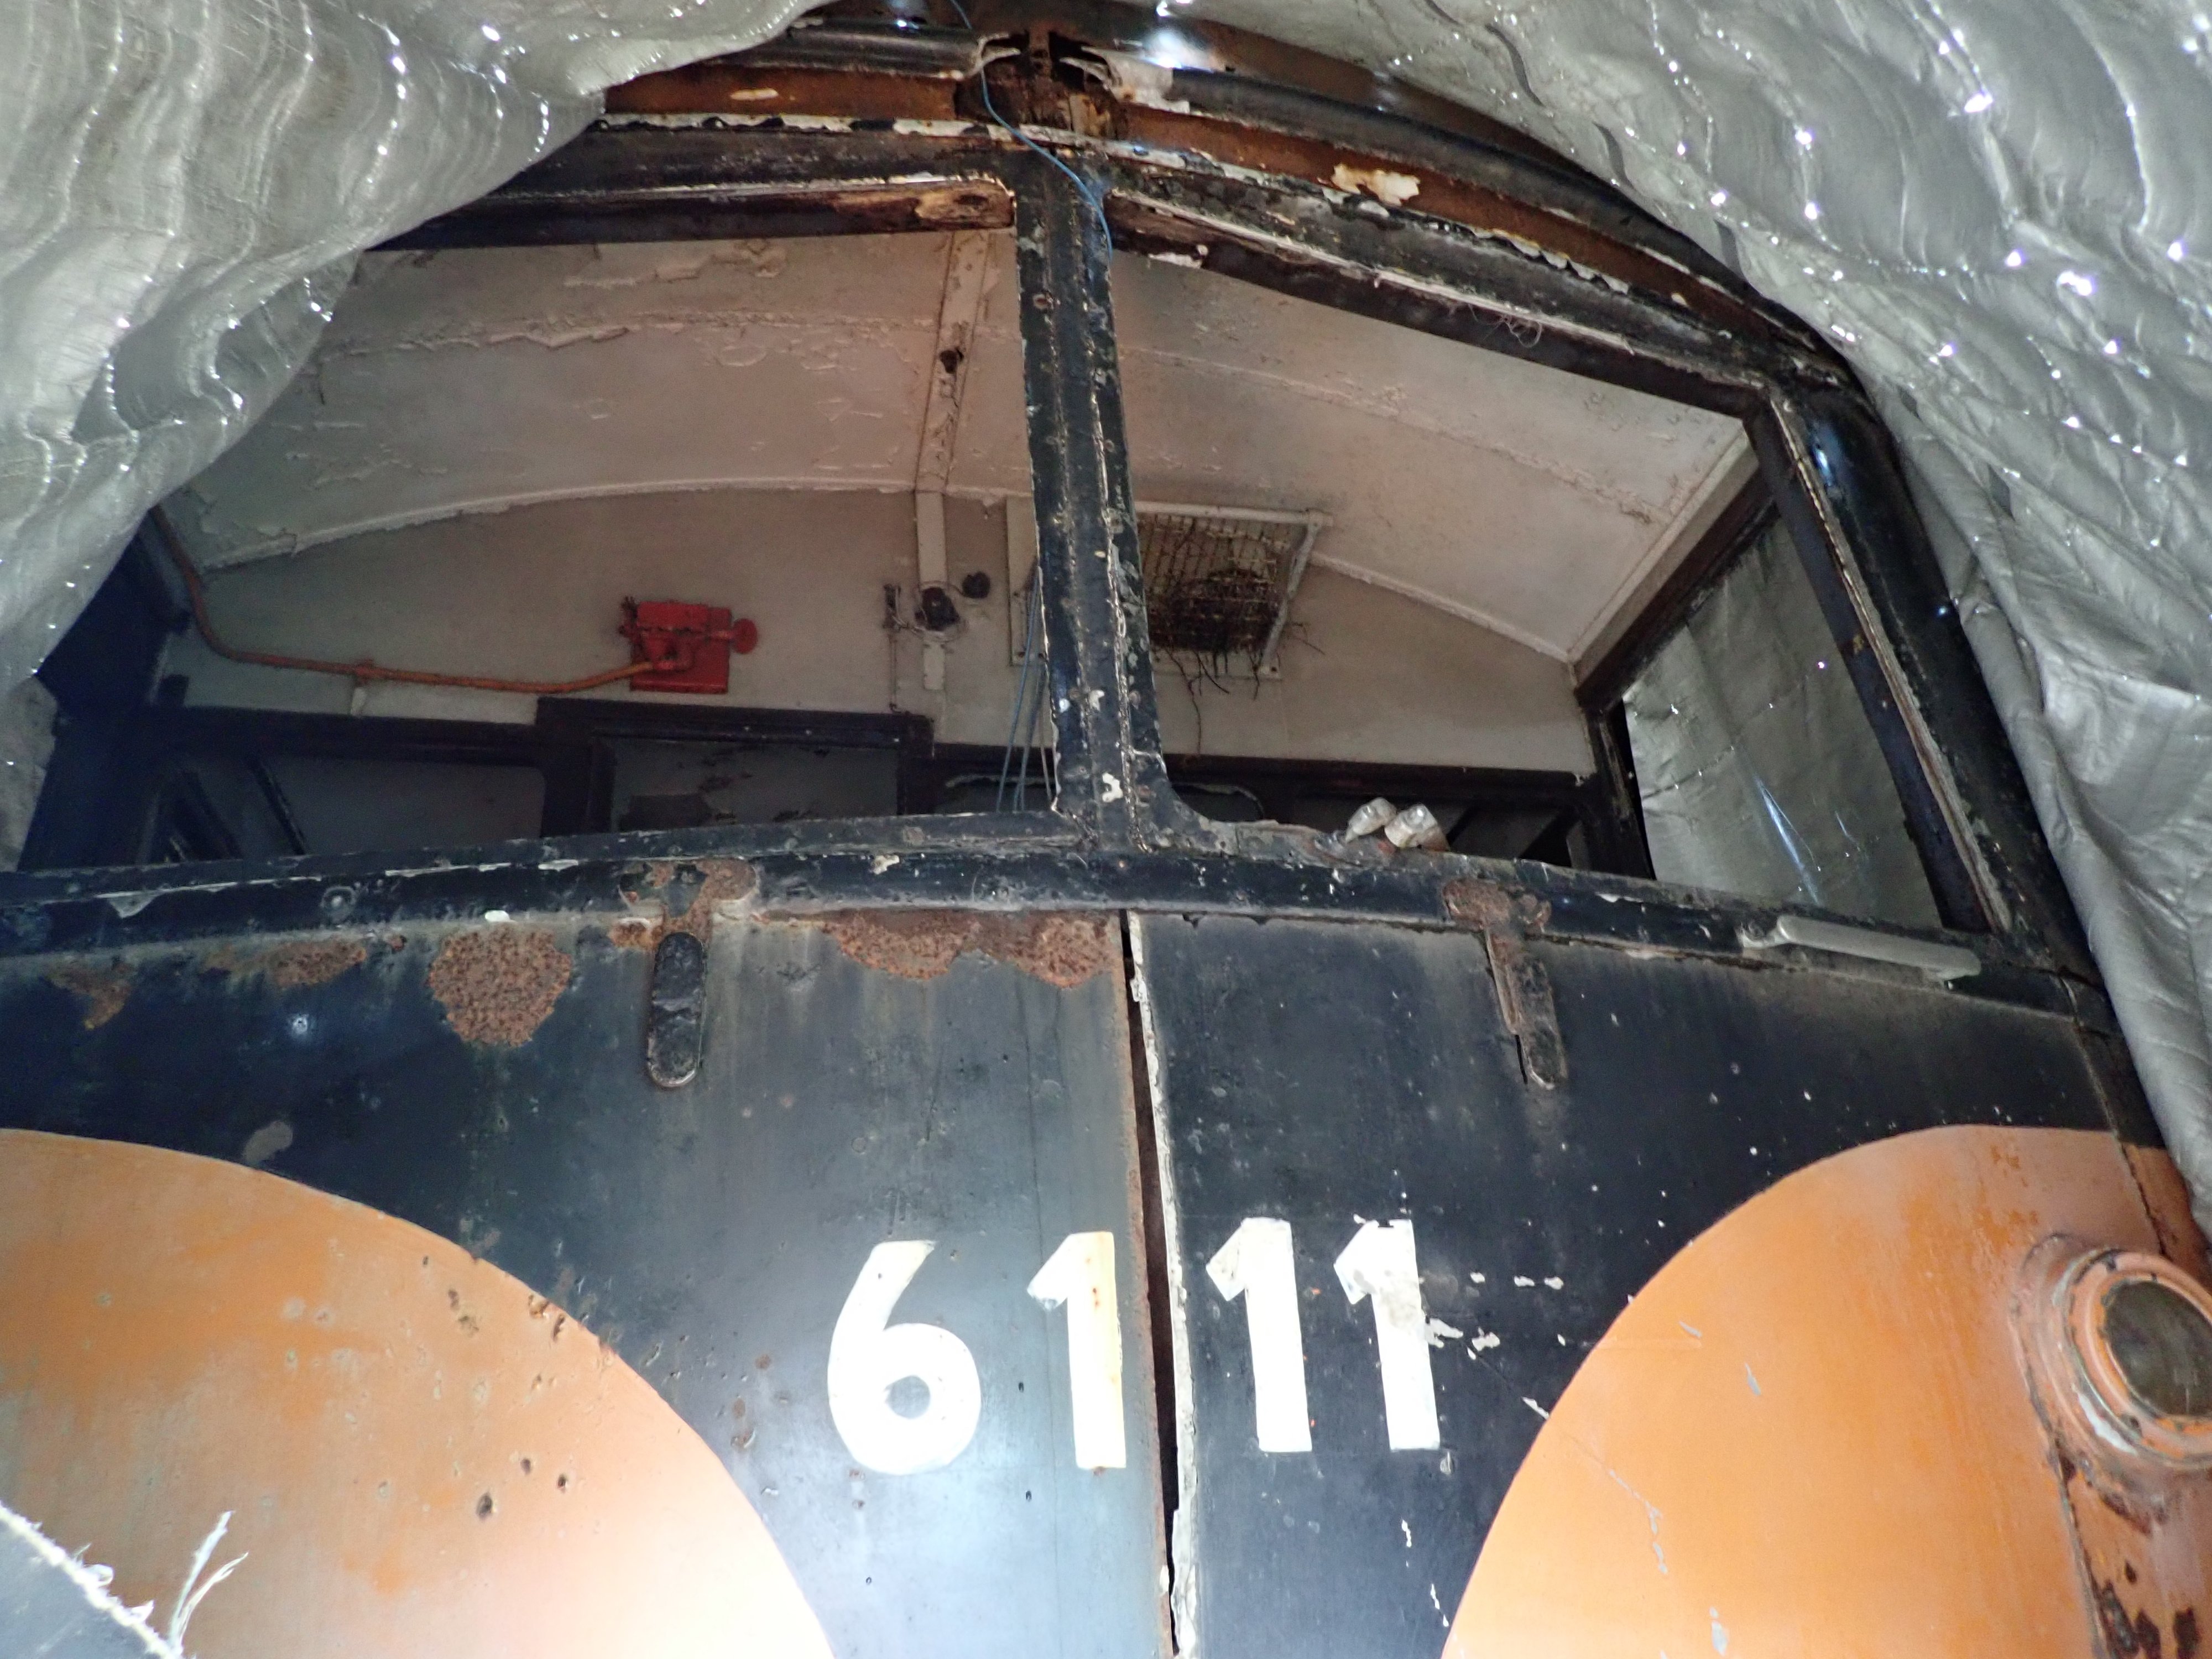
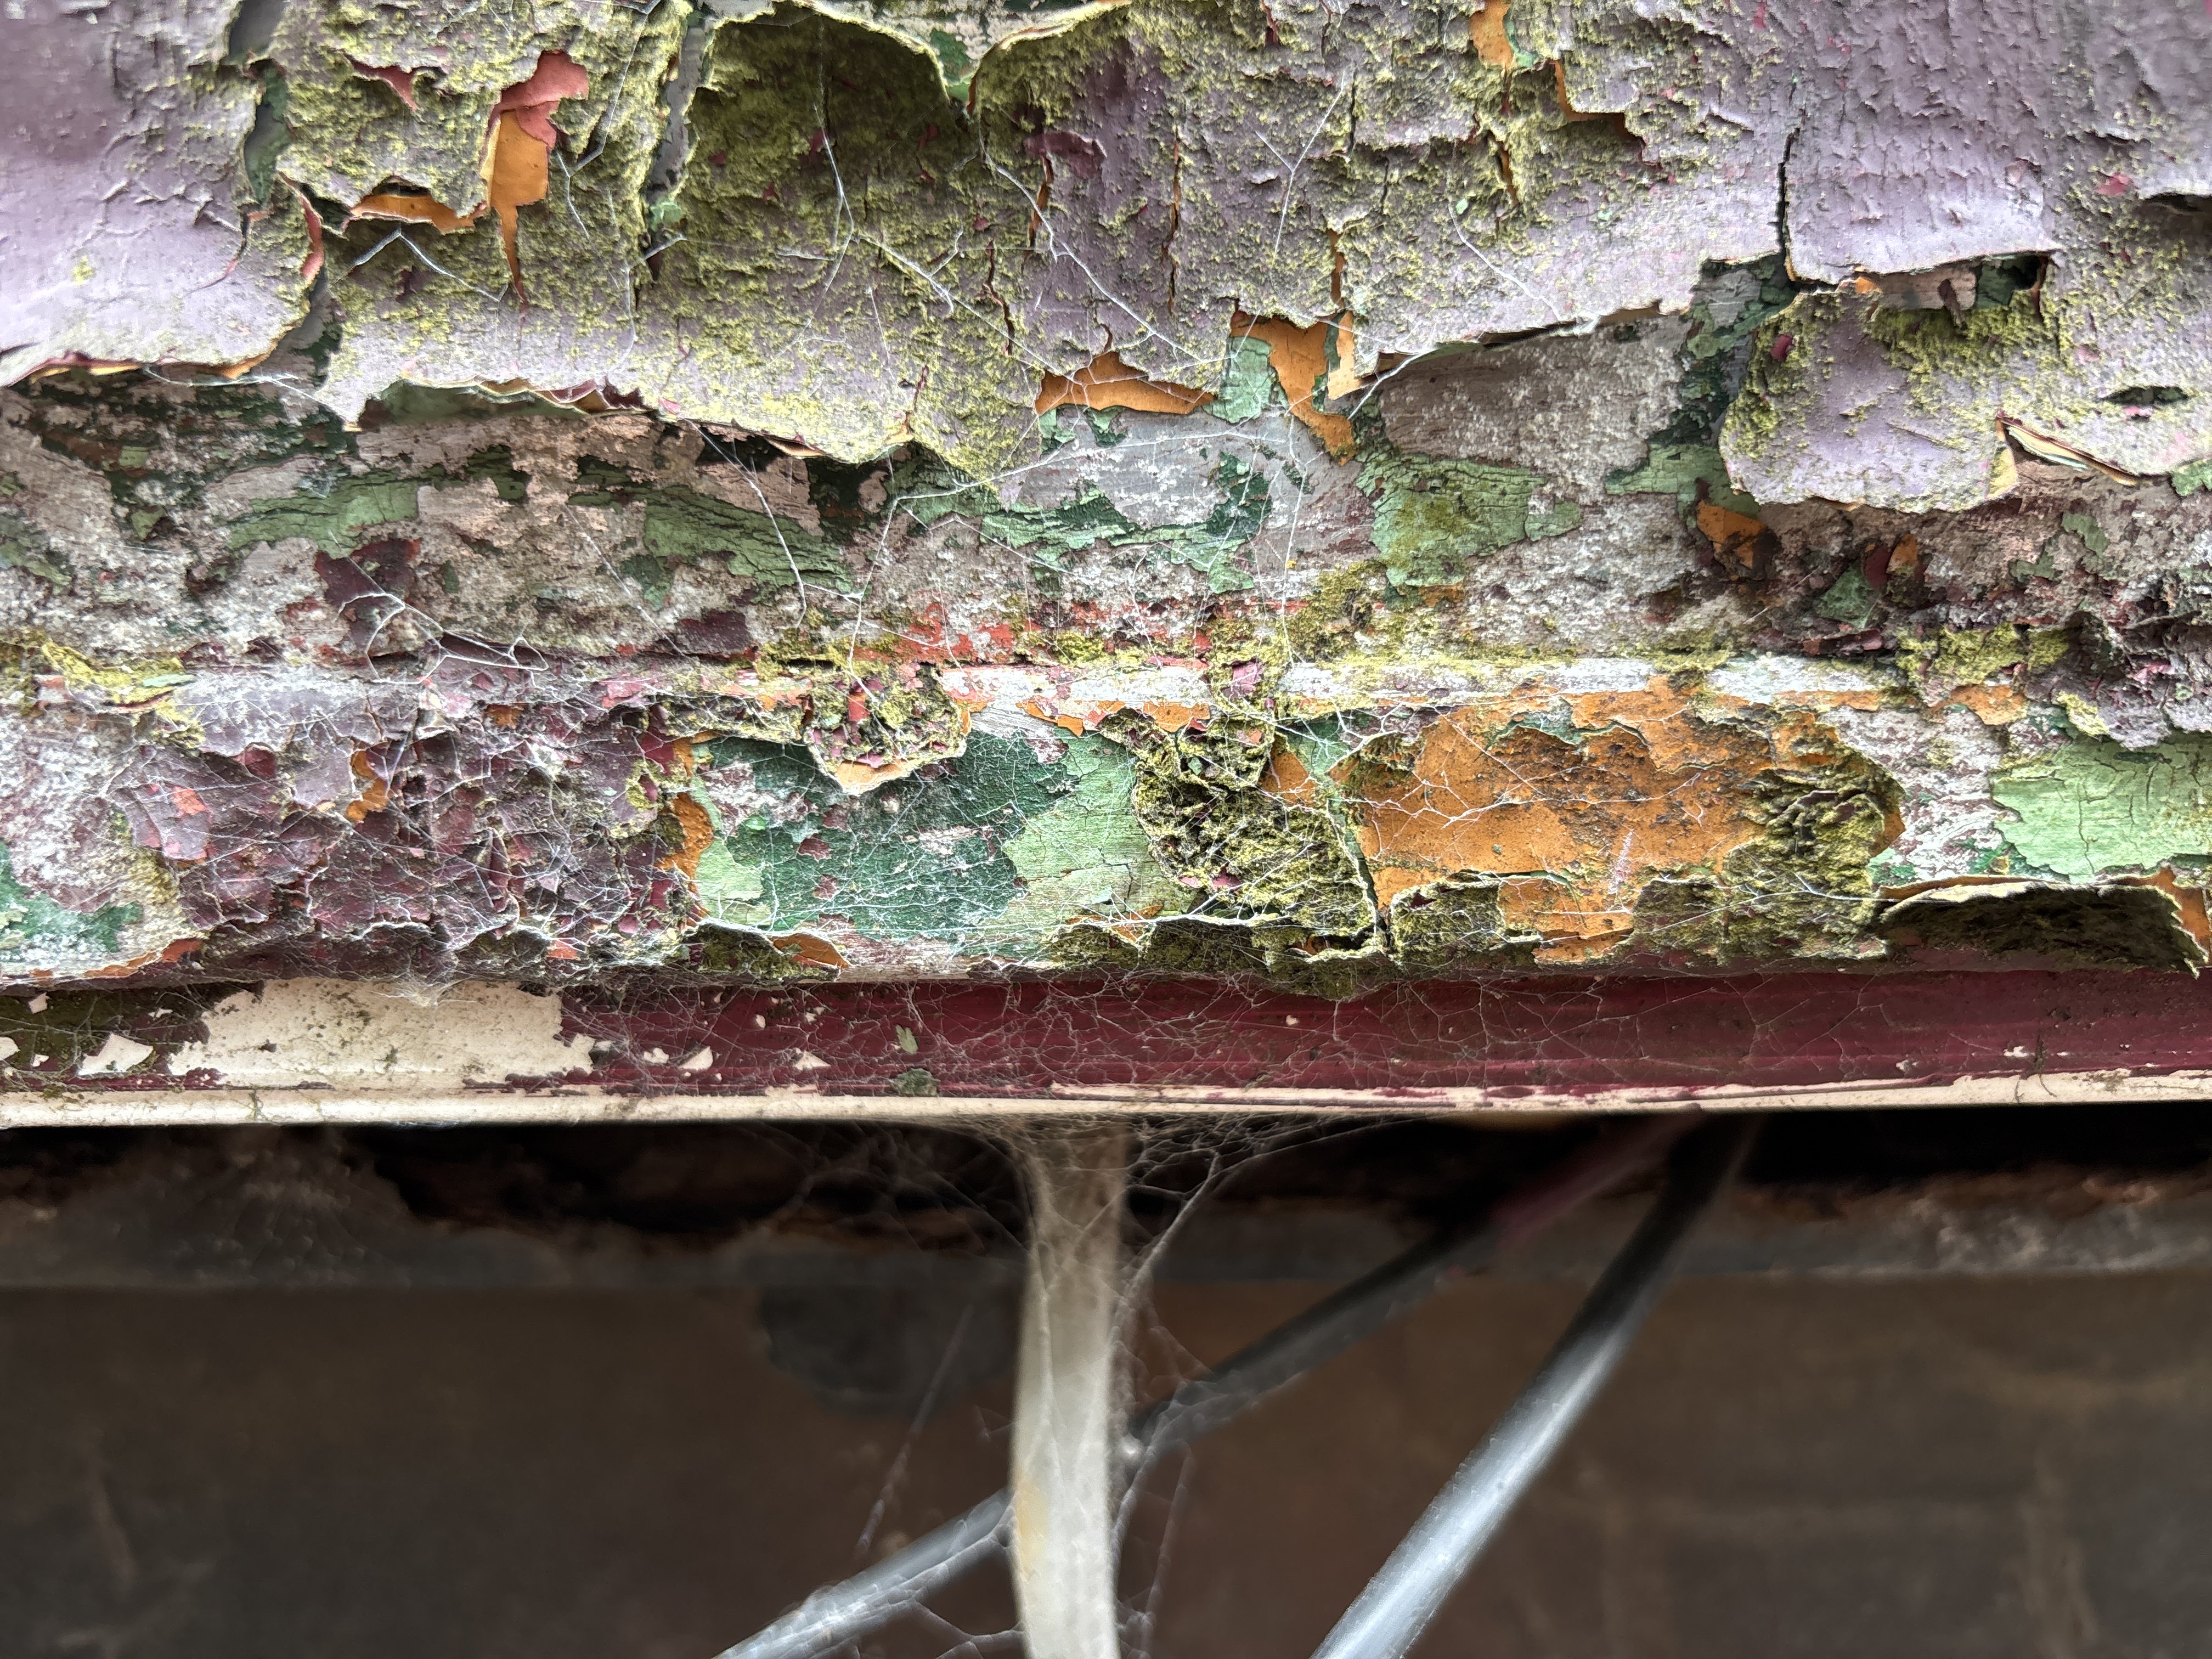
There was some sucking of teeth as I thought about how much it would cost to rebuild... The steel underframe and bogies look fundamentally sound. Some of the timber body (originally it was Ash) remains sound, but a lot is in poor condition and some parts have rotted away to nothing. I suspect it would need to be rebuilt mostly in new material, but there's enough left of the old to use as a pattern. With many similar-shaped pillars, modern techniques of CNC timber machining could make the job quicker, though the cost of the wood and the manpower to assemble it shouldn't be underestimated. The all-steel roof seems to have lasted better. It looks like the vehicle was largely complete when set aside for preservation, but the subsequent 40-odd years have not been kind to it. I doubt any original construction drawings survive, but there are quite a few photos taken during build which may be helpful. An essential first step would be a proper survey to record in detail the surviving parts. In the meantime, I'll focus on the miniature version...
-
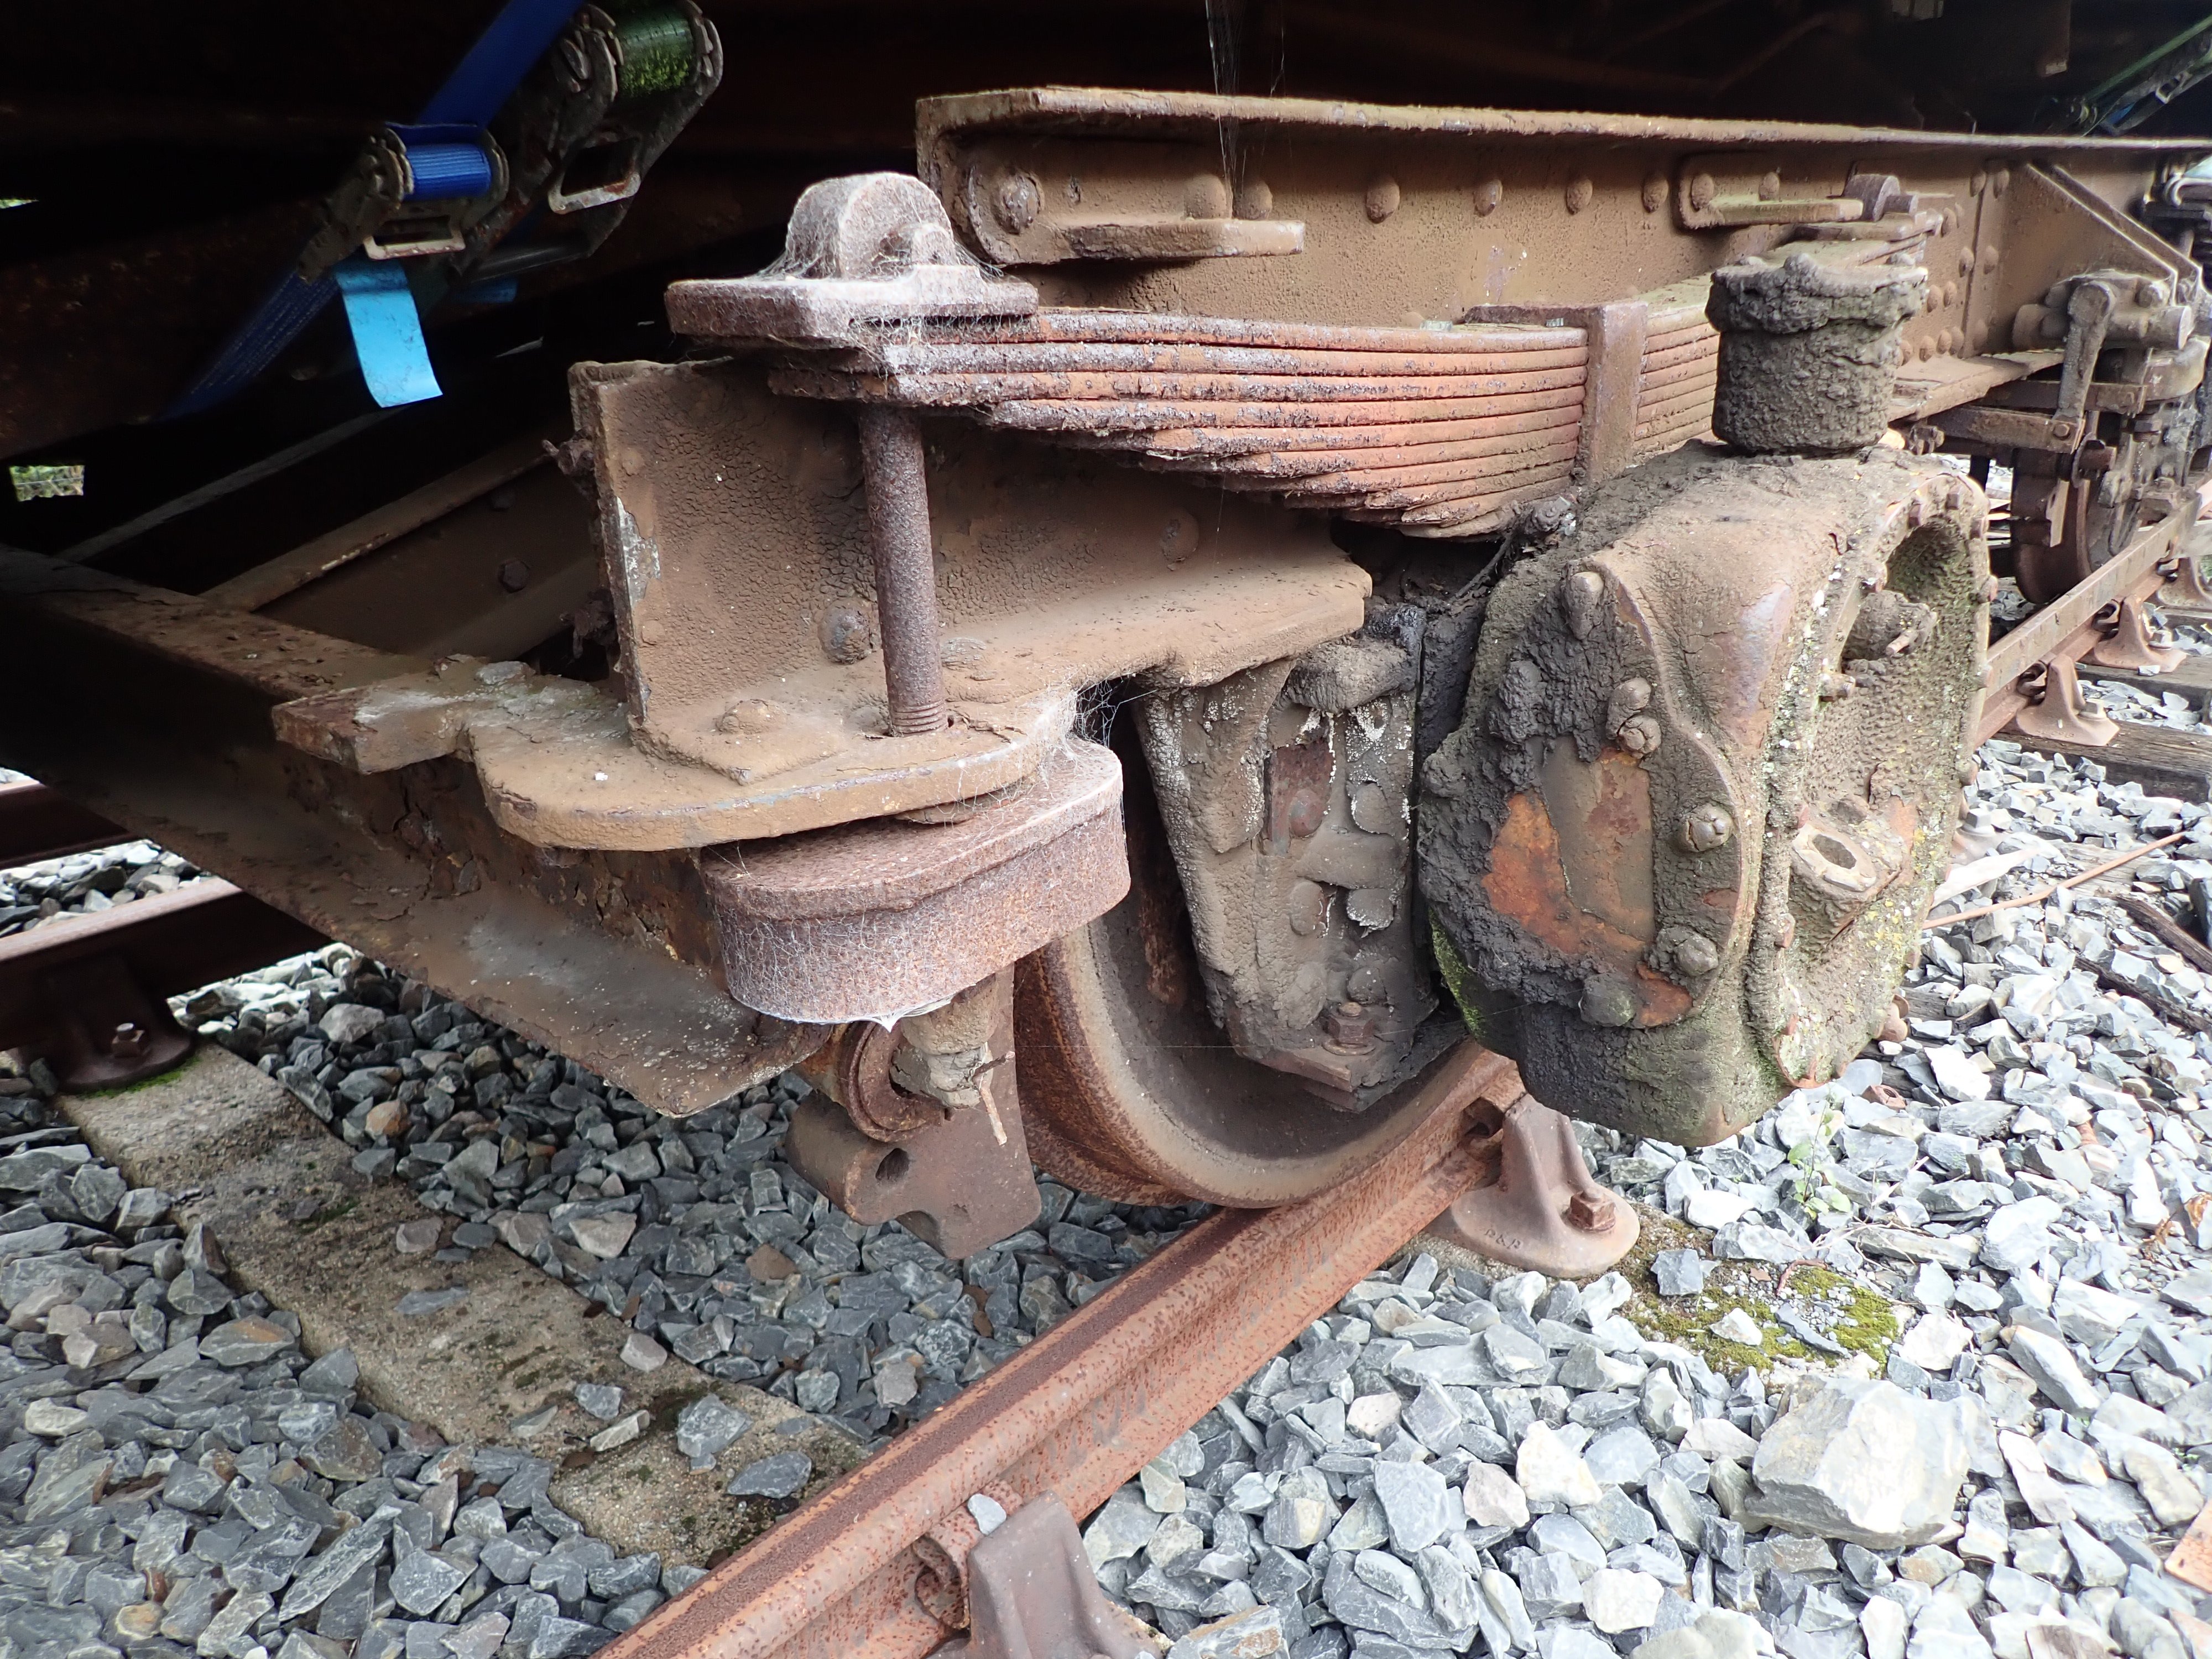
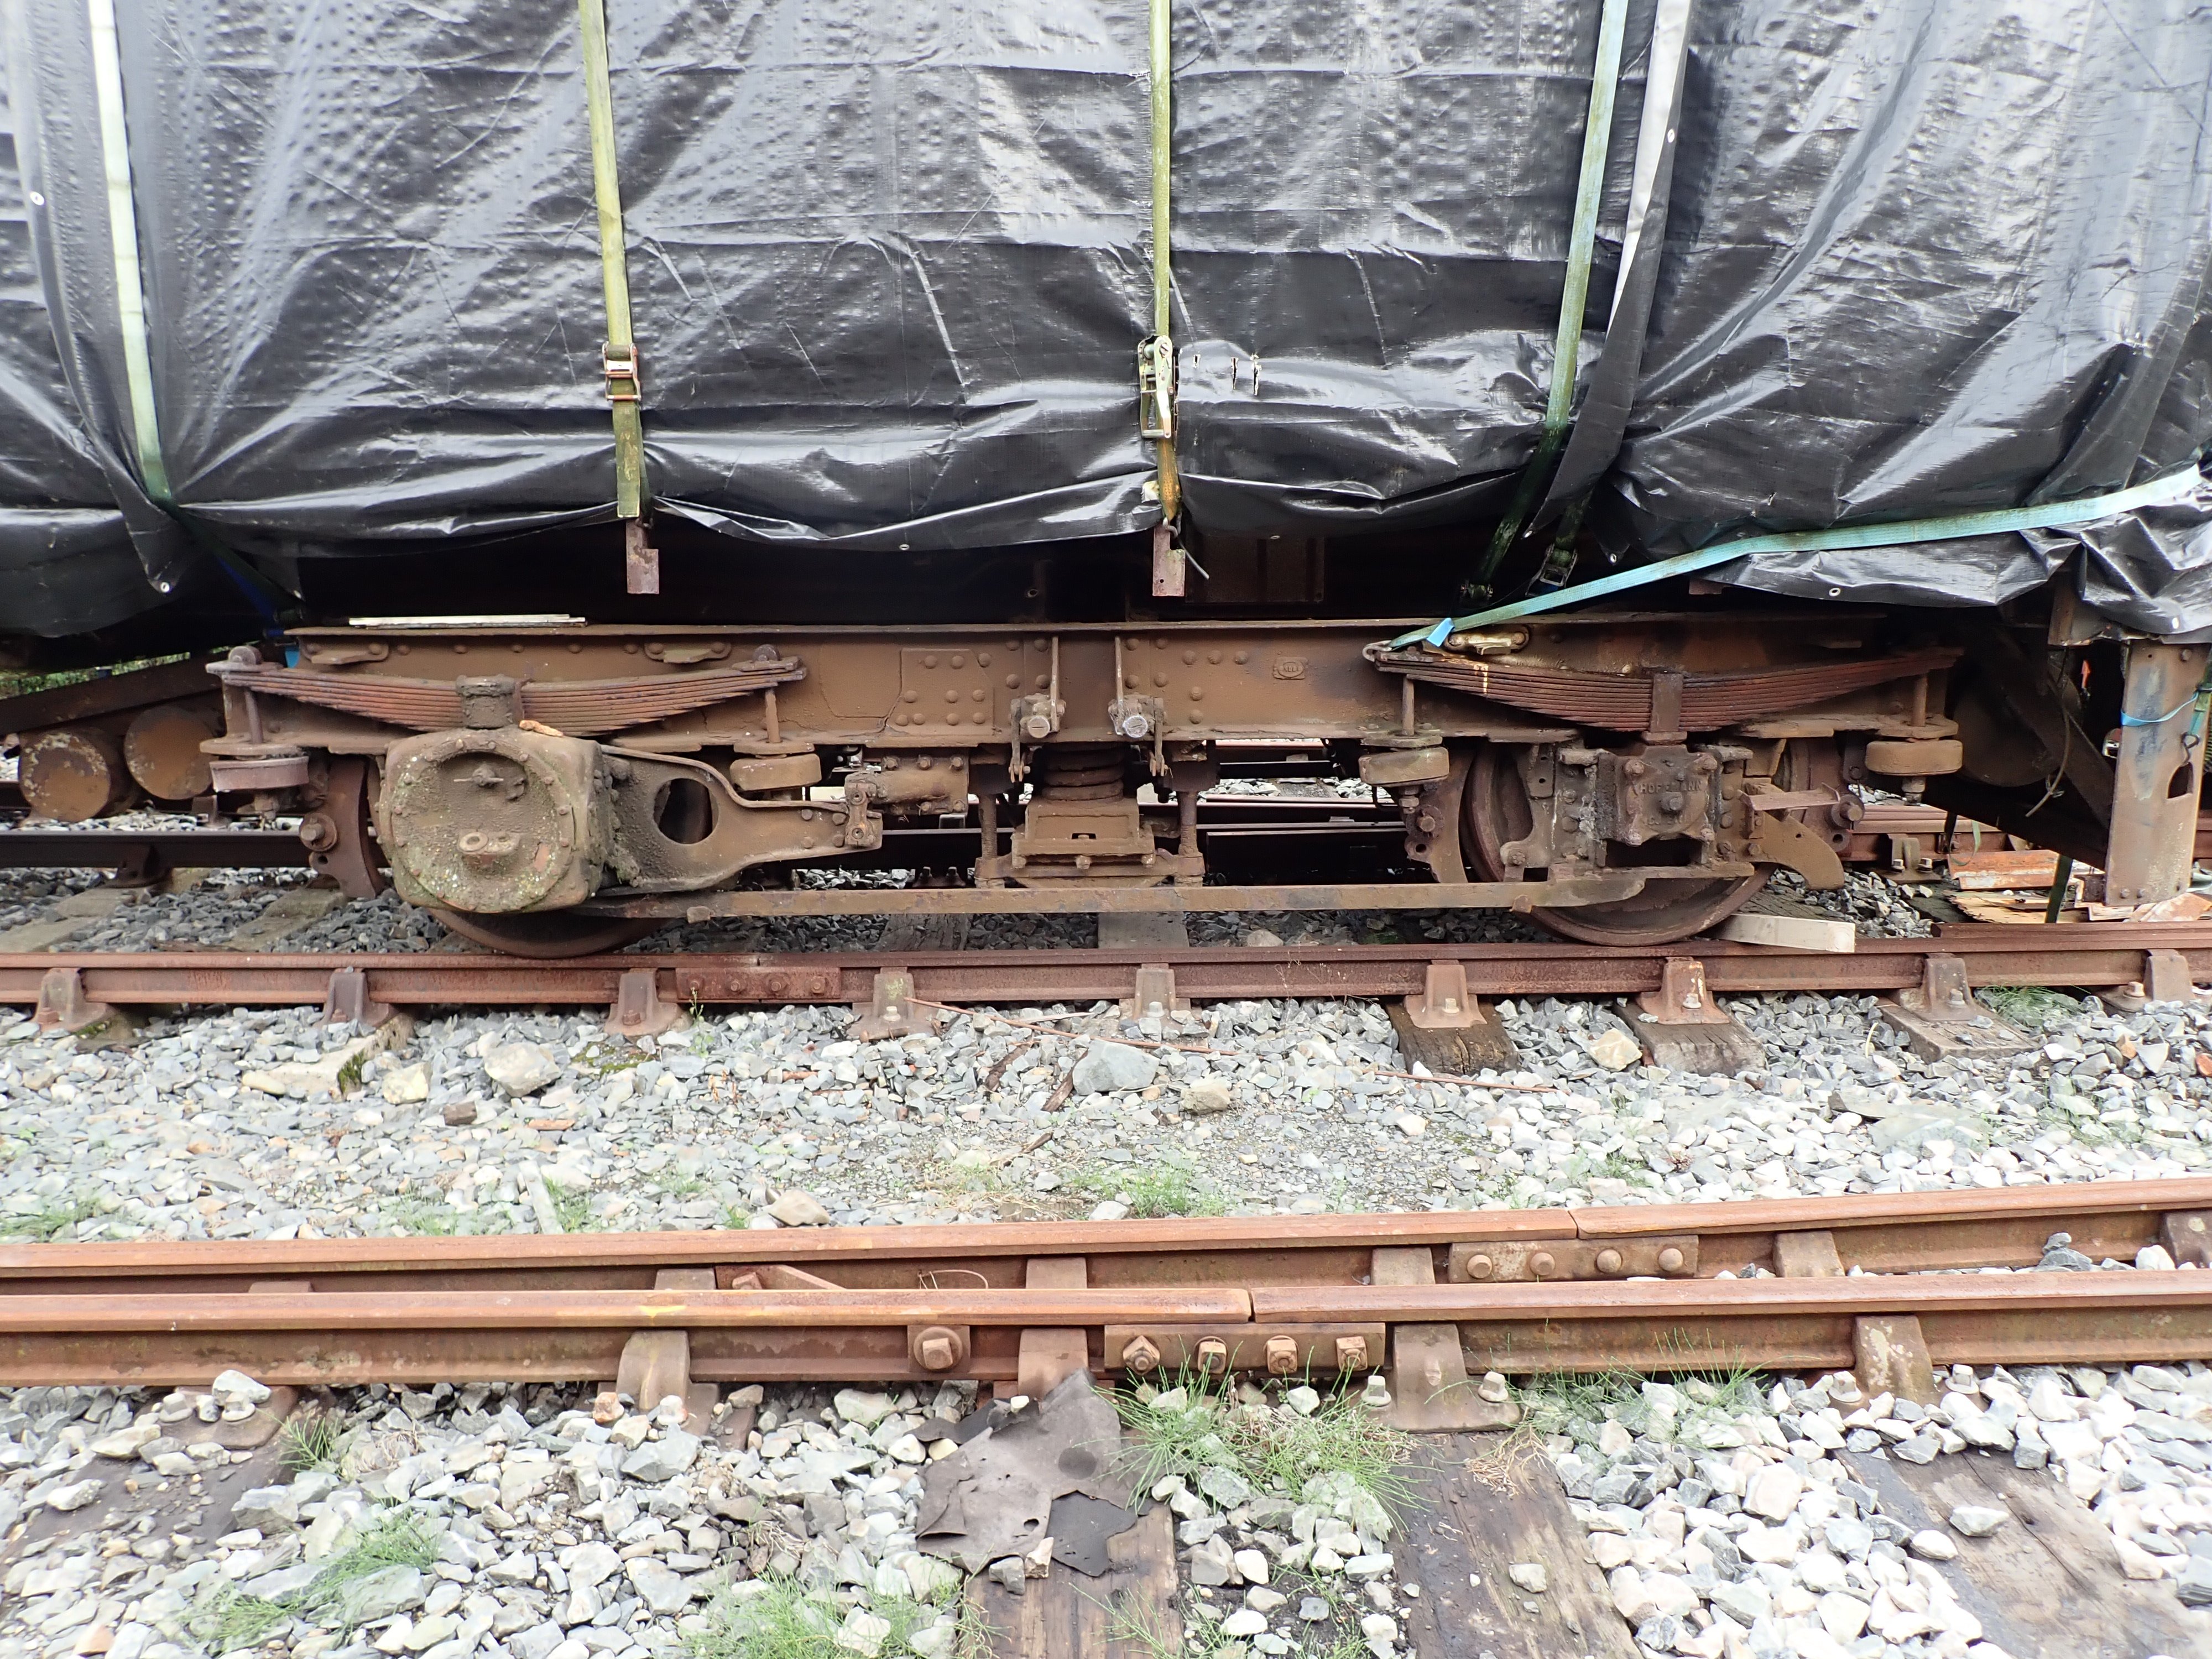
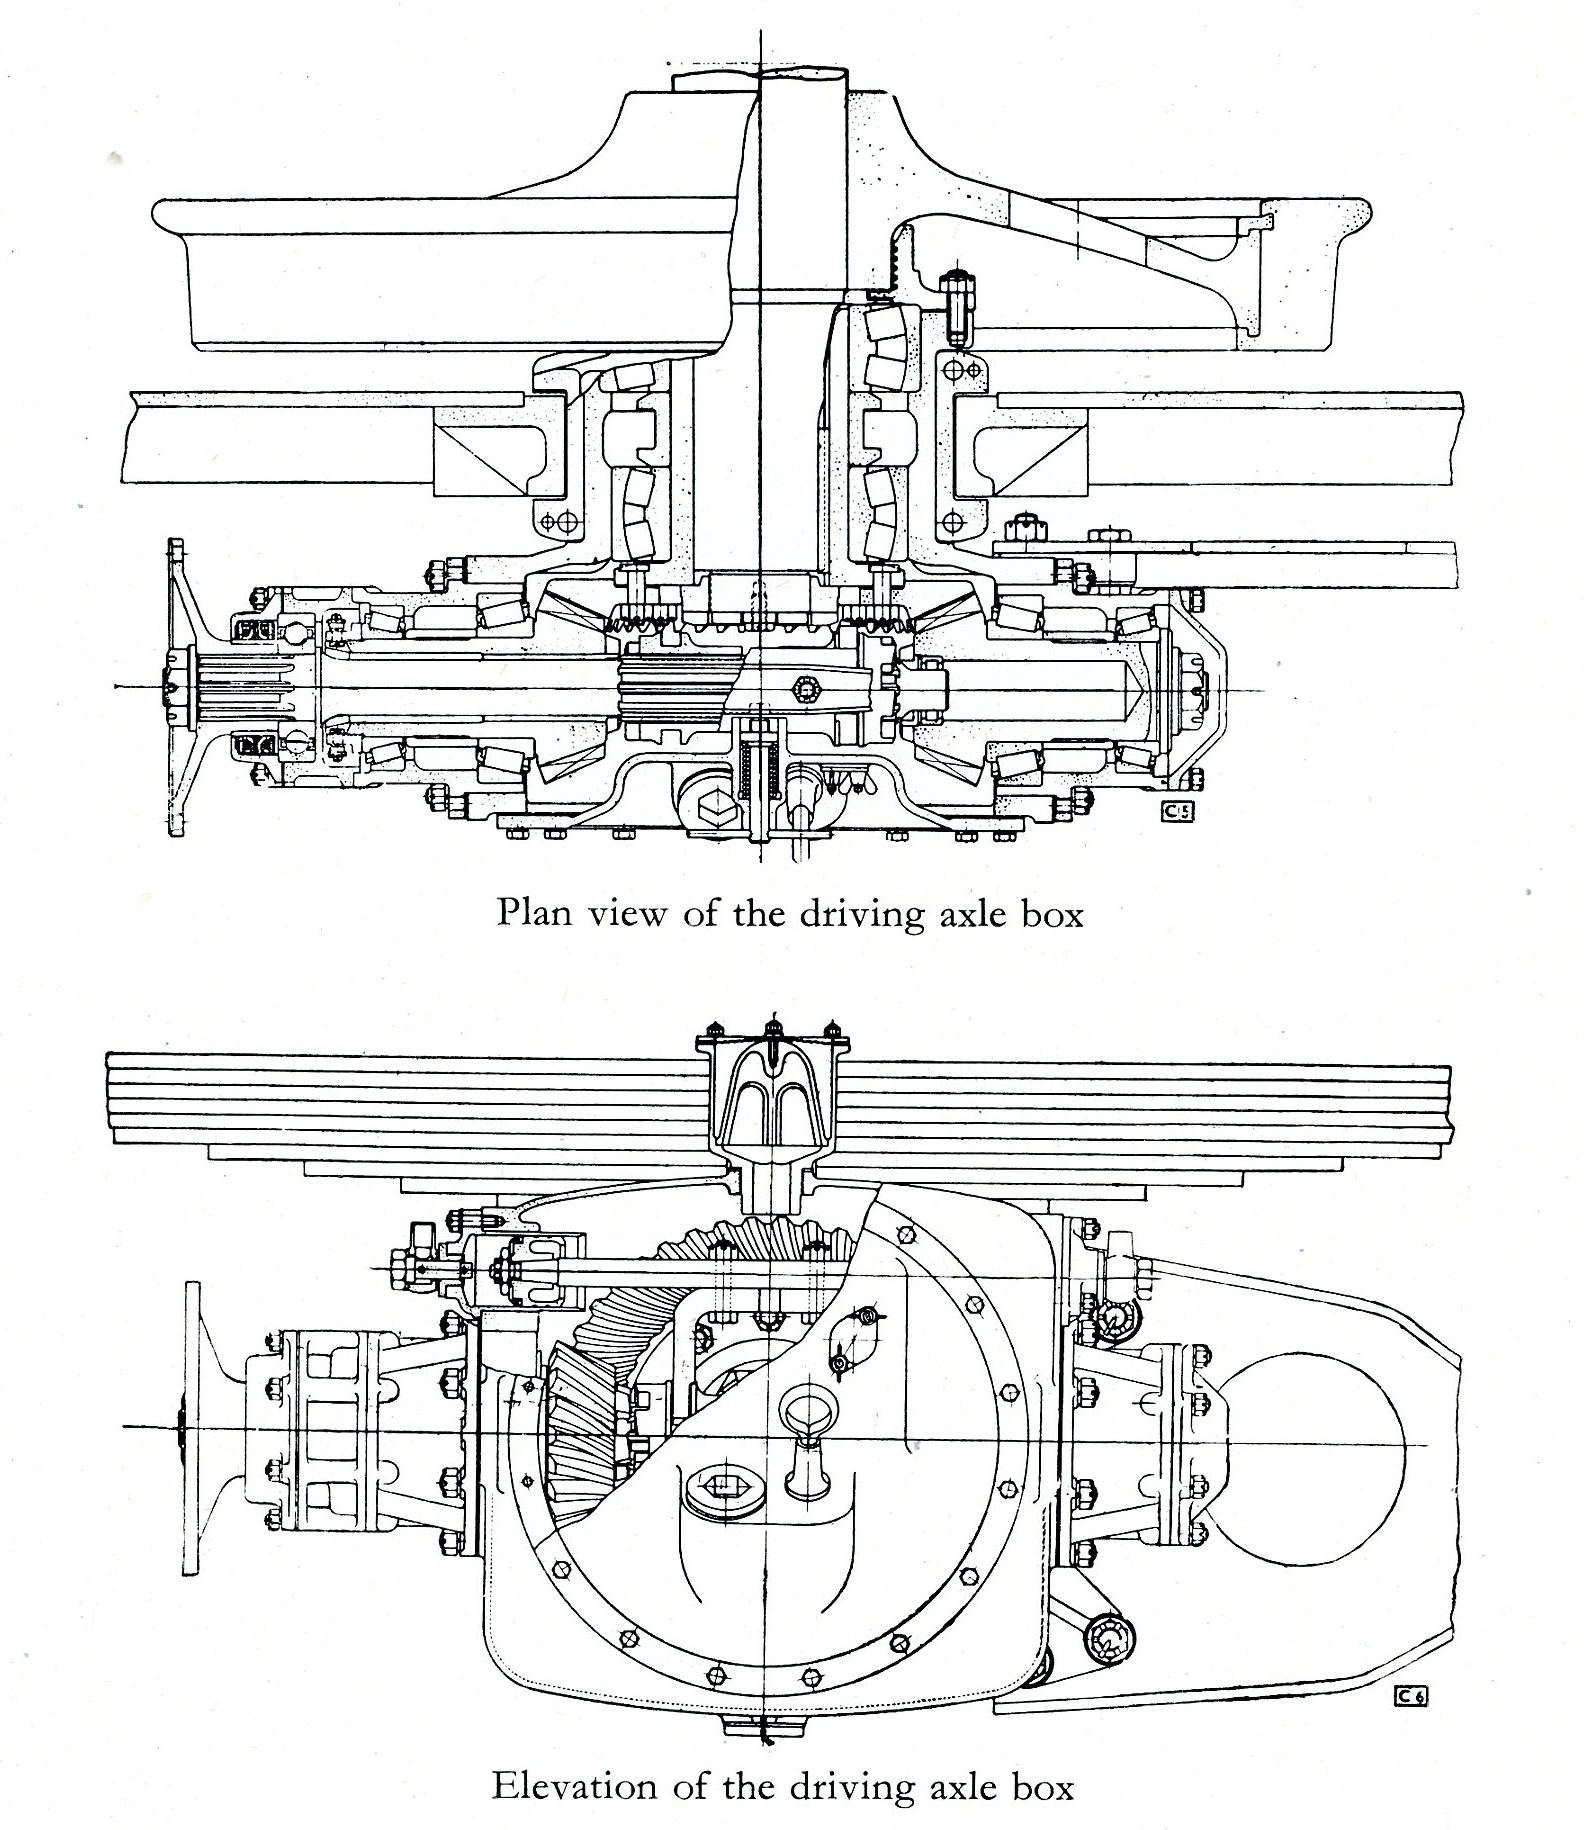
Photos of the final drive on 6111, very similar to the GWR design but the bogie is completely different: Cutaway drawing showing the two small bevel gears on the drive shaft. Either of these could be engaged, and that would select the direction of movement. A peer under the tarp...
-
When brand new, the bodysides, ends and roof were unpainted aluminium. Almost all the other external parts were painted silver, including the underframe and its tanks, battery boxes, etc. For the luggage vans, external parts that were not silver were as follows: Black: wheelsets, buffers (entire assembly), flexible rubber/canvas parts of gangway, window rubbers. Eau-de-Nil: running numbers, 'GUARD' lettering, Chrome: door and grab handles Much the same for the heating vans, but some seem to have had silver buffer bodies, but black on the gangway support brackets and angles. They had 'NOT TO BE ROUGH SHUNTED' lettering in red on each end, and there were a couple of small red plates on the lower bodyside.
-
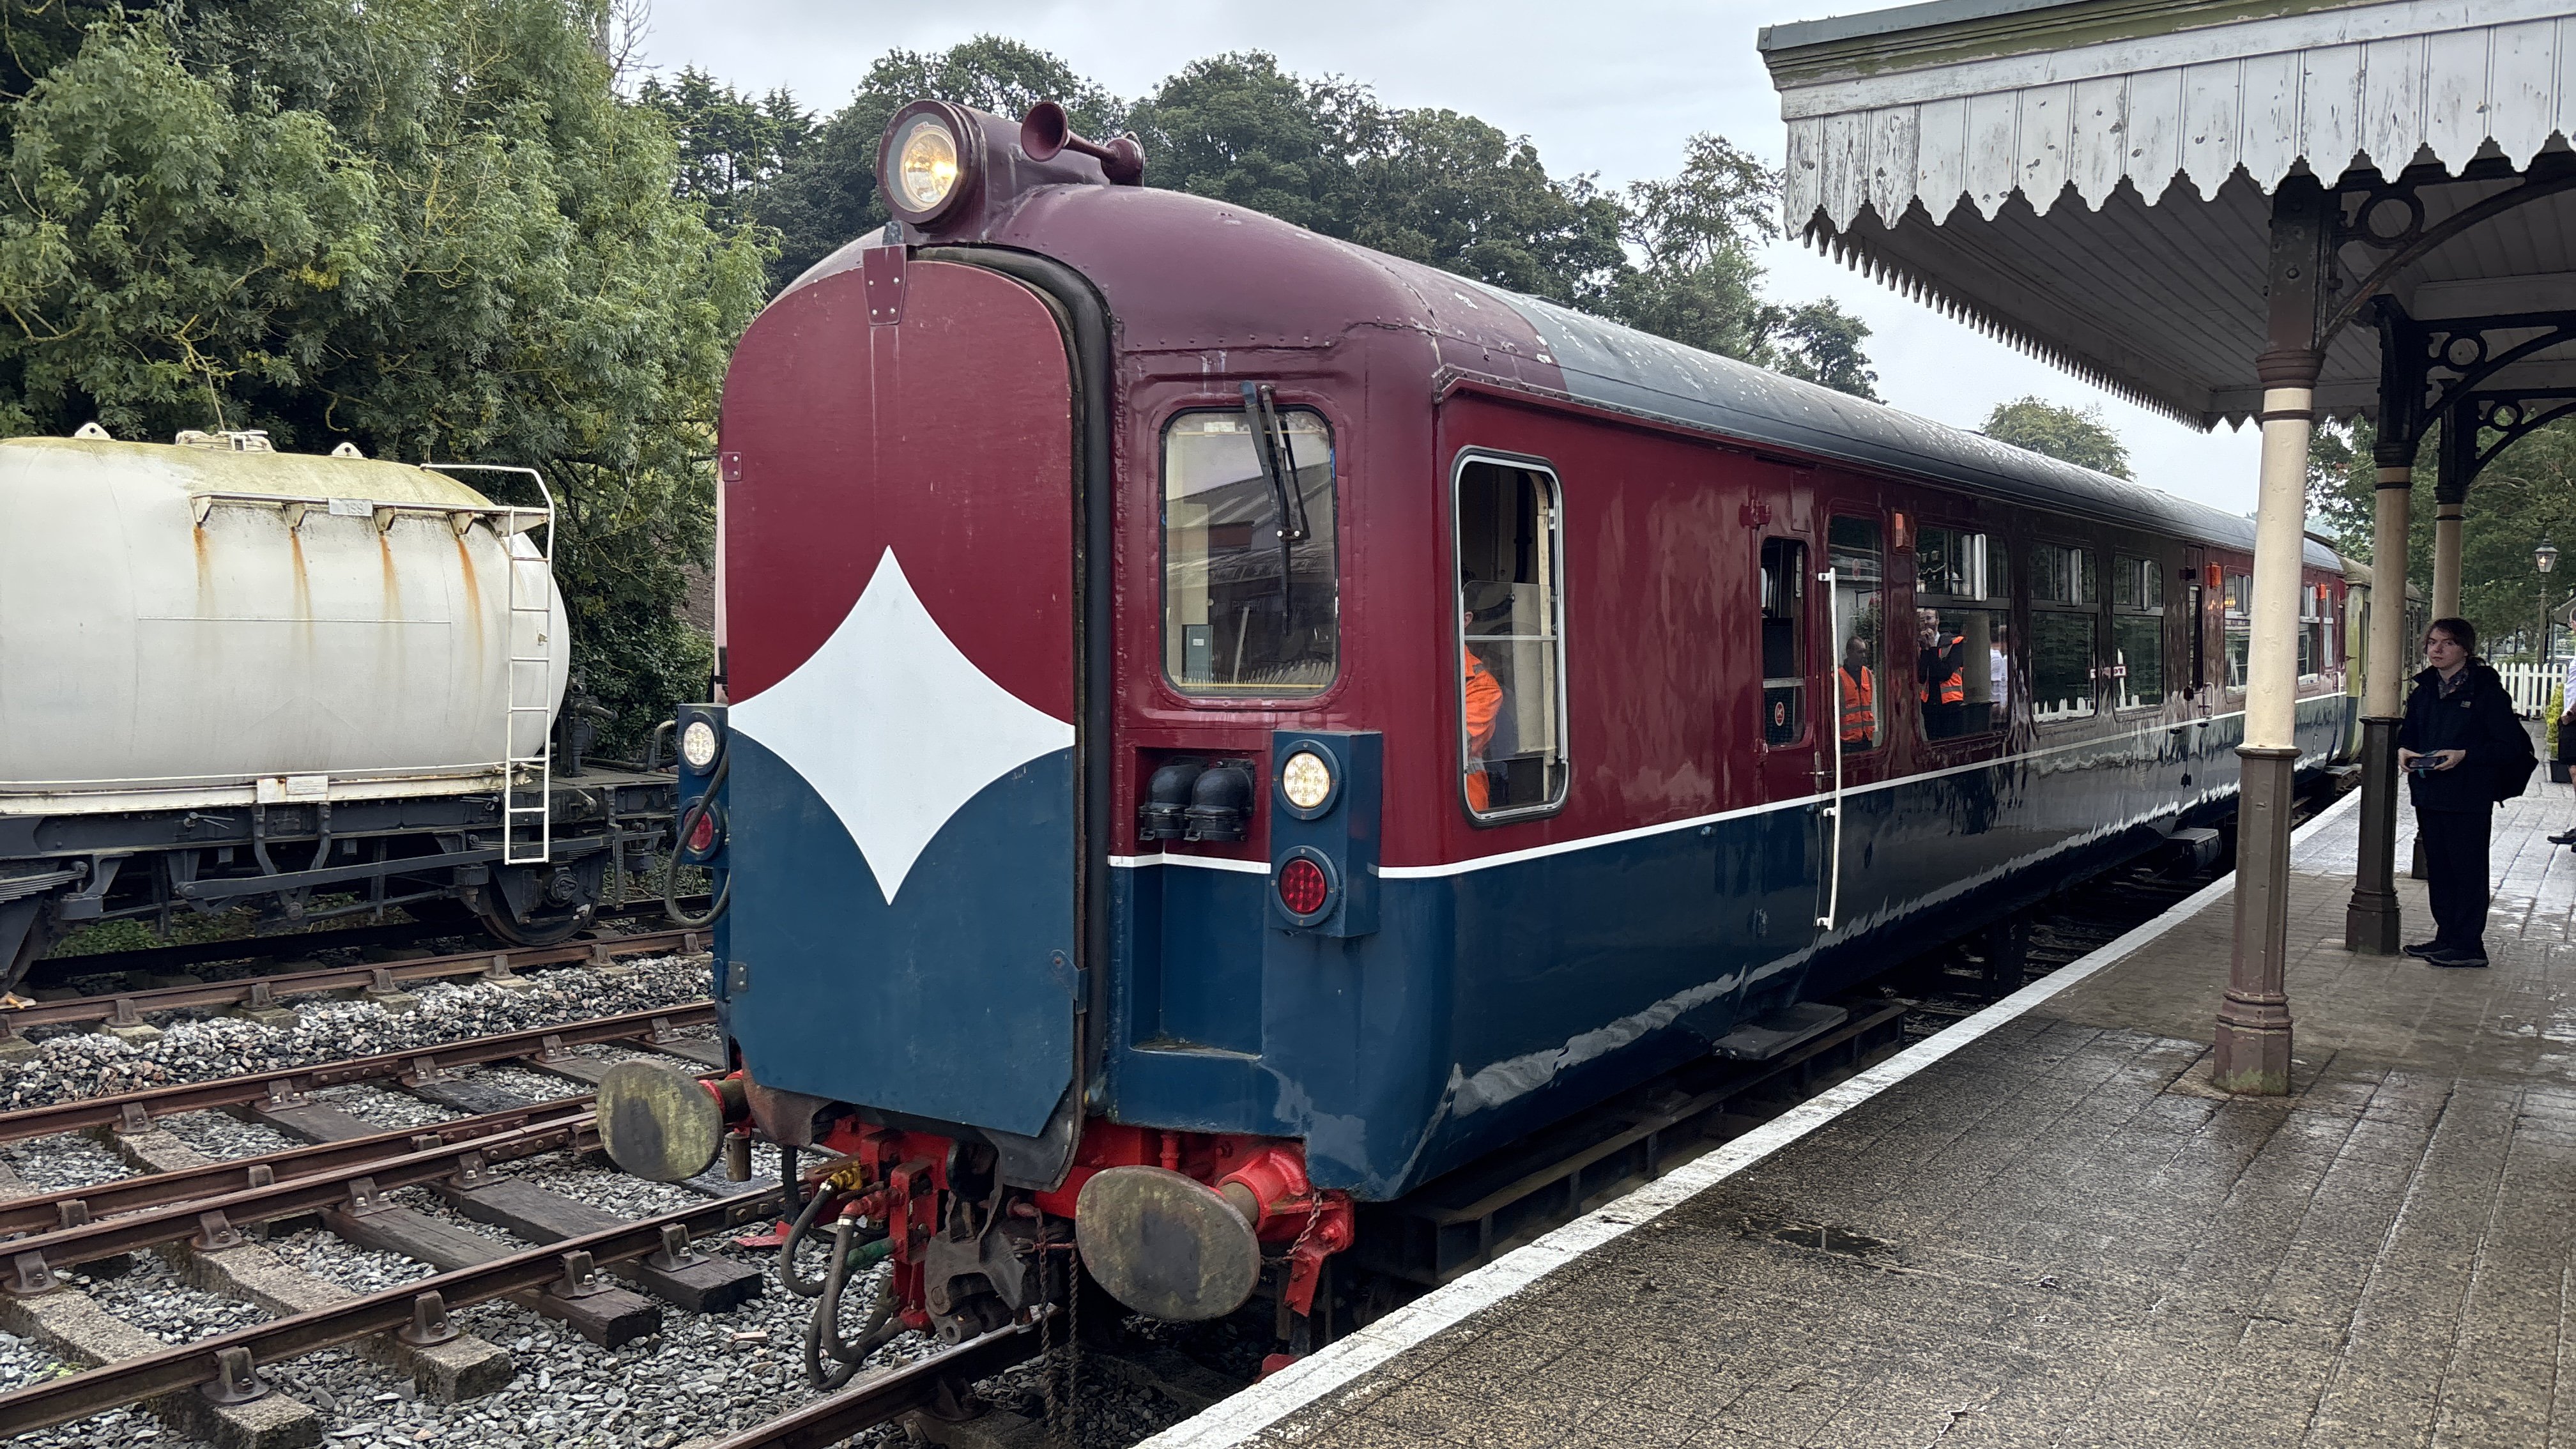
Yes, very similar, although the Irish cars only drove one axle on each bogie. This was also the forward/reverse box, direction depending on which of the two small bevel gears on the driveshaft was engaged with the large gear on the axle. The bogies were quite different to the GWR cars though, with 10’ wheelbase. I photographed as much of 6111 as was safe to do so. It needs a lot of work but I think it could be restored.
-
Lovely! I would have actually preferred the vintage electric to the steam loco, but then I have odd preferences… Looking forward to hearing about your walk tomorrow - I’ve done a good few in that area.
-
"Voiding the Warranty" - Mol's experiments in 21mm gauge
Mol_PMB replied to Mol_PMB's topic in Irish Models
Many thanks JB - you are too kind. I’ve had another wonderful day at Downpatrick seeing more than I had imagined would be possible. The AEC project has seen a boost with a close inspection of 6111.
- 822 replies
-
- 12
-

-
I’m away from my library at present. Did any of those locos survive into the 1940s? Carriages all look very well presented, not what I would expect in the emergency years.
-
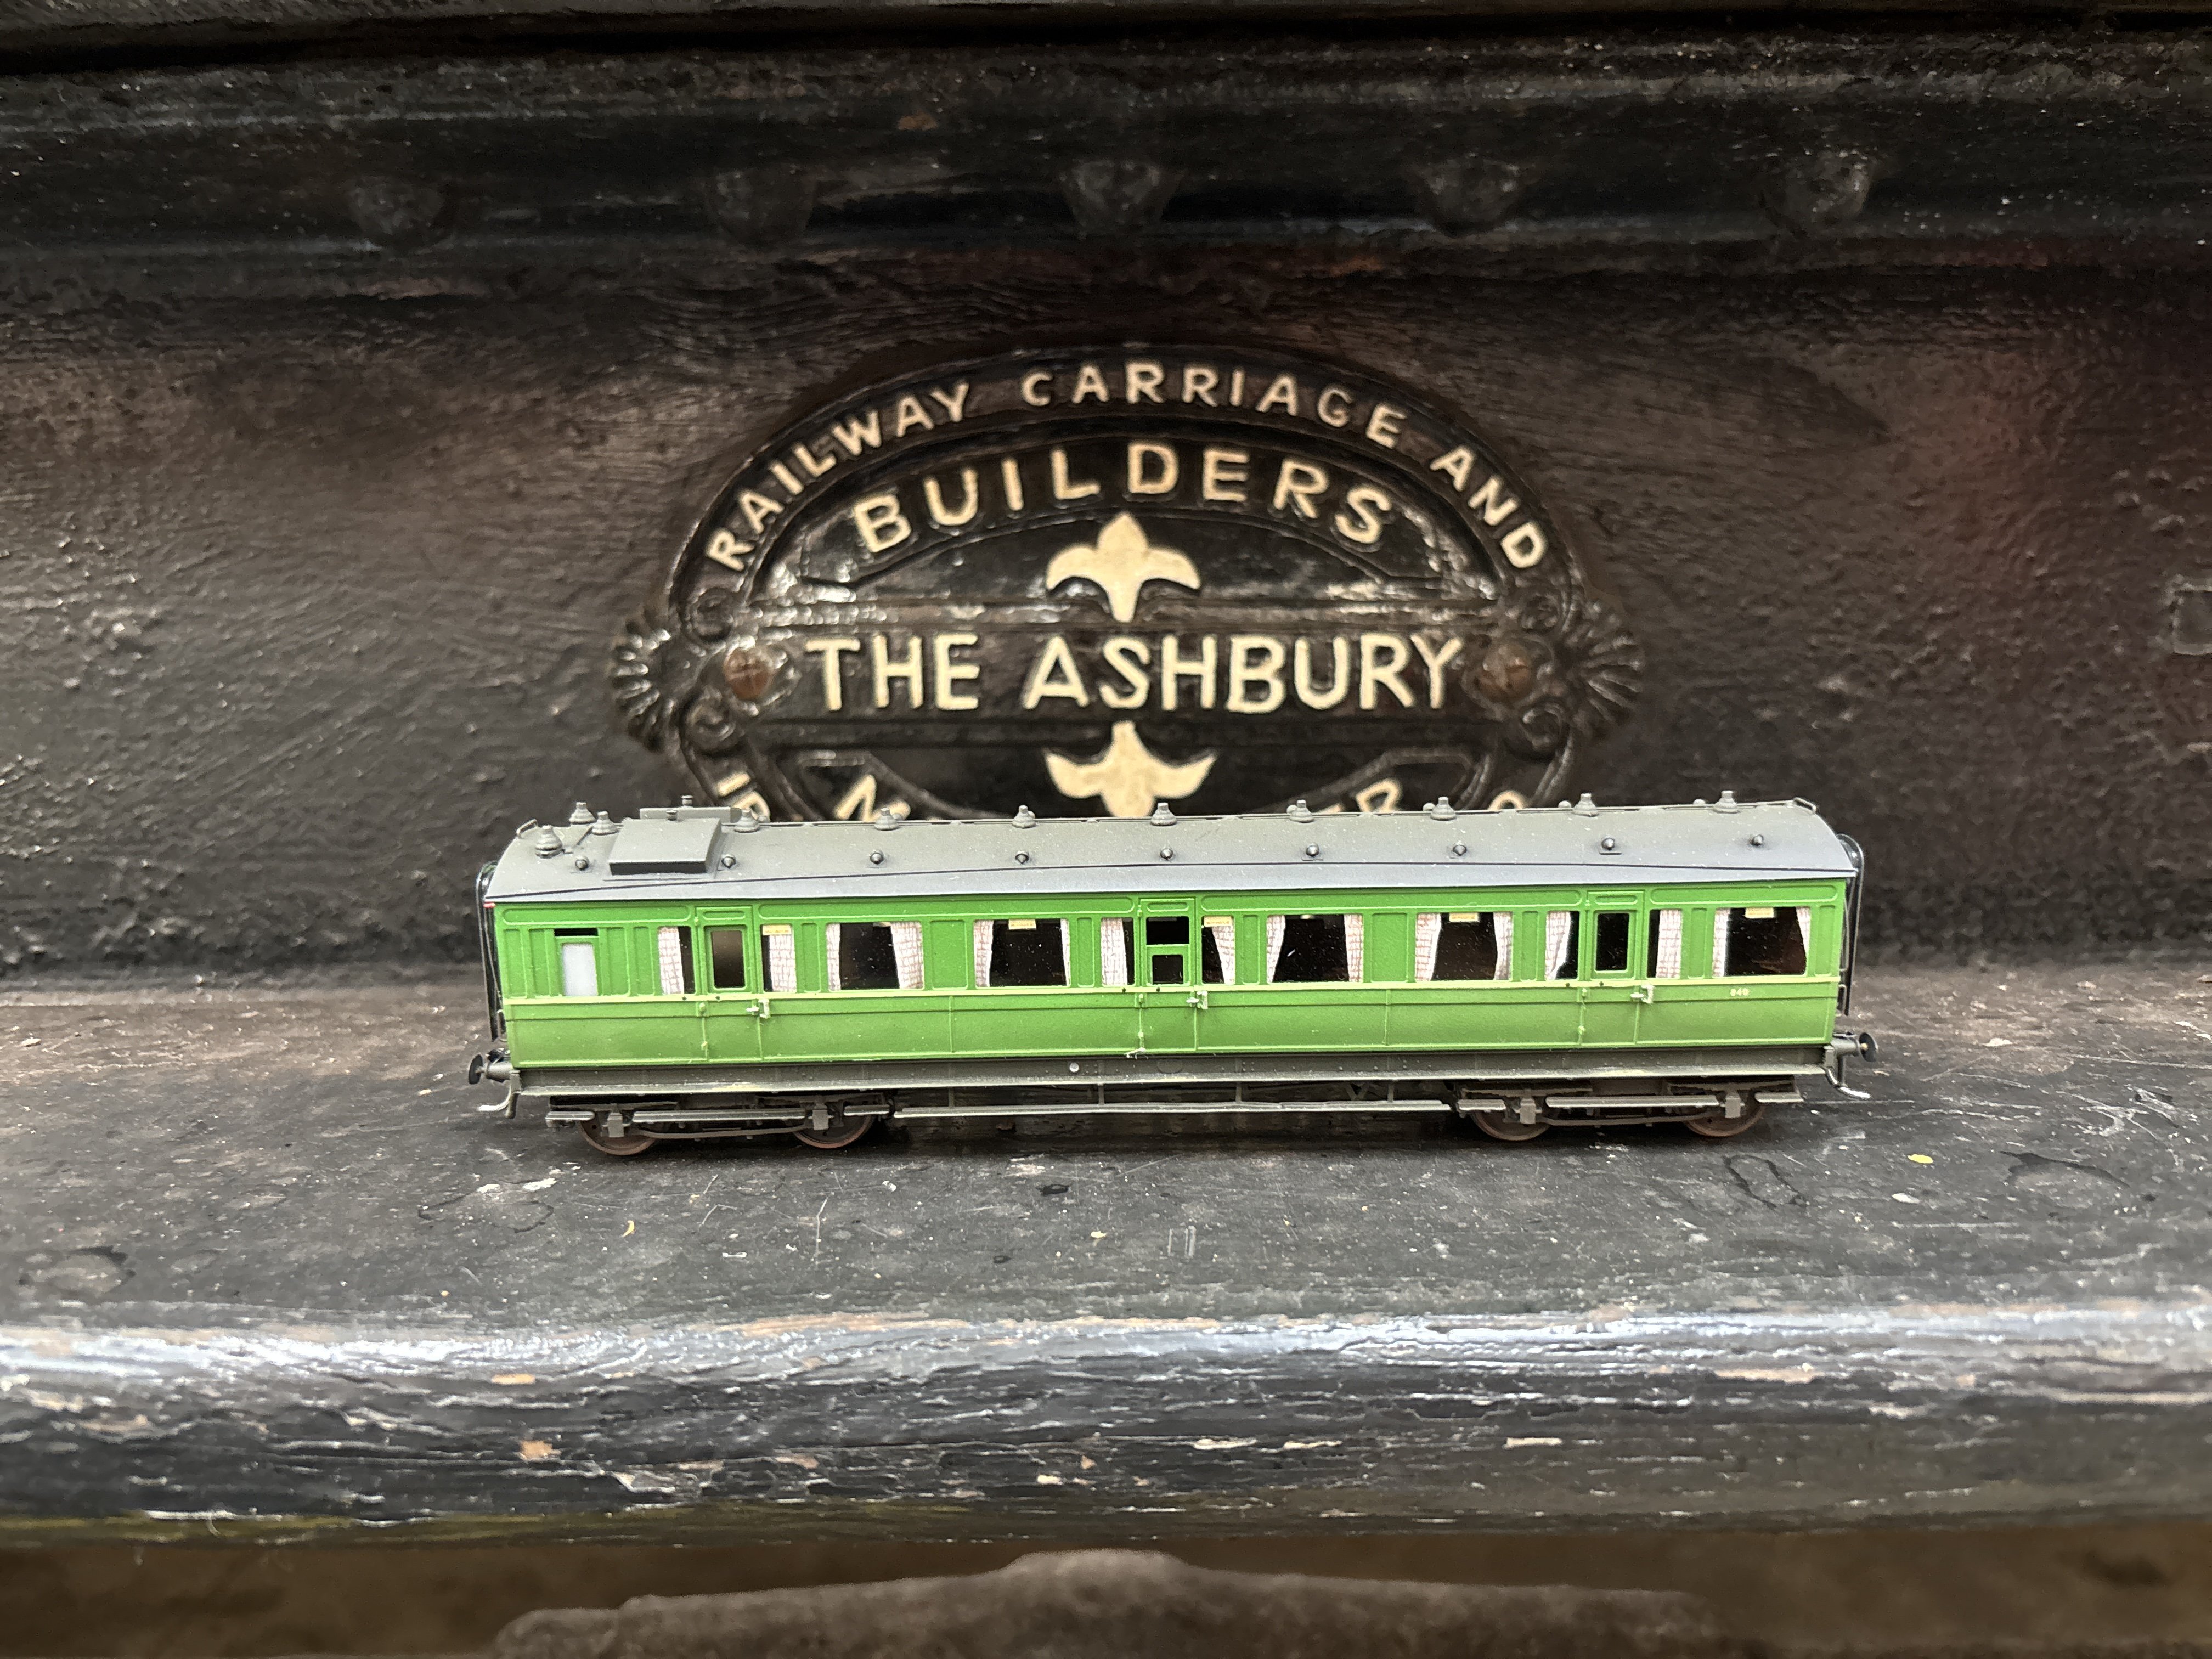
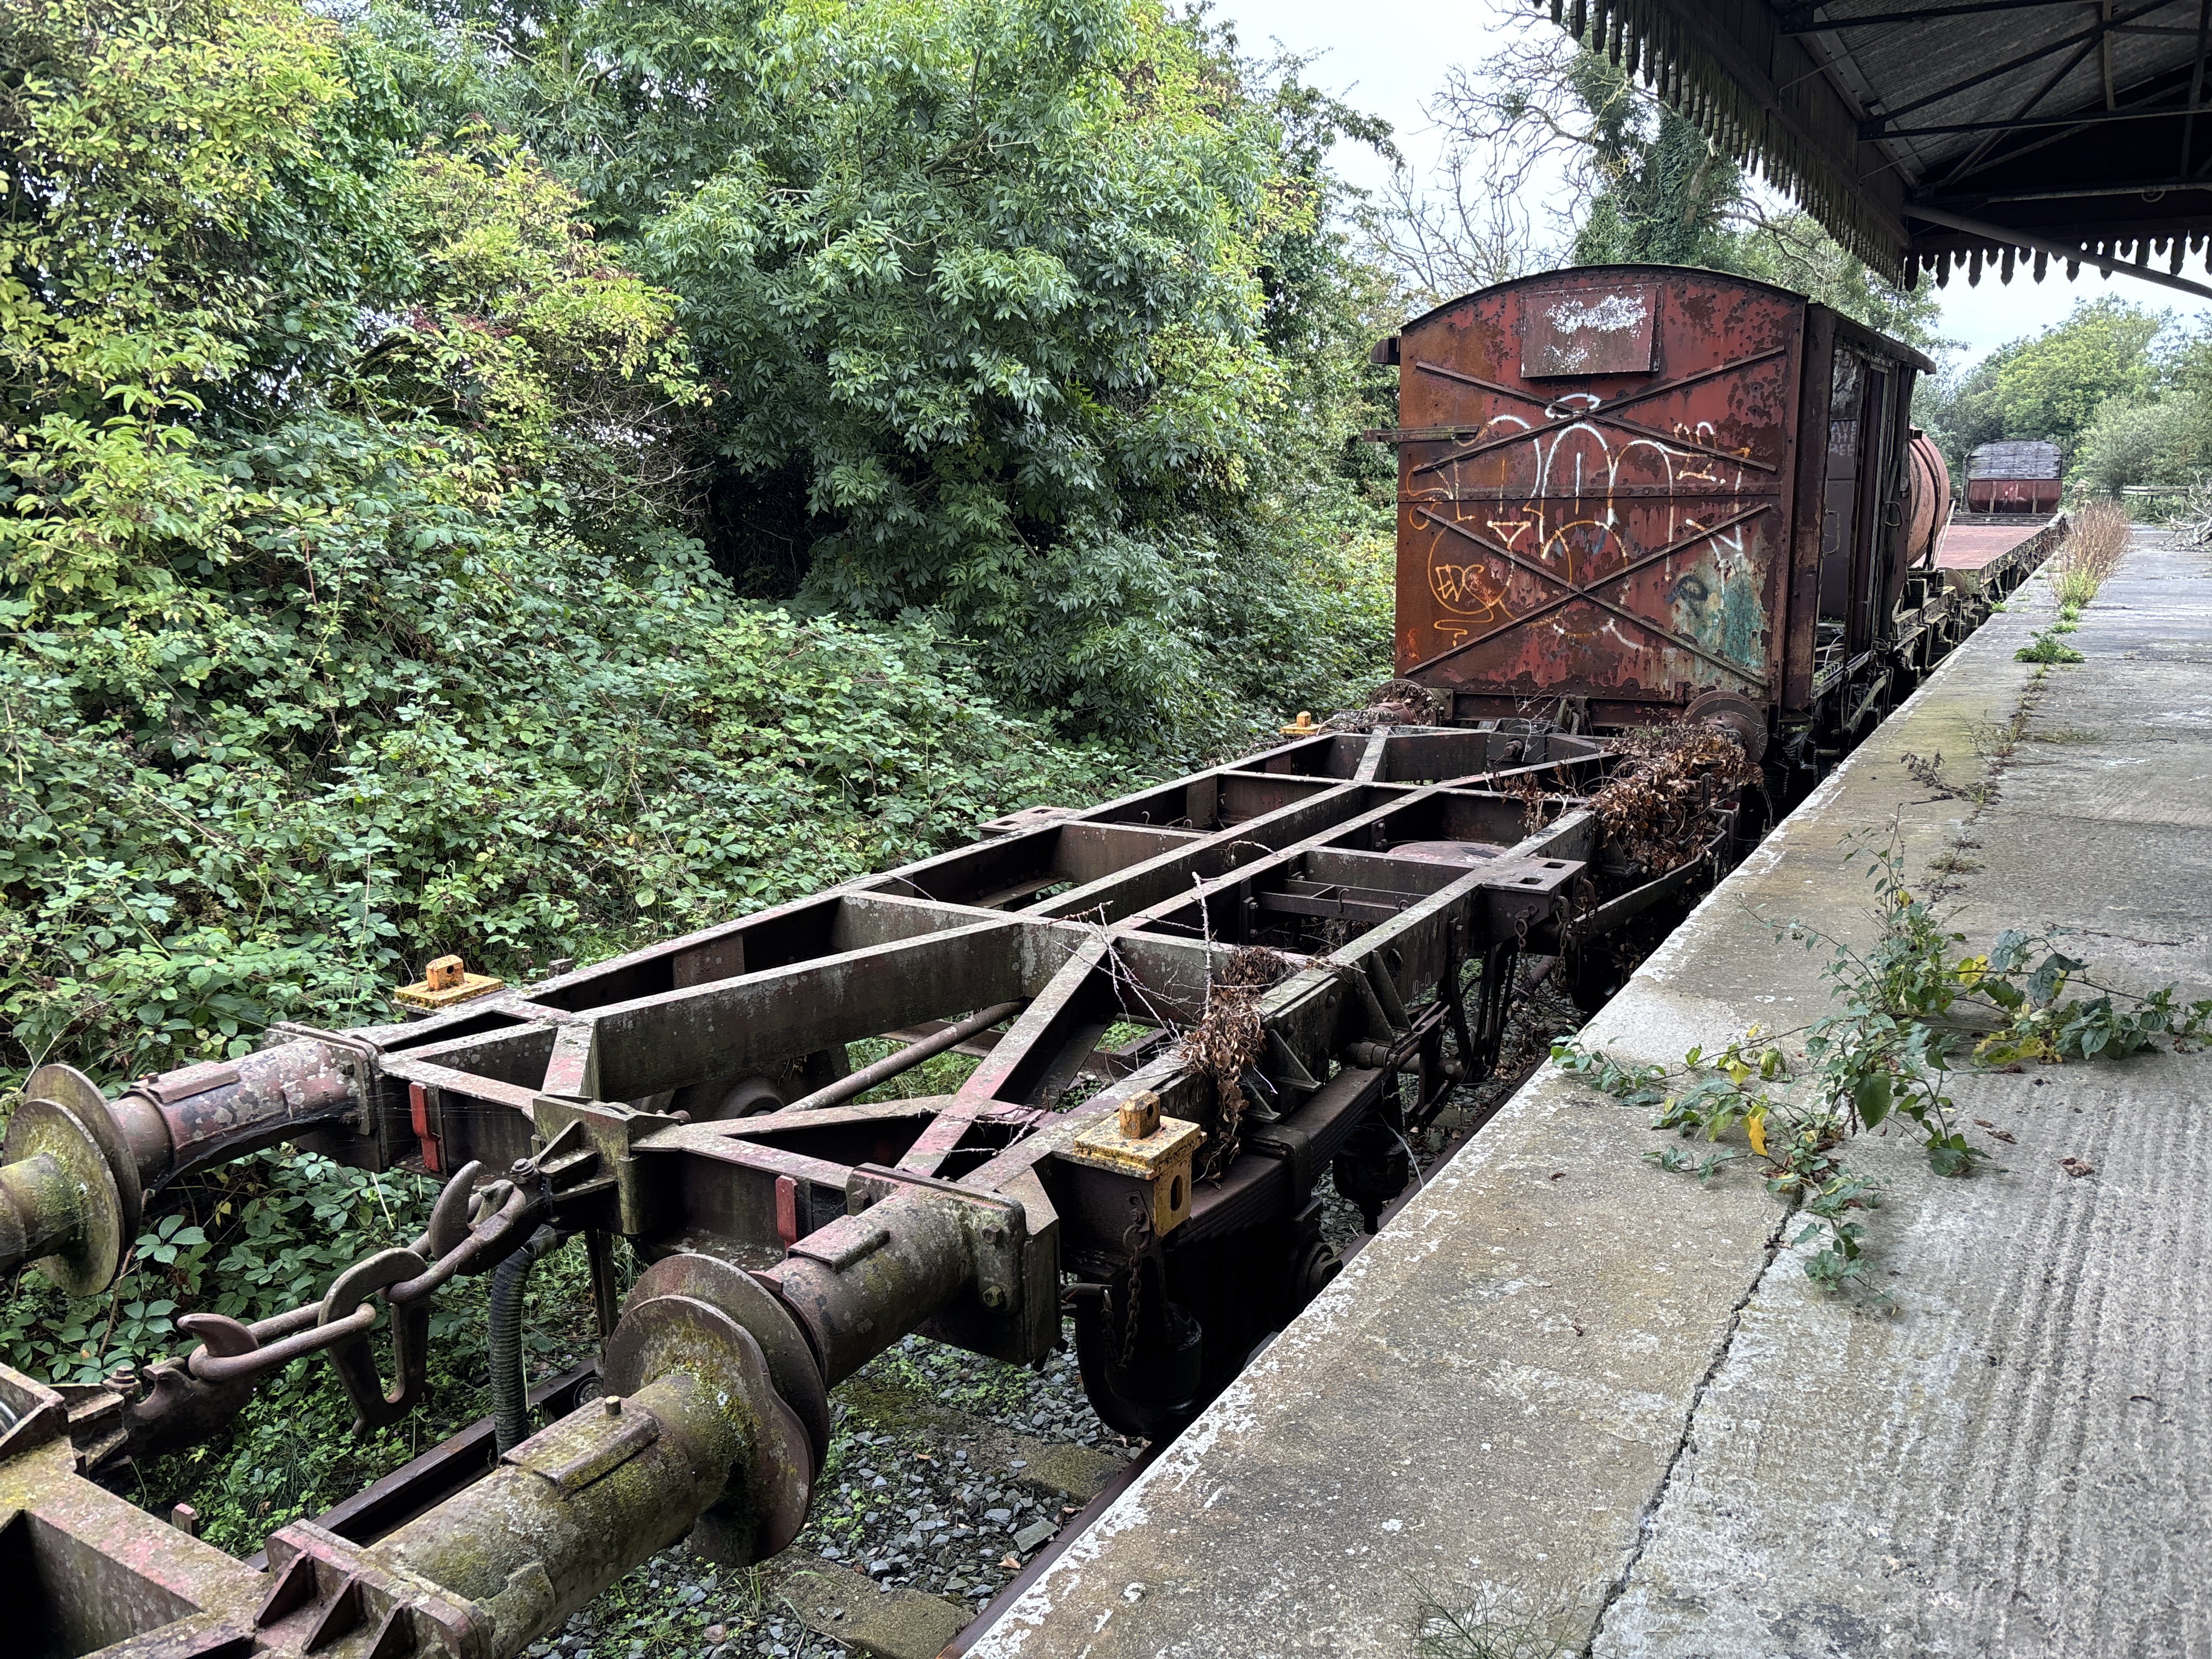
Thanks to @GSWR 90 I’ve had a wonderful follow-up day behind the scenes too. A close inspection of the AEC railcar (fascinating to look at up close) and all the other rolling stock, a walk round the triangle, and some lengthy technical discussions on many varied and interesting topics. Next time I think I’ll need to bring my overalls! Here’s another shot of 840 and 836, both made in Manchester: And of course there were some discussions about liveries… For those of you looking for the newly-acquired wagons, they were hiding:
-
Been there, done that, sitting against the engine room partition while a 6-car set tried to match 201+DeDietrich timings. The train was full and standing too, so no space available in a trailer car. By Drogheda I’d had enough!
-
Great to see you again! and all the other forum members who visited the DCDR today. I am looking forward to getting behind the scenes tomorrow. I’m sure there are some things here that IRM need to point their 3D scanner at…
-
British locos and stock that can be disguised as Irish
Mol_PMB replied to Westcorkrailway's topic in Irish Models
For clerestory coaches, there were several different shapes of roof that were very distinctive. The English Midland shape was unlike most others. The GSWR had two distinct shapes - the 1890s coaches had the main roof almost flat, with a sharp radius at the cantrail. The 1900s coaches had a fairly high arc on the main roof, similar to the non-clerestory coaches of the same era. Interestingly, the GSWR detail drawings of the early 1900s show some coaches with clerestories that were actually built without, and vice versa. The drawings are annotated in pencil to indicate the changes. MGWR were different again. GSWR clerestories were 45’, 50’ and 66’ long. I am mulling over the idea of doing a 50’ GSWR clerestory model which could use the same underframe as my existing GSWR coach. This type appeals: One other thing to note is the bogies. The Midland (GB) coach kits have 10’ wheelbase whereas the GSWR used 8’ wheelbase. Quite an obvious difference. GSR used 9’. -
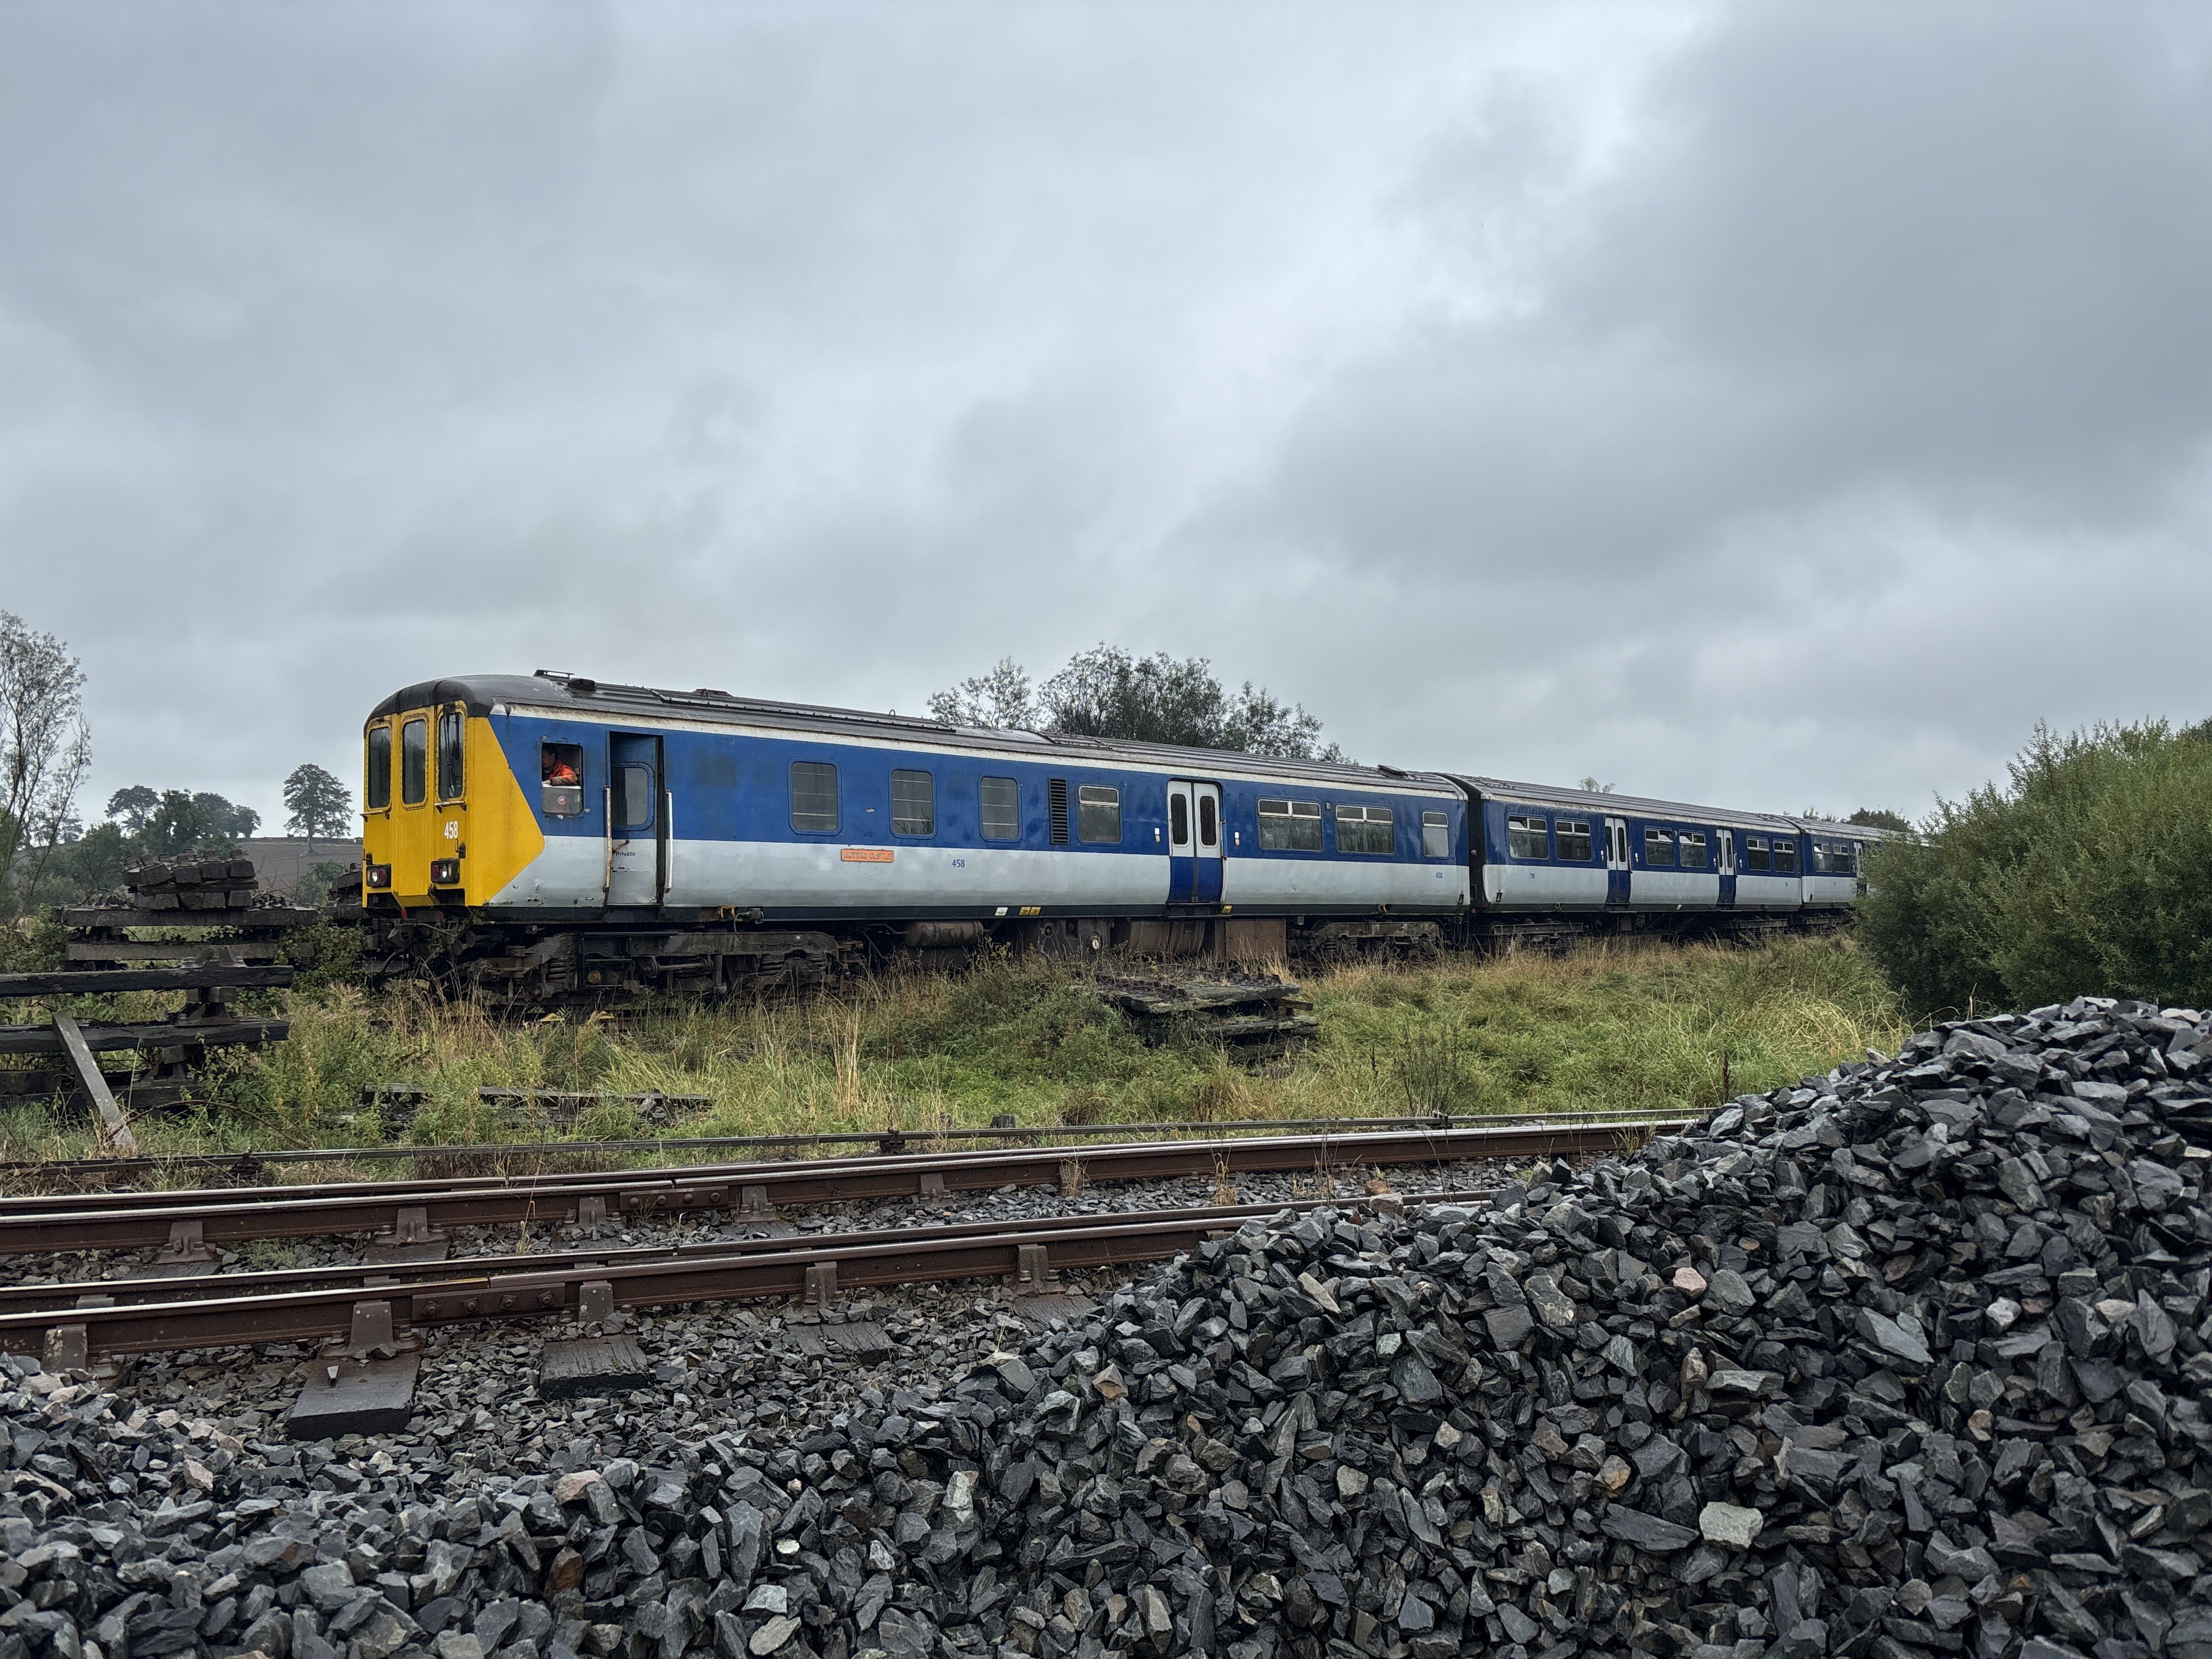
Although an 80 class set was running we didn’t get a chance to ride in it. Maybe next year?
- 20 replies
-
- 10
-
-
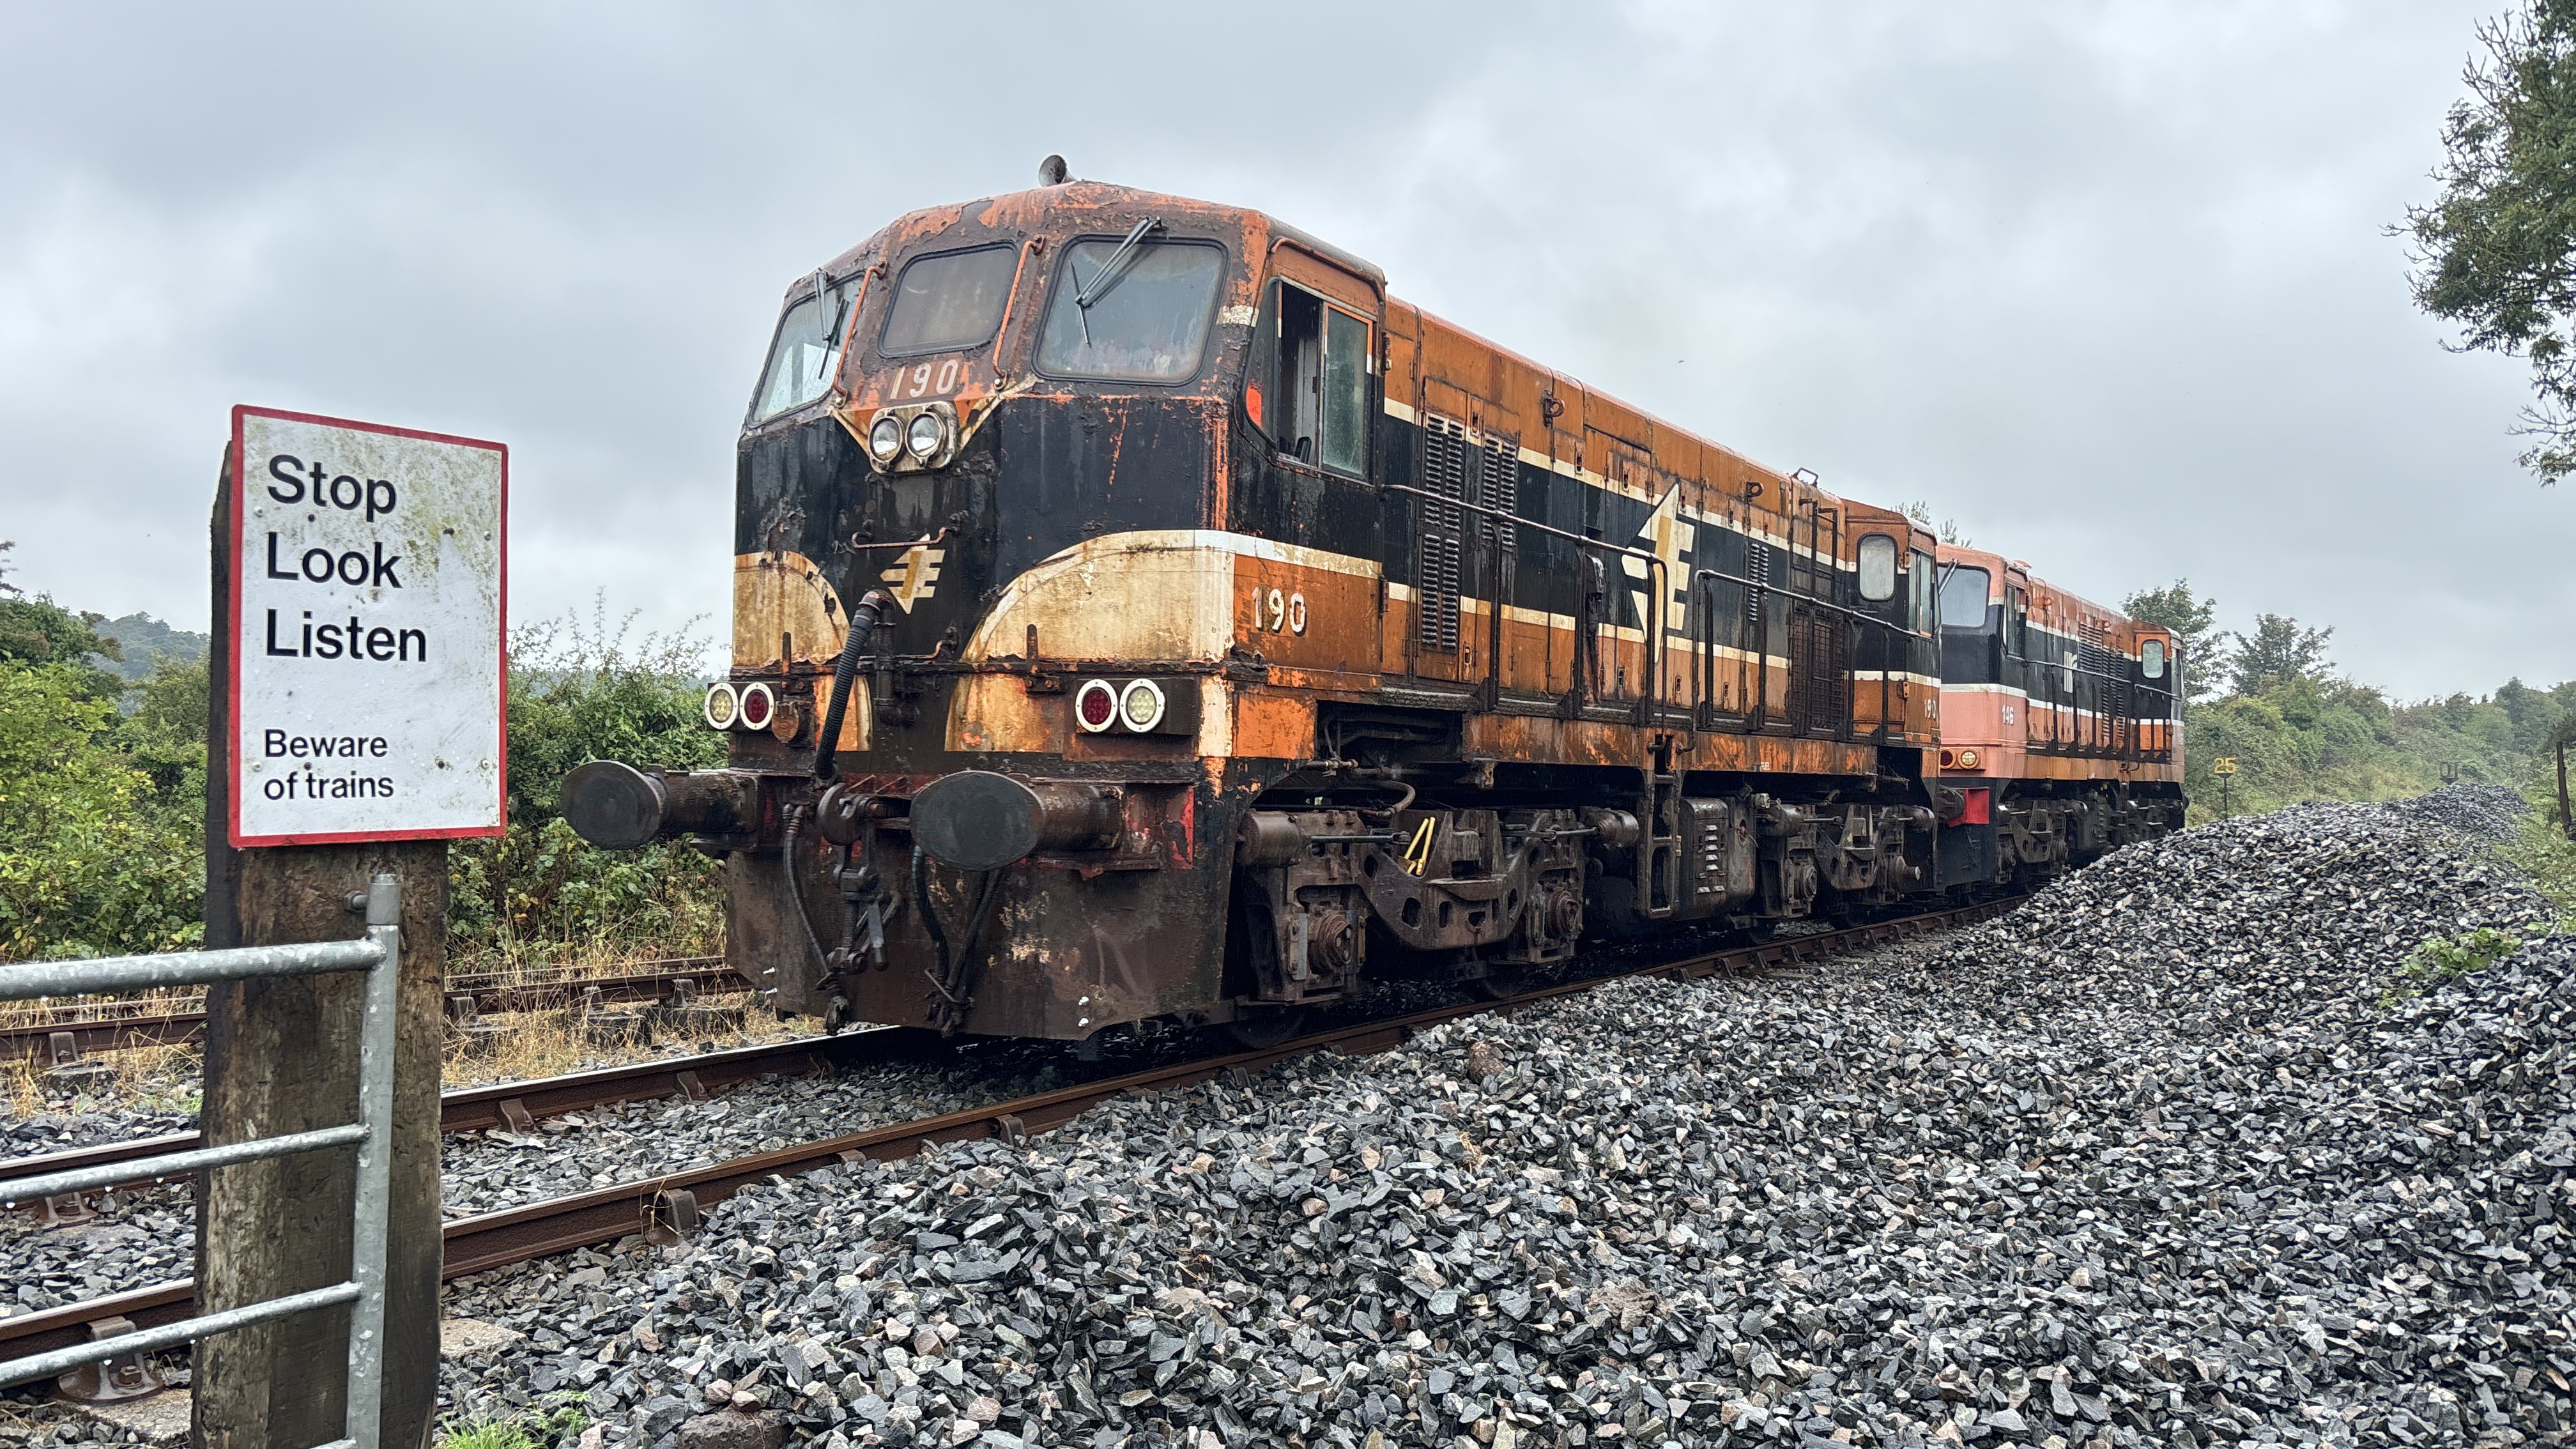
Agreed, very many thanks to all that made this happen! Really good to see 190 in use.
-
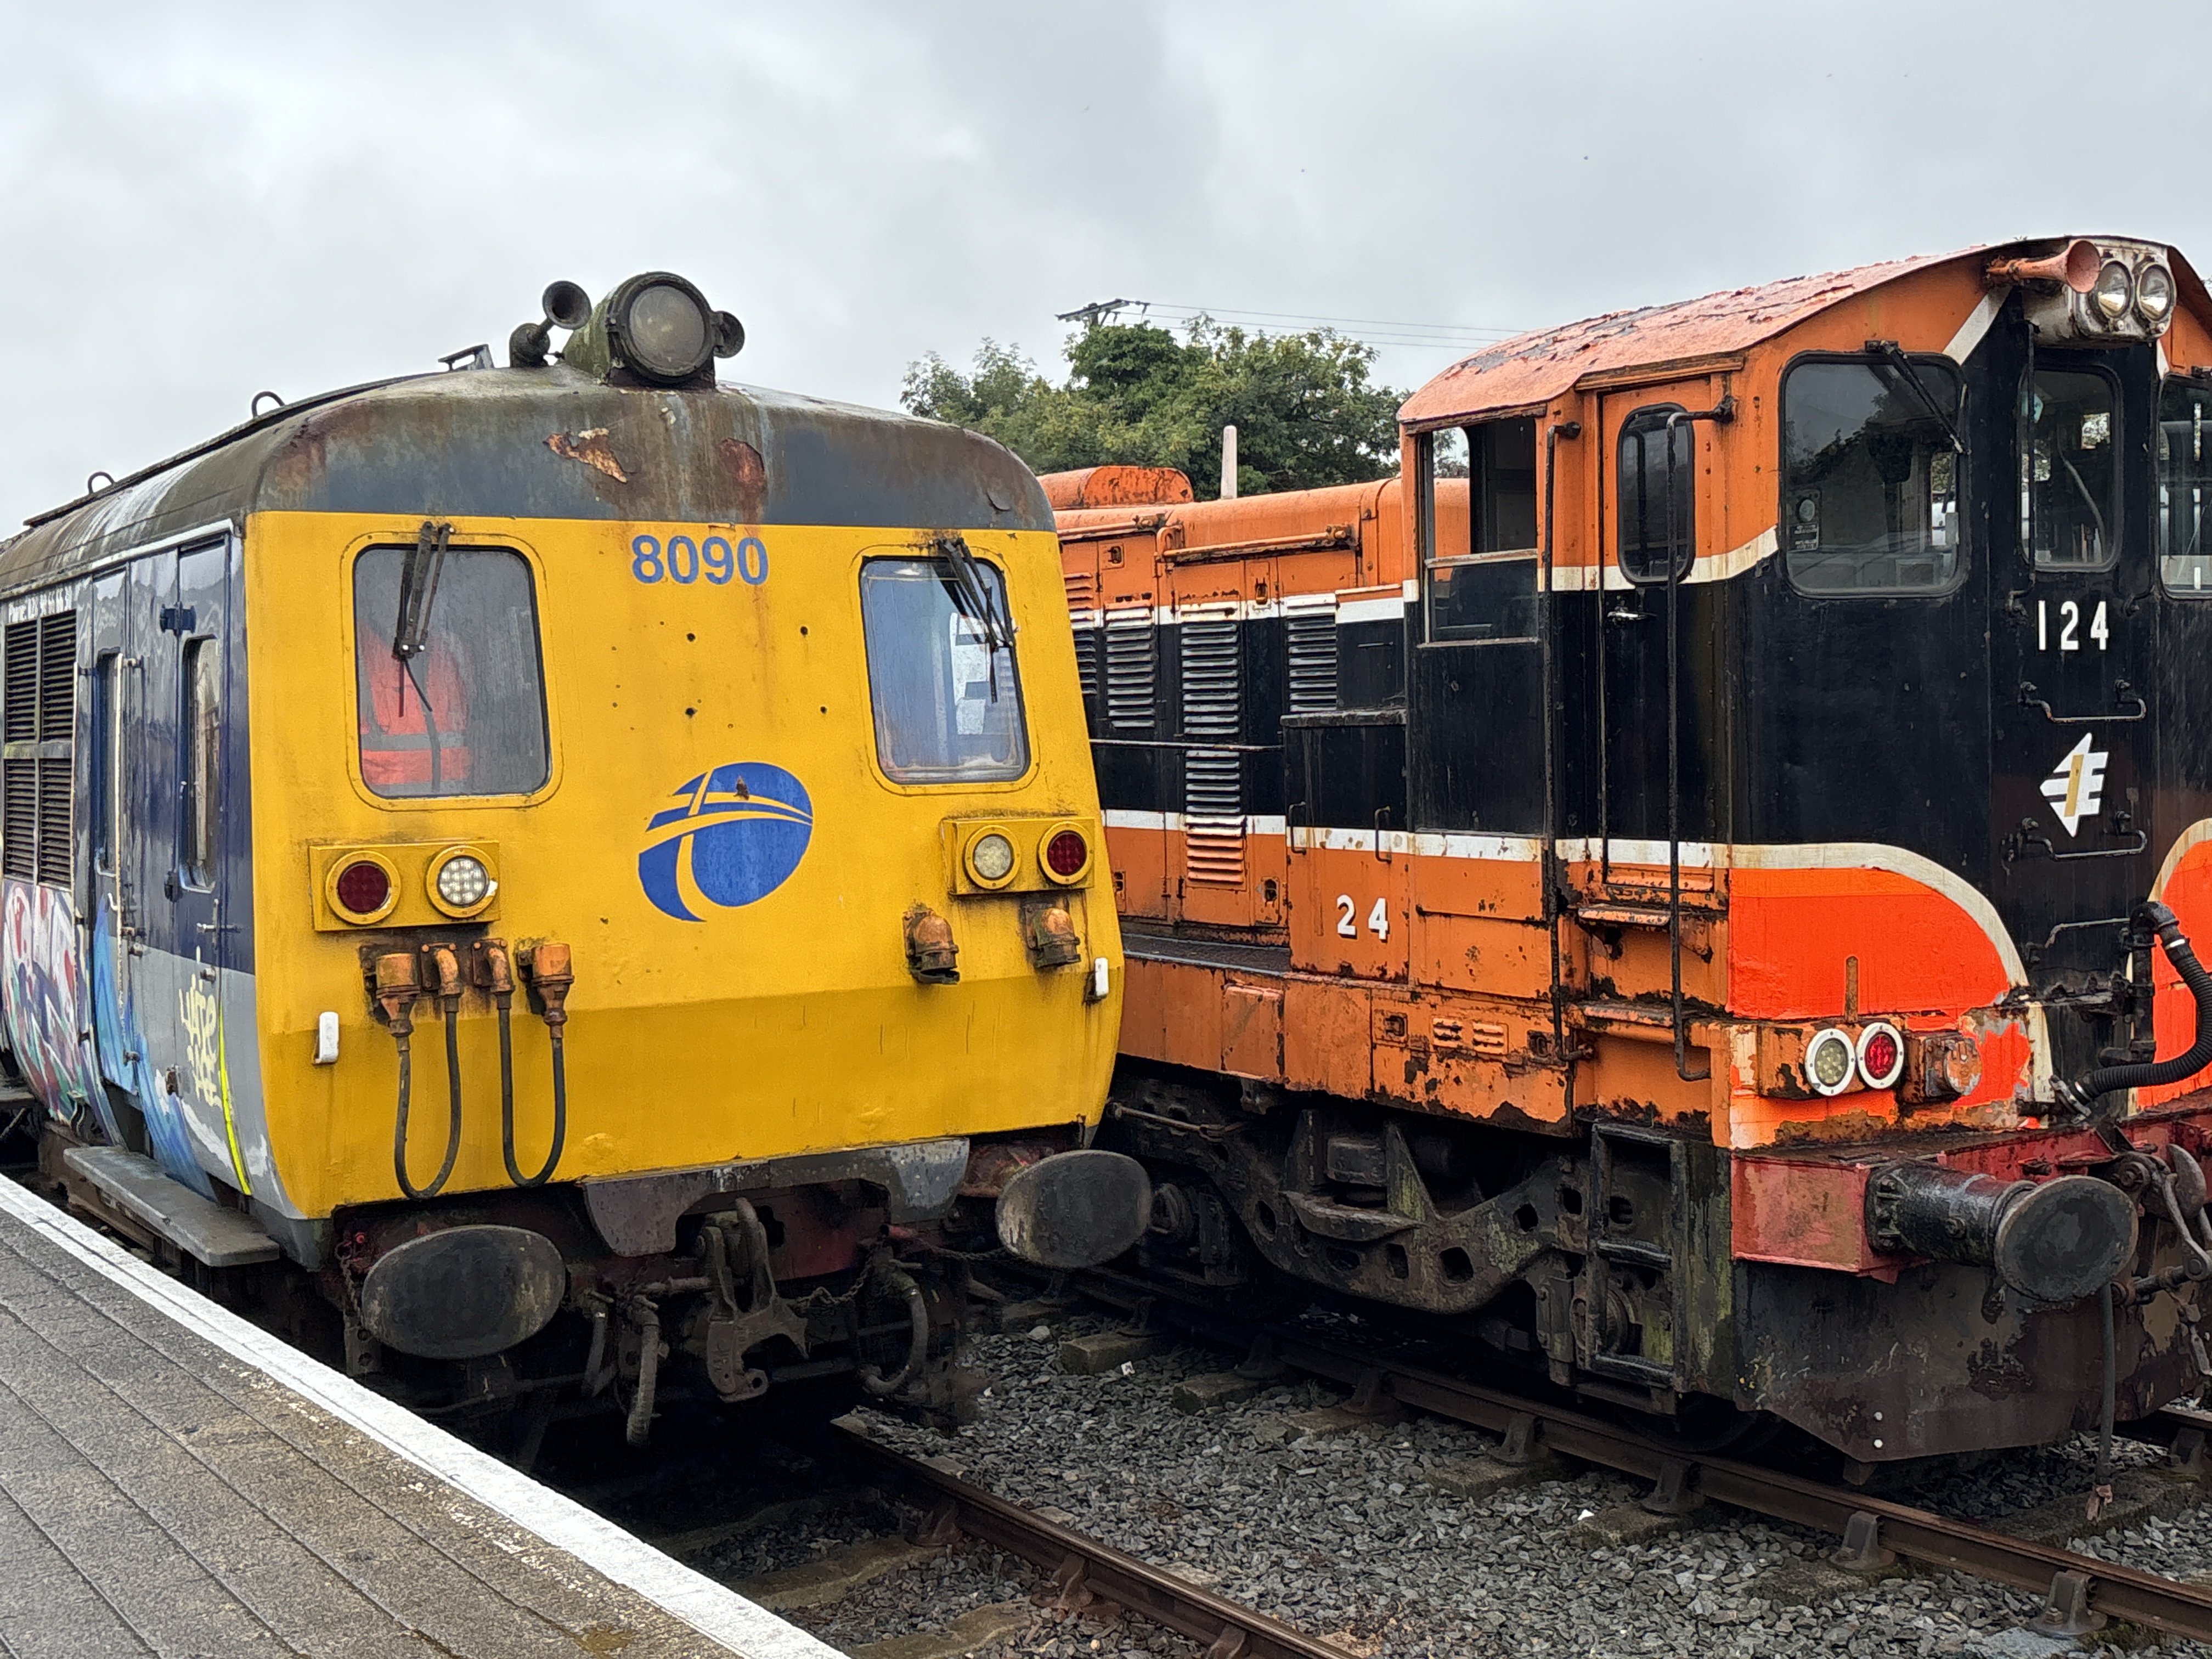
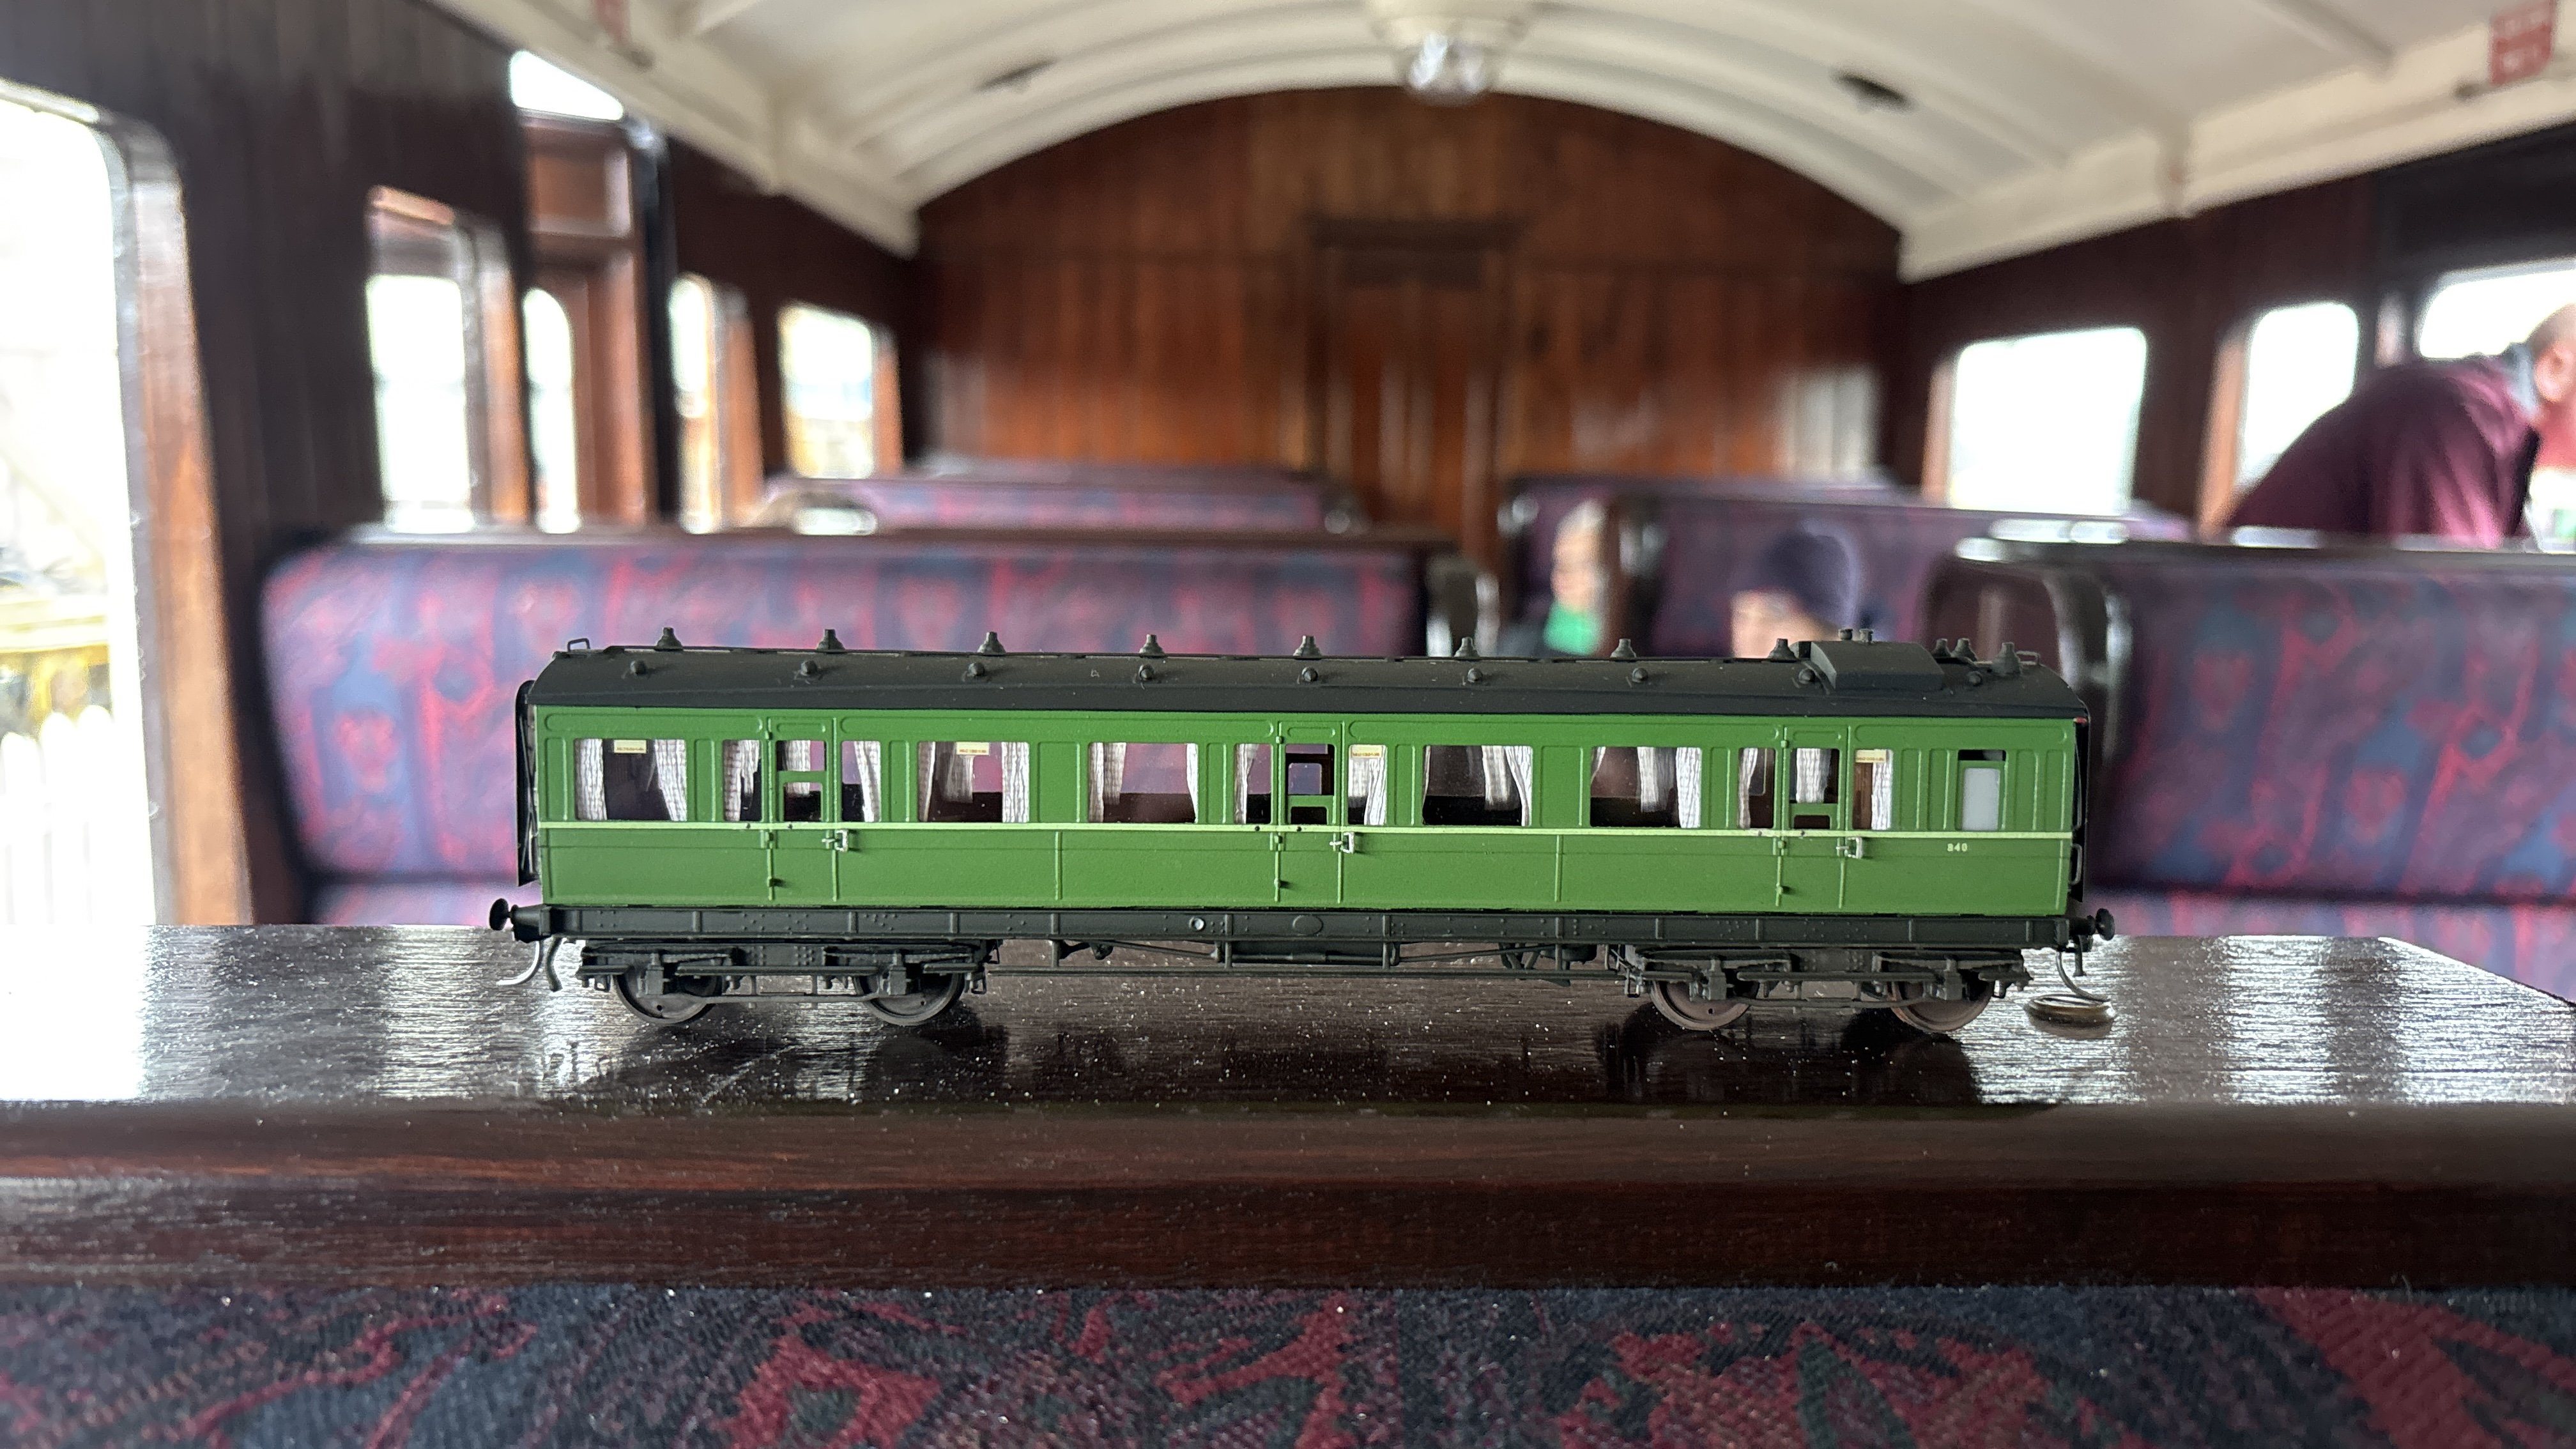
Here’s the model 840 inside the real 836 at Downpatrick: We have all 3 flavours of baby GMs and 2 thumpers in action today.
- 104 replies
-
- 18
-
-
Yes! The first attempt didn’t reach the advertised destination either, so they could hardly claim to have delivered what was promised. But how far will the badger get on the second attempt?
-
I can answer thoroughly when I’m home next week as I don’t have my laptop or library with me here in Downpatrick. There are certainly photos showing entirely silver roofs. A bit later, many photos show the edges of the roofs silver and the middle portion dark/black. Not always clear if this is a consequence of painting or cleaning. I can share a selection of photos to help you decide. Some are fairly convincing for the middle painted black theory, others are not. The same applies for contemporary mid-50s green coaches. Vehicle numbers and ‘GUARD’ on the appropriate doors were EdN (not red, though red was used on some other silver coaches). ‘NOT TO BE ROUGH SHUNTED’ on the ends of heating vans only was red. I think there were a few black bits but will need to check photos. Do you have access to the IRRS Flickr archive?
-
Which sort? Luggage, heating or TPO? And can you give a bit more info on the details you’re looking for? Presumably the bits that weren’t silver? There are quite a few monochrome images of these when brand new.
-
National Museum of Ireland, railway collection
Mol_PMB replied to cheesy_peas's topic in General Chat
Lots to enjoy there! I shall have to work through them when I get home. As well as the CIE archives new images. -
The 90 rescued the 89 on the railtour I went on recently. They’re going to try again in October…
-
Off-topic - recommendations for the Titanic?
Mol_PMB replied to Mol_PMB's question in Questions & Answers
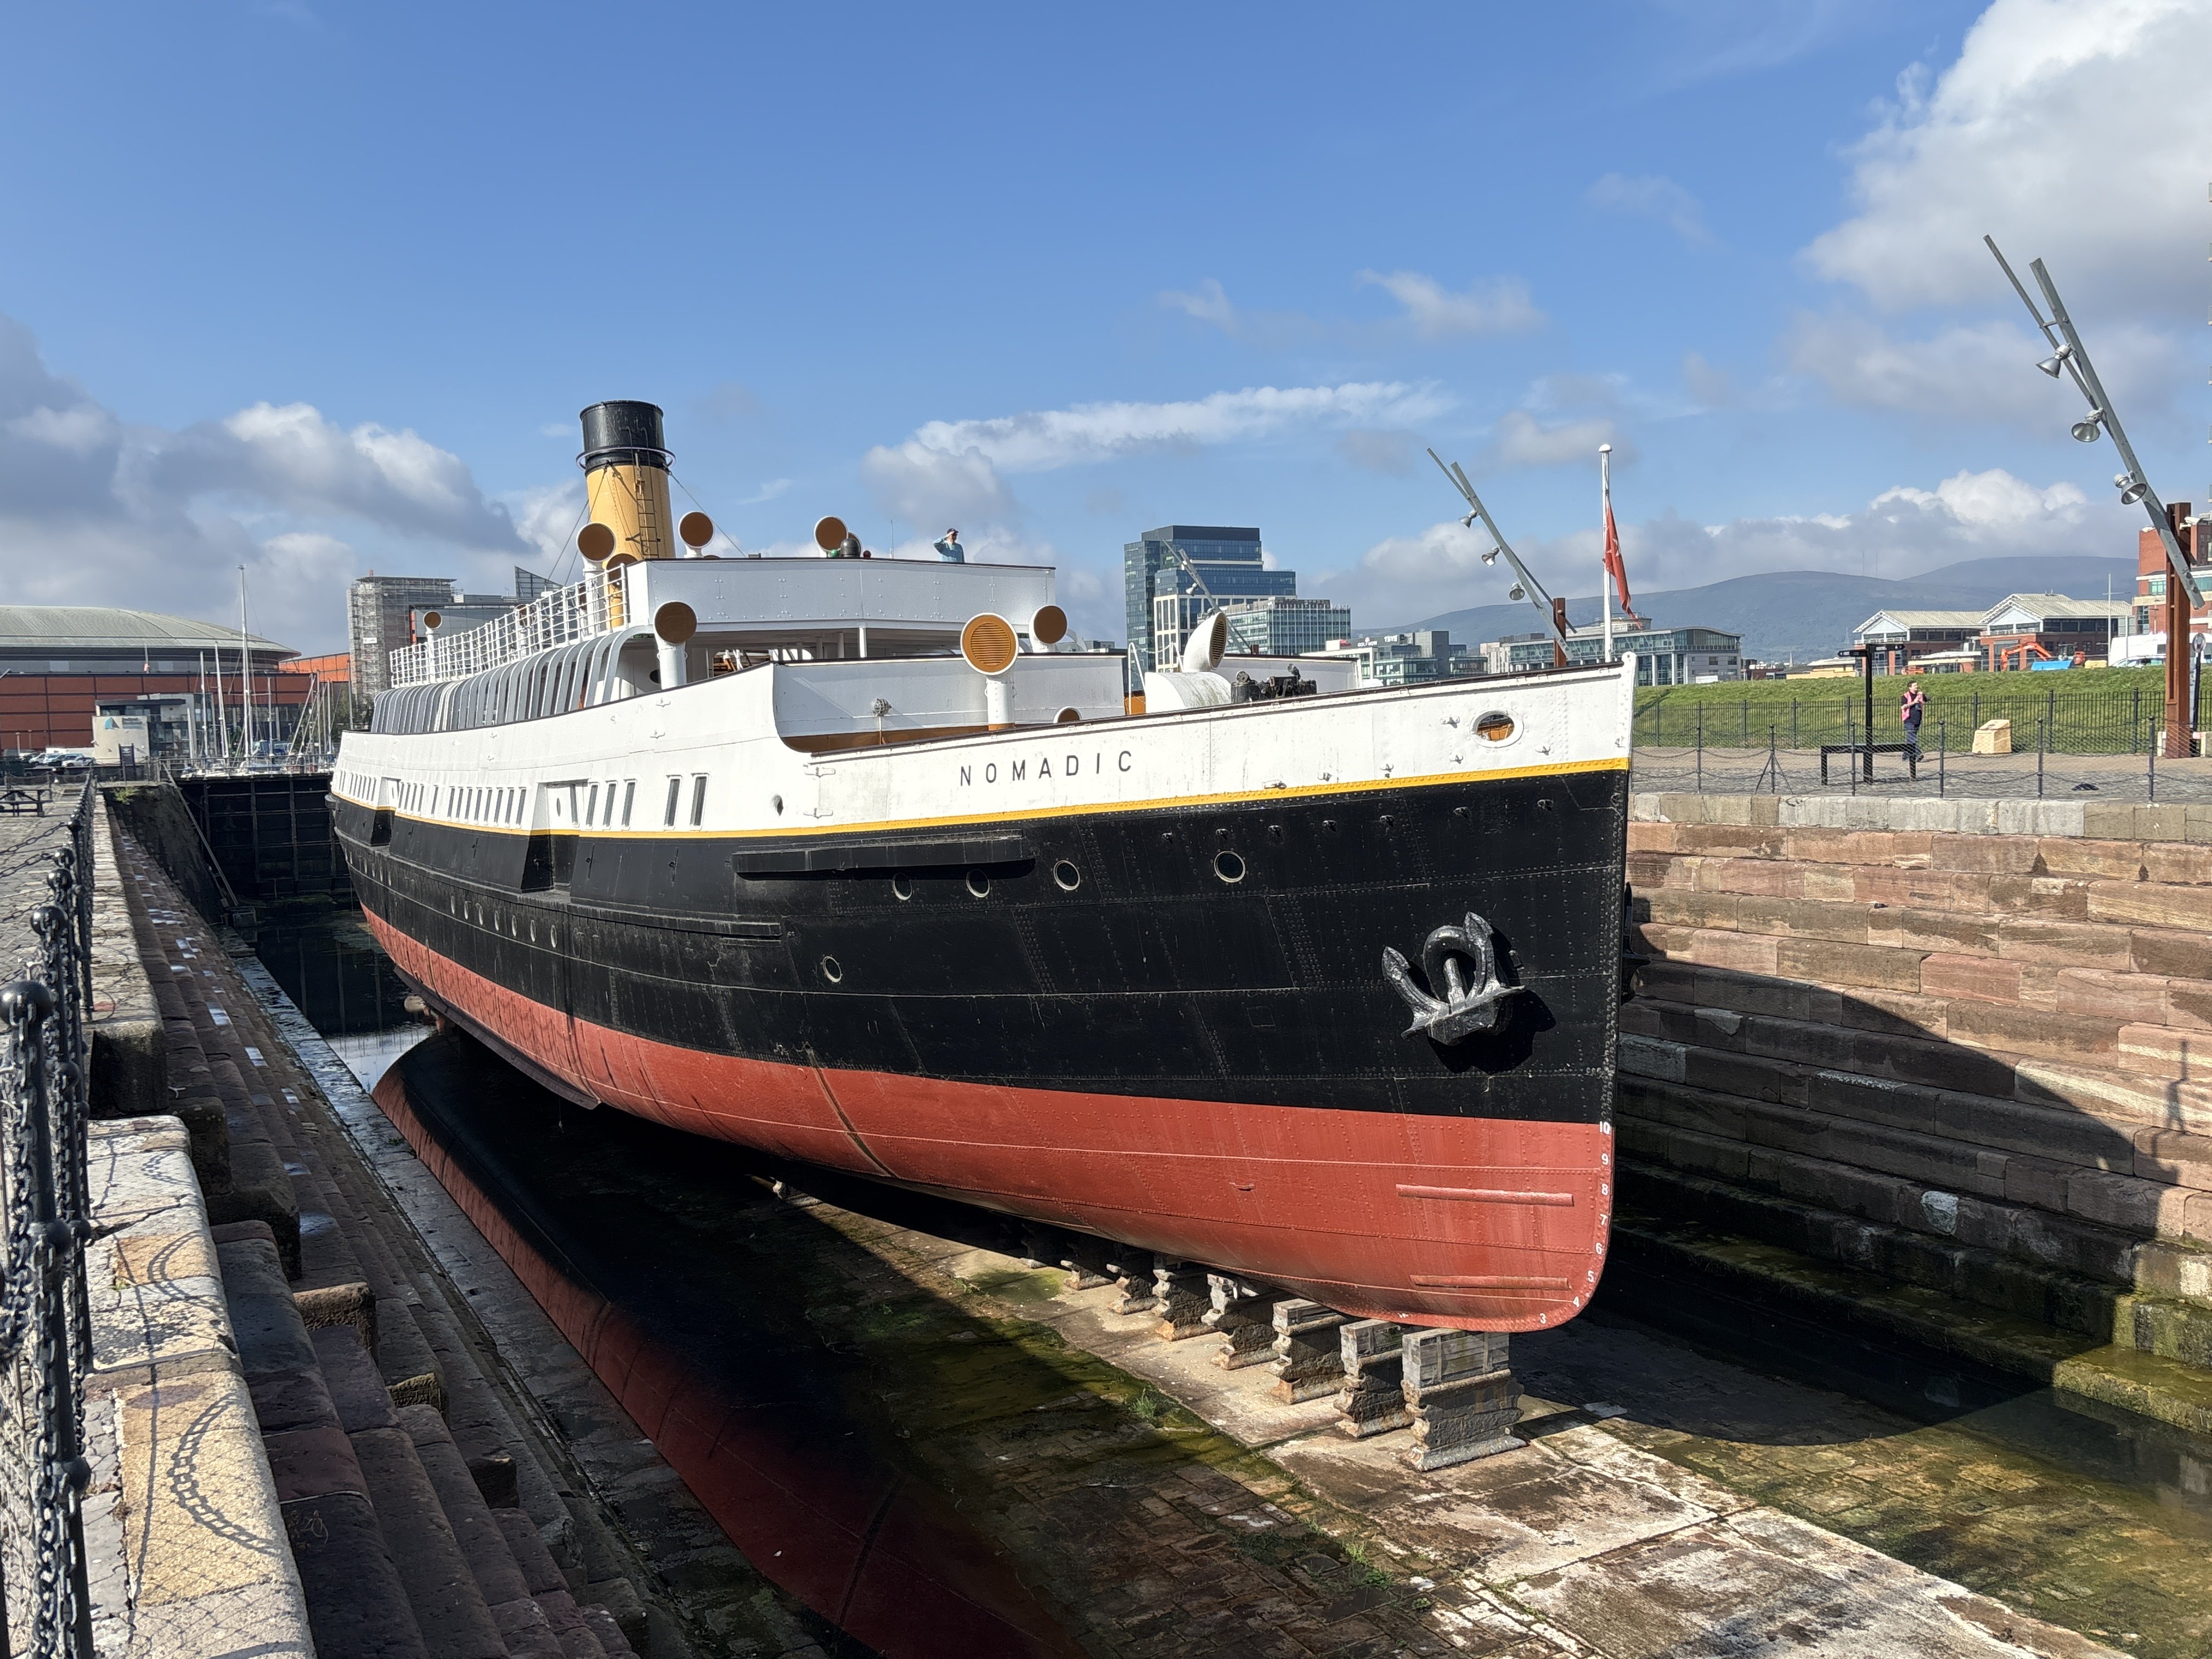
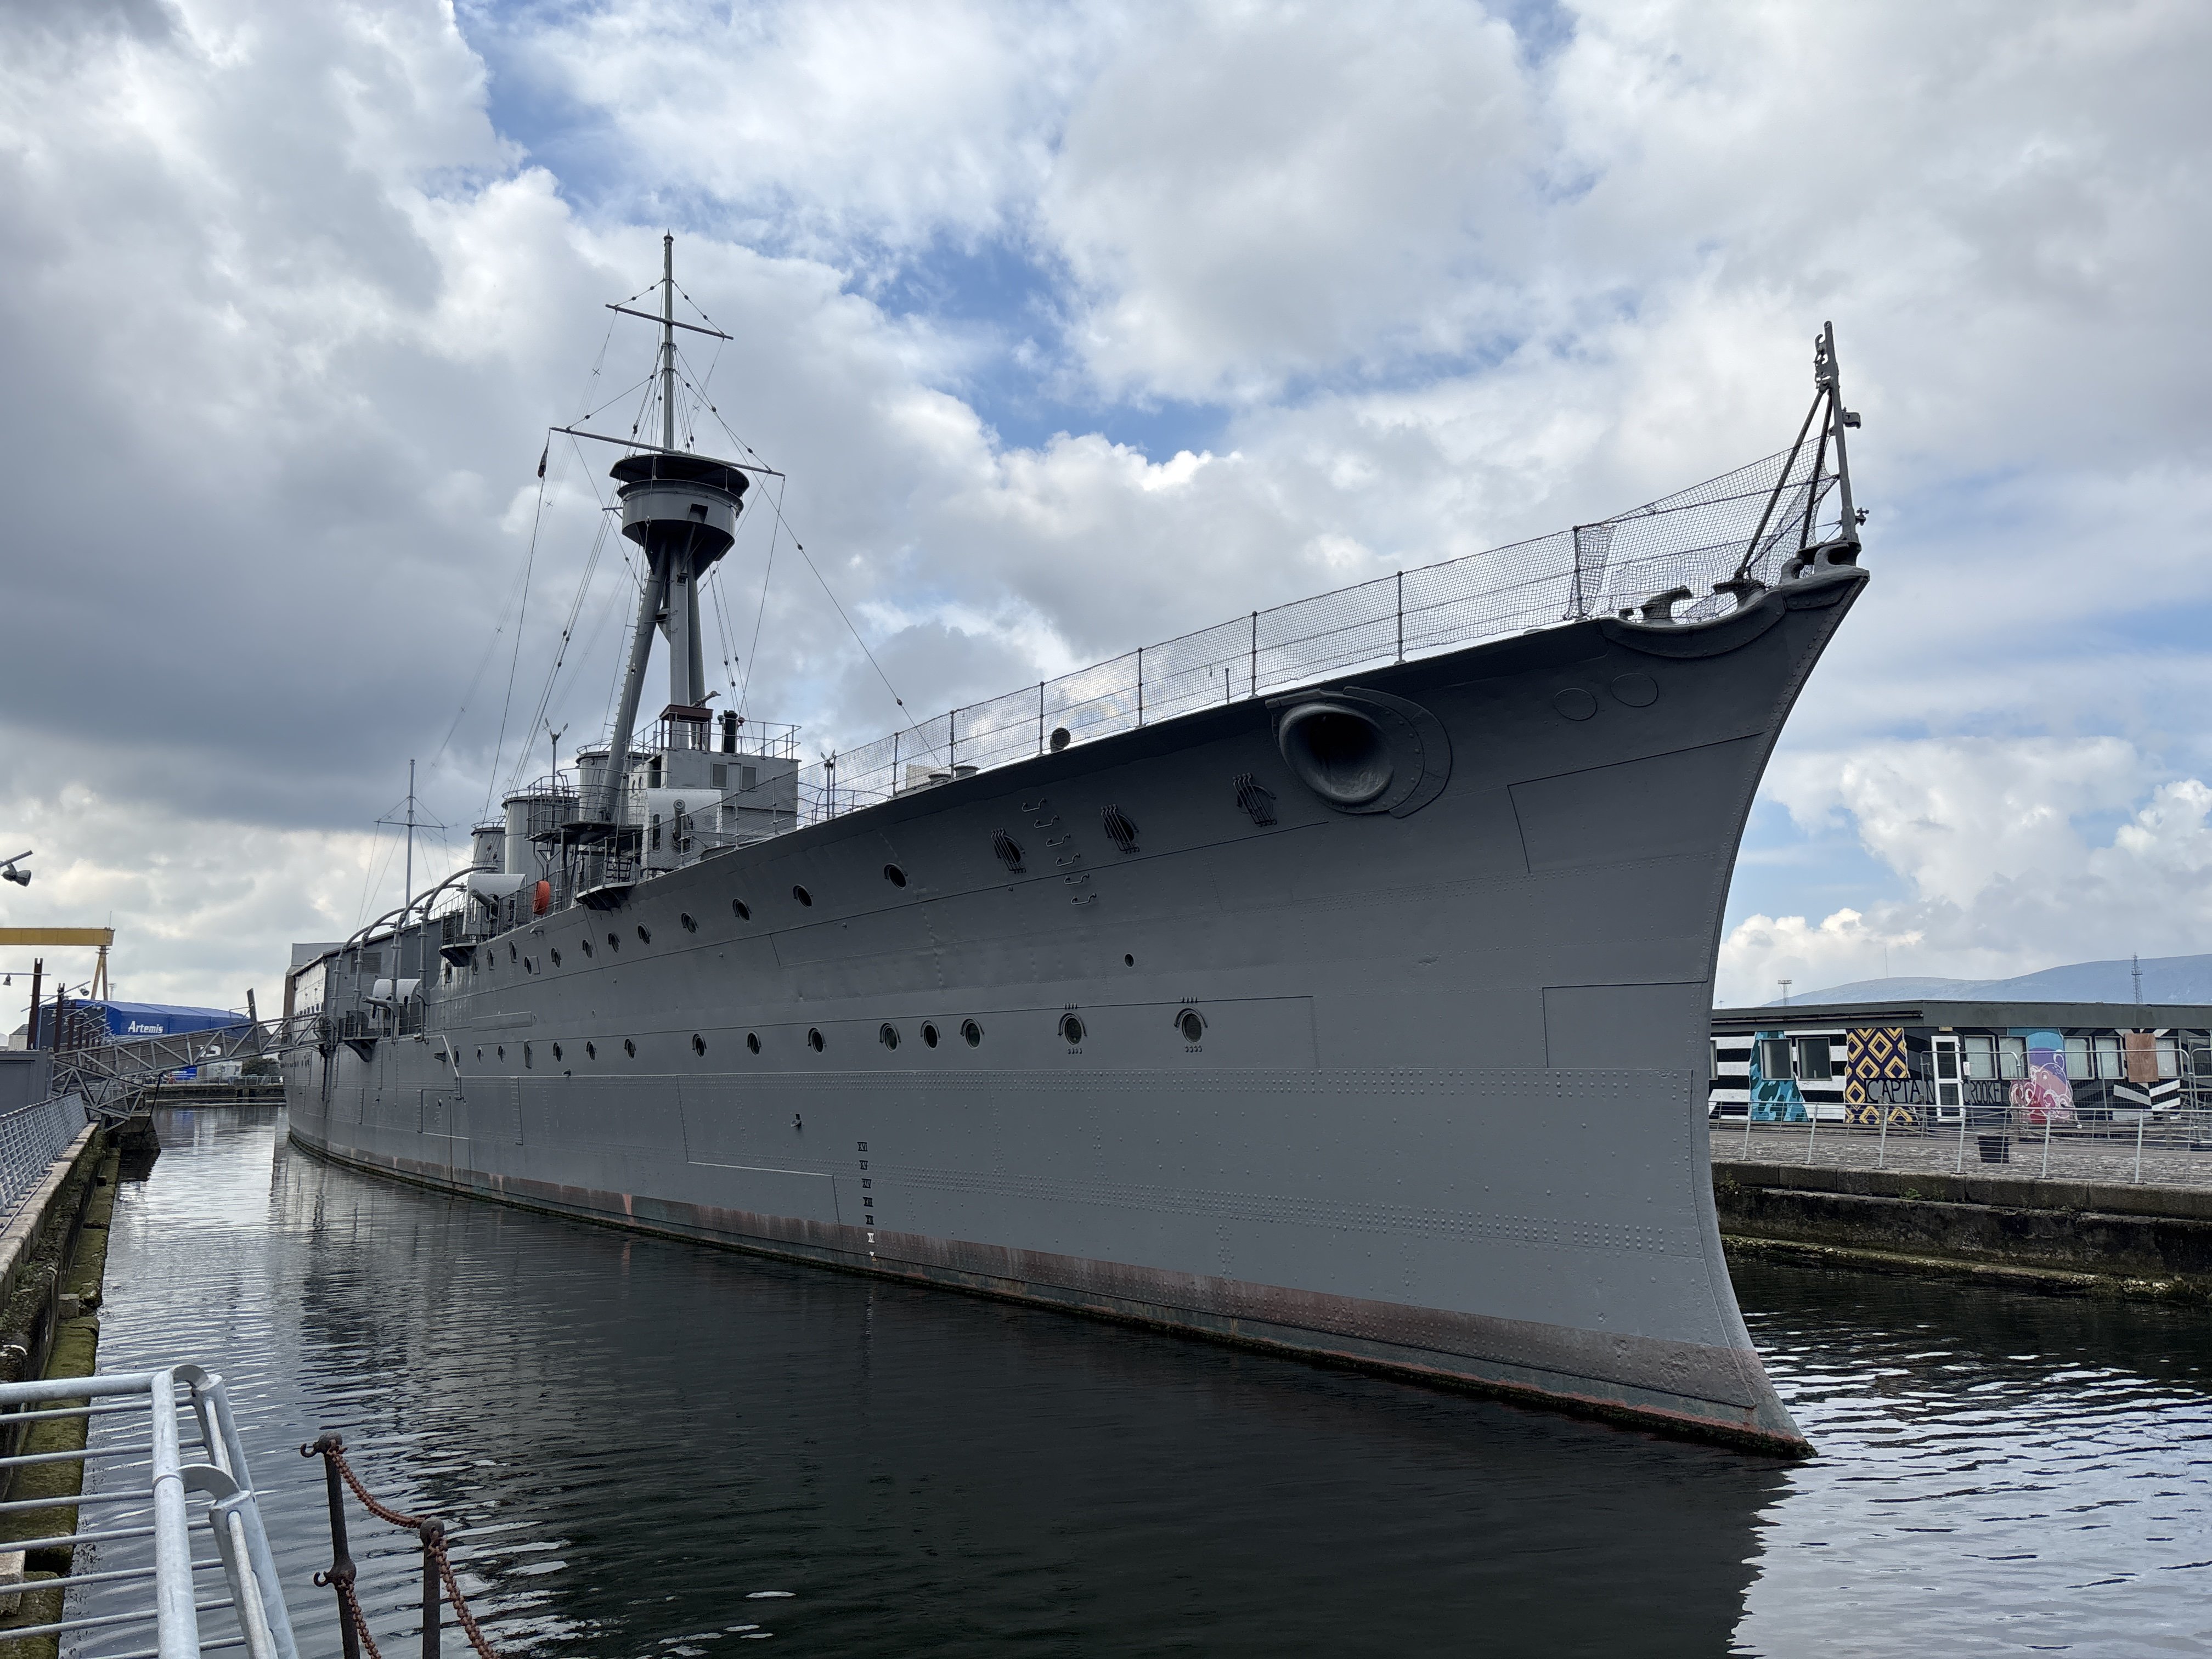
Many thanks for all the recommendations. I’ve had a really good morning along the Maritime Mile. Got into the Titanic experience at 0830 when it was quiet, and I really enjoyed it. I can see it would be less good when crowded. Nomadic was great, and HMS Caroline was superb - extremely well presented. Recommended. I had a wander round to look at the other bits and pieces and admired the huge Fresnel lenses in the Great Light. Even the weather has been good!
-
Hard to find a good map of the line, but it is shown in the very bottom left corner of this map: https://maps.nls.uk/view/75117985
-
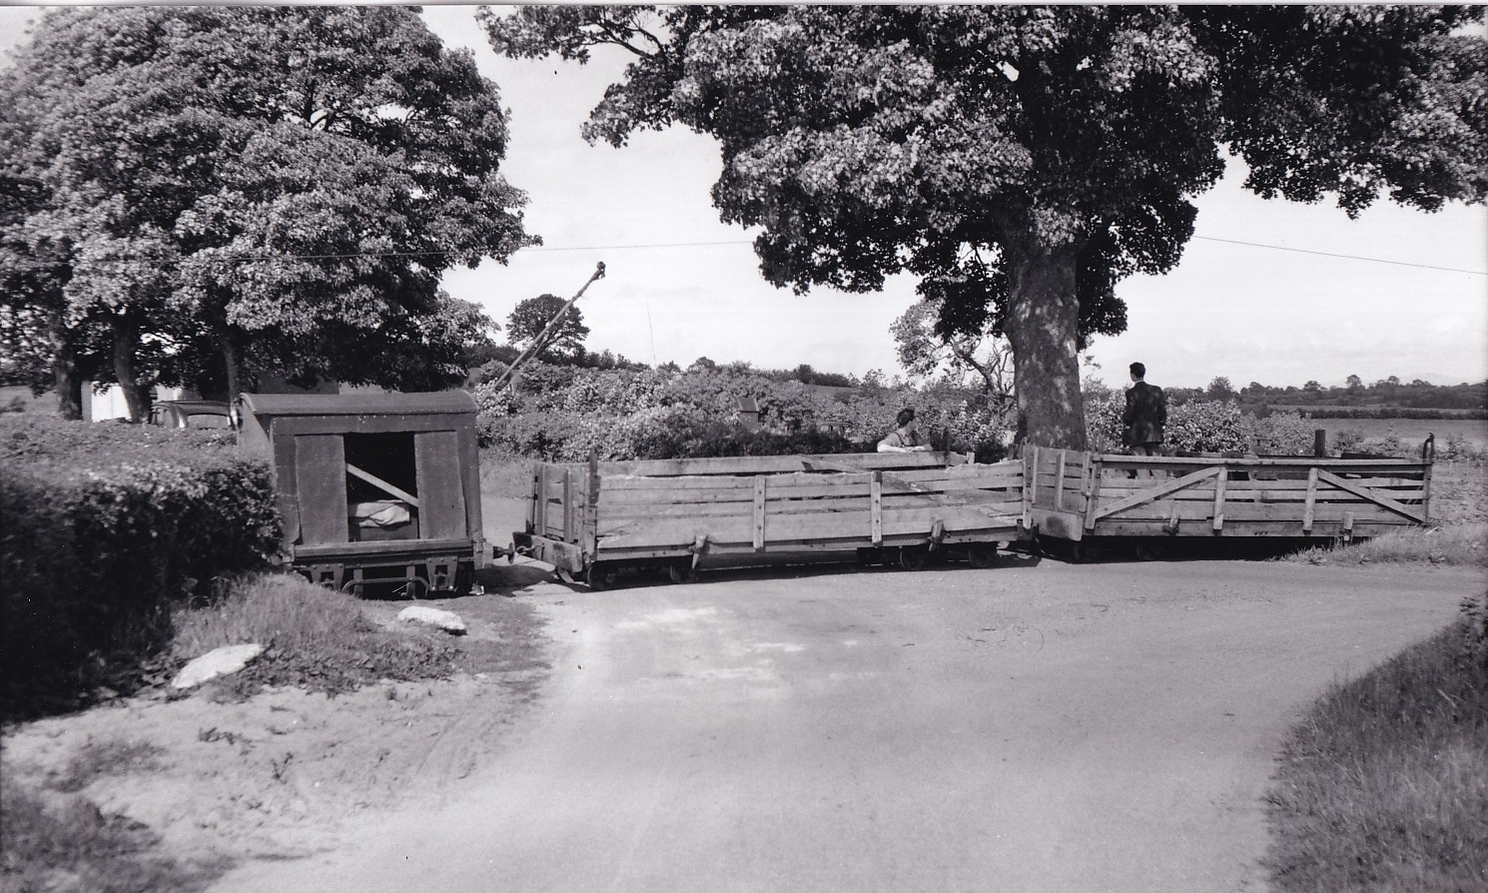
Earlier this week on eBay I was tempted by a set of 11 large prints of the Annaghmore line, which have just arrived. They are quality images and some are very atmospheric. Crying out to be modelled, but I must not get distracted by another whim! I haven't got time to scan them right now as I'm about to head off across the Irish Sea myself. But here's a flavour from the images on the eBay listing. I'll scan them next week when I'm home. https://i.ebayimg.com/images/g/wAIAAeSw9OVqjZG3/s-l1600.png https://i.ebayimg.com/images/g/xIIAAeSwVppqjZG9/s-l1600.png https://i.ebayimg.com/images/g/rn4AAeSwGatqjZPo/s-l1600.png https://i.ebayimg.com/images/g/DNAAAeSwaONqjZPv/s-l1600.png I particularly like this one where it looks like the overhead wire is hung from a tree branch to raise it high enough for road traffic to pass underneath, and the trolleypole isn't quite reaching it!