RobertRoche
-
Posts
465 -
Joined
-
Last visited
-
Days Won
12
Content Type
Profiles
Forums
Events
Gallery
Blogs
Everything posted by RobertRoche
-

Weathering suggestions for Mk2/3 coaches
RobertRoche replied to Bumble_Bee's question in Questions & Answers
For fading paint a very very light airbrush of white across the surface might be enough. I just found this video of a method using oil paints: -
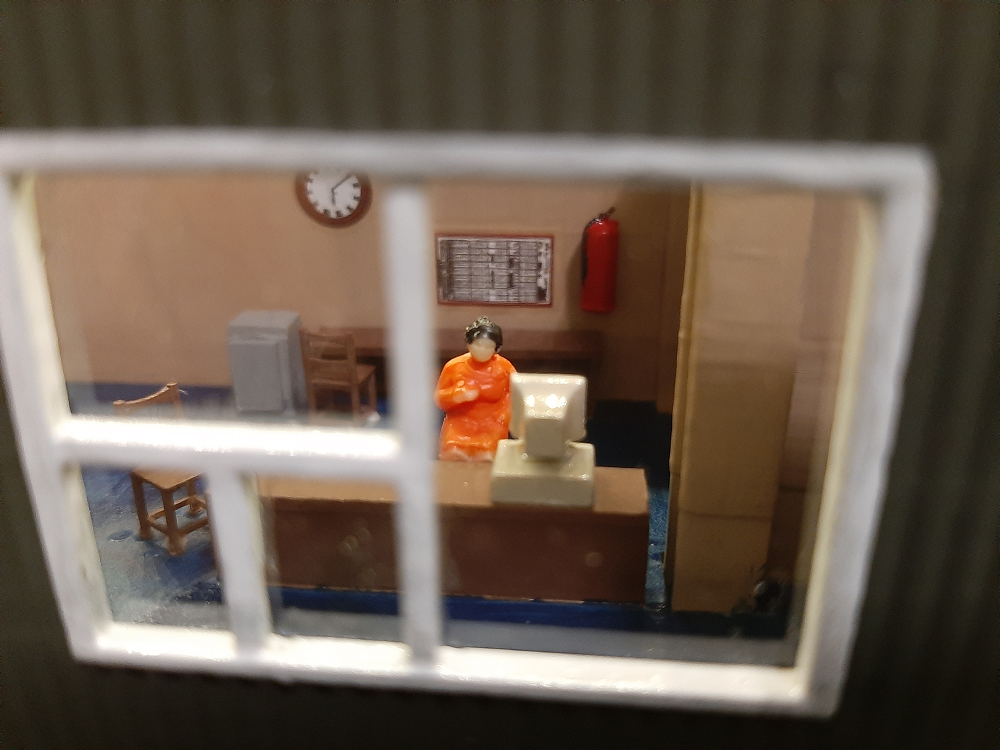
Thanks everyone. This is a background scene so I really haven't gone overboard on it. The interior will be lit and the confuser will be plugged in. The figure is from China and they usually find themselves in carriages after getting their legs chopped off.
-
A few details added to the beet sampler office to give it some life.

-
This Baby GM would cost you about €475 in the ROI after the import charges. They also have one in ST livery. I remember a few years ago seeing a sound fitted Baby GM on eBay with enough left over to buy a few wagons to put behind it. https://www.ebay.ie/itm/Bachmann-OO-Gauge-Murphy-Models-MM0177-Class-141-039-IE-039-Orange-177-Weathered-/303903775529?&_trksid=p2056016.l4276
-
It is a big layout to plan and it may be an idea to test some of these ideas before you commit to one. I do like the illusion of the train going somewhere or having travelled a distance. My layout will be more traditional but I hope to use an automated yard on one side to hold trains and make it appear that trains are passing through the scenic section.
-
That looks great
-
Would you consider constructing two or three distinct levels rather than a continuous gradient? You could start in one corner with the first level until you get back to that corner, at which stage the track could continue at the same level back through the starting point or take the 'mainline' up a hidden gradient behind the scenery up to the next level to continue the journey. This would also increase the length journey for a train. You could provide hidden staging in this manner also. You may also consider some peninsula style build-outs of space permits which could provide scenic breaks and allow you to represent more locations. It is a good size layout but 250 feet of track only represents about 3.5 miles. Would one foot between top of decks be enough to do the scenic work that you would like?
-
Large Tension Lock Coupling, with Smaller Coupling
RobertRoche replied to Rob's topic in General Chat
I think that the Mark 3 and Mark 4 coaches may be different, but this is how I changed the couplers on the Mark 4 coaches with Bachmann 36-026 couplings.
-
Irish Footbridge - Expression of Interest
RobertRoche replied to RobertRoche's topic in Irish Models
Thank you to everyone for the comments so far. There is a lot of interest which is great and I appreciate the support! I will keep you updated on progress. I am not taking payments at the moment, as a few people have kindly asked. -
This little building represents the weighbridge at the beet loading area in Wellingtonbridge. While I don't intend on printing whole buildings, this one was small enough to fit in the printer. Some layering is visible at this close distance. The interior will be detailed and lit when I have somewhere to put it.
- 233 replies
-
- 13
-

-

-
Irish Footbridge - Expression of Interest
RobertRoche replied to RobertRoche's topic in Irish Models
Thank you for your kind comments and observations. I did consider at least creating parts for both the 'C-shape' layout and a 'Z-shape' layout but I thought it would be good to keep it simple to start with. I wanted to gauge interest and to see what people might want. Thanks, it certainly is iconic...they're everywhere! Thanks George. Certainly something I can think about! -
Irish Footbridge - Expression of Interest
RobertRoche replied to RobertRoche's topic in Irish Models
Not sure about options Noel, it's certainly noted! The width between the sets of stairs is about 145mm at the moment. -
Irish Footbridge - Expression of Interest
RobertRoche replied to RobertRoche's topic in Irish Models
Thanks. The width is based off the Hornby straight track geometry. The green Hornby footbridge is significantly wider to deal with curves and other situations. It would be good to get some feedback on widths as it is something to definitely think about. Yes it's a good image! I'll let you know how I get on, thanks! -
I am seeking expressions of interest in a simple kit of my Irish Footbridge Model in 4mm scale. The model will be 3D printed in Ireland and comes in three parts. The model is based on the footbridge at Wellingtonbridge, Co. Wexford and is fairly typical of similar footbridges which can be seen across the network. Another example of a similar footbridge is at Athy. The footbridge will be suitable for use across a double track platform or across a double track mainline at grade. Please note the following dimensions: Clear width below centre span is 145mm. Clear height of 65mm when used at grade (i.e. not on a platform). Total footbridge width (including stairs on both sides) is 180mm. Total height is 85mm. Length (parallel to the track) is 85mm. Please advise if the clear width of 145mm is too narrow as I may be able to increase it to 160mm. The final dimensions are based on what can fit in the printer. The example below was printed on my own 3D printer however the clear width below the centre span of this example is only 110mm due to the limits of my own machine. The computer generated image shows the model that will be available. I am looking to produce a limited run (minimum of 10 kits) with a price of €35 each. Postage cost of €5 to Ireland. Payment is not required until the bridges are ready to be shipped. It should be noted that this model is quite delicate though it can be safely handled as one piece when completed. The model will require assembly and painting. Assembly is limited to gluing the stairs sections to the central bridge section. Please leave any comments or expressions of interest below. The estimated delivery time for a small run would be about two months.
- 101 replies
-
- 16
-
-
-
I might be able to help if you are looking for modern Irish registration plates.
-
An easier option in this situation might be to draw a rectangle on the top face of the tank and offset 0.1mm. Extrude this out the bottom of the body which will cut it in two, forming a second body. Use the move tool to move the top of the tank up and clean up afterwards.
-
I'm not entirely sure what you mean but I assume that something is changing when you don't want it to. My methods in Fusion are pretty brute force so you might know better than me but you could try the following; Make a copy of the body that you are working on and turn this new body off. Do not move the body. Extrude and remove everything away on the original body except the part you want to change. Turn the original body off and the new body on. On the new body extrude/remove the part that you want to change. Now when both bodies are turned on you should have individual parts, and you should be able to change the part you want to alter without messing with the other geometry. You can fix whatever inconsistencies remain afterwards and you can combine everything together when done.
-
Thanks for the comments Robert. That's good advice! I thought about doing the heavy weathering before applying the decals. Thanks, they are kit C036 - easy assembly.
-
Oil Tank Wagons I have the oil tankers painted with decals applied. The next step will be weathering as they definitely require toning down. I 3D printed the reinforcement strip down the sides of the wagons and 2D printed the ADR panels. I have fixed the 'Fuel Oil' decal in the second picture using some Micro Sol and a sharp knife.
- 233 replies
-
- 13
-
-
-
Oil Tank Wagons A more traditional project that is currently on my workbench are these Dapol oil tank wagon kits. I recently got some Railtec transfers for these wagons to finish them off.
-
Irish Footbridge I have modelled the footbridge that is present in Wellingtonbridge. This footbridge is similar to many of the pedestrian bridges seen across the Irish Rail network. There are several models available which could be used to represent an Irish footbridge, including one from York Modelmaking which I read about recently. To match the prototype, there are 16 steps on the station side and 17 steps with a few additional concrete steps on the non-station side, which matches the layout of Wellingtonbridge. I went to additional effort to represent the design of the steps, pillars and even the raised tread on the walkway surfaces and the third picture shows some of the detail that I did achieve. I feel like the gaps of lattice design on the parapets are slightly too large and the printer did not manage to reproduce the rivets at the crossing points. Print time for this model was 16 hours and the model was printed in 3 parts. Some of the details are difficult to see on this non-painted print.
- 233 replies
-
- 22
-
-
-
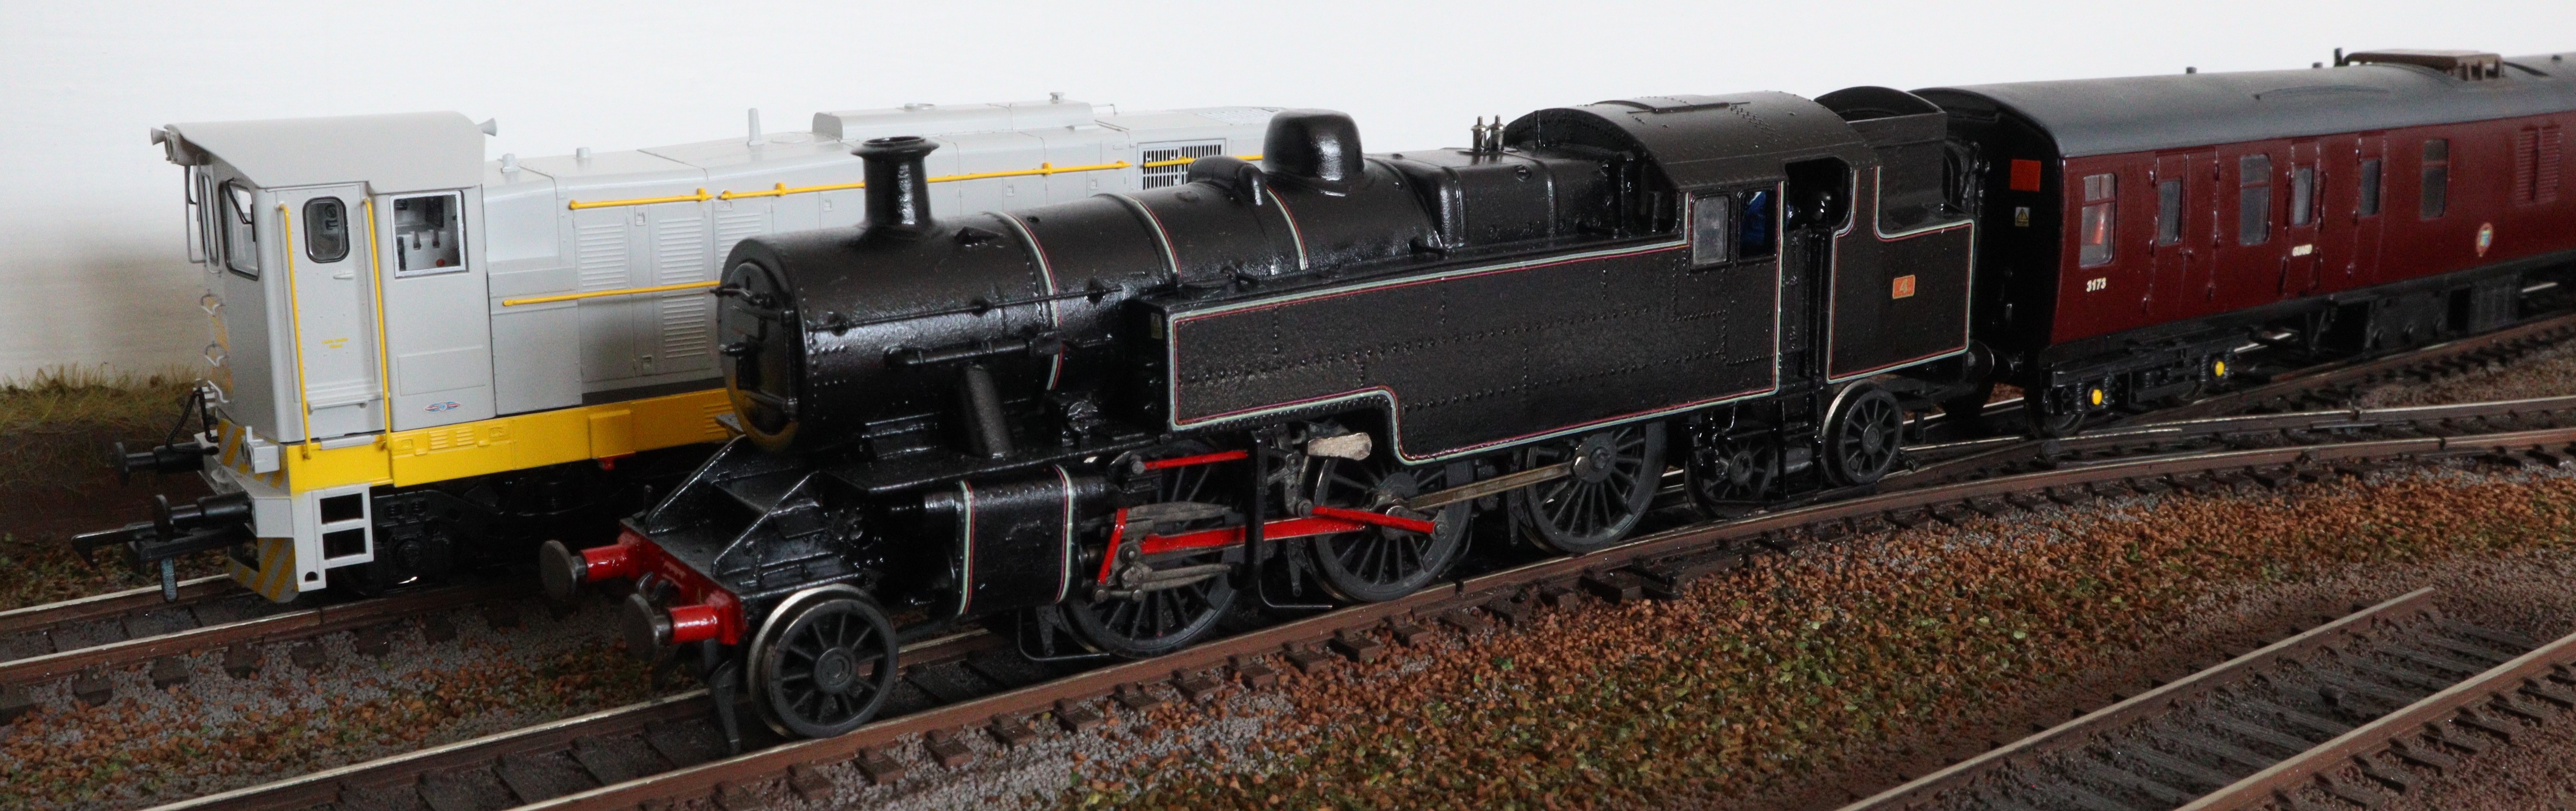
I might buy a preserved model such as 85 or 171 for hauling the RPSI stock; my interest is all modern stock. I have made my own representation of No. 4 and I have 2 Bachmann moguls. The number of A class variations are probably what made them viable, which would be more difficult to achieve with a steam locomotive. Of course IRM could start doing earlier stock and locos which might make it more feasible.
-
It's really looking well, don't forget the handwheel!
-
Something new this way comes, from Accurascale
RobertRoche replied to BosKonay's topic in British Outline Modelling
Yeah there were a lot of comments during the live announcement with people not even sticking around to hear them hinting at their future diesel projects. If a model railway company could do everything that everyone wanted, we wouldn't have anything to wait for. It's Irish rails only for me though! -
Thanks Ken. I'm using the Longer Orange 30 which was the cheapest and largest I could get last Black Friday. I'm using standard Elegoo photopolymer resin. I also have a Prusa MK3S but I doubt that a filament based machine could produce this level of detail.