.png.c363cdf5c3fb7955cd92a55eb6dbbae0.png)
Tullygrainey
-
Posts
1,175 -
Joined
-
Last visited
-
Days Won
60
Content Type
Profiles
Forums
Events
Gallery
Blogs
Everything posted by Tullygrainey
-
Looks completely at home there. It looked really well in raw plastic but it's come alive now you've painted it David. Absolutely catches the essence of the thing.
-
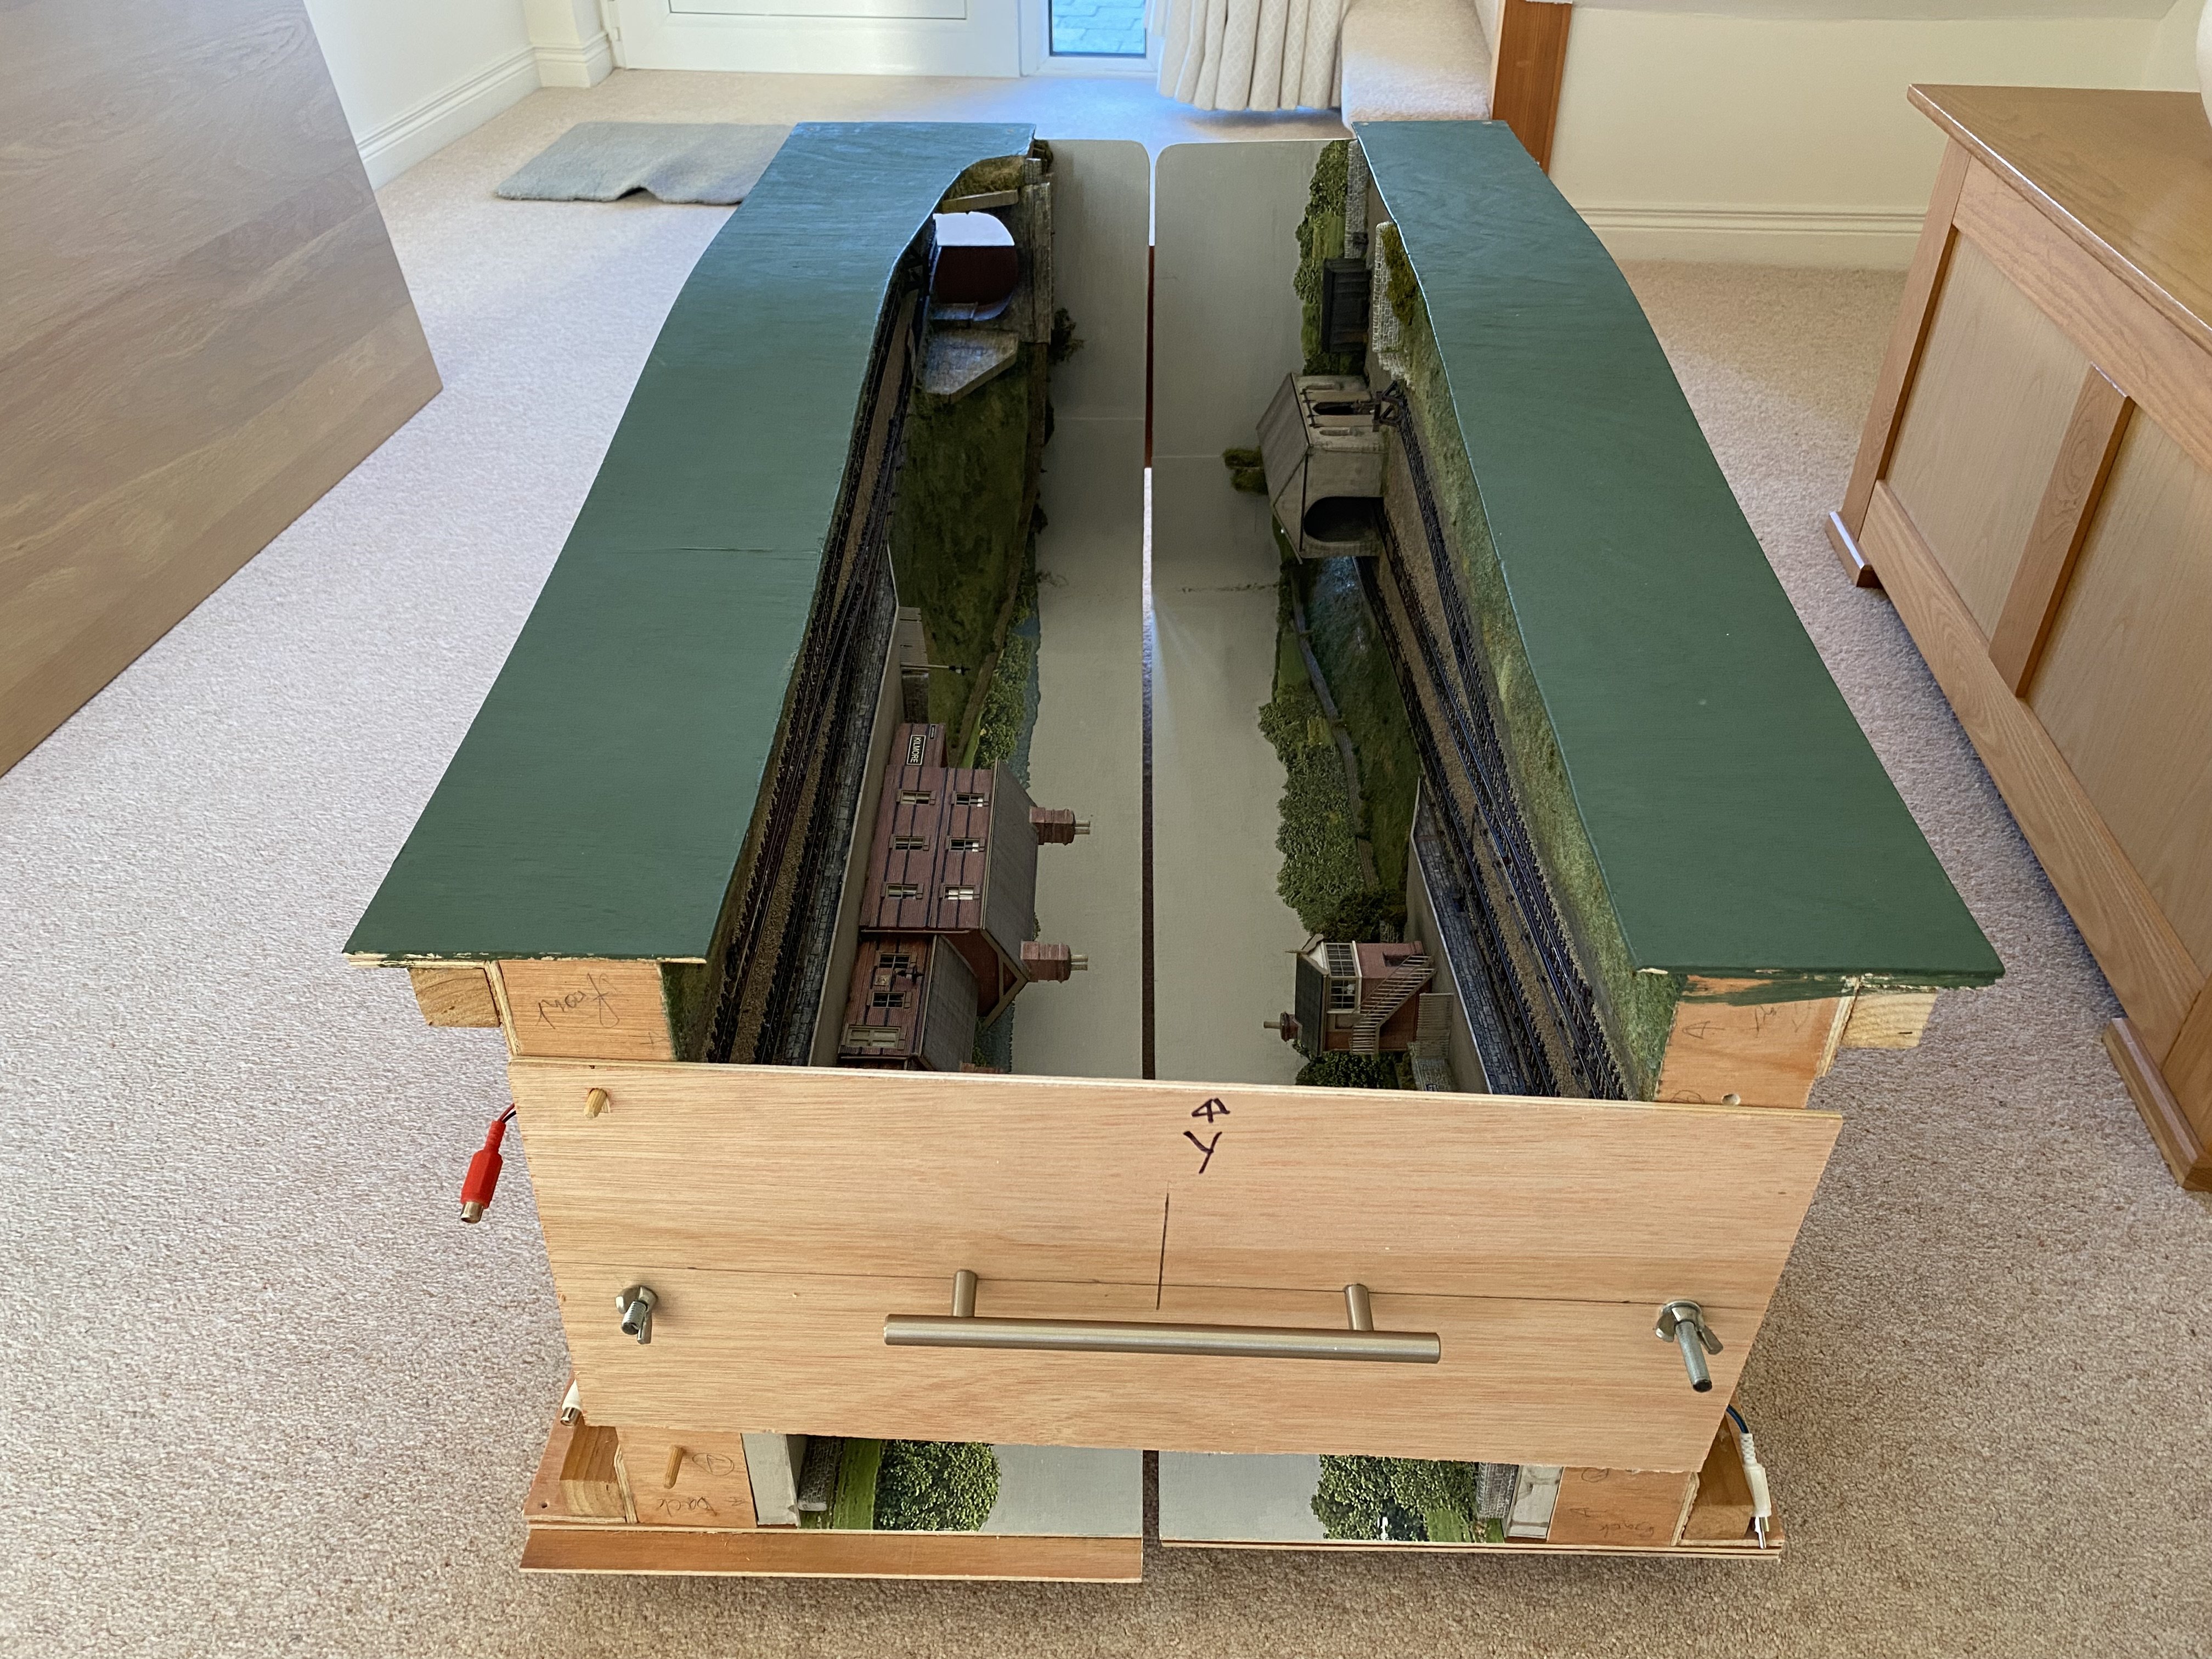
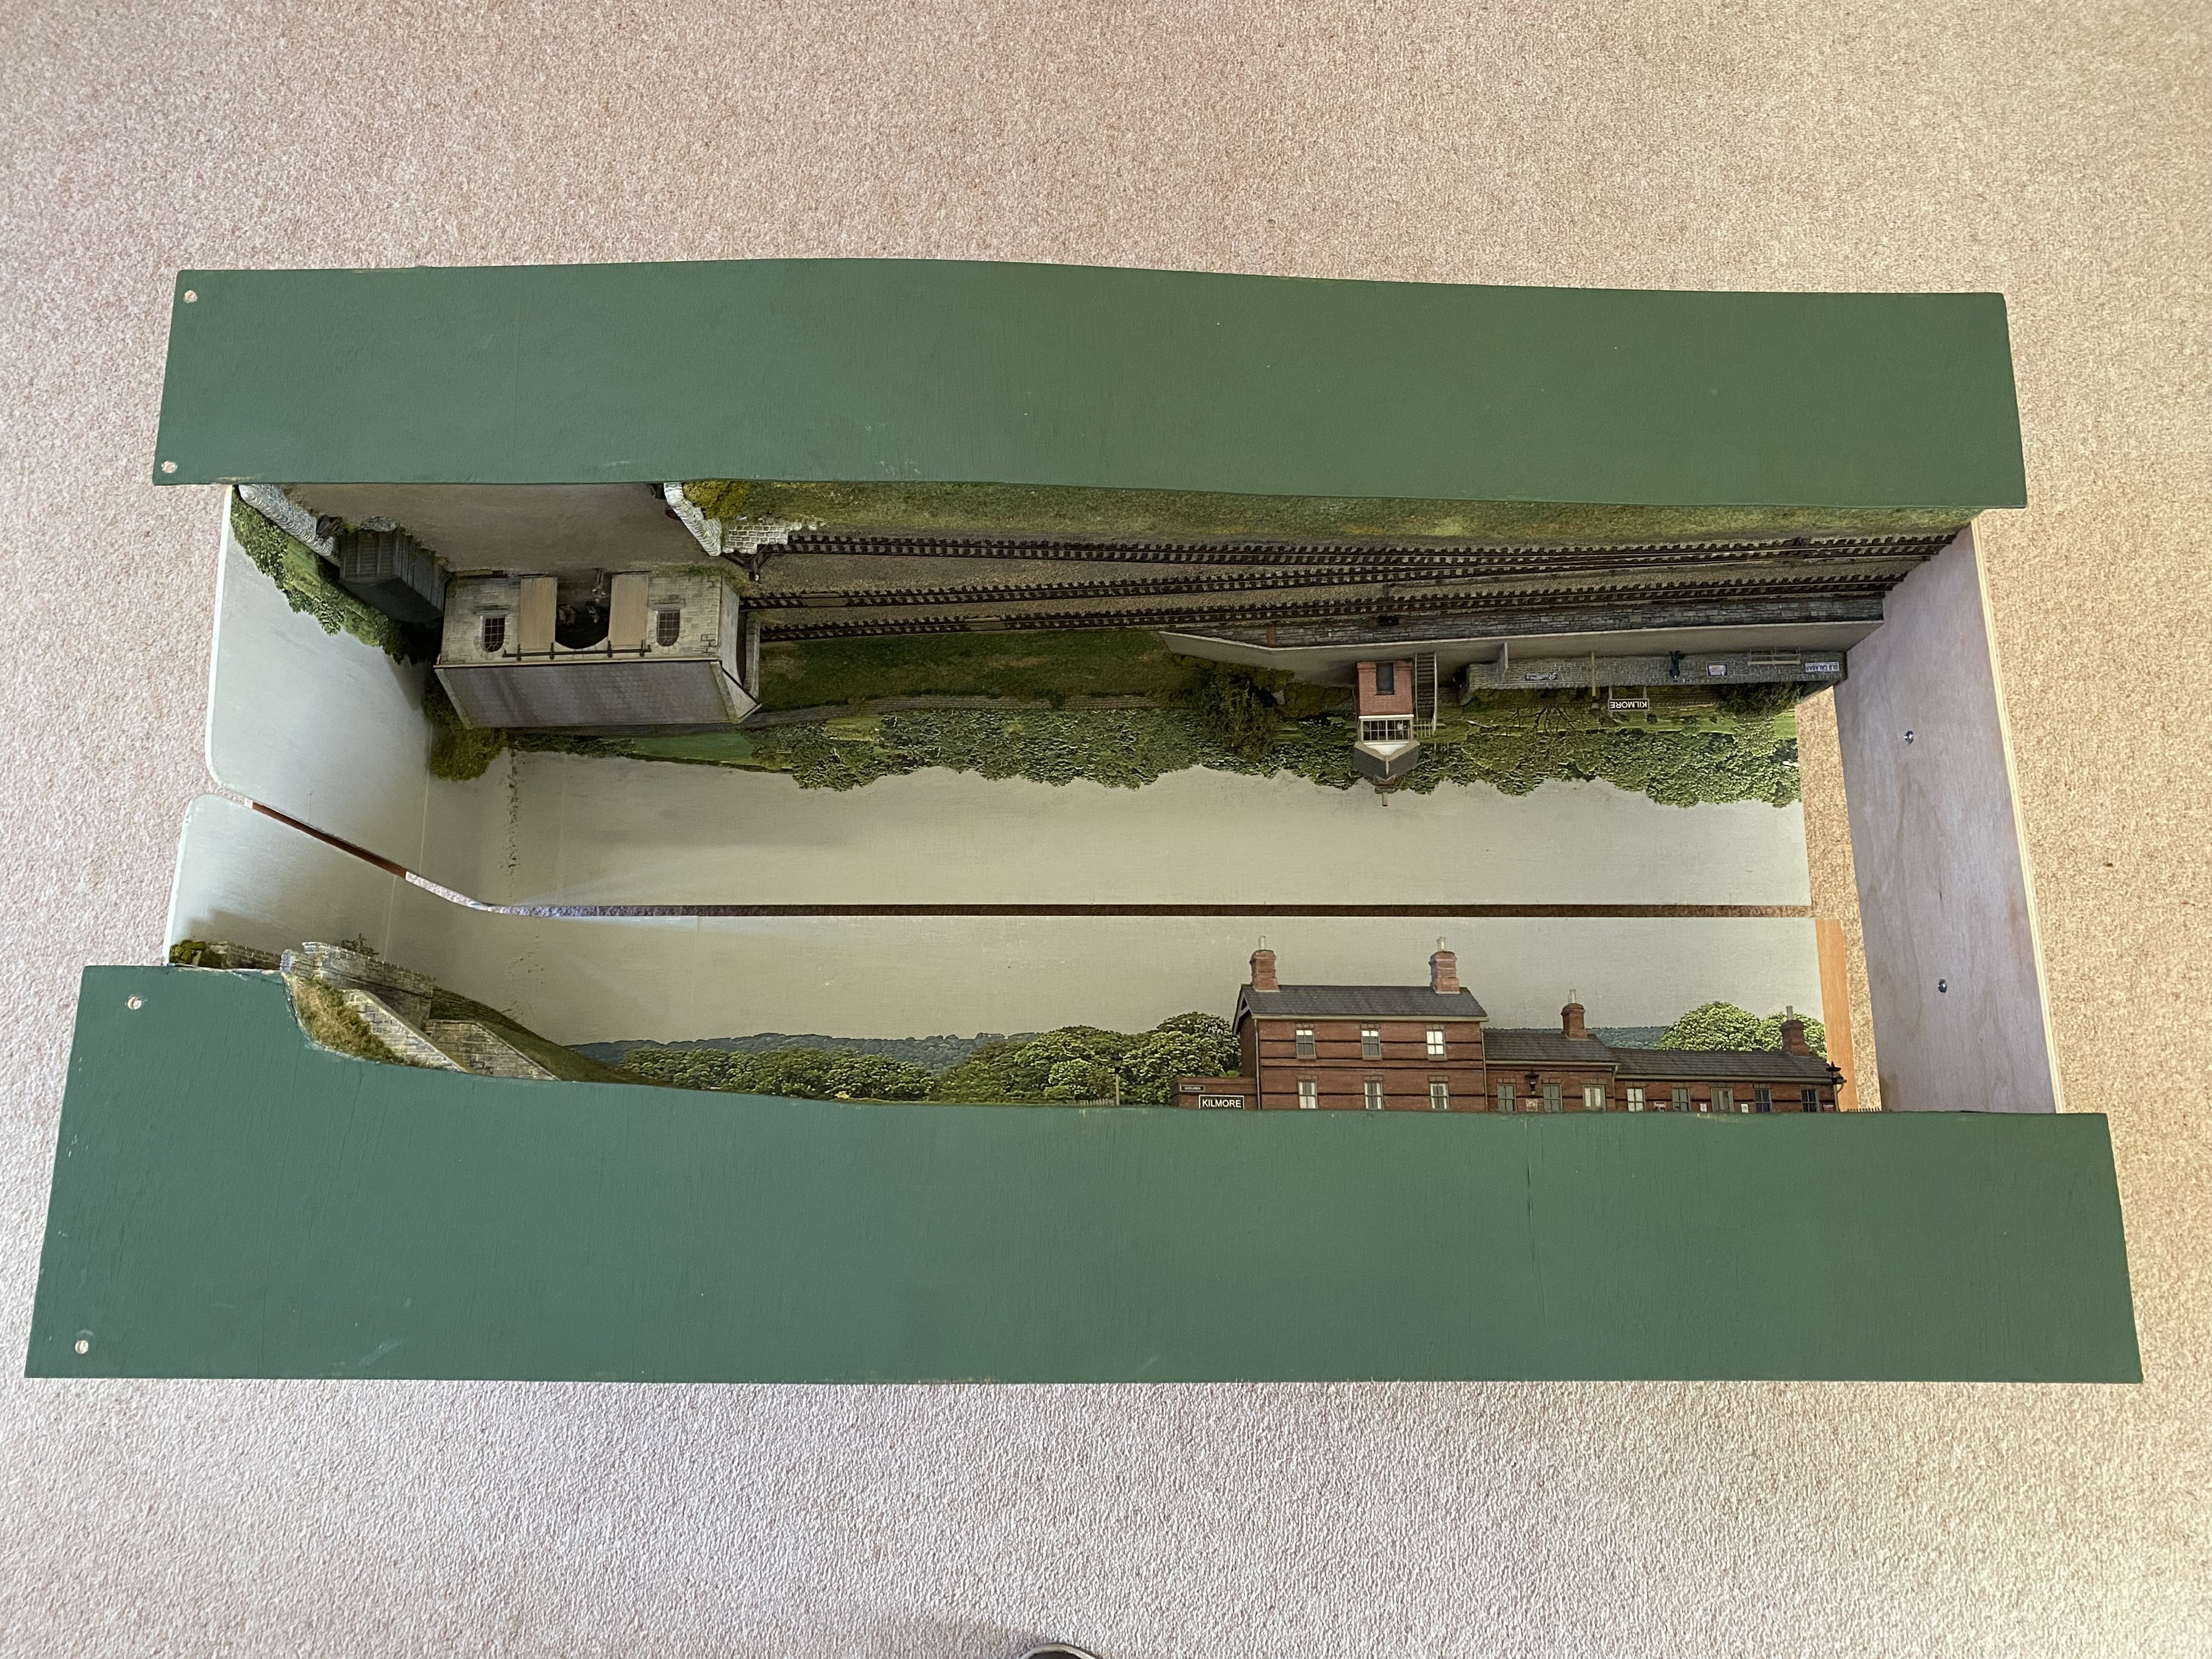
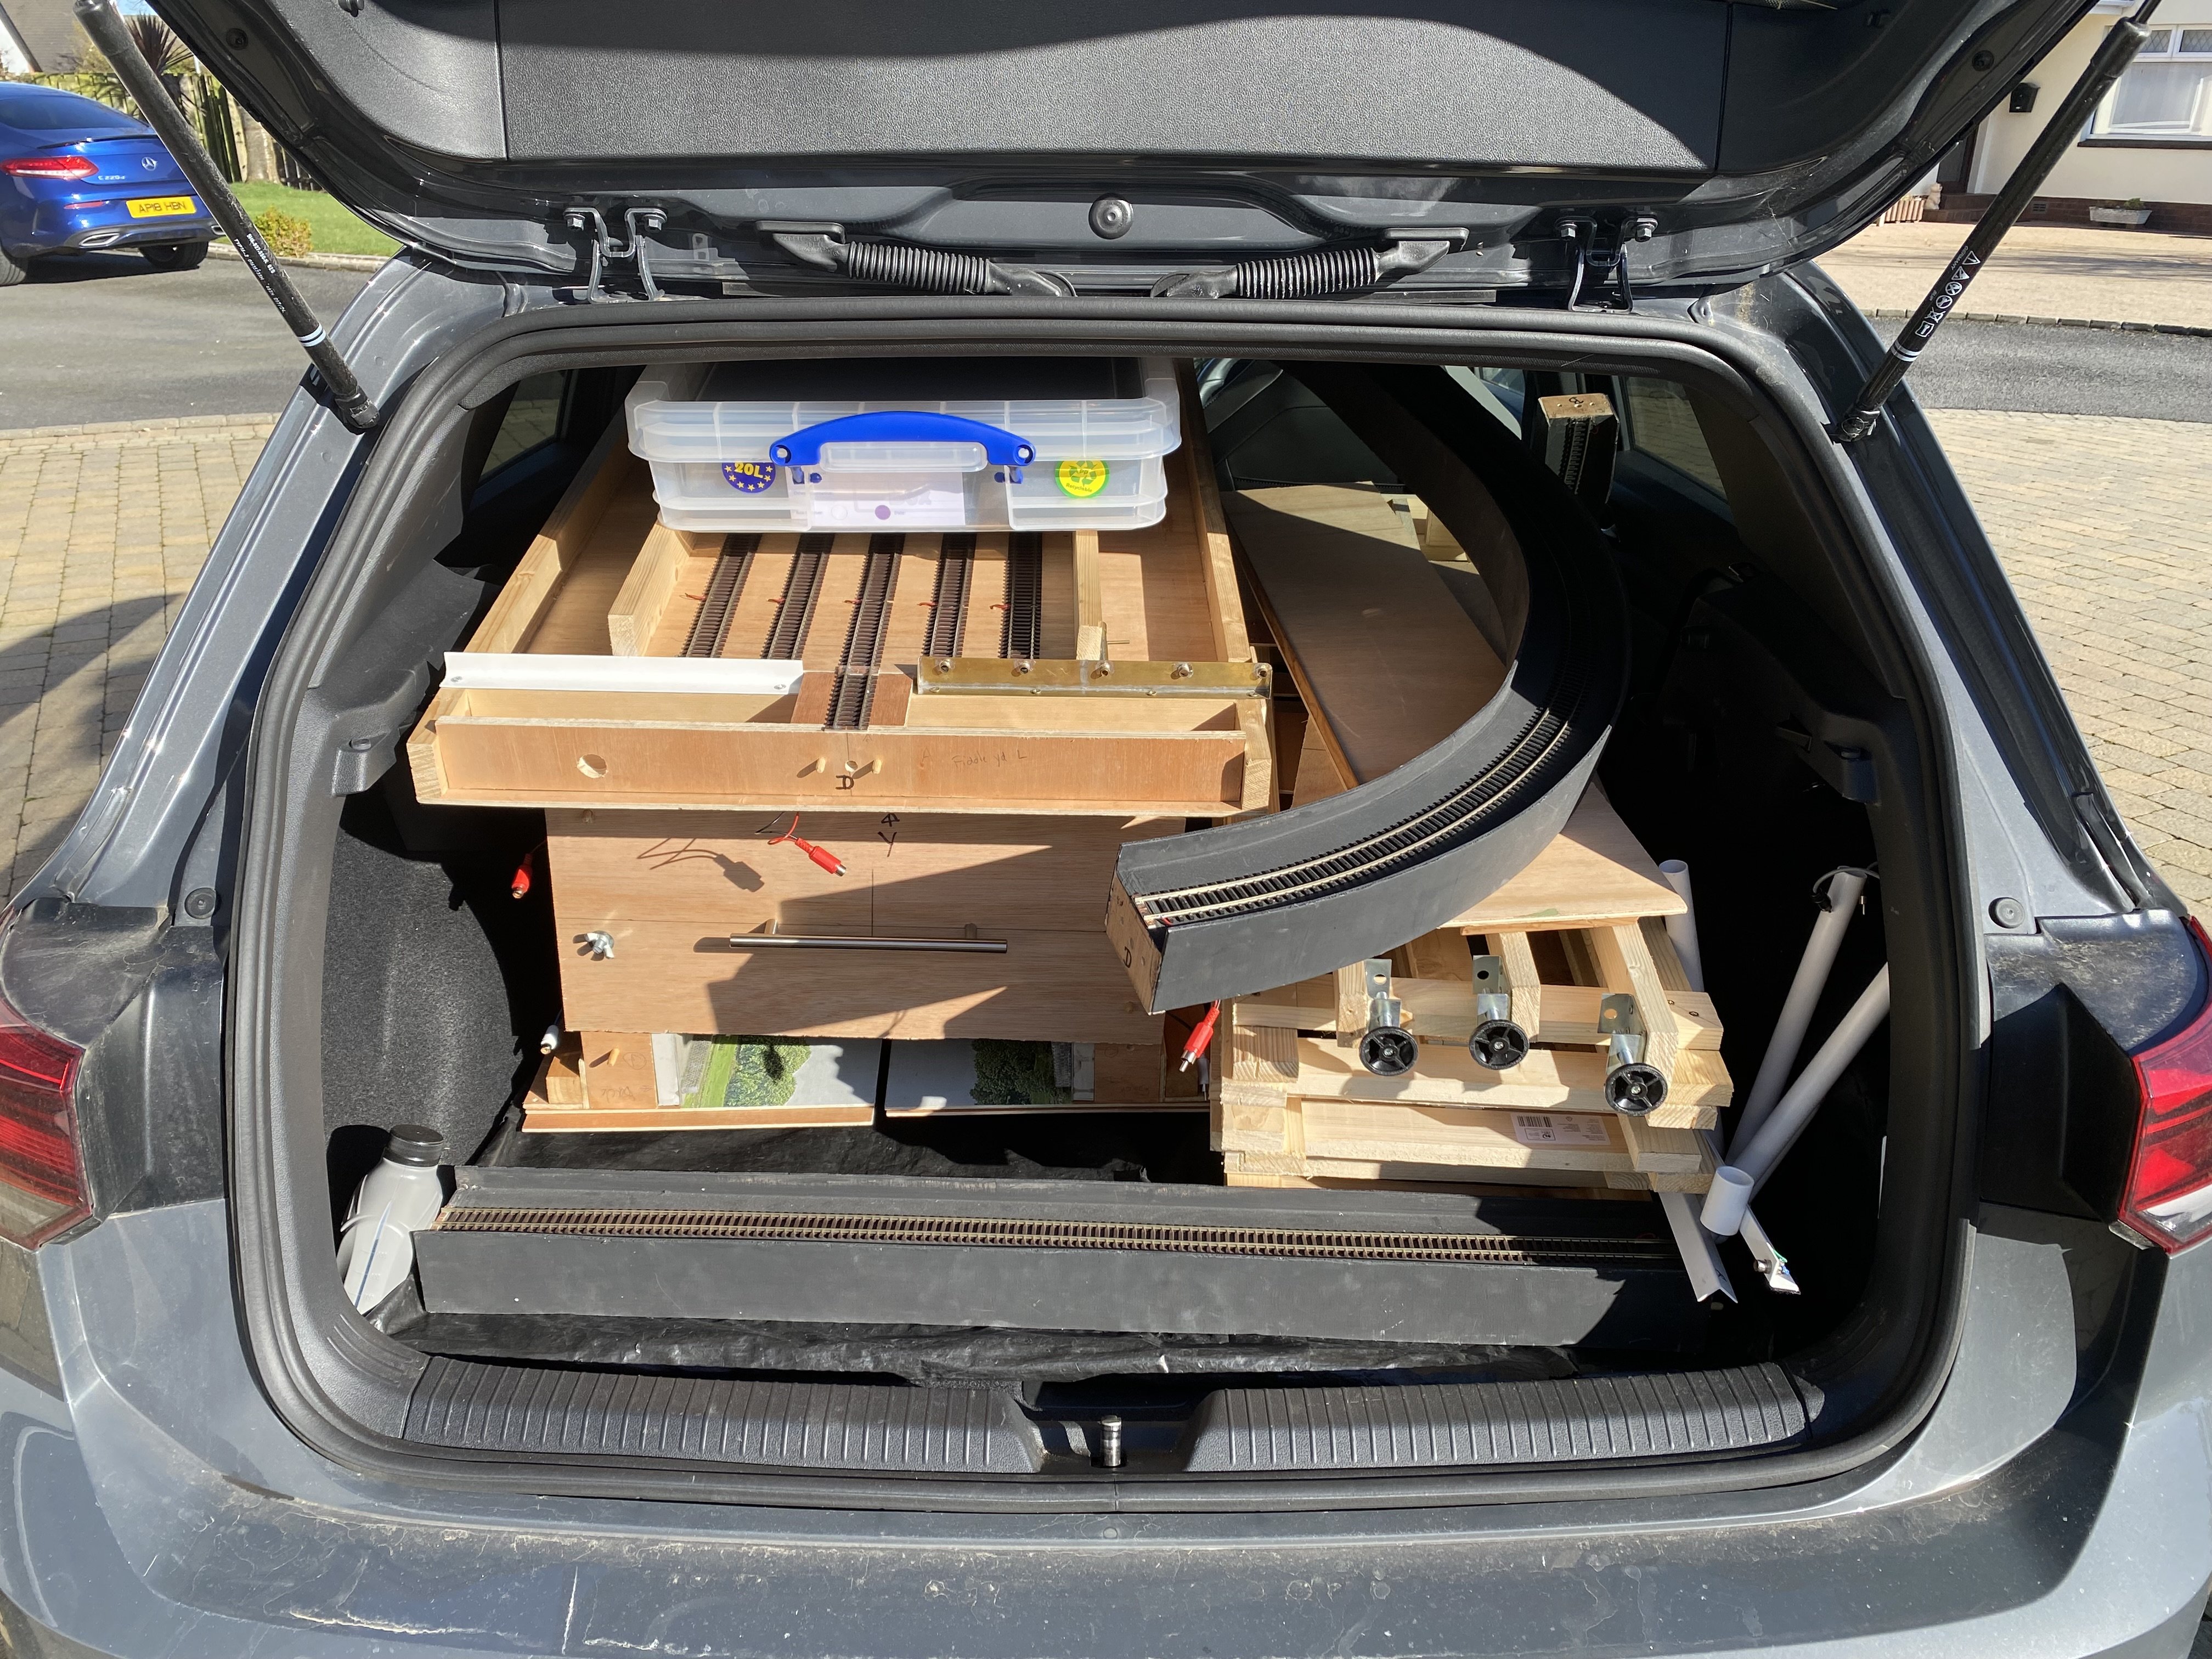
The first rain-free sunny day in ages so a dry run at packing up Kilmore for transport. And yes!! It fits in the car. Phew! And I think I do as well. Alan

- 180 replies
-
- 11
-

-

-
The long-thought-lost colour photograph of a County Down engine Nice one Patrick.
-
Just brilliant. Love it!
-
That’s an awesome feat of engineering. Wonderful!
-
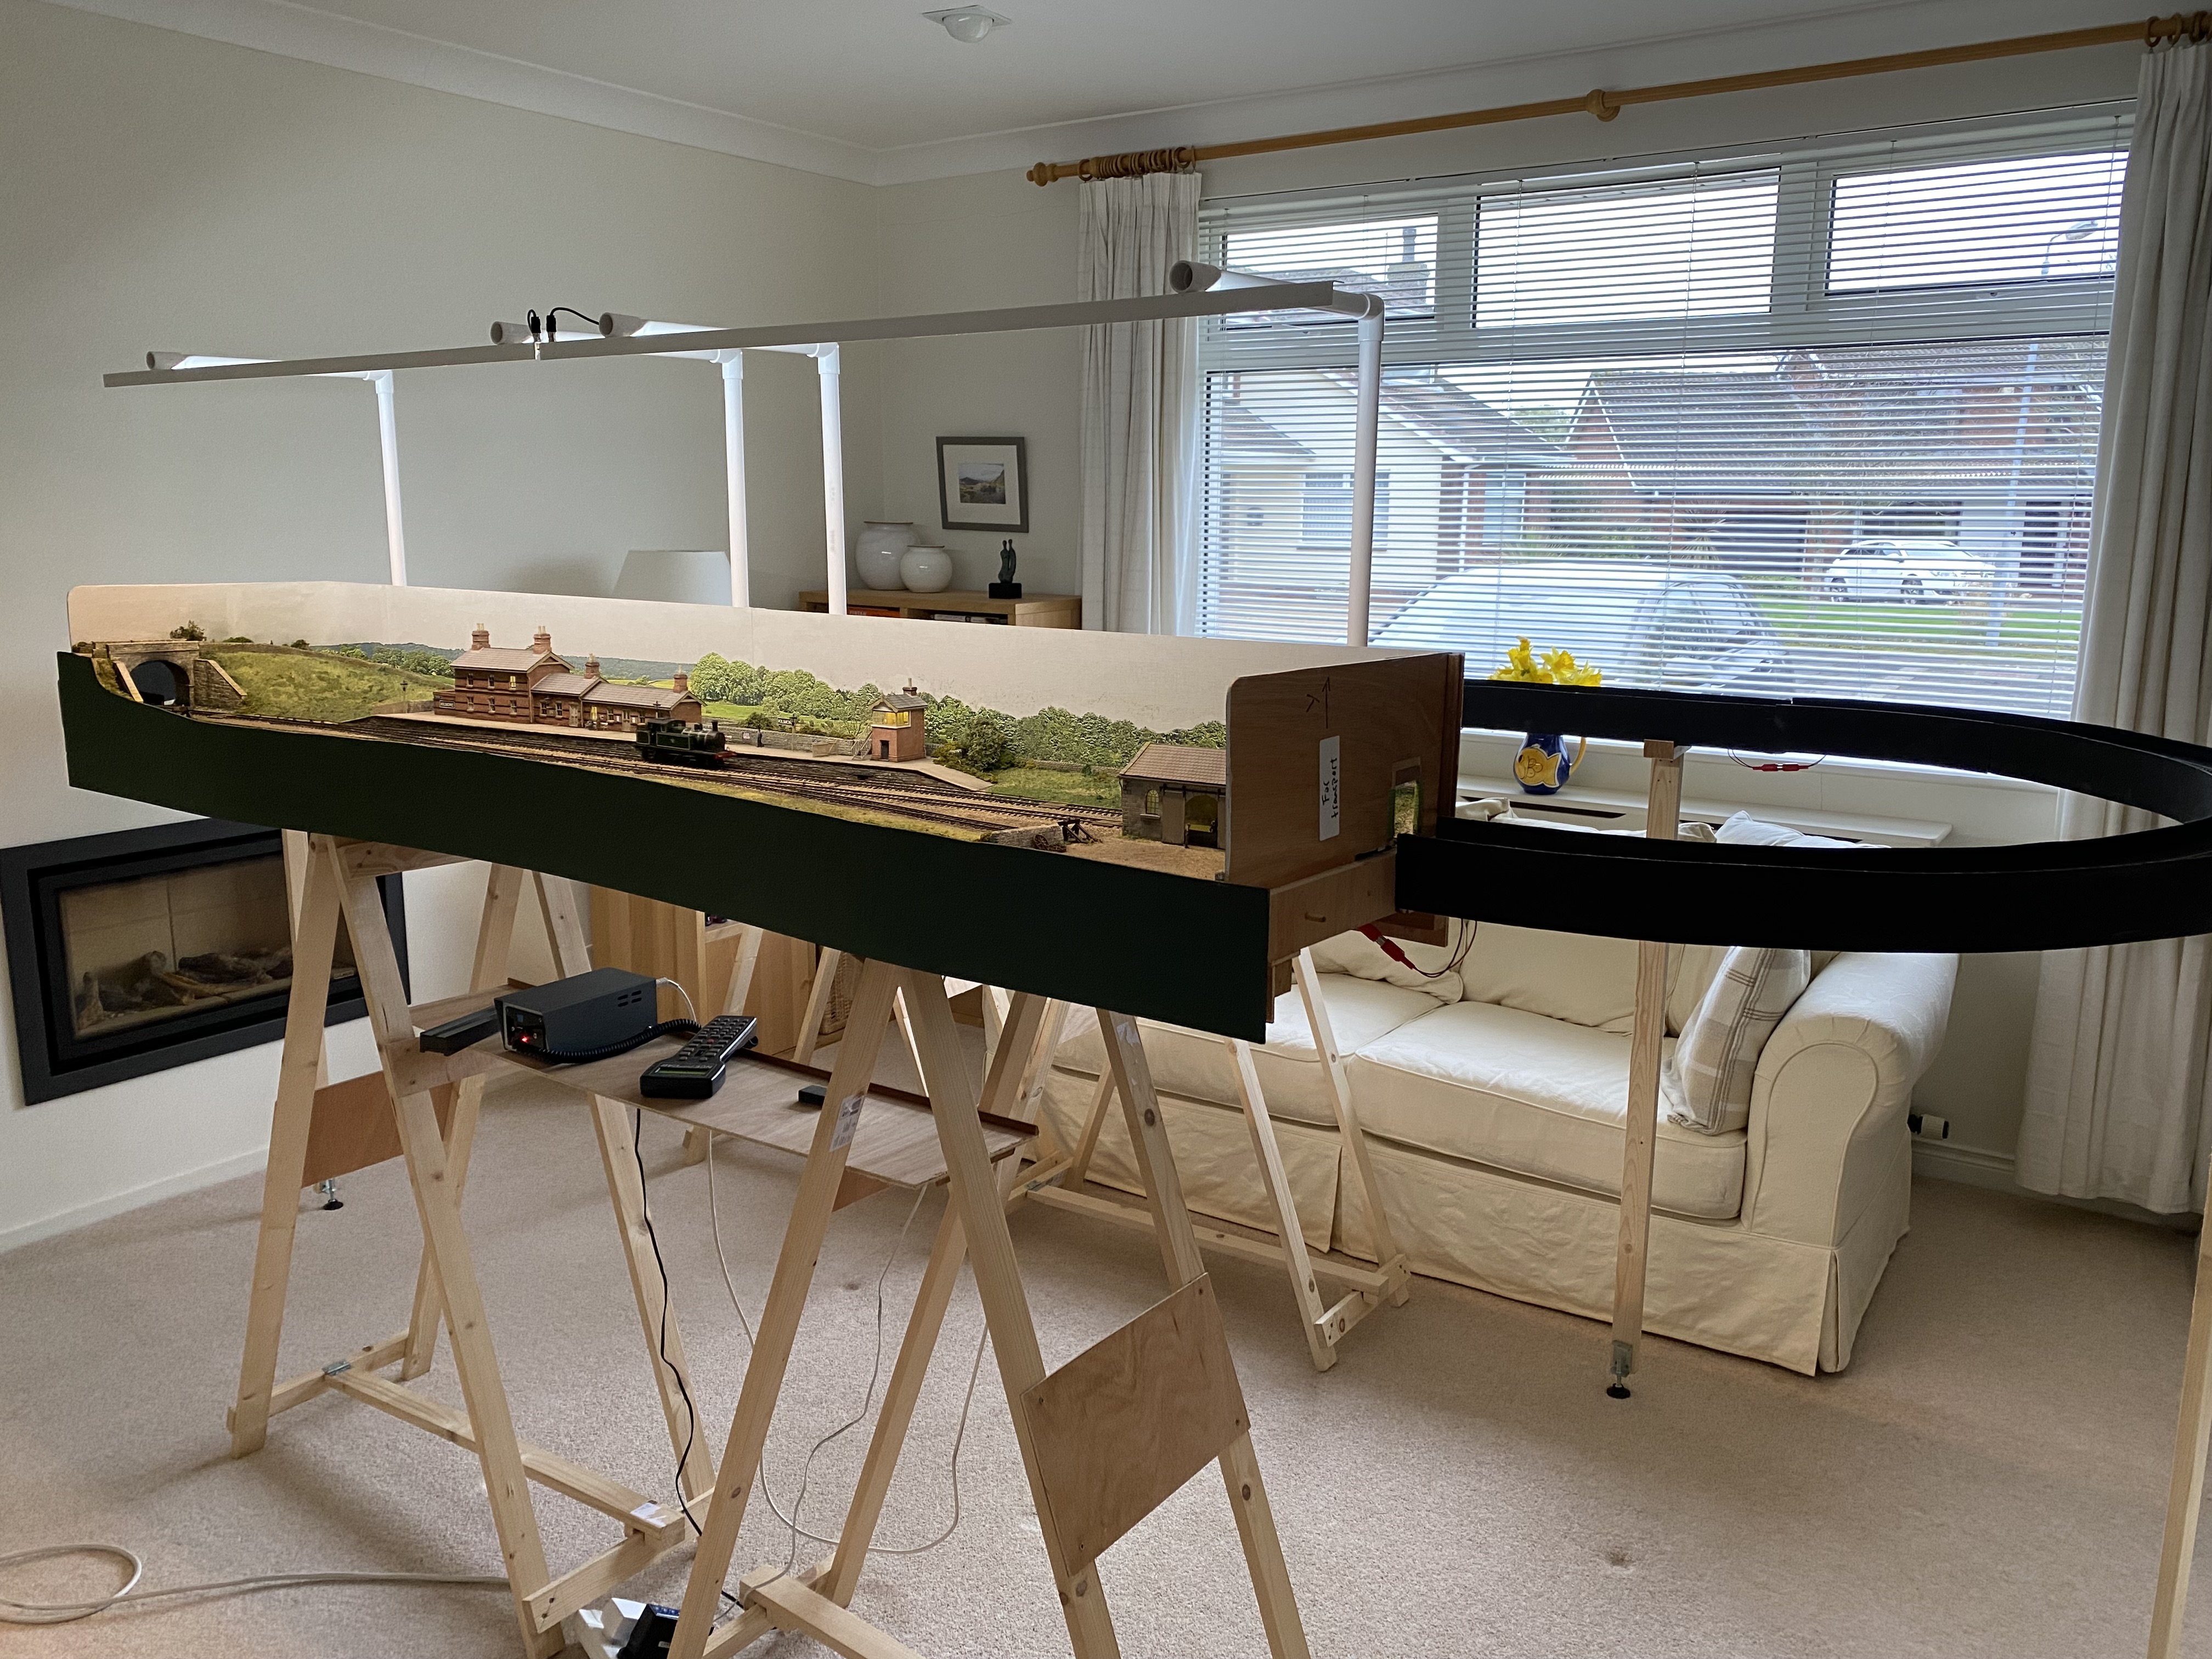
Kilmore is booked for the North Down Model Show at Bangor Grammar School, 28 & 29 March 2026 so there's a list of things that still need doing if we're to get it there. By moving some furniture out of the front room I made space to set the layout up in its entirety so I could do some debugging. And heck was it needed! Dead locos, derailments, dodgy track alignment and duff soldering among other things but the snag list is getting shorter and I was able to just watch trains going round for a change. Hope to see some of you in Bangor at the end of the month. Here's hoping this whole caboodle fits in the car Kilmore.mov Alan
- 180 replies
-
- 18
-
-
-
Nice to see this one back on the bench. I've just been re-reading the March 2024 posts where you started on it.
-
"Voiding the Warranty" - Mol's experiments in 21mm gauge
Tullygrainey replied to Mol_PMB's topic in Irish Models
Exquisite work Paul. Those look spot-on, and so neat. I'm battering away at another BCDR 6 wheeler at the moment so I have some inkling of what's involved in producing these things. Do you use colourless solder? I can't see any -
... and what sort of a loco is that on the poster!
-
"Voiding the Warranty" - Mol's experiments in 21mm gauge
Tullygrainey replied to Mol_PMB's topic in Irish Models
Lovely subtle weathering on A11 -
Lovely images. Really convincing. Are you sure it's lambs you hearing? I'm nearly certain those are cows
-
That is truly awful Noel. Sending my best wishes to you and your family as you deal with this.
-
Thanks for this John. The whitemetal body is indeed really heavy and I did consider using the original rigid chassis frames, reasoning that it might run like a bulldozer, i.e. unstoppable. However the weather these last few days has been non-stop rain so I mostly stayed indoors and have already started on a scratchbuilt chassis for the thing . Still, since this project is really an exercise in what might be possible, I might build something round the original chassis frames too. I have a set of Gibson outside cranks in front of me as I write this. I'm hoping to use these as you suggest along with the Gibson extended axles and the original wheels. I'm substituting the original coupling rods for a set of Lanarkshire Models Fowler 4F etched rods (now available from High Level Kits) which are exactly the right length and should look better than the originals. They're also articulated with a proper knuckle connection. Lovely little etch.
-
Certainly worth trying
-
I'd start by checking the back-to-back on the wheels JB and also that they are rotating freely. Then check that the bogie swivels freely and that it isn't fouling anything on the body as it swivels. Also, is there any buffer lock with whatever is coupled to it at that end?
-
Thanks everyone. I knew the collective knowledge on here would deliver. It wasn't a runner when Kieran got it and I reckon it wouldn't be worth the effort required to restore it to original form. Most of the outside cranks are damaged, some of the wheels are loose on their axles (the axles were seized in their bearings). The motor shrieks a bit and needs a fair bit of wellie to get it moving. There'd be no slow takeoff with that in the drivetrain. The coupling rods are pretty basic and just look toy-like. The white metal bodies are attractive though and fairly intact. They've been assembled with Araldite. Rather than scrap the whole thing, I'd like to make something using as much of the original as possible, or sensible: mainly the bodies and the wheels if I can get the rust off them. Add to these a scratch-built compensated chassis for the loco with a nice High Level gearbox and motor. For the tender, another scratch-built chassis with one fixed and two sprung axles. I have it in mind to build it with live chassis, picking up on the loco one side and the tender t'other. I've never done this before so I thought this was a good excuse for a little project. Gibsons have started selling tender wheels with one insulated and one non-insulated wheel on each axle so that makes things a bit easier. I'll need to short out half of the loco's wheels though. Ah, I see it now. Couldn't make sense of it before
-
Something a bit different. A while ago, Kieran Lagan gave me this partially dismantled kit (now completely dismantled) of a Midland Railways Kirtley, an outside framed 0-6-0 tender engine. Neither of us have any idea of its origins. Loco and tender bodies are whitemetal. Chassis frames for the loco are solid lumps of brass with screw-in spacers. The tender chassis is a plastic moulding as are the outside cranks for the driving axles. Wheels look like Gibsons or good copies. The coupling rods are basic and pickups are confined to the tender. Both motor and tender chassis have the same logo. Any ideas anyone?
-
Scarva-Banbridge Explorations
Tullygrainey replied to Patrick Davey's topic in Photos & Videos of the Prototype
The photographer photographed
-
If you're managing ok with the standard iron, then you maybe don't need an RSU. I have difficulty getting things like lamp irons, small overlays or similar soldered into place securely and straight. The act of removing the iron often causes the small item being soldered to shift or stick to the iron. The job often requires the iron in one hand, and a cocktail stick in the other hand holding the item in place. It can all get a bit crowded! I usually end up with multiple attempts and a load of excess solder which can be difficult/impossible to remove. One of the advantages of the RSU is that the probe holds the piece while soldering takes place. A foot pedal controls the action so the probe can be continue to be held on the job after the foot pedal comes off. The solder has time to solidify and the bit being soldered stays where you put it. Provided both surfaces are tinned and fluxed, it works well. There's a guidance video on the London Road Models website which is worth a watch and would help you decide if you need one or not.
-
Thanks everyone. I’ve said it before, the support and encouragement on this forum is second to none. It’s a pleasure to be part of it.
-
More rolling stock for Kilmore. A six wheeler passenger coach from a Mousa Models kit this time. This is the 4th one I've built and, whilst I'm getting better at it, I still find them challenging. Lots of repetitive work with small fiddly bits. However, a new toy, a Resistance Soldering Unit from London Road Models is proving its worth and among other things made attaching all those ventilator panels above the doors so much easier. It's like having a third hand. Brilliant gadget! Seats from Slater's. Couplings are Kadee. The bolts that attach them also hold the chassis to the bodywork. Wheels from A Gibson. All are independently sprung and the centre axle has lots of sideways movement with the wheels mounted on a length of 2mm OD brass tube sliding on a 1.5mm diameter brass rod set between the pinpoint bearings.
- 860 replies
-
- 17
-
-
-
A footplate crew has now arrived from ModelU to take charge of the Countess. They needed a bit of help to orientate themselves but hit the ground running...
- 101 replies
-
- 10
-

-
-

-
Reading through this thread, I'm amazed any of us can find our own way home unaccompanied. Should we not have carers?
-
Yes! Wish I had more lorries.
-
Not quite so dramatic but I once arrived at my car in a carpark, pressed the remote and heard the central locking click open. However the doors wouldn't open. Locked it again and tried a second time. And a third. Same result each time. Finally realised that my car, an identical grey VW Golf, was the next one along in the row which was why I could hear the locks clicking.